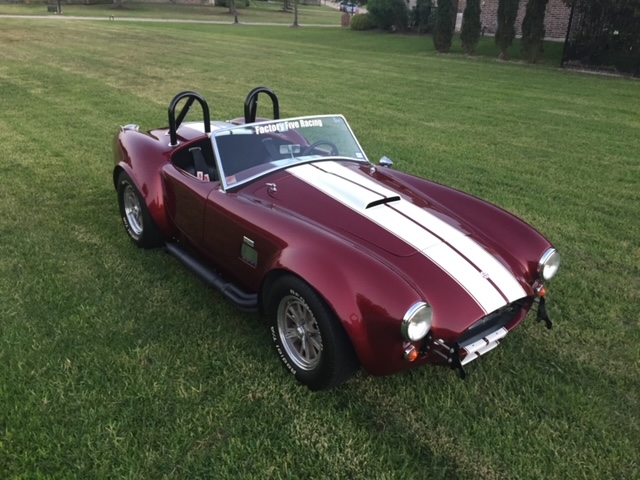
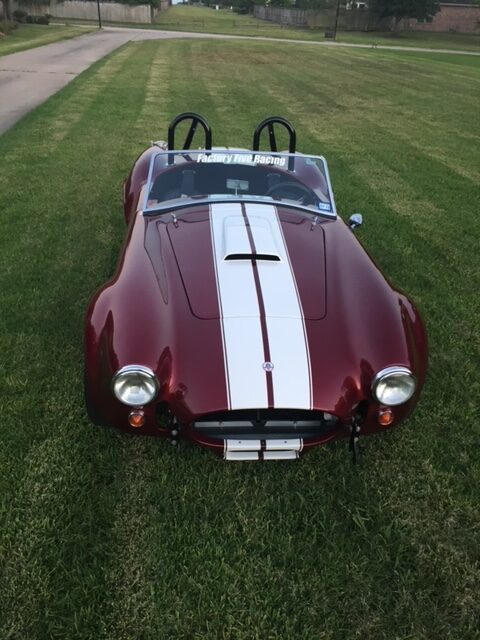
1965 Cobra – Maroon

March 2001 Donor Teardown


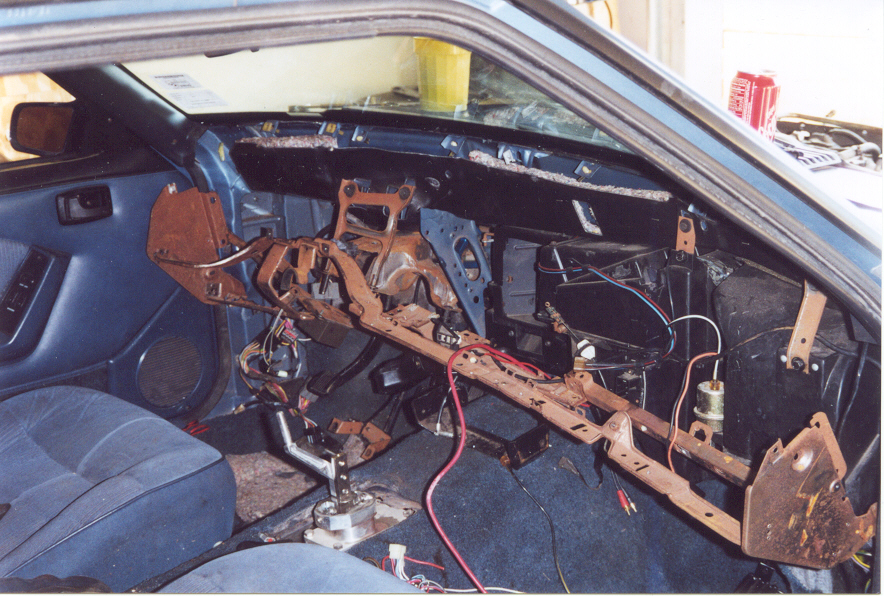
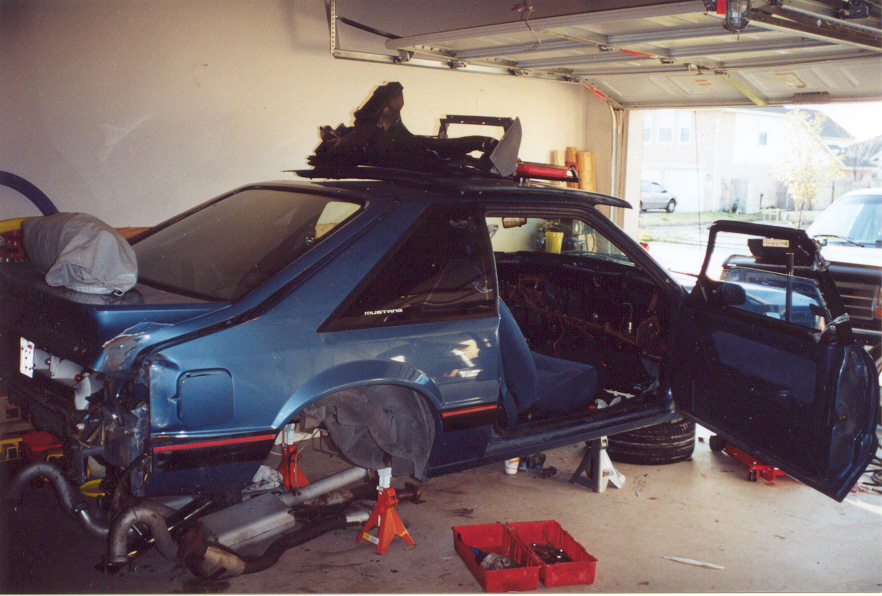
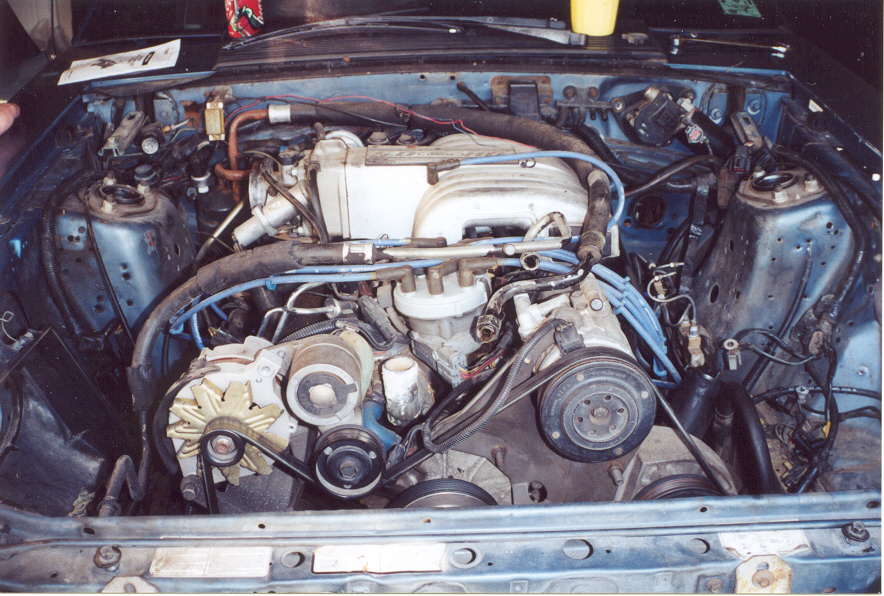

A 1988 Mustang gave up its parts to build the Cobra. It belonged to a neighbor and was involved in an accident that resulted in significant damage to the back of the car, but left all the mechanical systems intact. We were fortunate that this car had a rear disc brake conversion.

We stripped it pretty clean and sold most of the donor parts that we didn’t need for the Cobra.
2001 Cleaning Parts
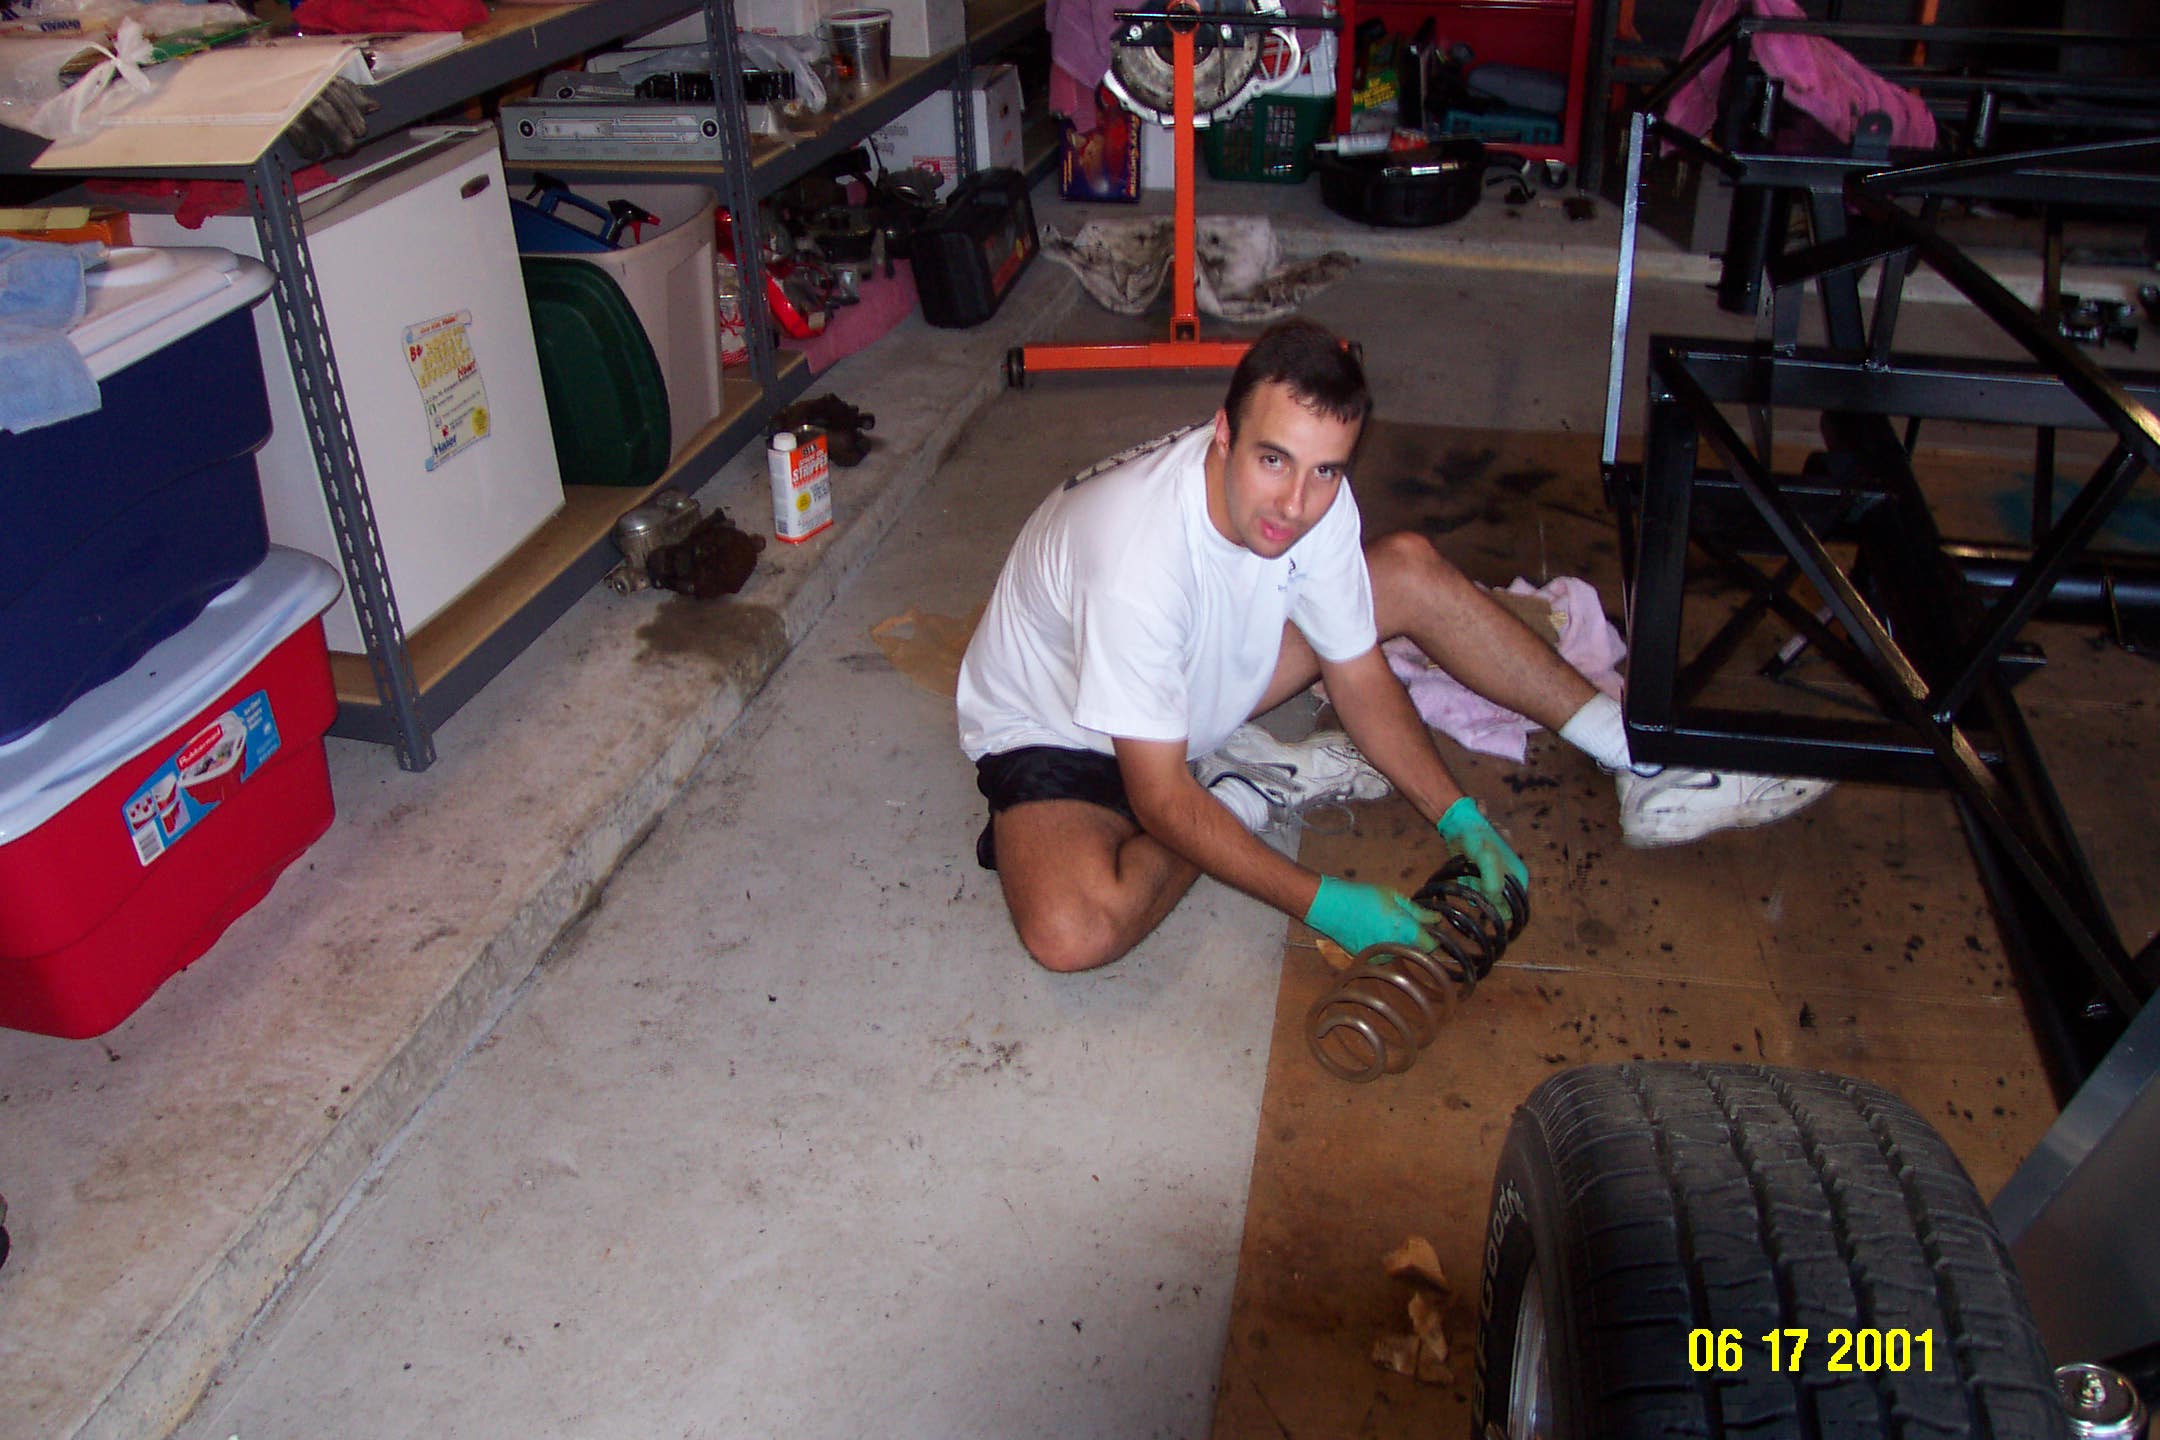


Lots of sanding, grinding and painting was required to get the donor parts in shape for the Cobra build
June 2001 Kit Delivery
The kit finally arrived on June 1, 2000. It was the last of 4 cars to be delivered. We were surprised to find out that shipping was $50 more that we had been quoted.
With some help from a friend, we were able to carry the 380 lb frame and body into the garage from the street. The rest of the car came in 12 boxes. We got all the parts except for one minor interior piece that was on back order
The interior of the car is made up of aluminum panels. These panels are attached for shipping but had to be removed to paint the frame.


July 2001 Suspension
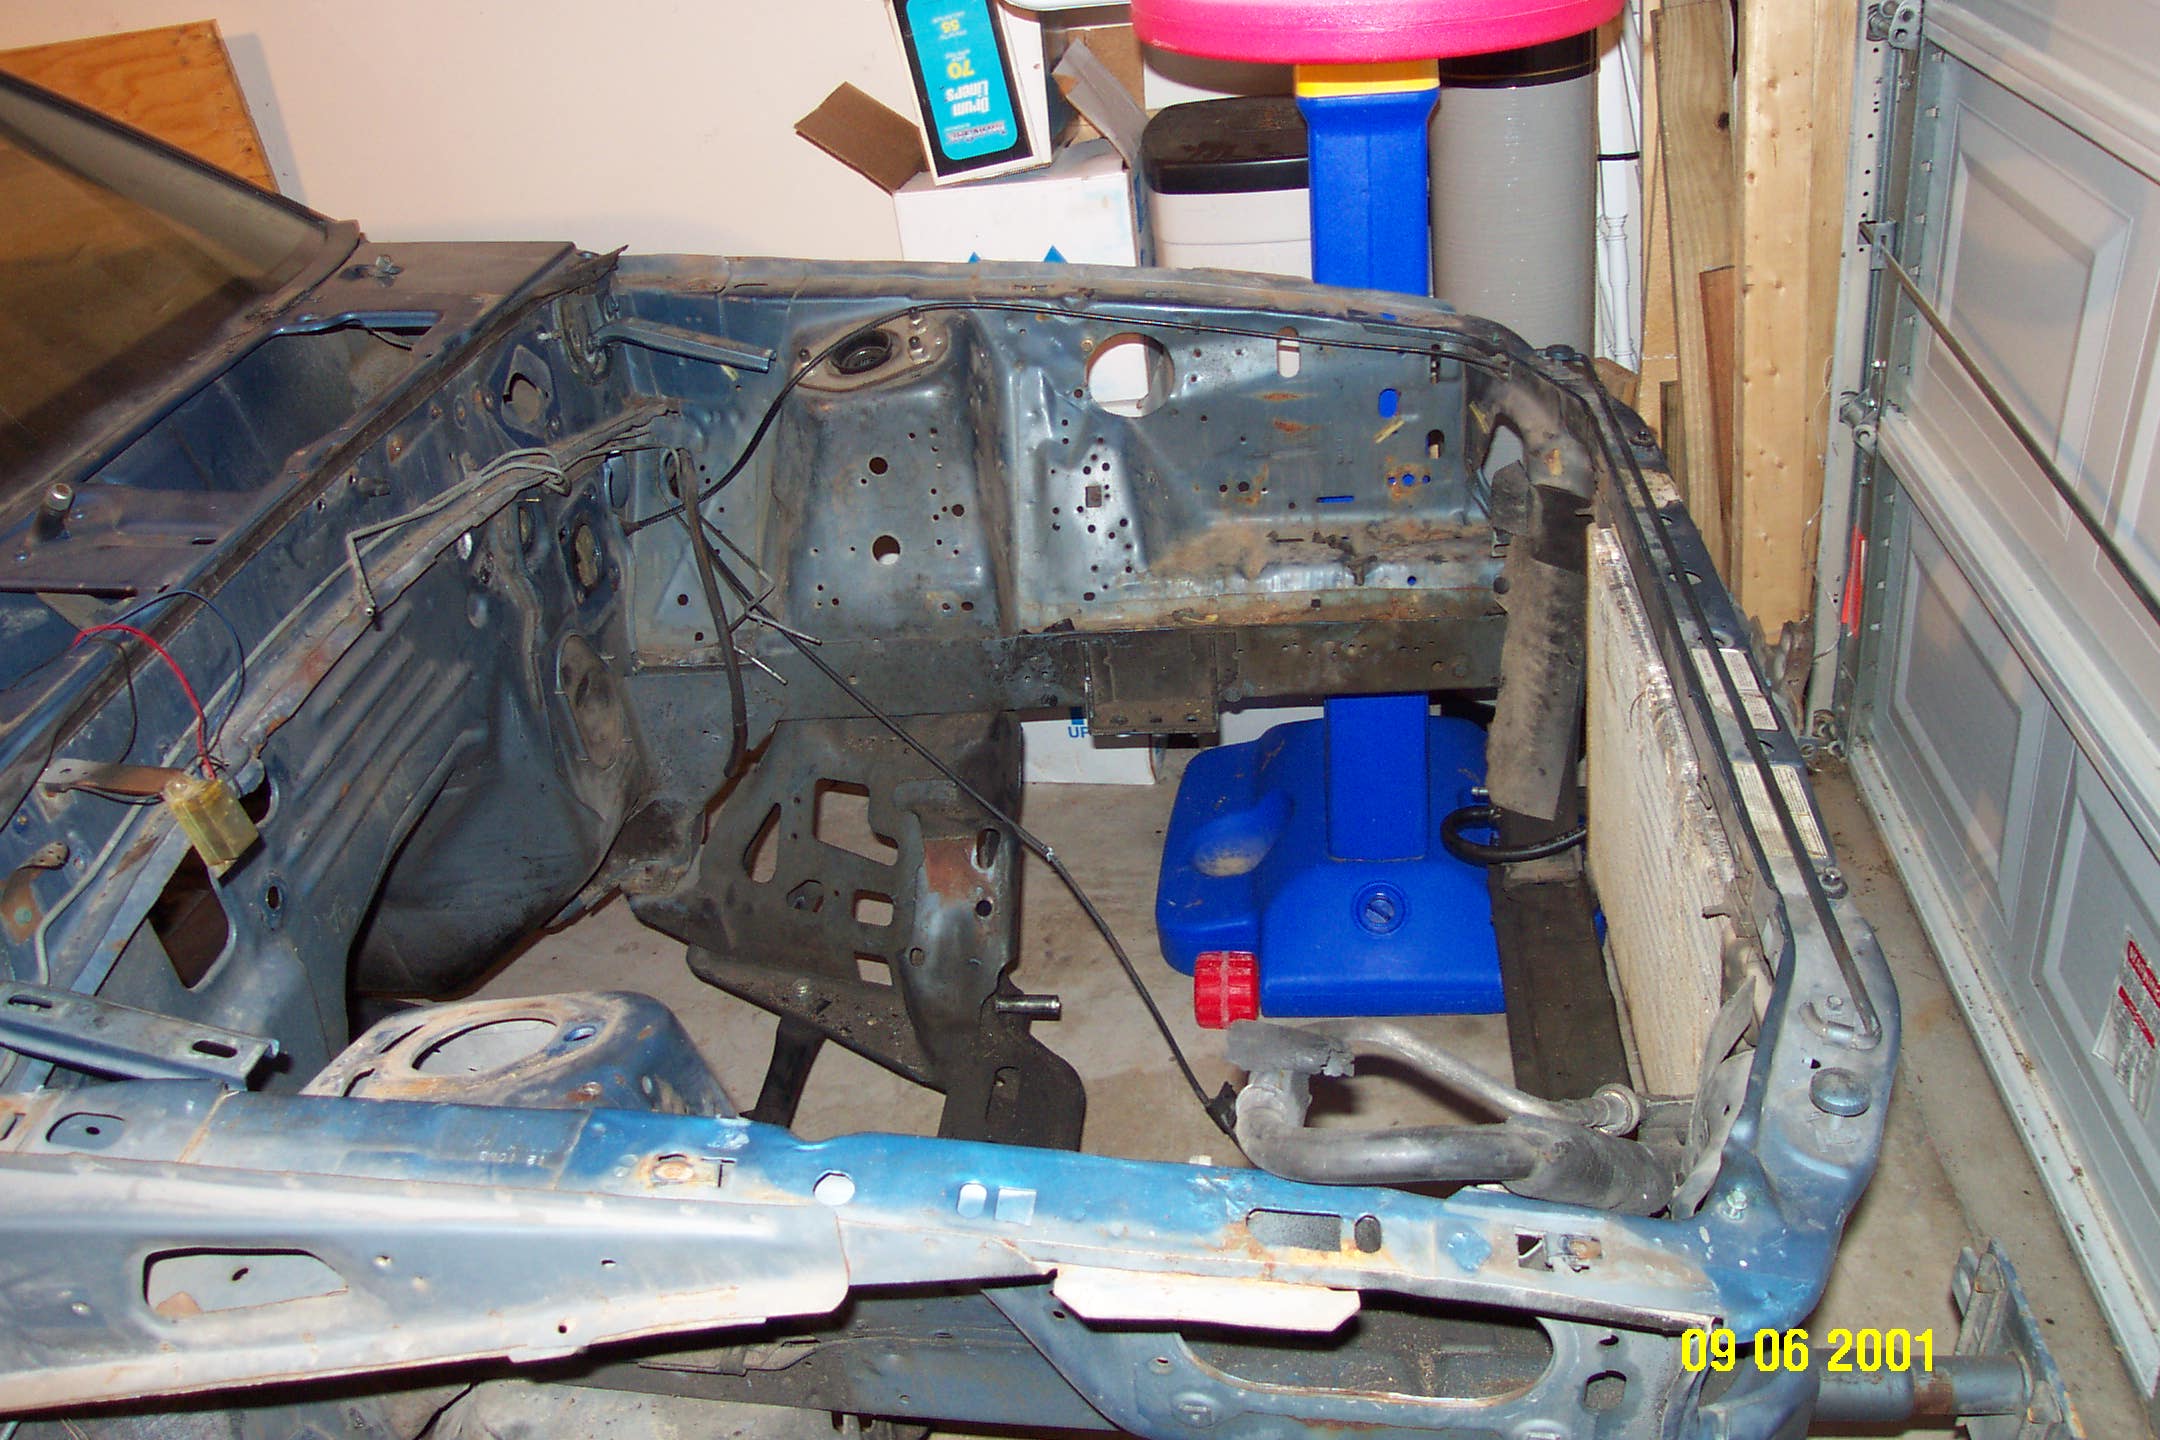
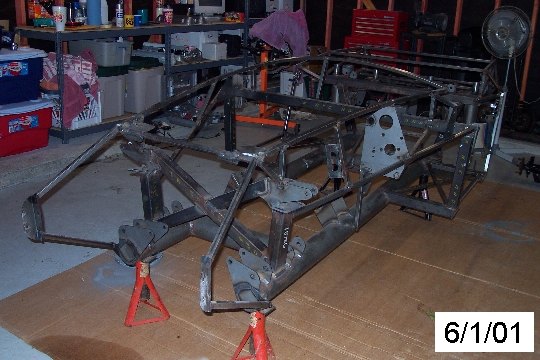
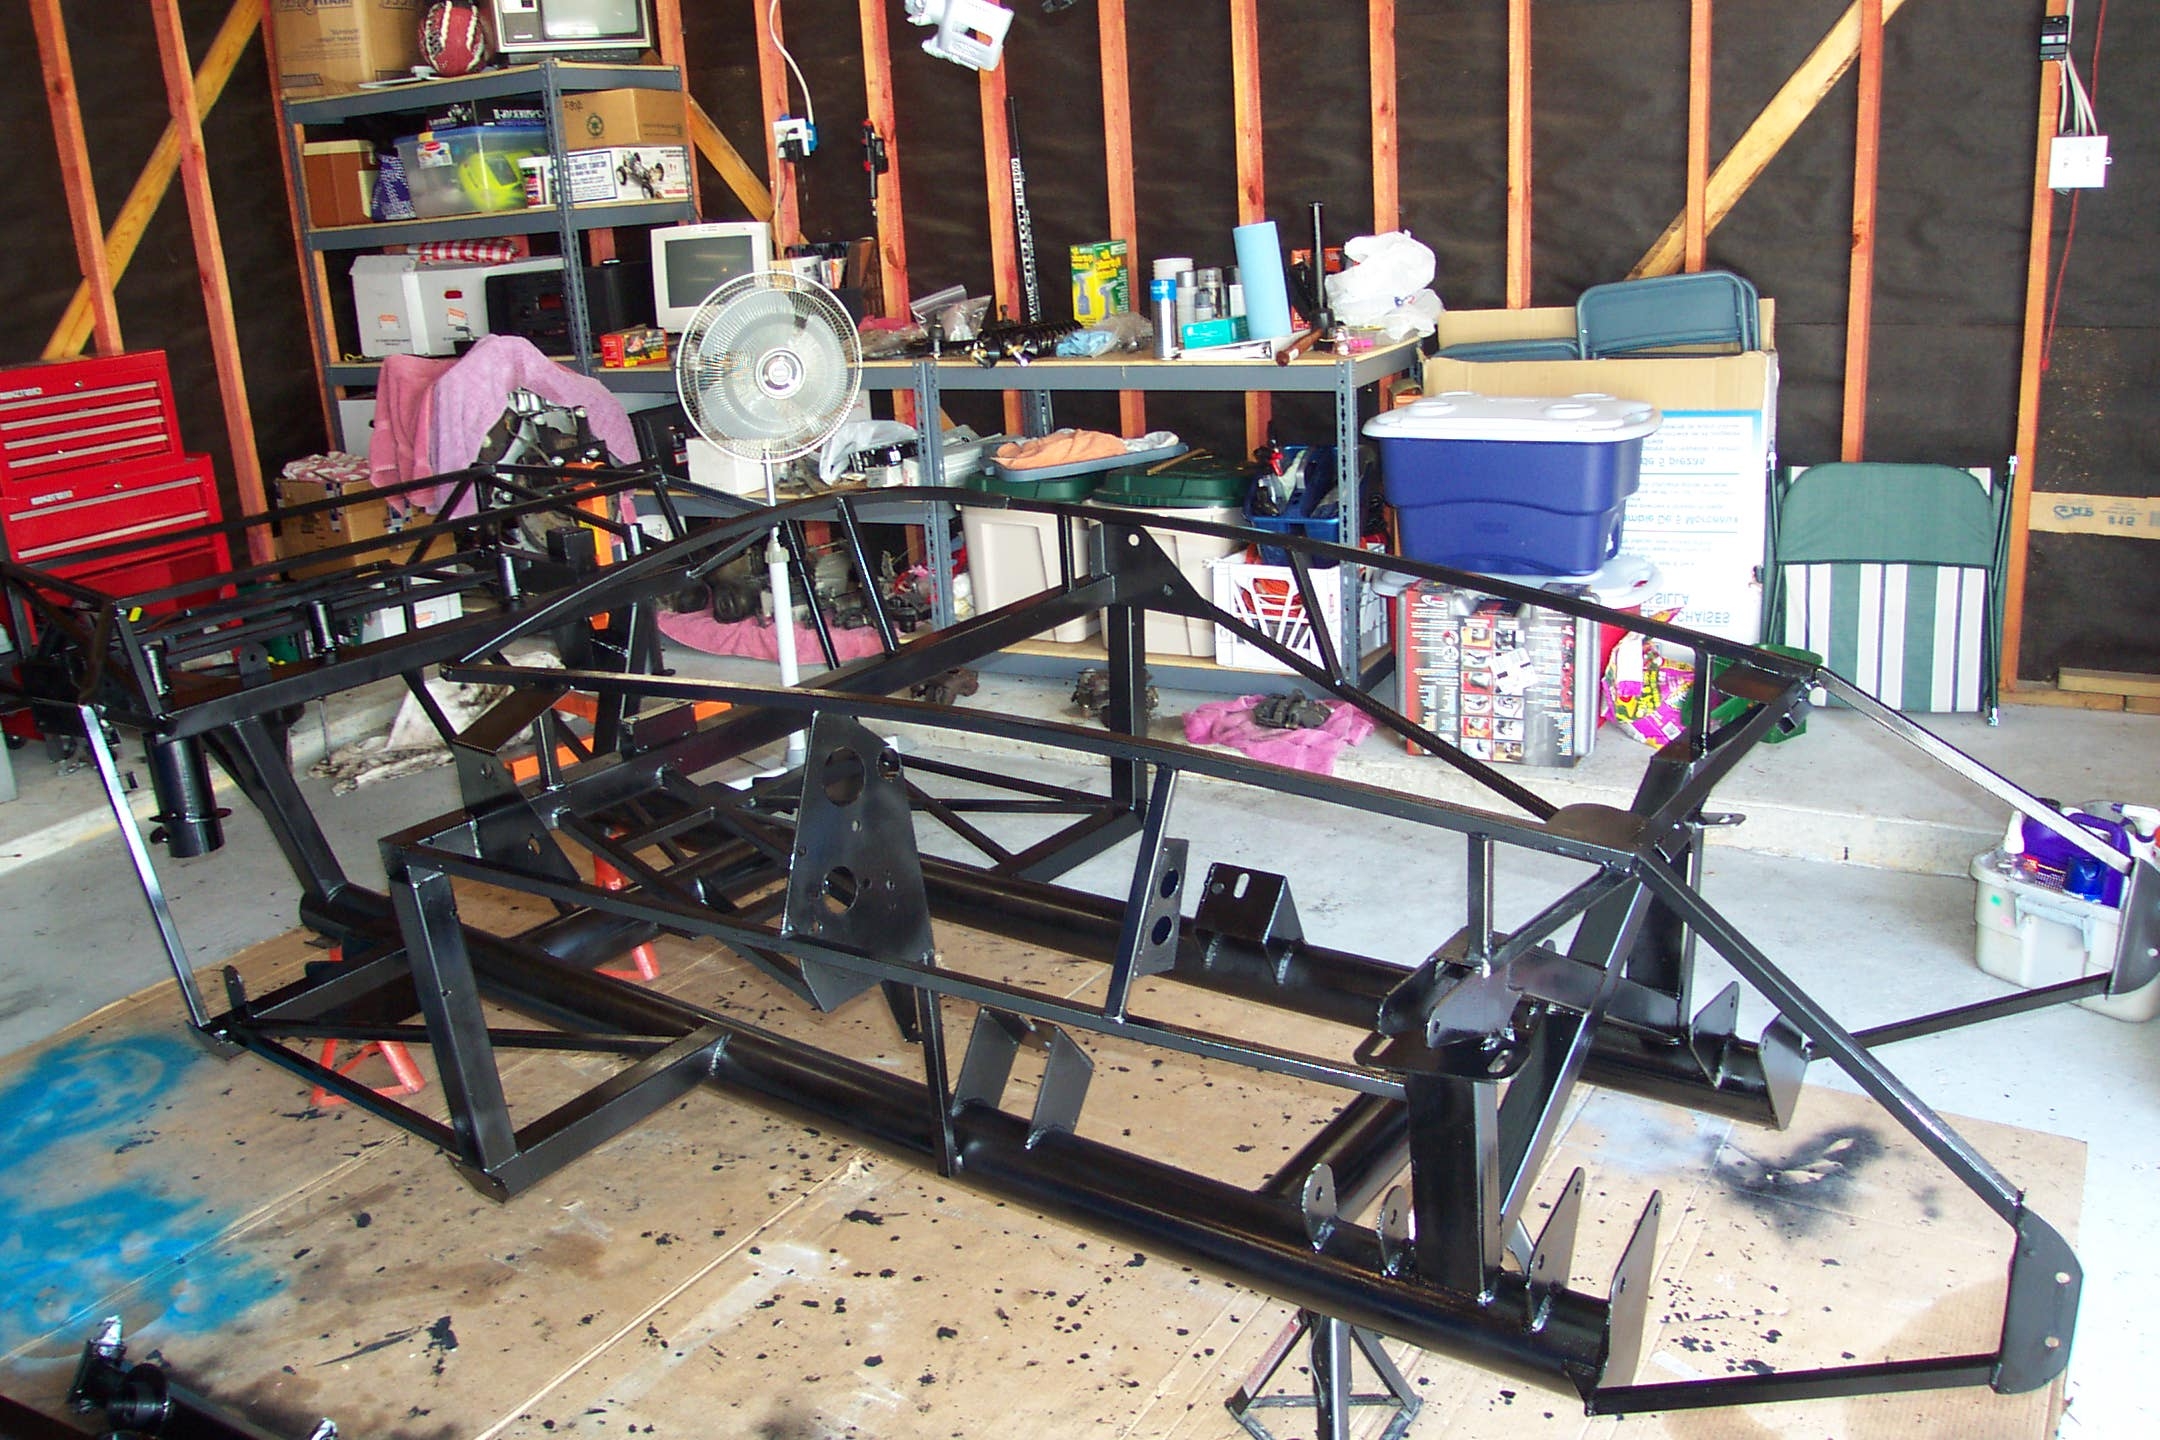
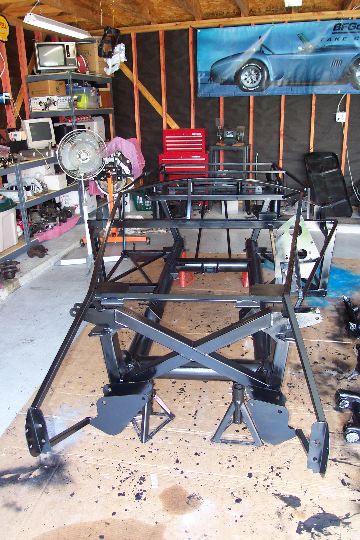
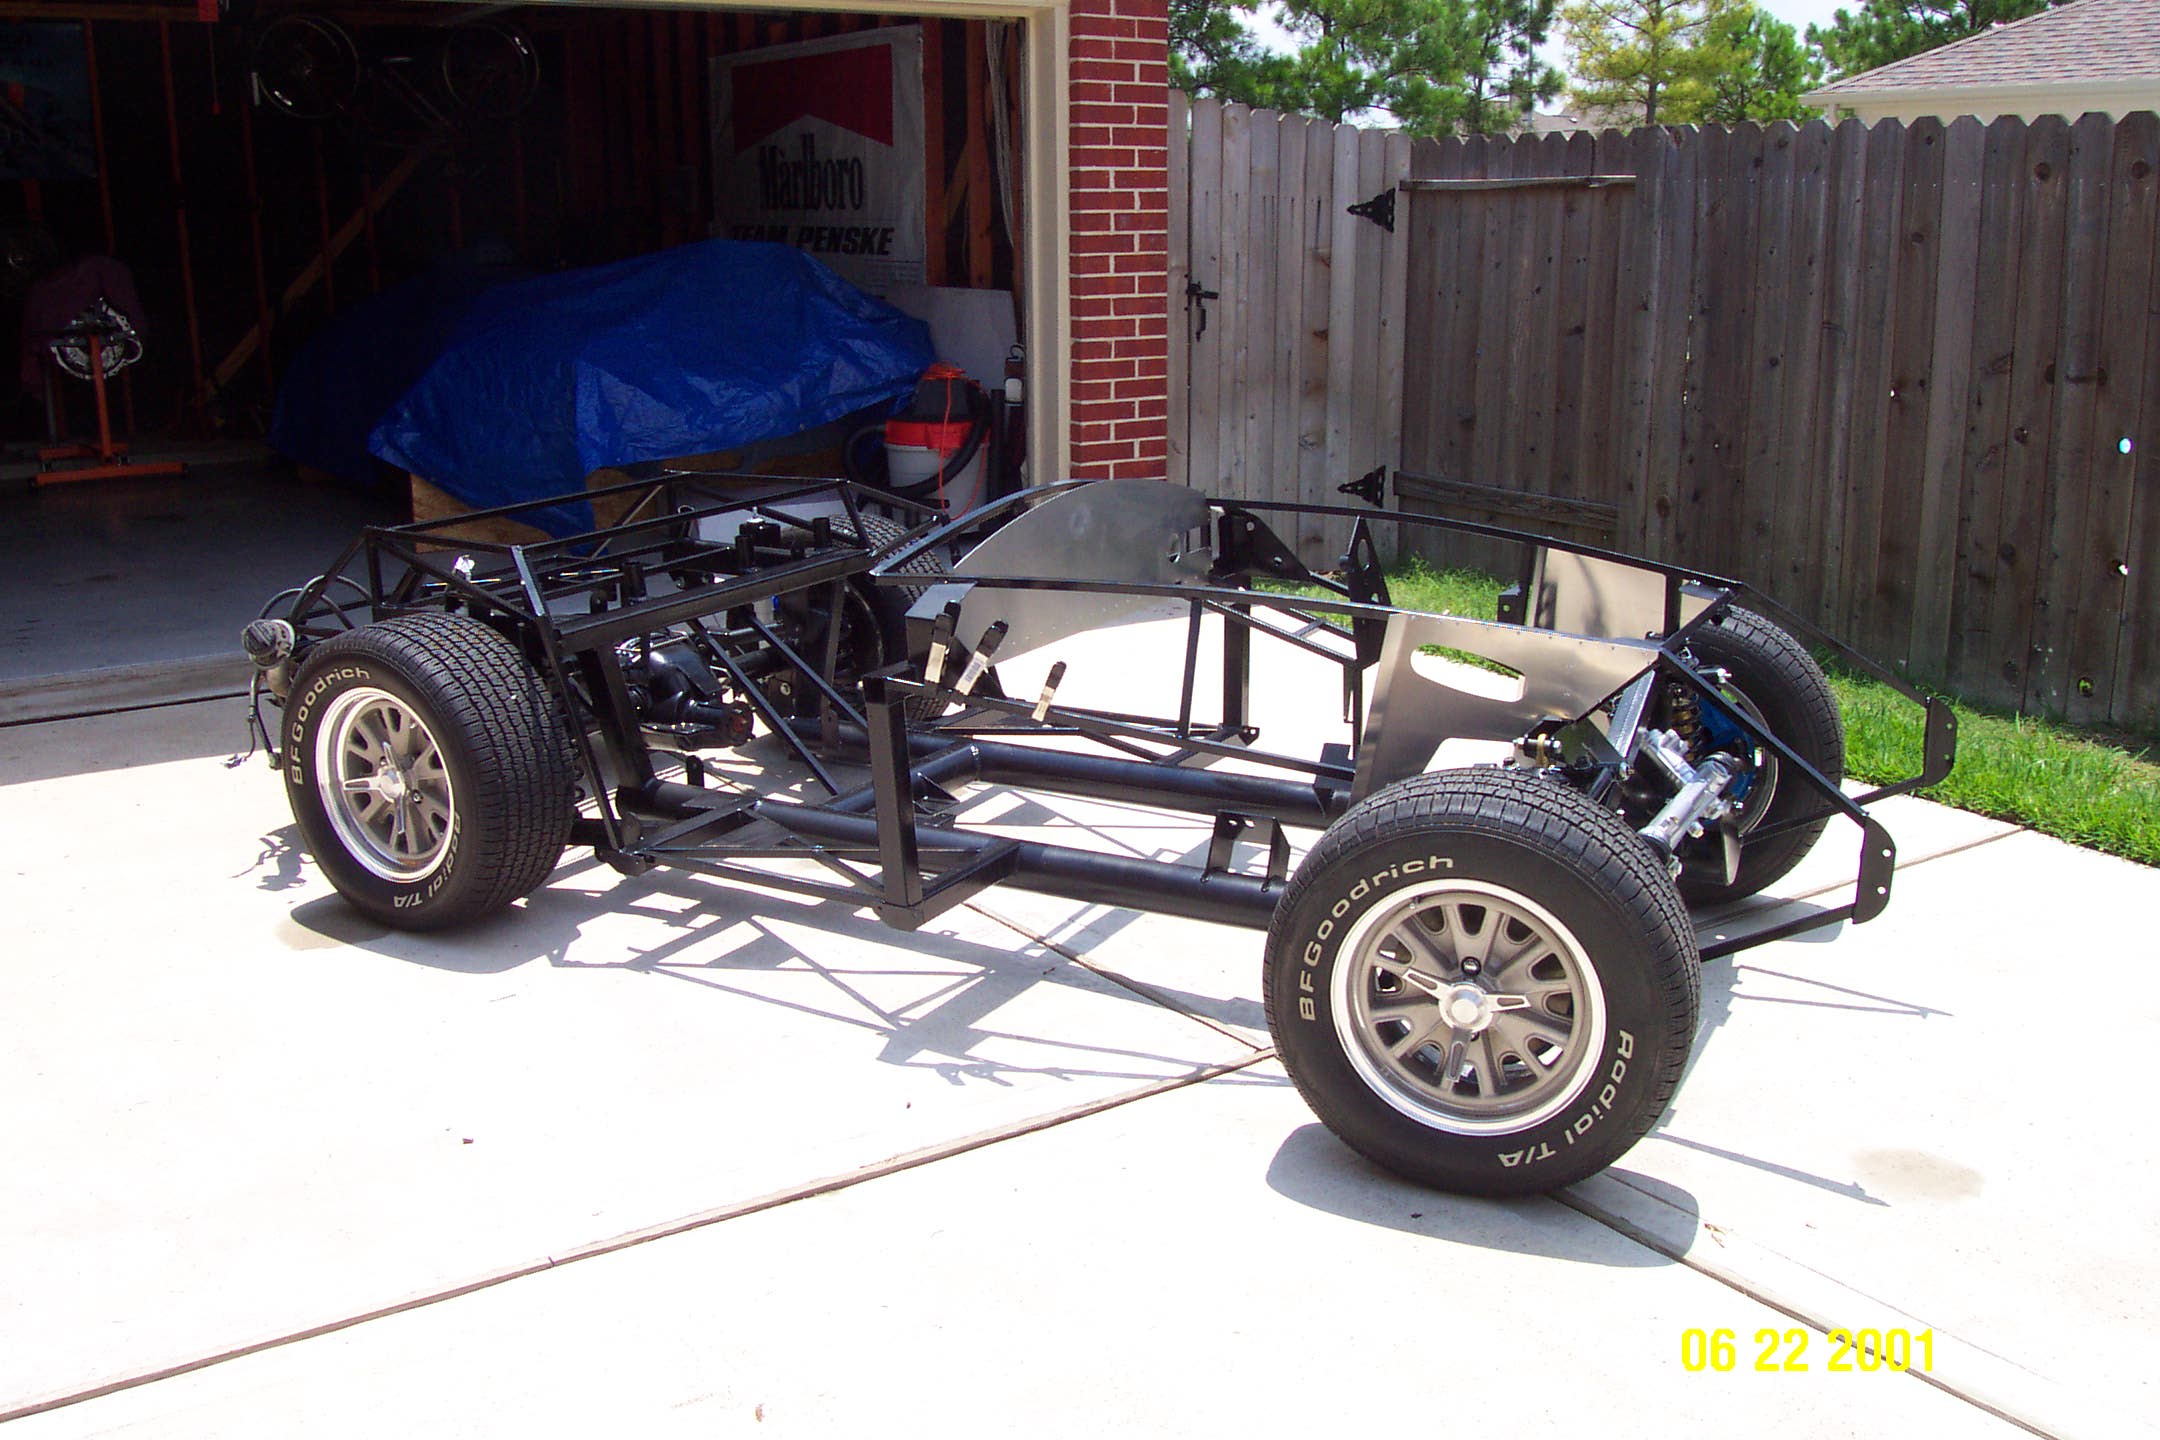
We ordered the frame from the factory unpainted and saved $50. We first started by using a Rotozip with a coarse sanding wheel to grind down the weld splatter. The frame was then washed with soap and water. Prior to painting it was prepped with Metal Ready (basically acid).
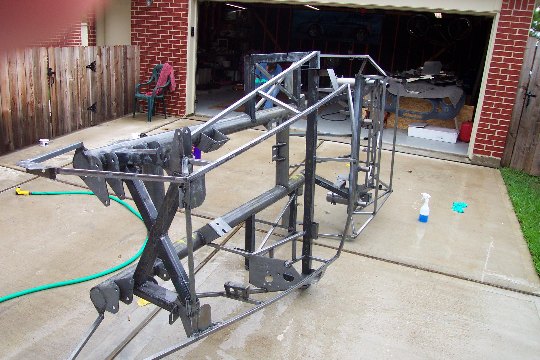
We painted the frame first with POR15 as a base and then we put on a coat of glossy black engine paint to finish it off. We painted the bottom of the frame first when it was turned on its side. After the bottom dried, we flipped it back over and painted the top and sides.

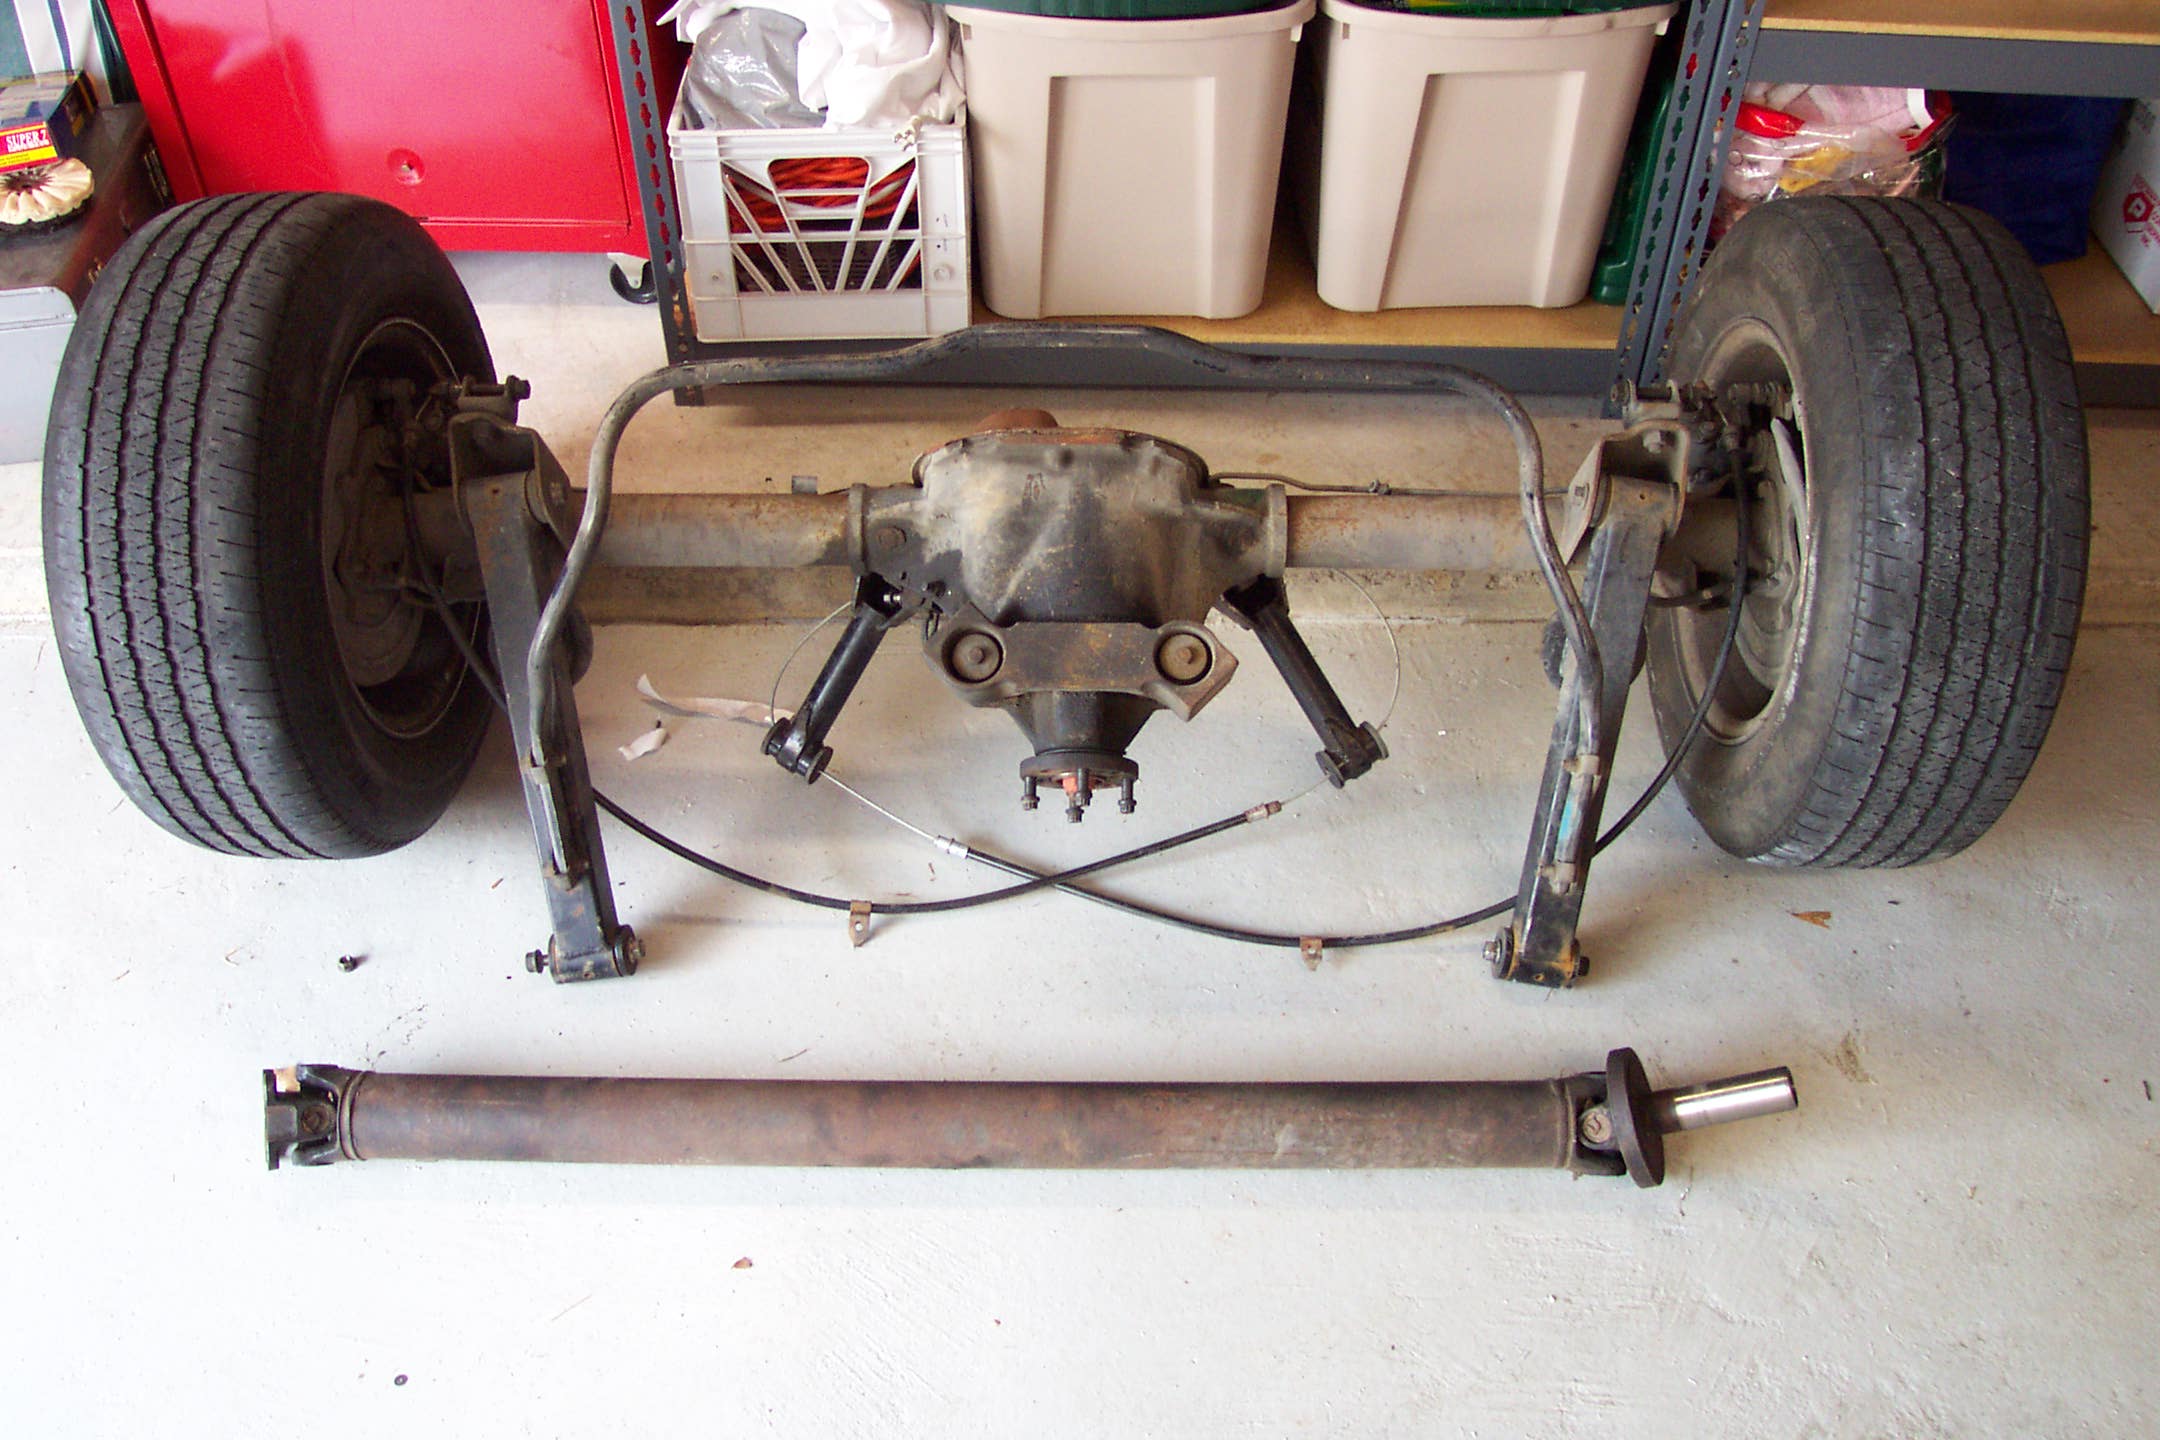
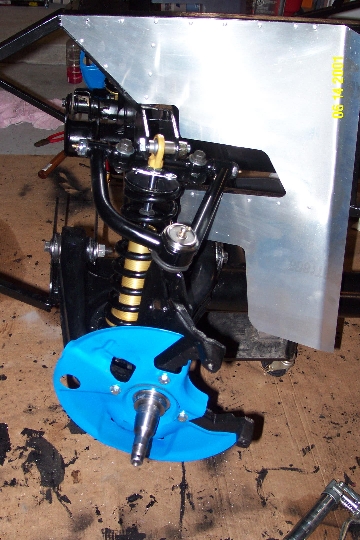
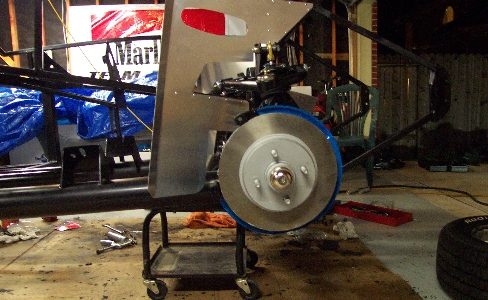
We are using the stock front brakes, but they clean up nicely with a little Alumablast paint. The calipers will be installed later after they are cleaned and painted. We will be using Halibrand replica 15″ rims for that classic look.
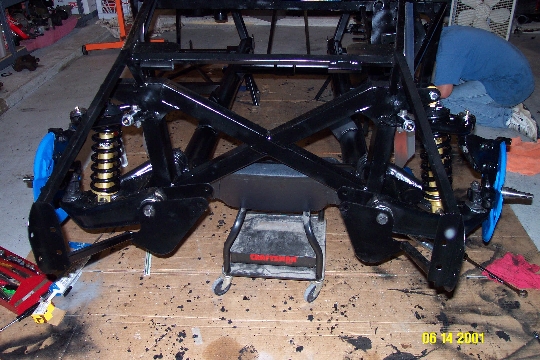
Here is a close up of the front suspension. If you notice on the bottom of the coil over shock there is a threaded collar that will be used to adjust the ride height of the car once the engine and body are installed.


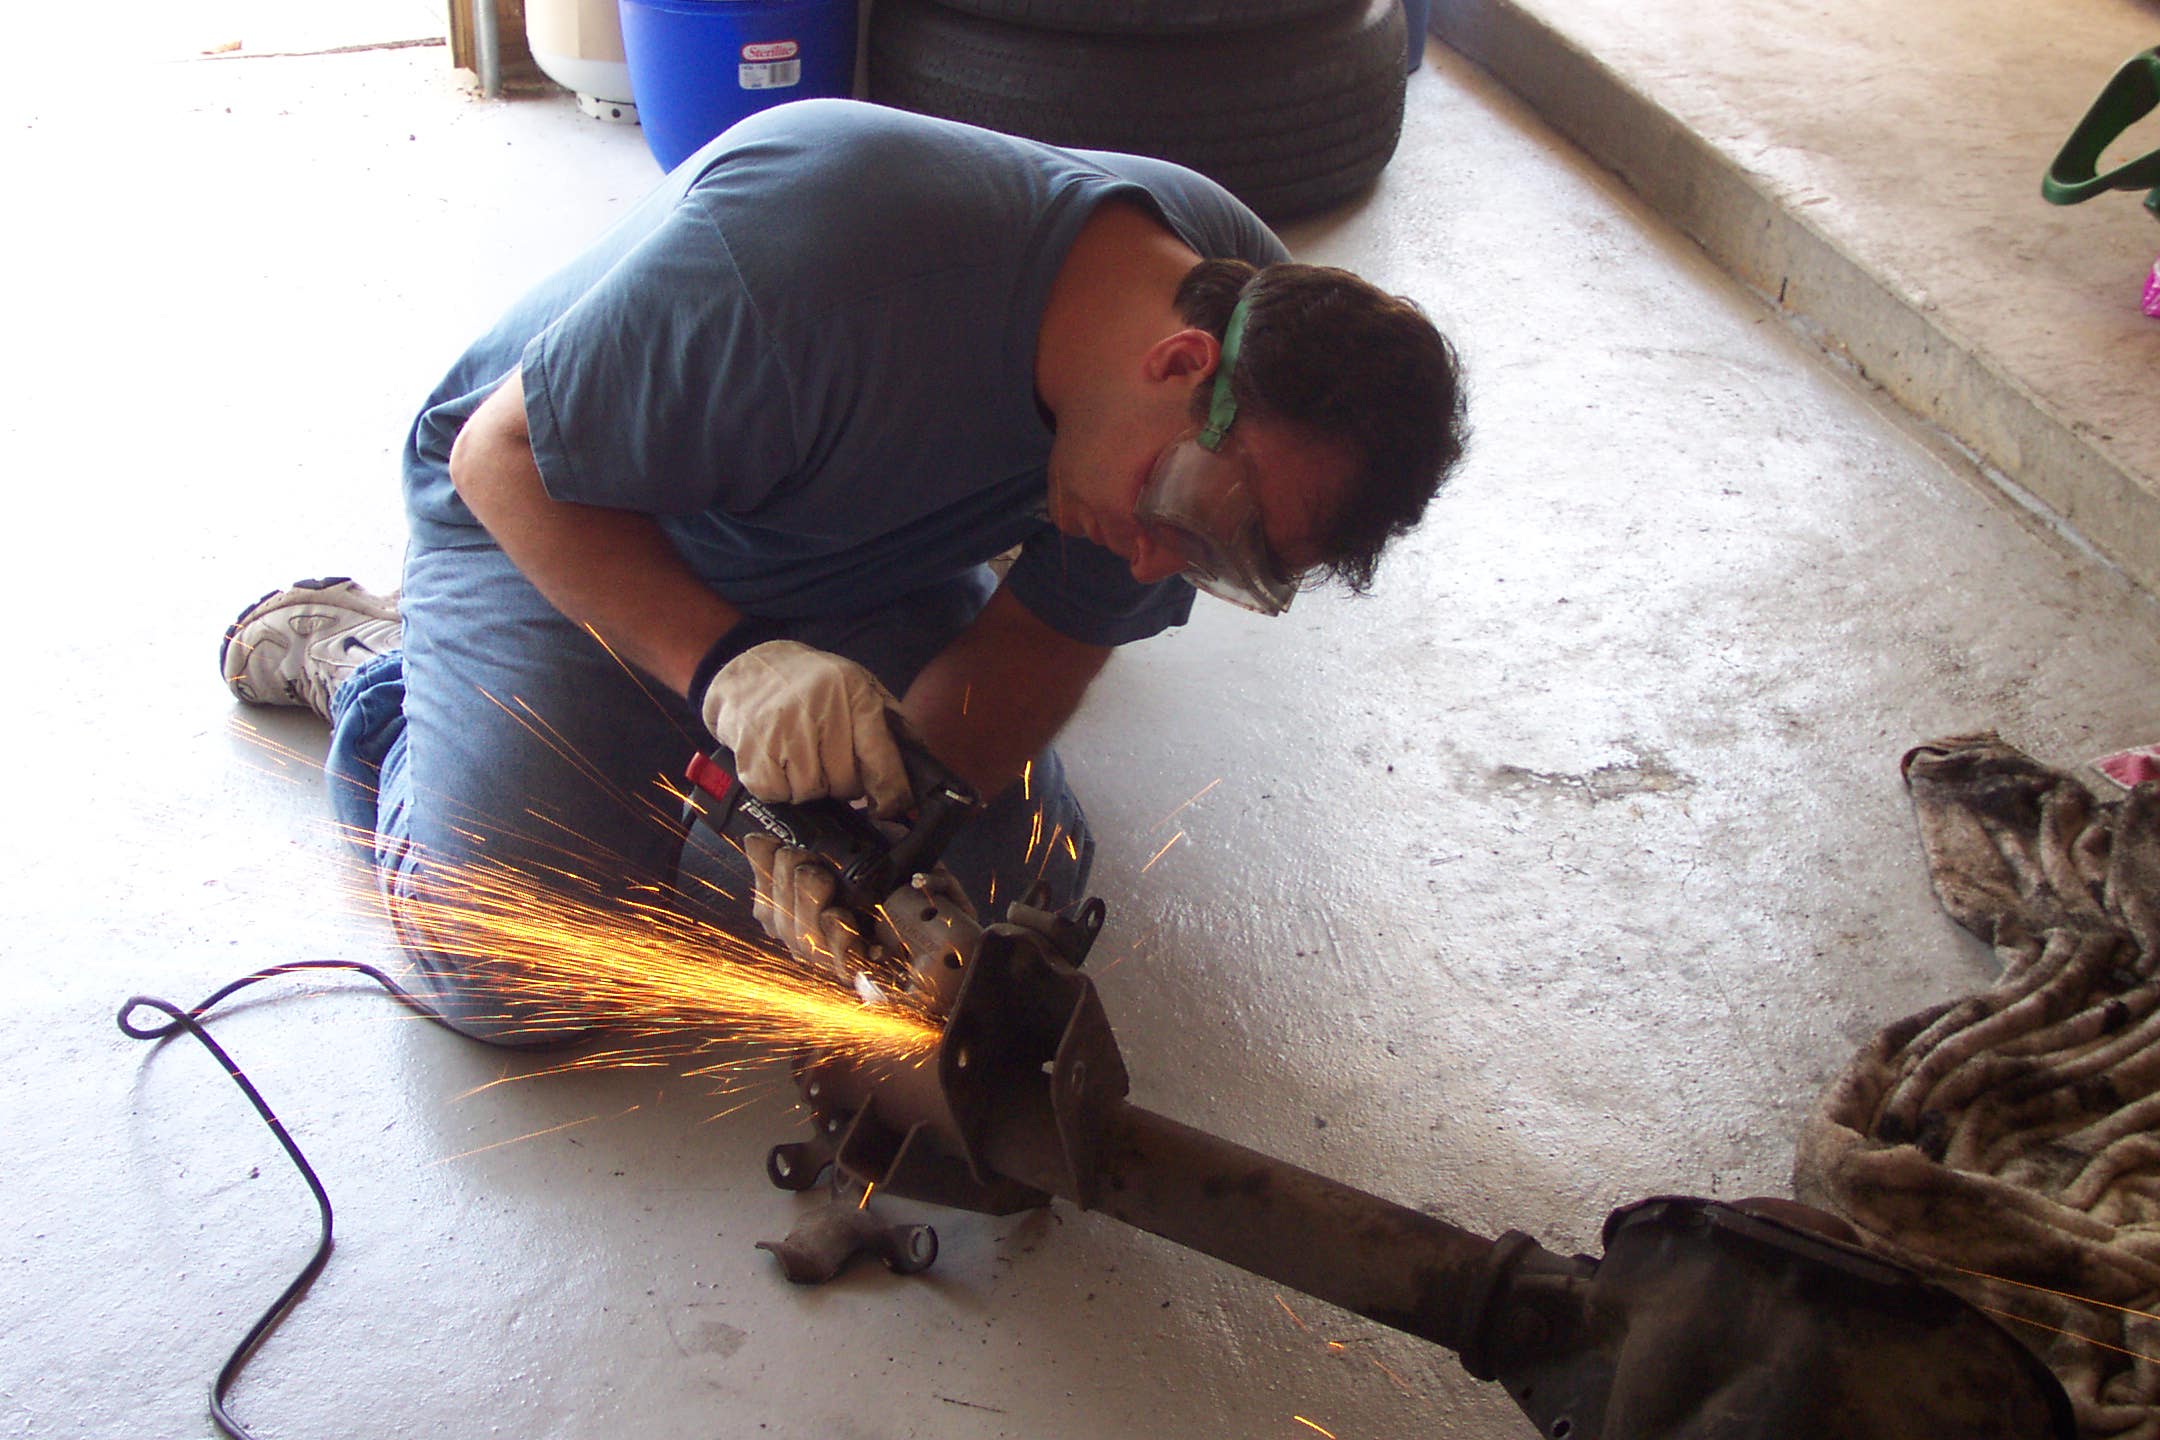
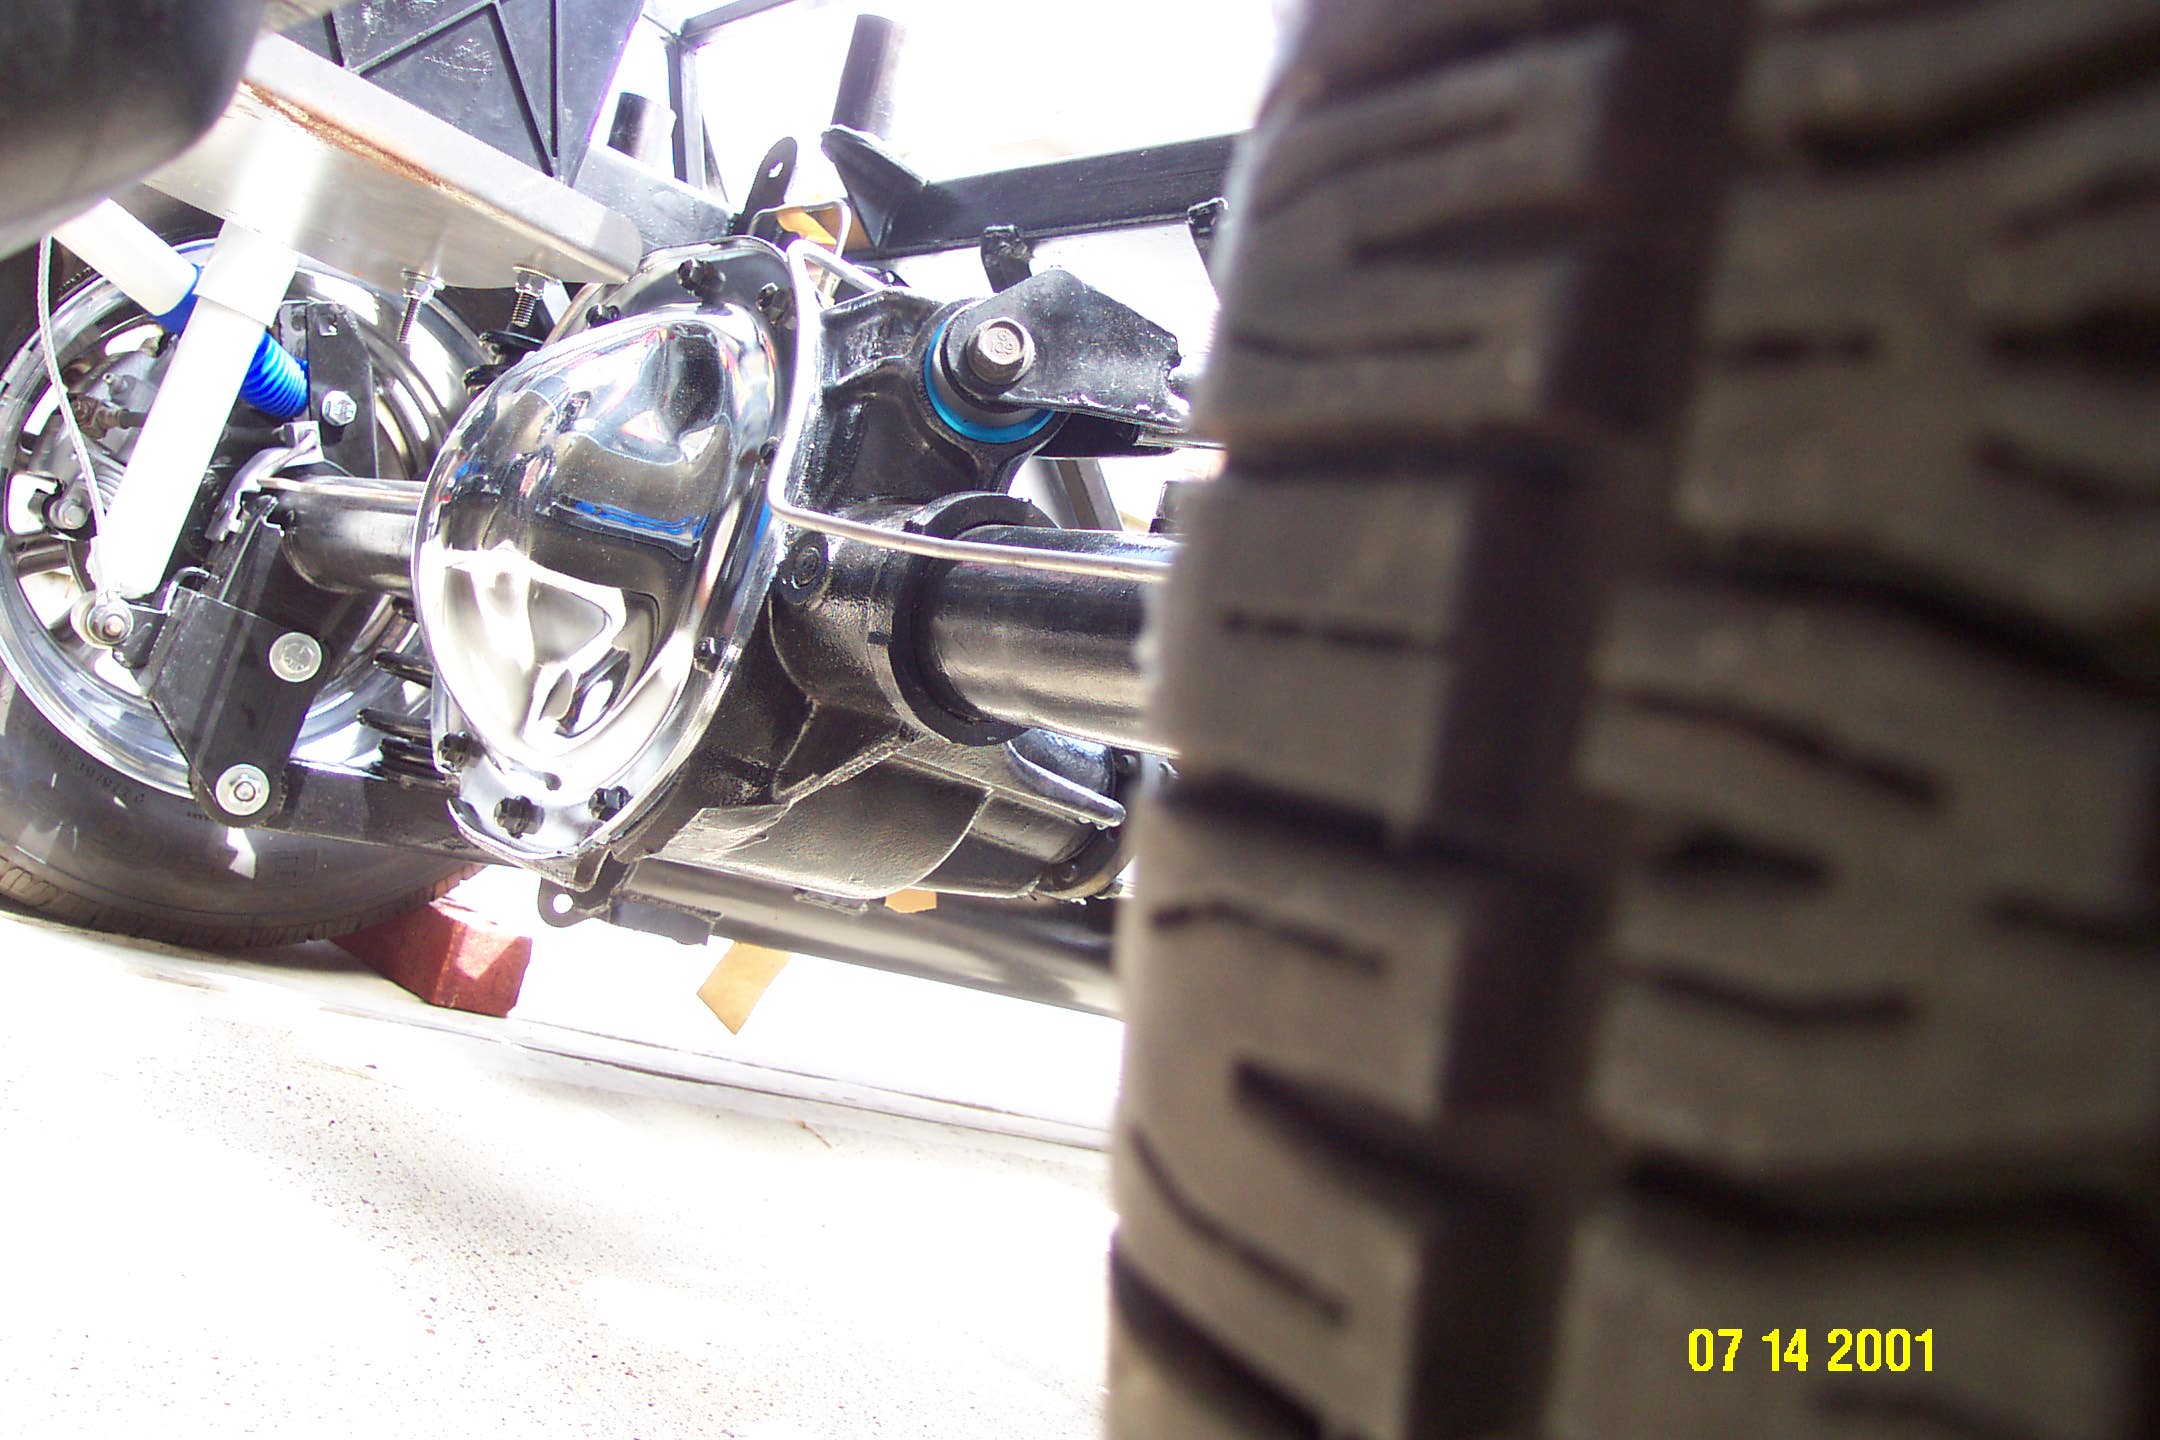
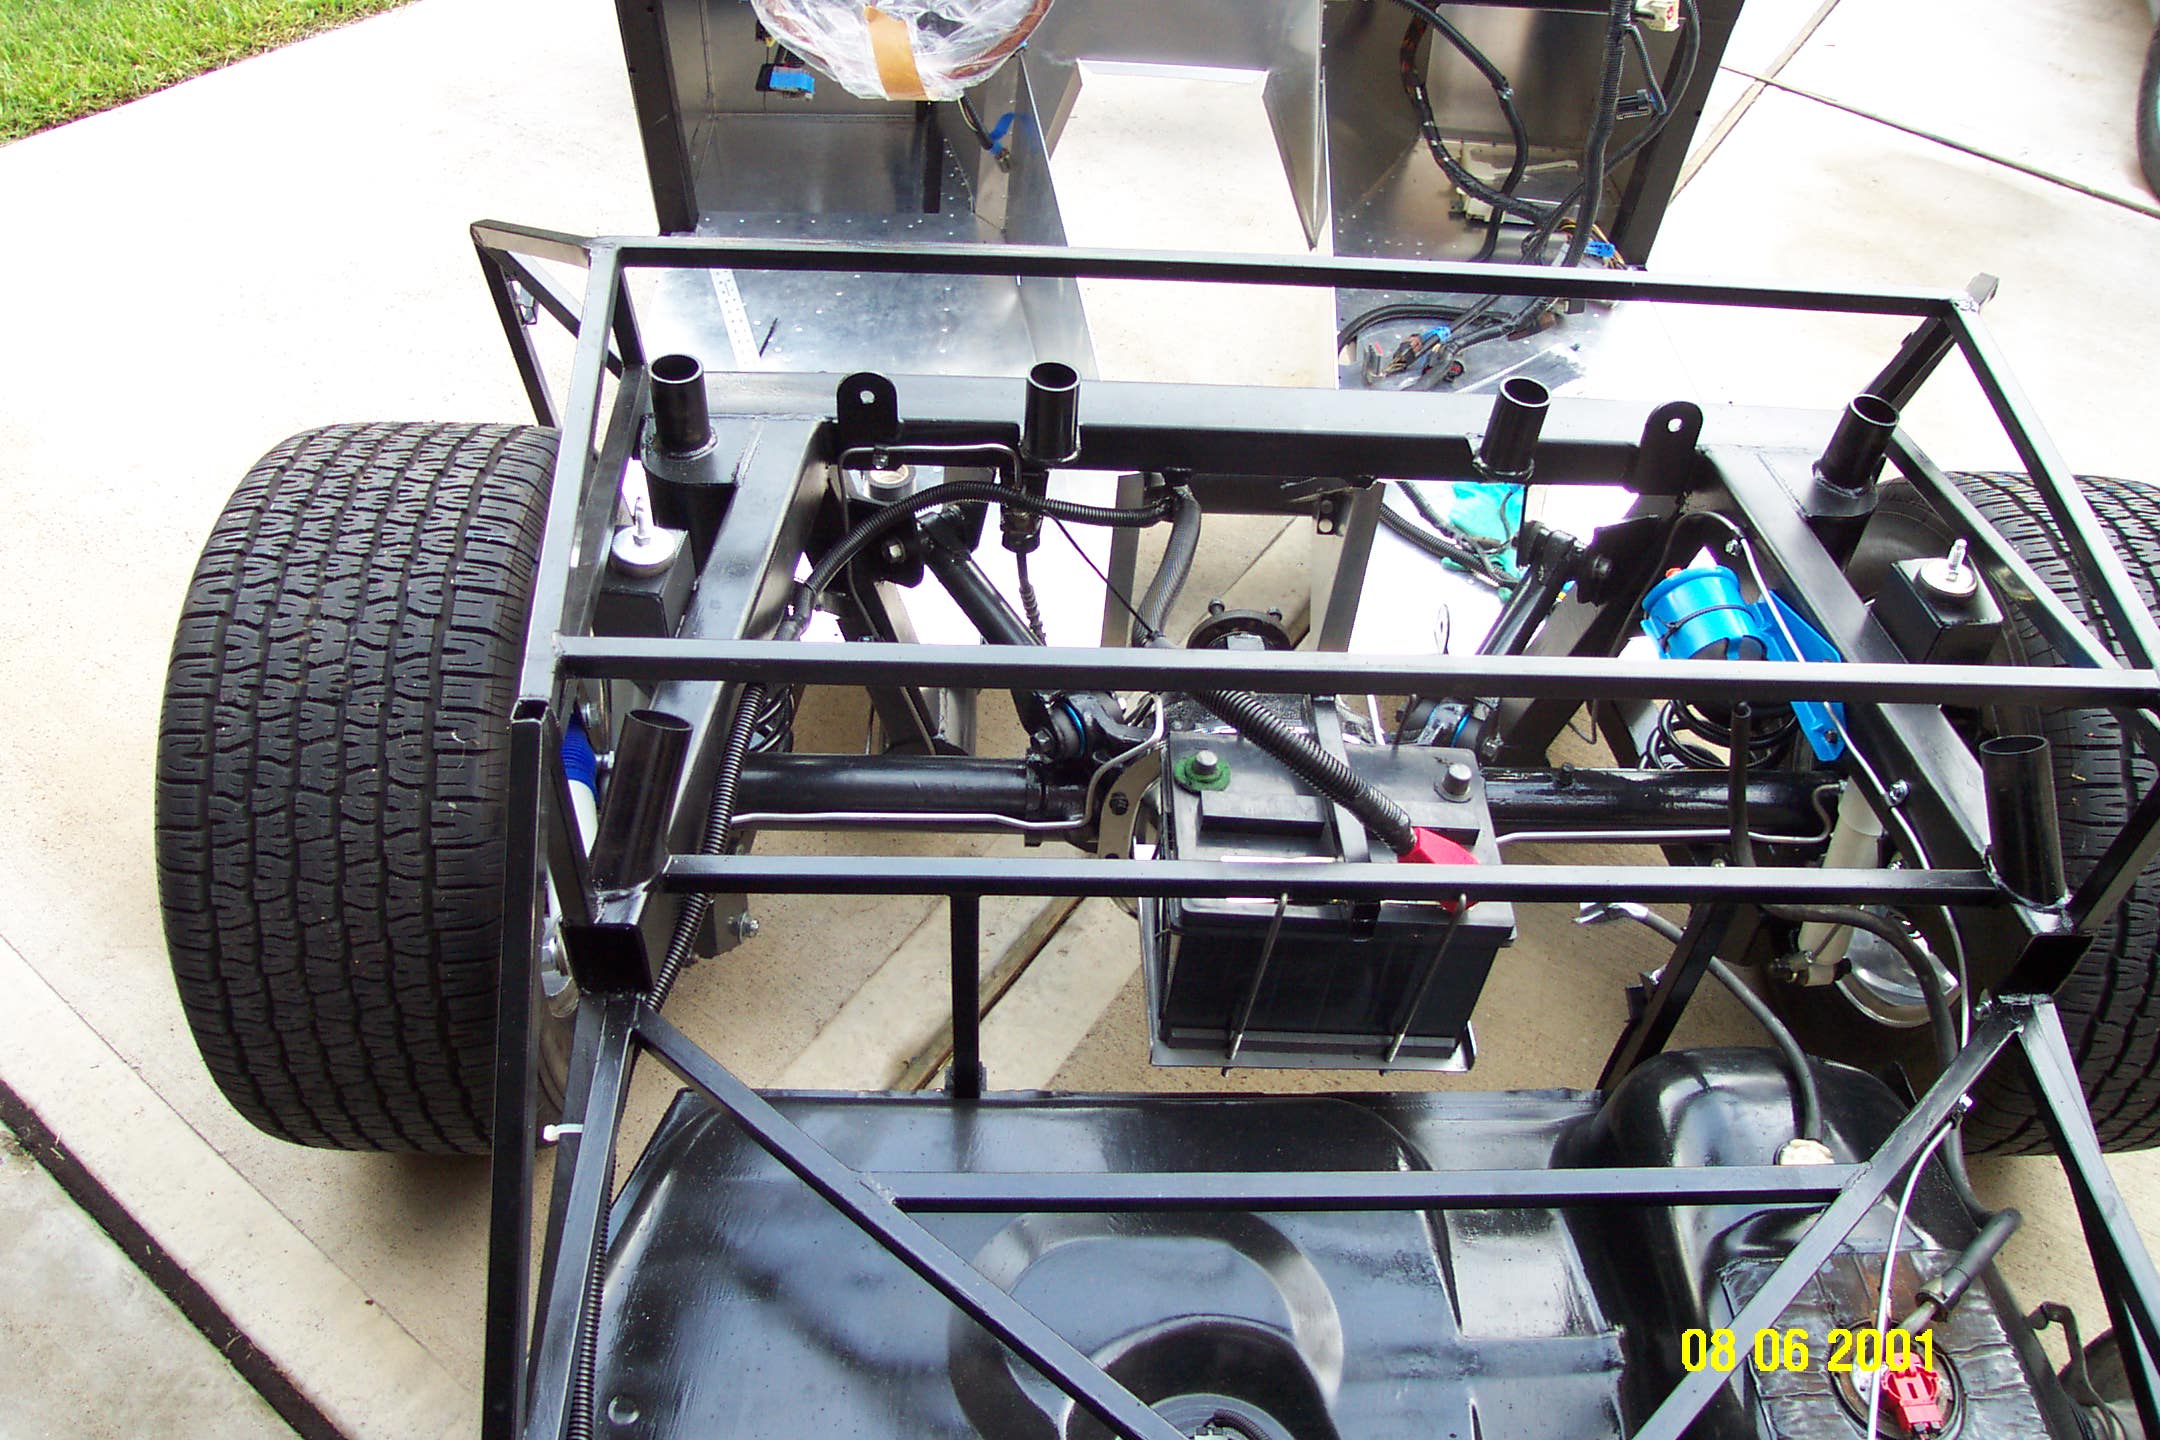
The rear axle originally came from a 1988 Thunderbird and was 3/4″ wider on each side than a Mustang rear axle. This was because of the ABS brakes. We wanted to keep the Thunderbird rear end because it had disc brakes which was an upgrade over the Mustang drum brakes. In order to use it in the Cobra and not have the rear tires hit the body it was modified back to a normal width. This was done by changing out the axles and installing brake caliper brackets from North Cobras.


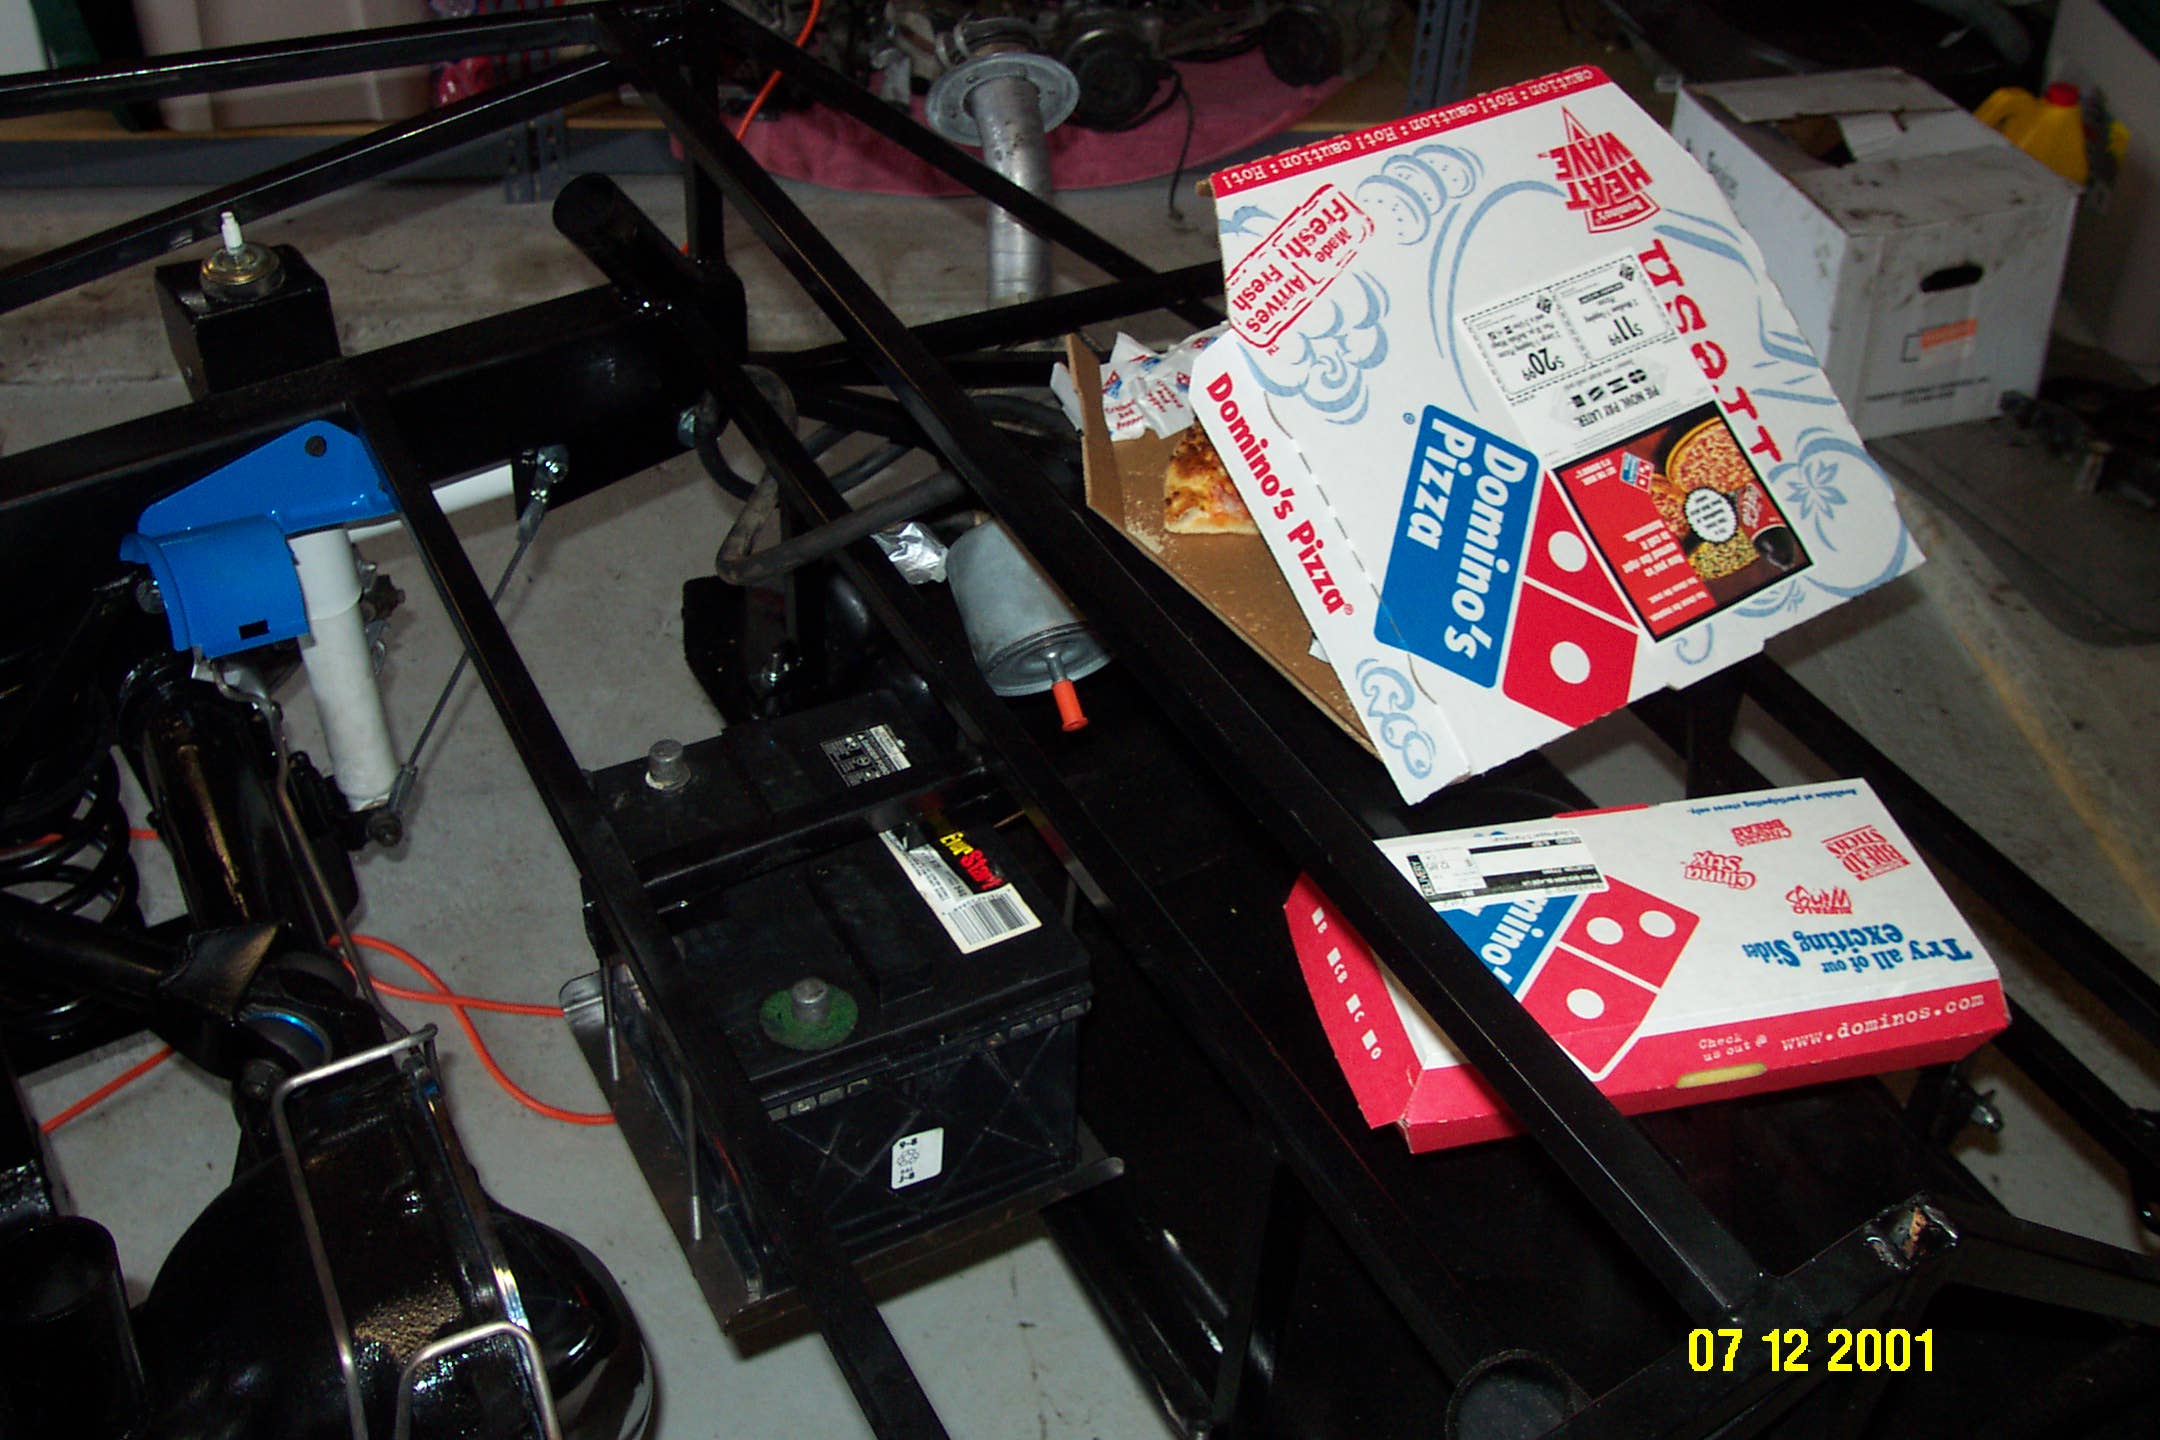
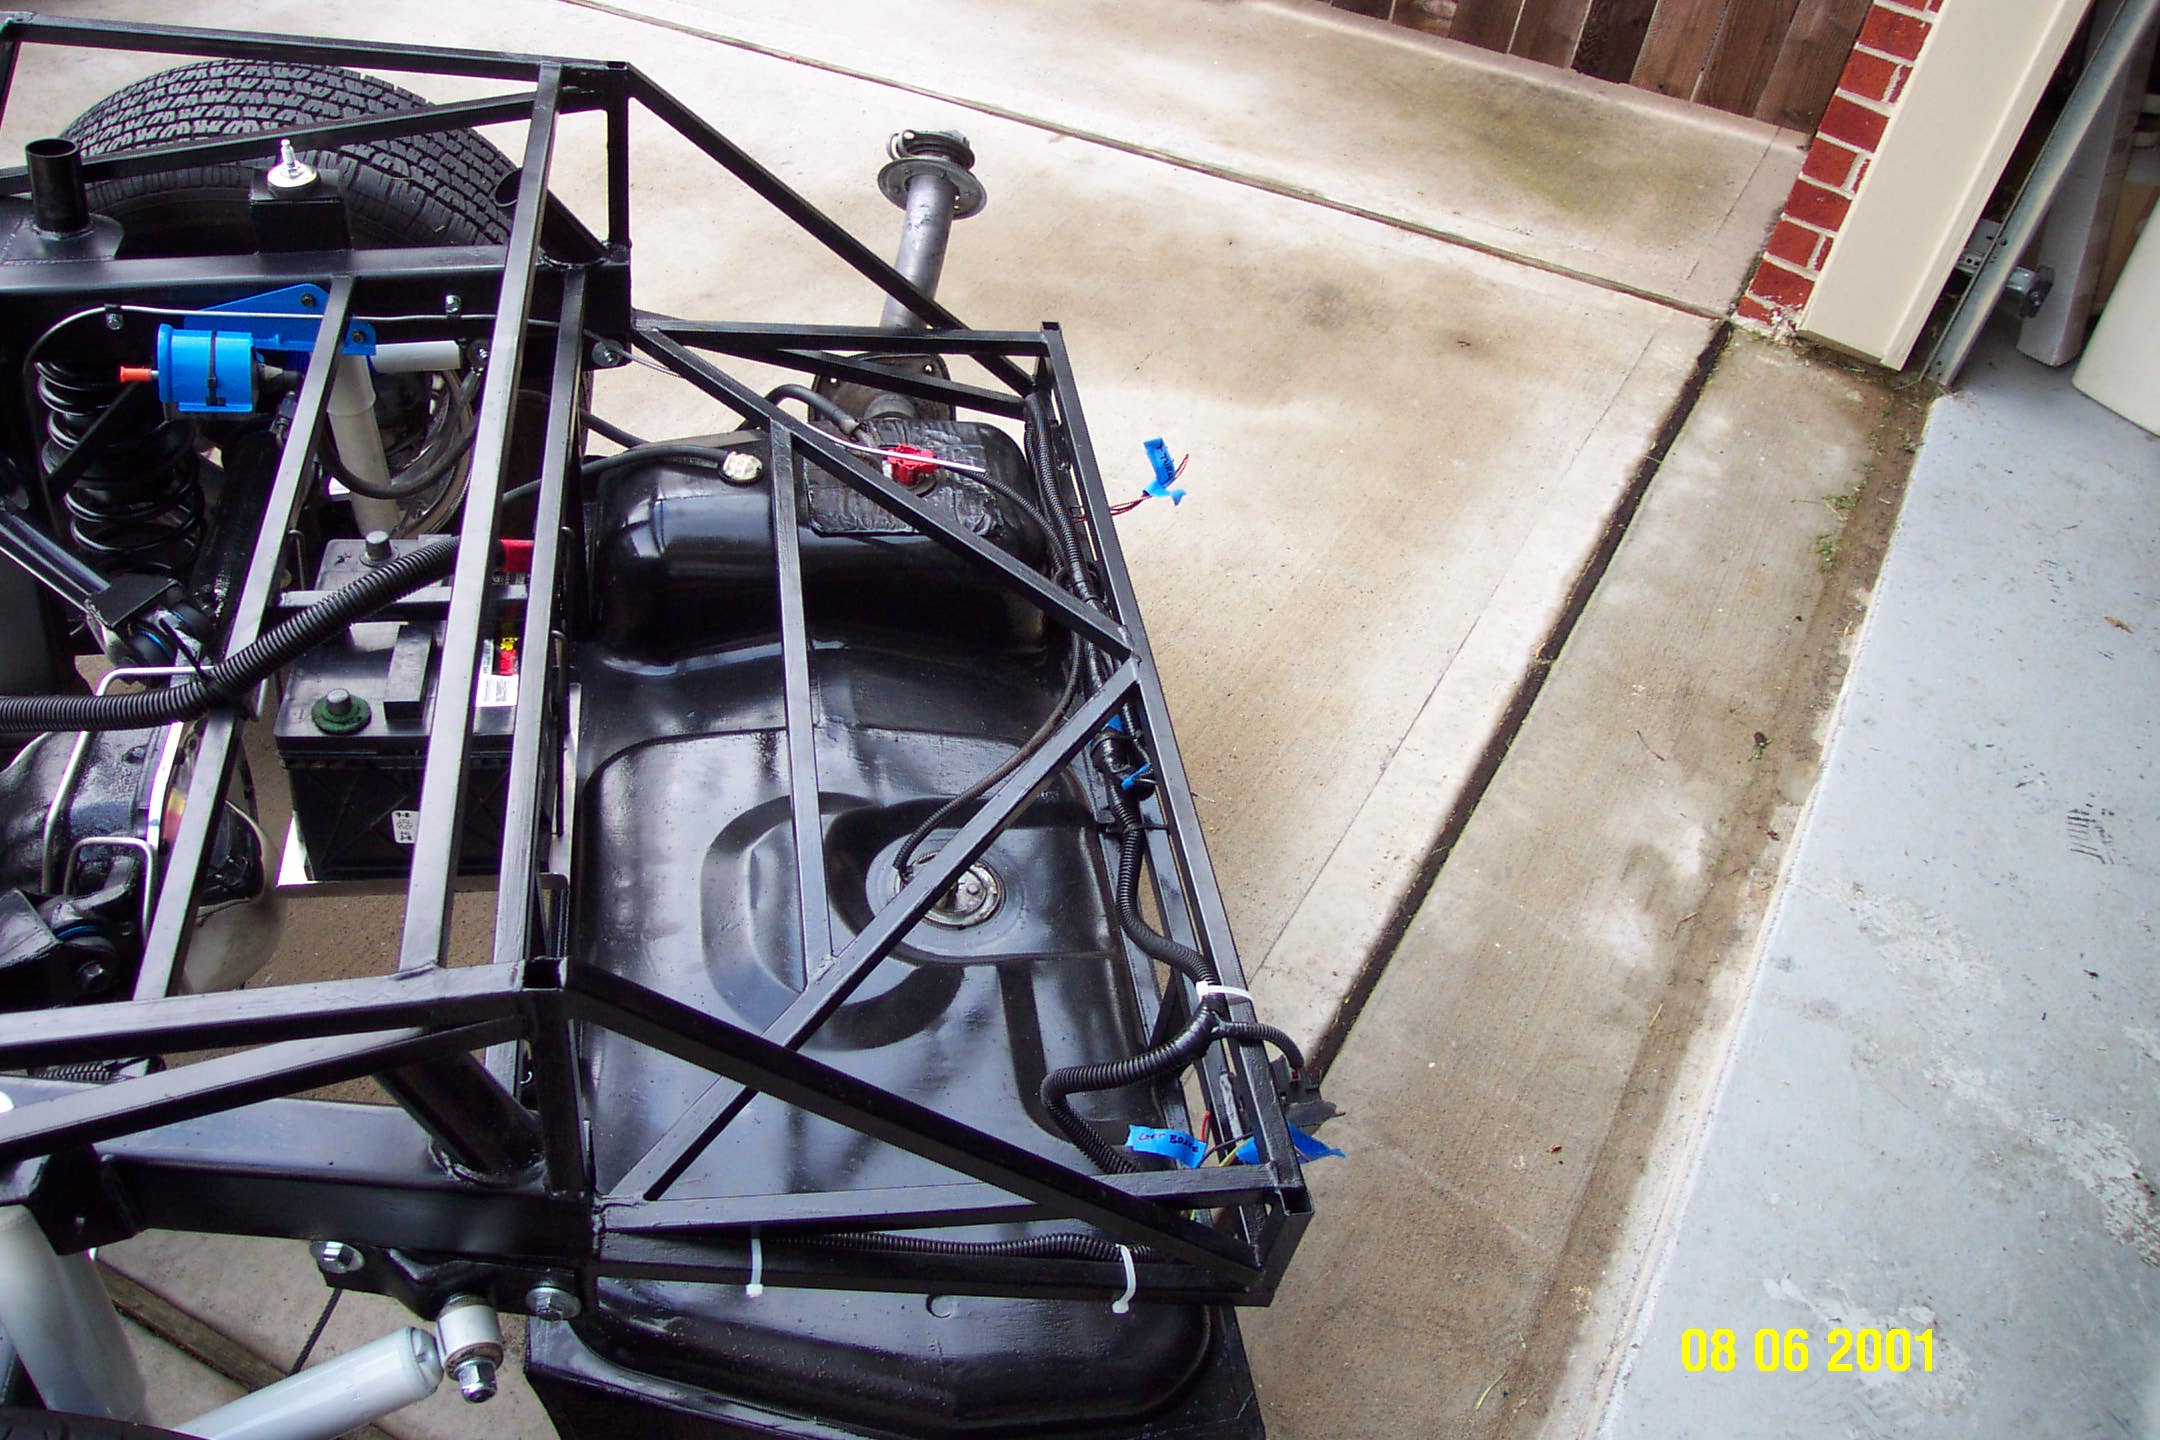
The stock gas tank from the Mustang is used. We just cleaned it up a bit. The filler neck will need to be modified to fit the new Cobra body.
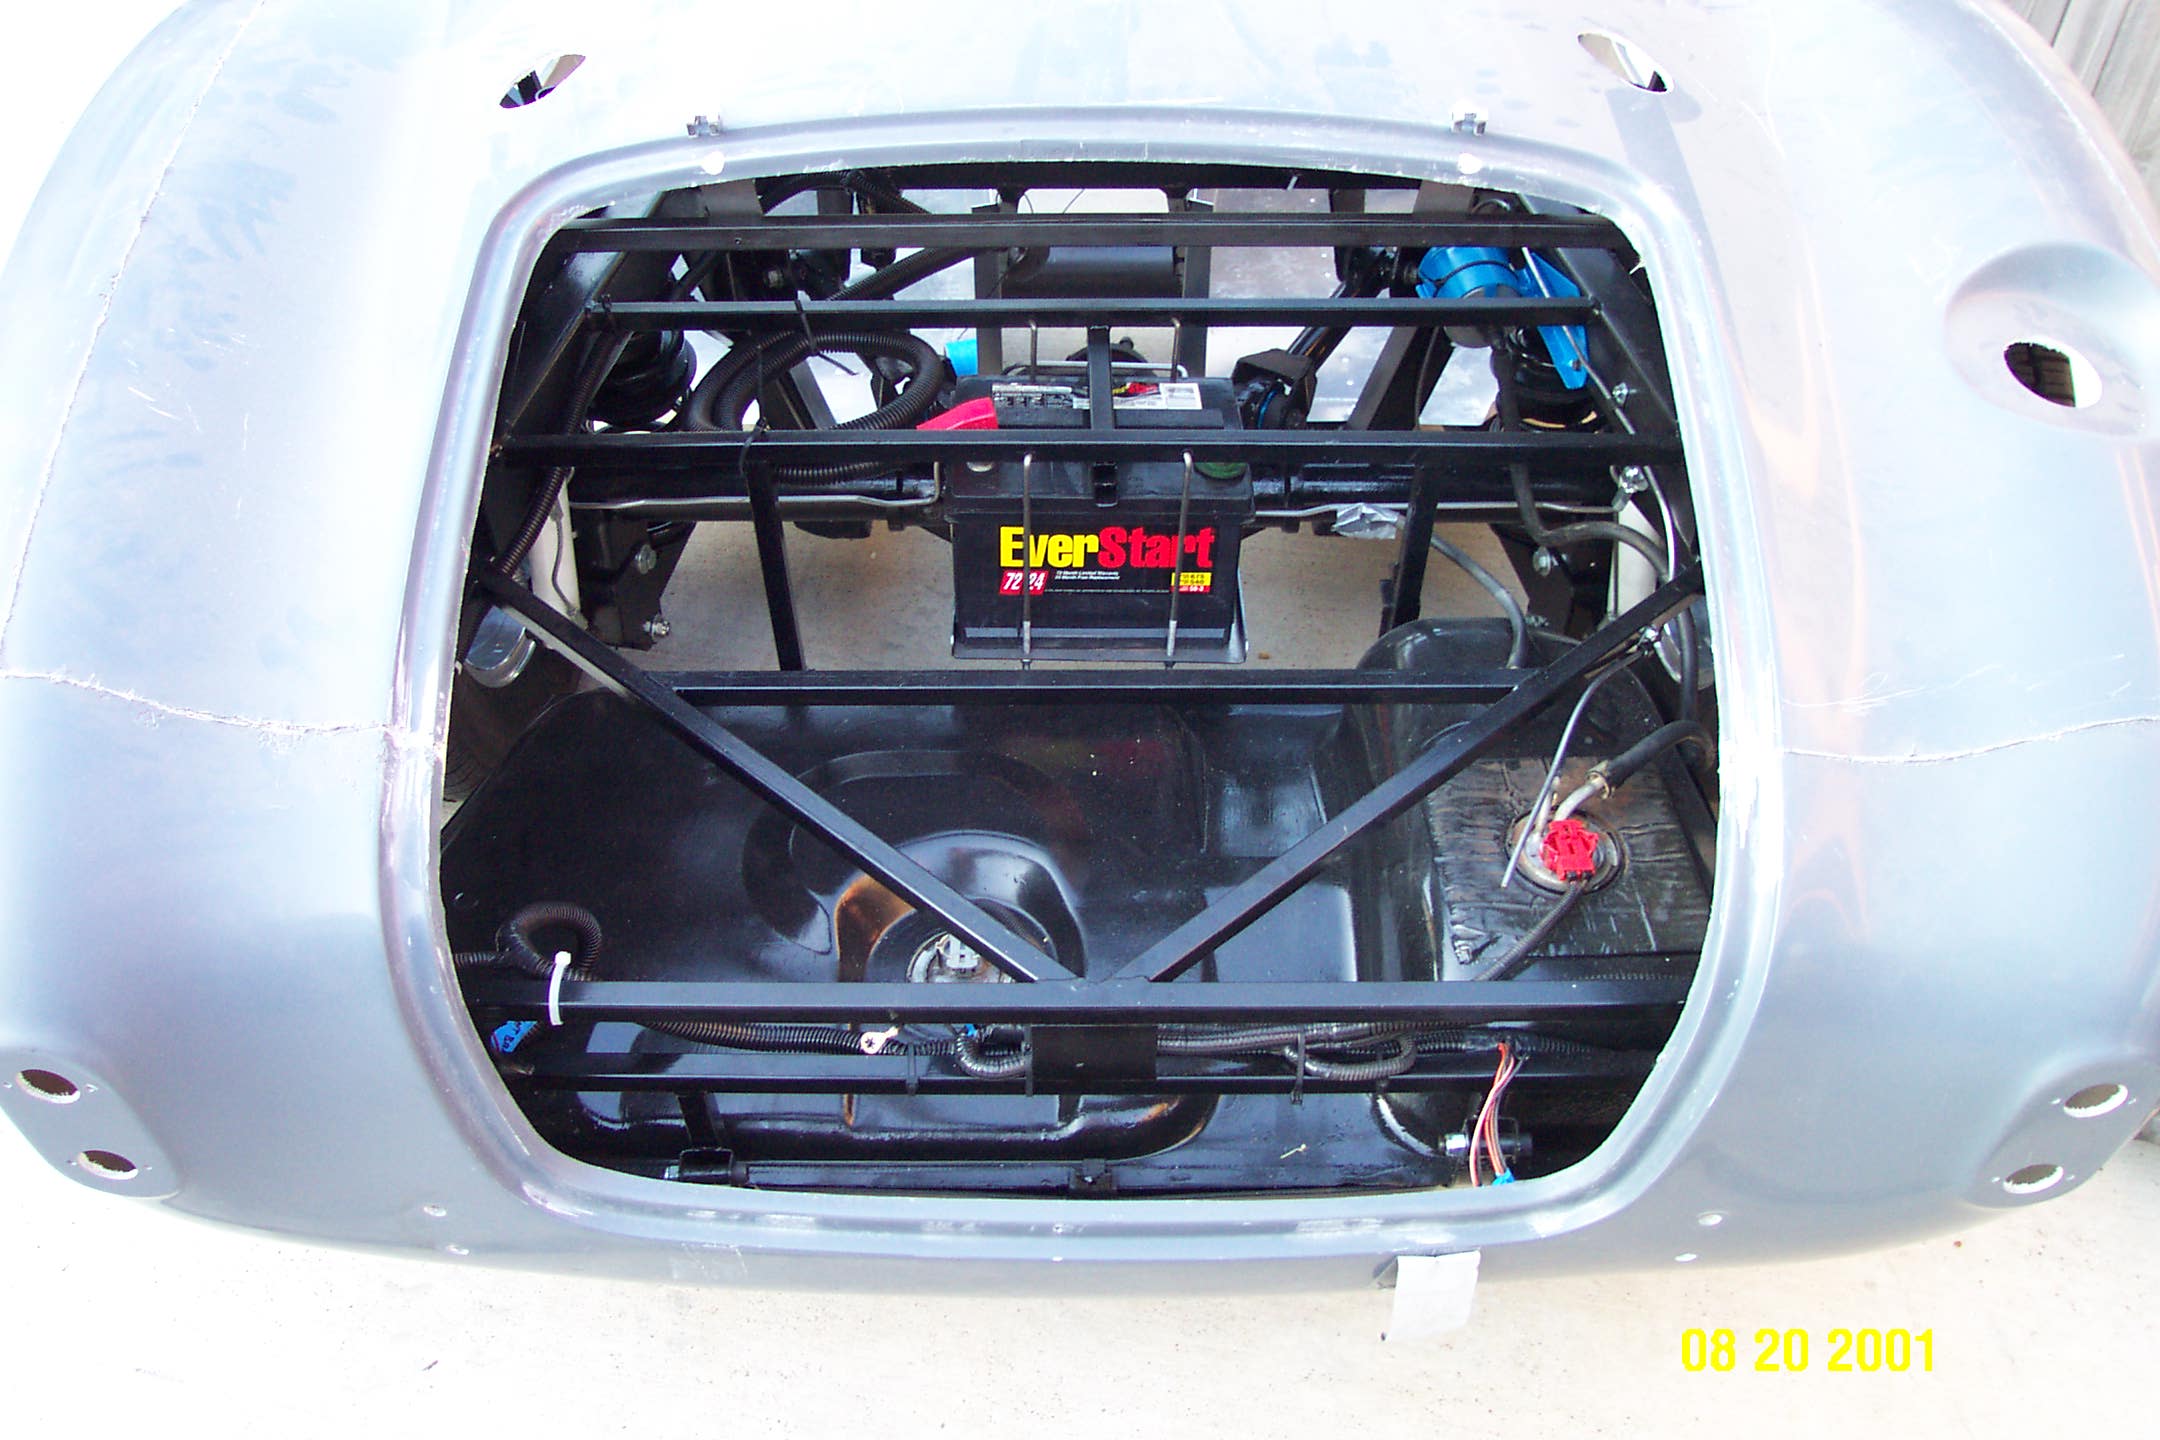
The battery is located under the frame and above the axle. If you needed to jump start the car it would be tough to get to the battery. We purchased a set of remote battery terminals that will allow us to jump start the car without having to connect directly to the battery.

July 2001 Engine
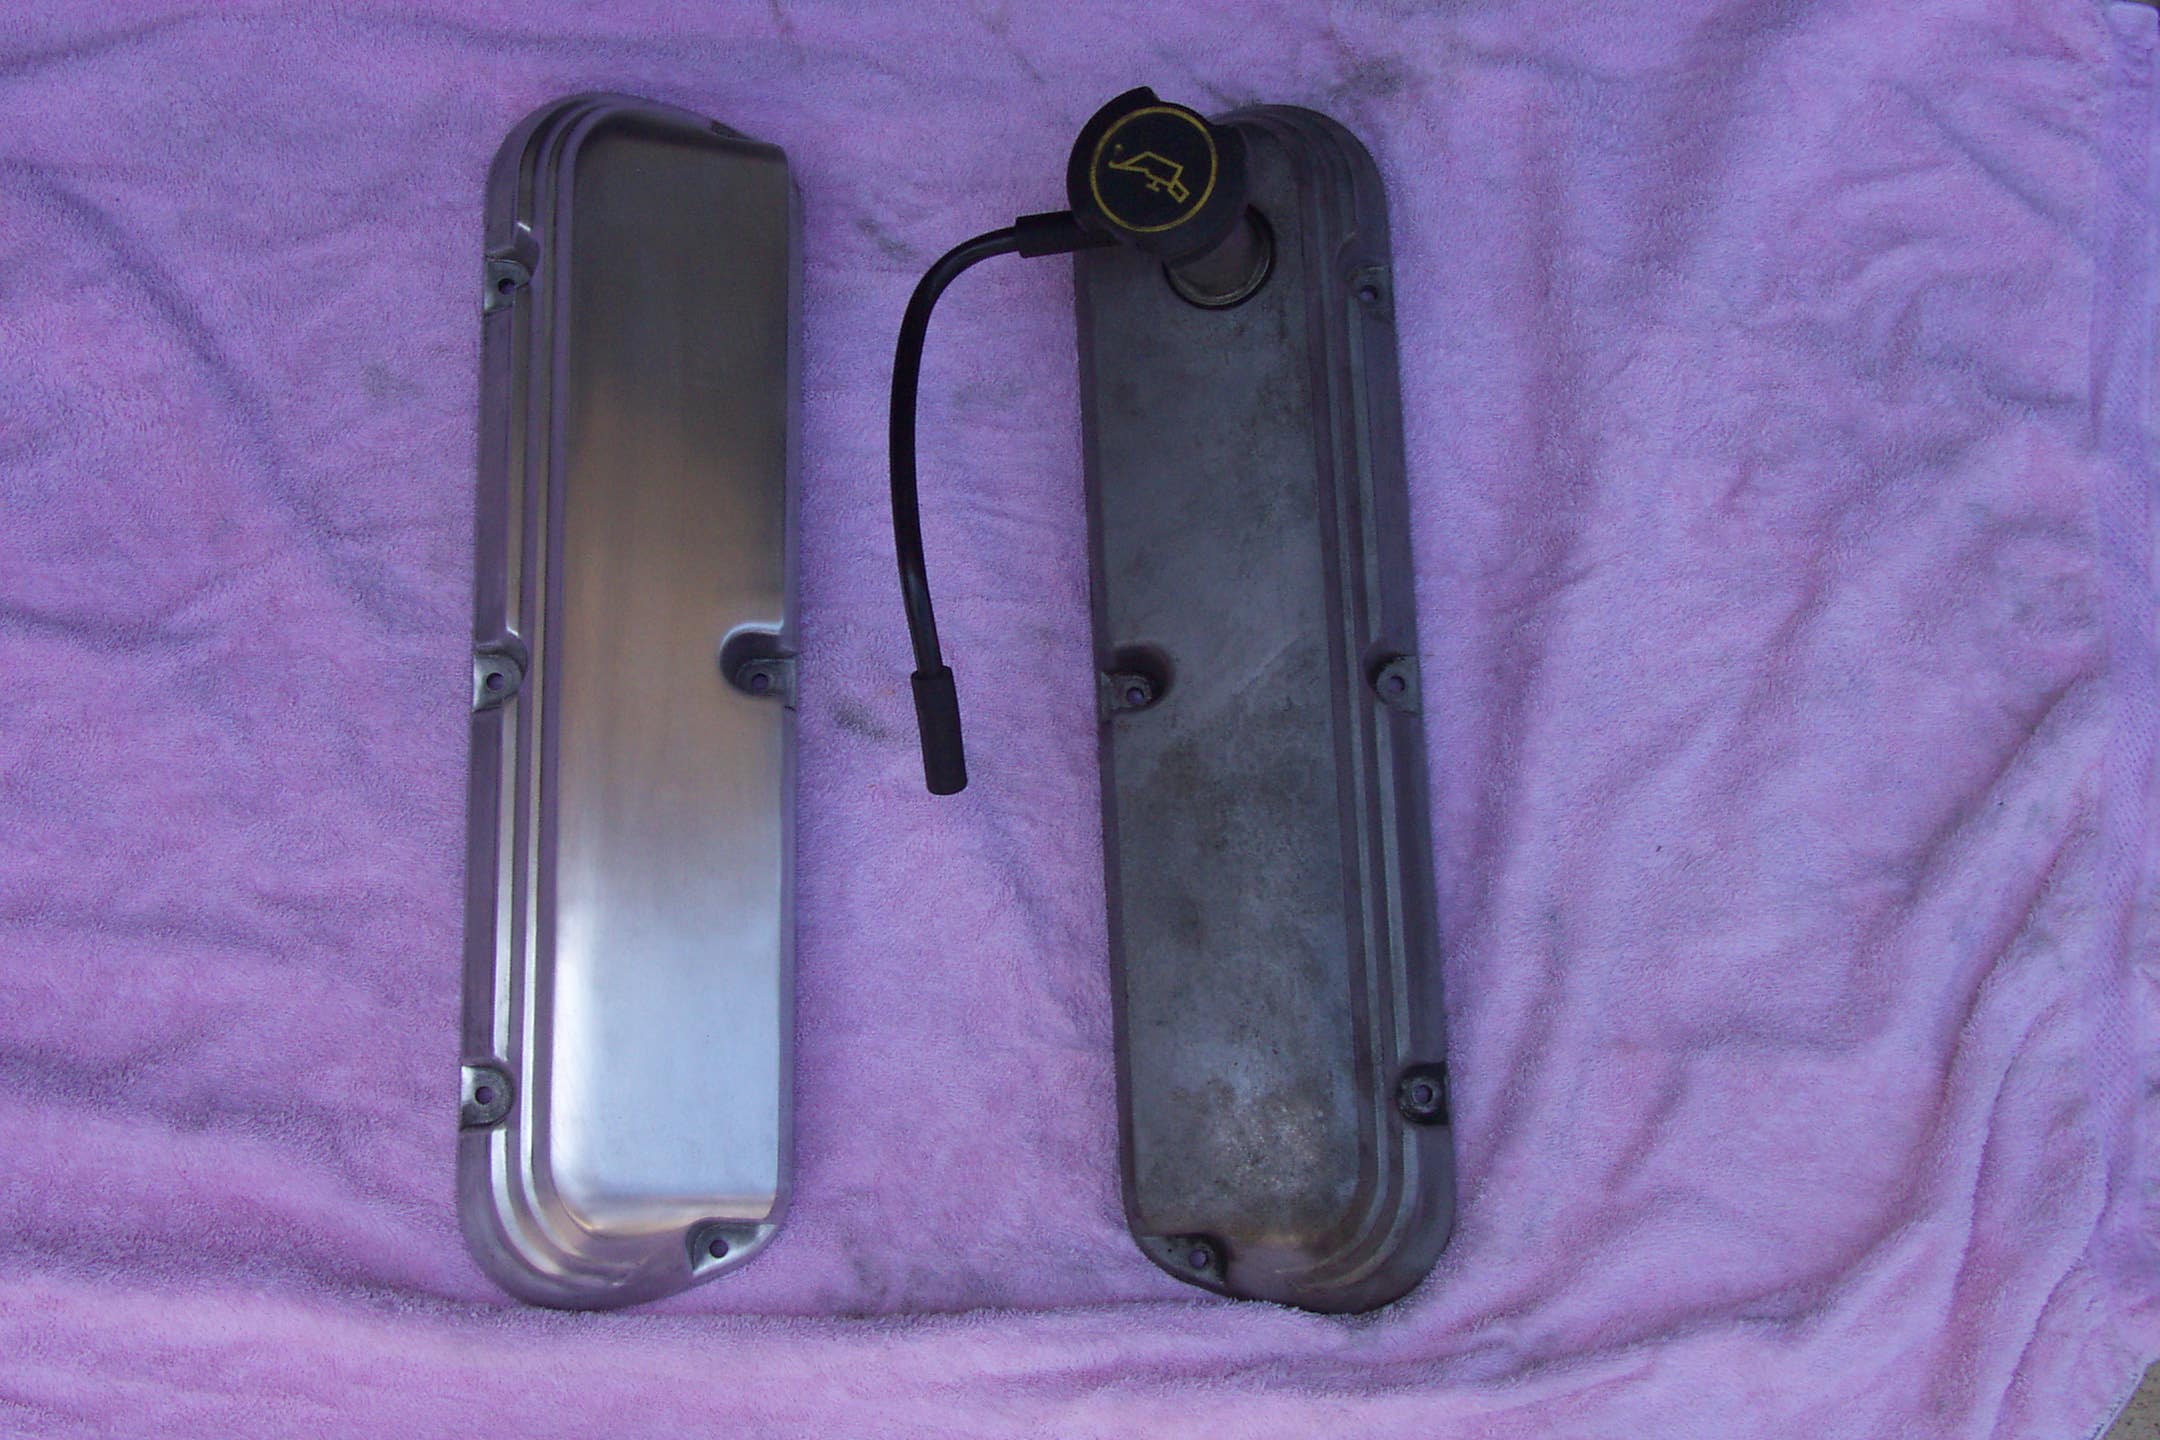
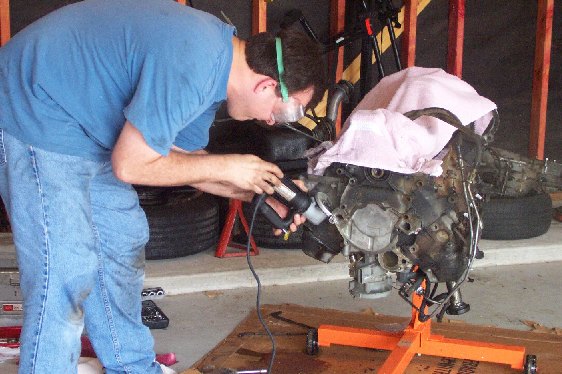
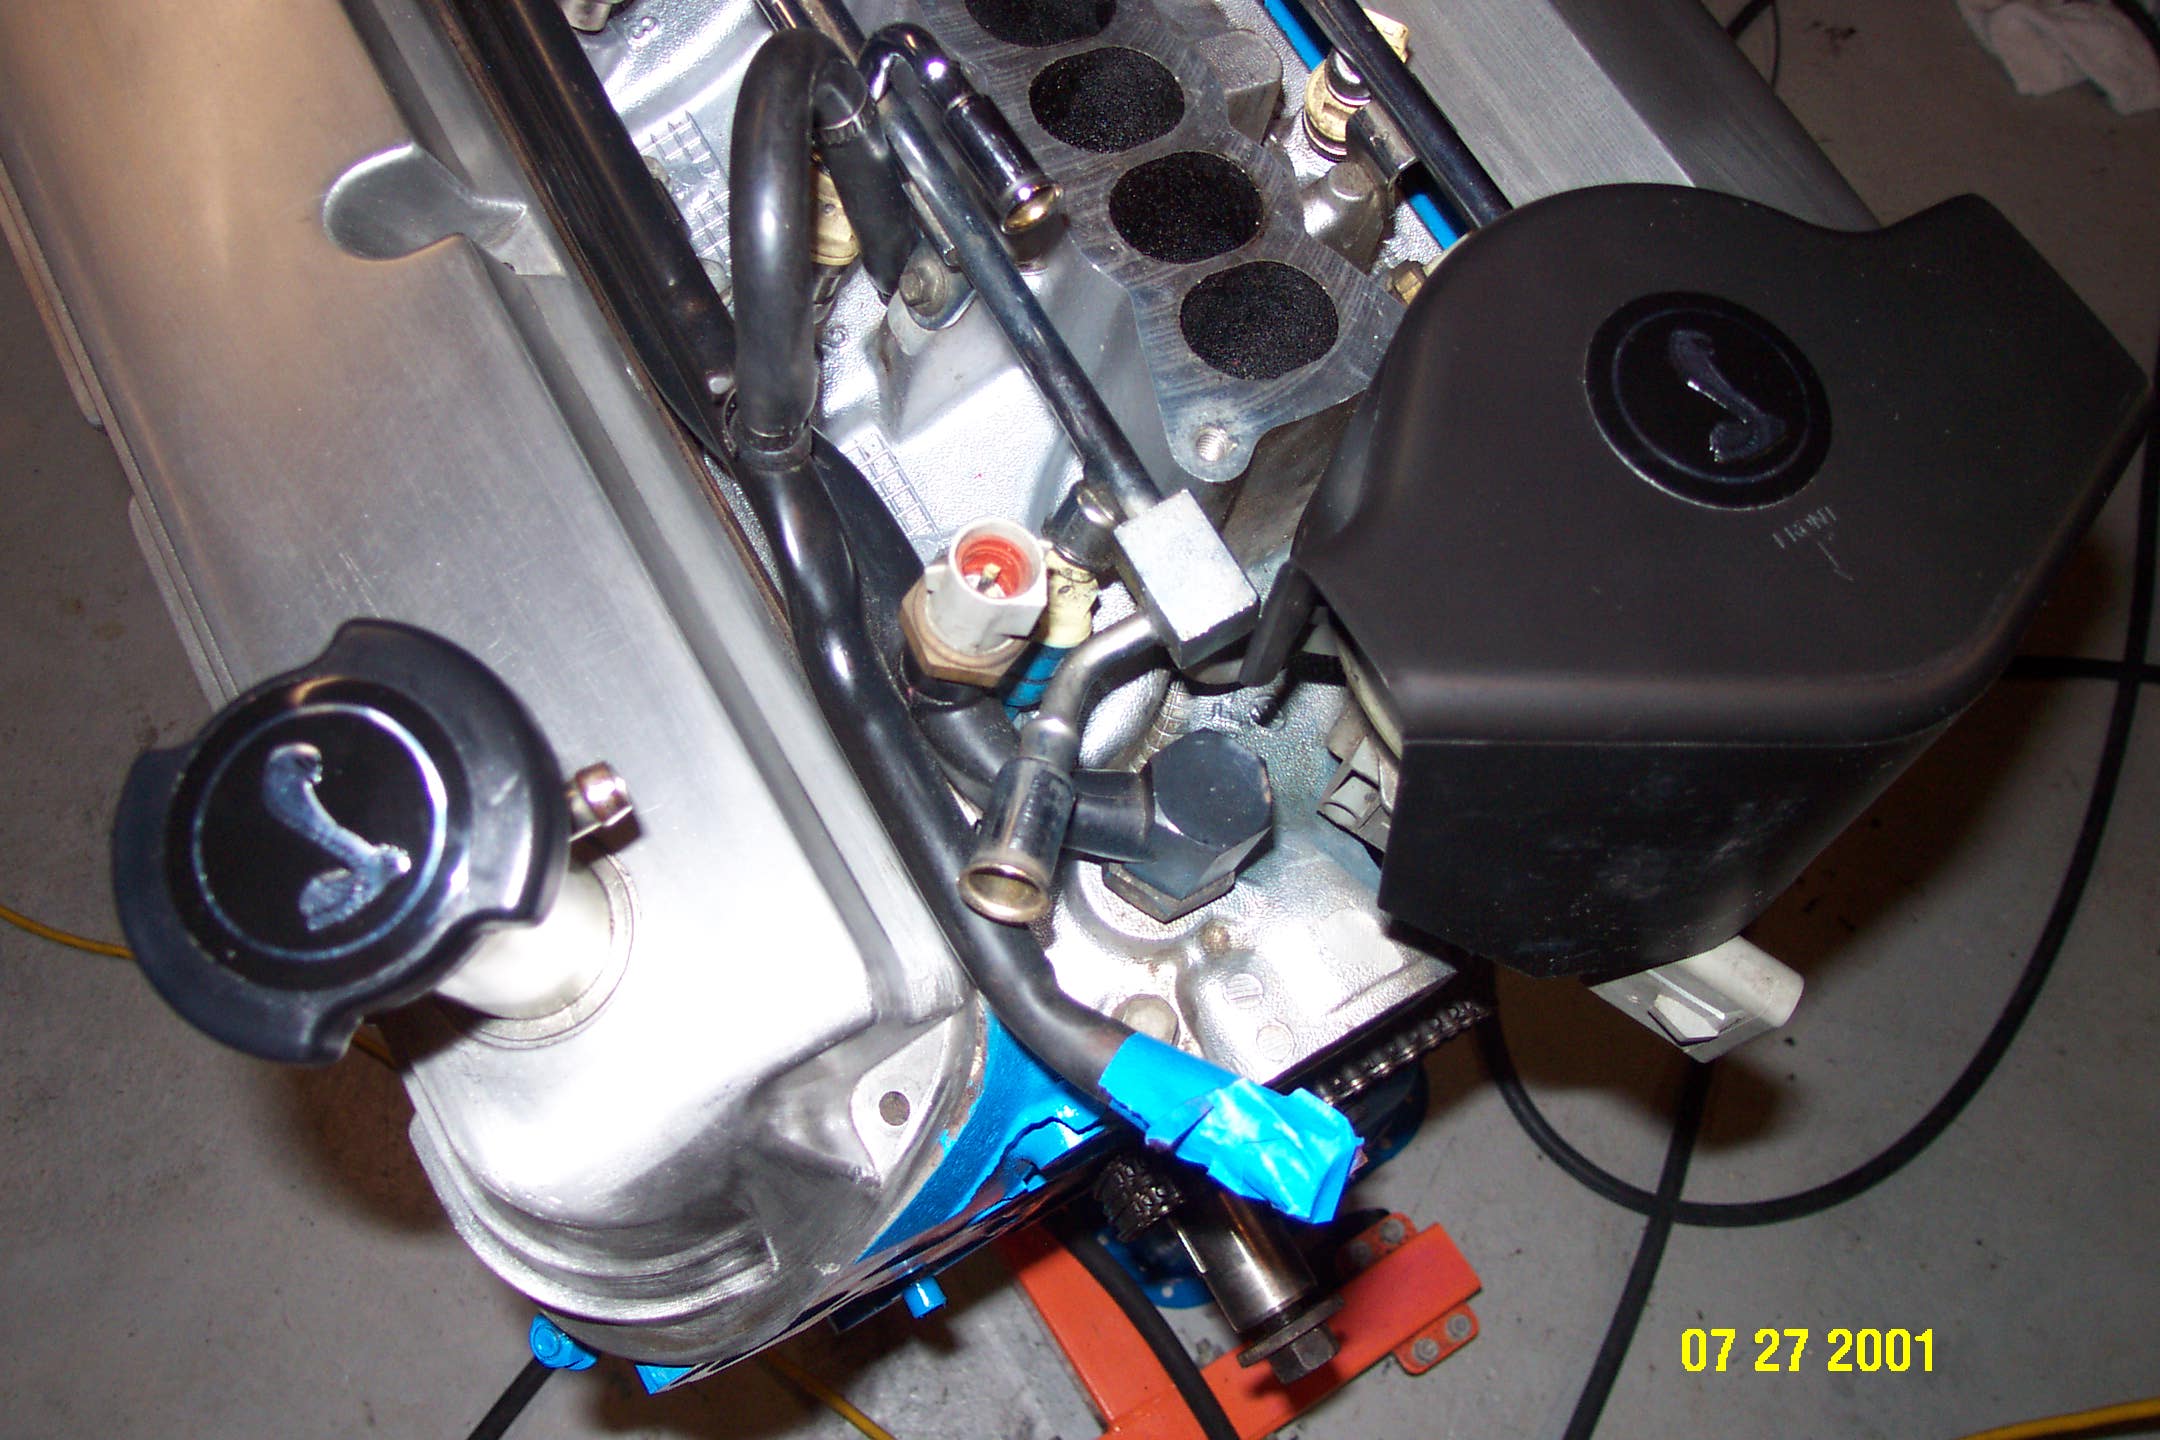
The engine had some oil leaks mostly from the valve covers. When we went to remove them the bolt were finger tight. We had to scrub the engine quite a bit. Gunk foaming engine cleaner works pretty well with the thick grease.
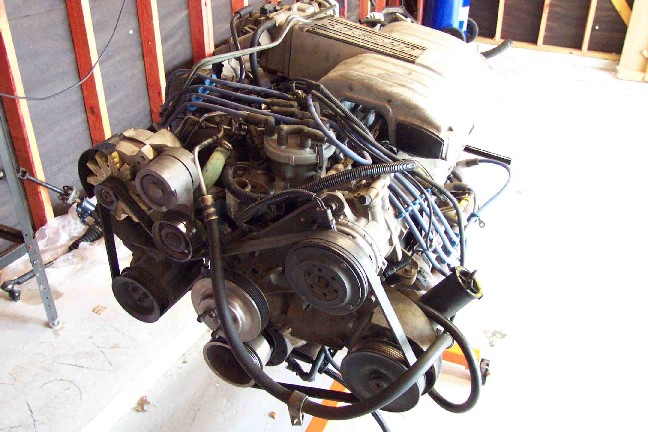
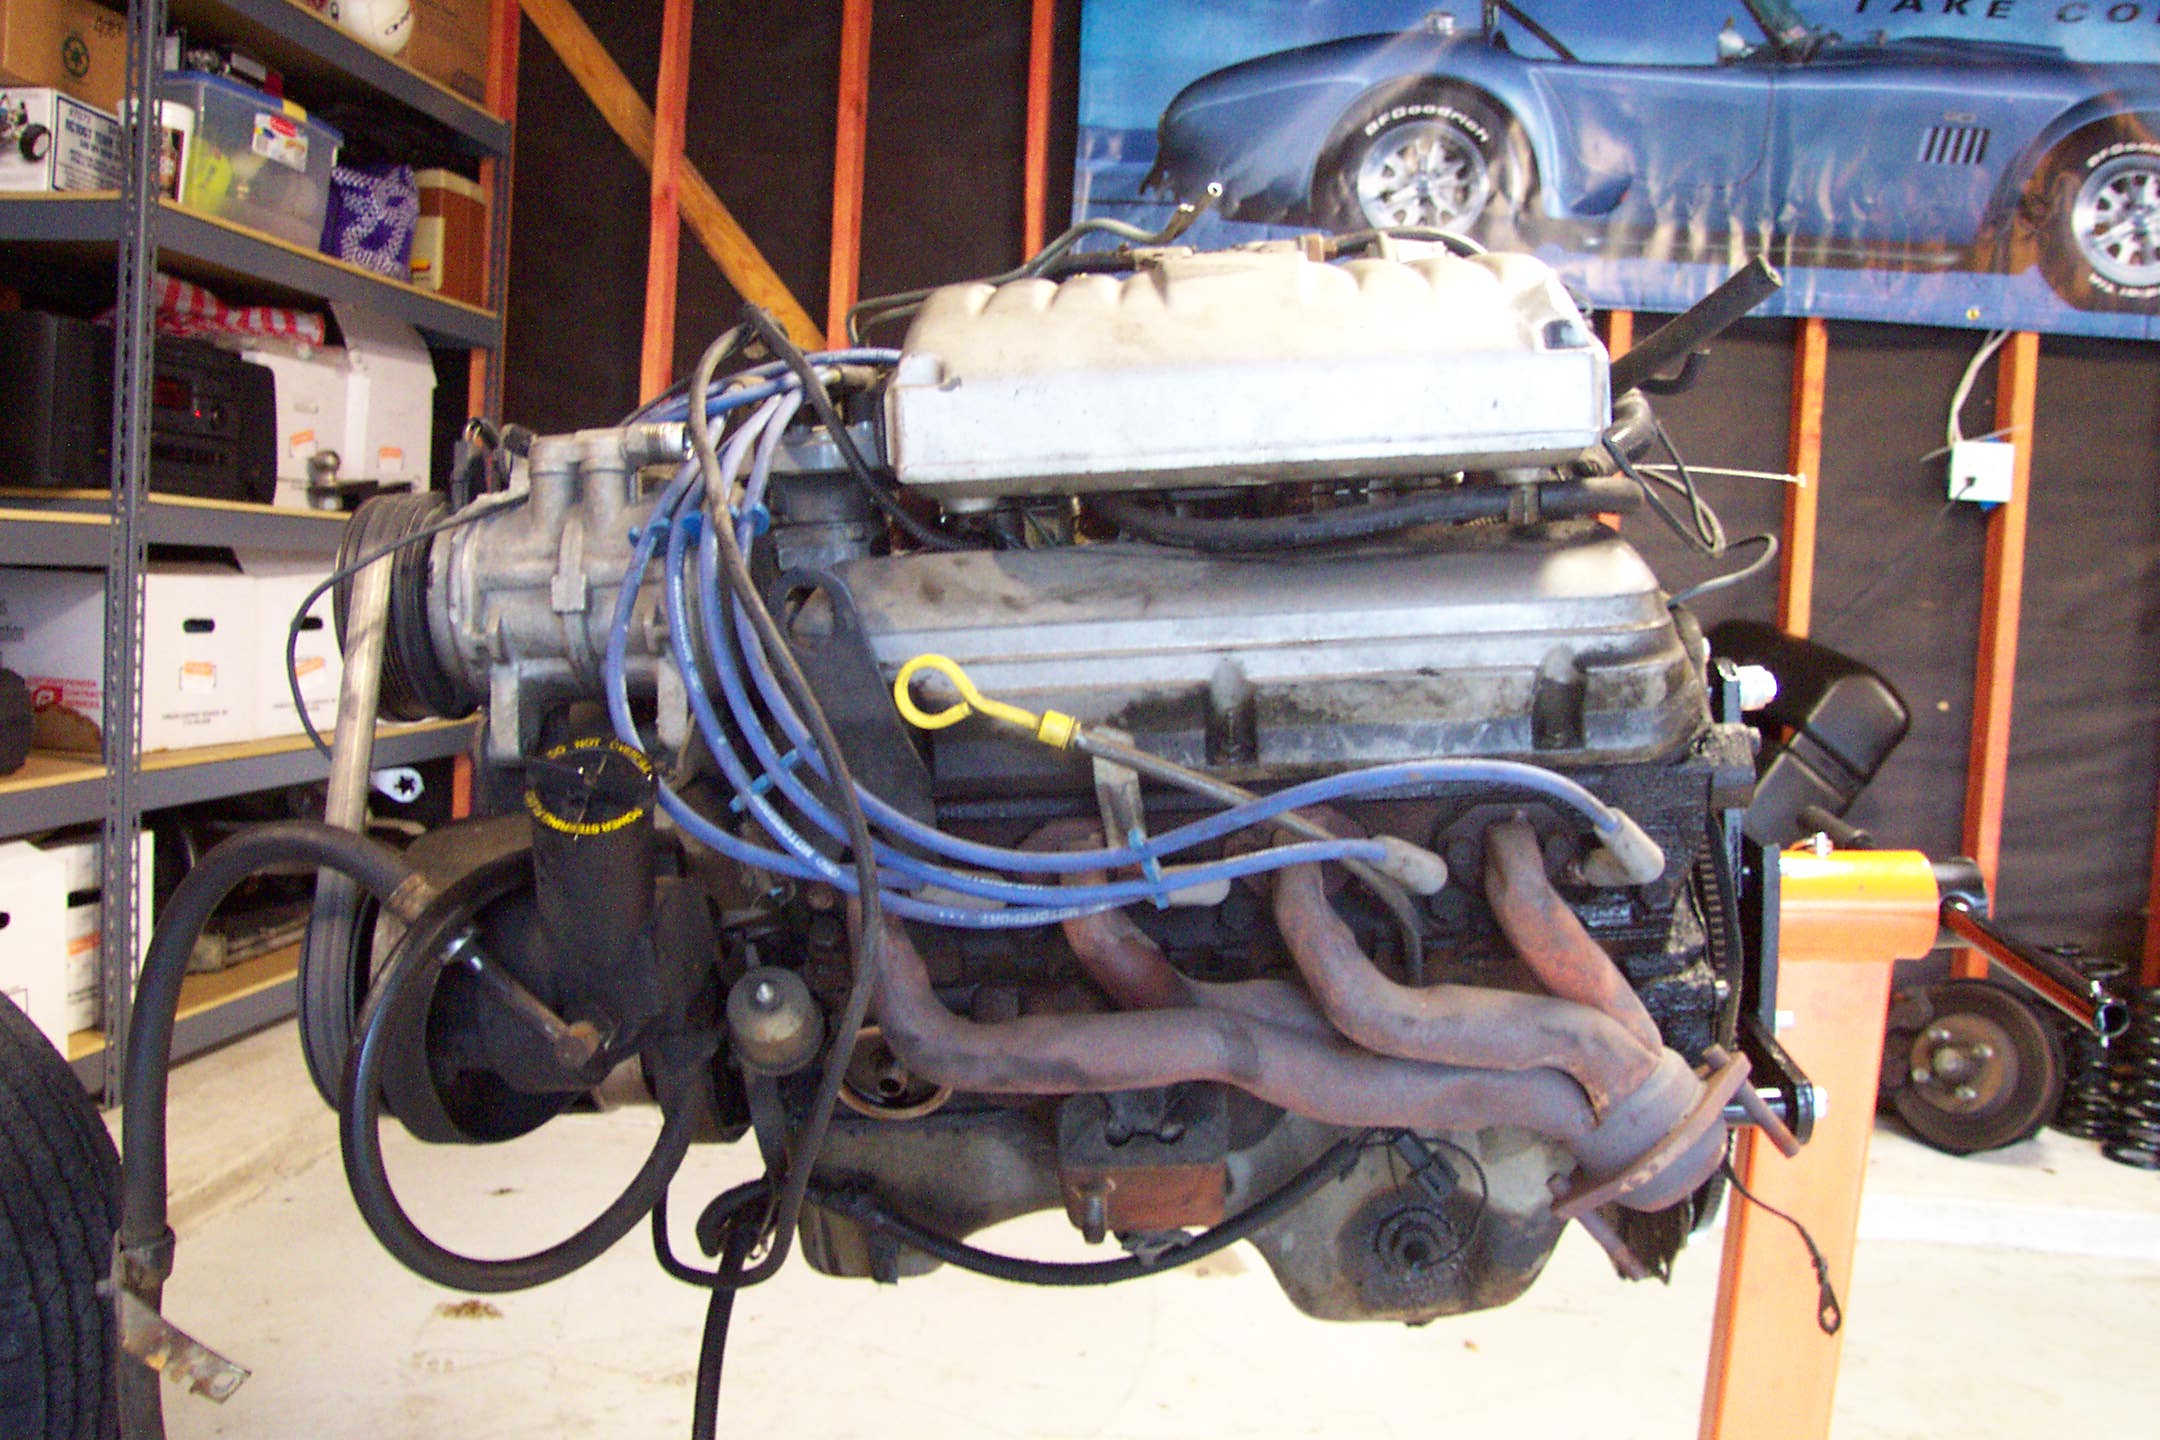

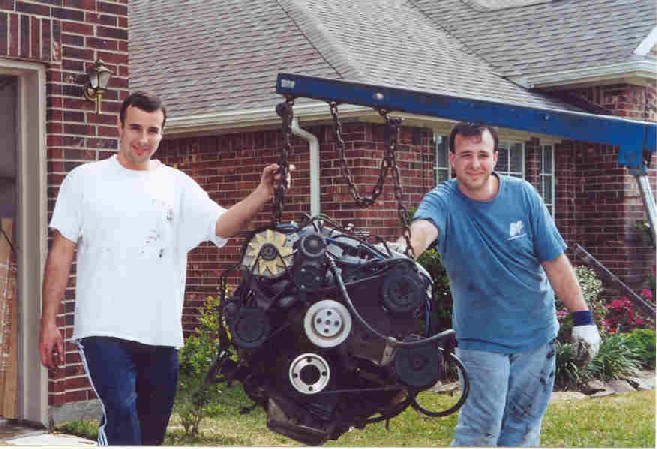
Here are some pictures as the engine was being torn down. These were helpful getting the engine back together. The bracket that used to hold the AC compressor will have a new pulley mounted to reroute the shorter belt.
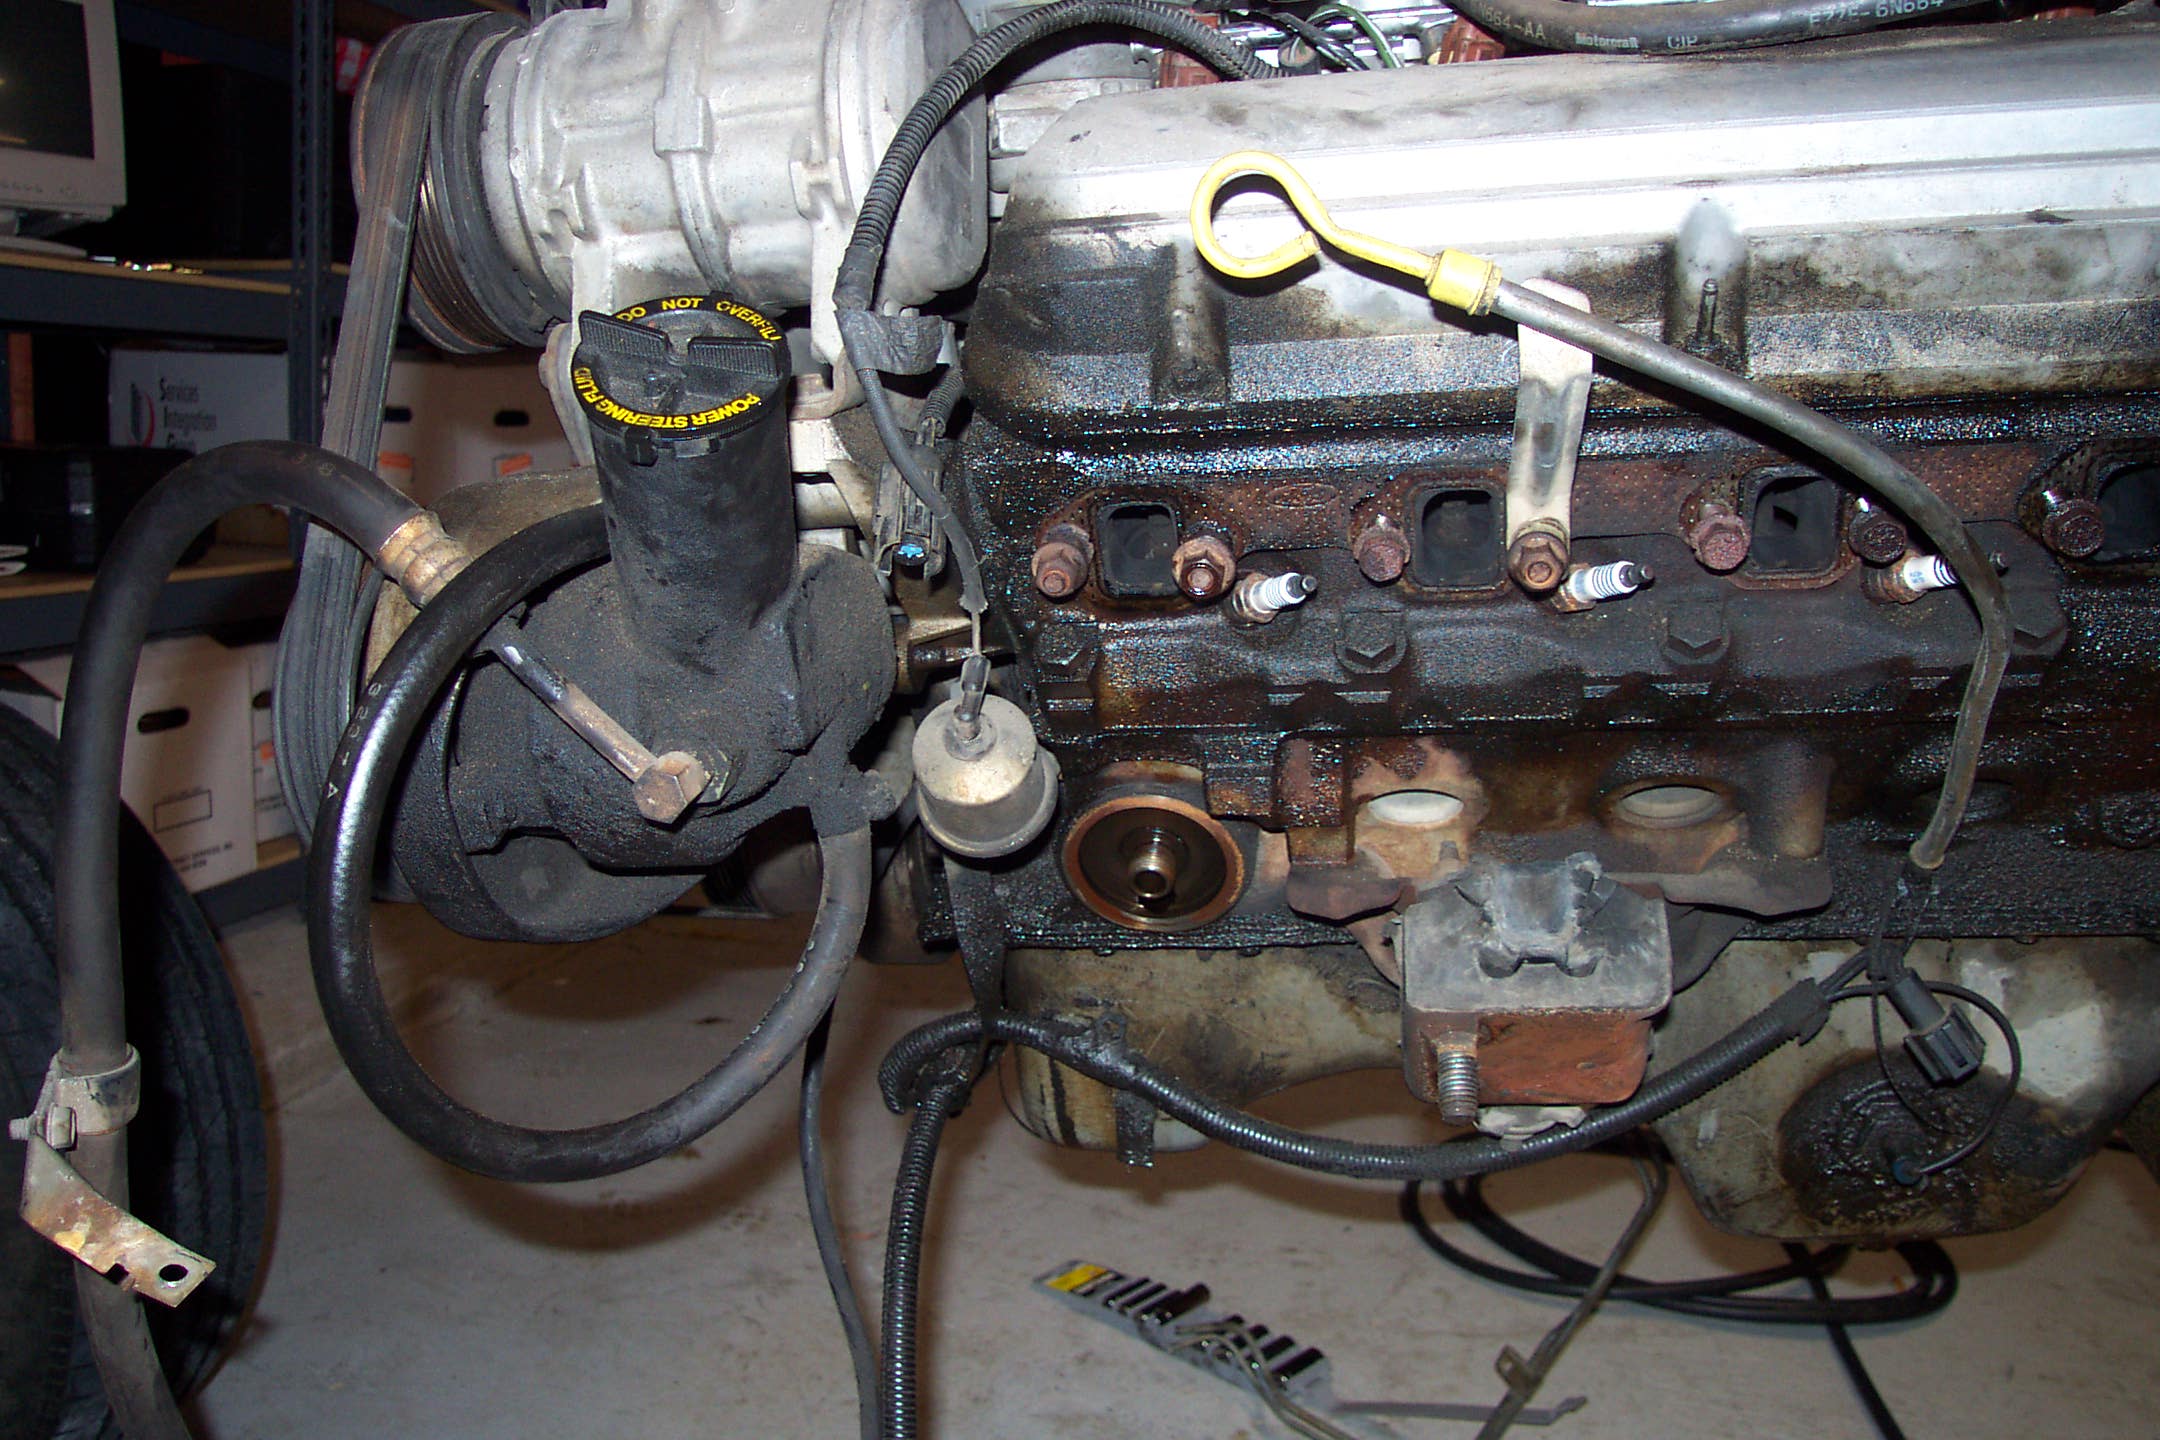
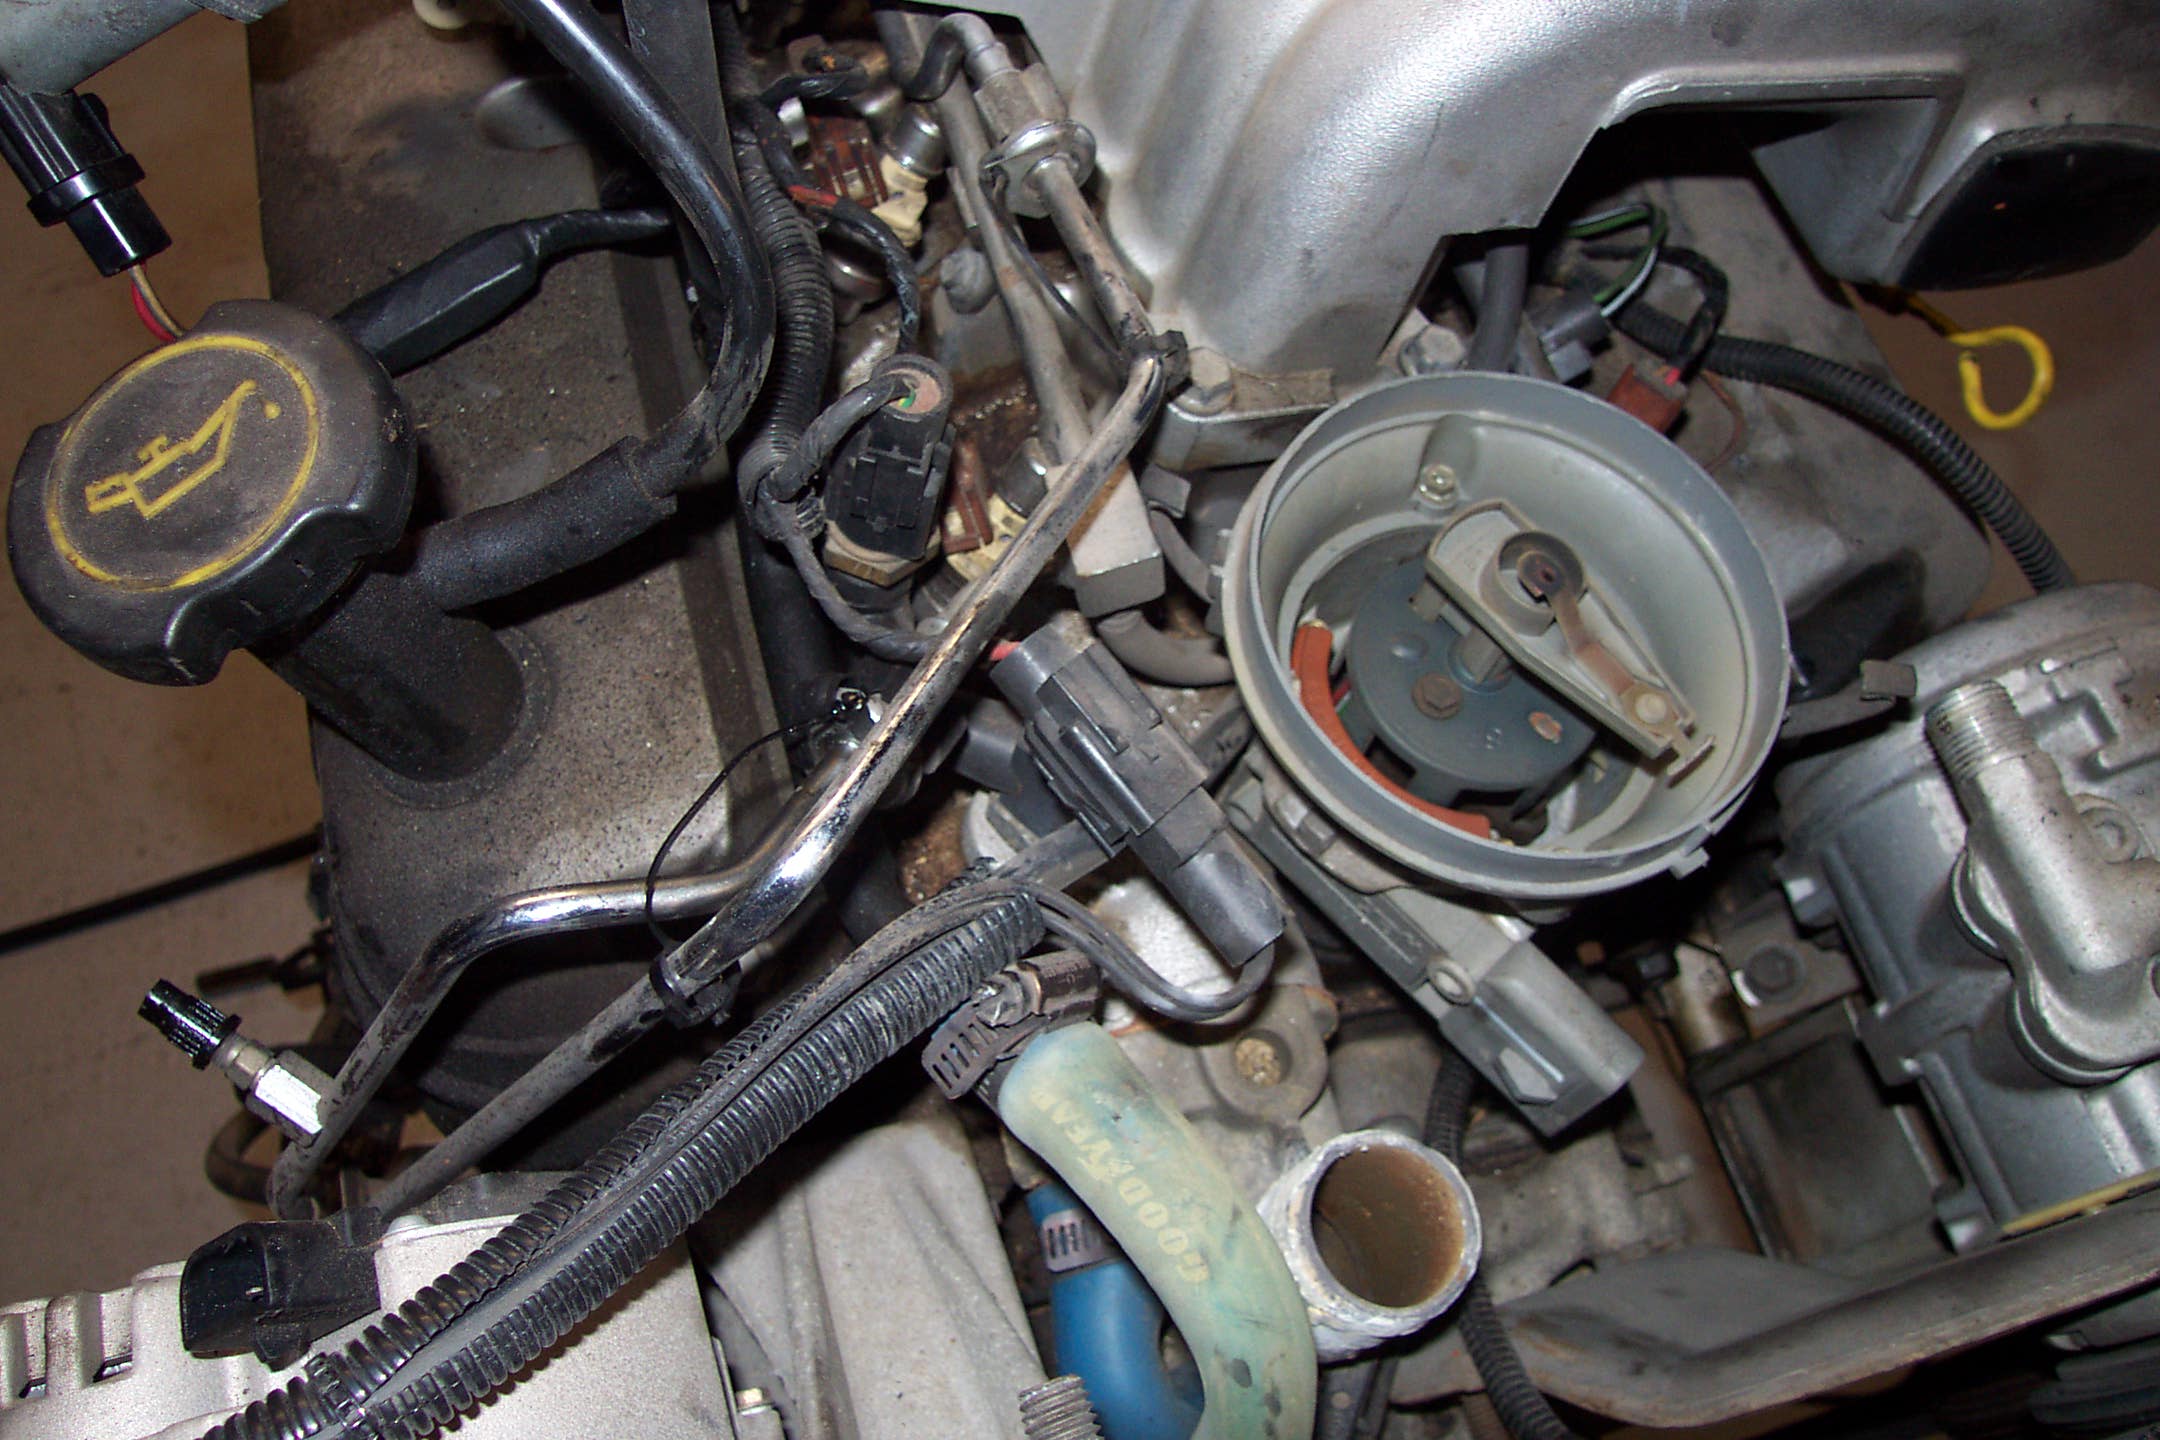
The water pump bolts were rusted to the timing chain cover and we ended up cutting off the timing chain cover. This resulted in aluminum “dust” getting inside the engine. We will need to flush it very well with oil prior to starting it for the first time.
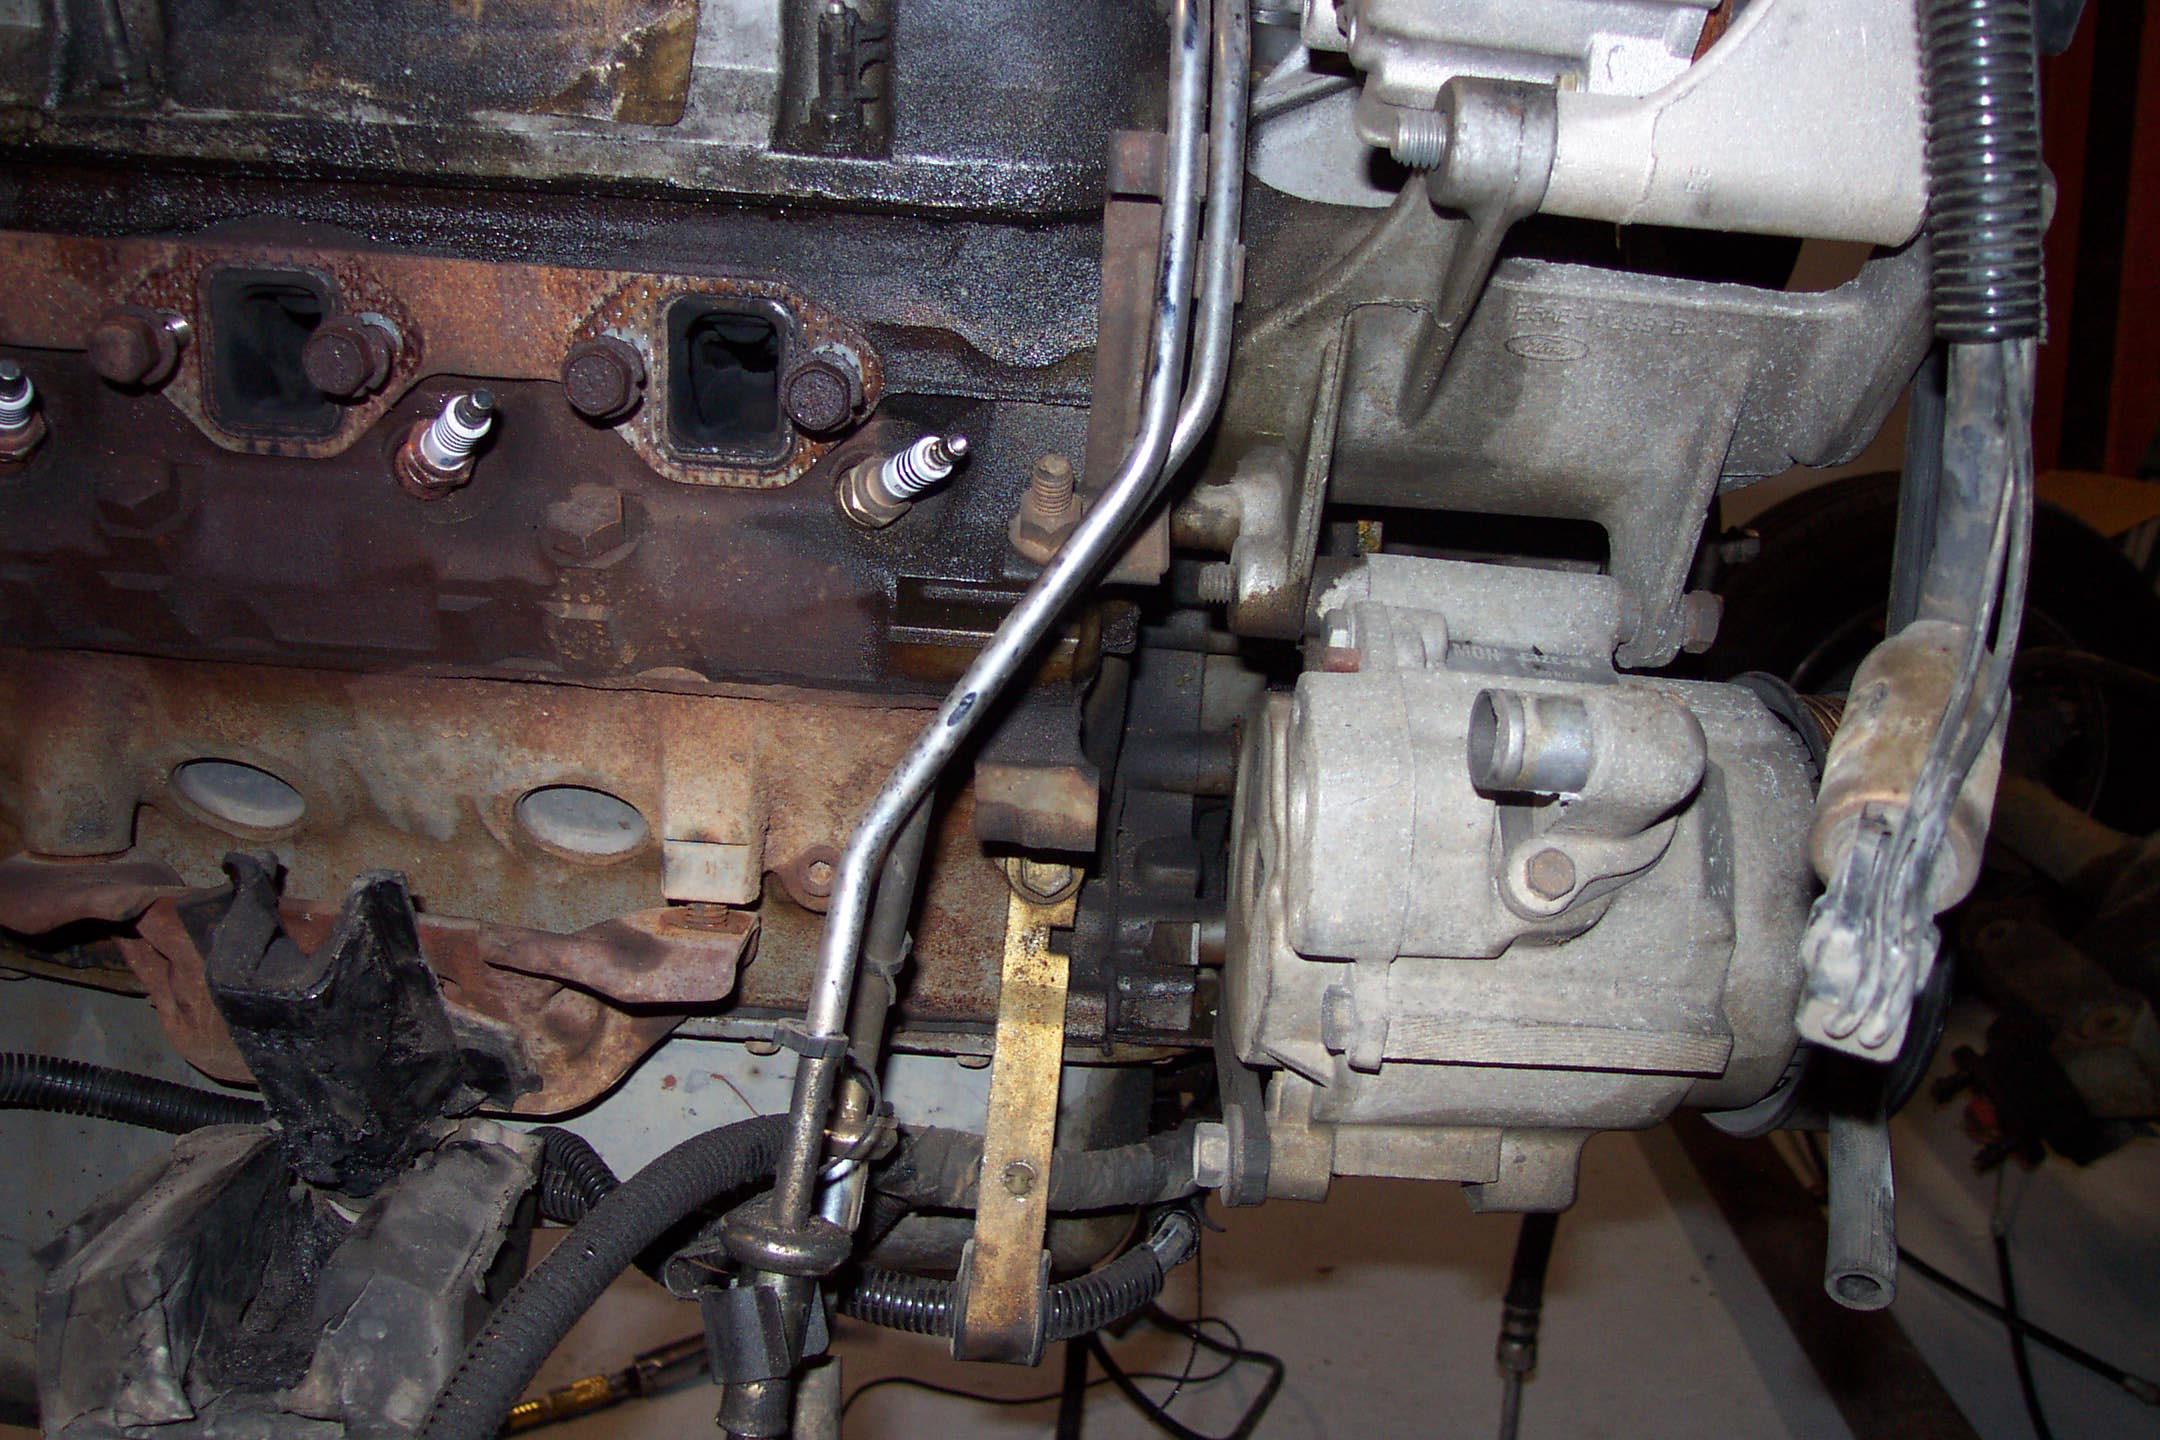
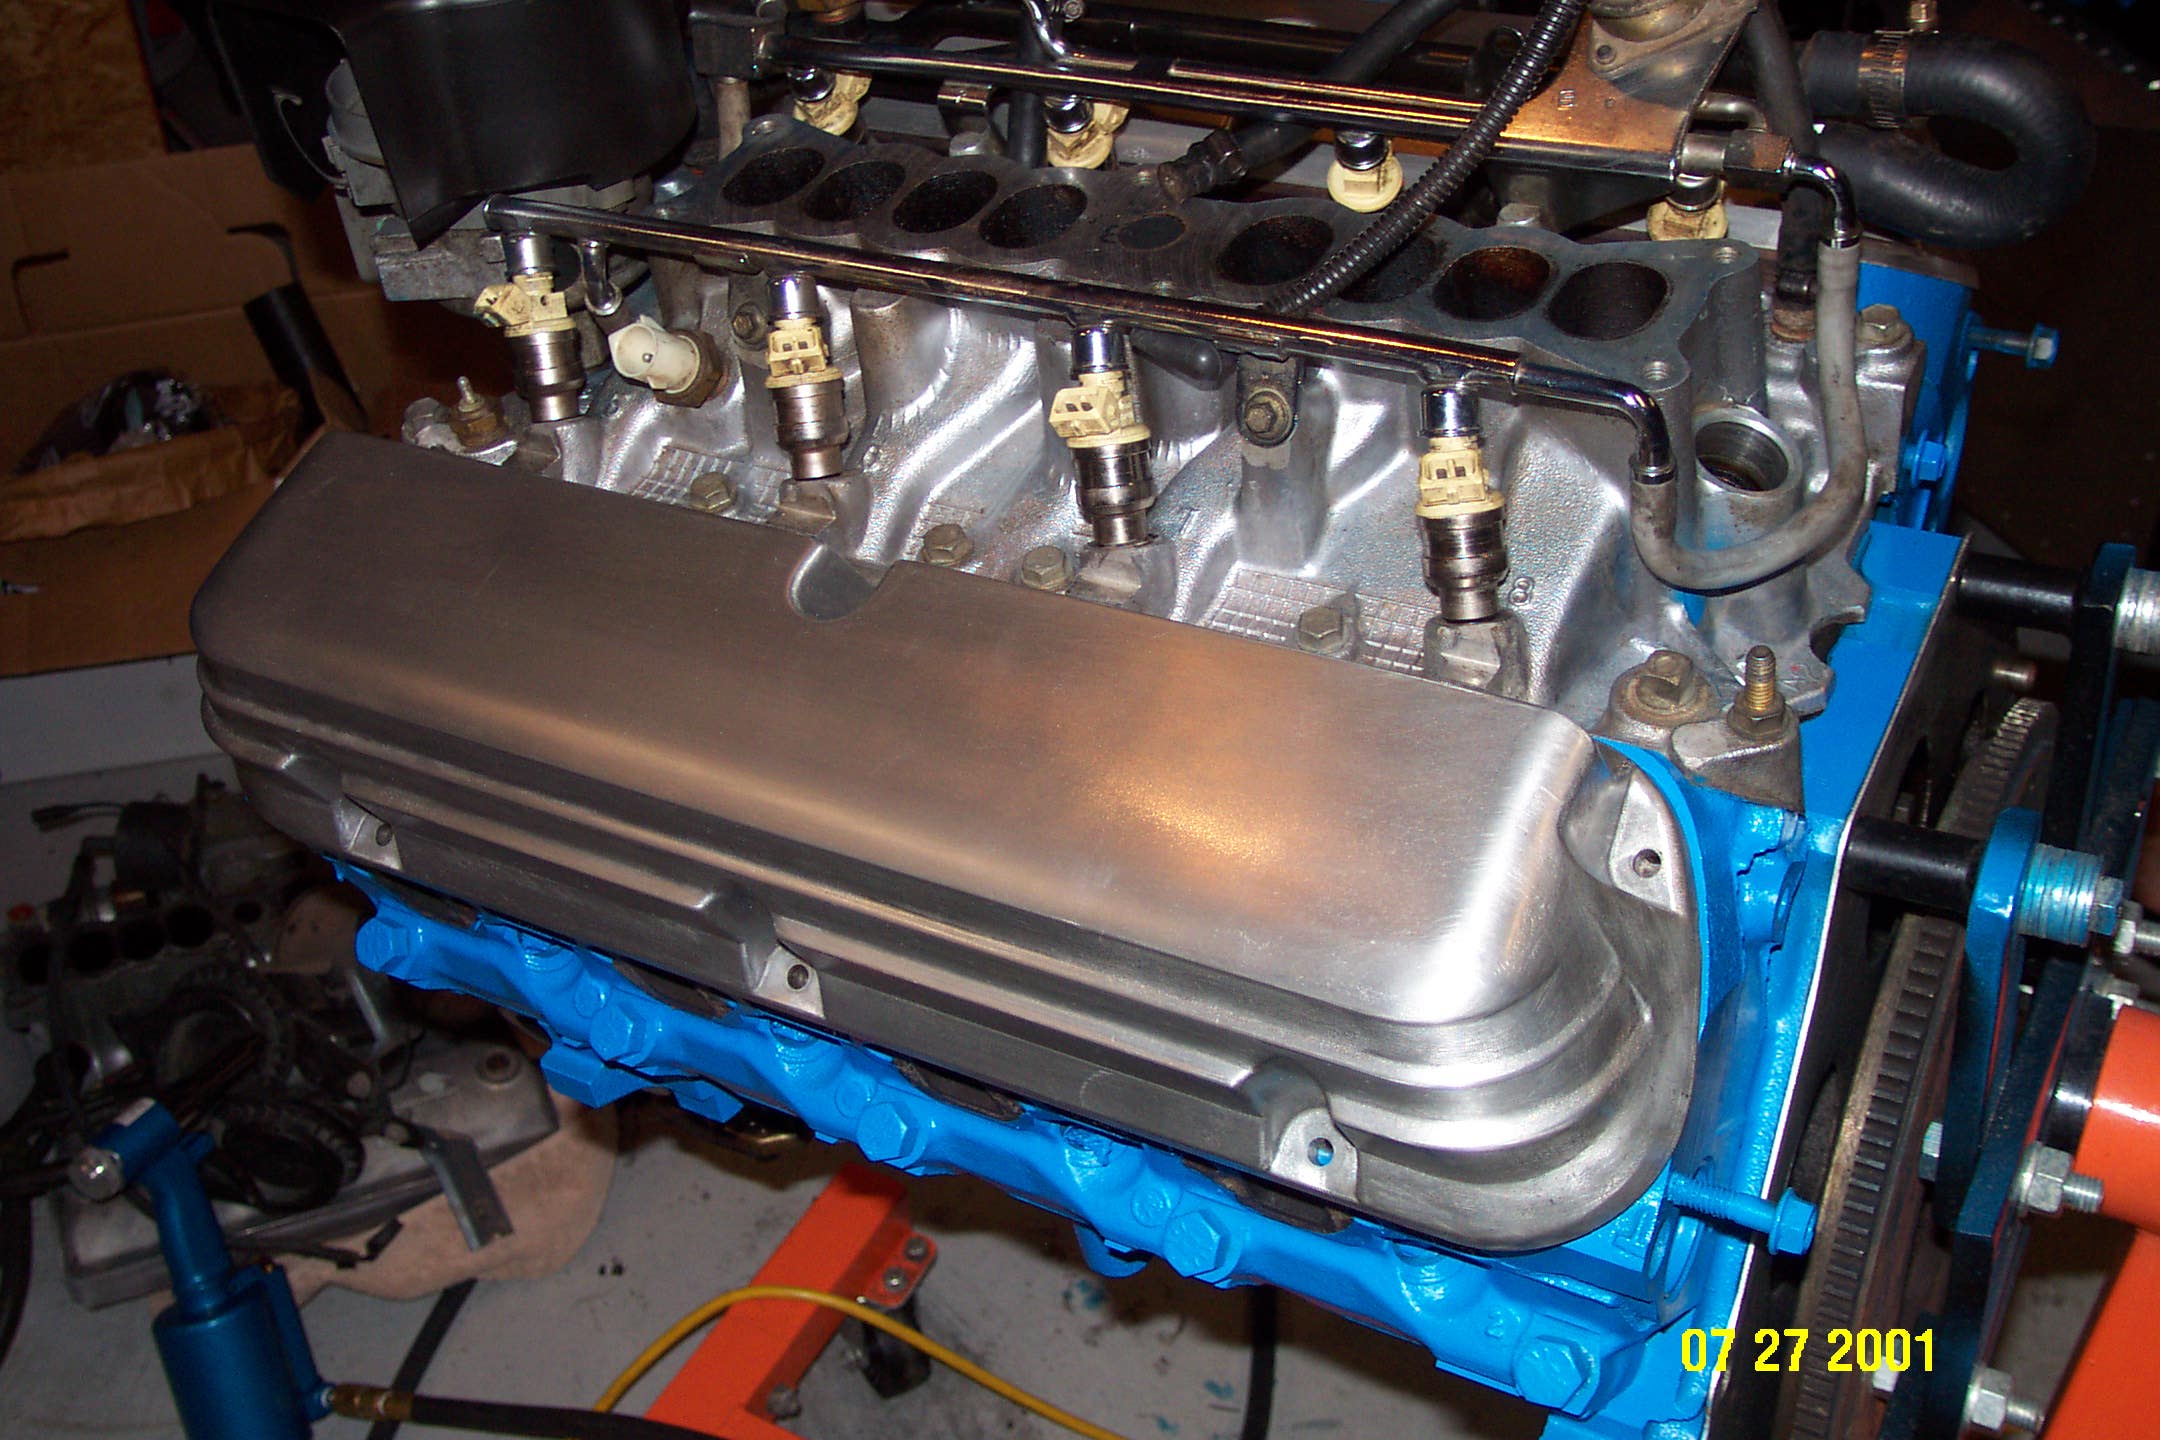
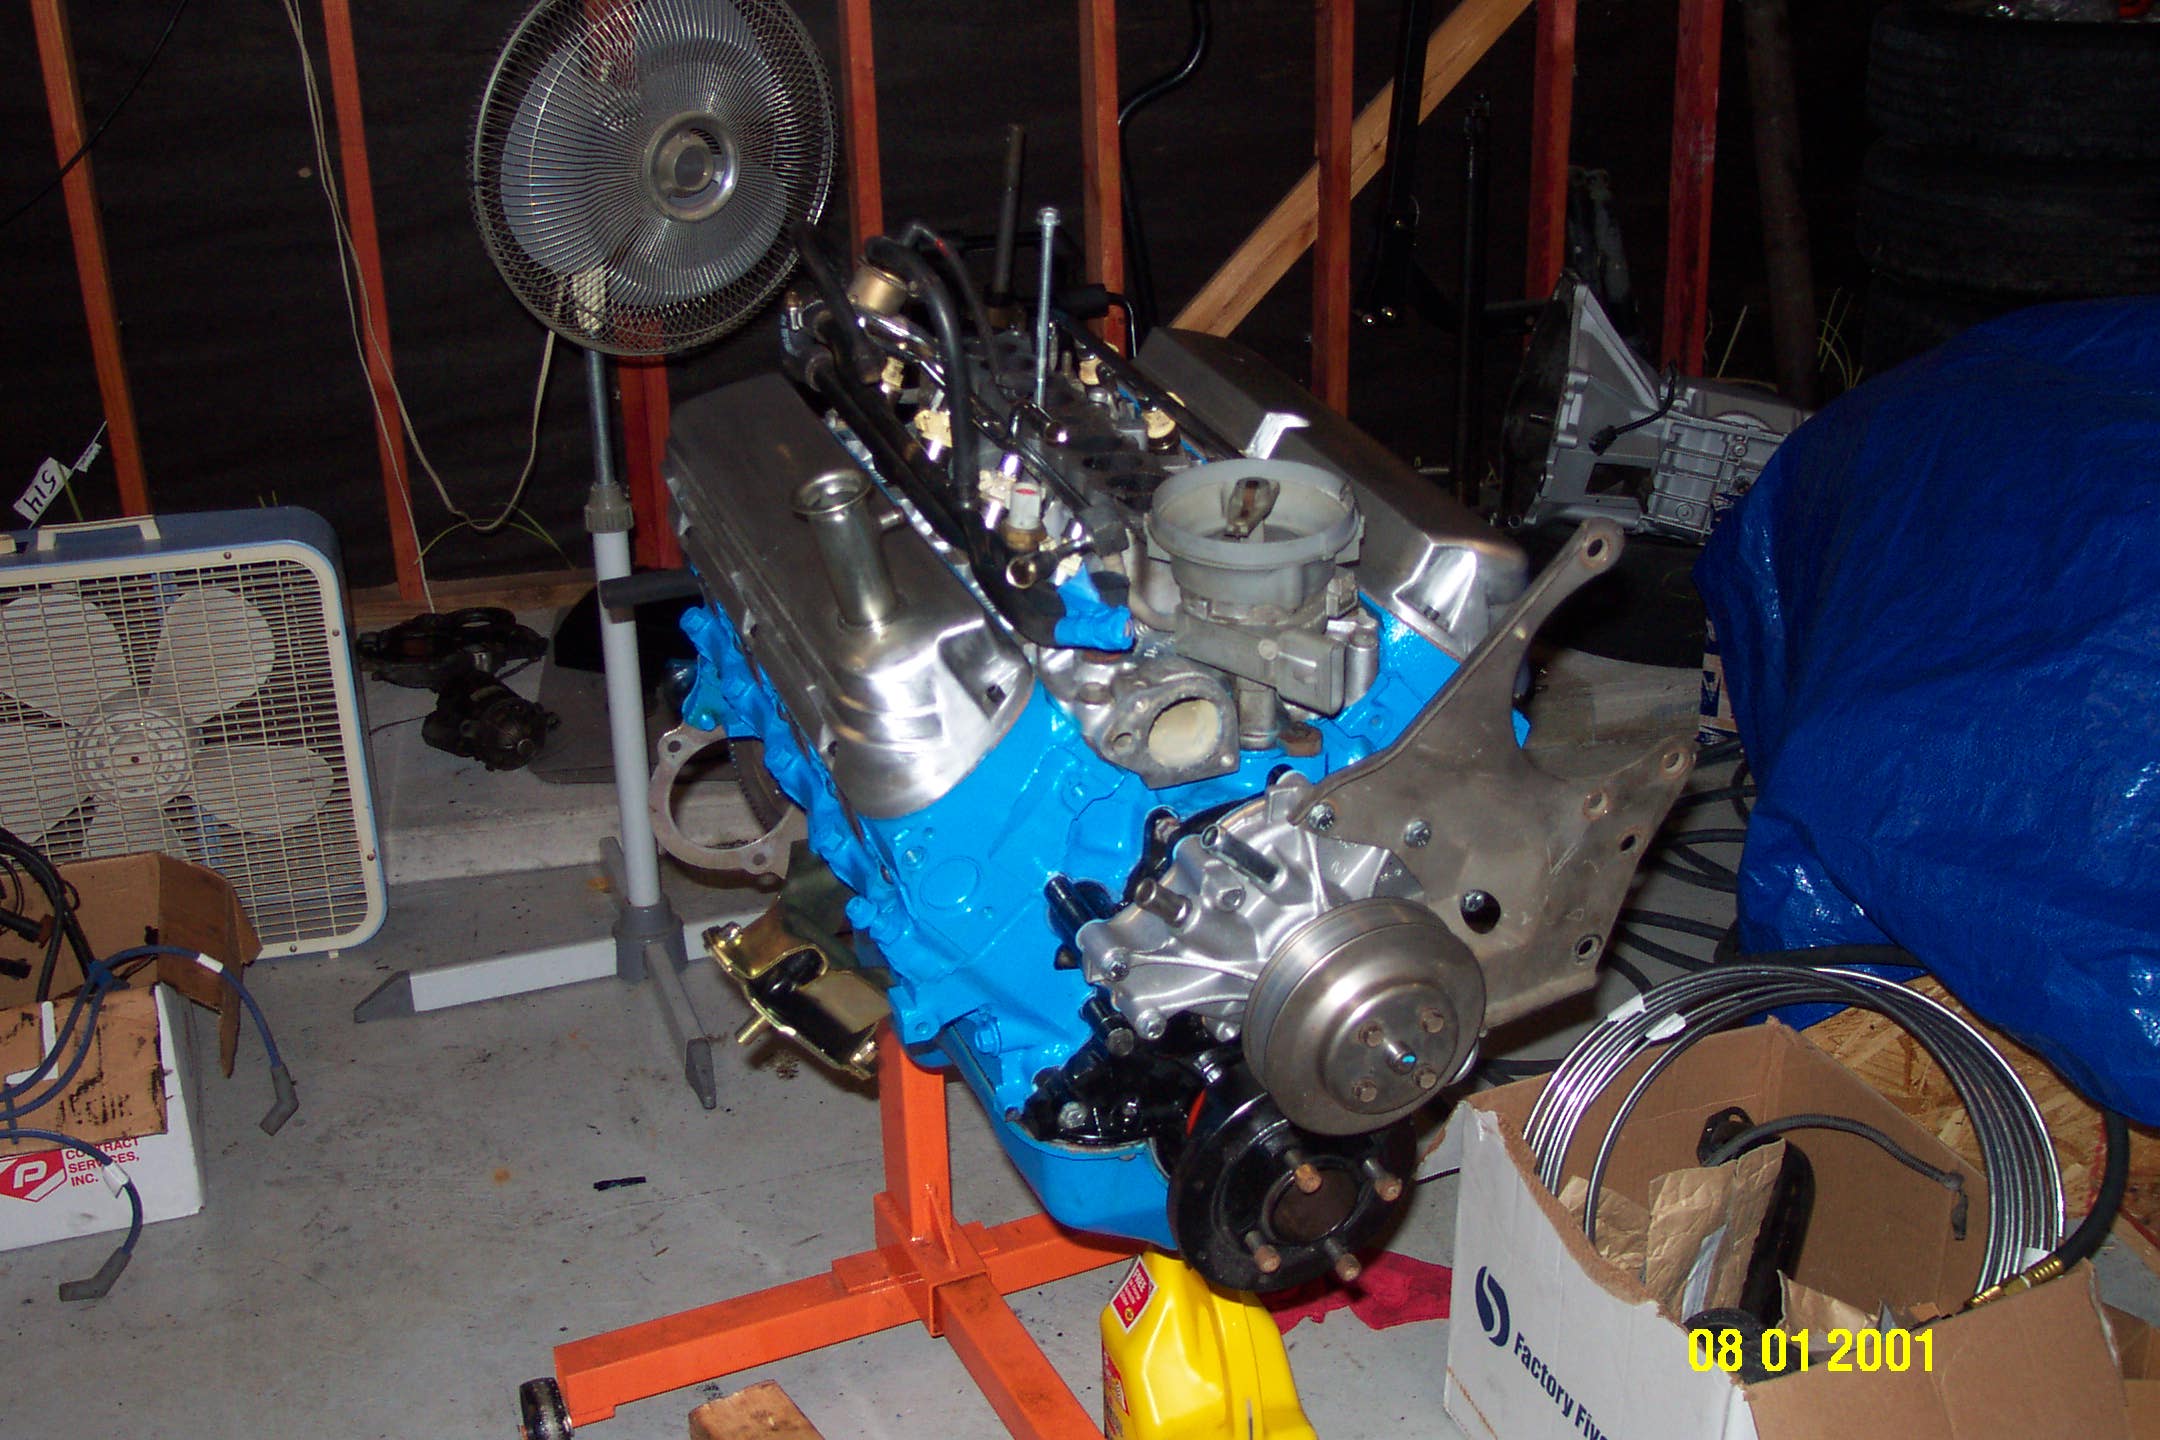
Prior to painting the block we masked off the valve covers, intake manifold and timing chain. Also, we stuffed the spark plug holes with tape.

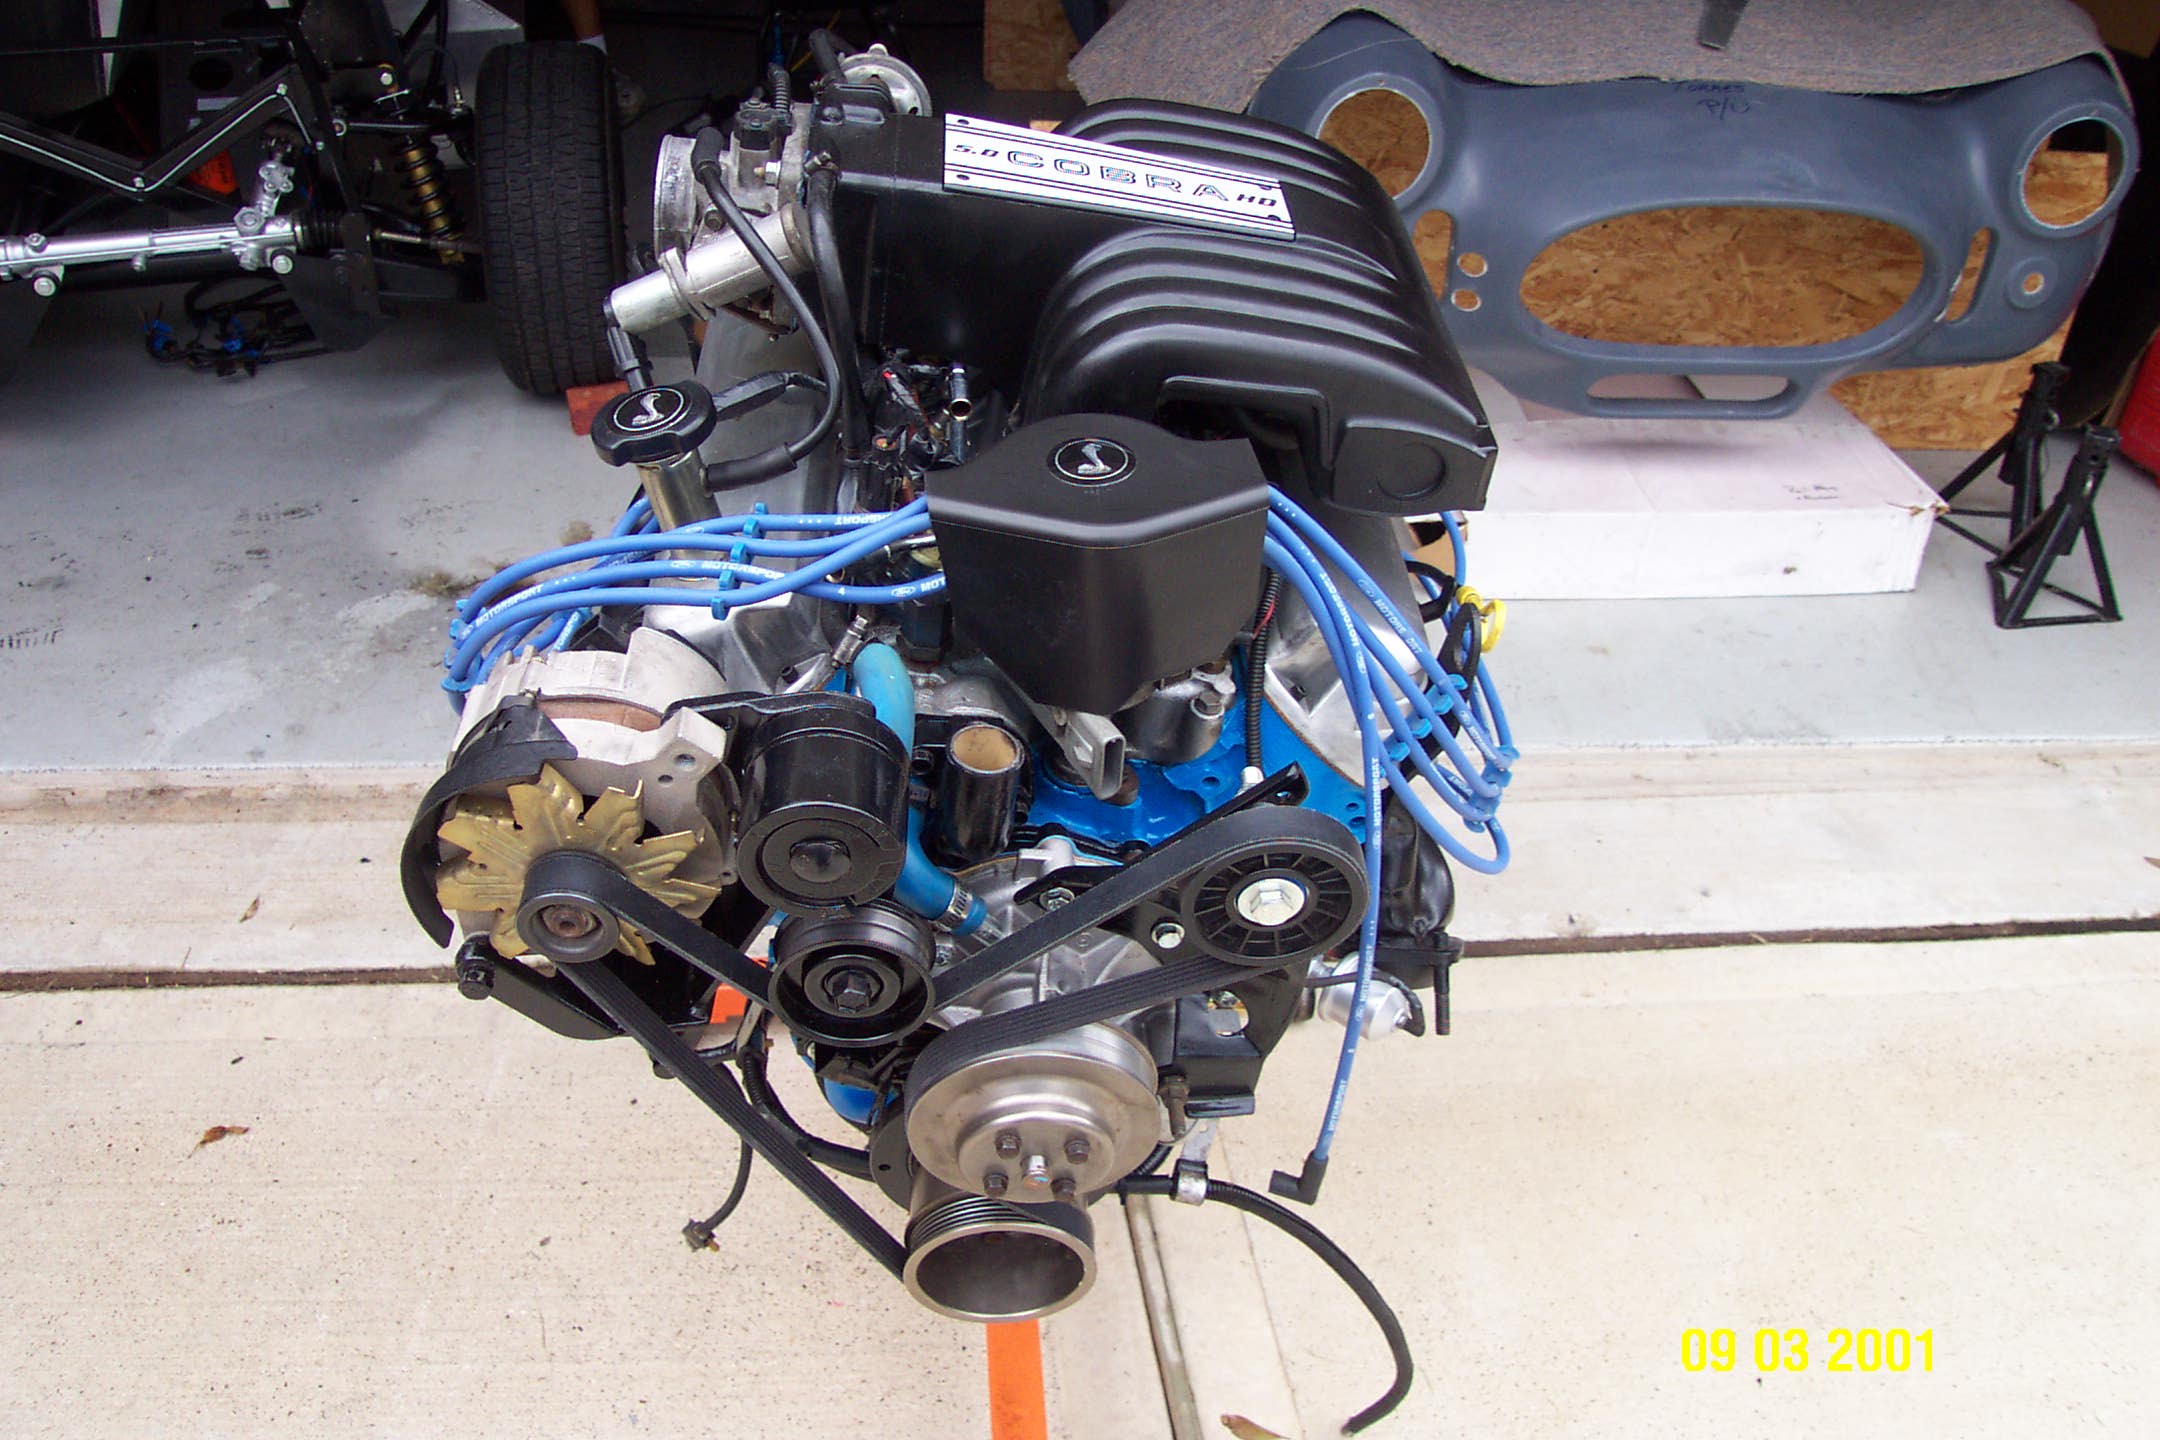
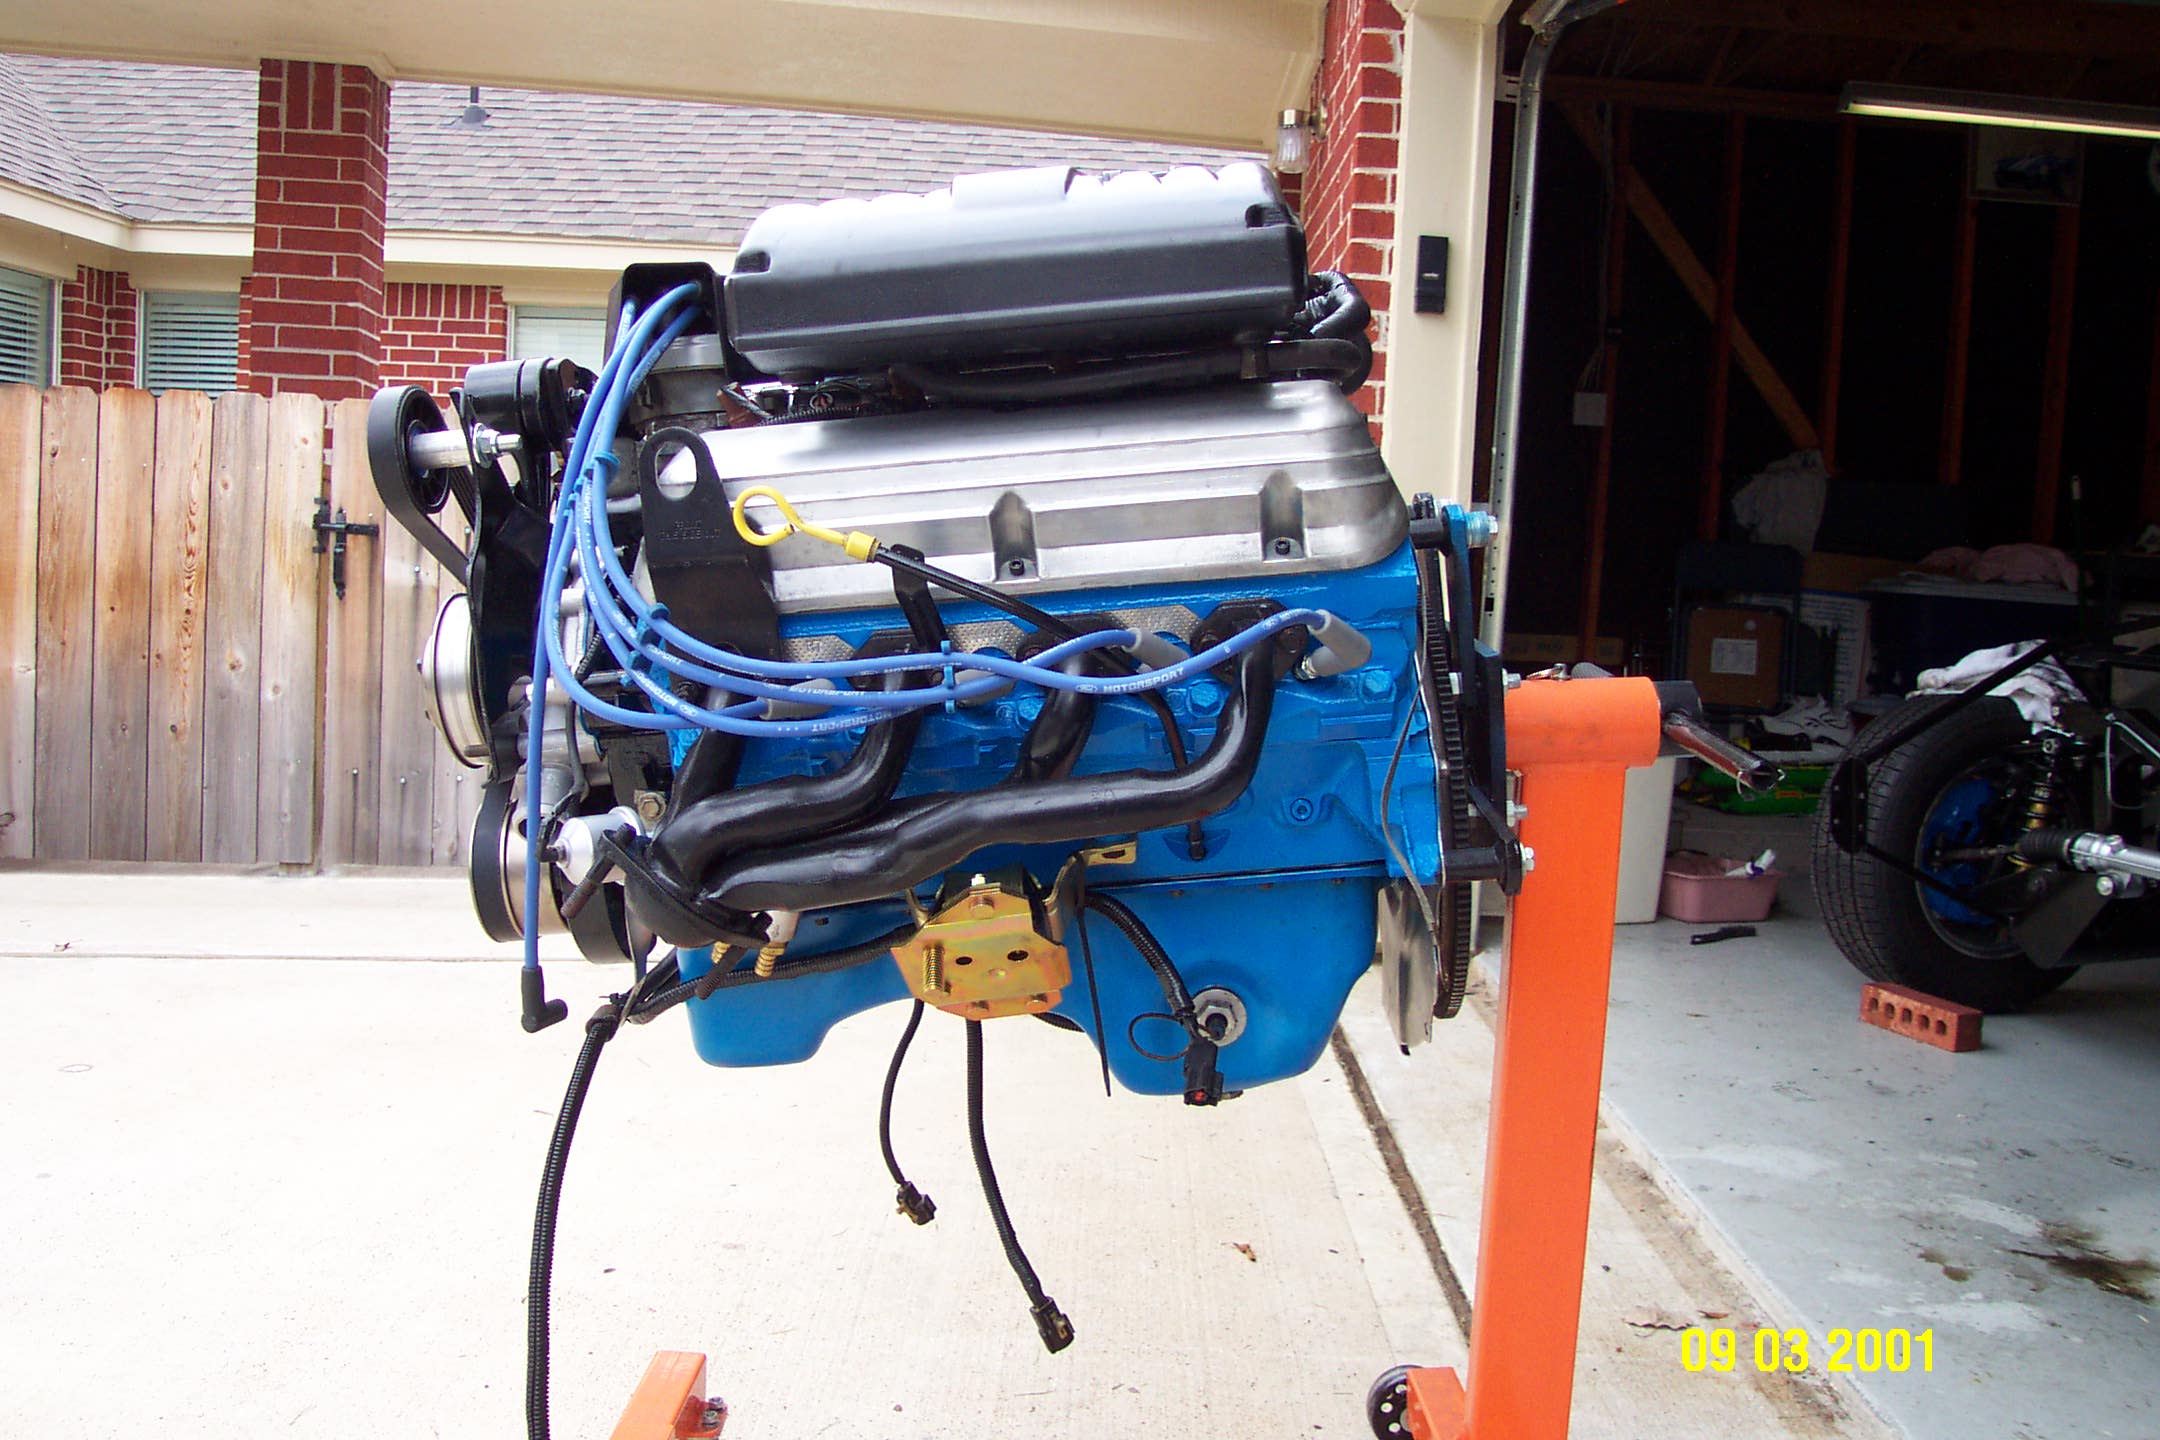
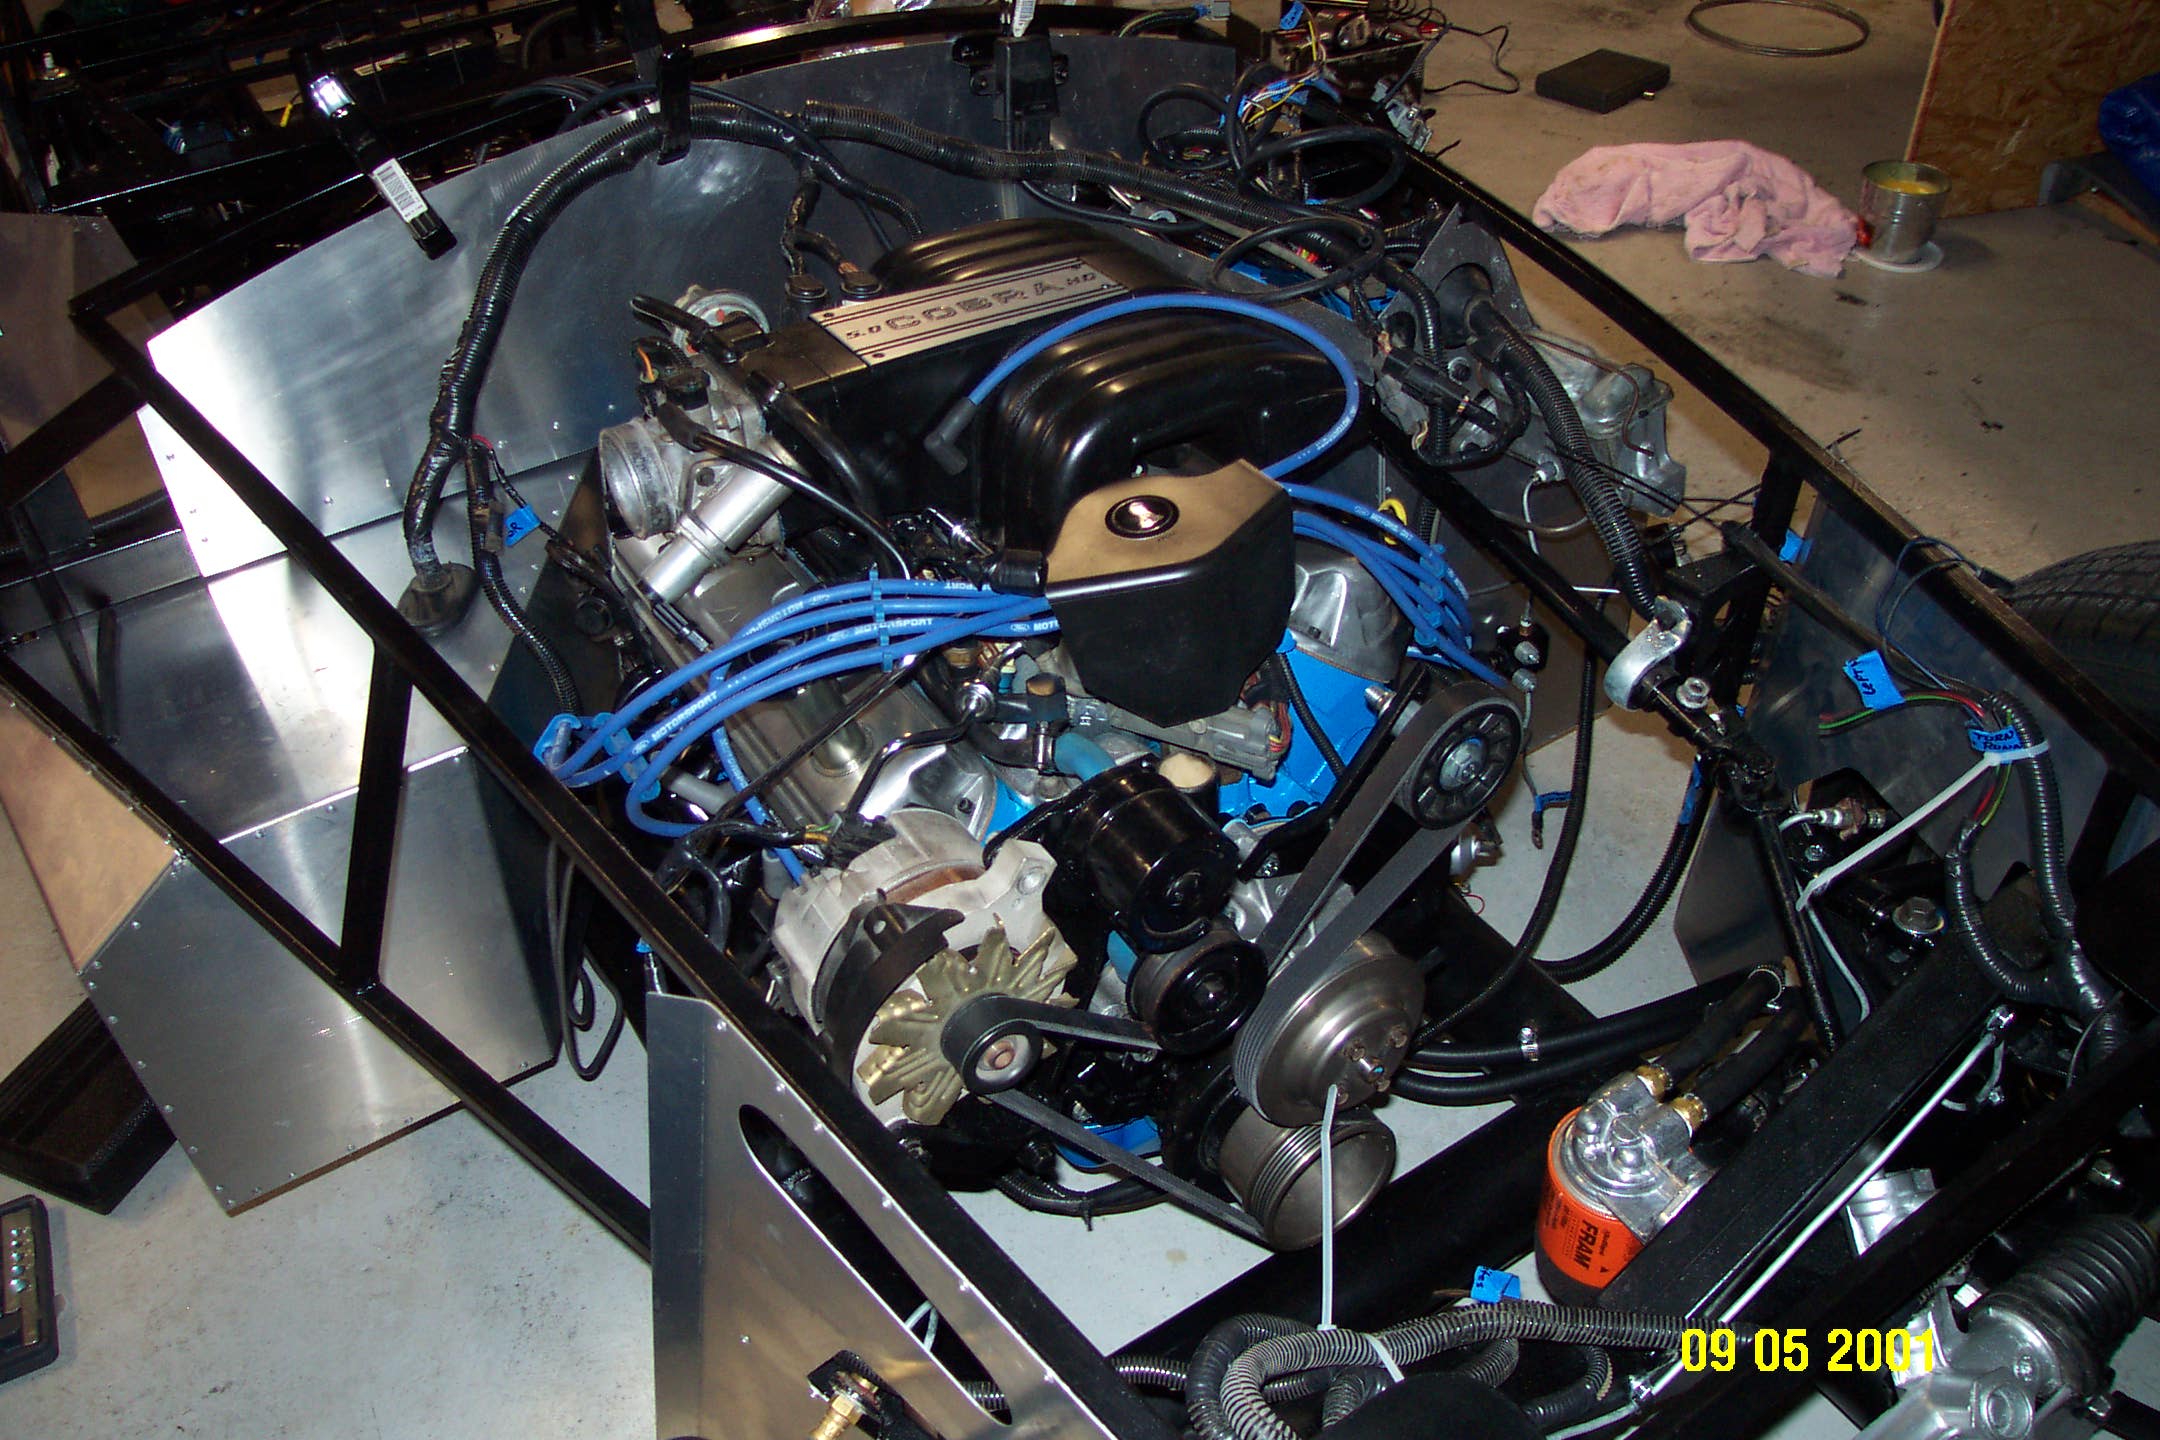
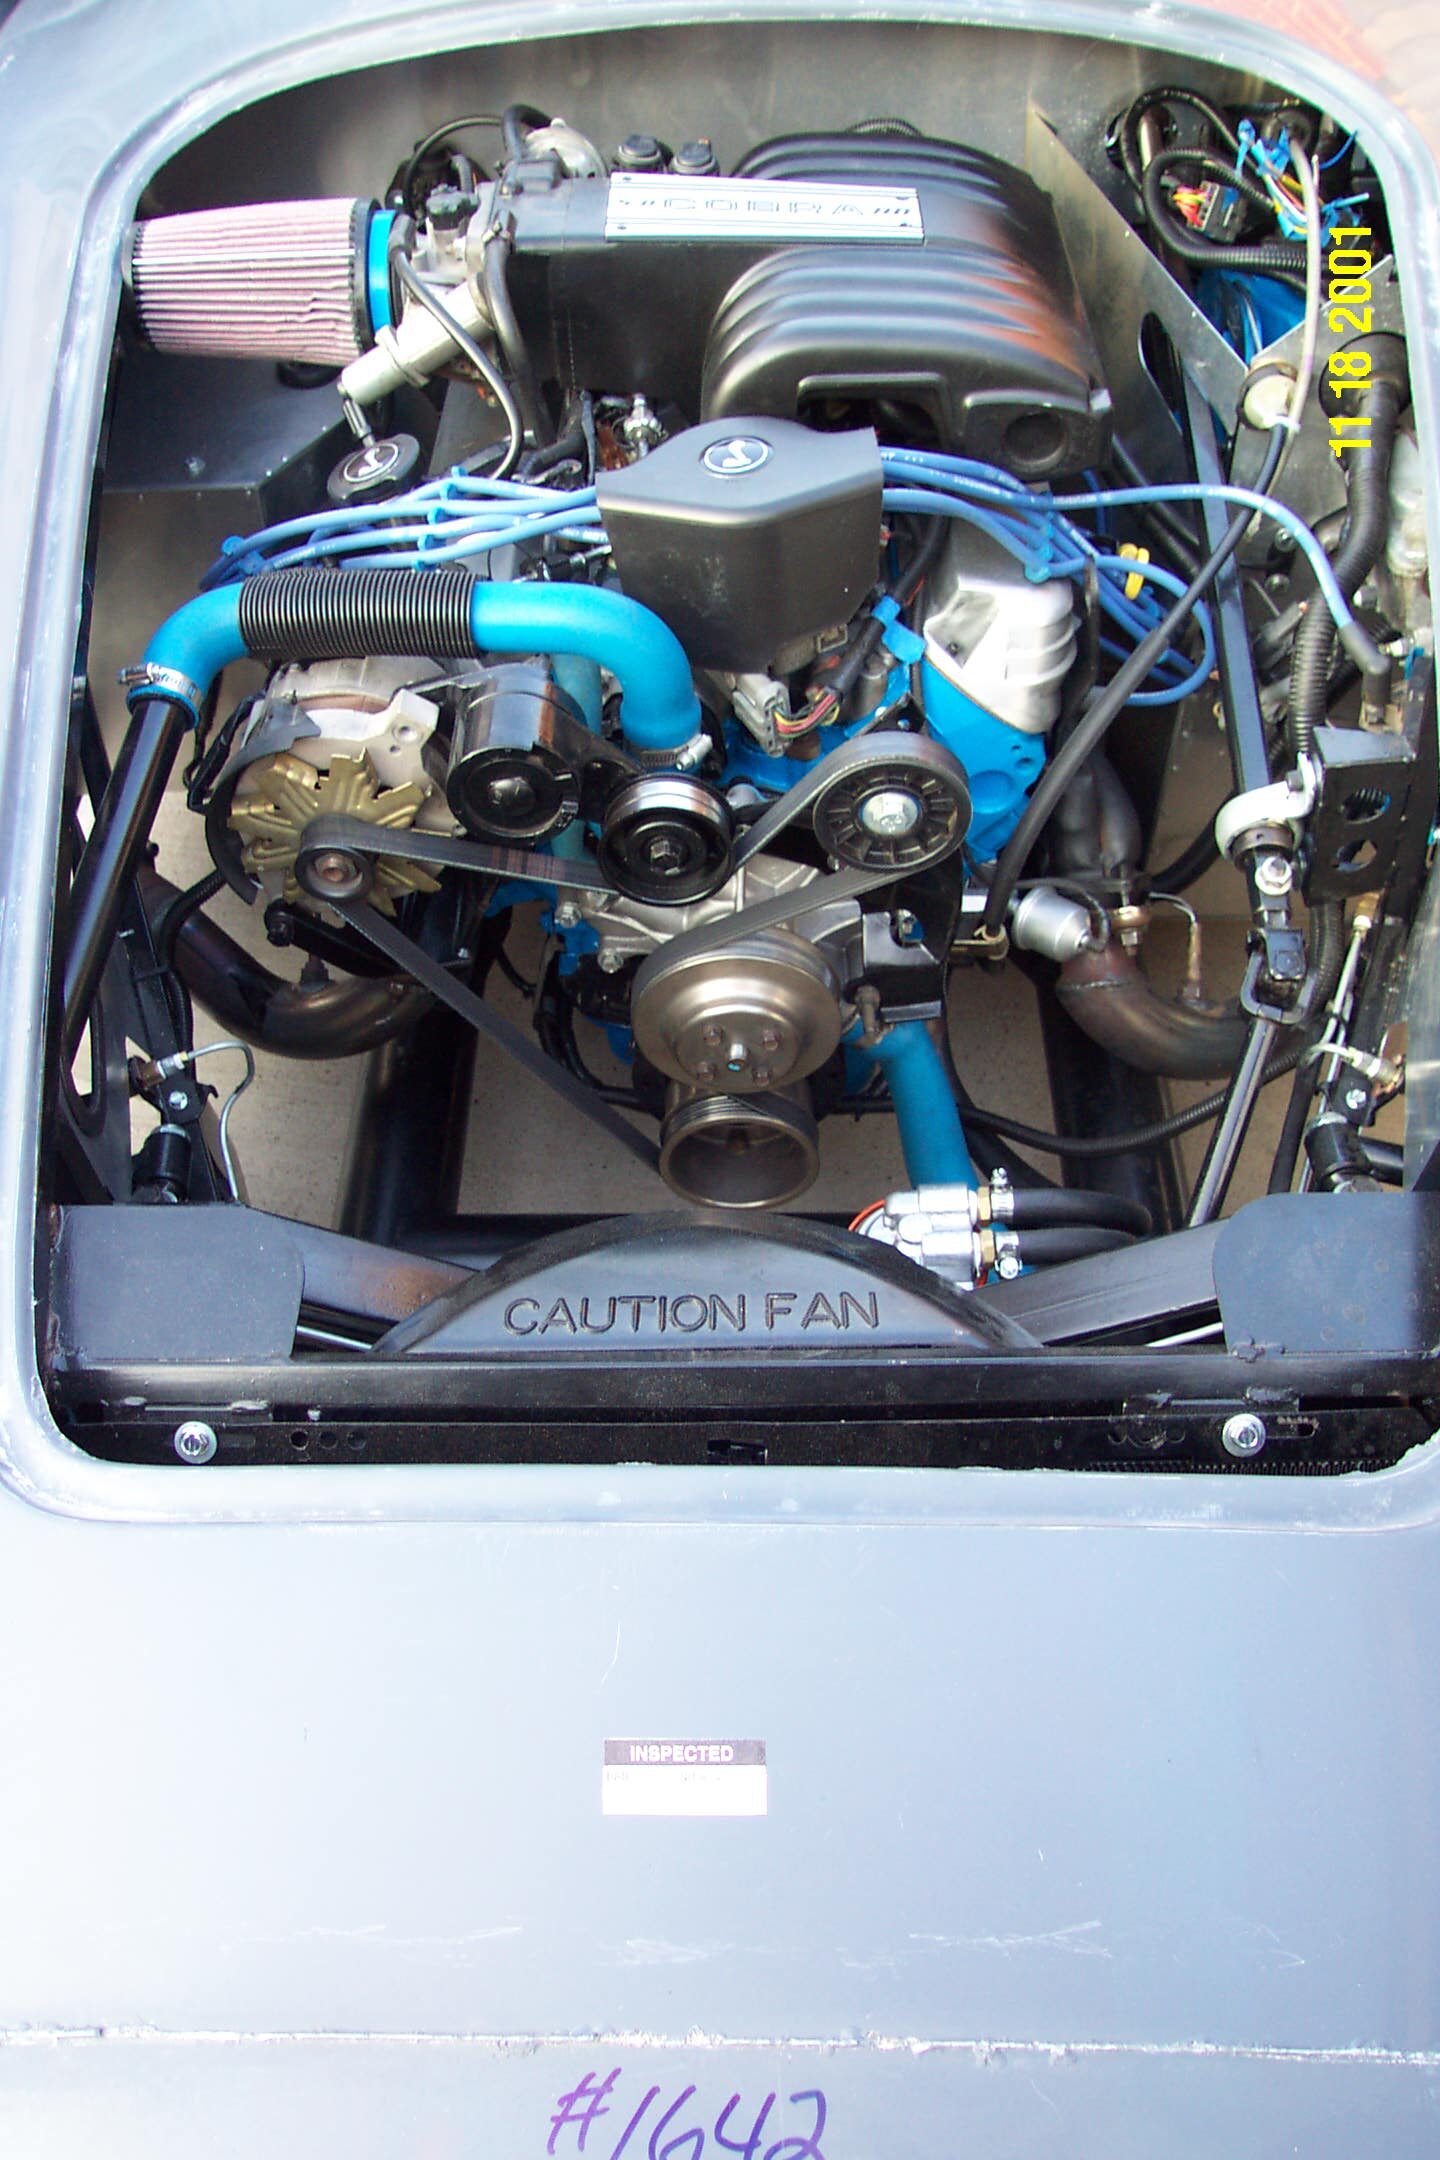
Here are some pictures of the completed engine before installing it in the car. Check out the Cobra intake plaque!

September 2001 Engine Installation
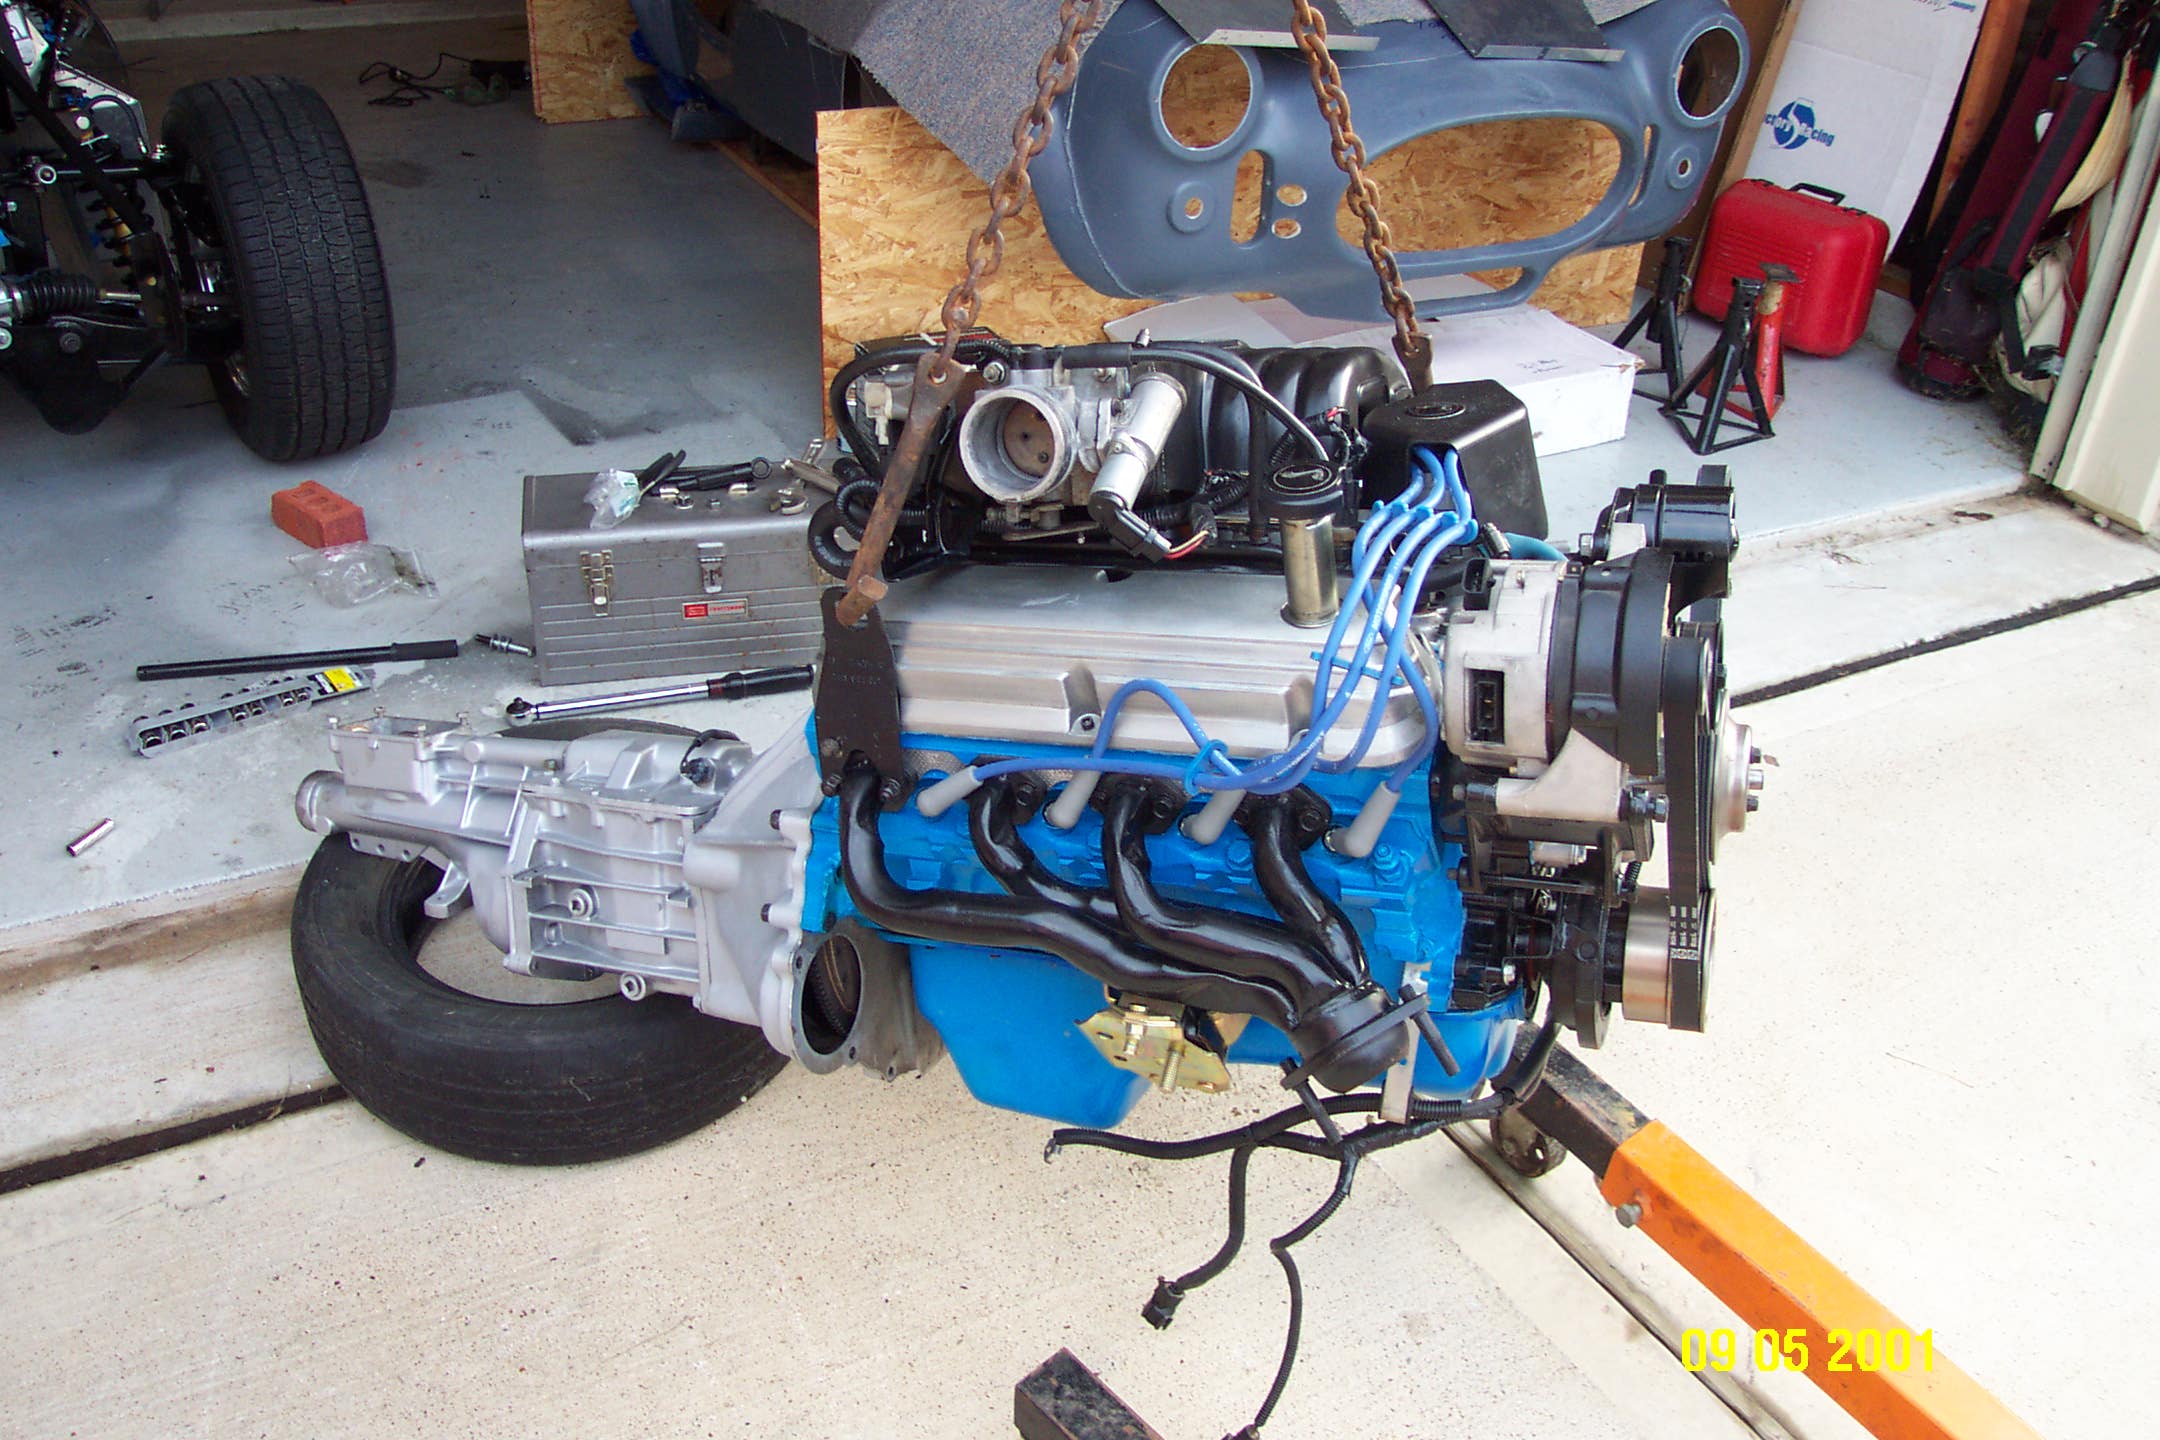
The engine has been reunited with the transmission. This was fairly easy to do with clutch alignment tool. There are 6 bolts that hold the engine and the transmission together. I hope we tightened them enough! We first had to raise the engine high enough to clear the front of the frame. The engine was tilted by pushing down on the back of the transmission. After the engine cleared the front of the frame, it was lowered into the engine bay with the lift. The car was rolled forward to position the engine correctly and then the engine was lowered into the mounts.
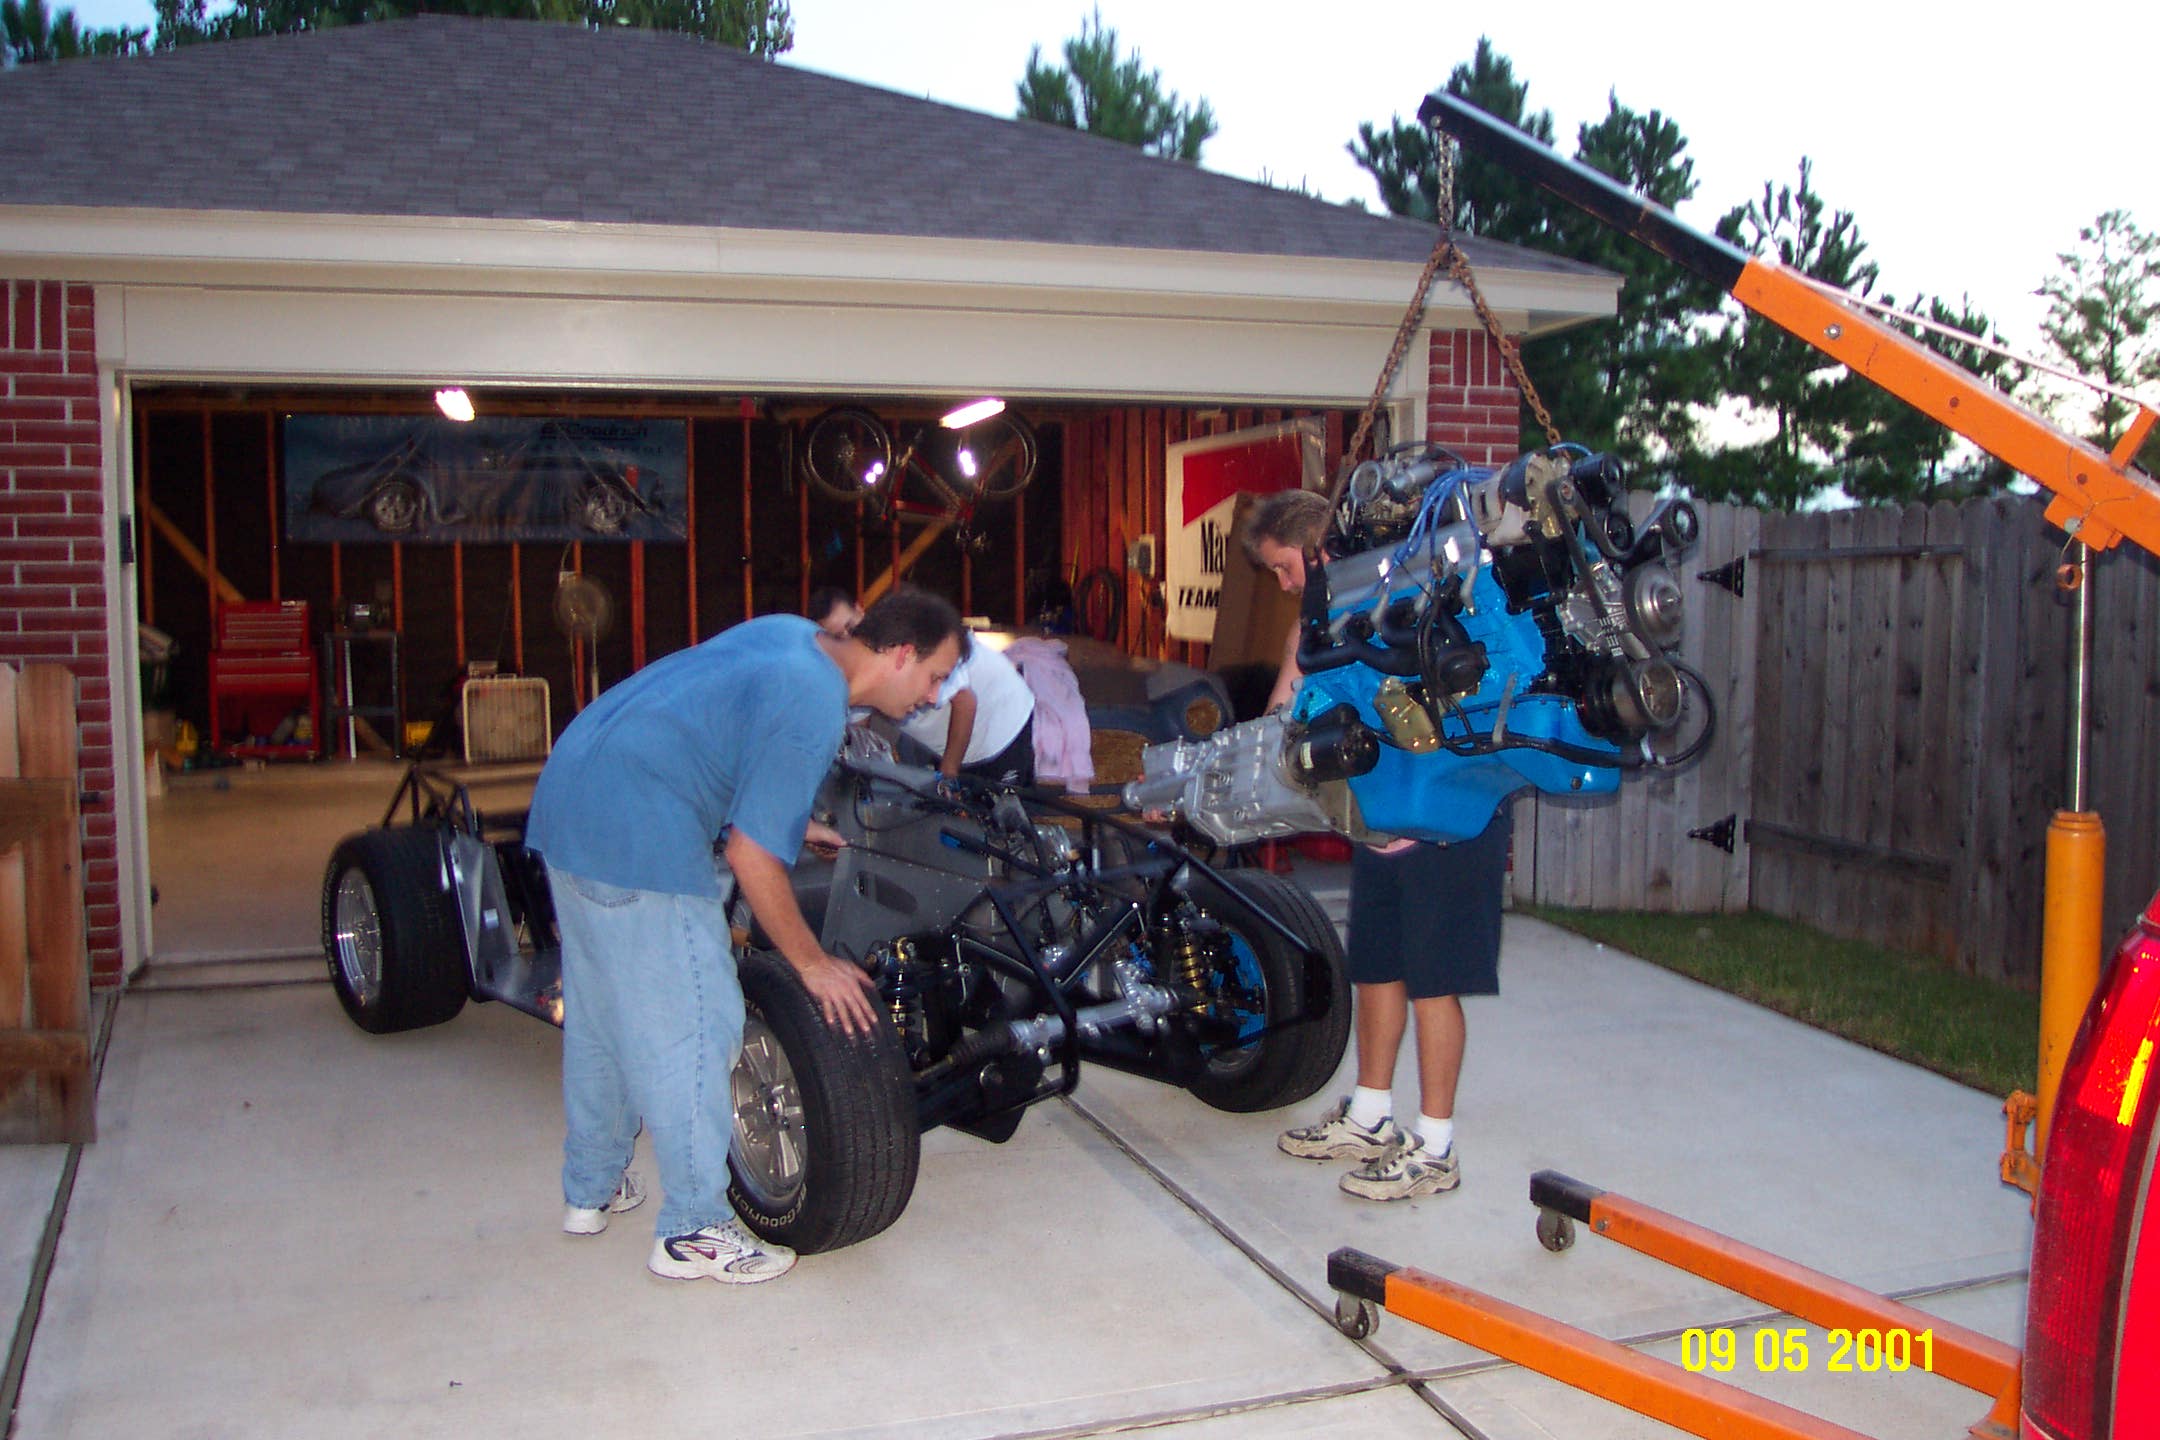

We have no pictures to prove it, but after connecting most of the wiring, the engine did turn over with the key. We still need to connect the fuel lines and radiator before starting the engine.
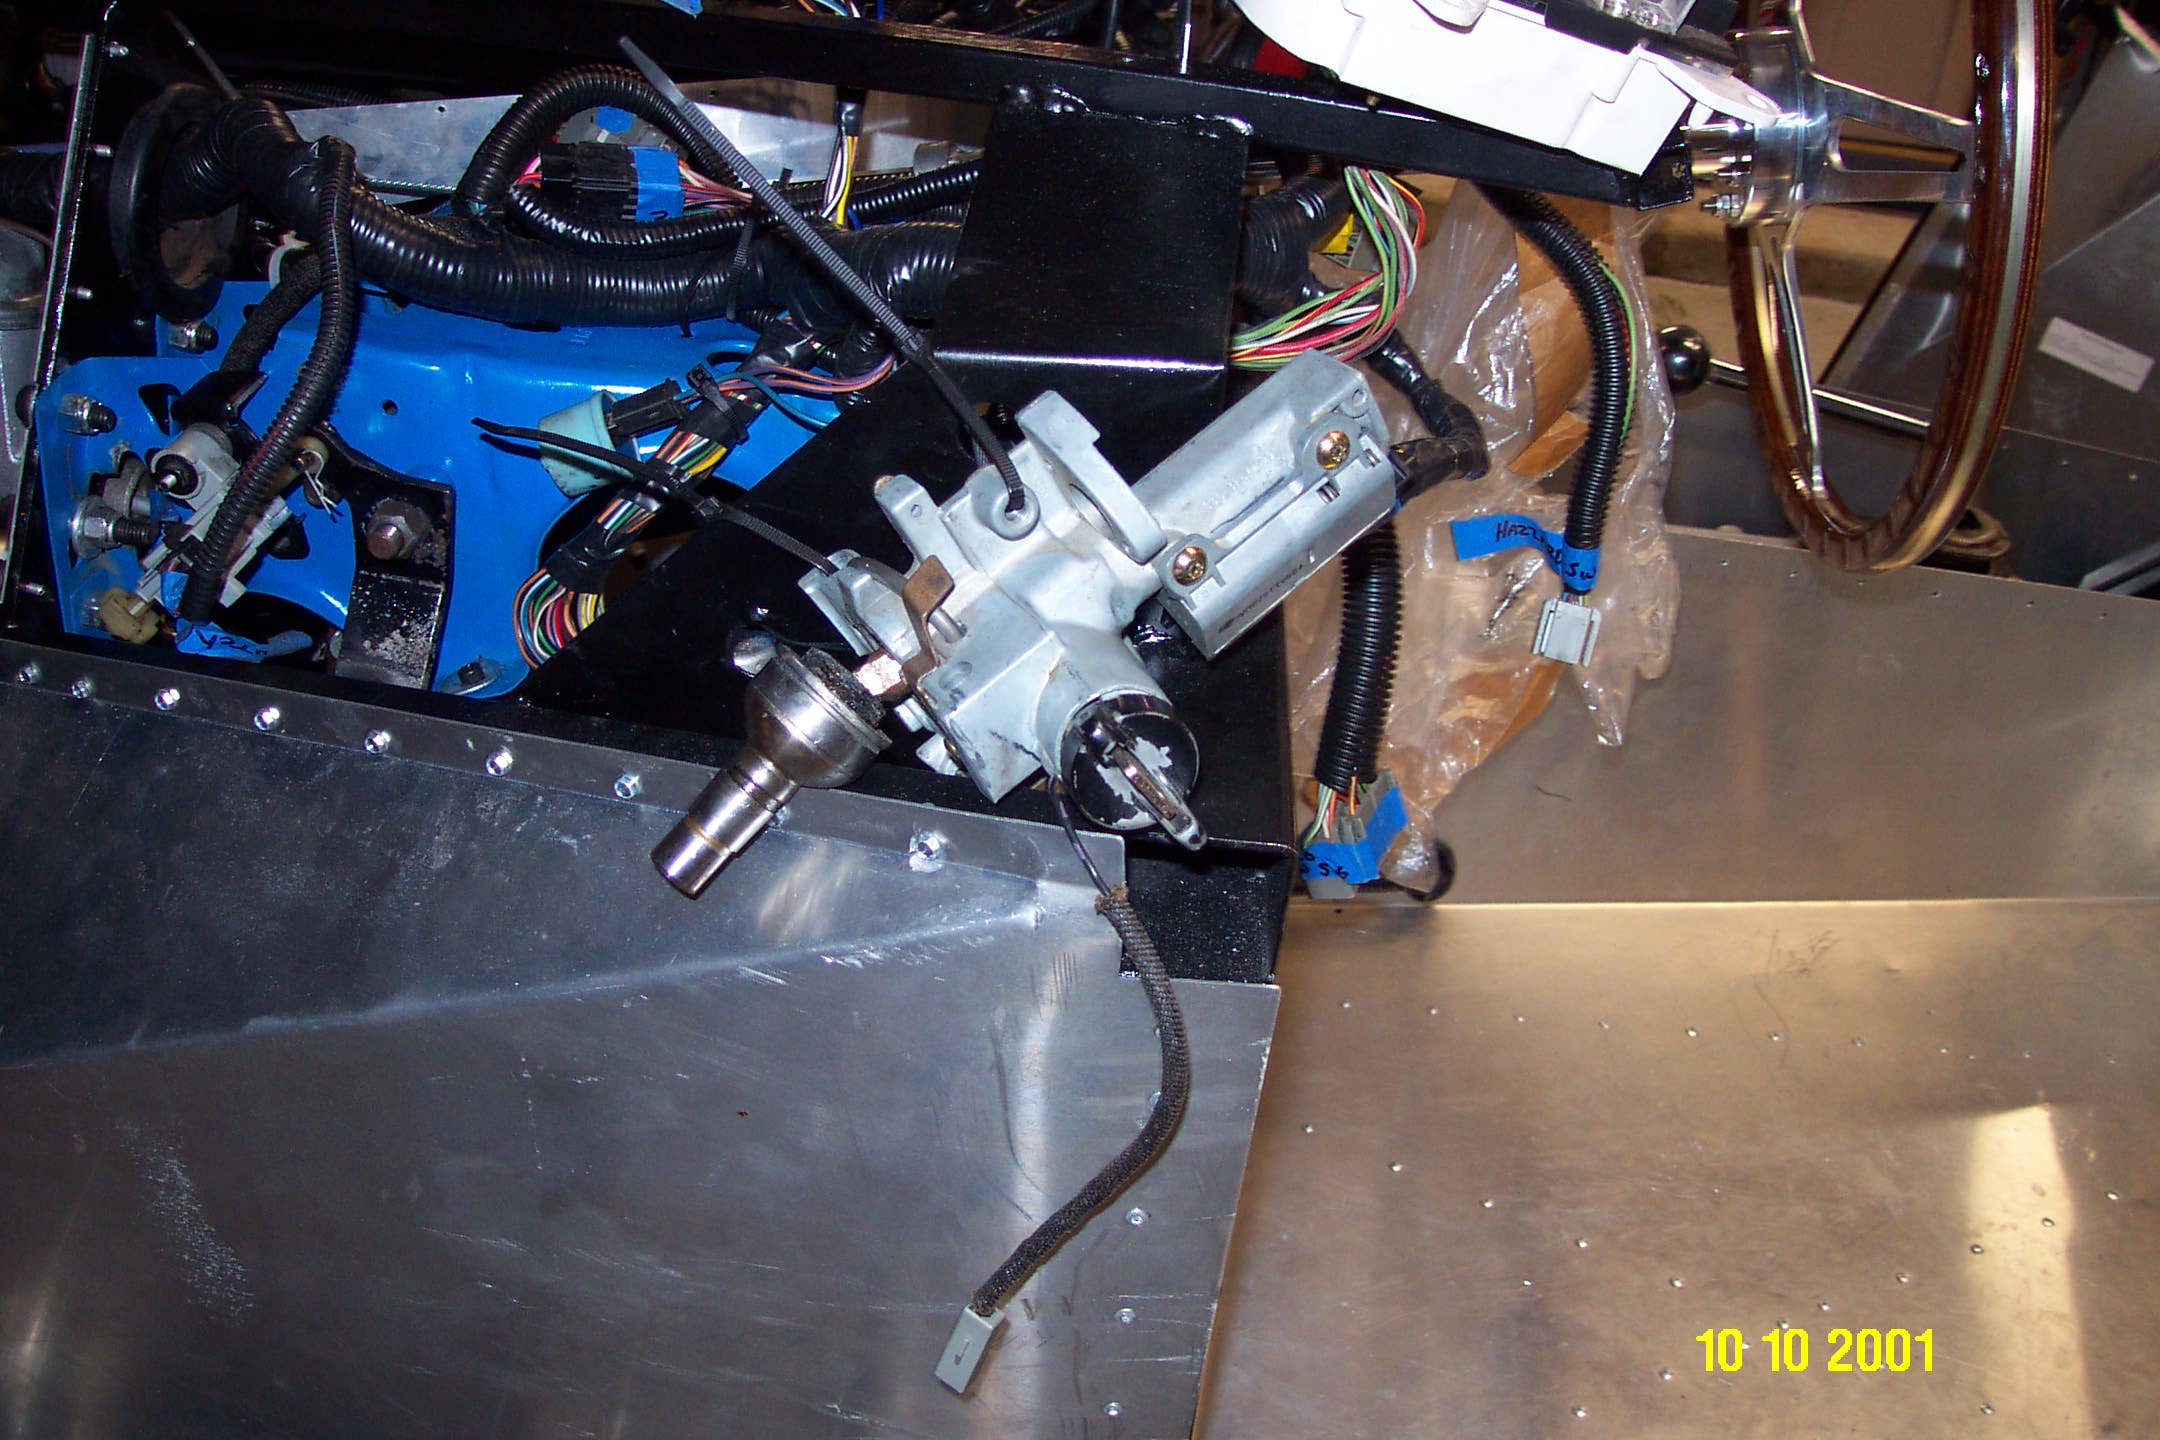
October 2001 Wiring


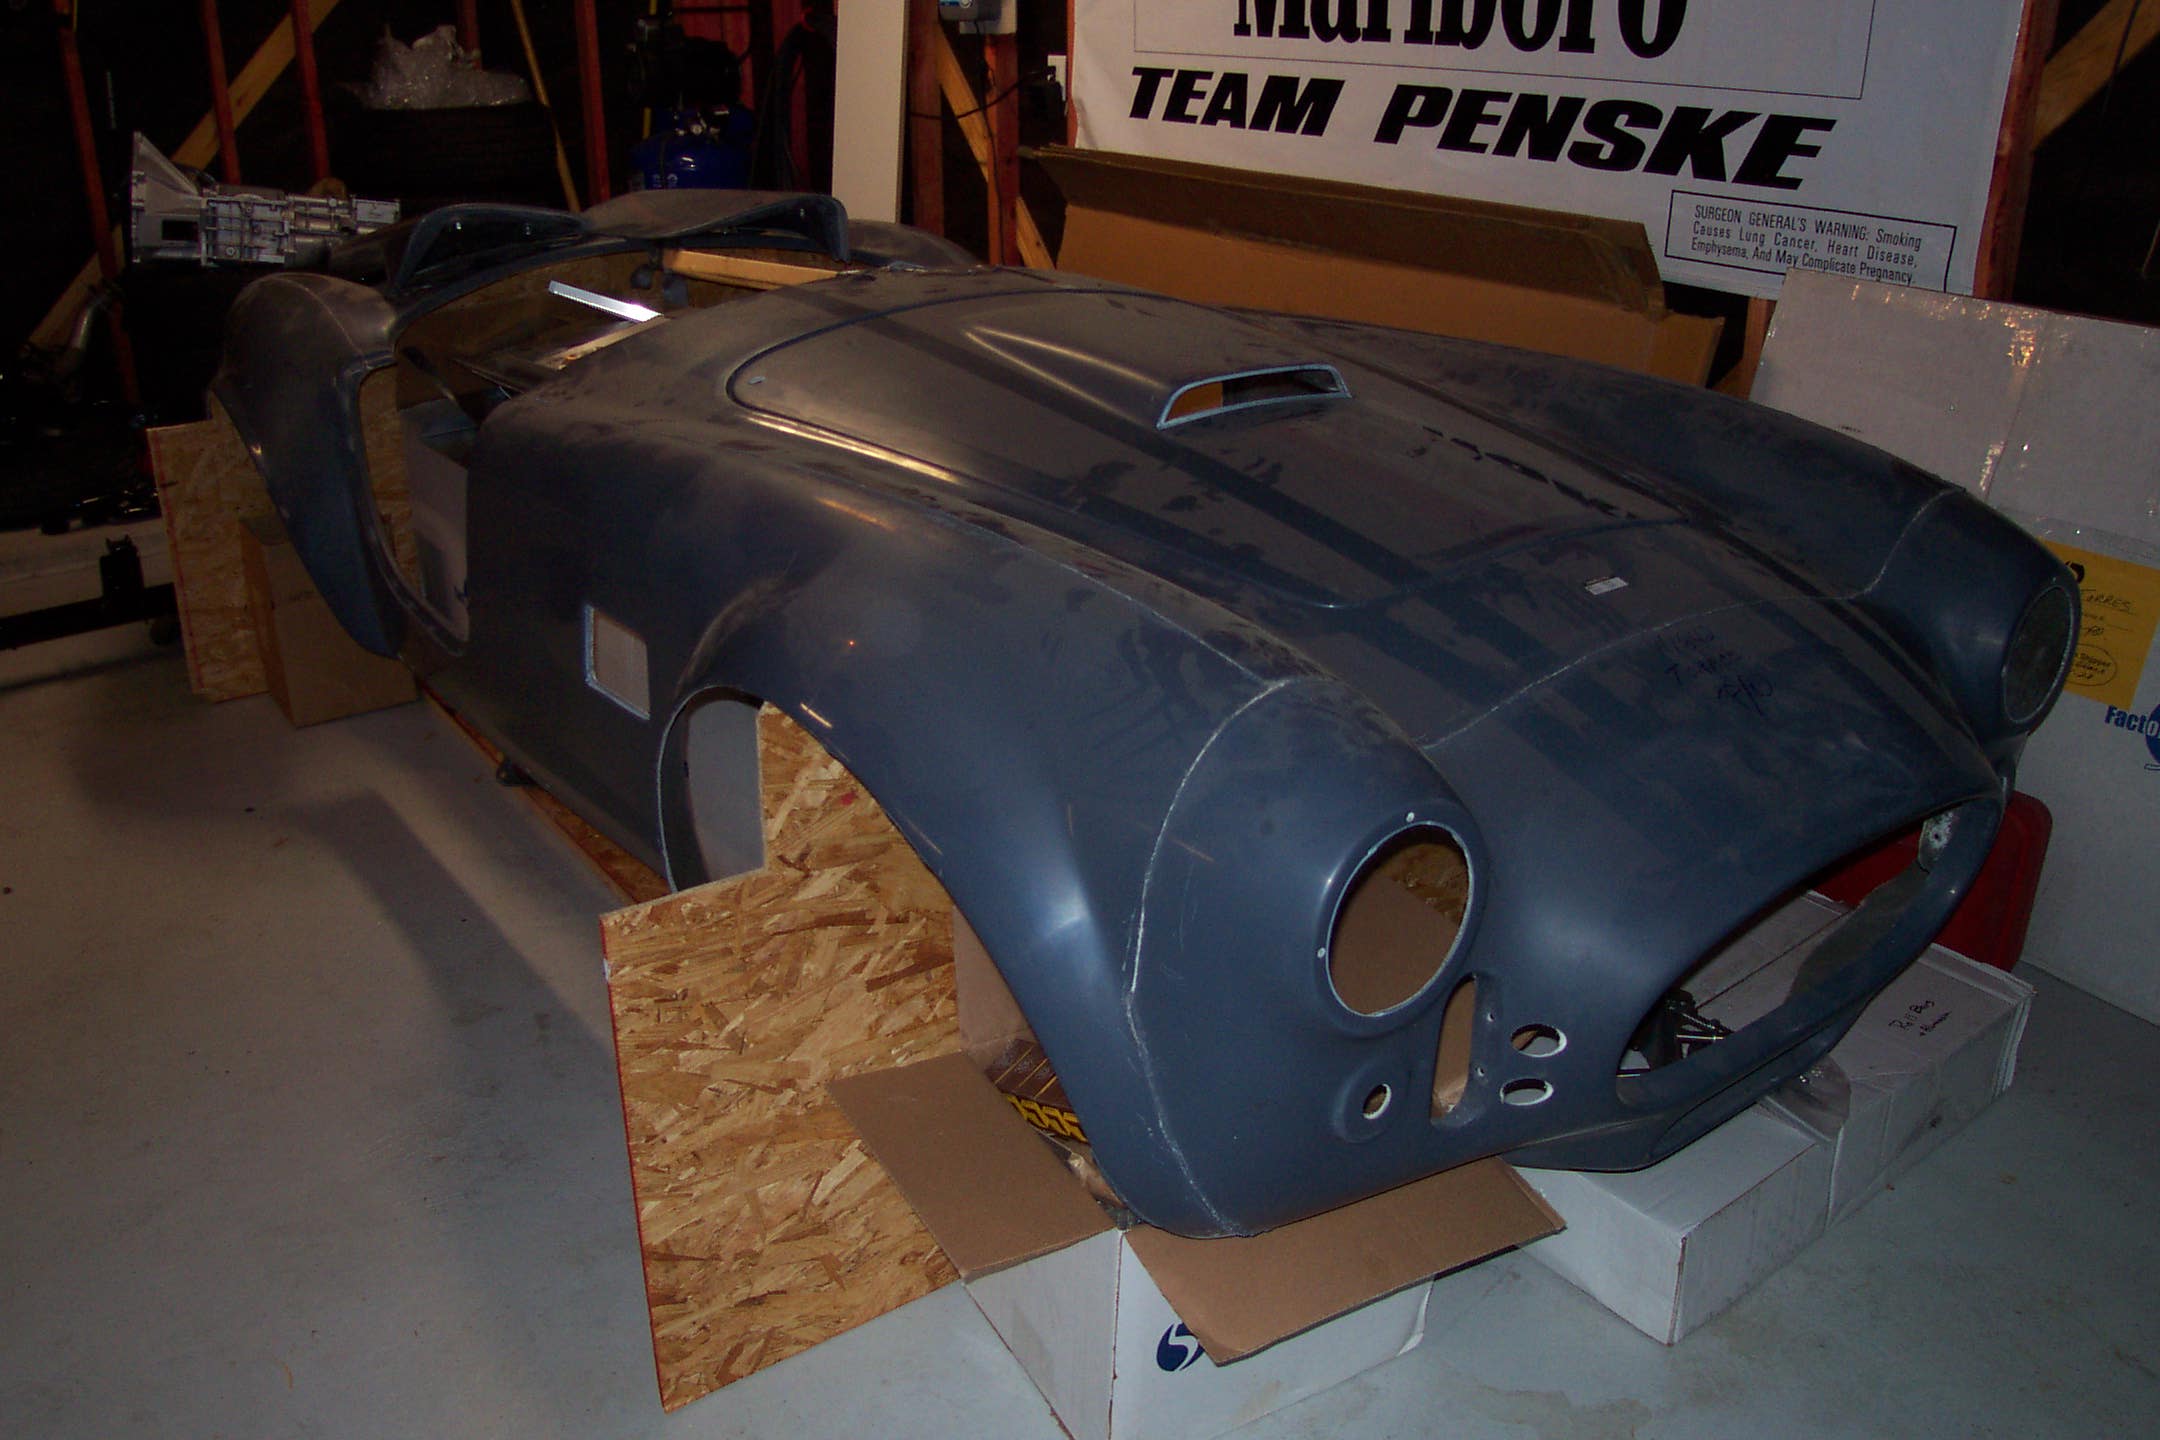
November 2001 Body Installation
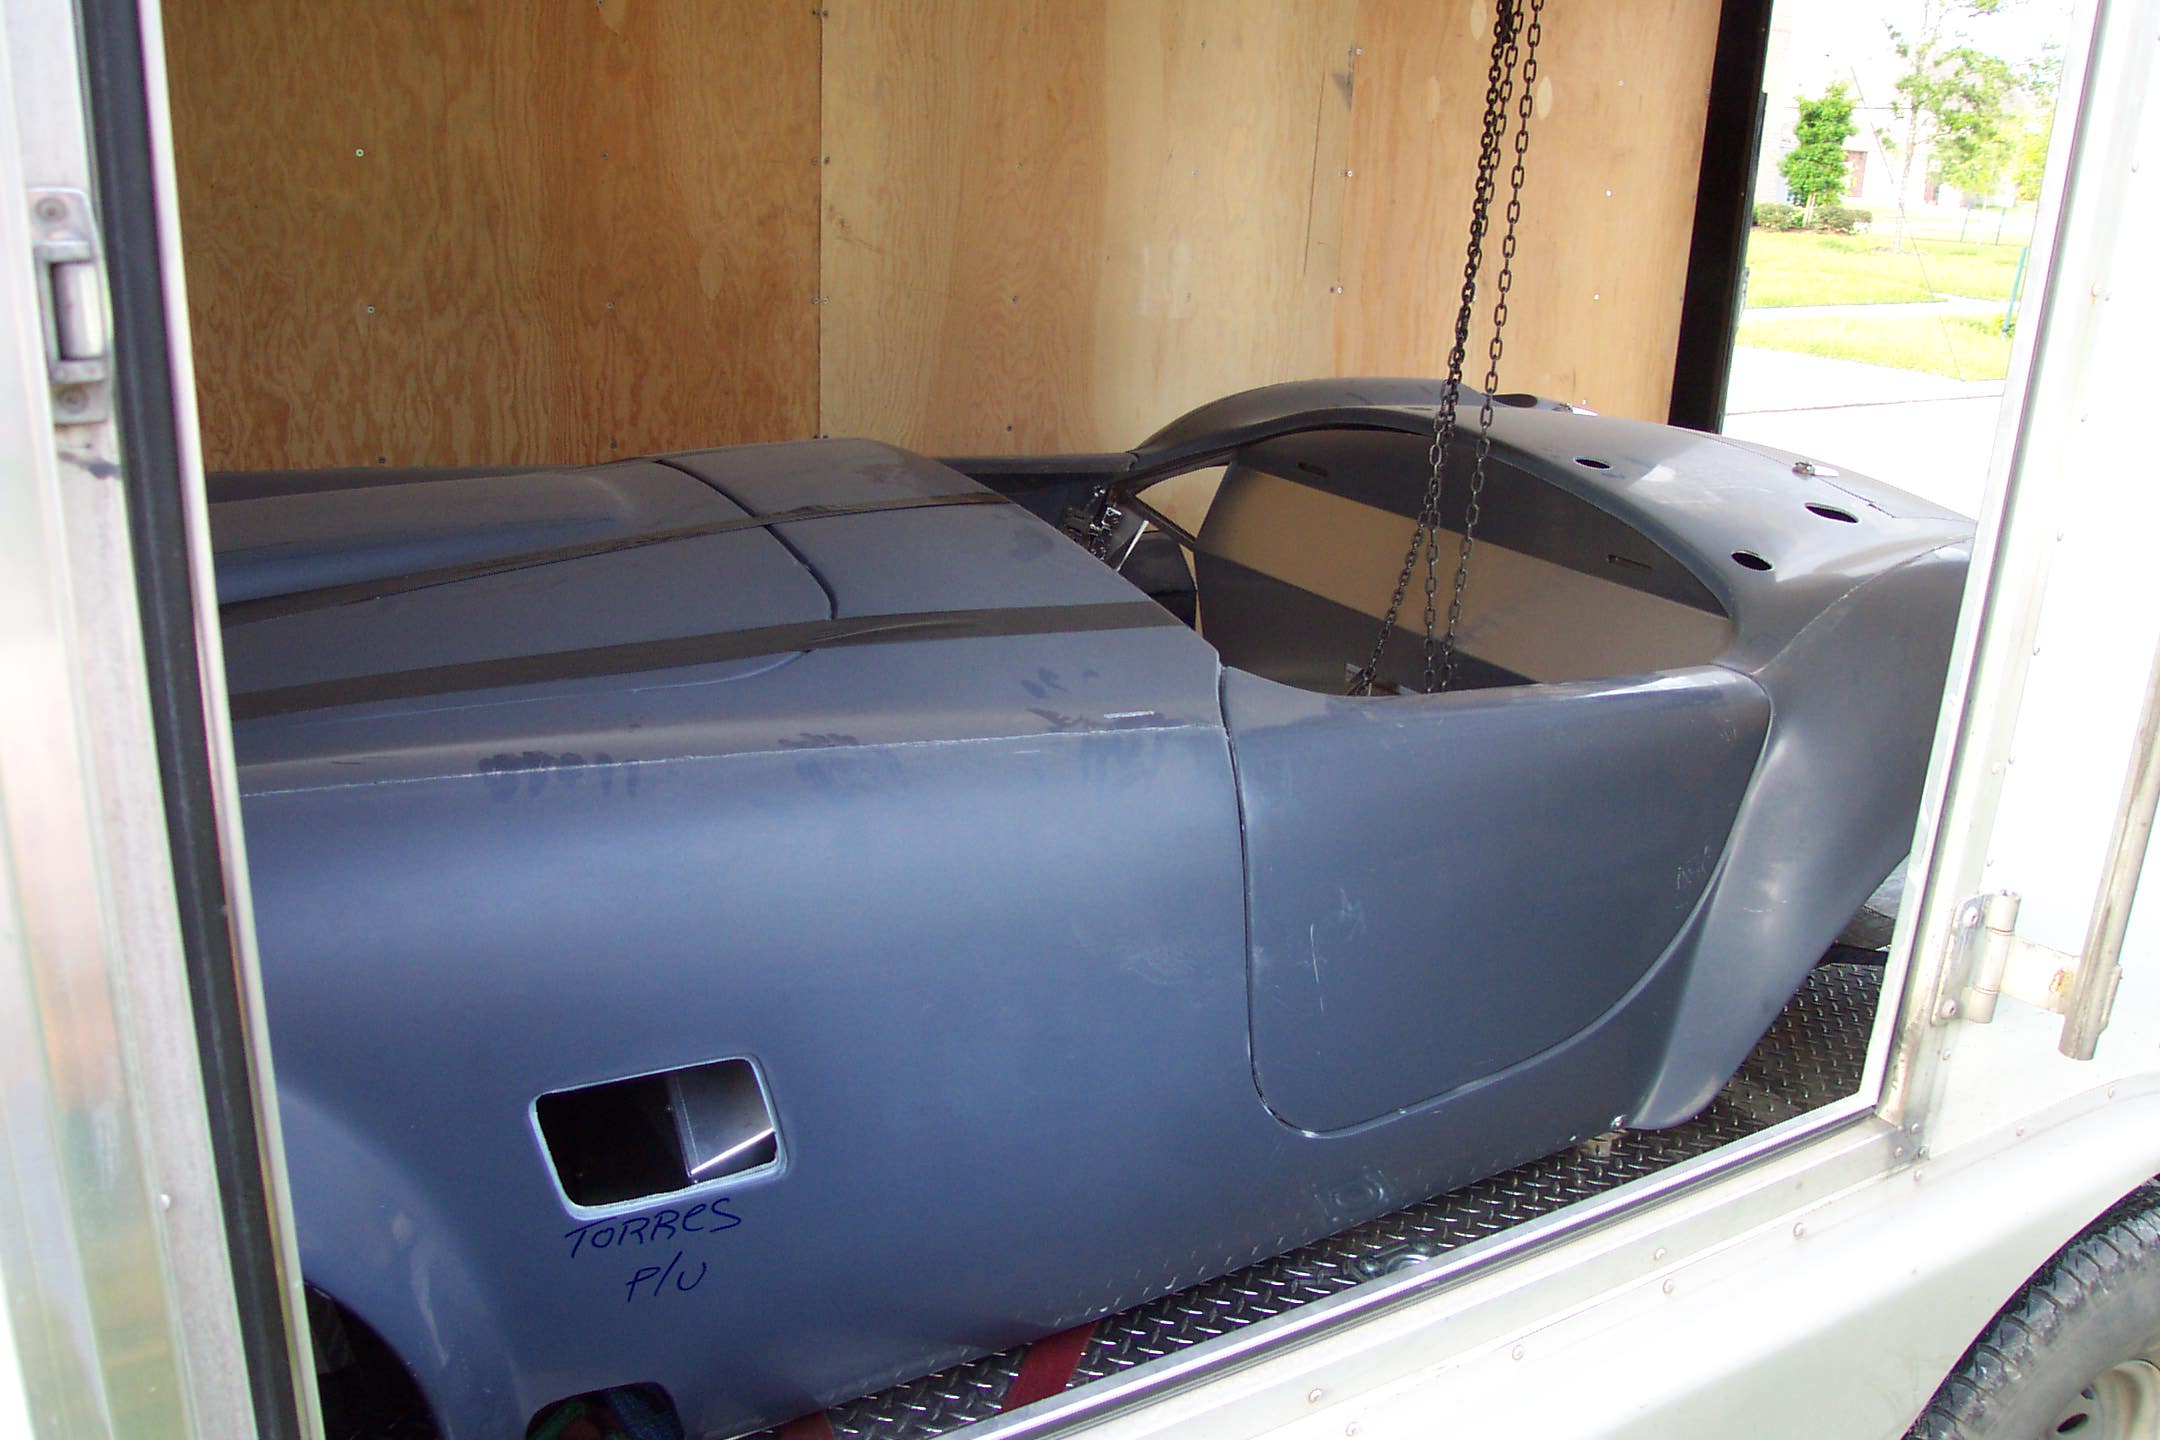
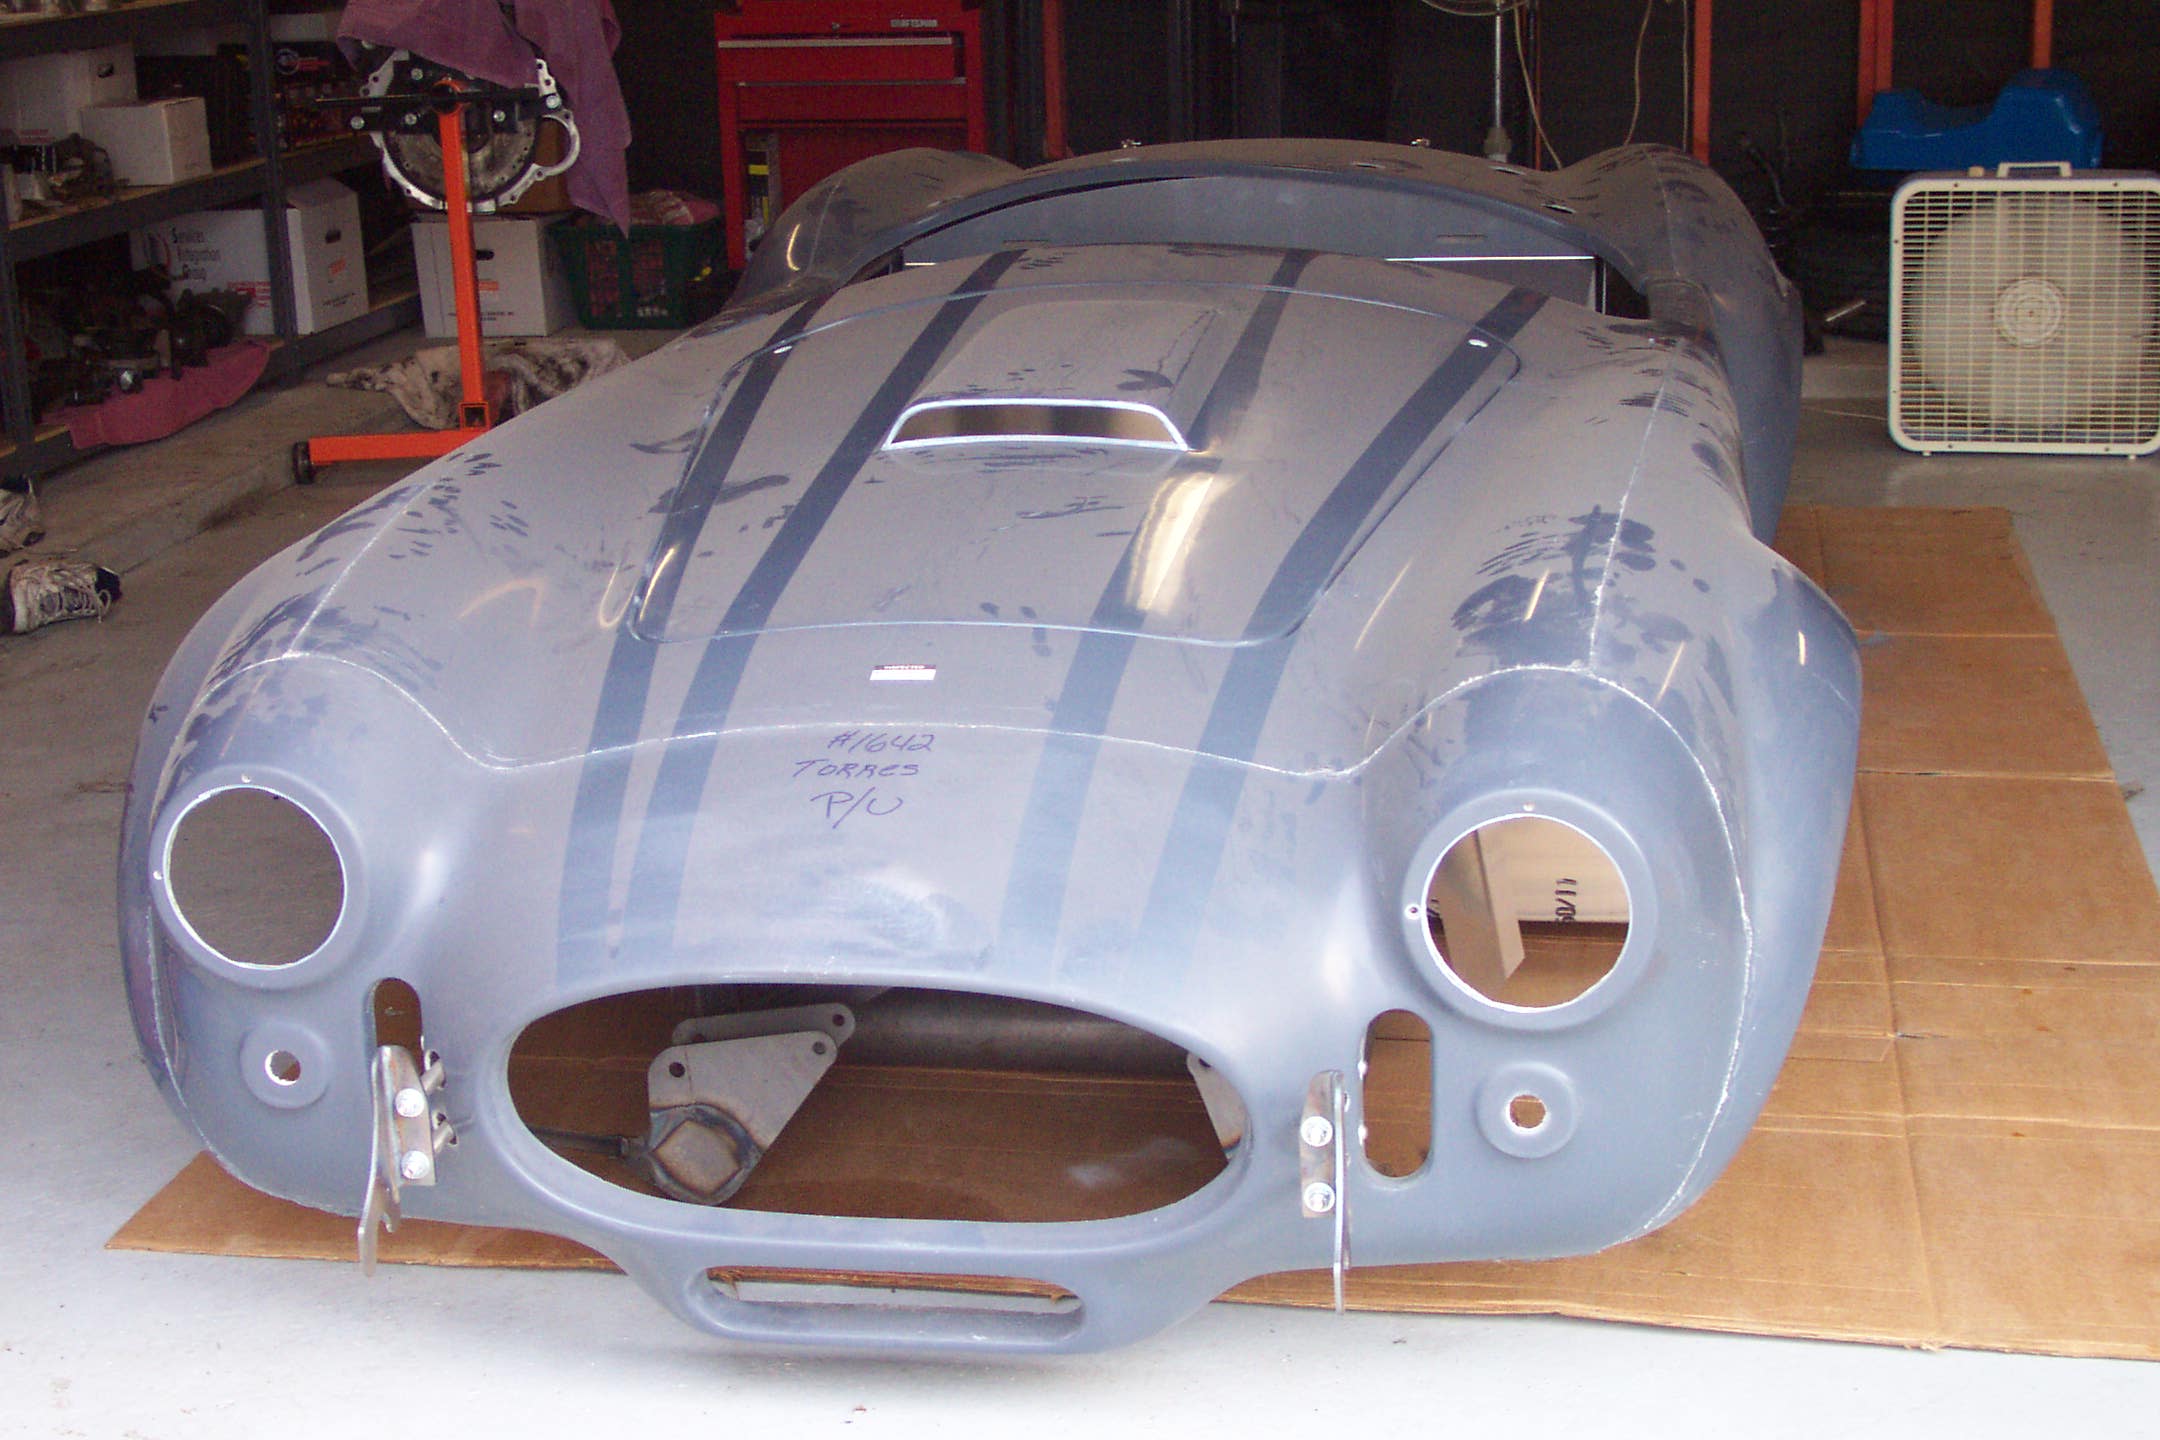
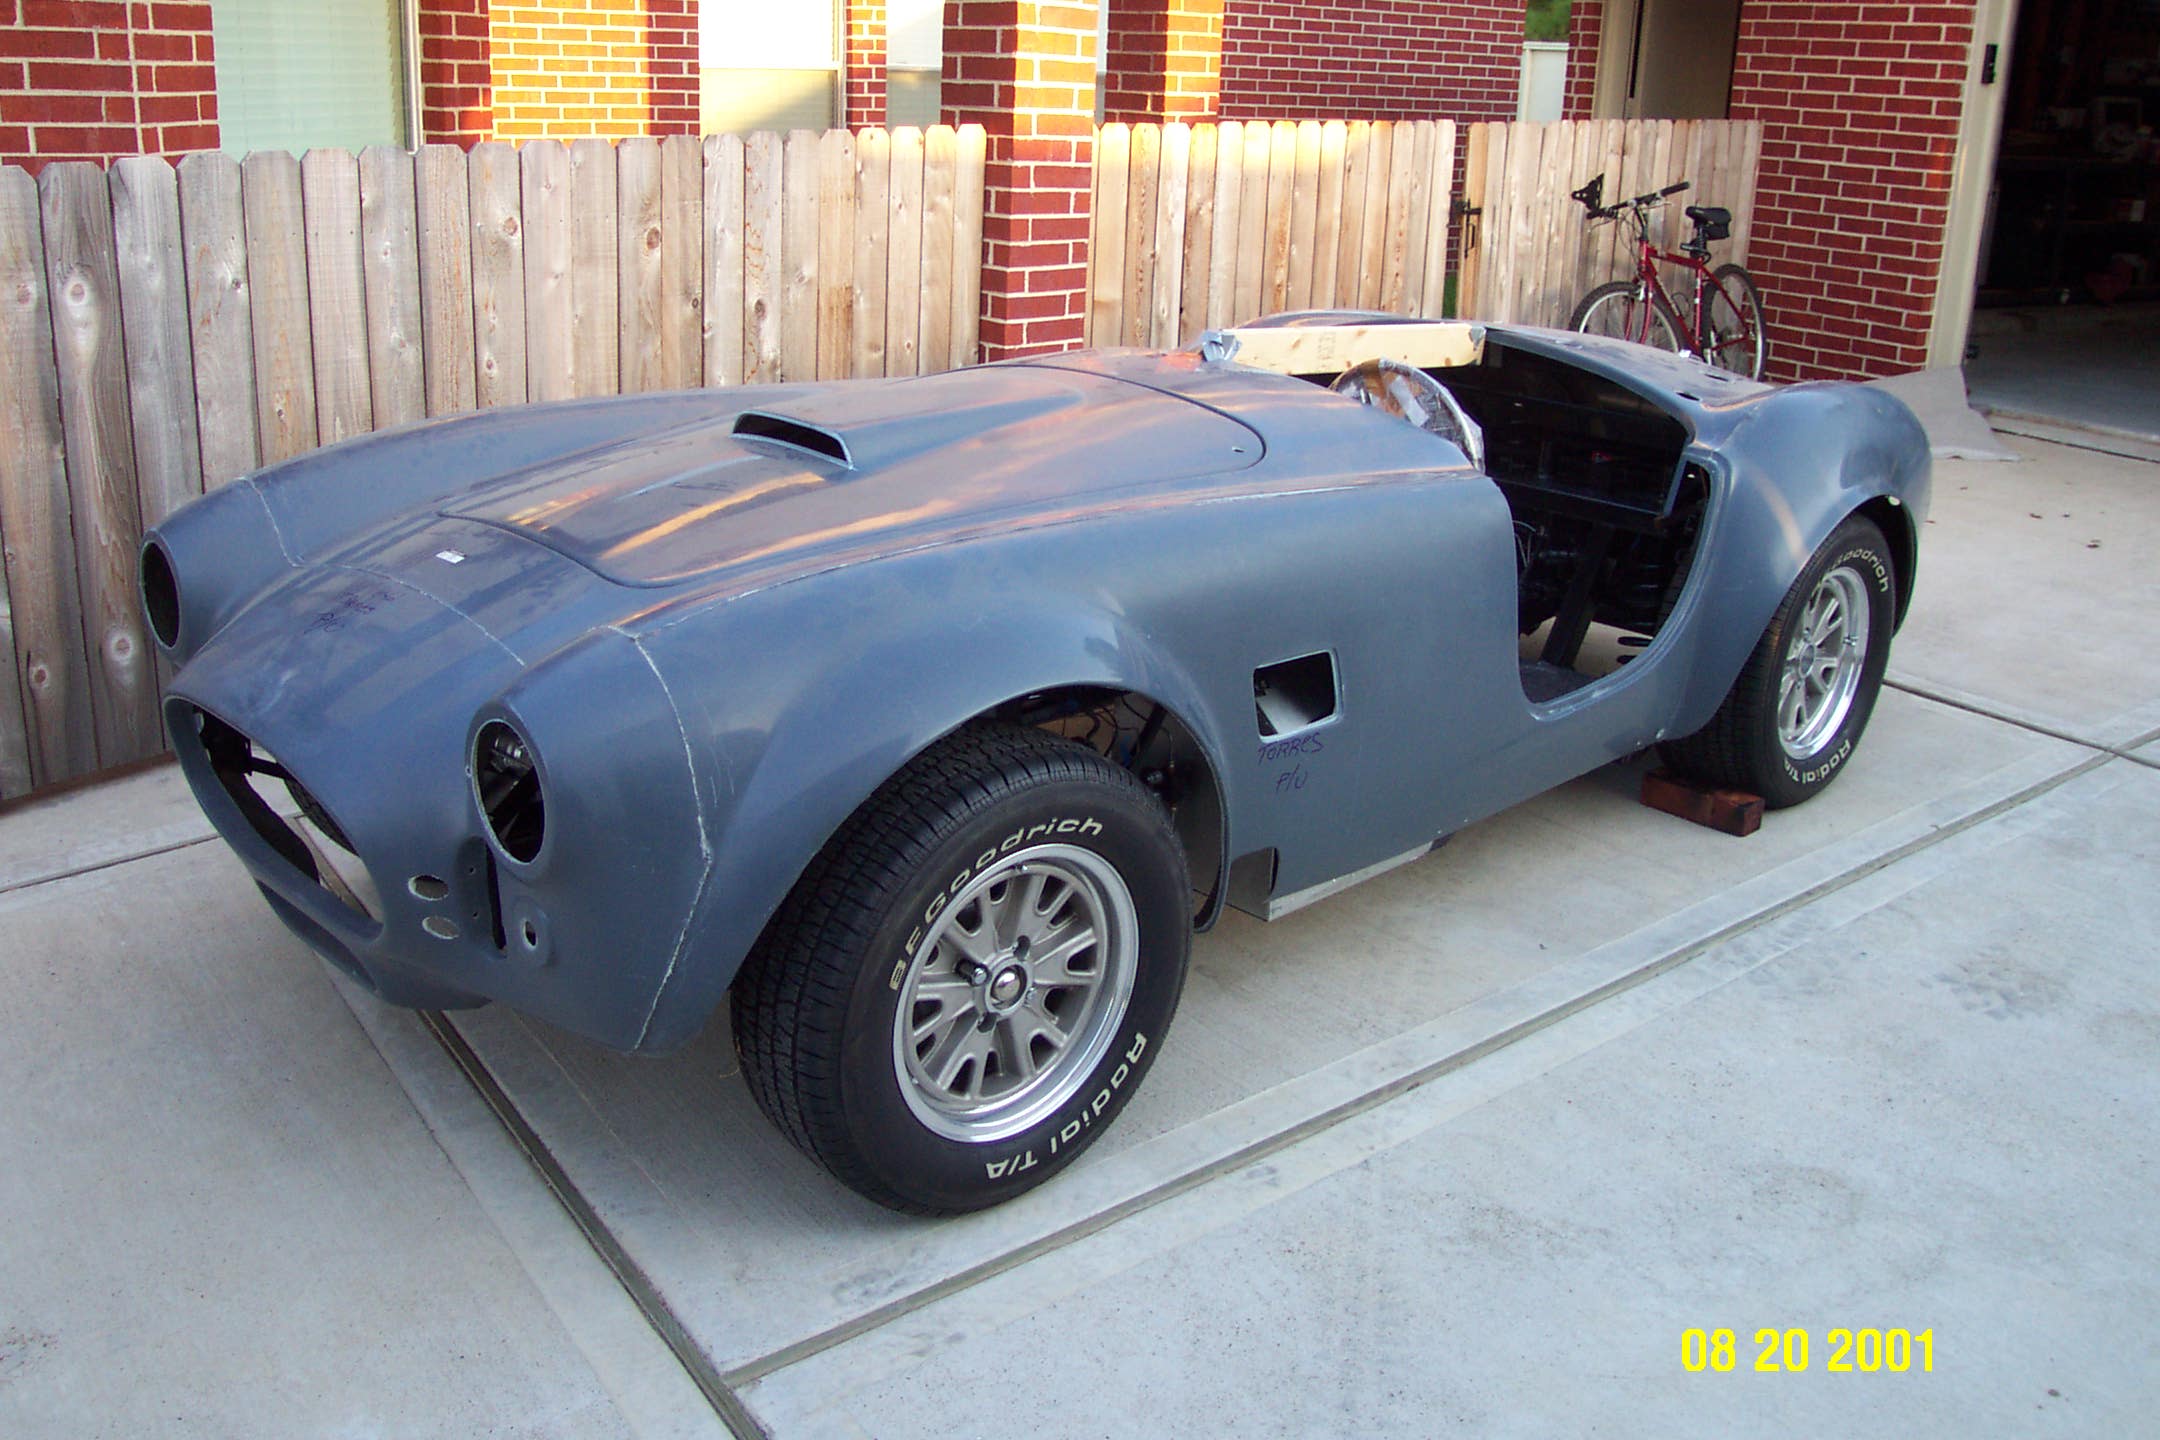
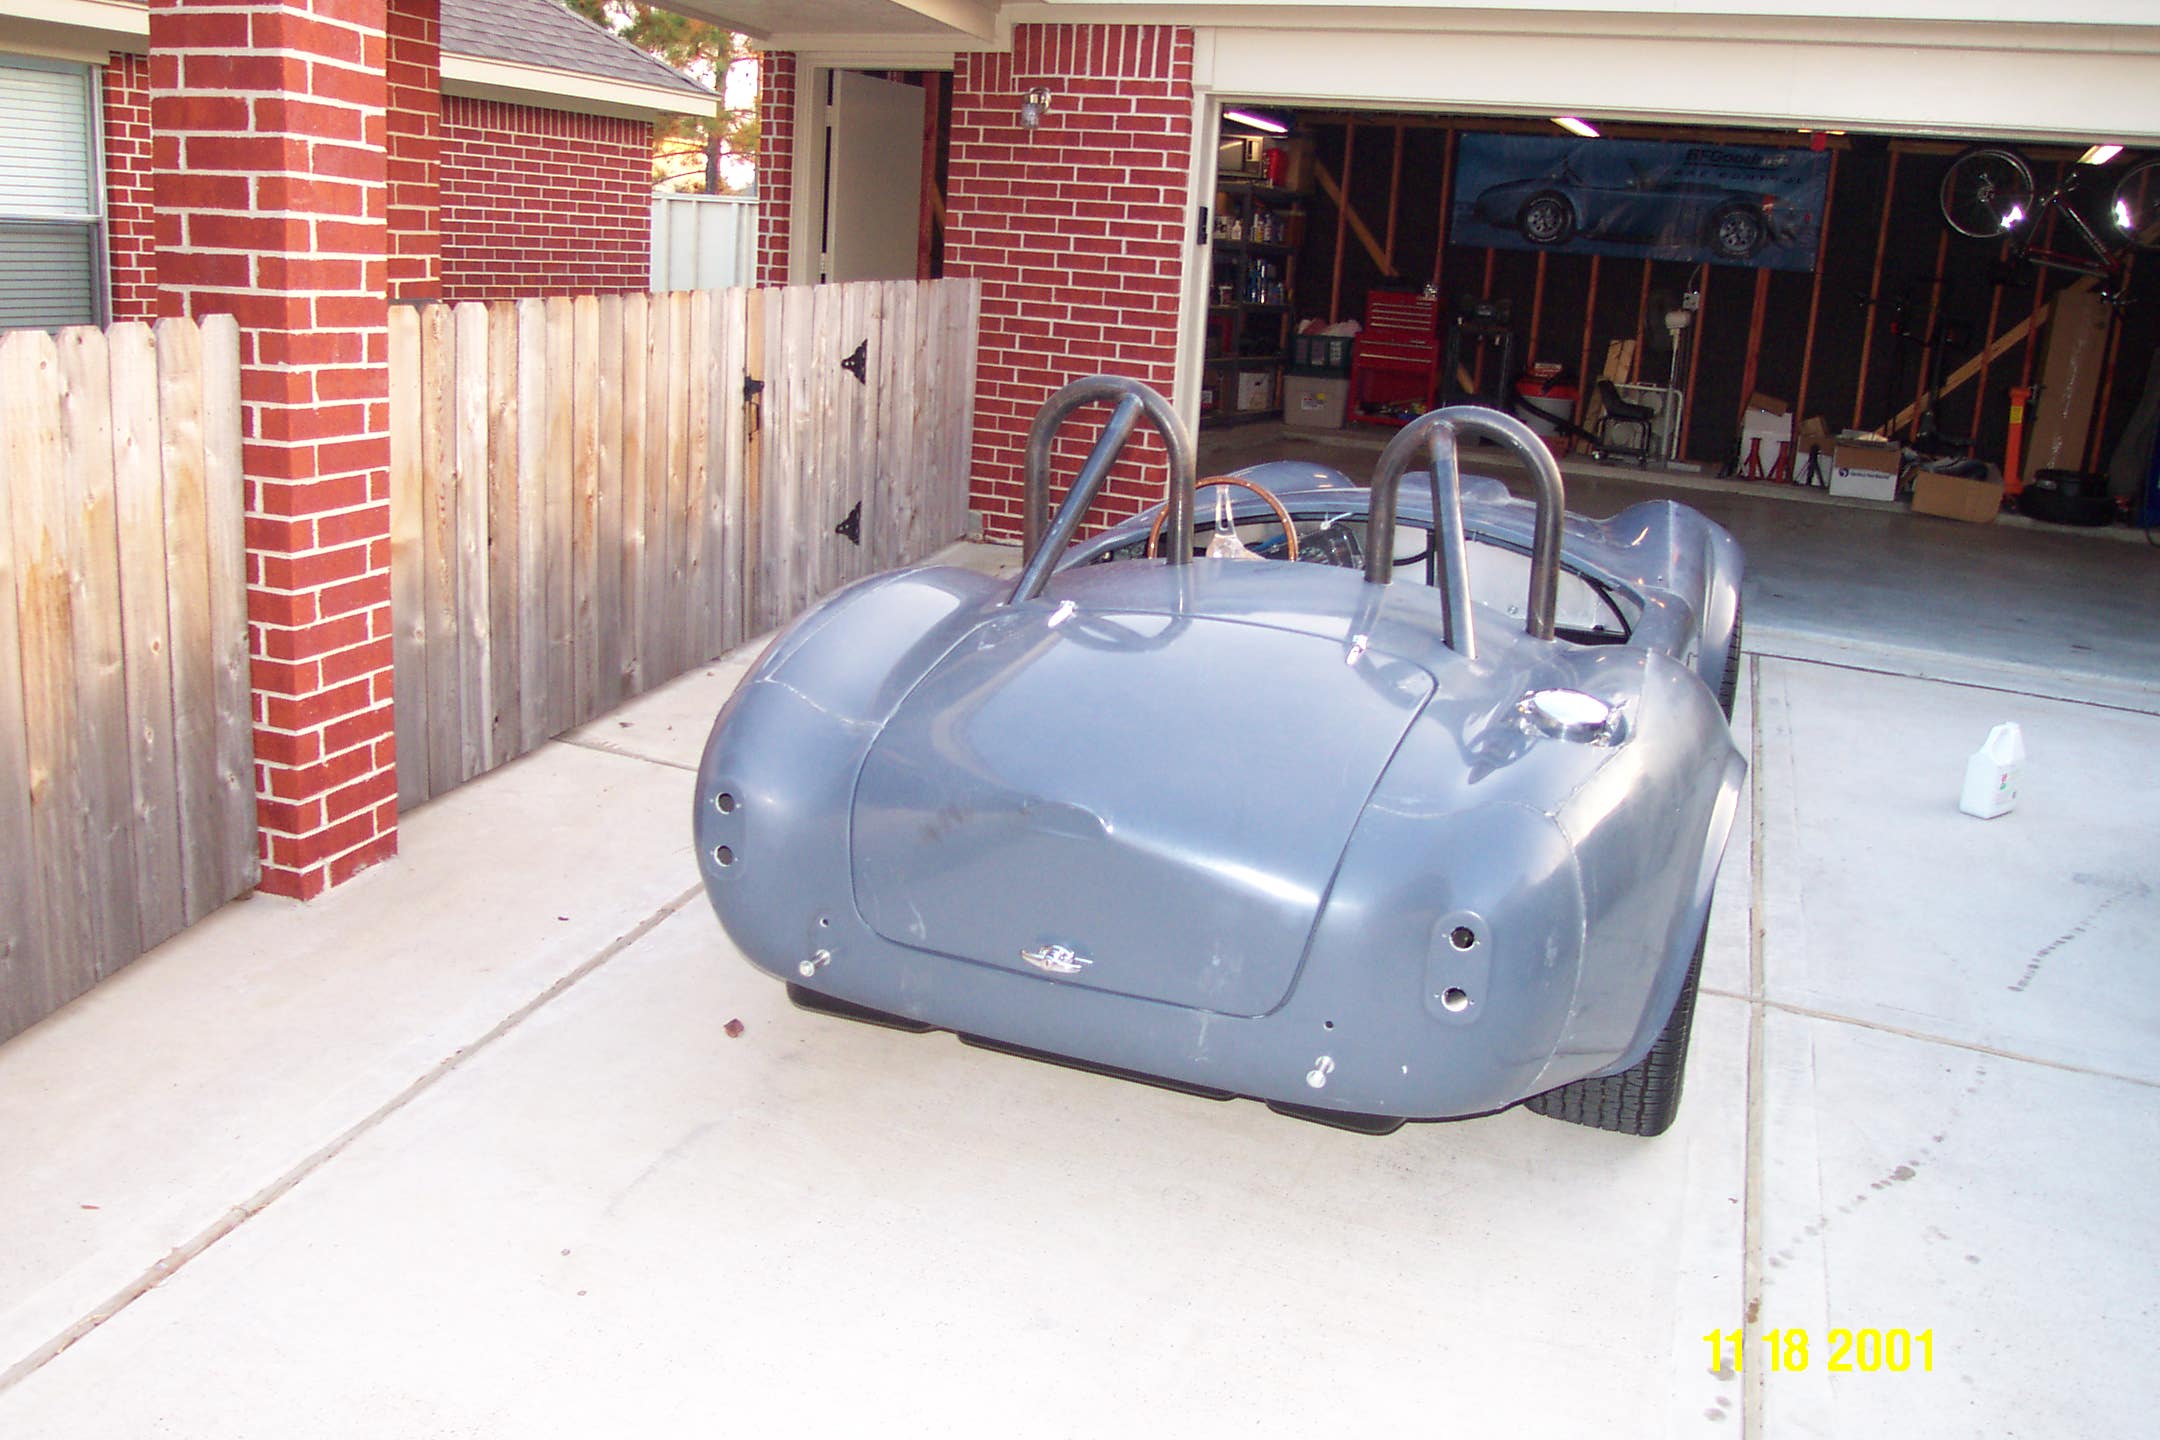
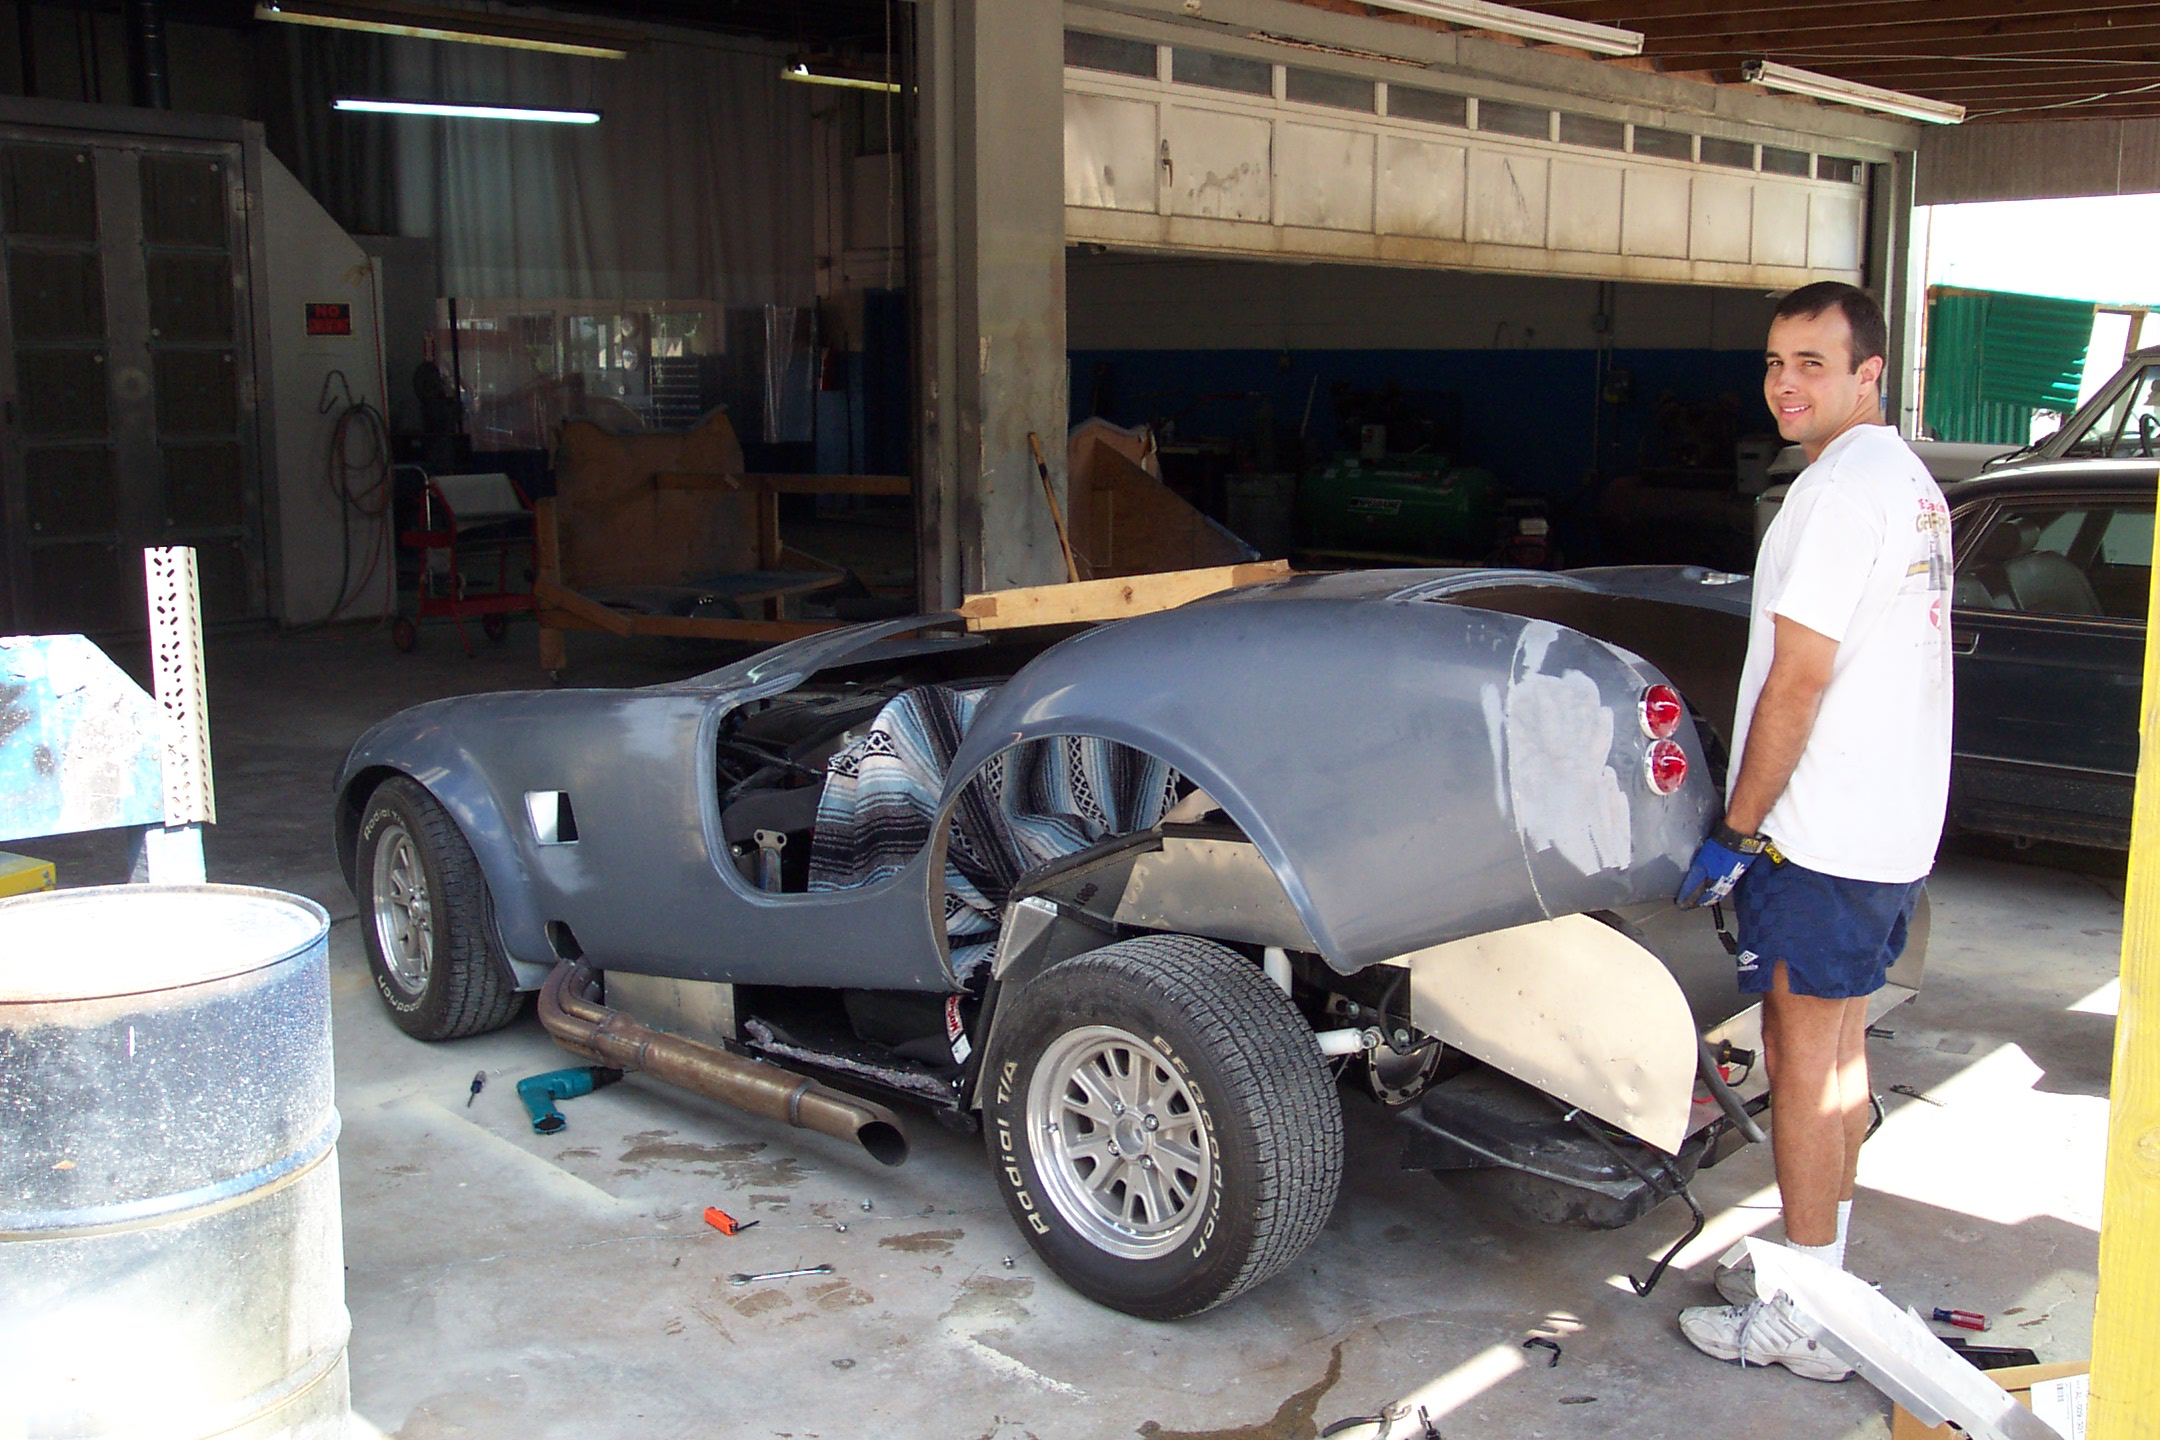
Here is the body just after it was delivered in June 2001. On the right, is when we test fit the body on the frame before the engine was installed.
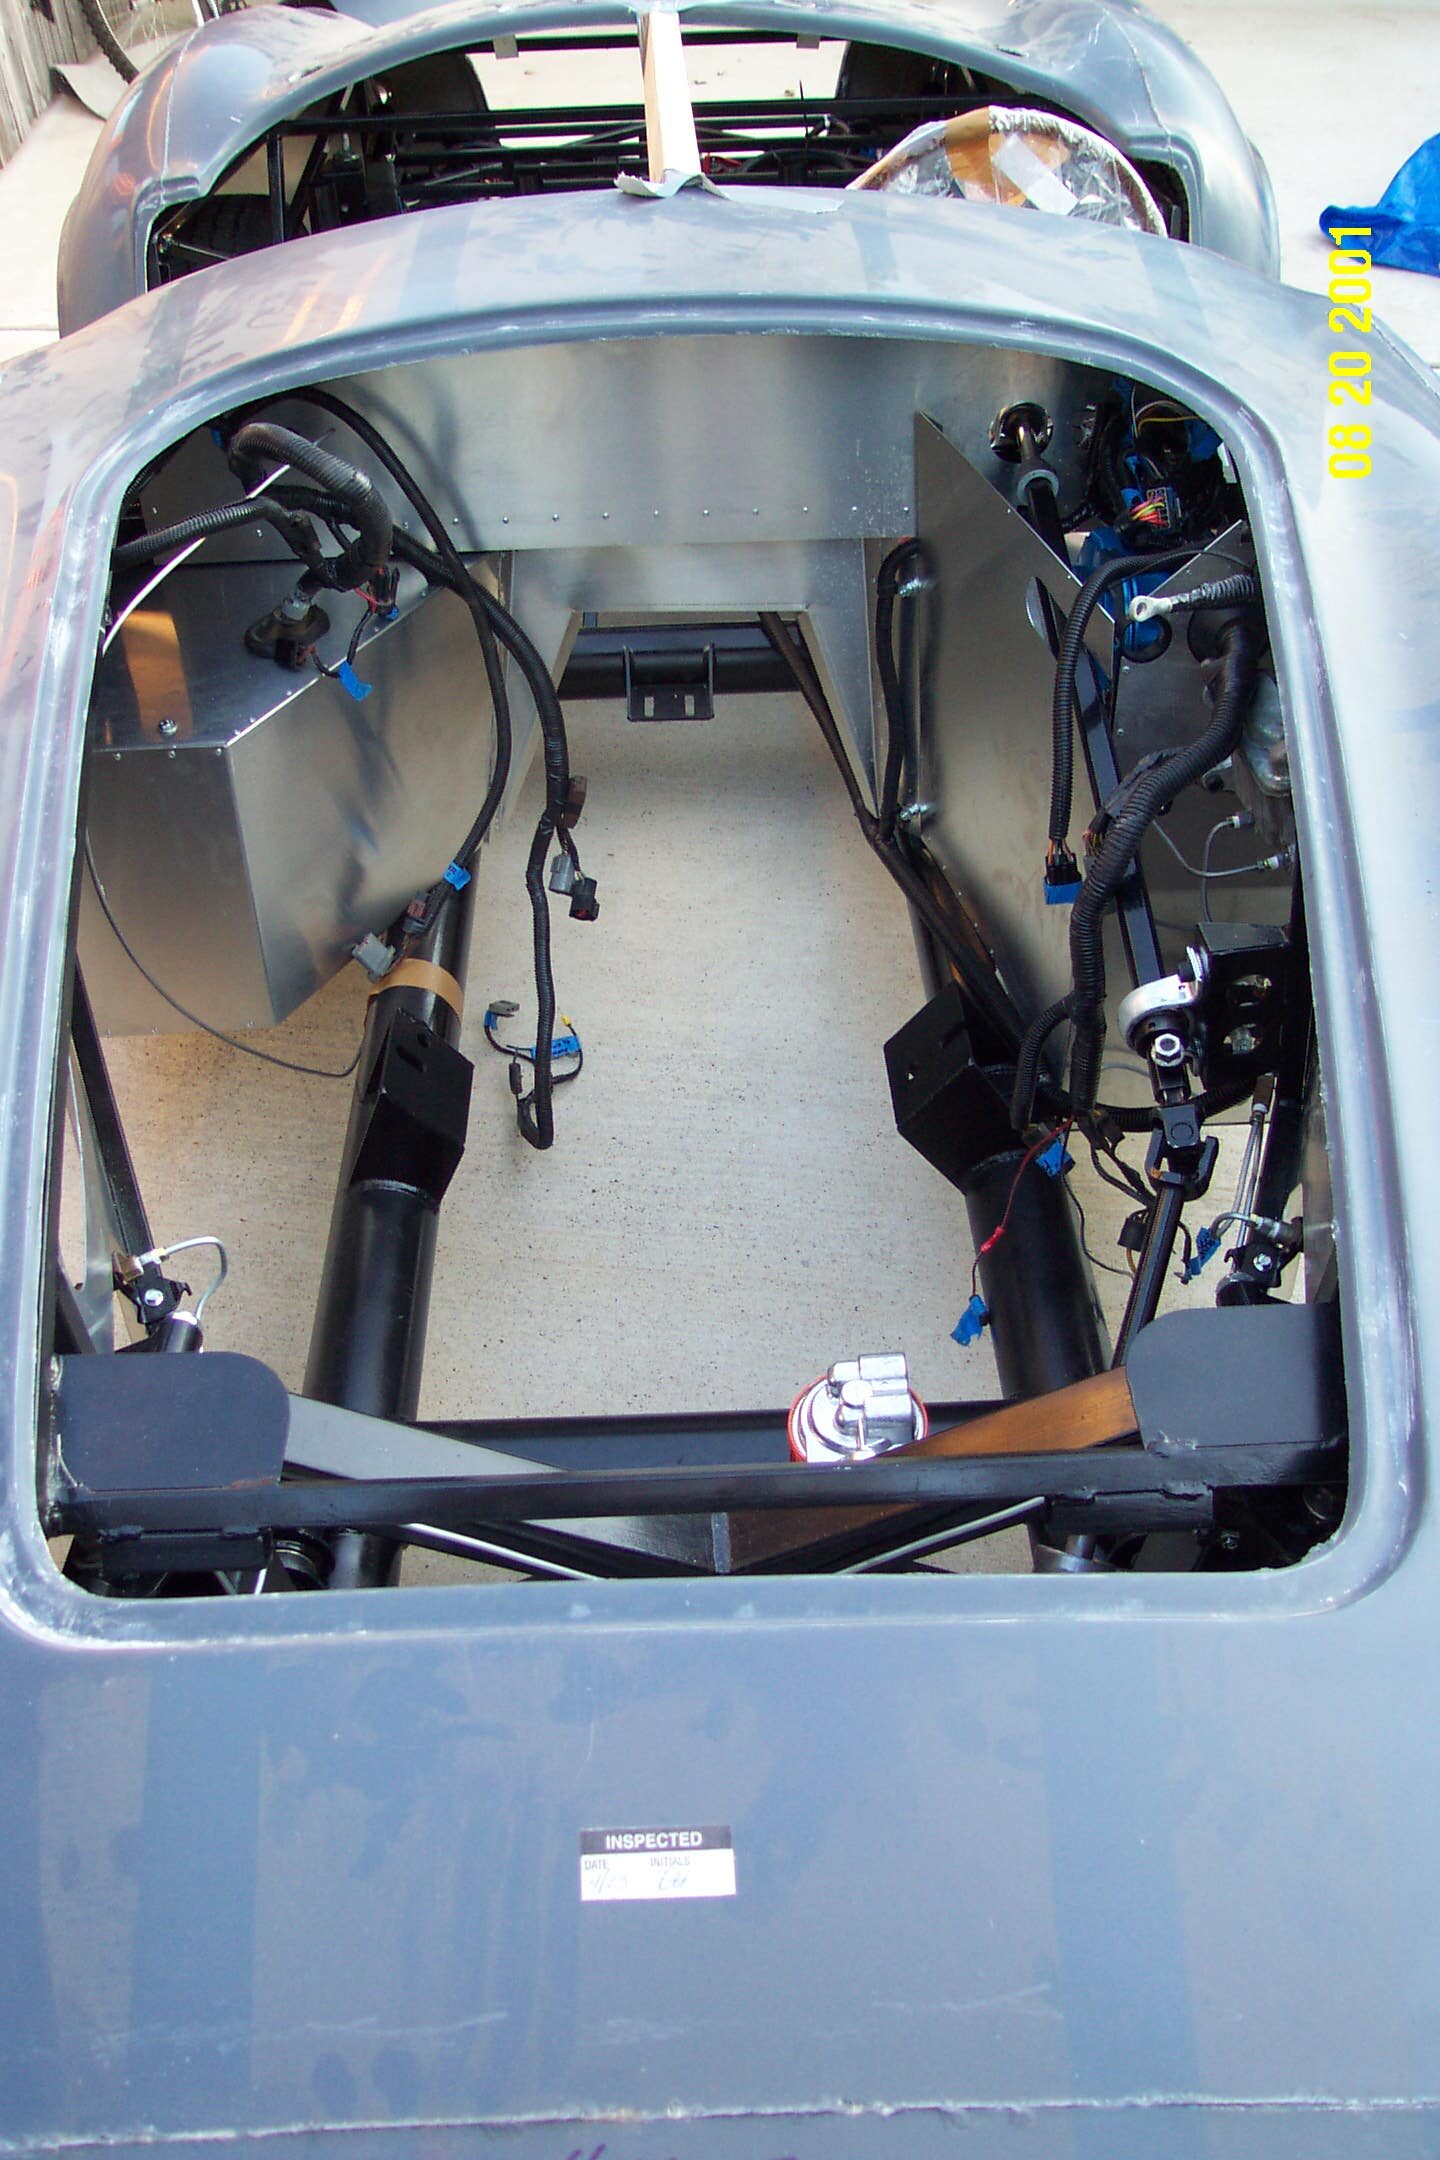
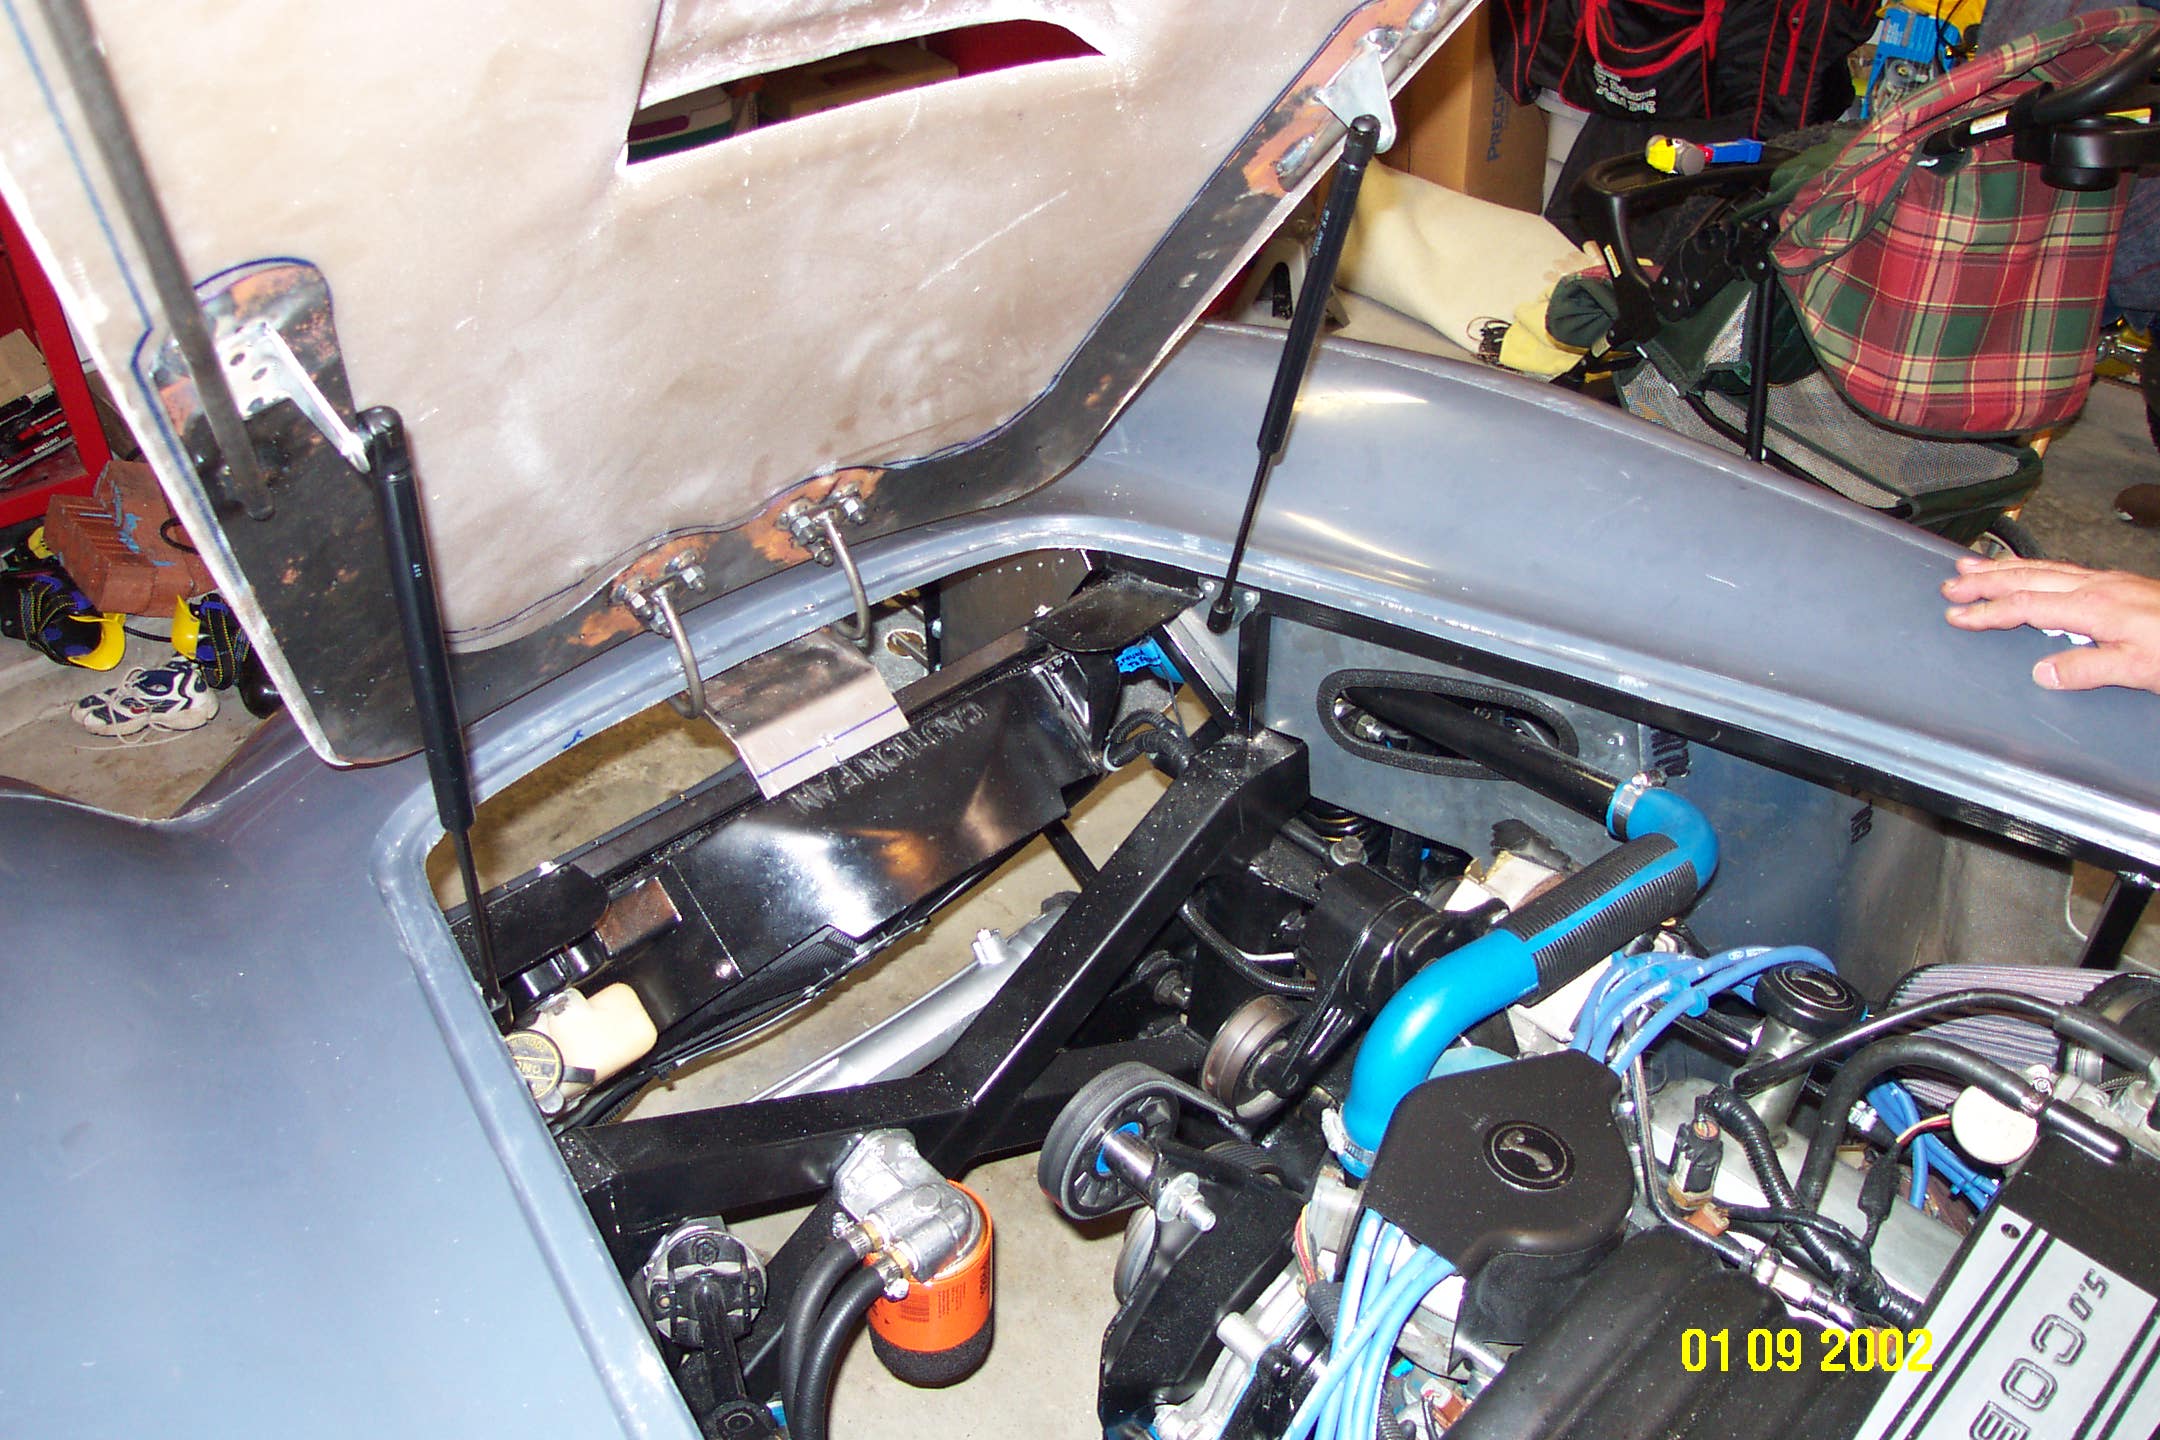
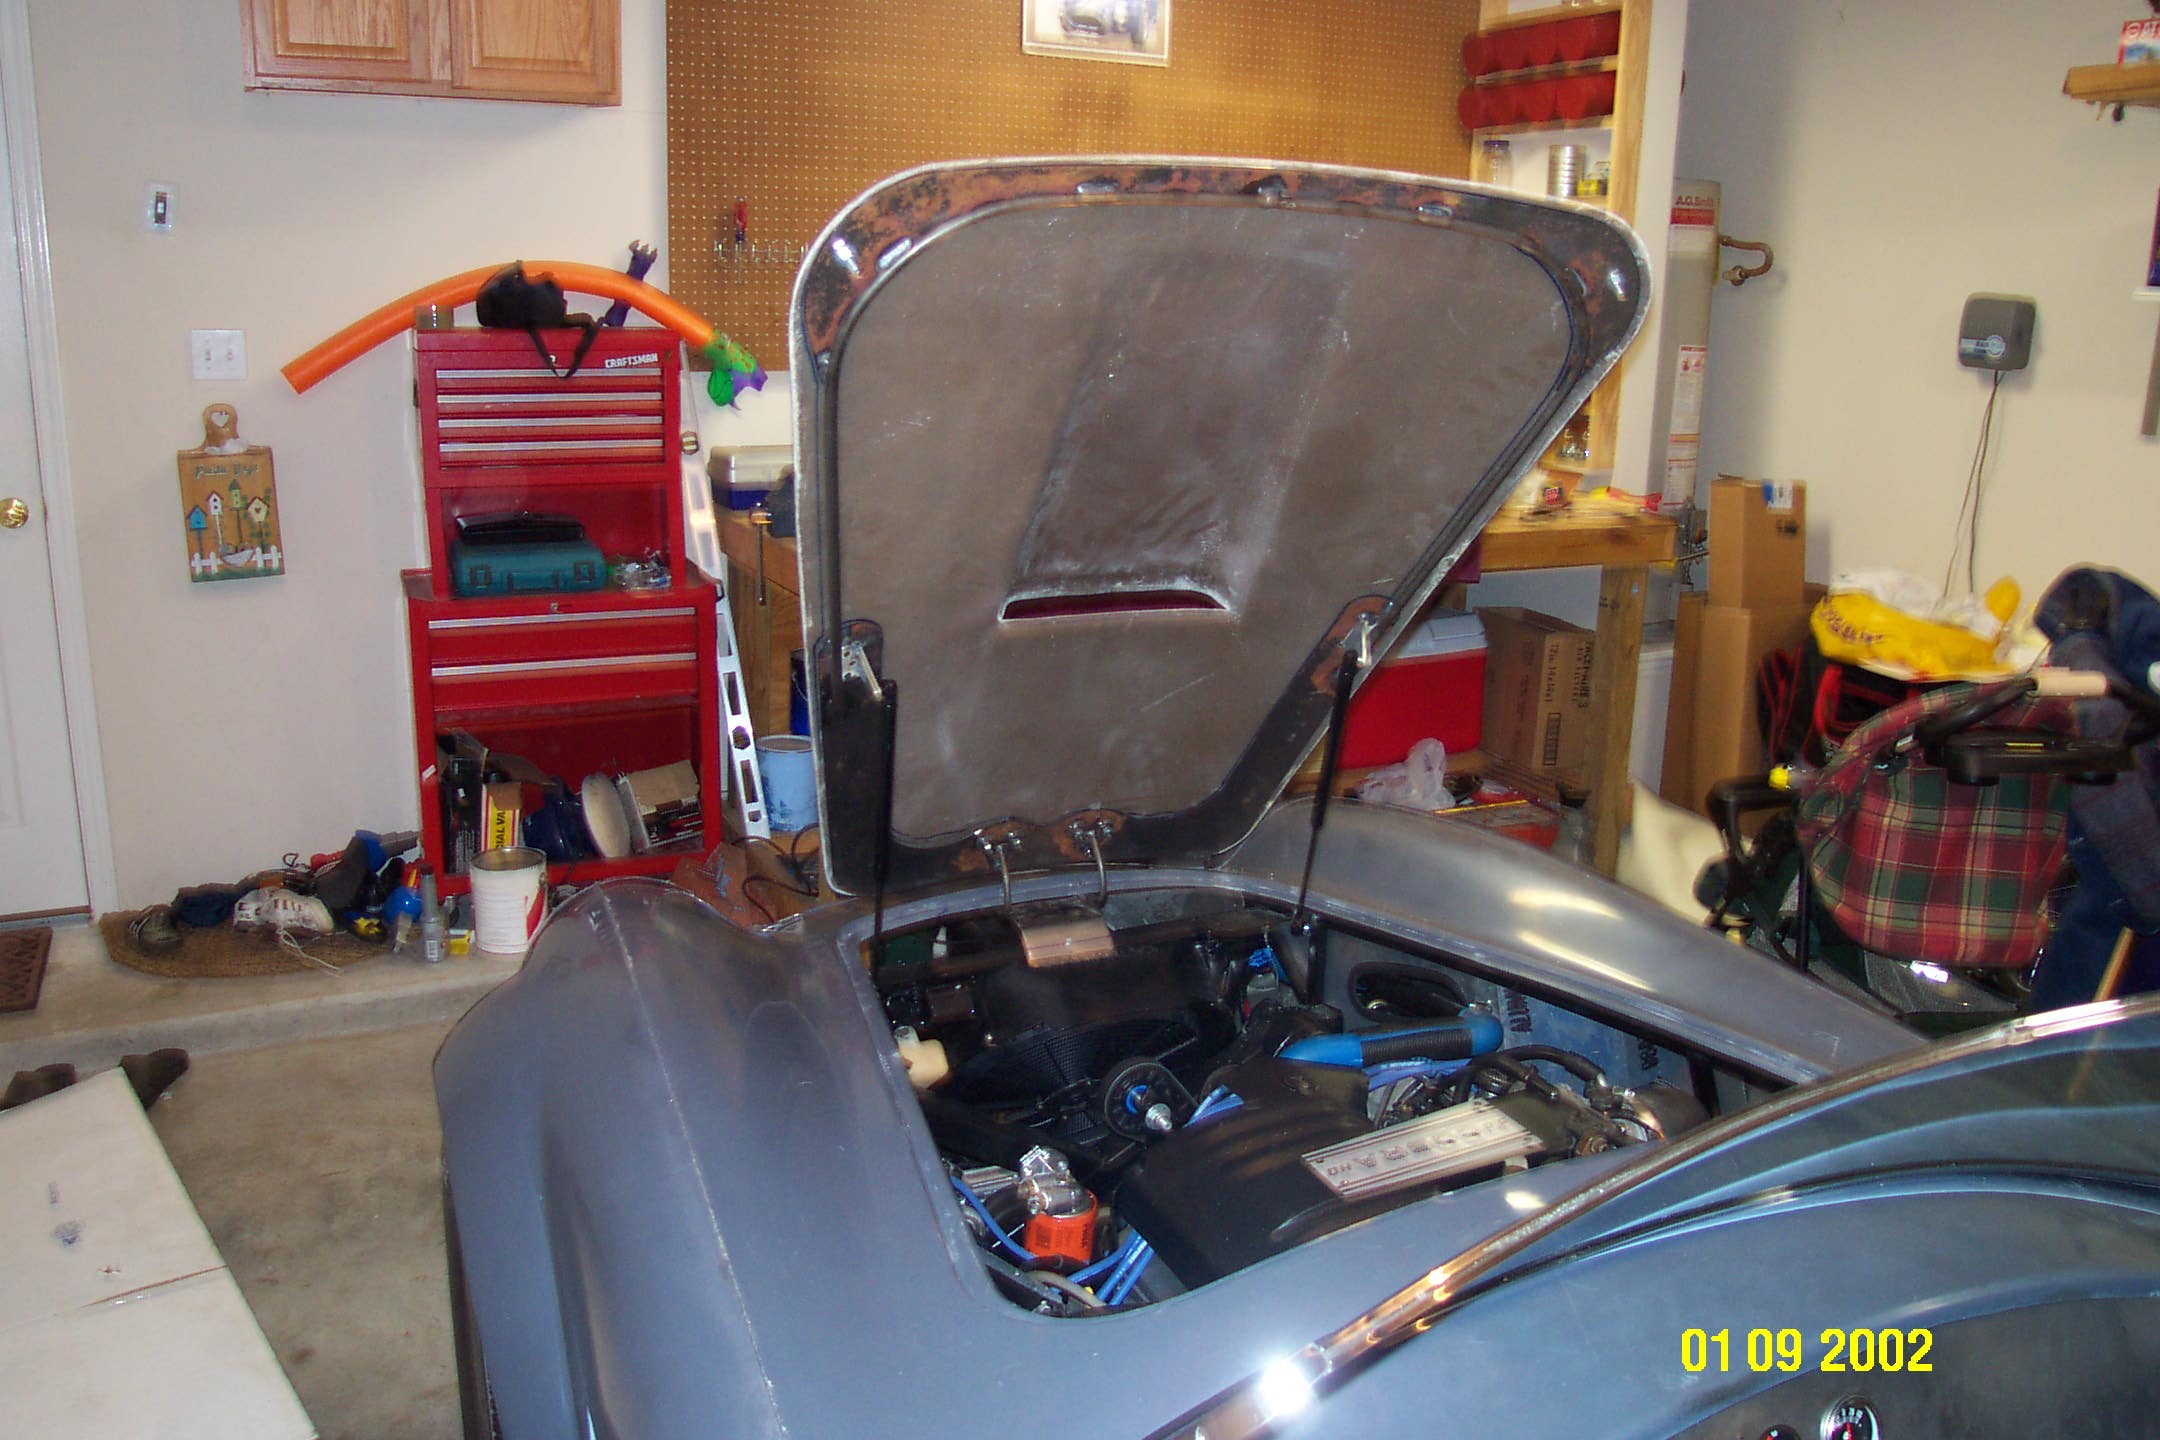
Under the hood it looks a lot better now that the engine is installed. We still have to install the hood hinge and hood.
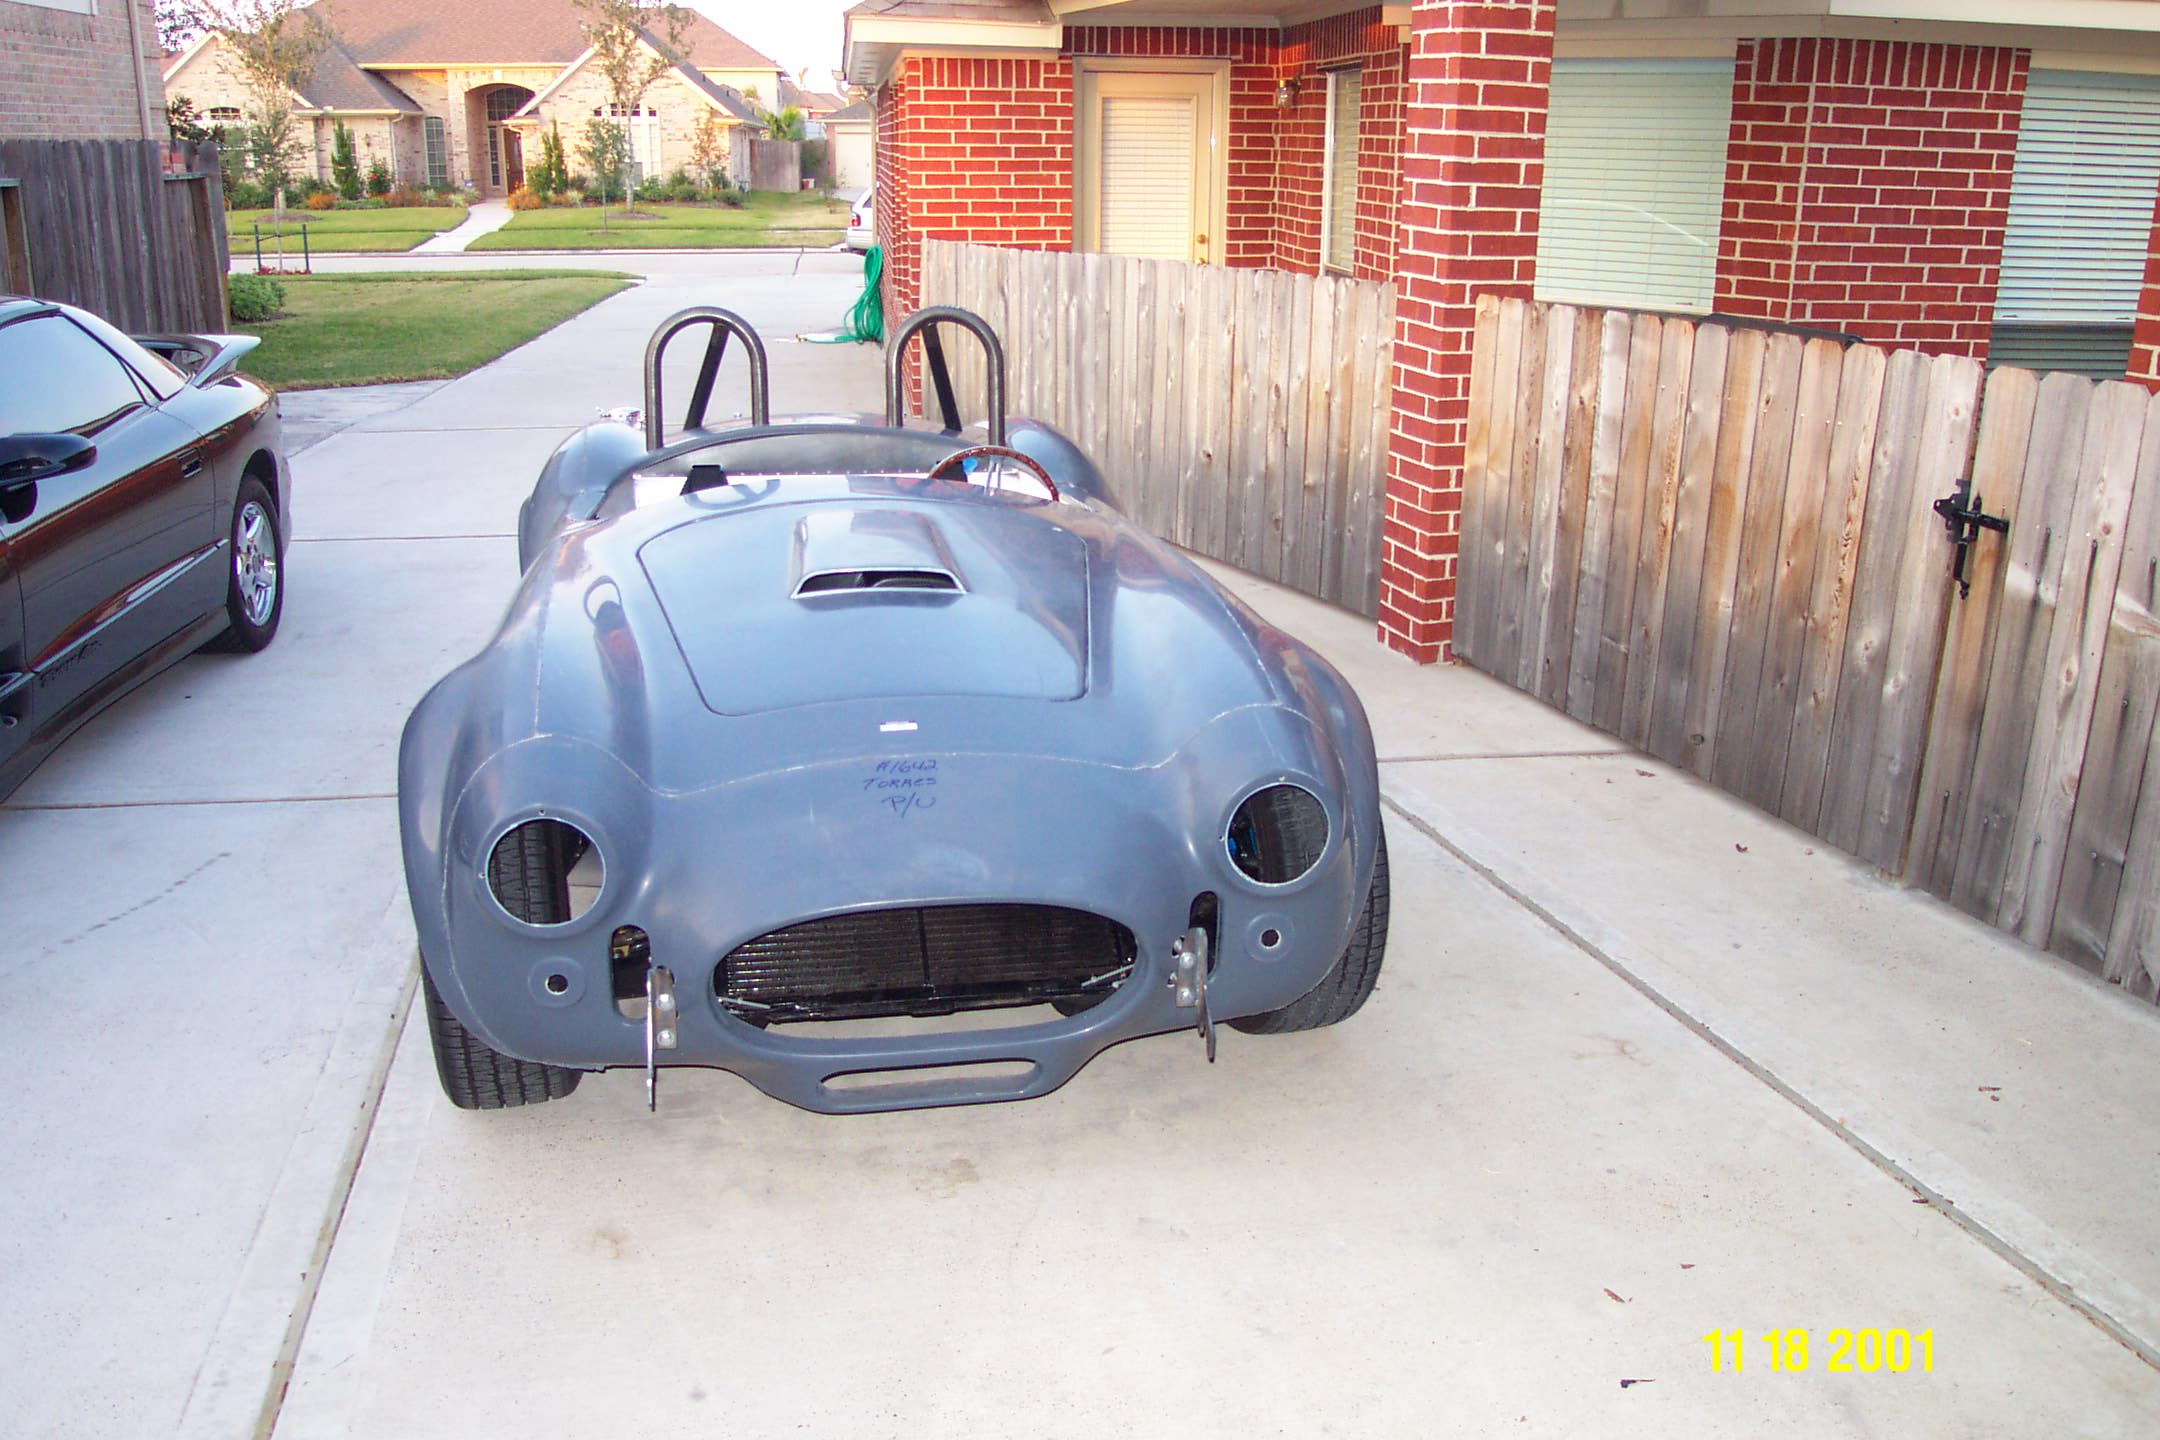
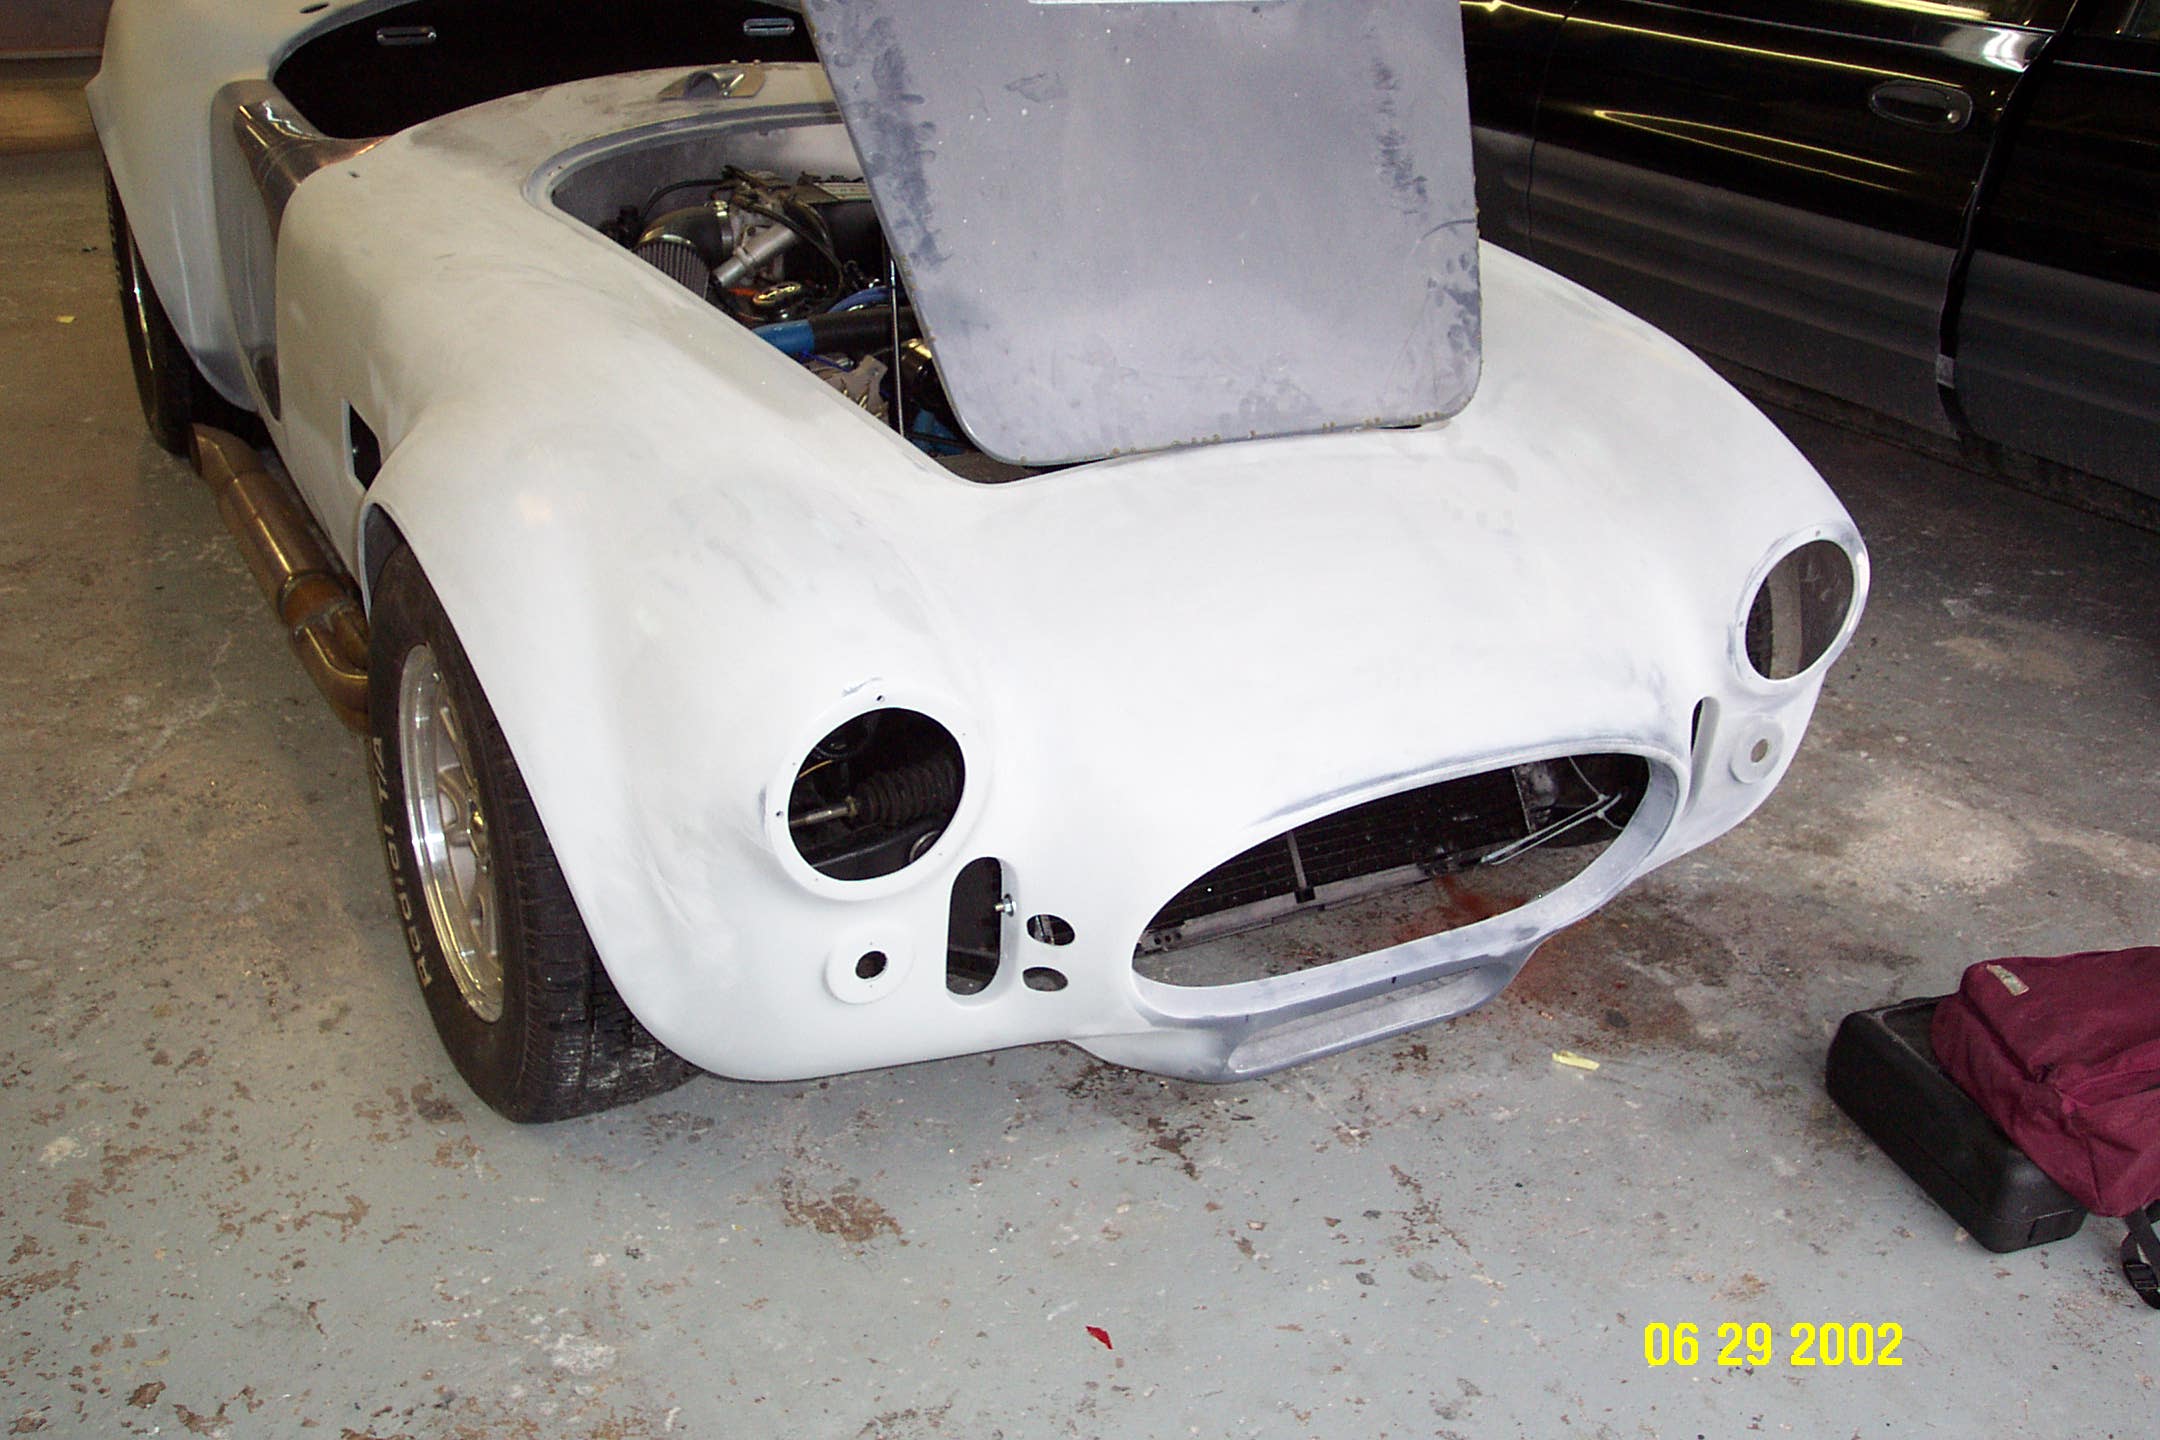
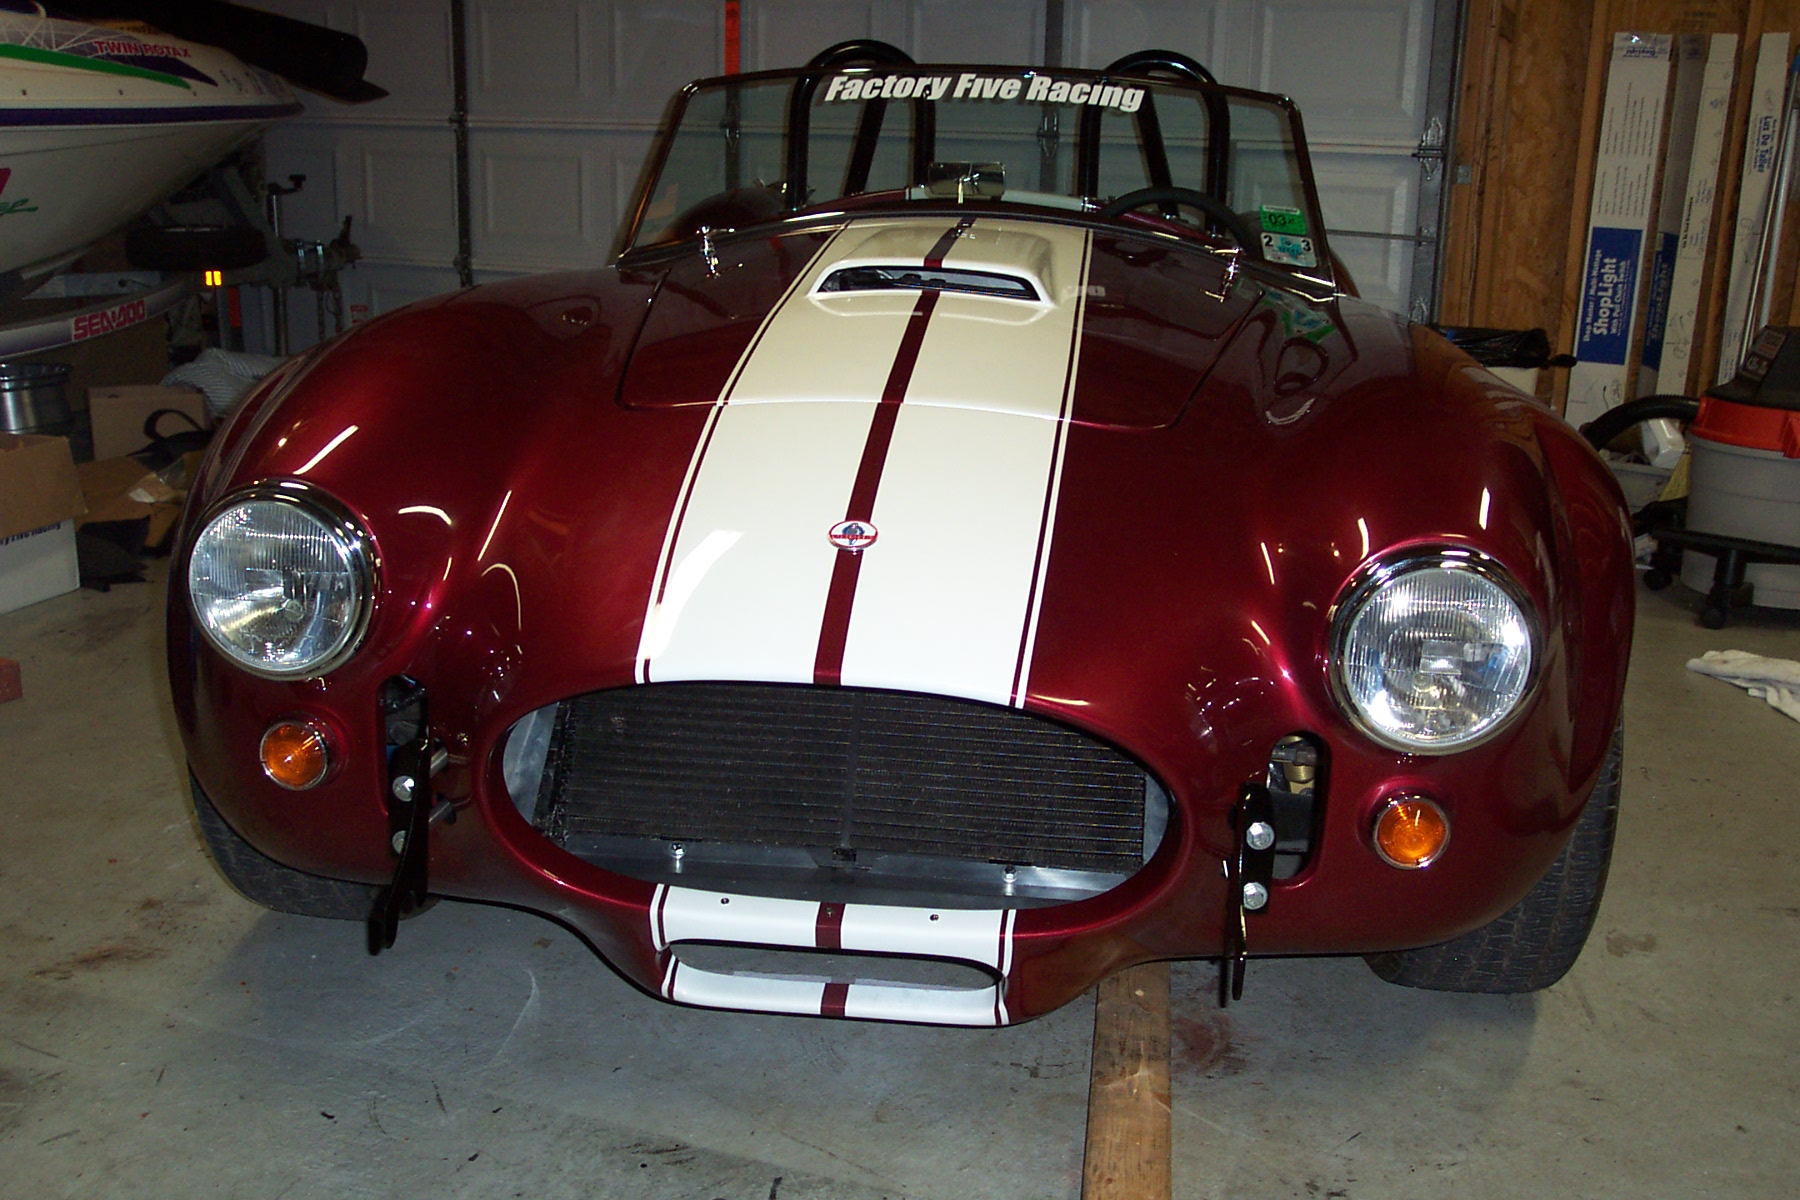
Here is the body without a windshield, lights or front bumpers.
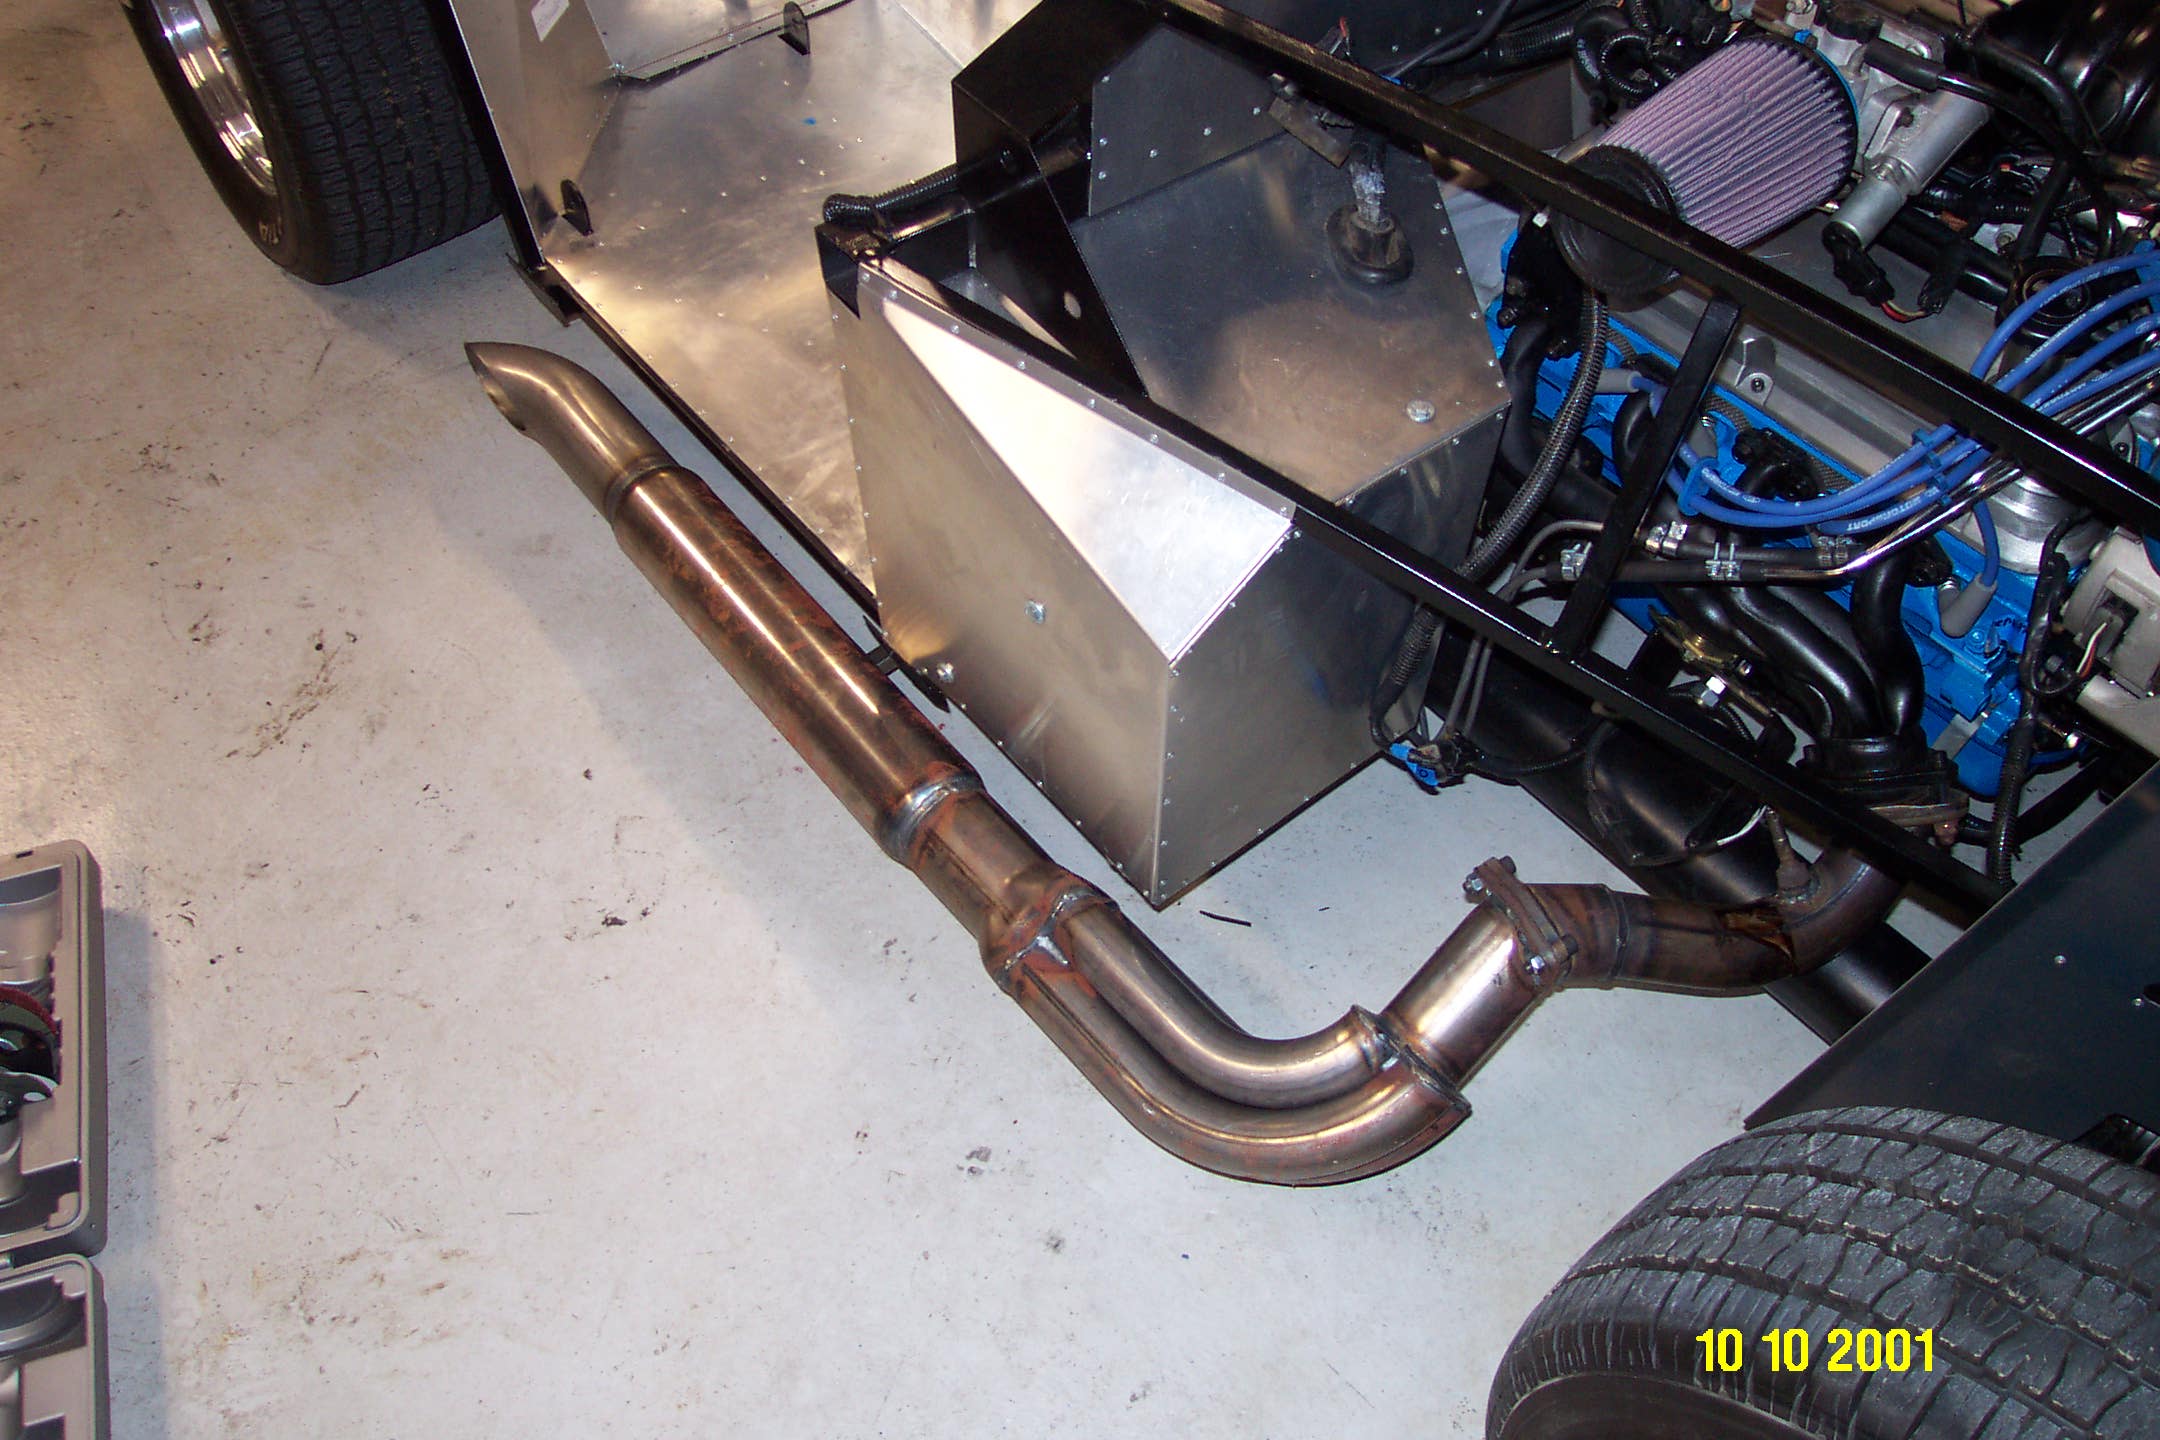
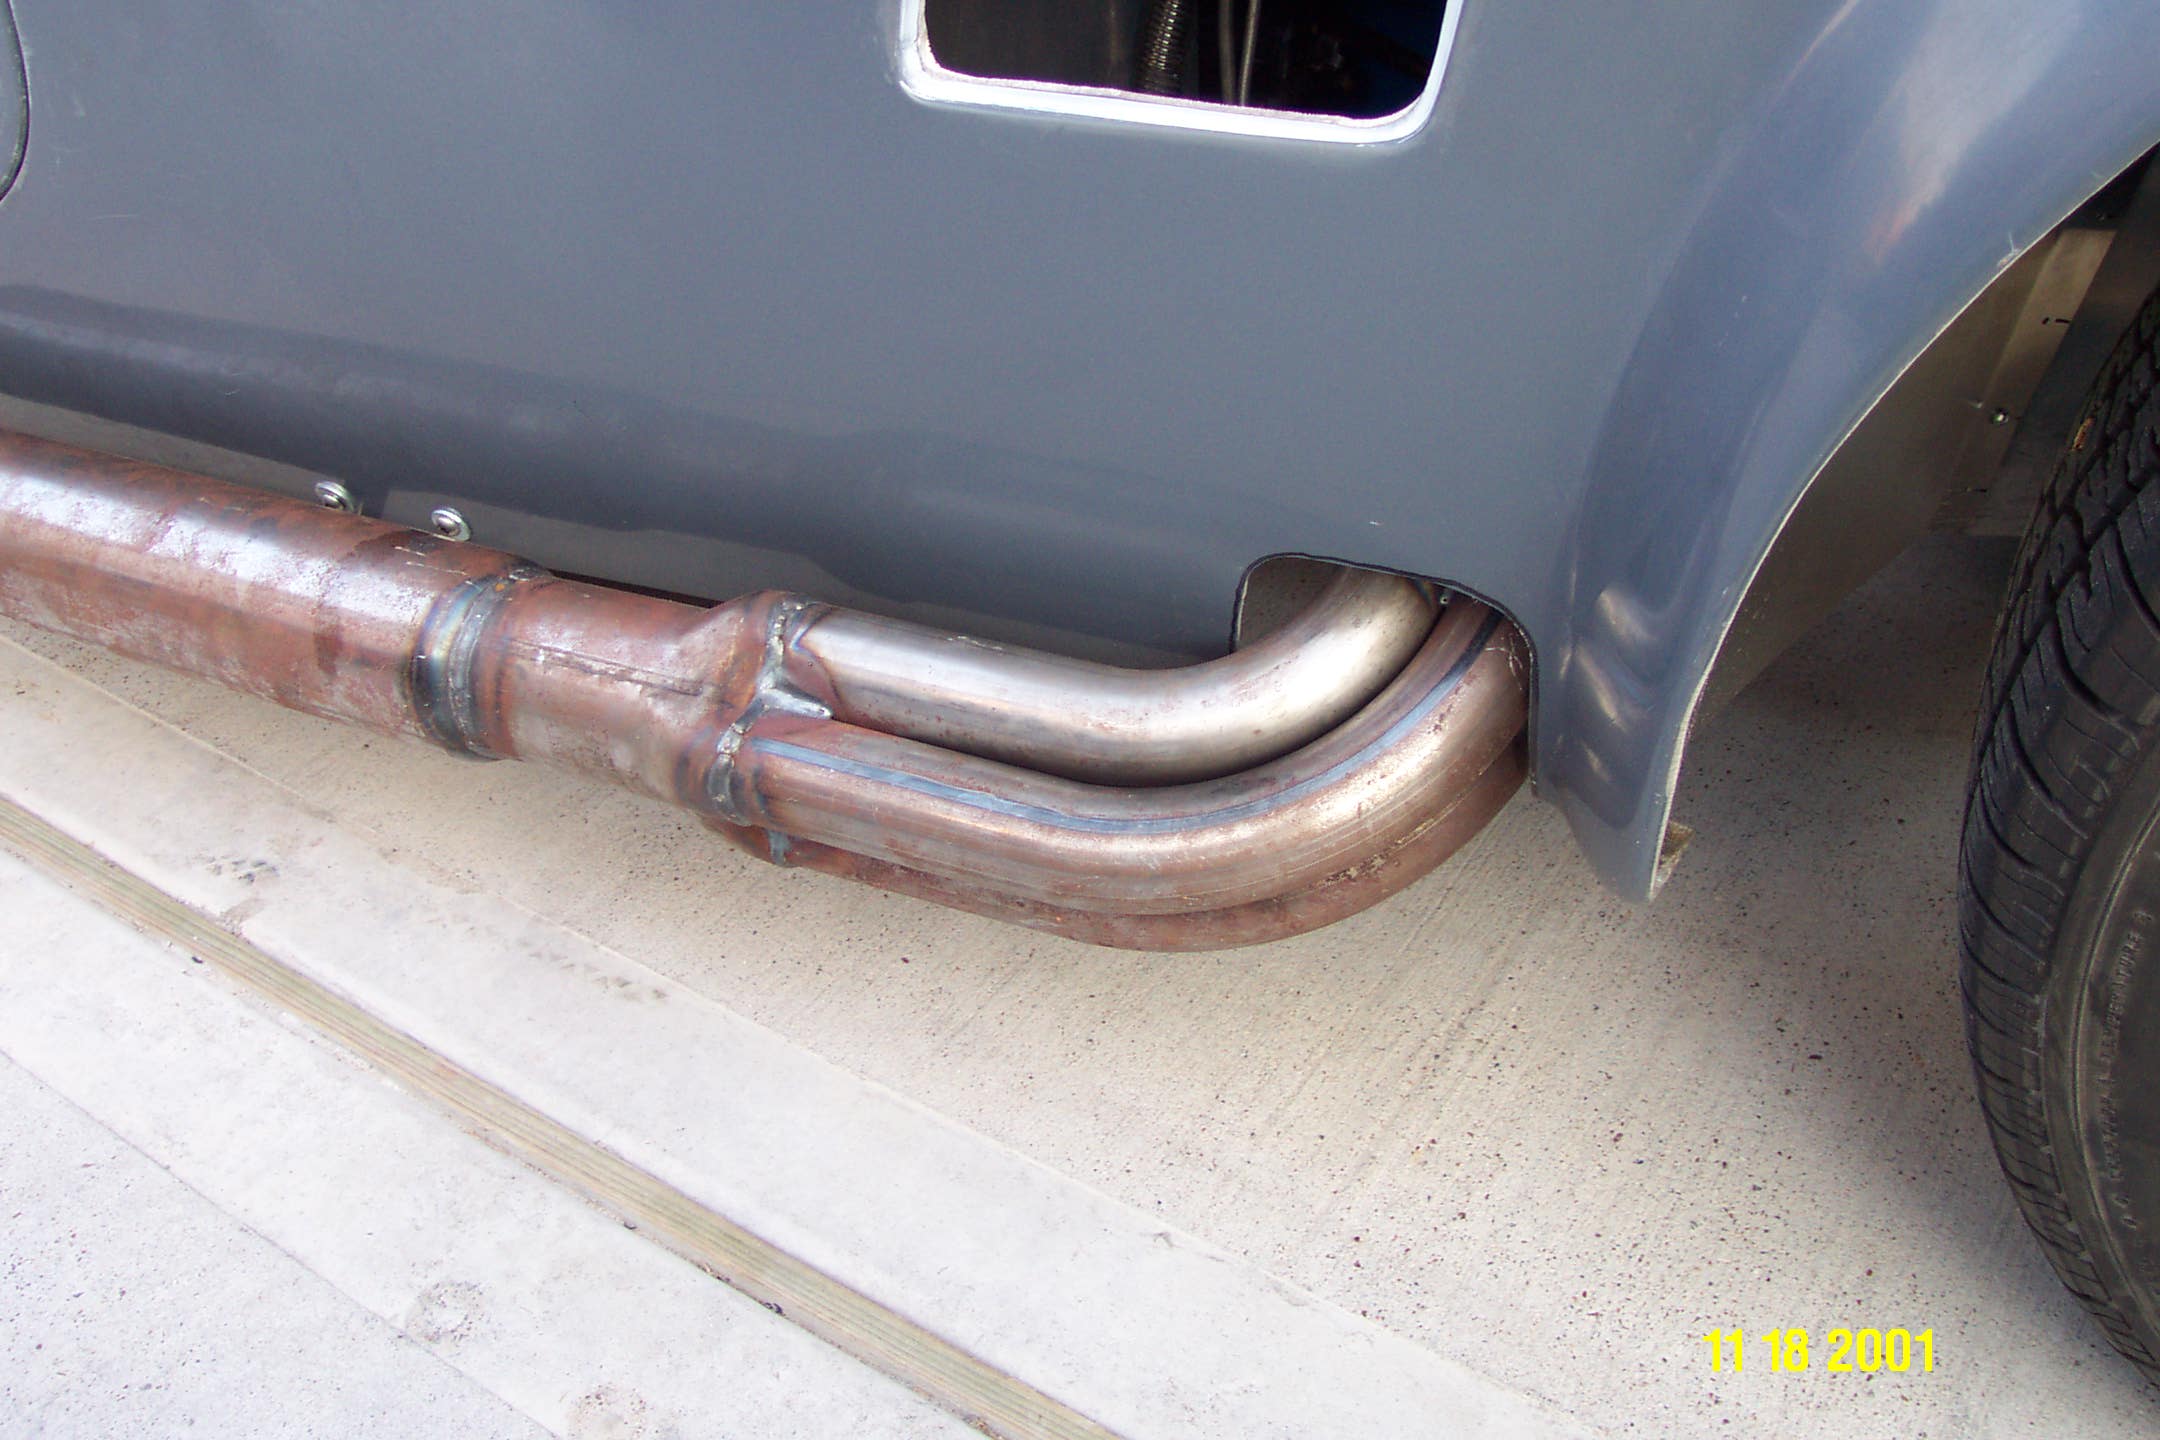
The side pipes were tough to get to fit well. The passenger side fit fairly well after some adjustments. The driver side hits at the top and back. It touched the body in a couple spots and melted the fiberglass. We are going to rotate the engine slightly and try get better alignment in the side pipes
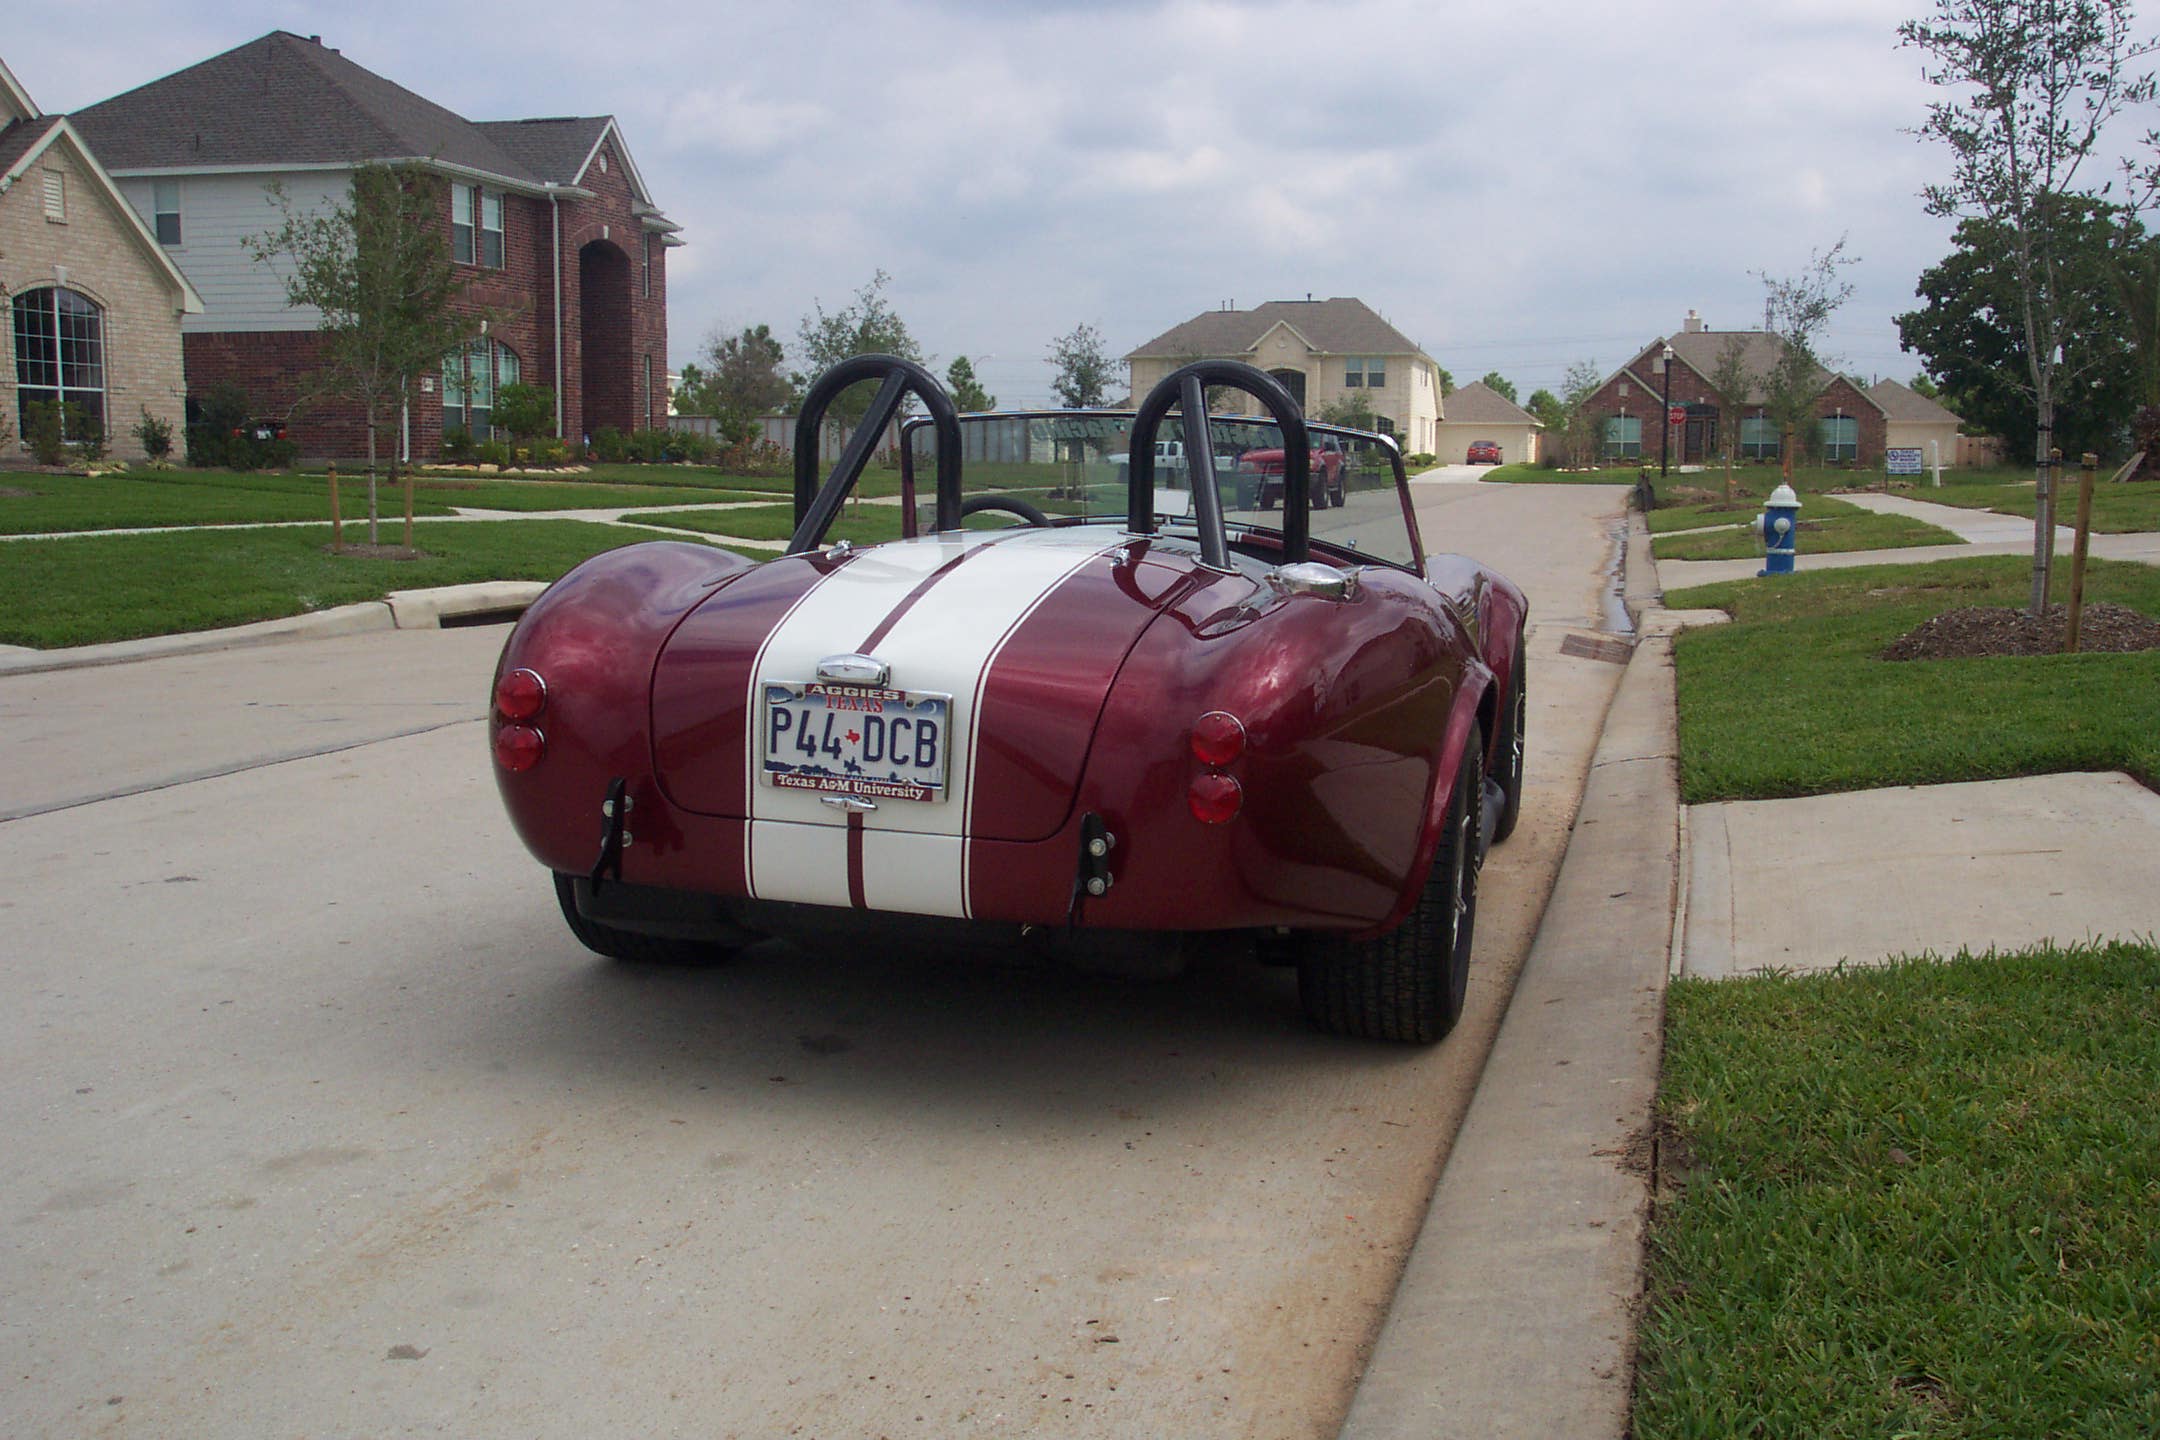
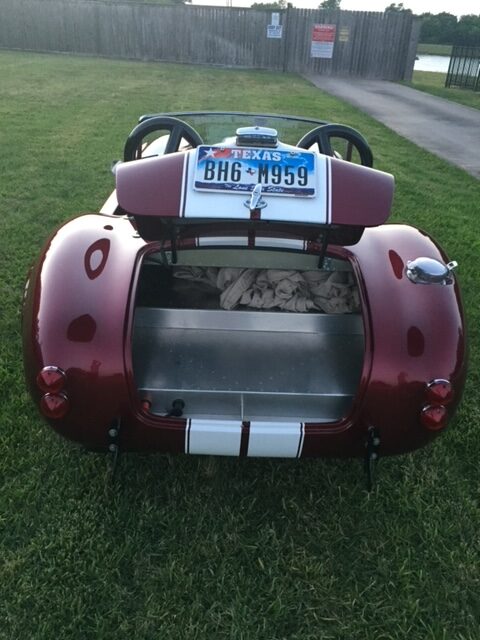
The trunk doesn’t have a lot of room, but we don’t plan on taking it on long trips with luggage. The battery is under the trunk so we attached some remote terminals in case we had to jump start the car. The remote terminals are the red and black caps seen in the picture.
One of the cool fixtures on this car is the chrome gas cap. It is so shiny, you can see my reflection.
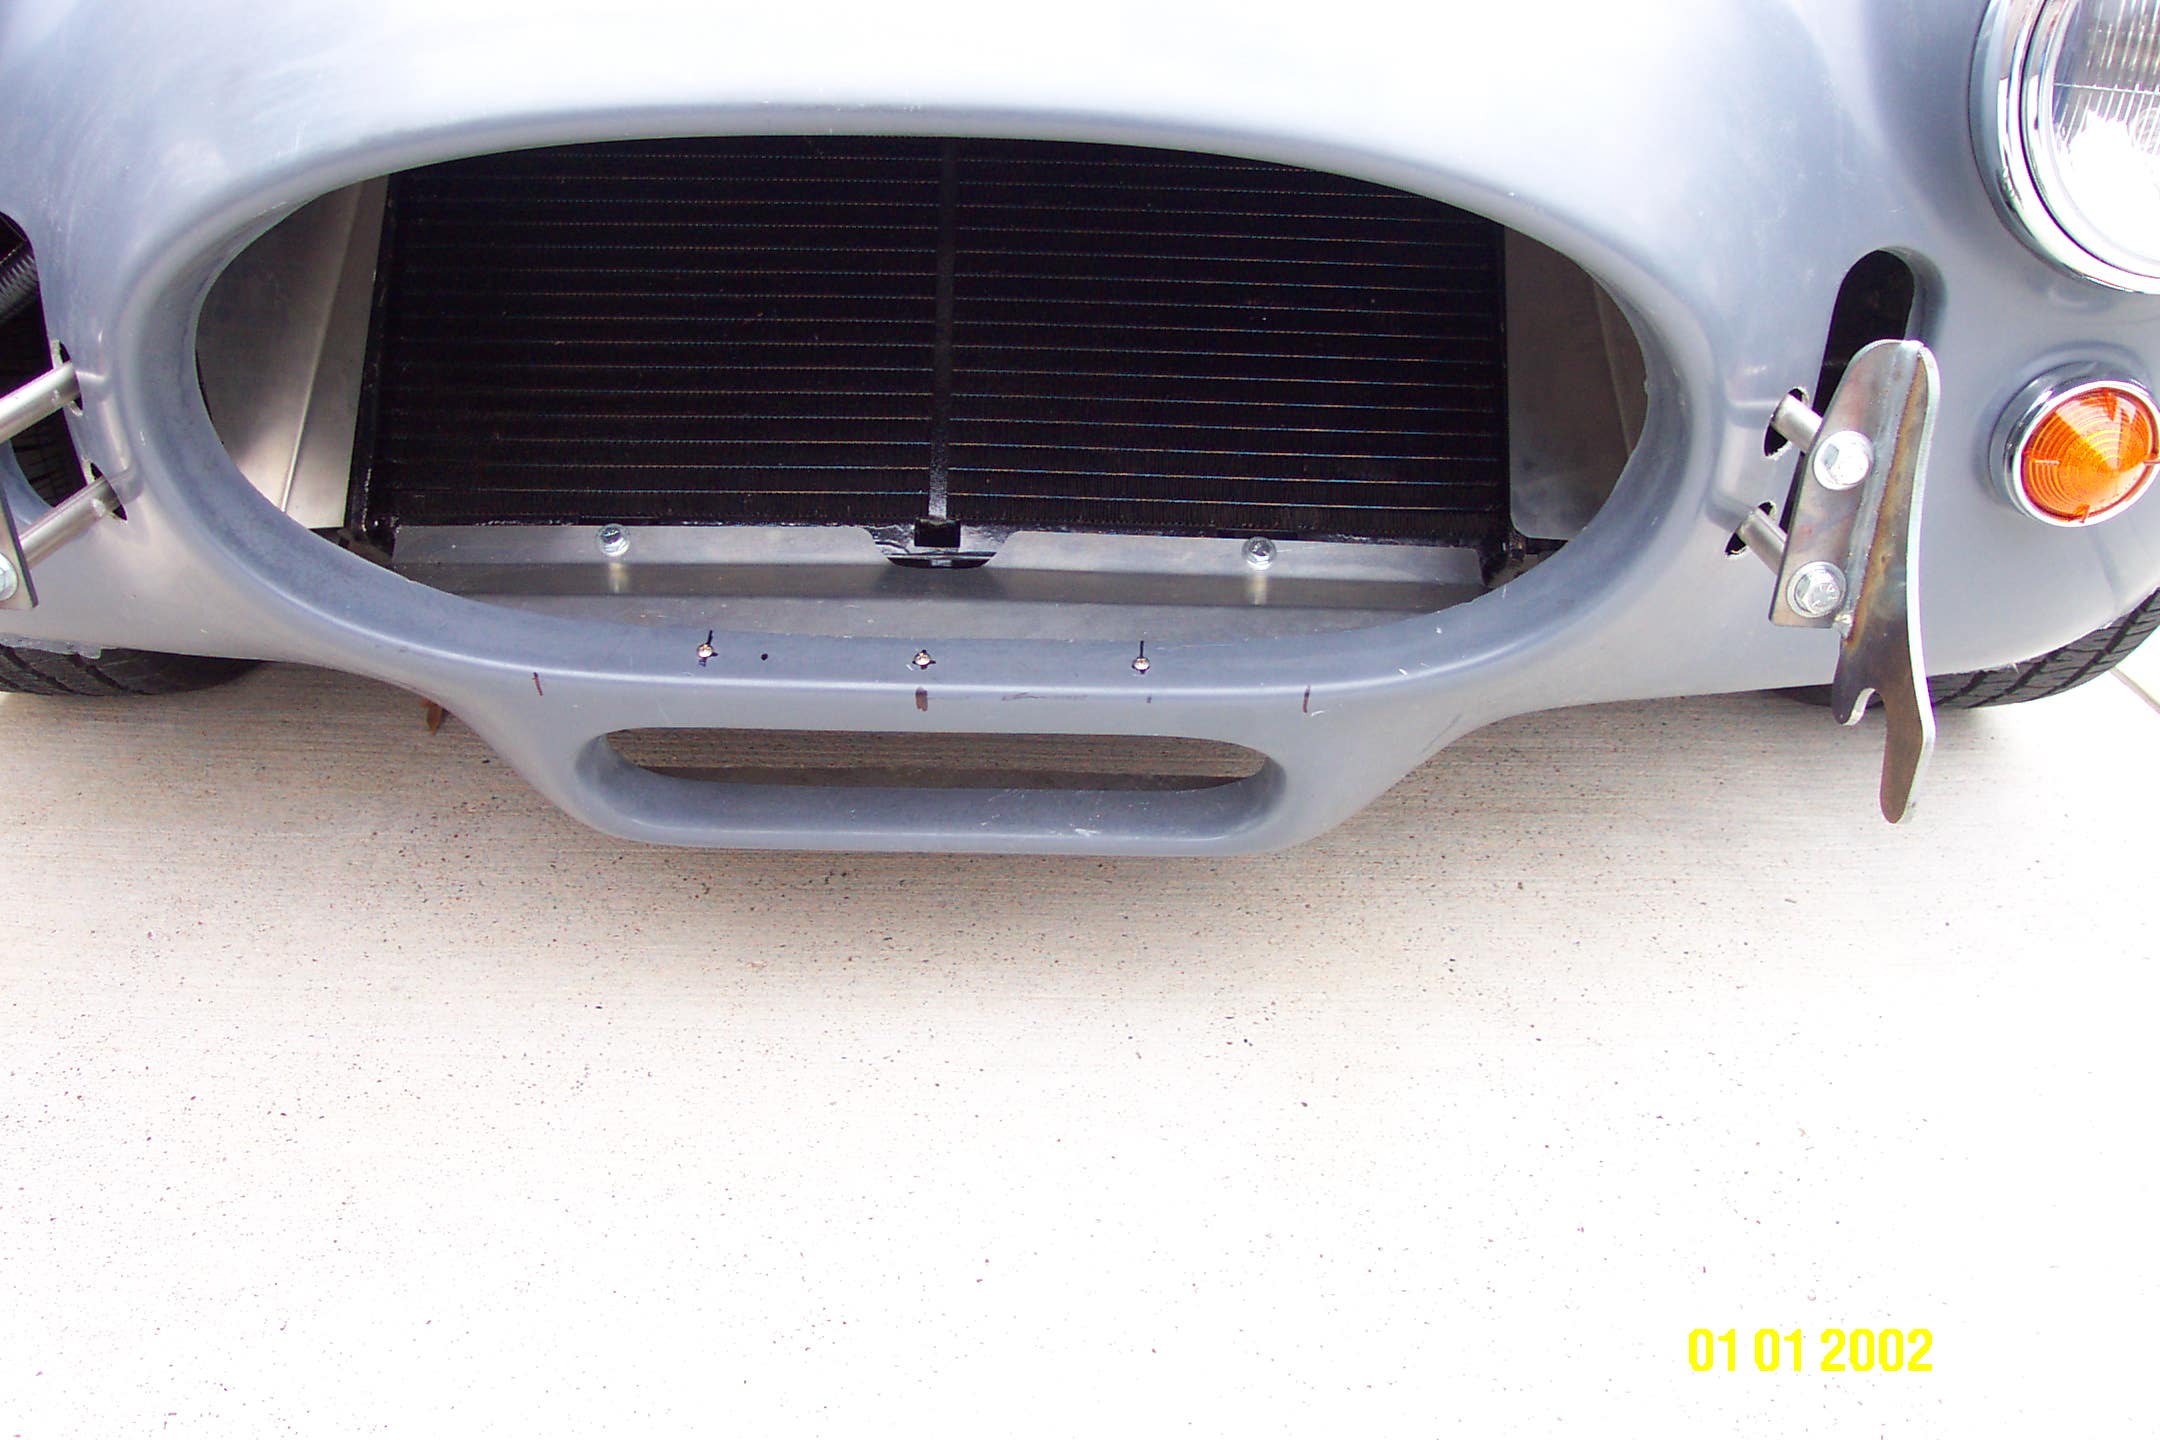
After the body is installed, three pieces of aluminum are installed to support the radiator and force air through it.


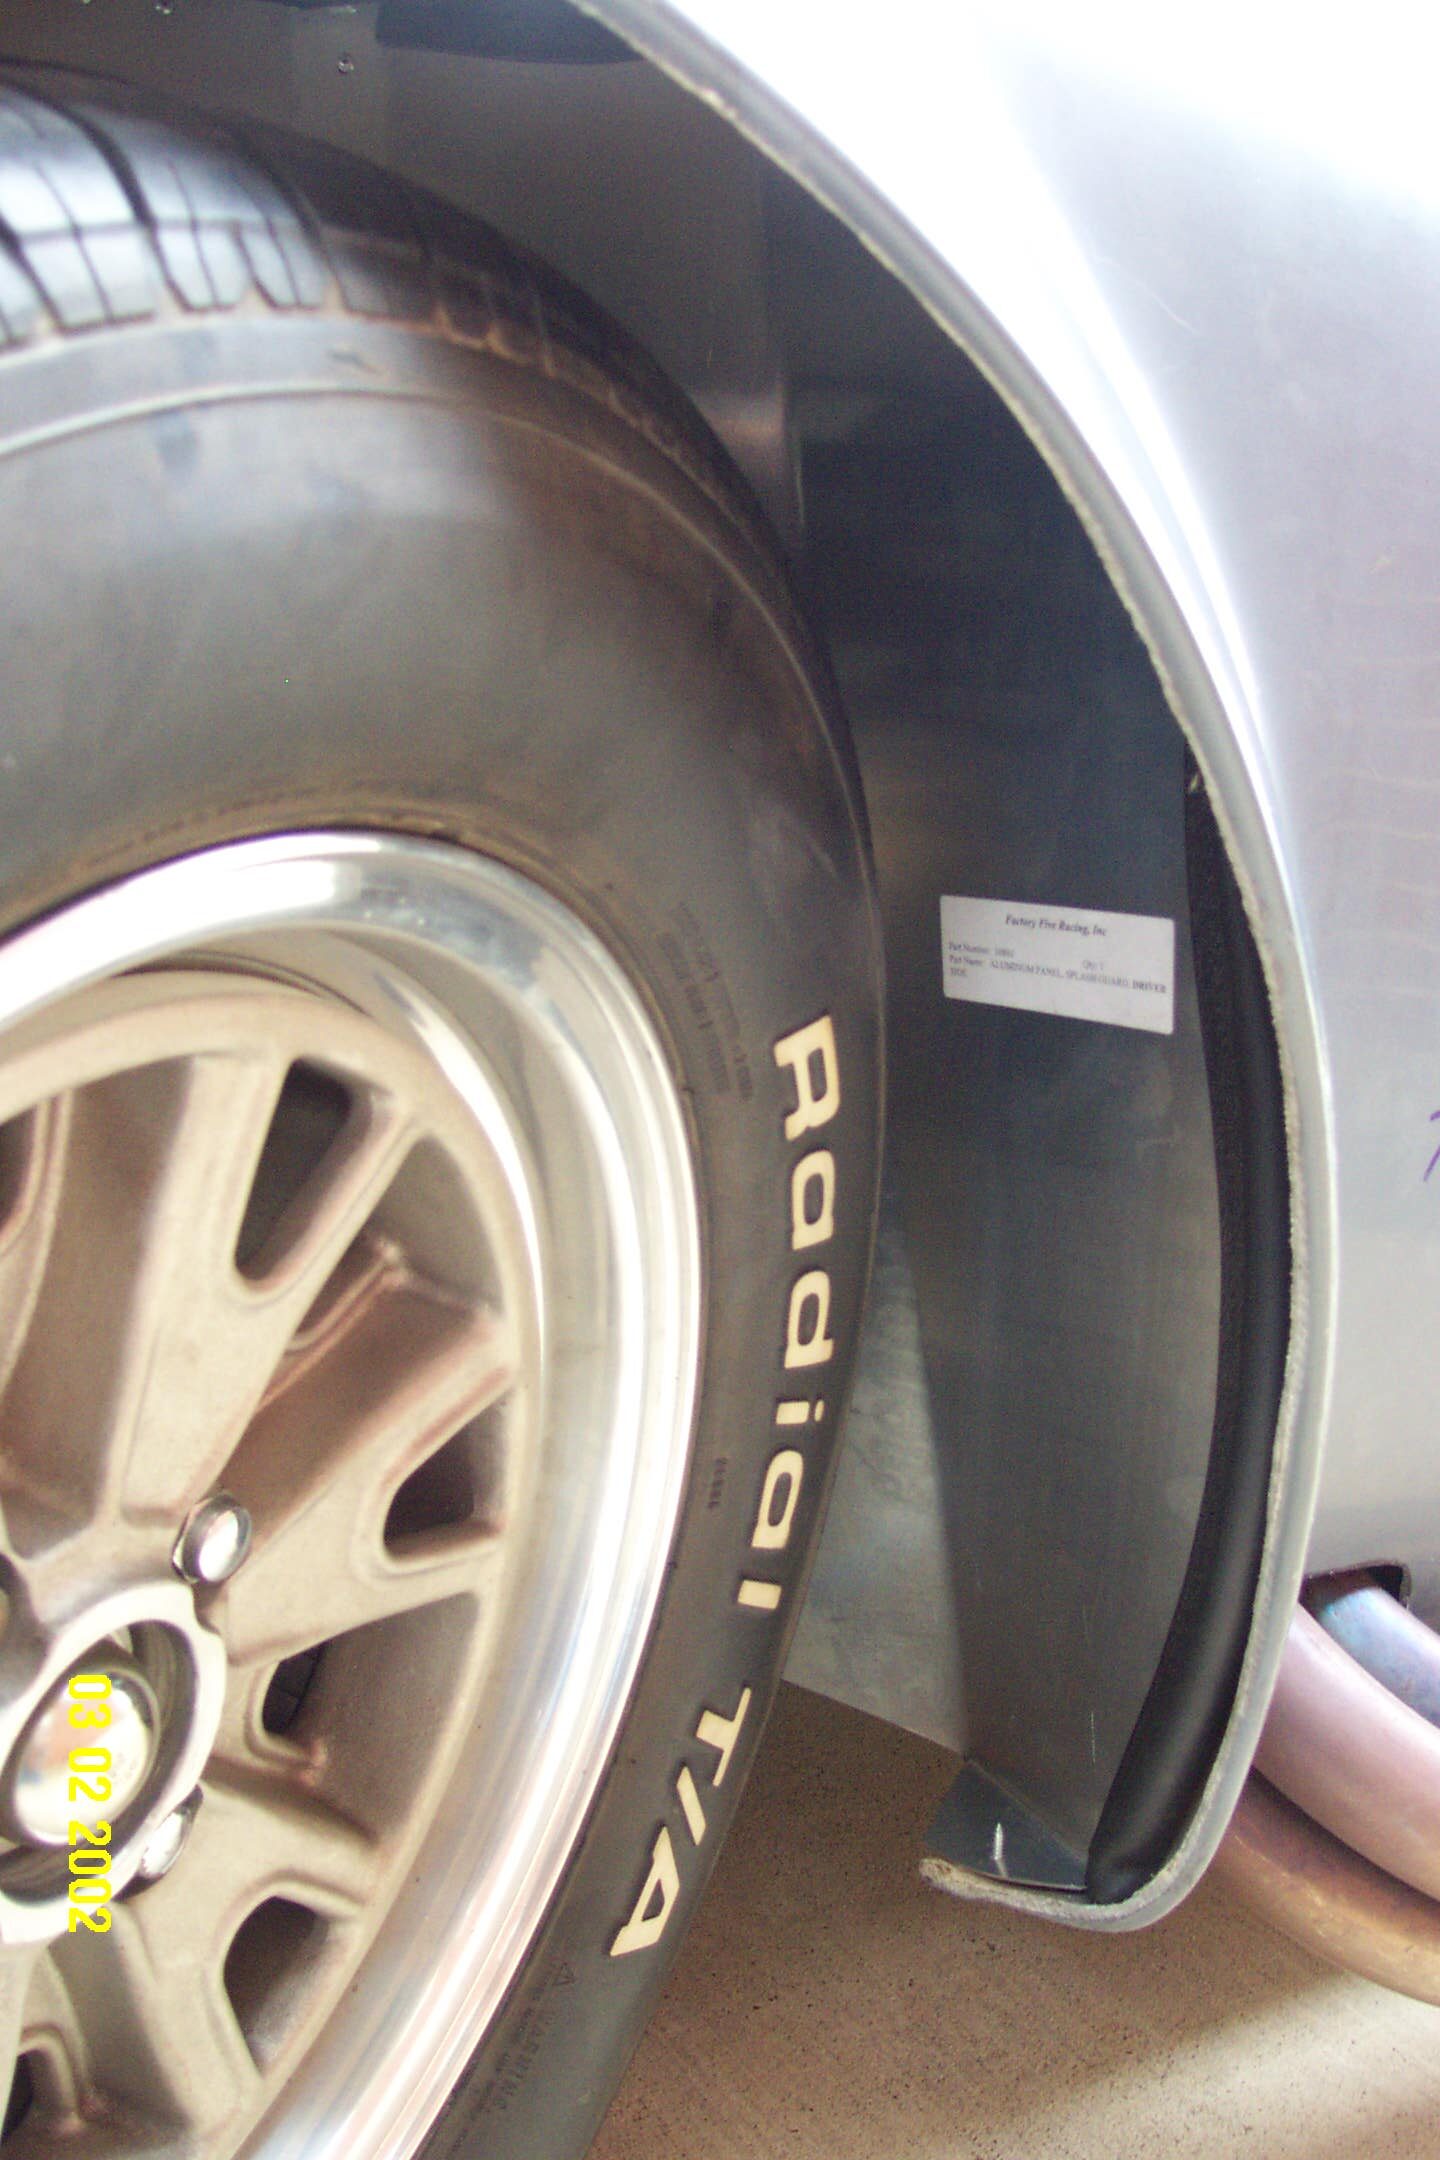
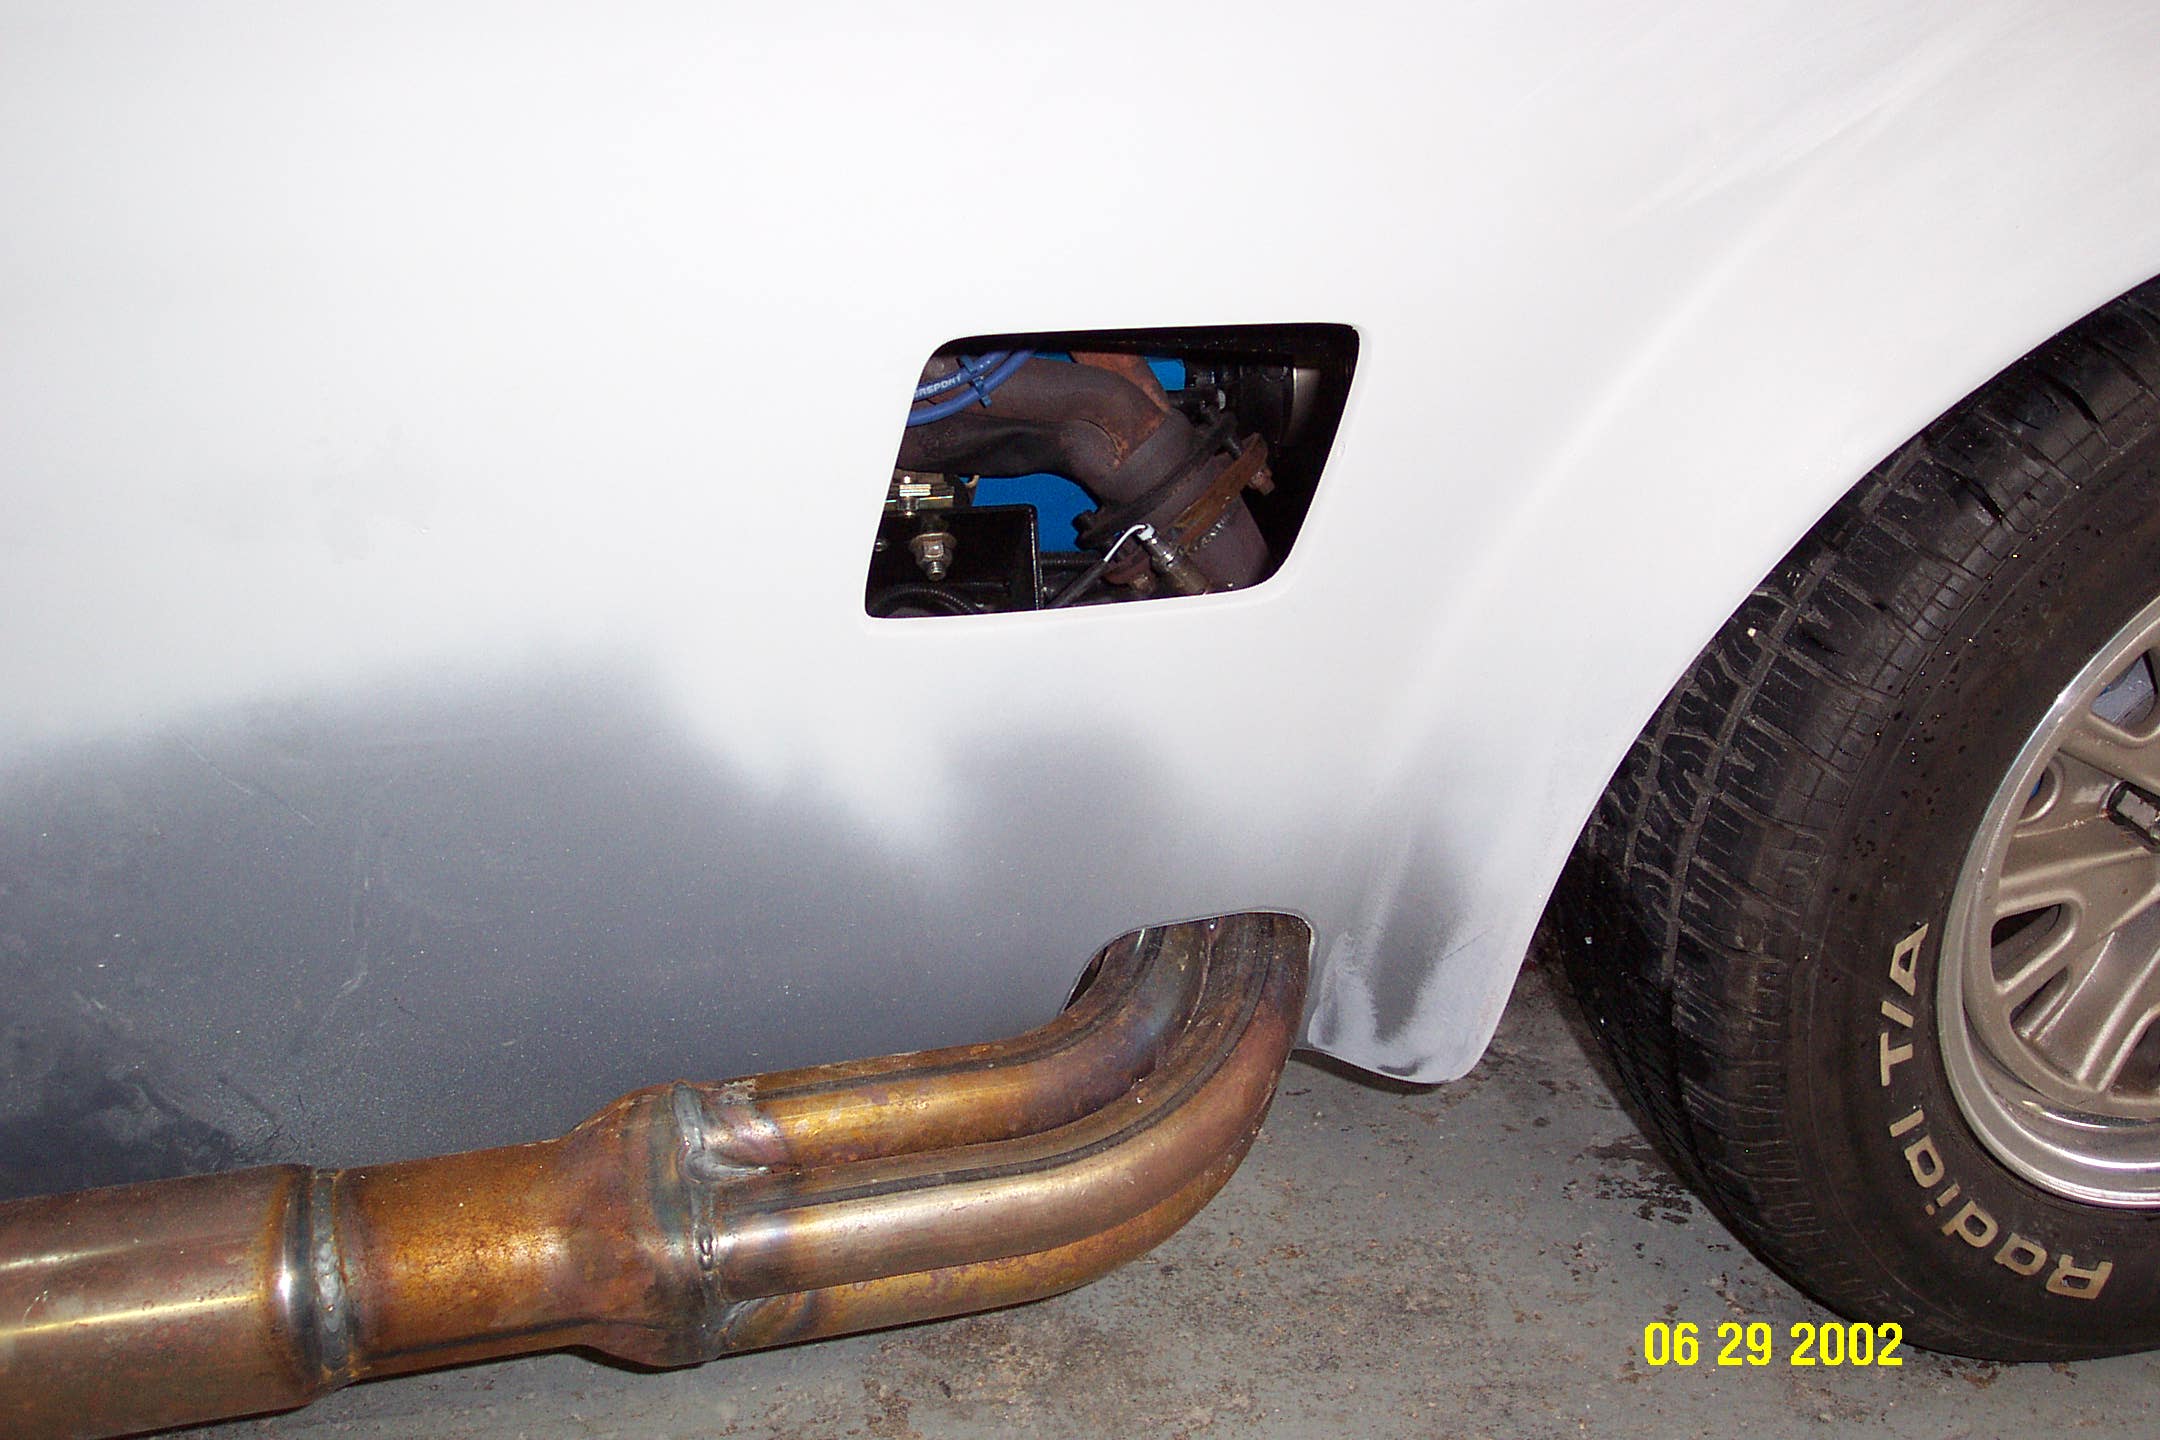
The splash panels behind the front wheels have been installed and it moved the body out quite a bit which gave us more clearance around the side pipes.
We have also installed chrome trim rings around the roll bar to keep the trunk dry when we wash the car.
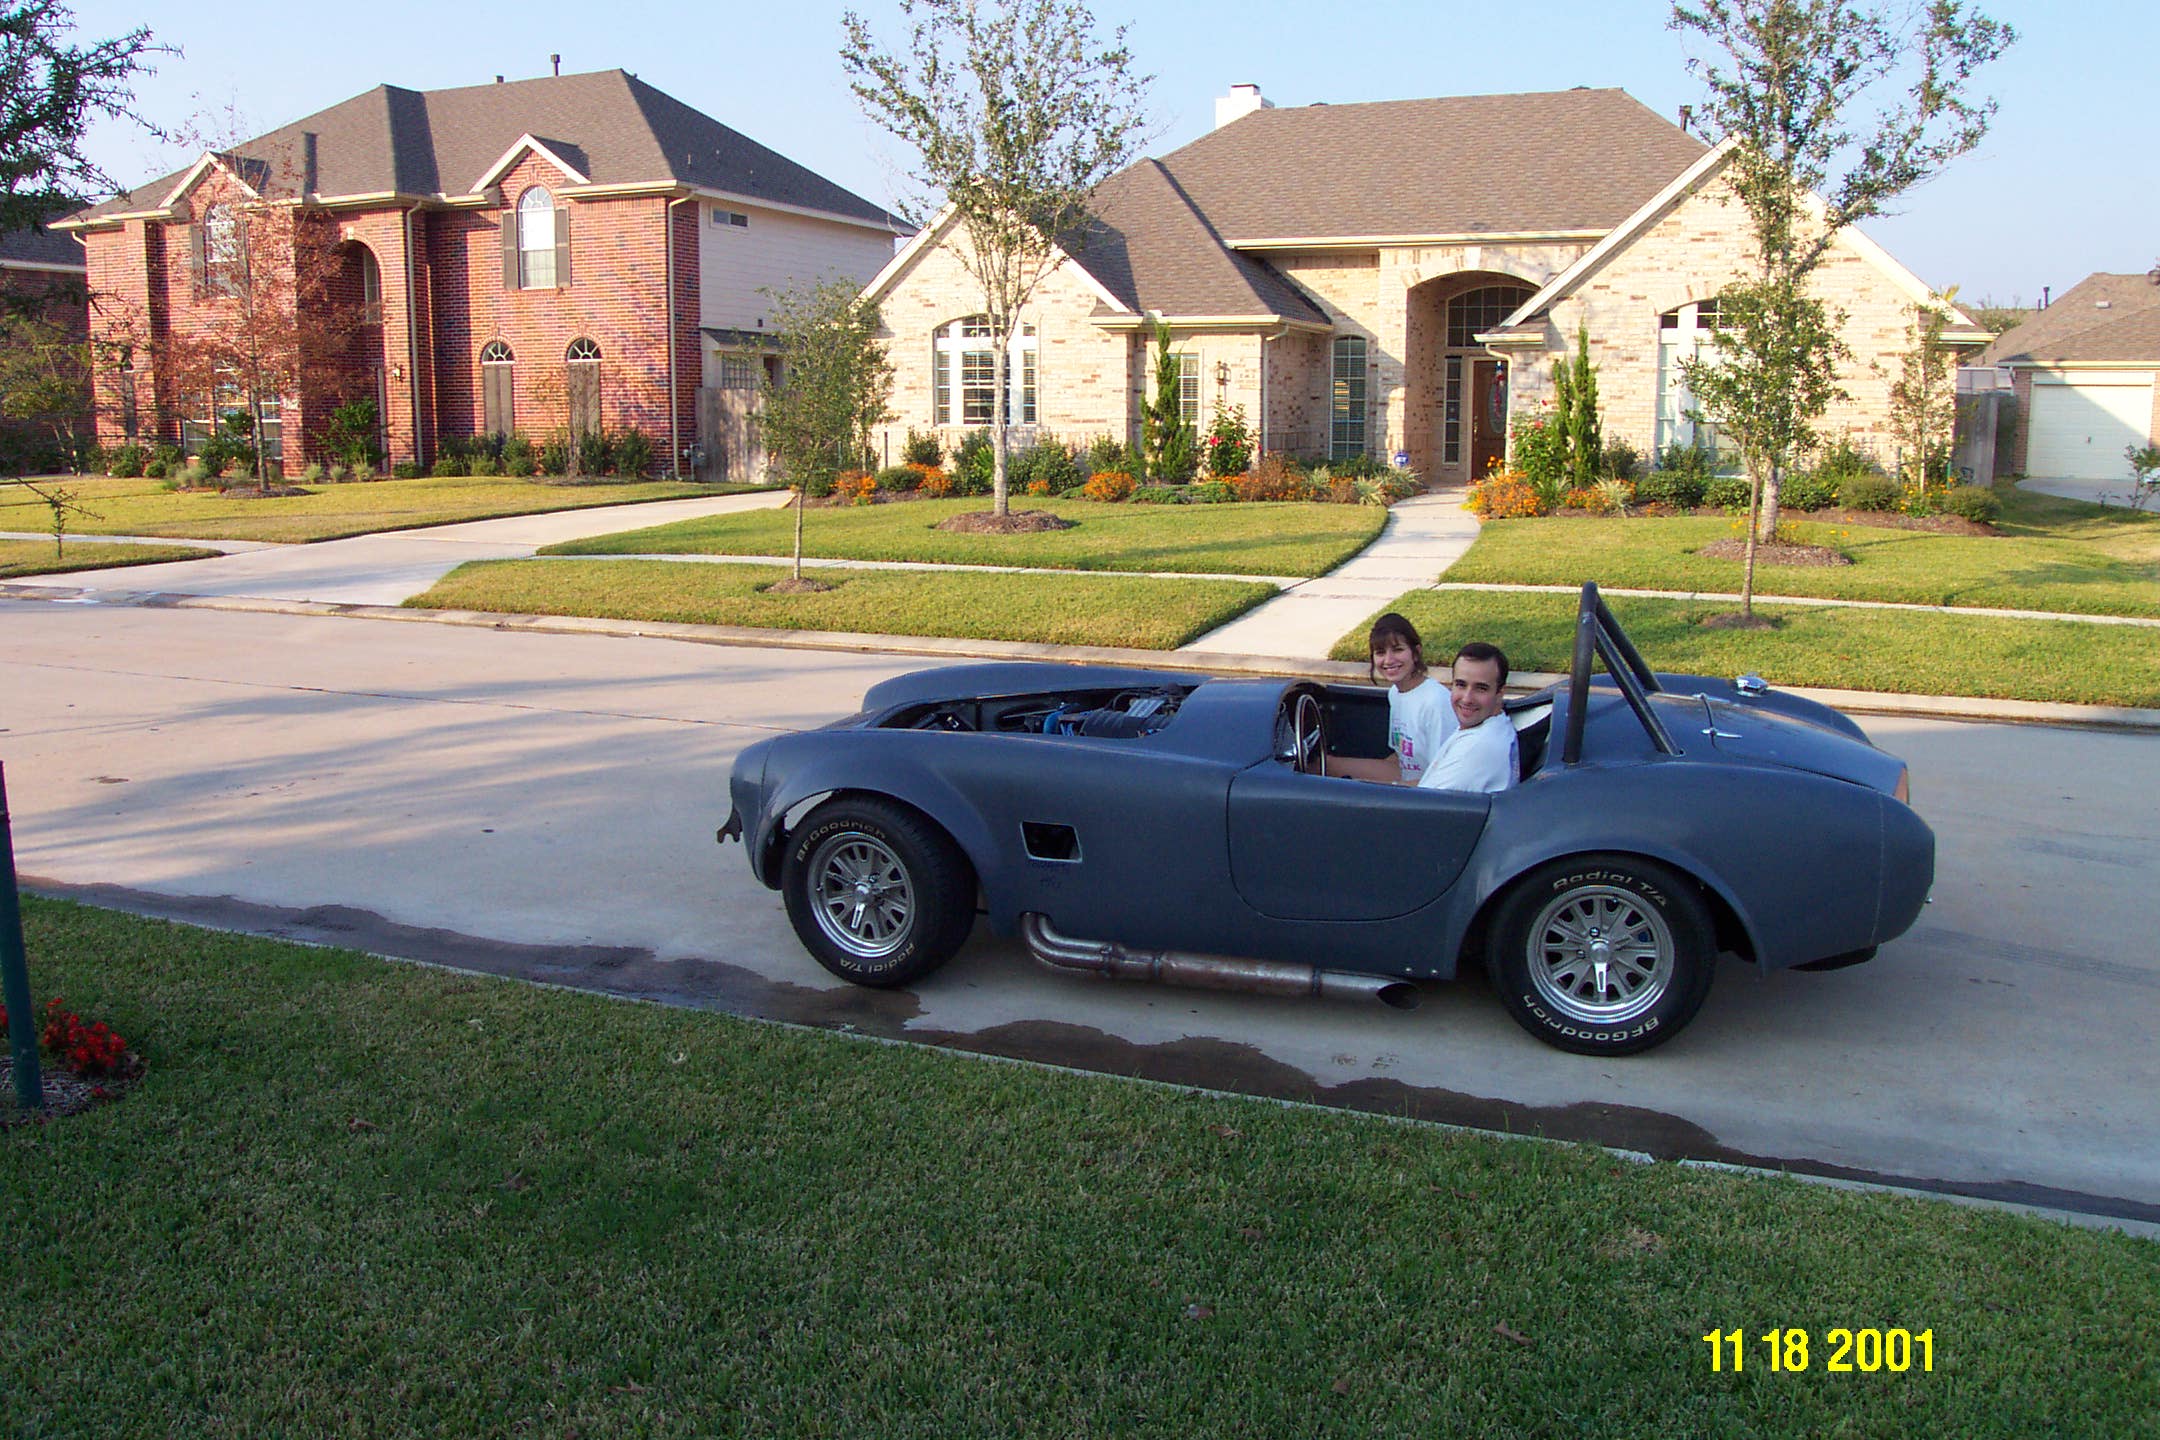
After Damian and Donny got tired of driving the car, he took Amal for a ride. She even drove it a little.

December 2001 Dashboard Wiring
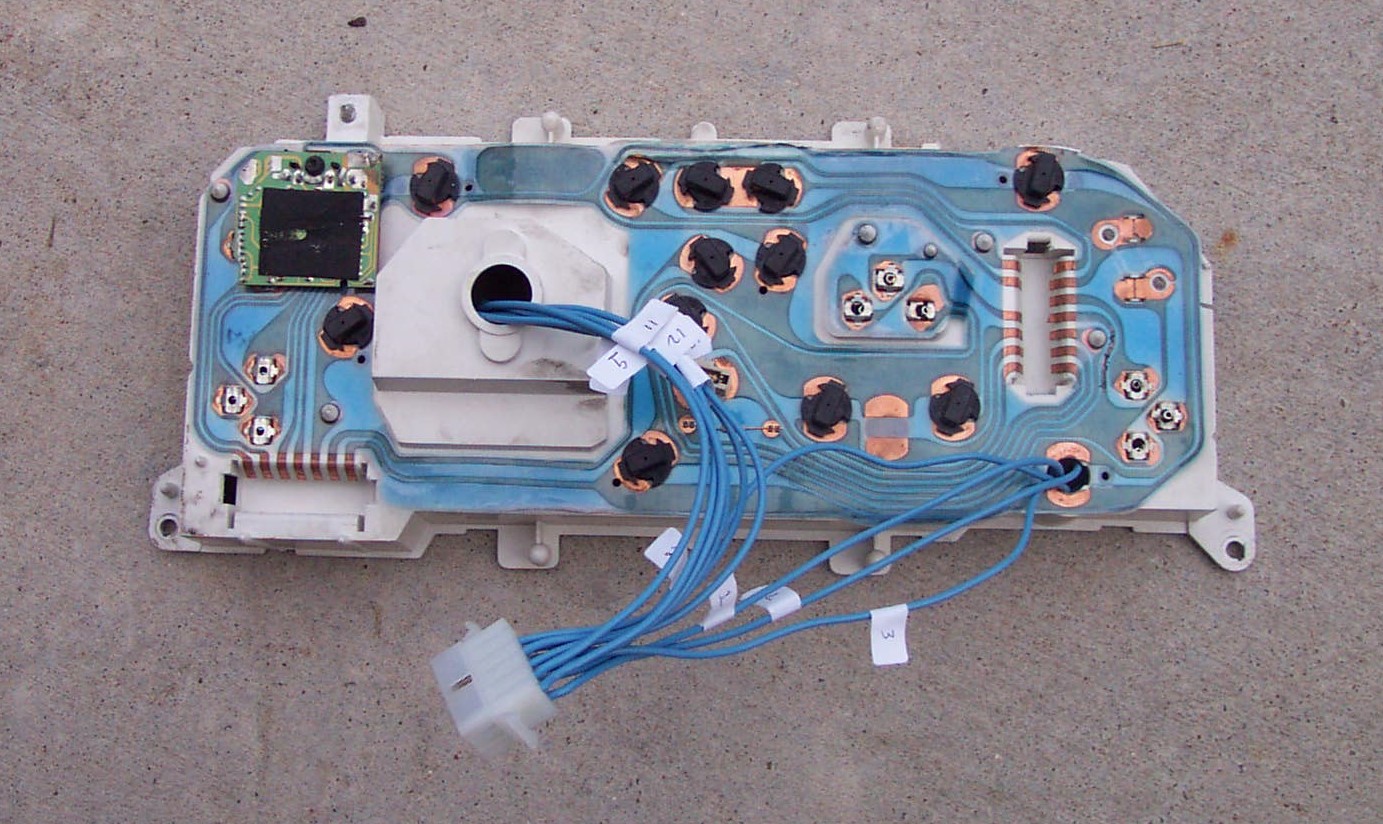
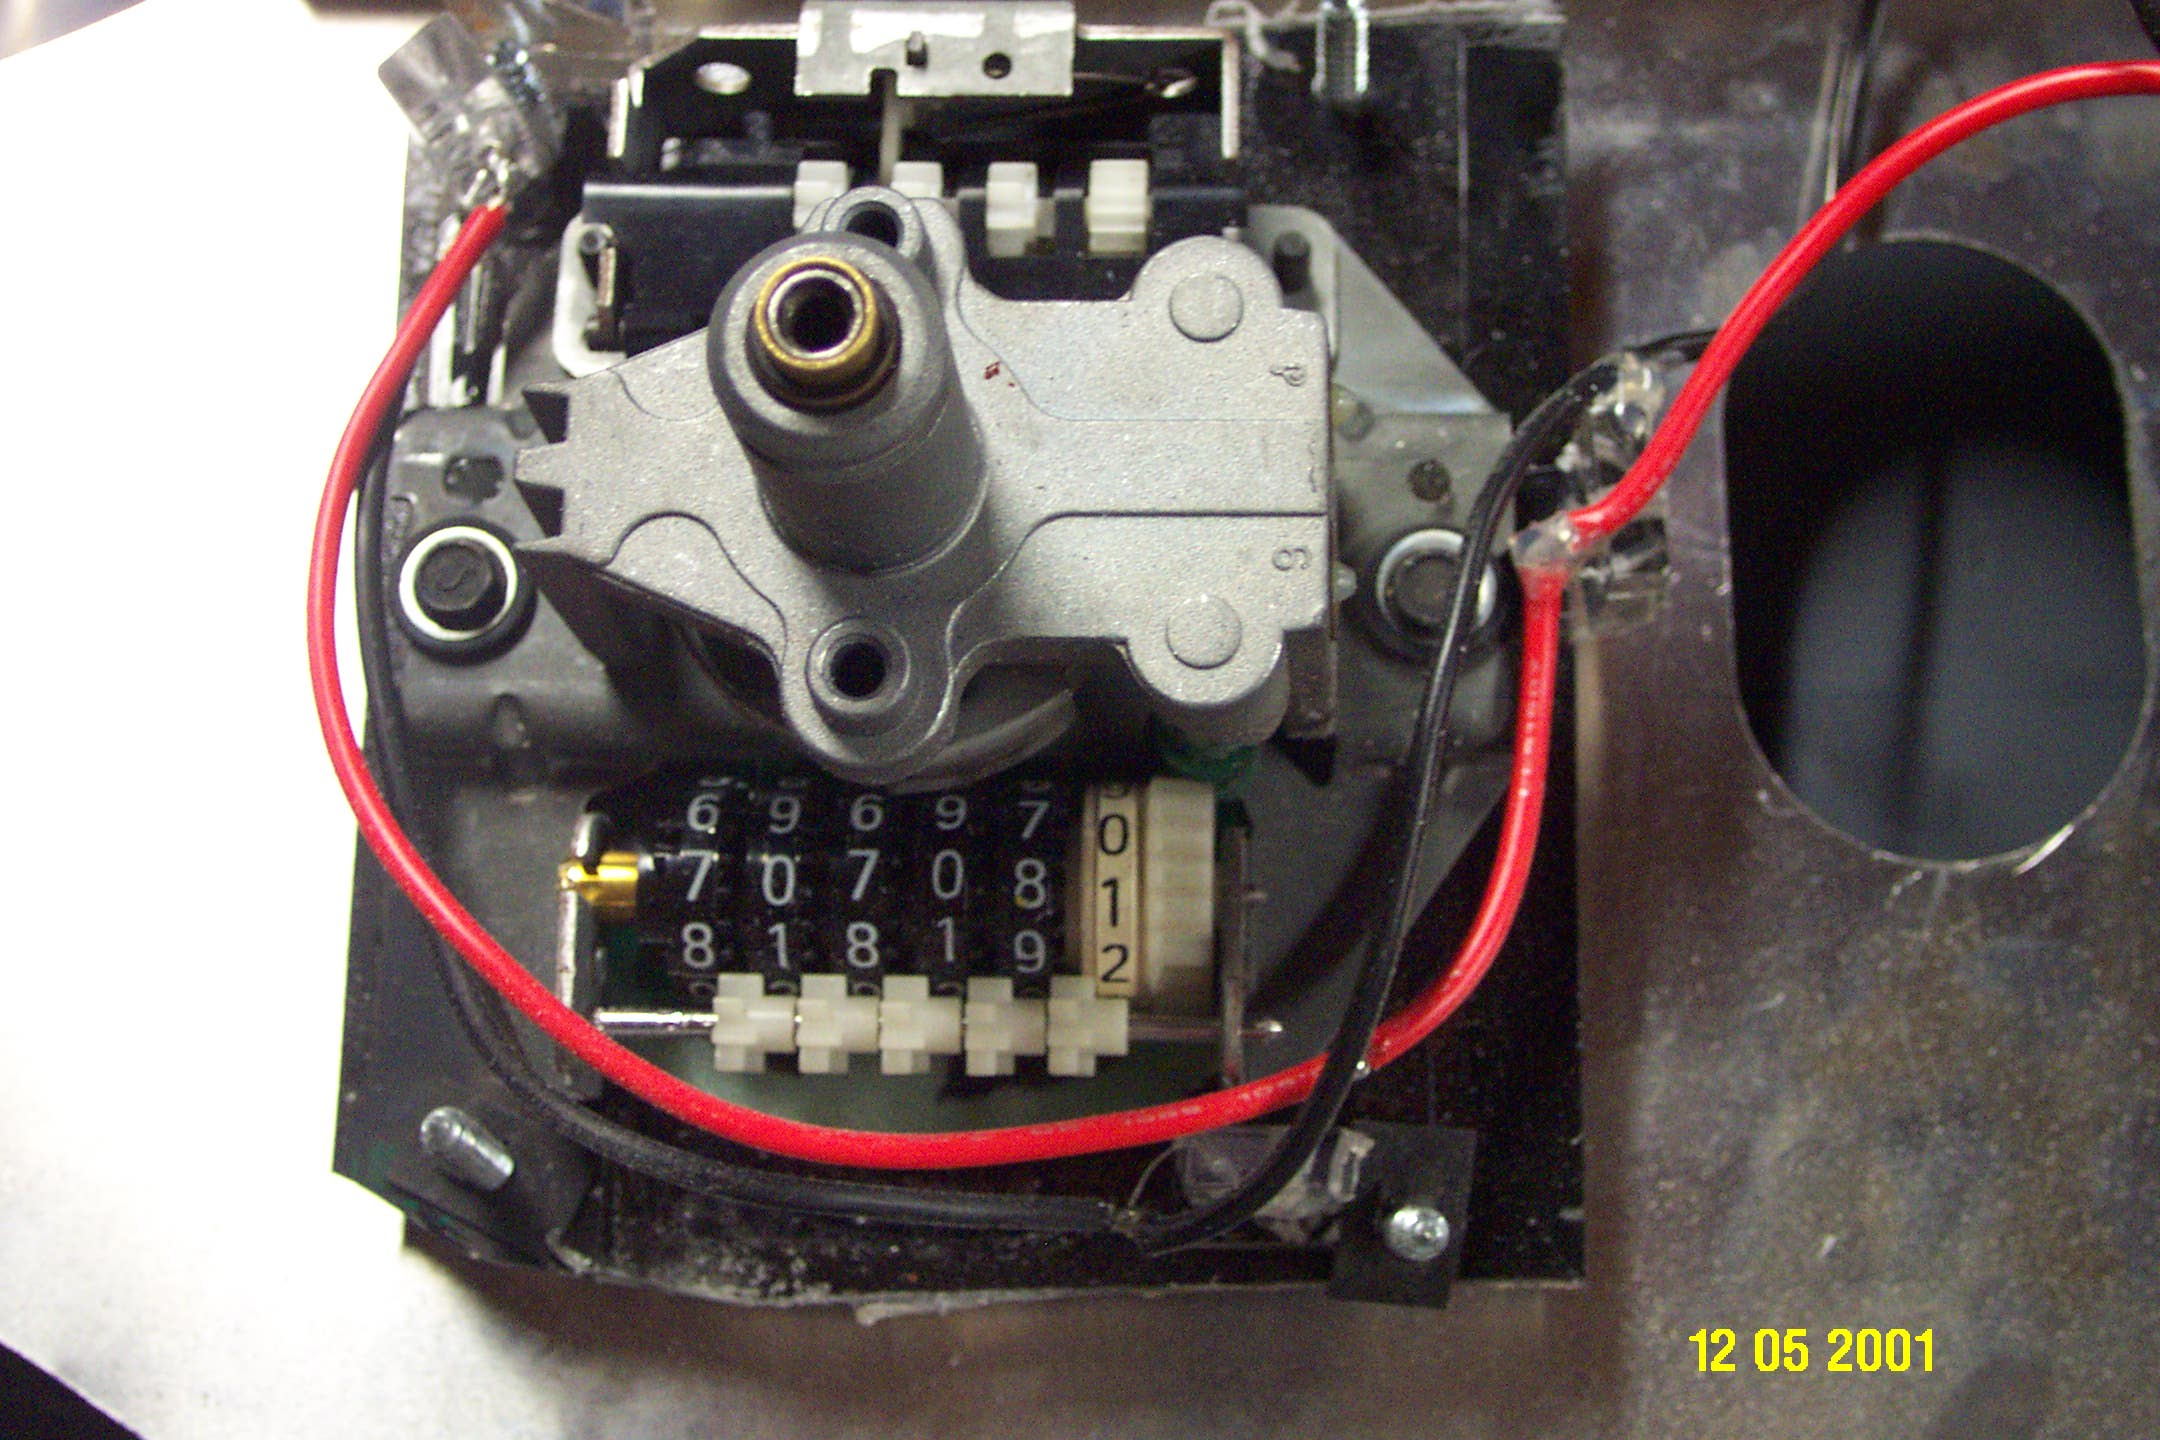
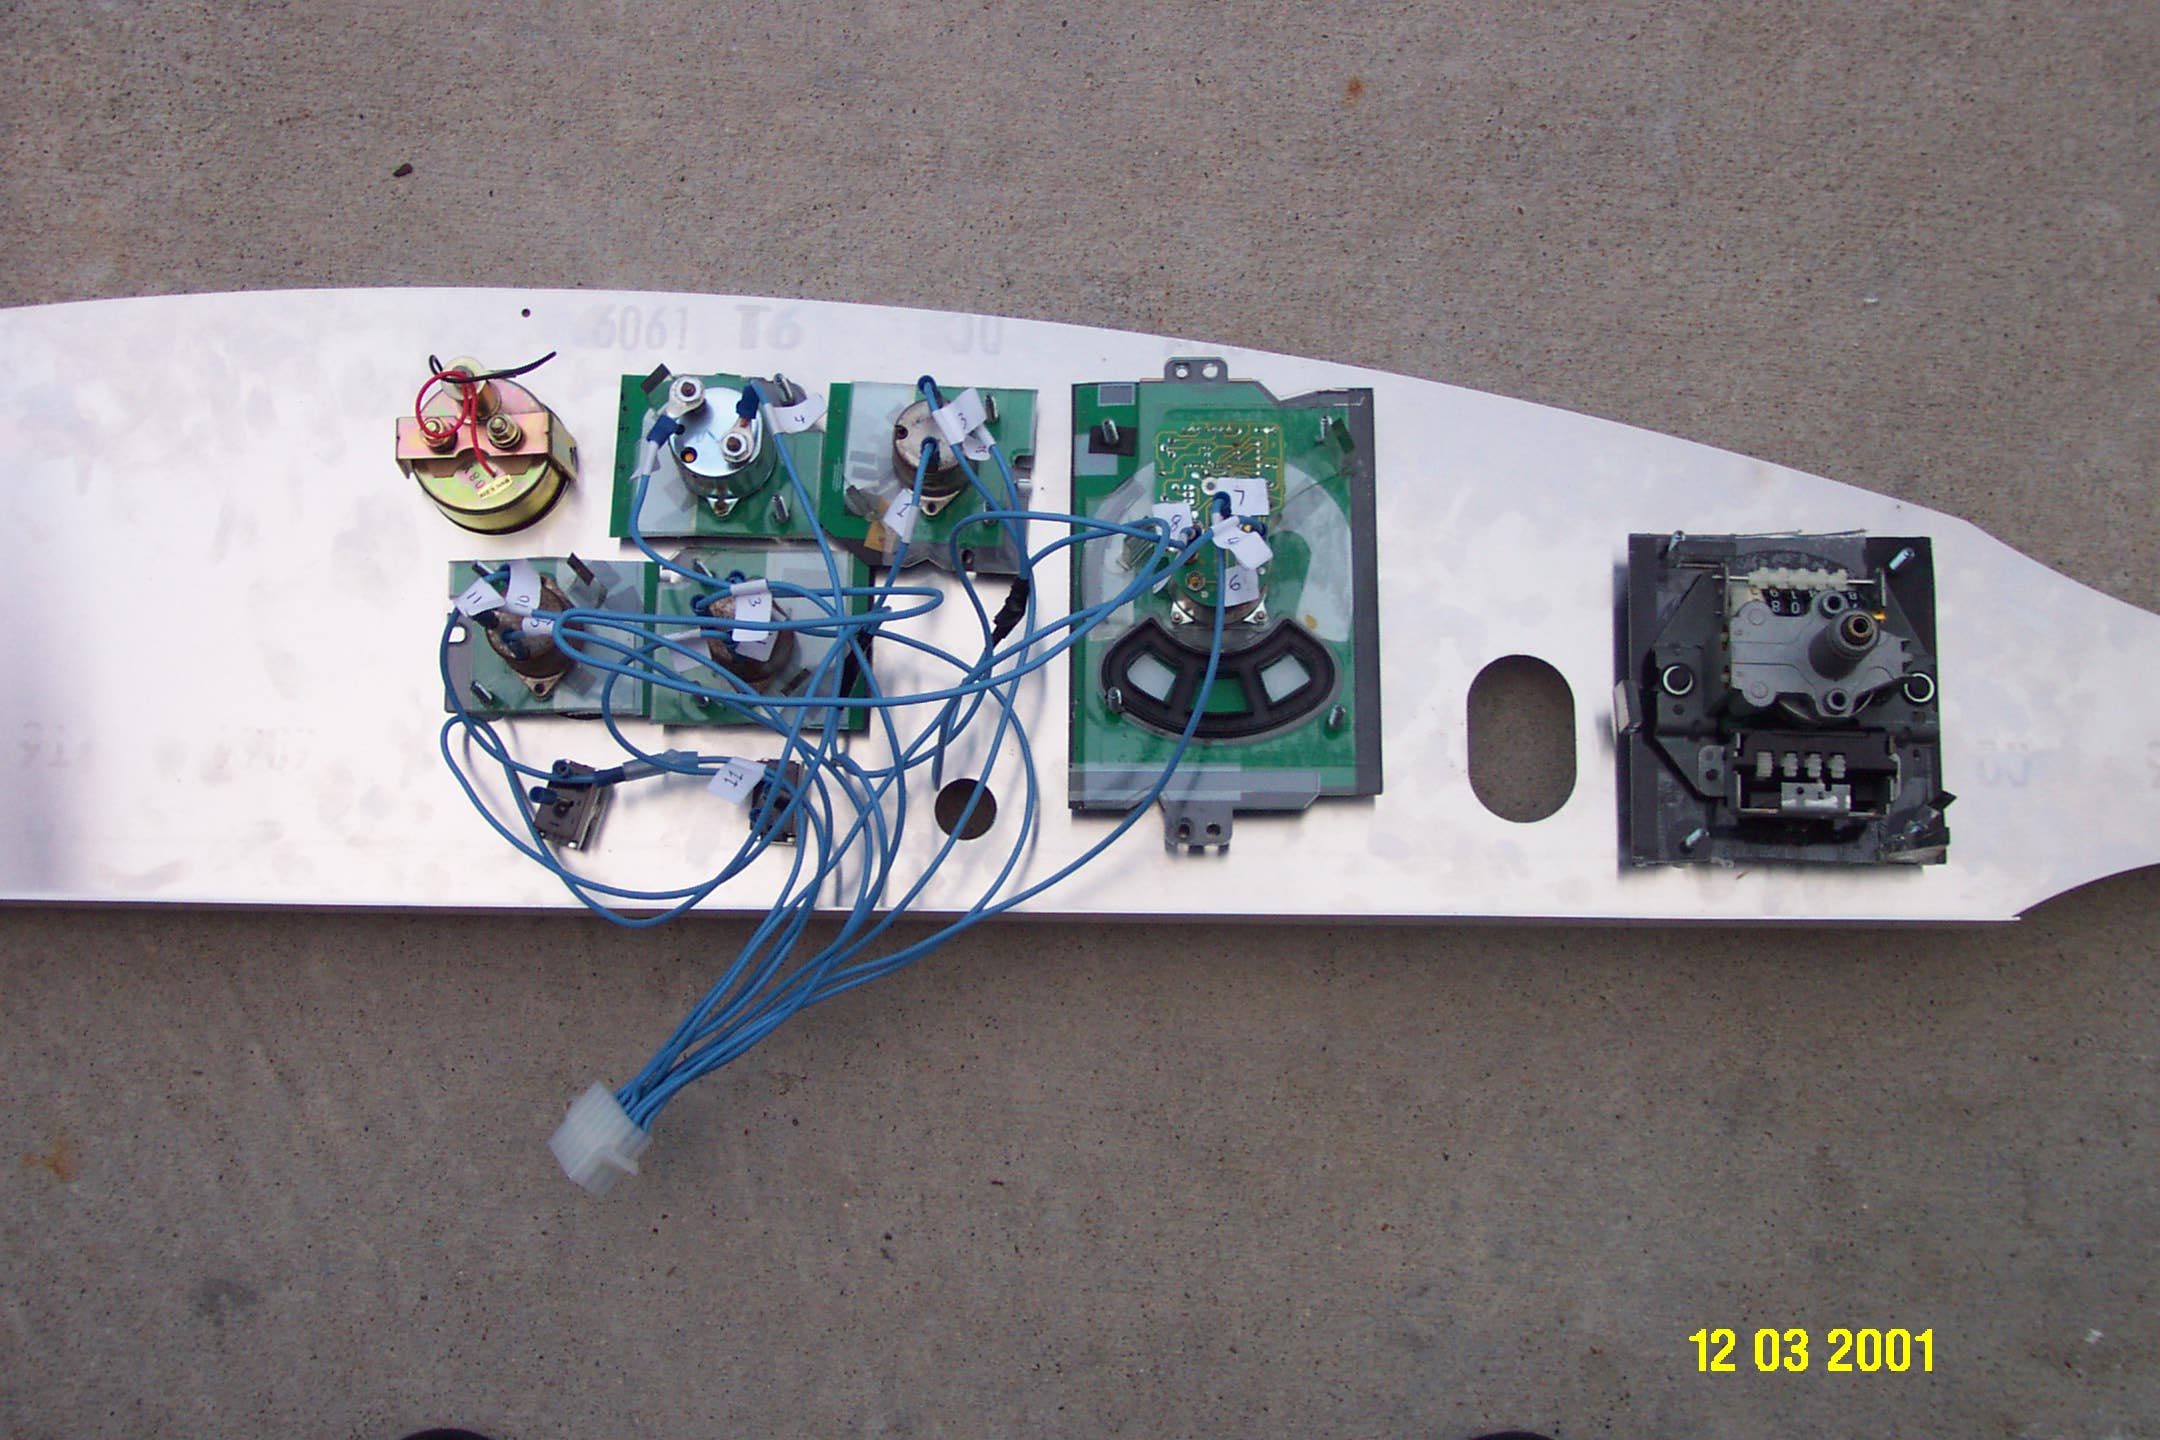
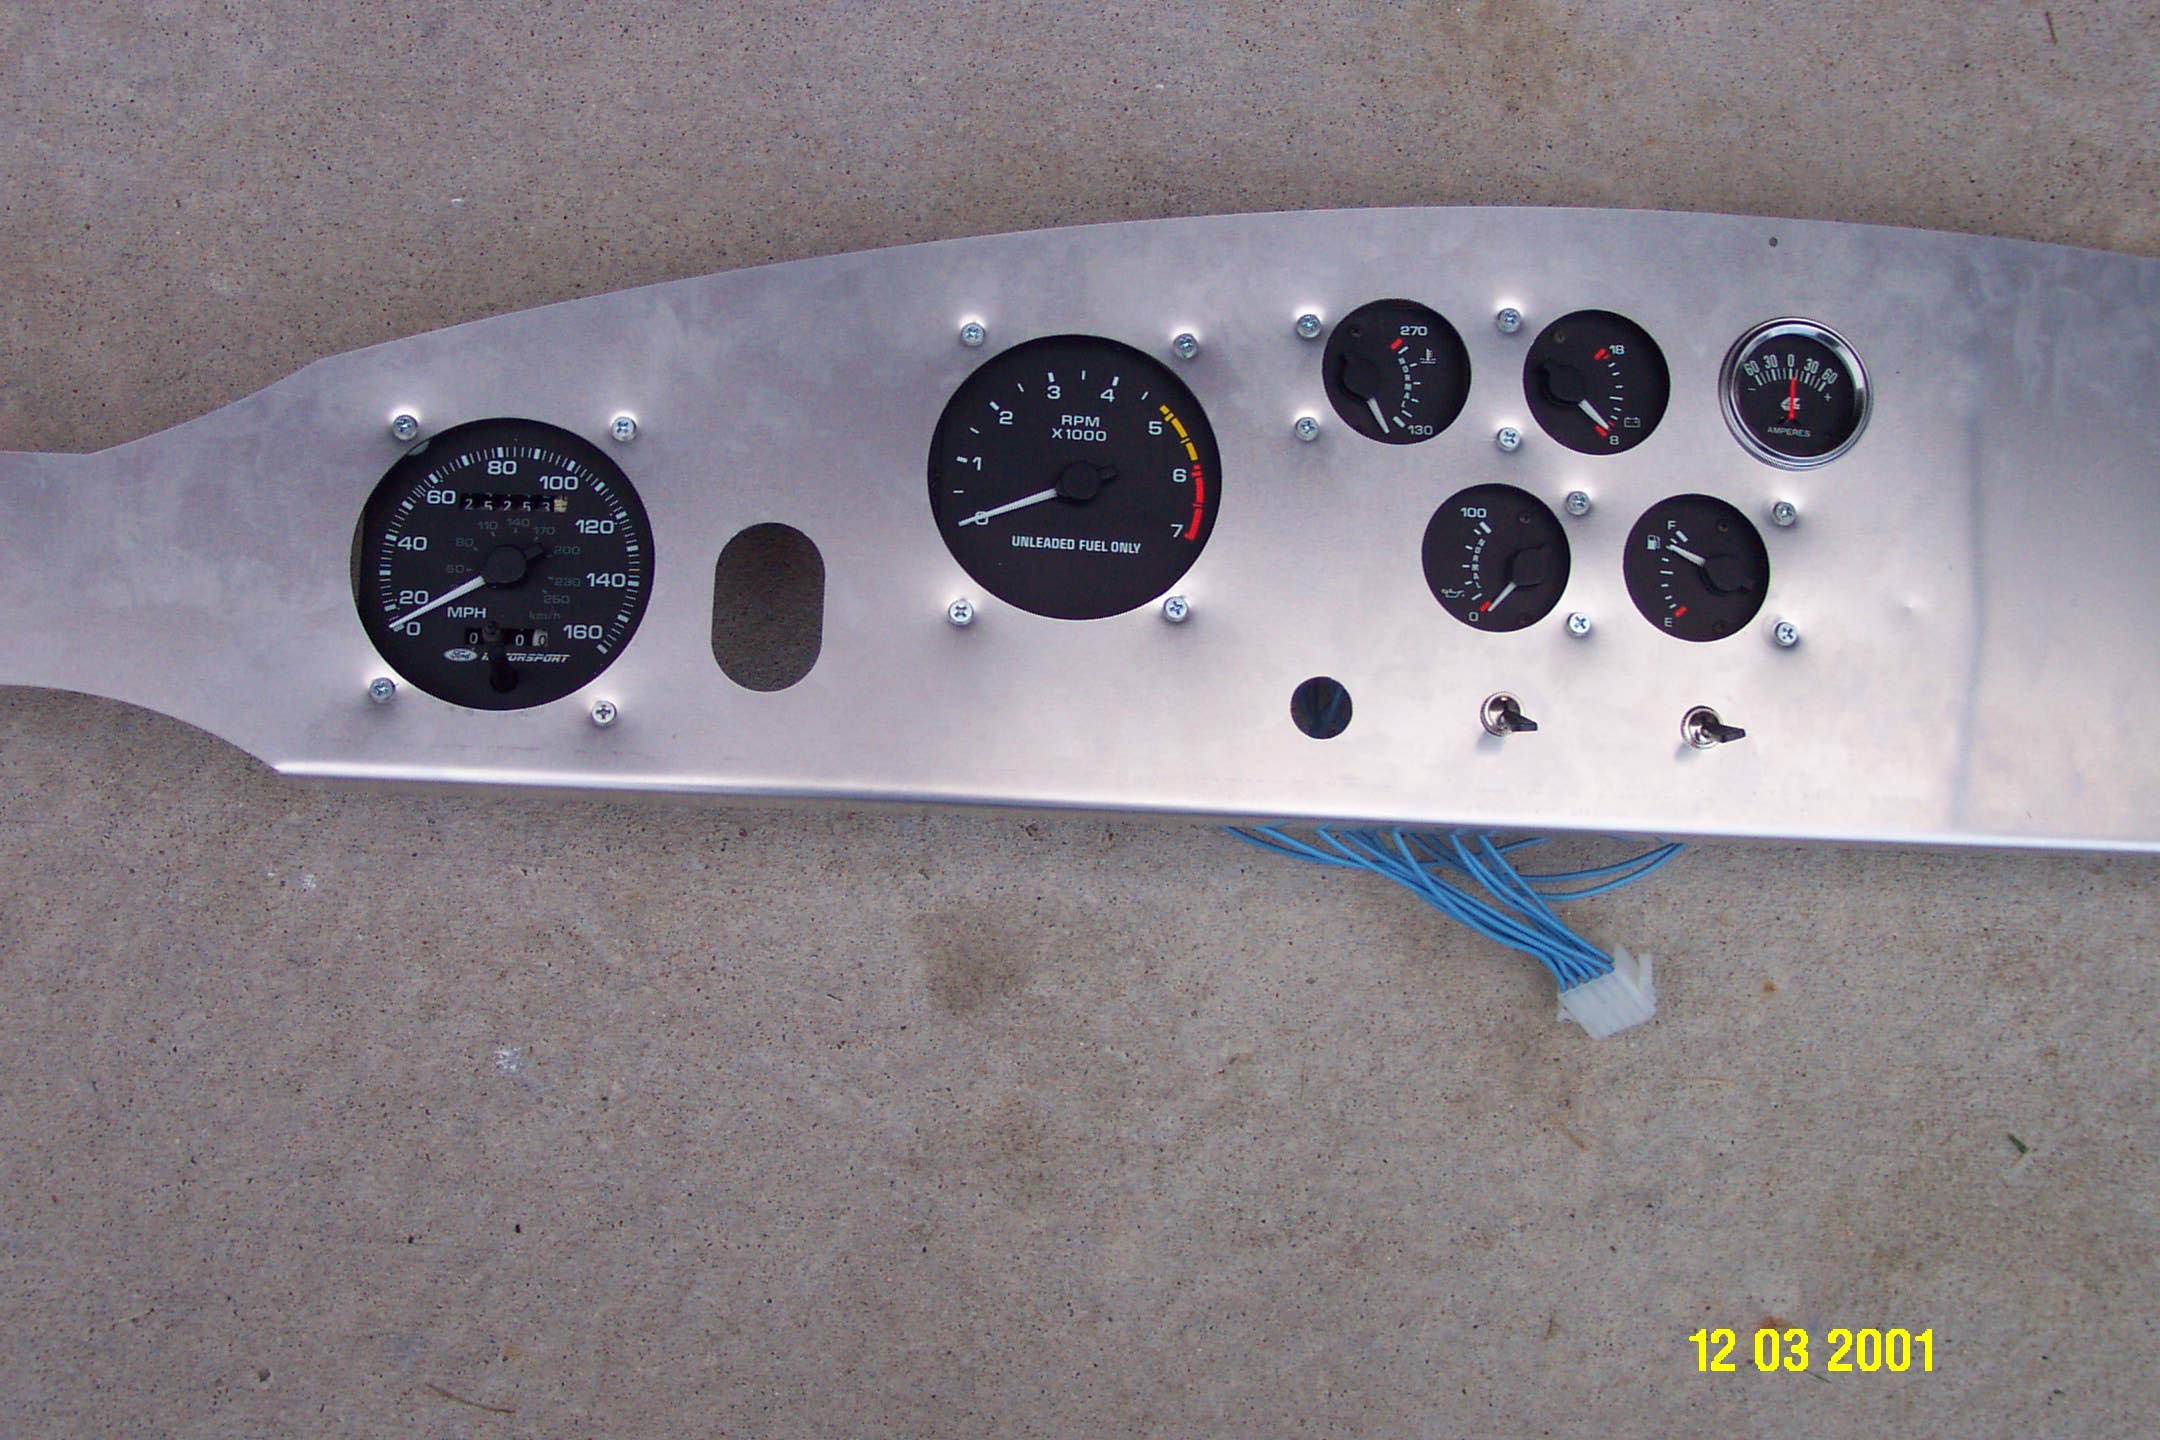
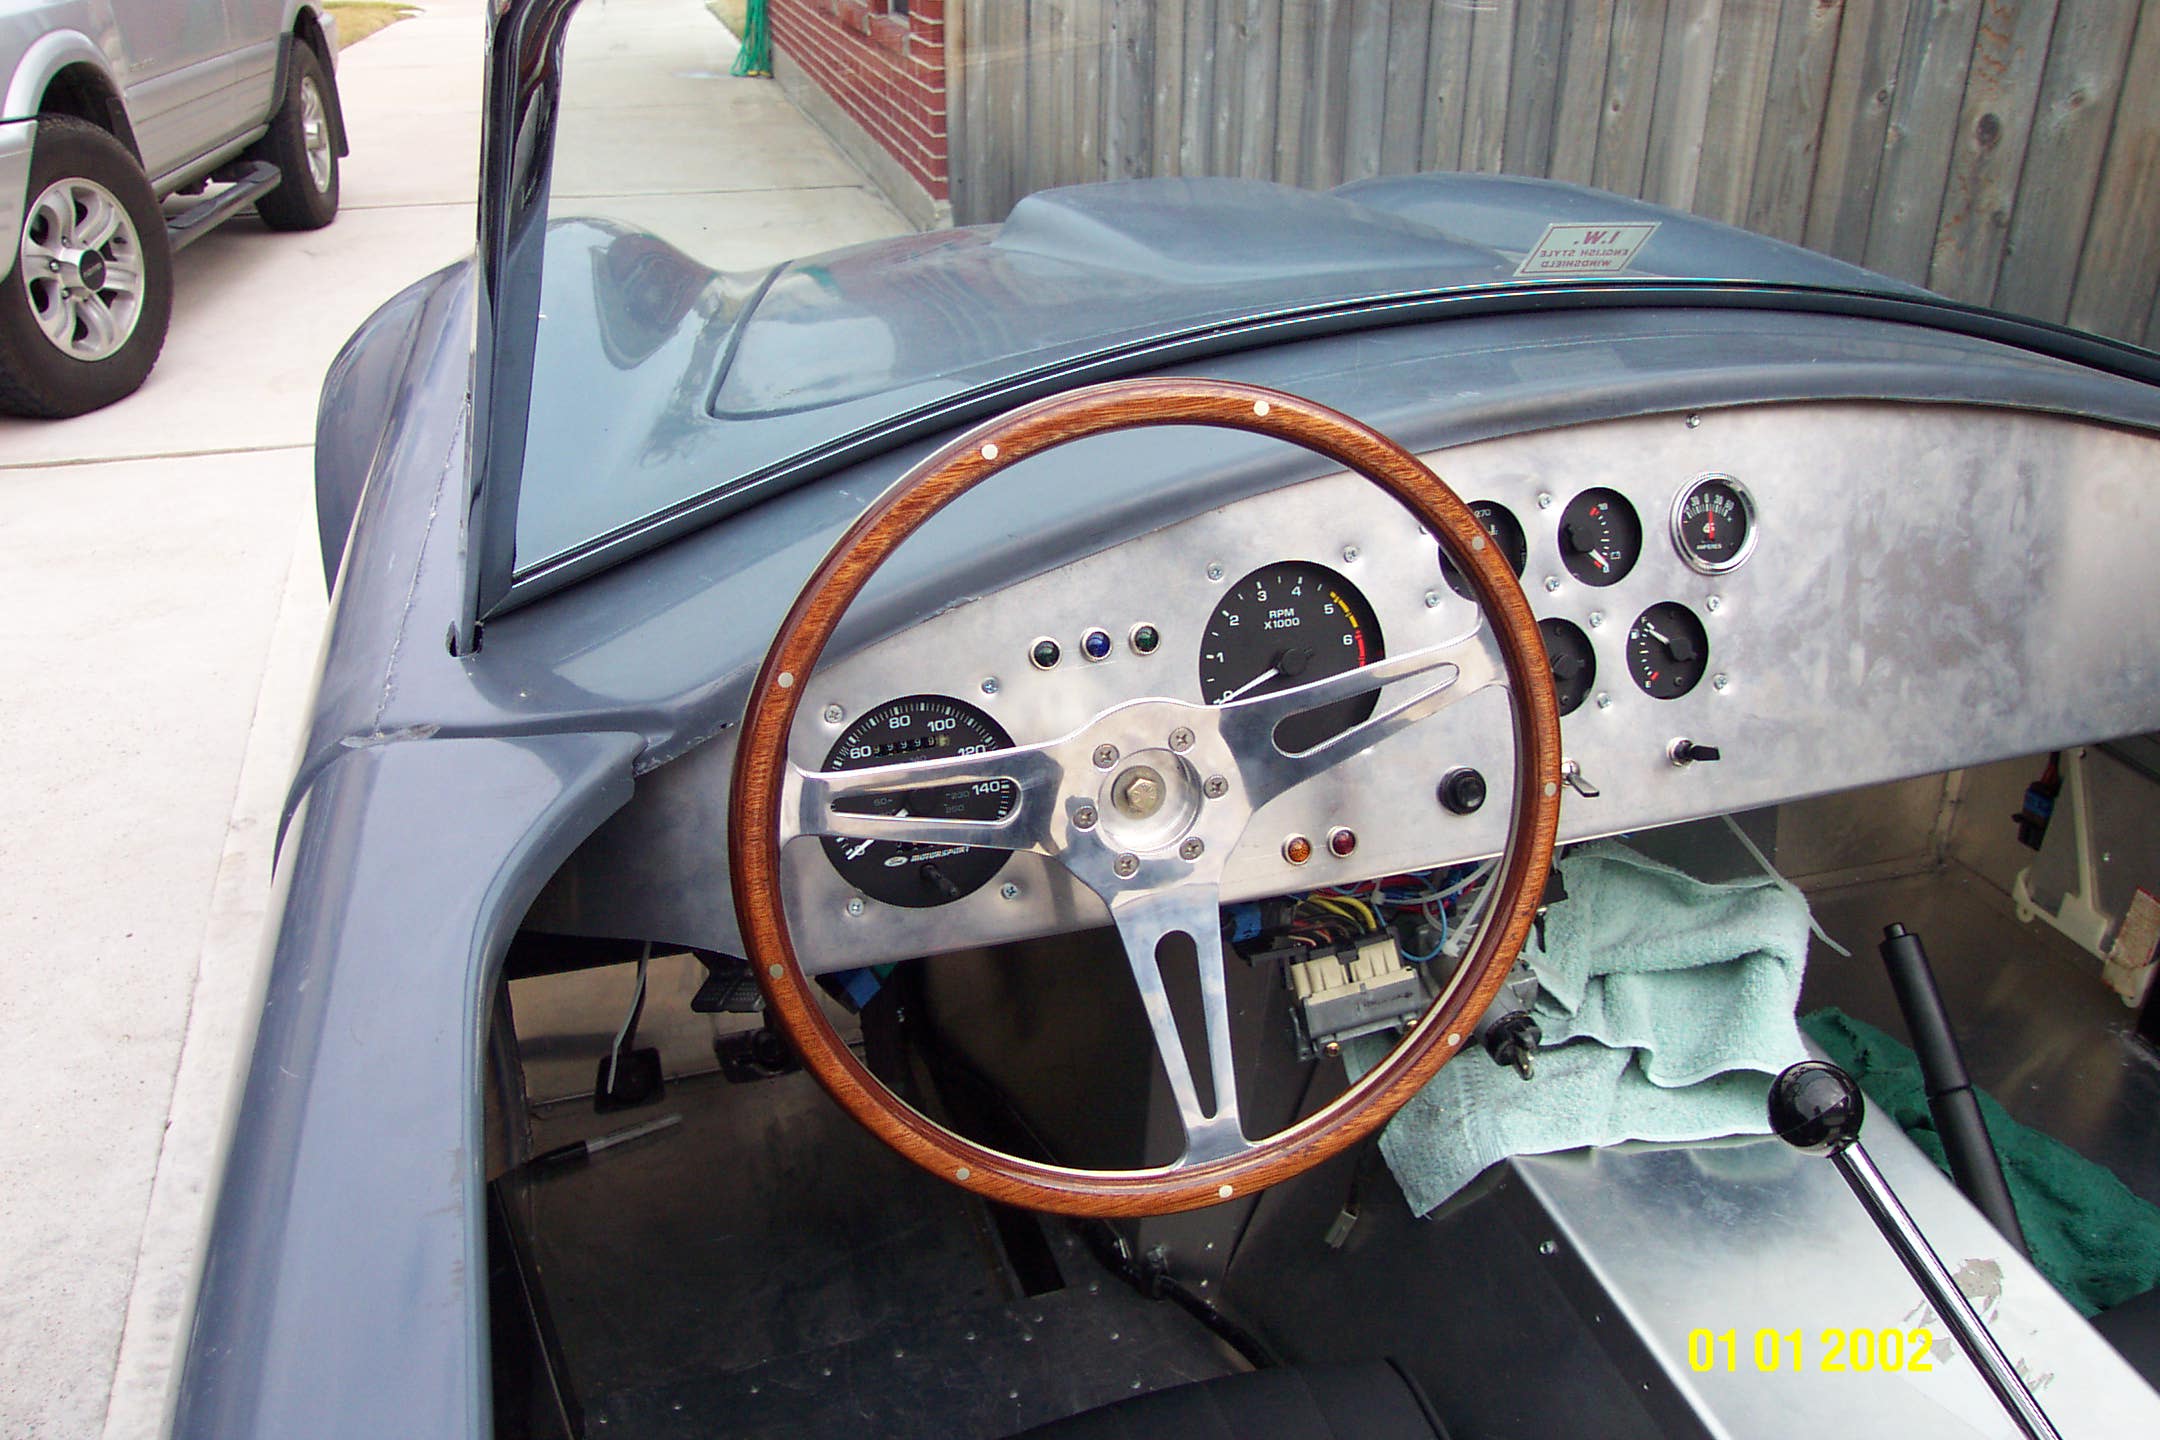
Disassembly of the gauge pod was easy. I then used a hacksaw to cut up the smaller gauges and trim the larger ones. I cut from the back first and then cut the thin face with some scissors. Rather than follow the instructions I ran the pins from the front and hot glued them in place. The wires were then threaded through the existing holes.
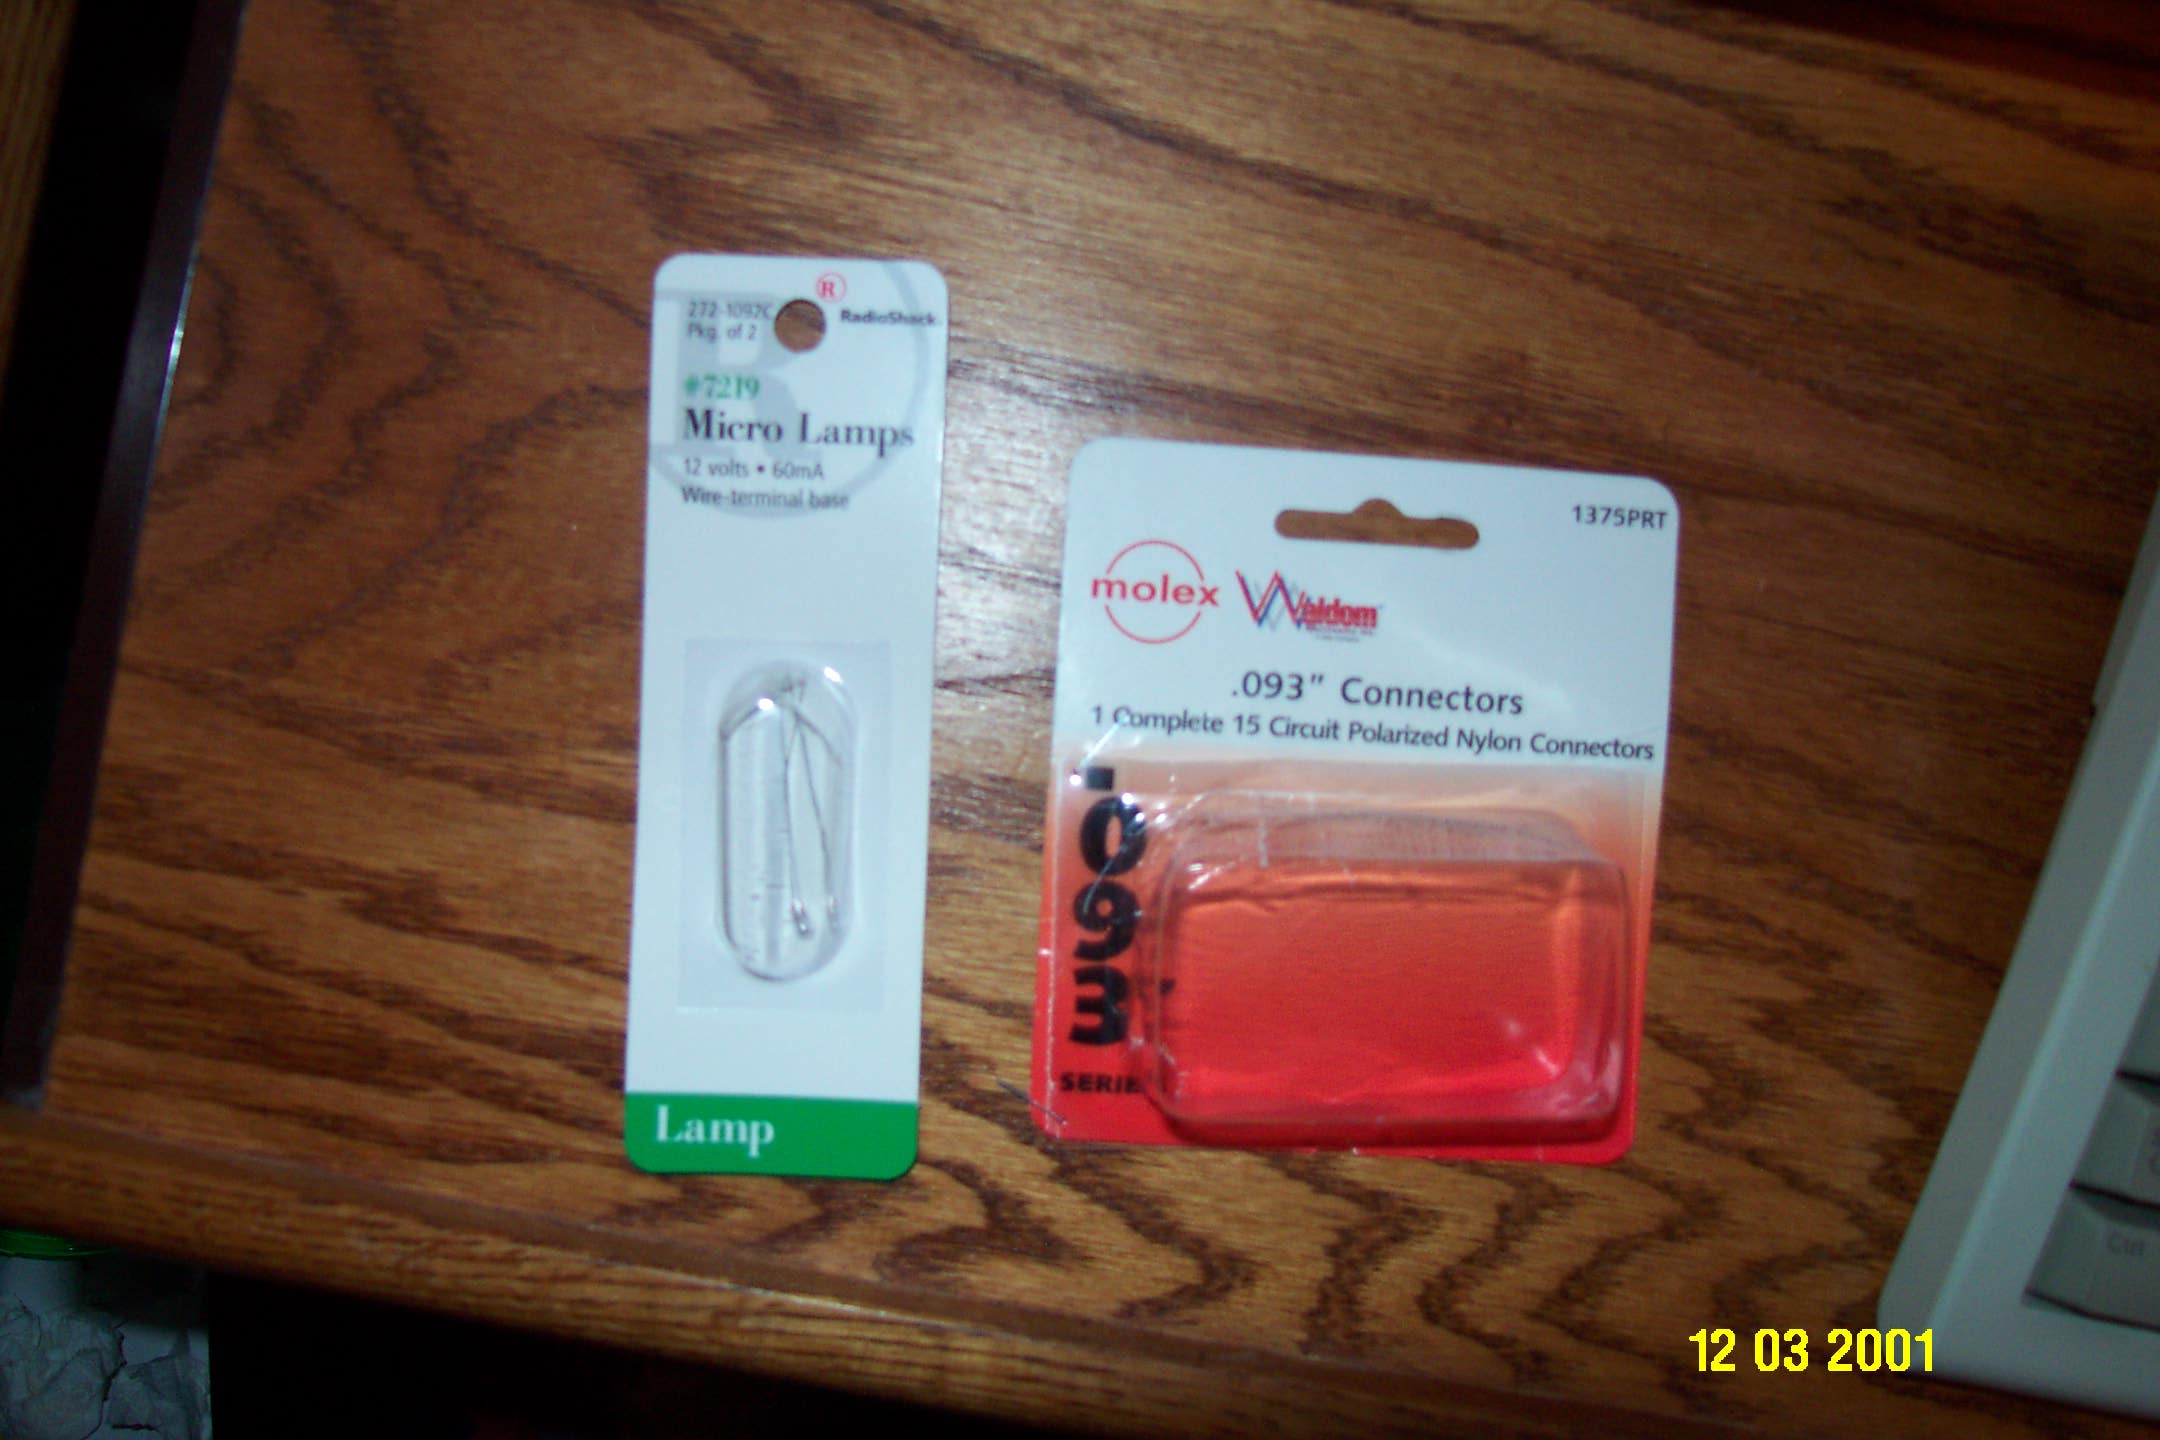
I learned a few tricks when wiring the gauges. Each gauges has three wires: ground, 12 volt constant and a sensor wire (except the voltmeter it has no senor wire). To clean up the wiring from the pod you can connect the 5 ground and 12 volt wires together. You can do it with as few as 6 wires, but I used 10 wires.


I thought the Mustang gauges would look cheap and sloppy, but when you put the trim rings on them, they look alright.
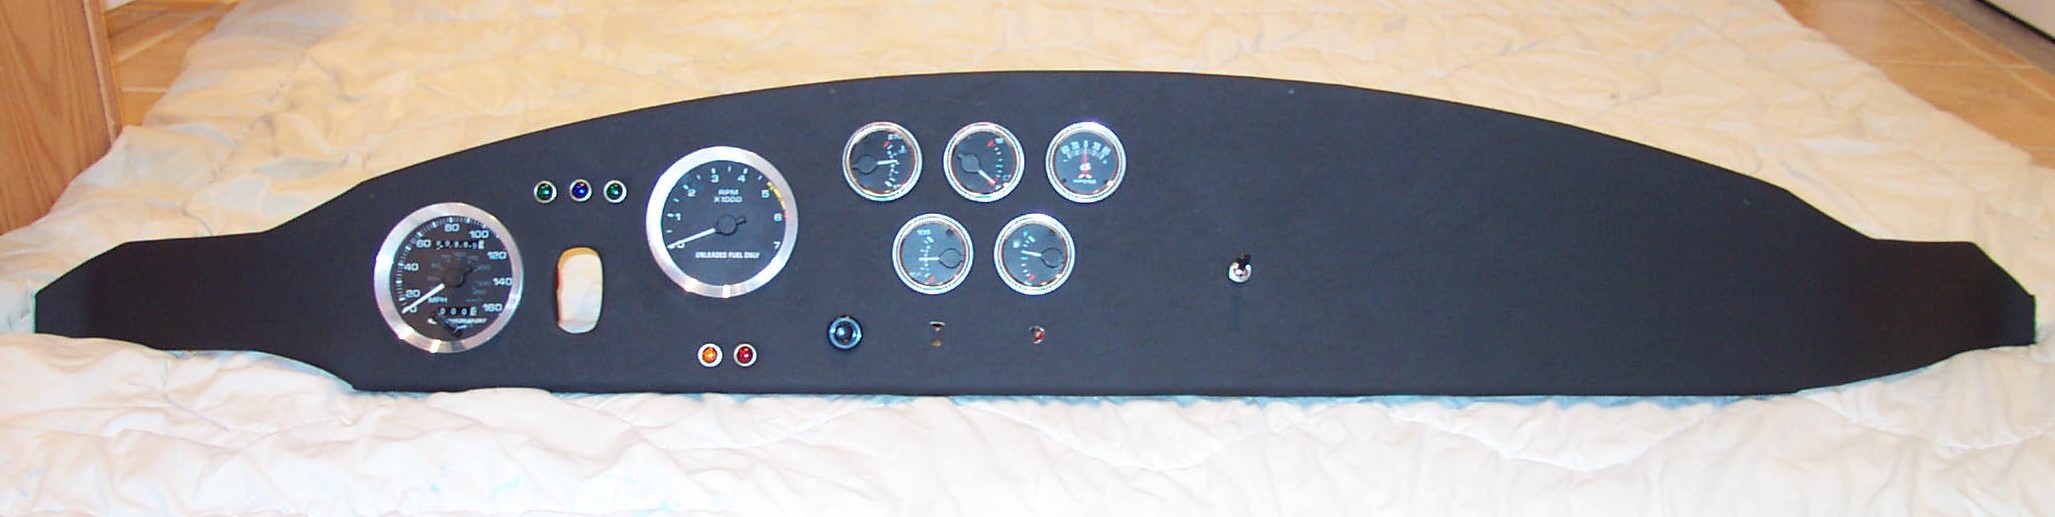
Here is the dash covered with vinyl and the gauges installed. We have added a second green light for right and left turn signals. Also, we have a red and amber light for the check engine and battery charge.
The dash is now in the car with the rest of the switches installed. We used brackets for the stock switches as dash supports along the bottom edge.

March 2002 Interior
The interior is going to be one of the most time-consuming things in the car. There are lots of mechanical and electrical systems. Not only must they work, but they must be comfortable. We probably have about 10 to 15 hours on the pedals, and they still aren’t right. So, we plan on taking our time so that the car is comfortable
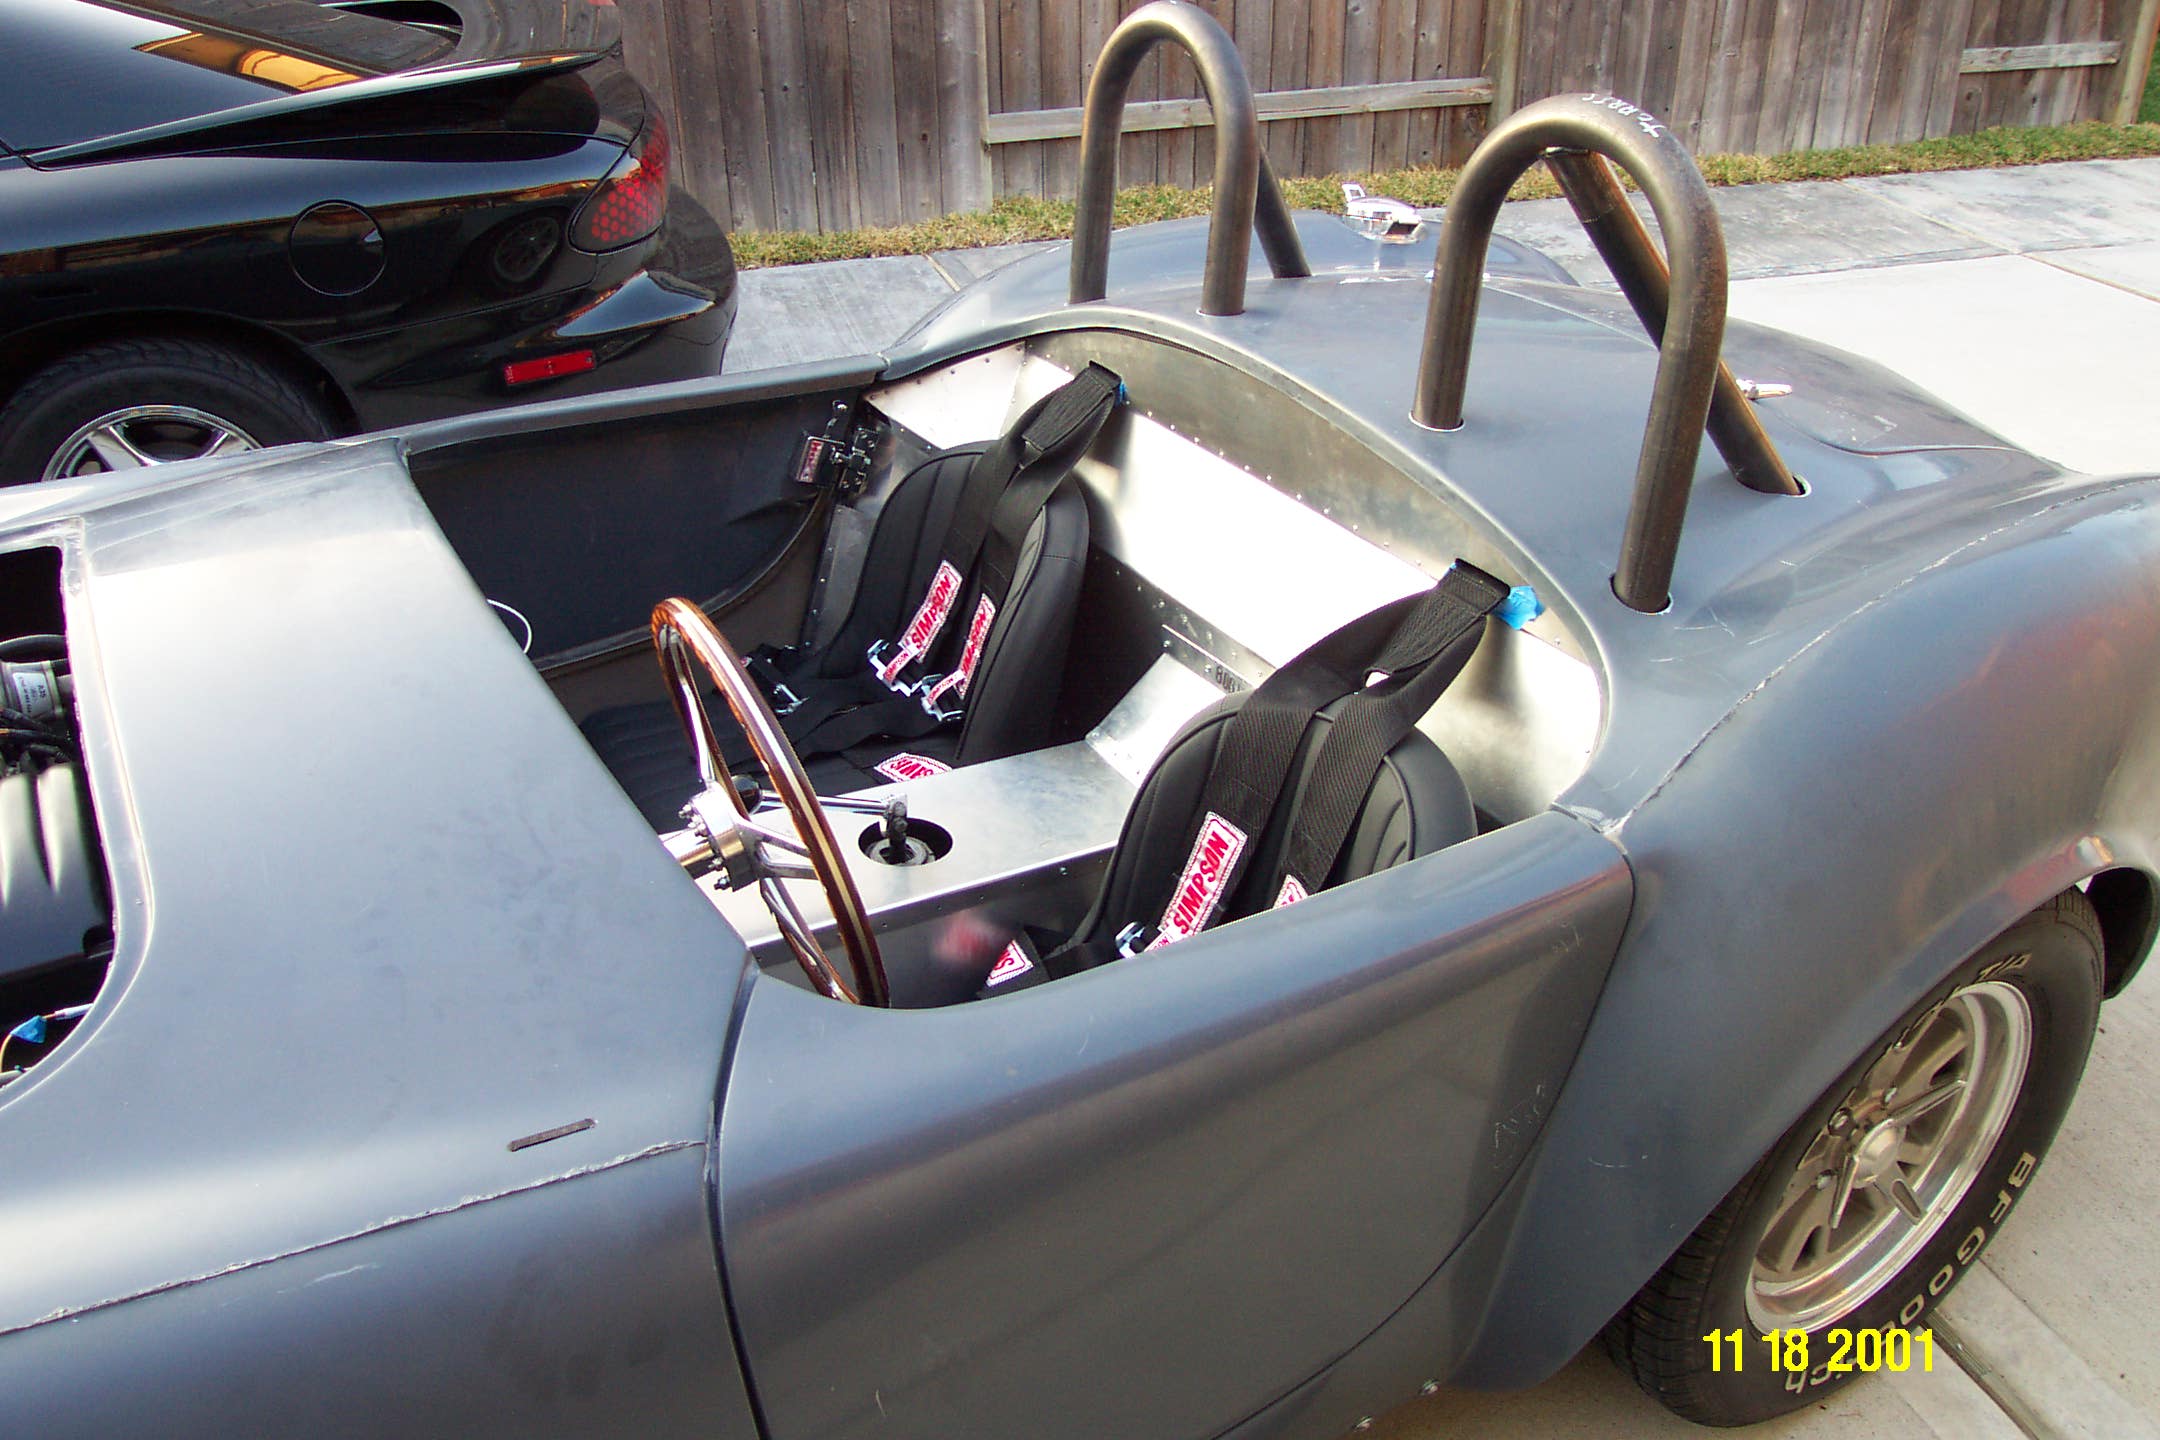
Prior to putting on the body, we test fit the driver’s seat to check the pedal and wheel positions. To adjust the pedals, they must be heated and bent or cut and welded. The wheel can be raised or lowered by adding or removing washers under the mounting bolts.
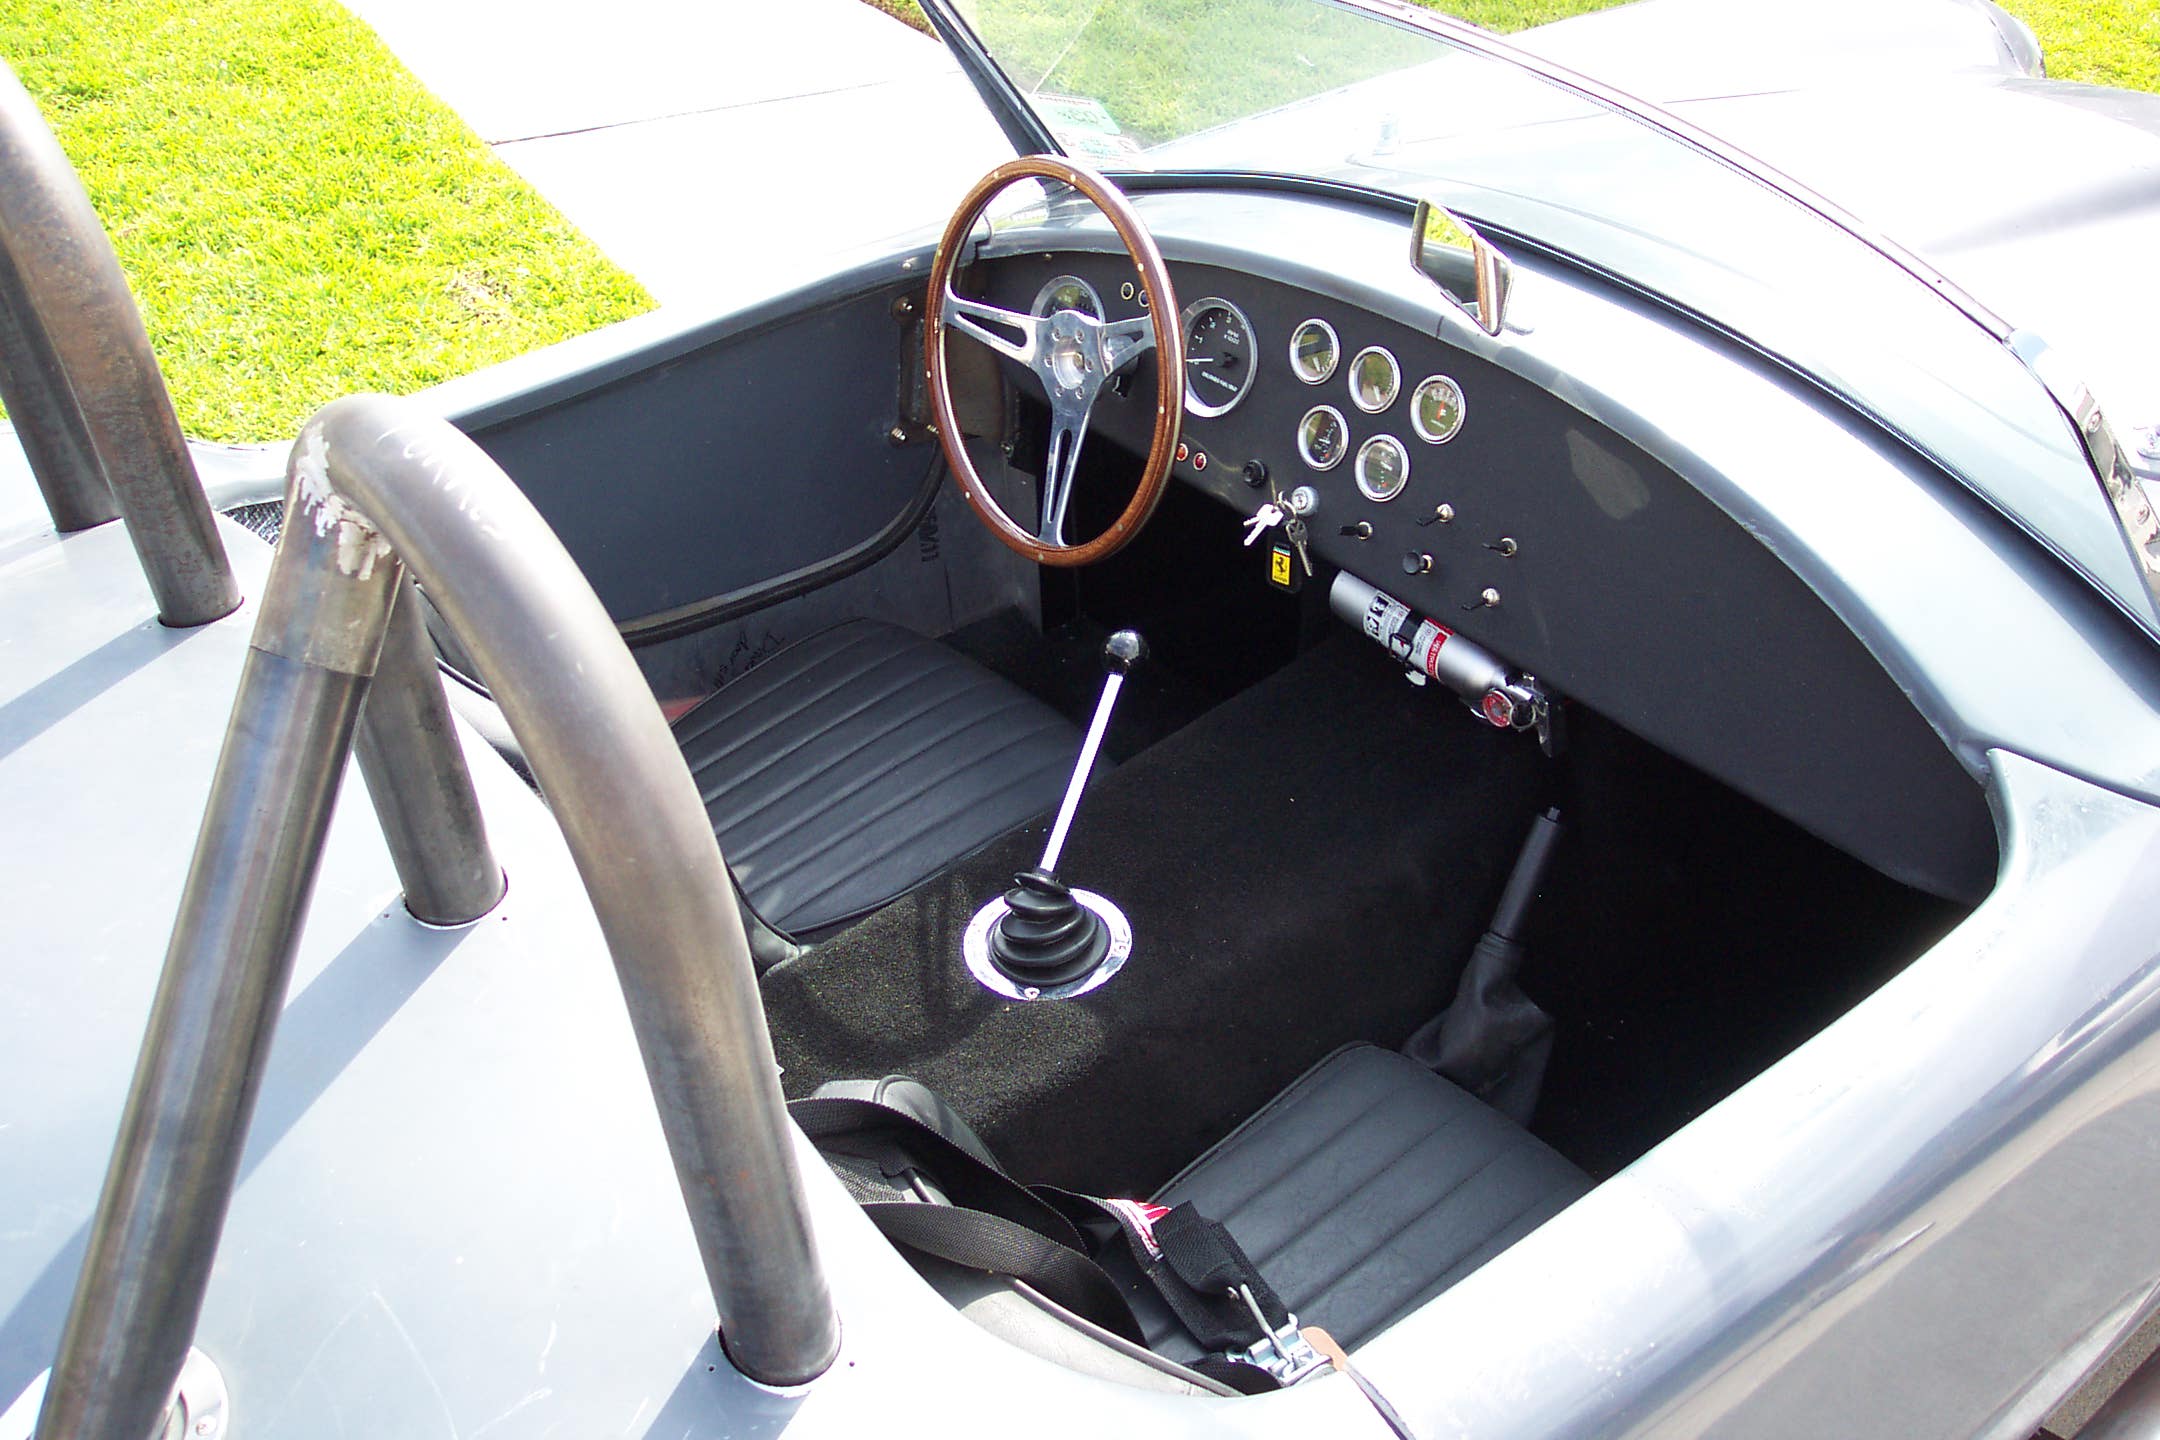
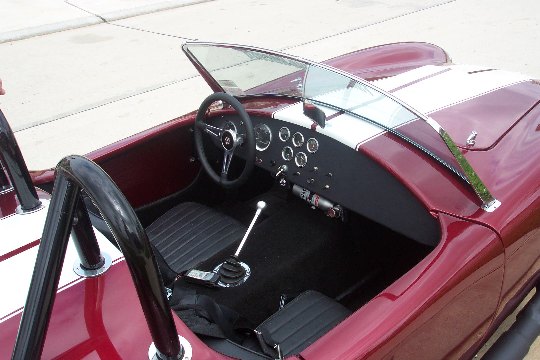
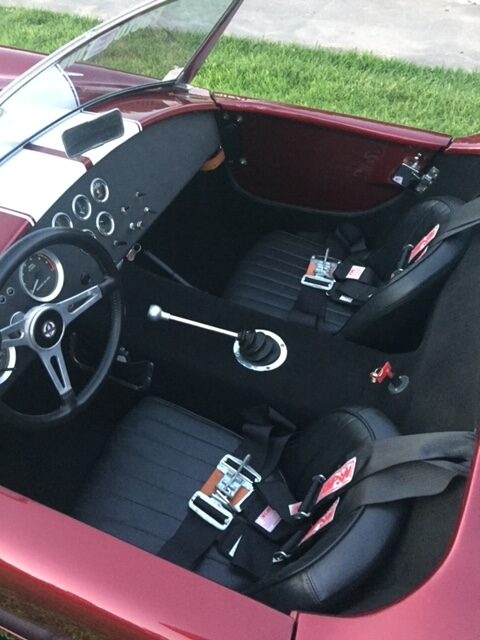
With the seats all the way back, there is adequate leg room for a 6-foot-tall person. Even though the shift lever looks weird, it is pretty comfortable.


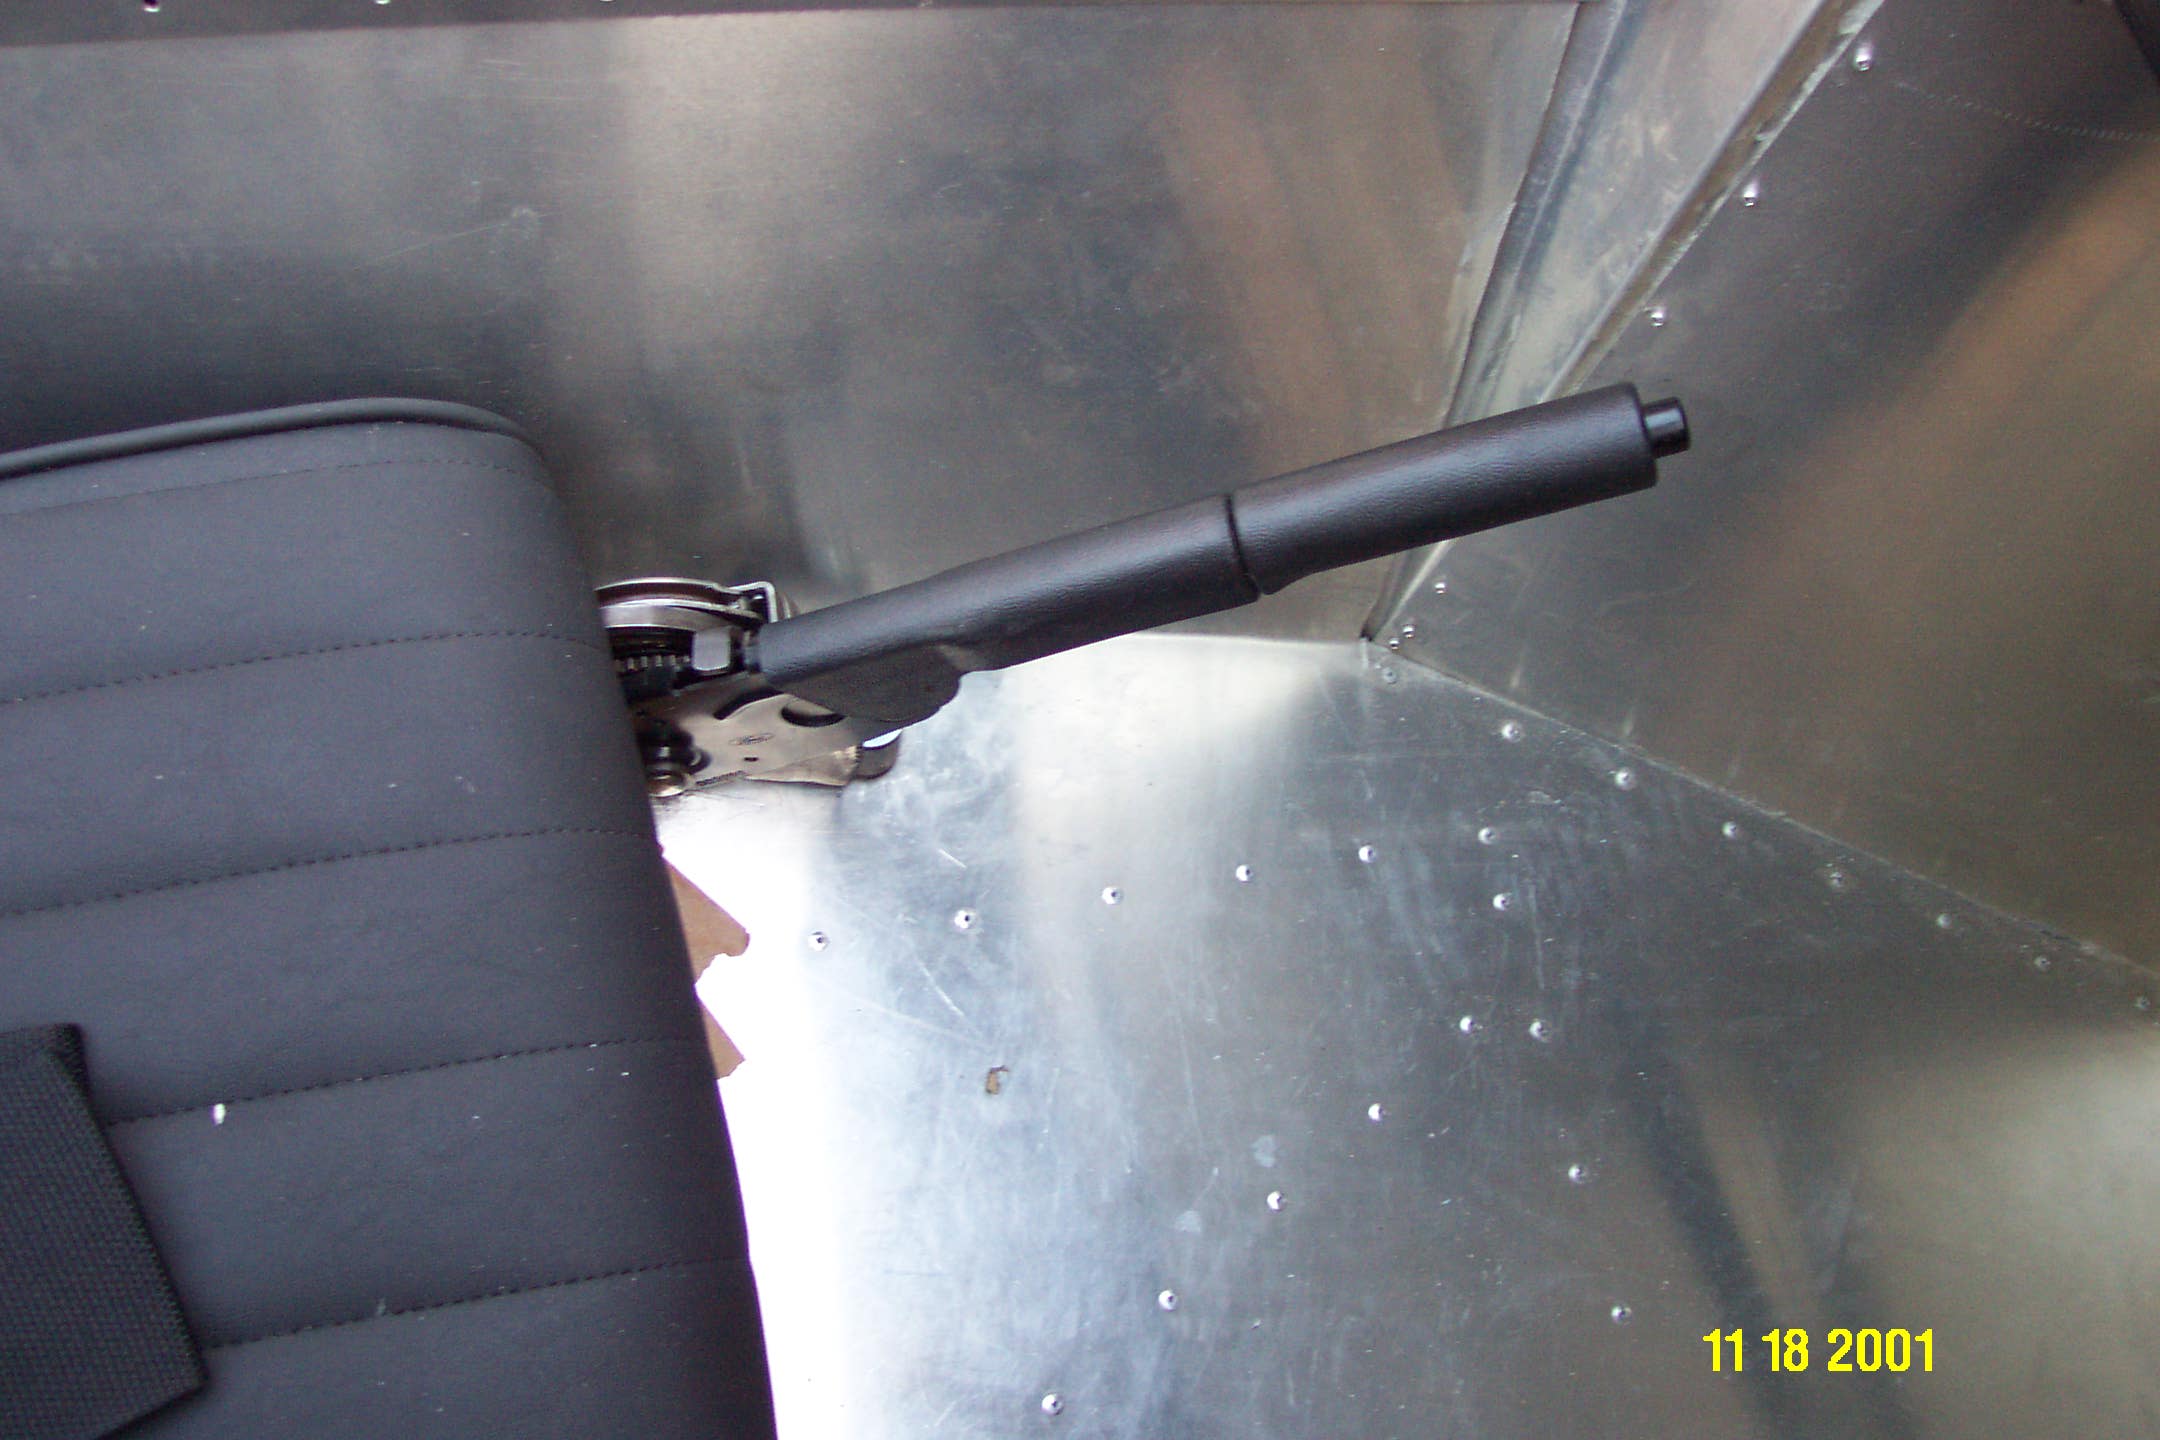
The emergency brake was a pain to mount. You have to cut a notch in the mounting bracket, so it won’t hit the seat. We messed up our first handle and had to buy a replacement.
The driver side seat is on tracks, and it was tough to mount them. You have to find frame tubes under the aluminum where you can drill and tap to attach the bolts. It took us two tries to get the right-side track located correctly.

The shifter looks a little more finished after the boot and trim ring are installed.
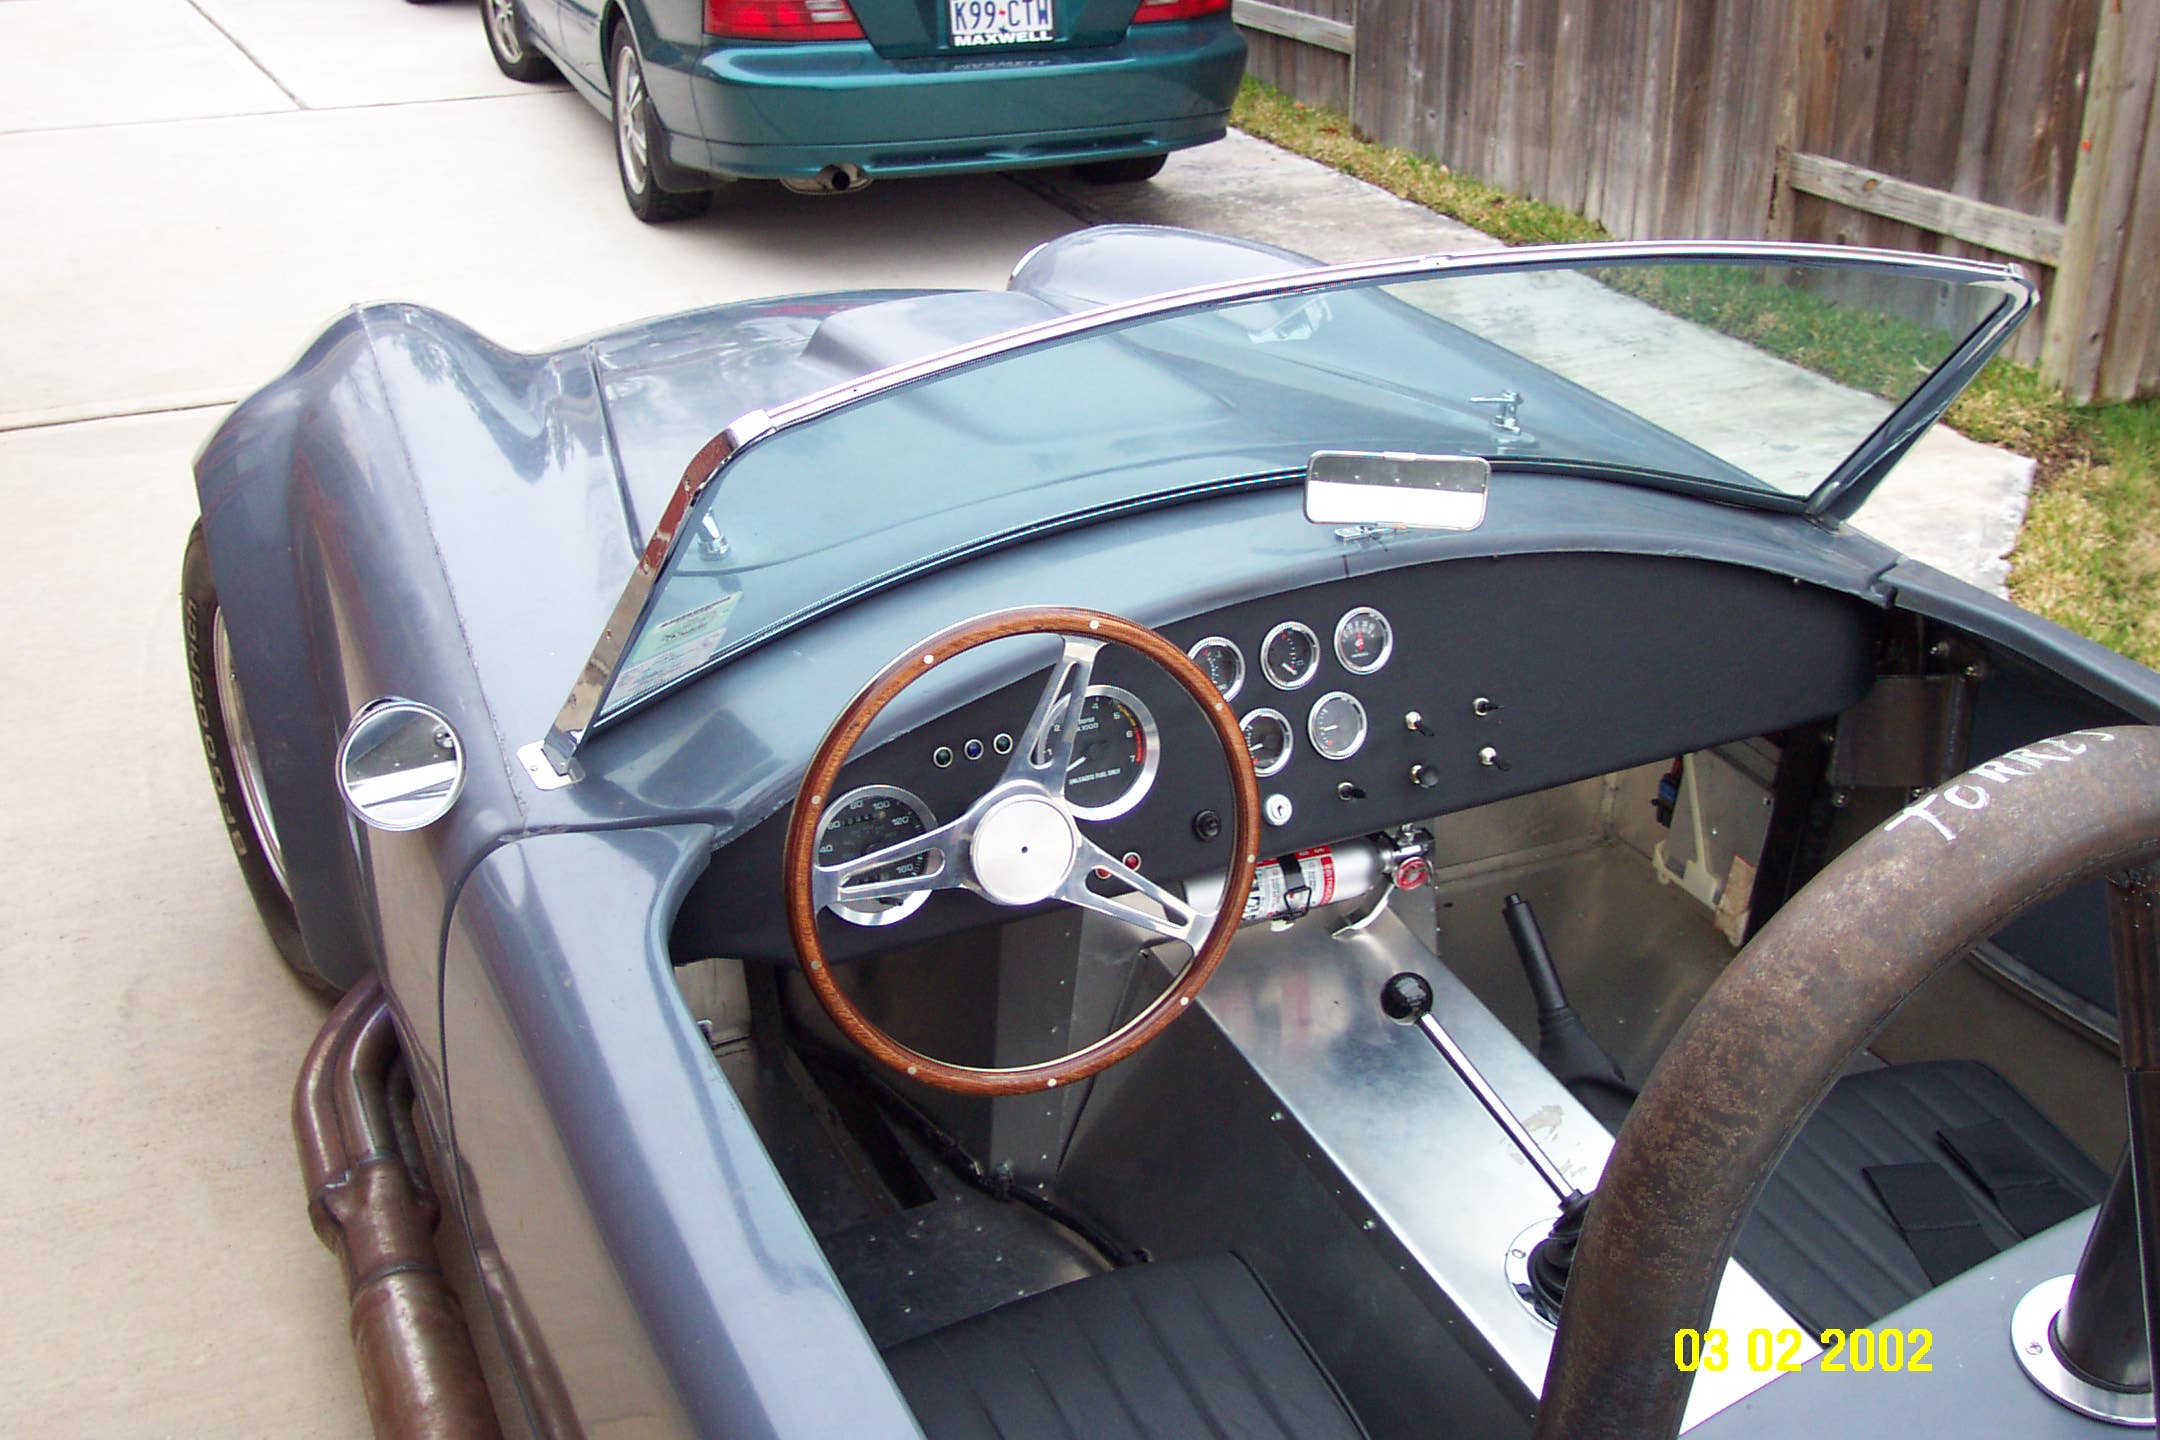
The dashboard has come along some more after the indicator lights and turn signal switch are mounted. The hazard, turn signals and high/low beam switch have been wired to toggle switches rather than using the stock switches.
When driving a homemade car, you should always have a fire extinguisher close by. The dash looks much better after being covered with vinyl.


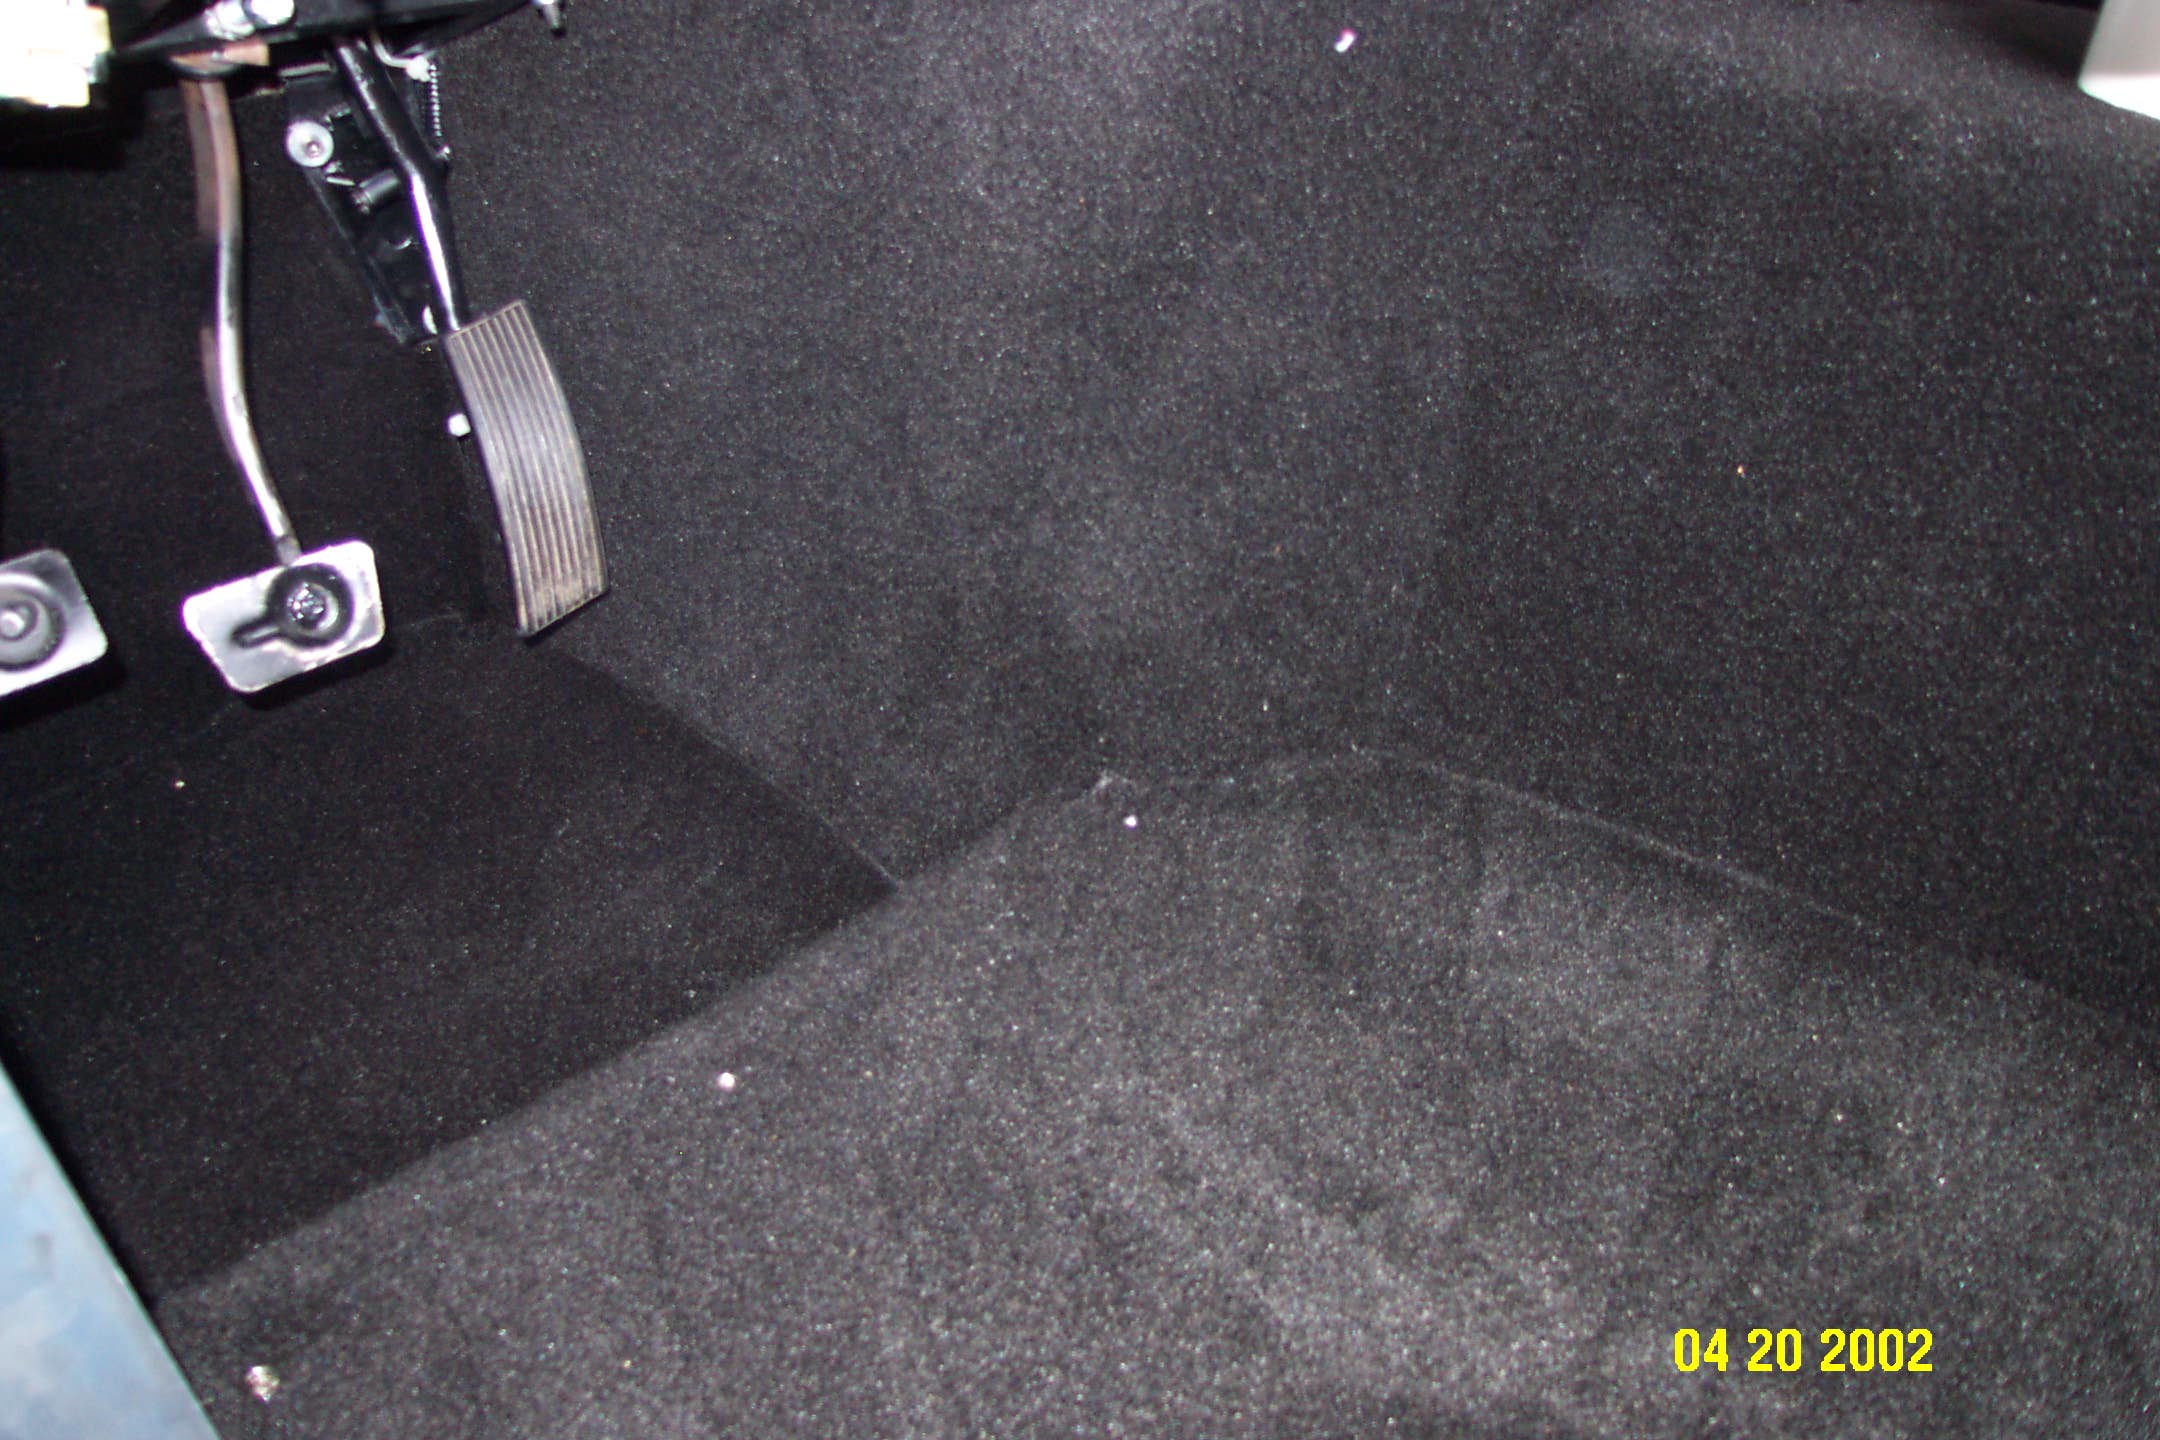
Prior to installing the carpet, the car was insulated with an insulation product purchased at Home Depot. I think it is designed for water heaters, but works will in this application.
Here are some close ups of the driver and passenger foot areas. It takes some work to get the carpet to look good. It is in lots of pieces and is attached using double sided carpet tape and screws.
Here is the carpet almost completely done. The carpet along the door edge will have to wait until the car is painted and the body is permanently installed.

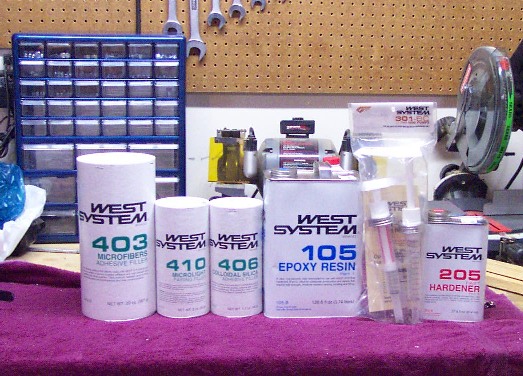
May 2002 Bodywork and Paint
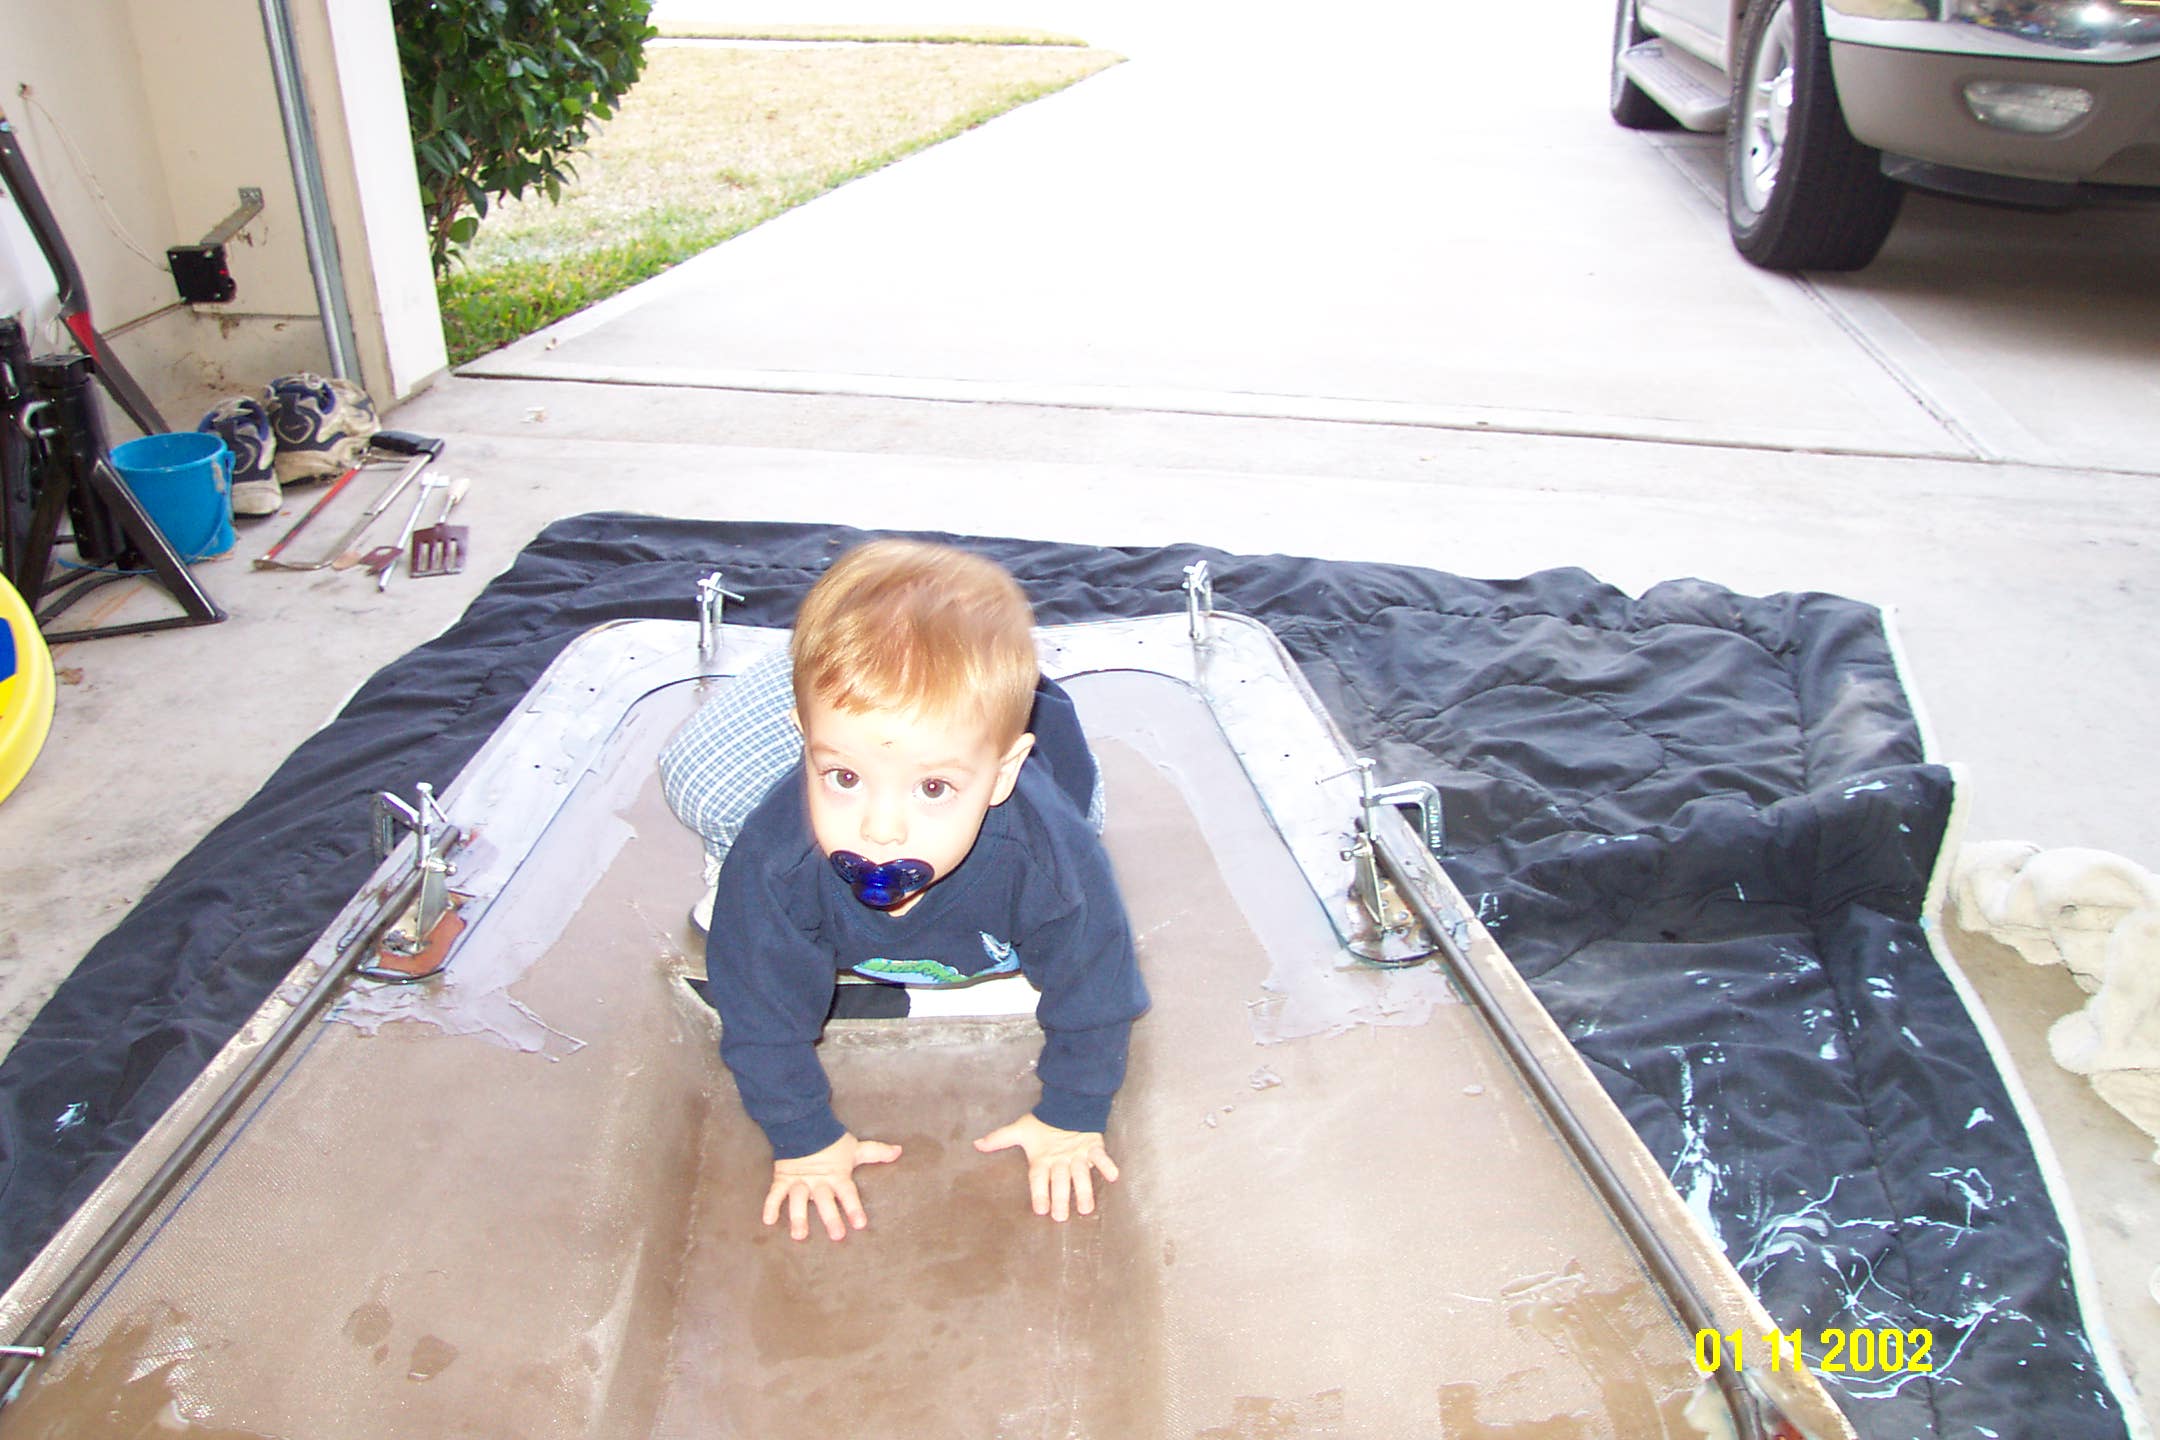
Well no real bodywork has started yet, but we have the supplies to grind and fill the seams. Our first project with West Epoxy will be to bond the hood hinge.
I used lots of small C clamps to hold the hood and the hoop together while the epoxy cured. My assistant then checked the quality of the bond.

Prior to bonding the hood, I prefit the hood hoop. I then laid the hood down and marked where it should be bonded from underneath.

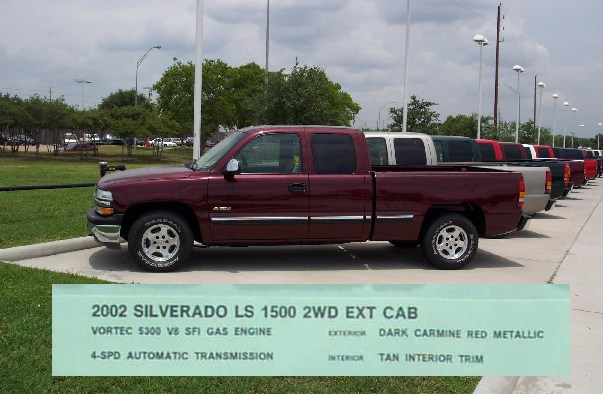
The car was dropped off at the body shop on May 24, 2002. The car will be painted Dark Carmine Red Metallic which is a common color on GM trucks and Suburbans.

After checking the fit on the body panels, we disassembled the body for the painters. They already had a body buck to support the body while it was painted


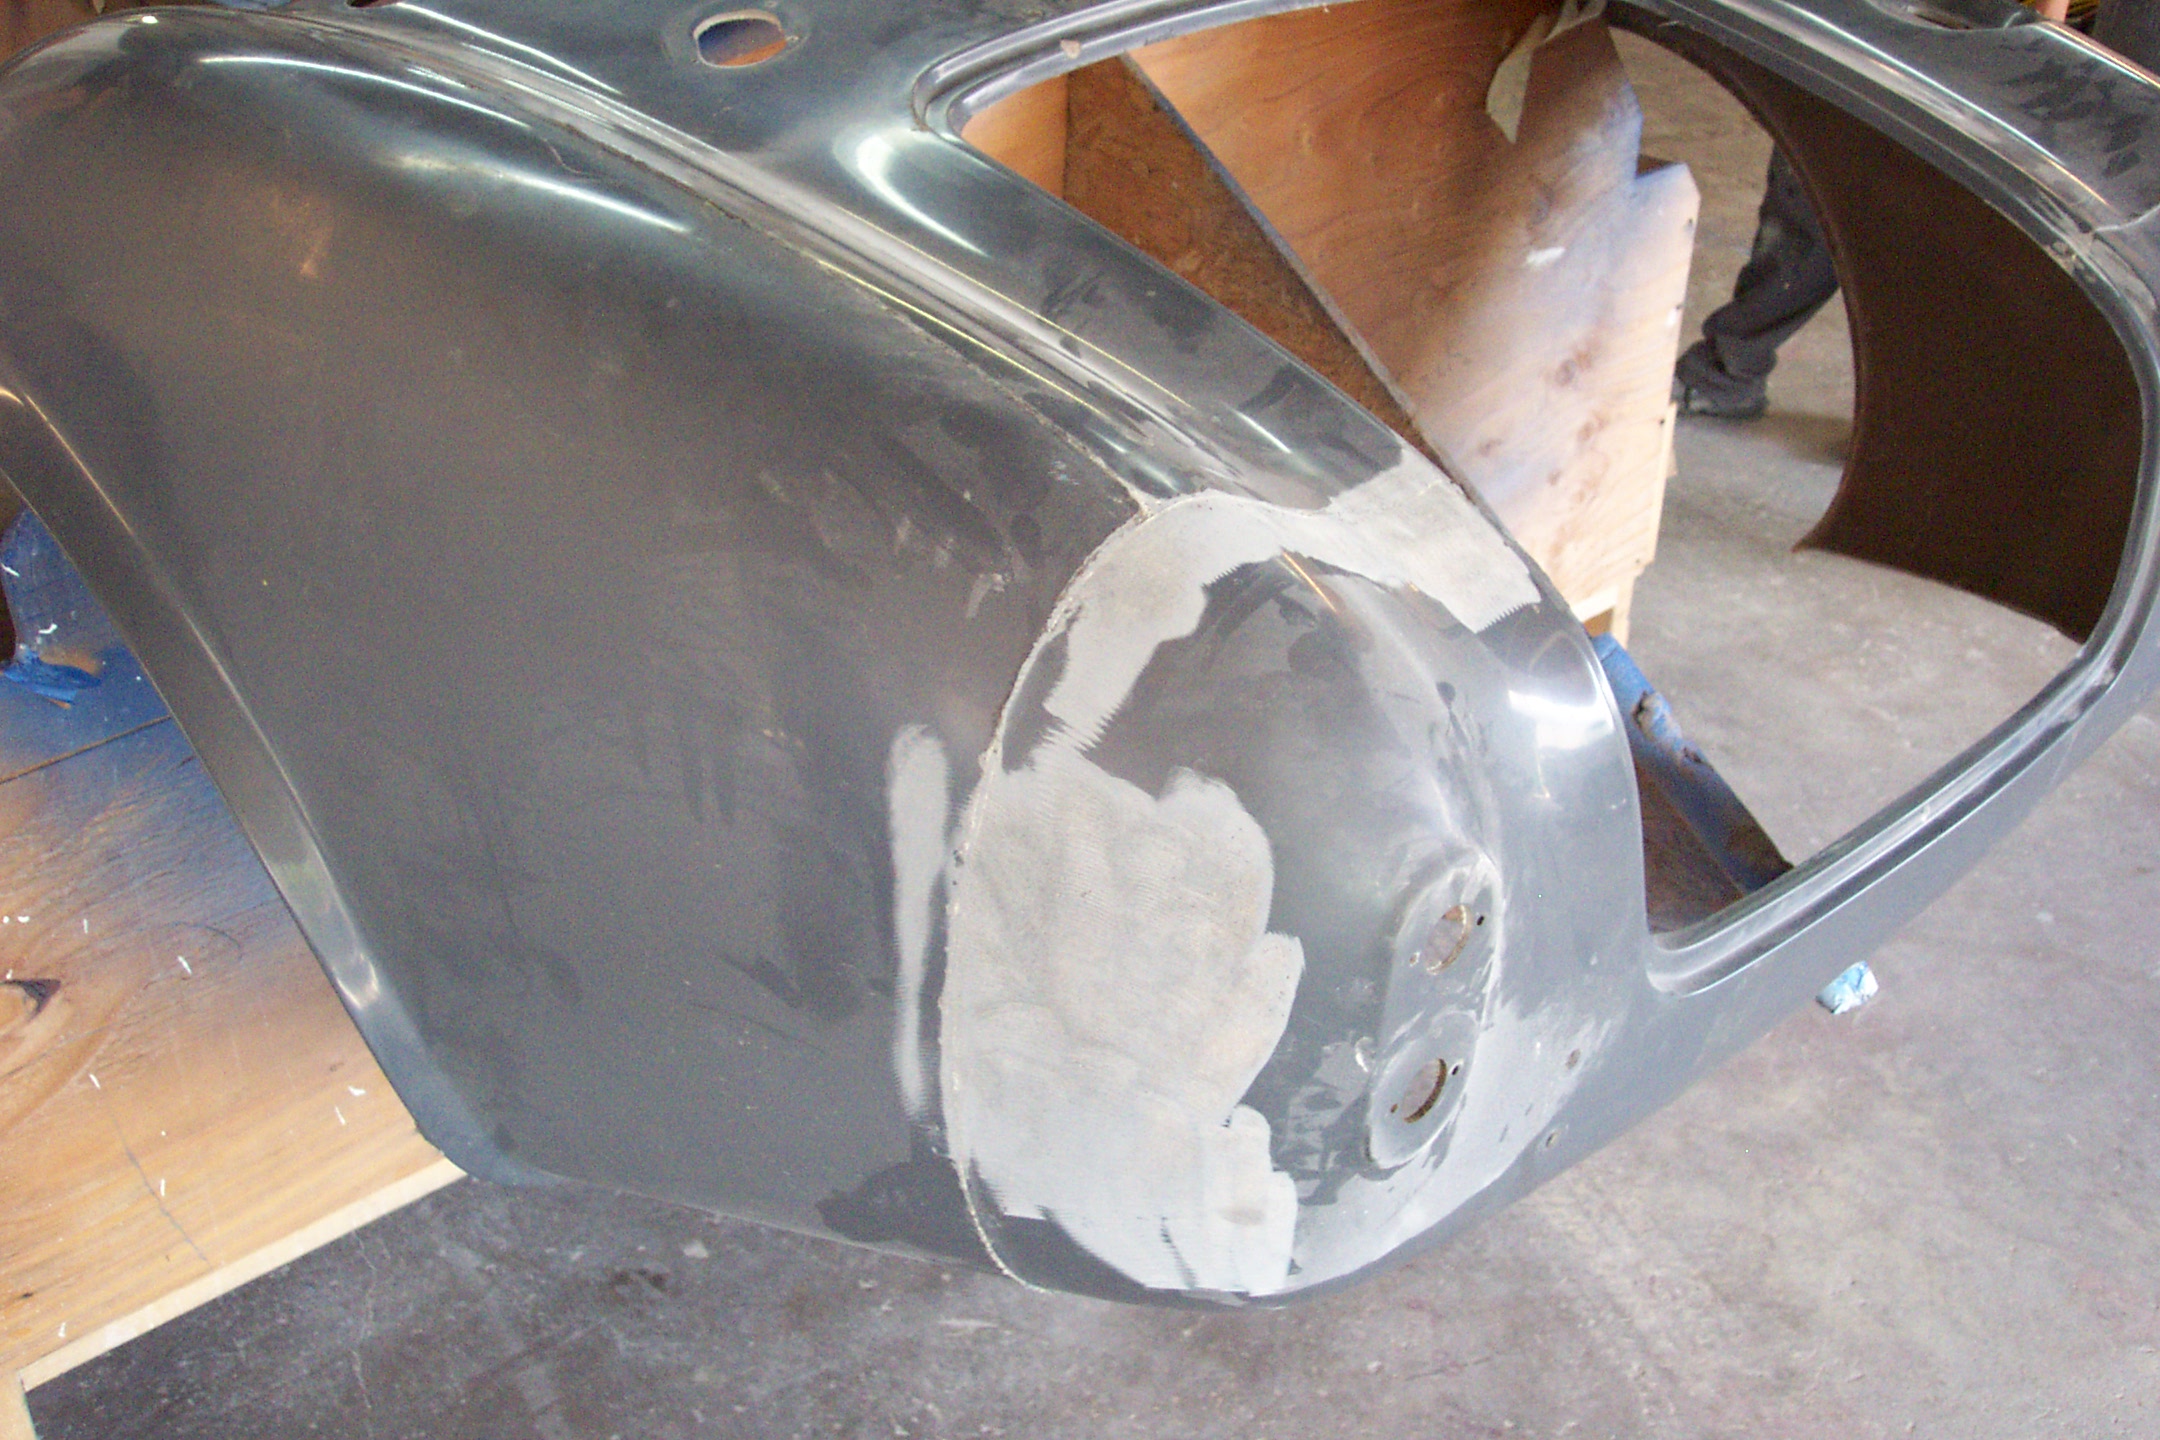
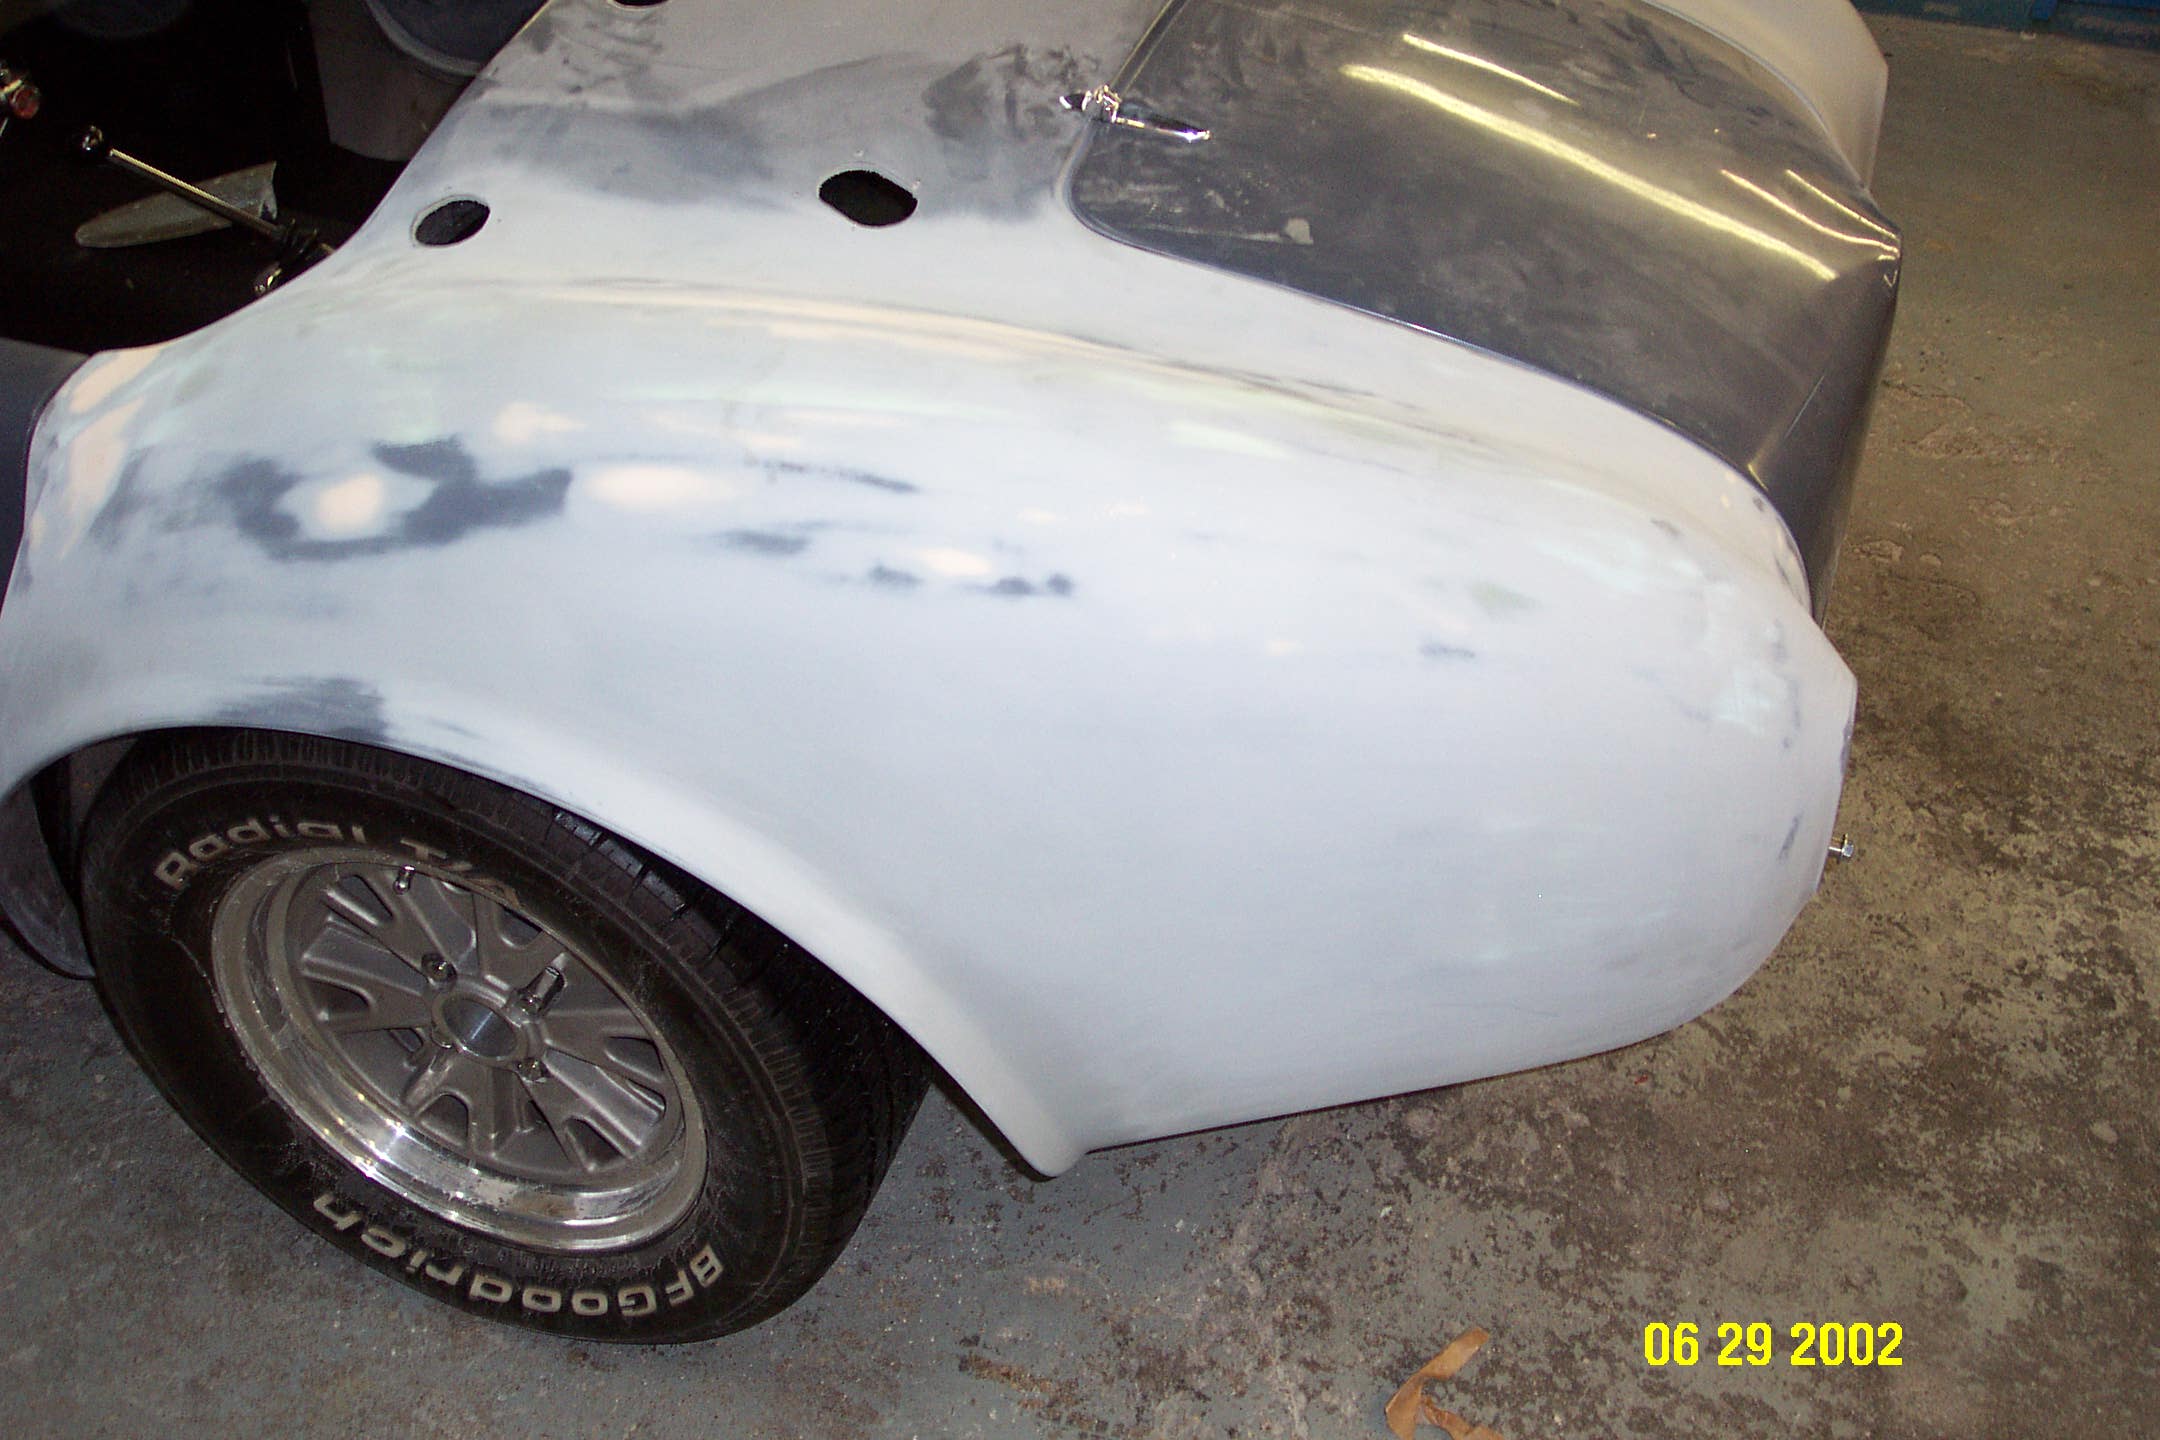
A few areas were really rough and there were some defects that looked like spider webs. These areas had to be ground down and then filled over with fiberglass filler.
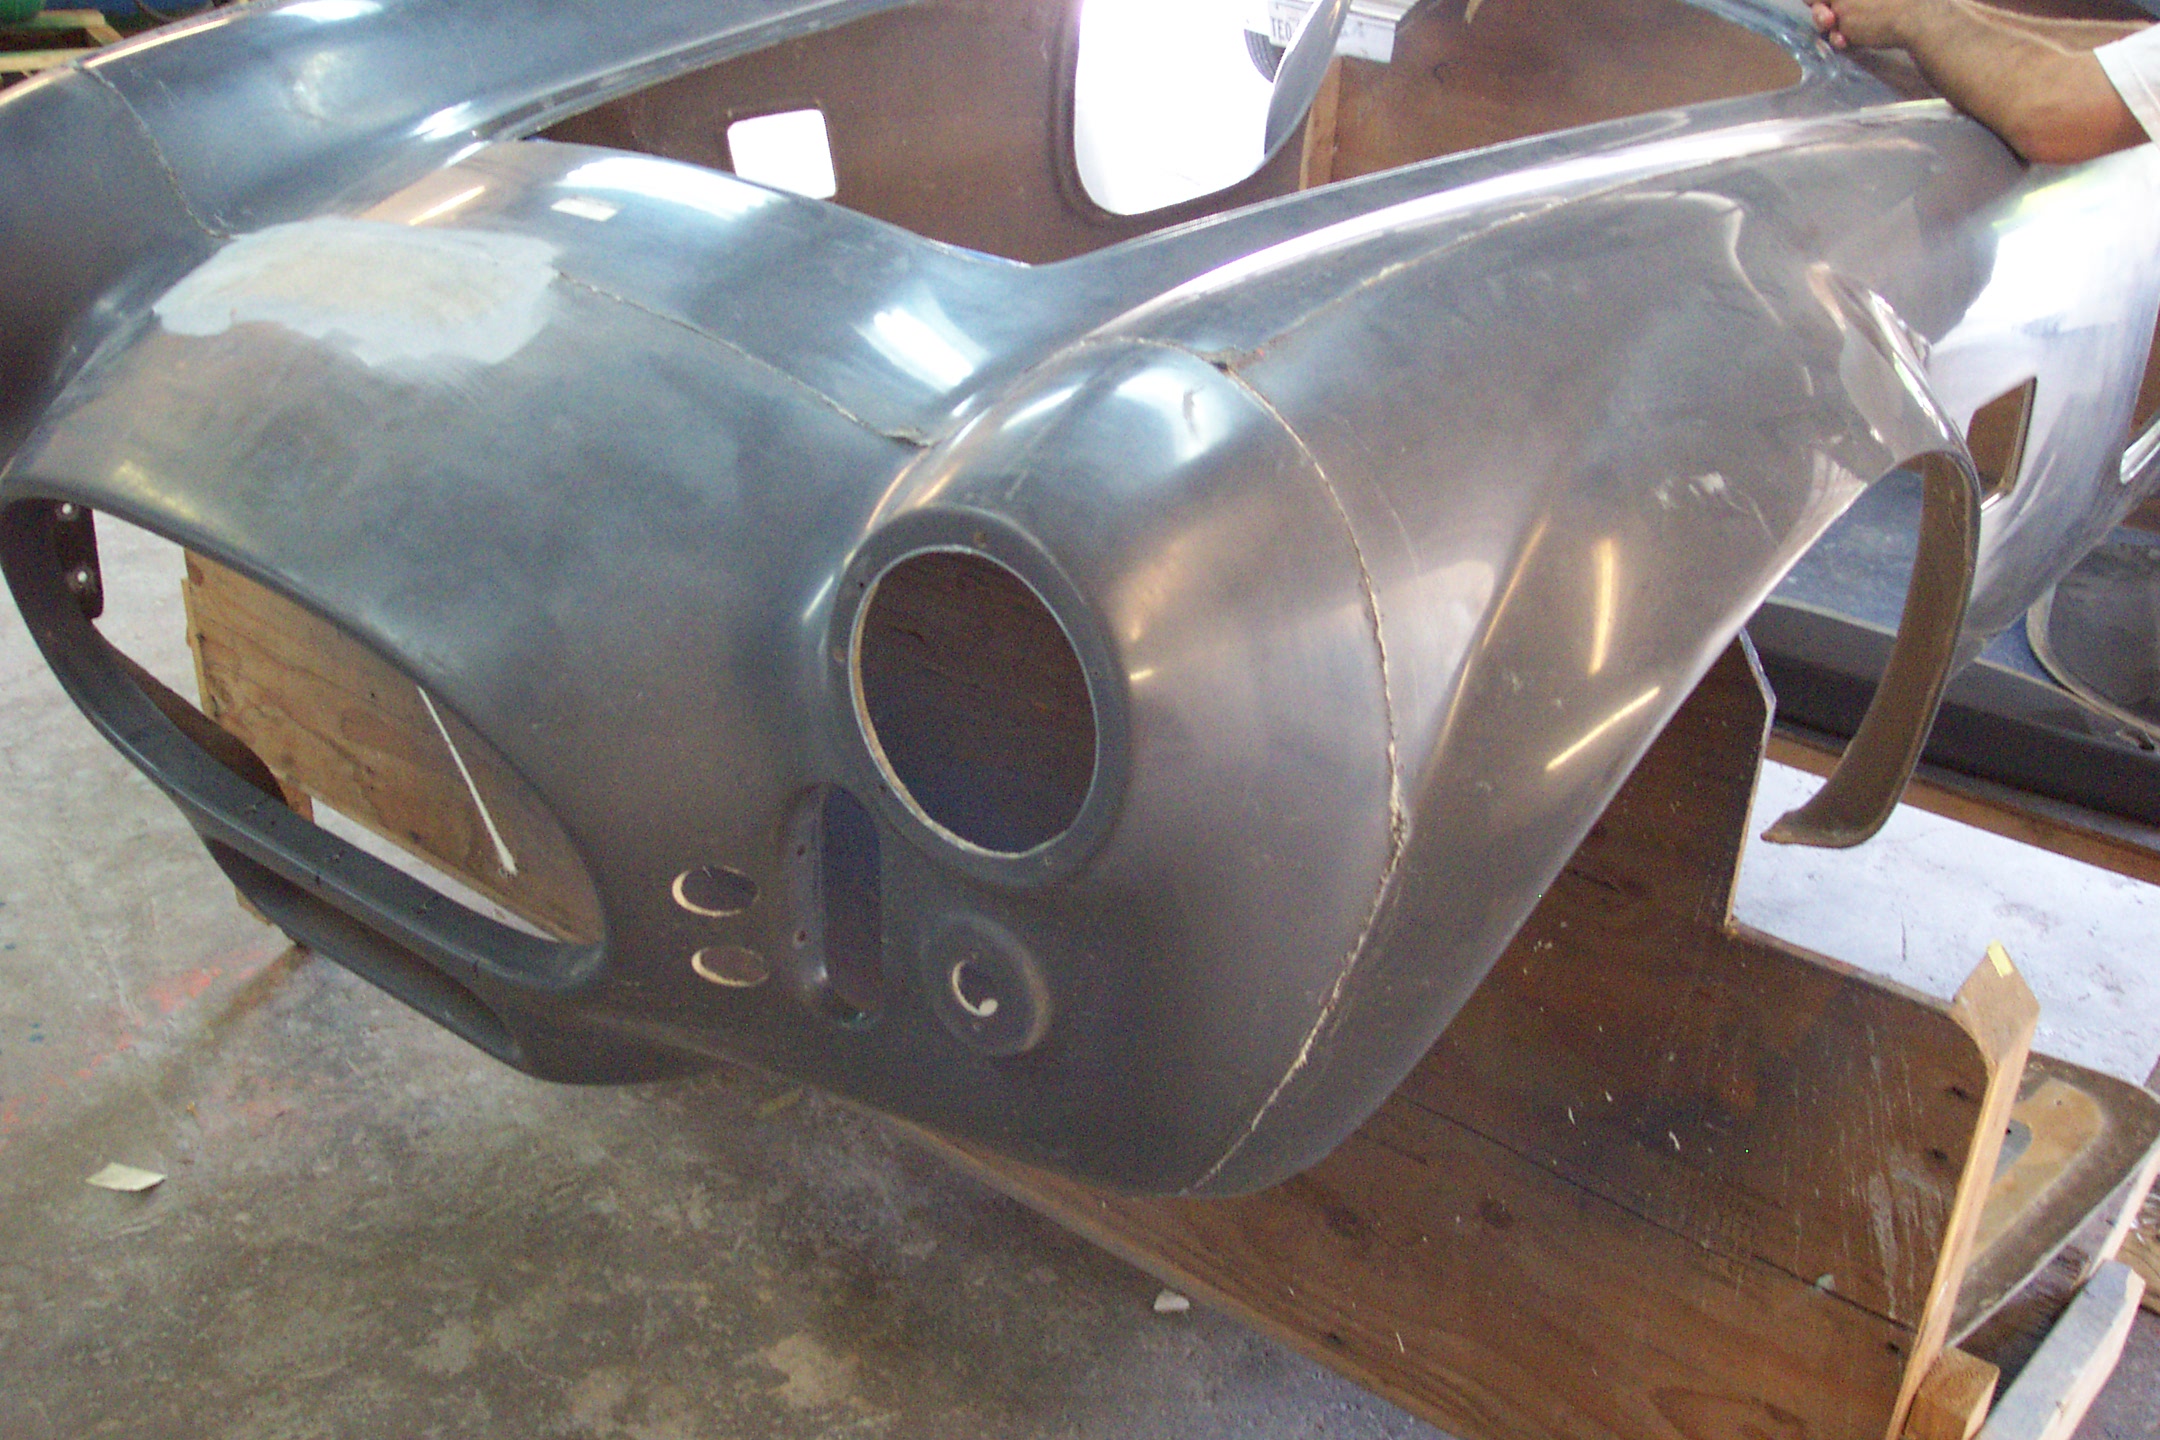
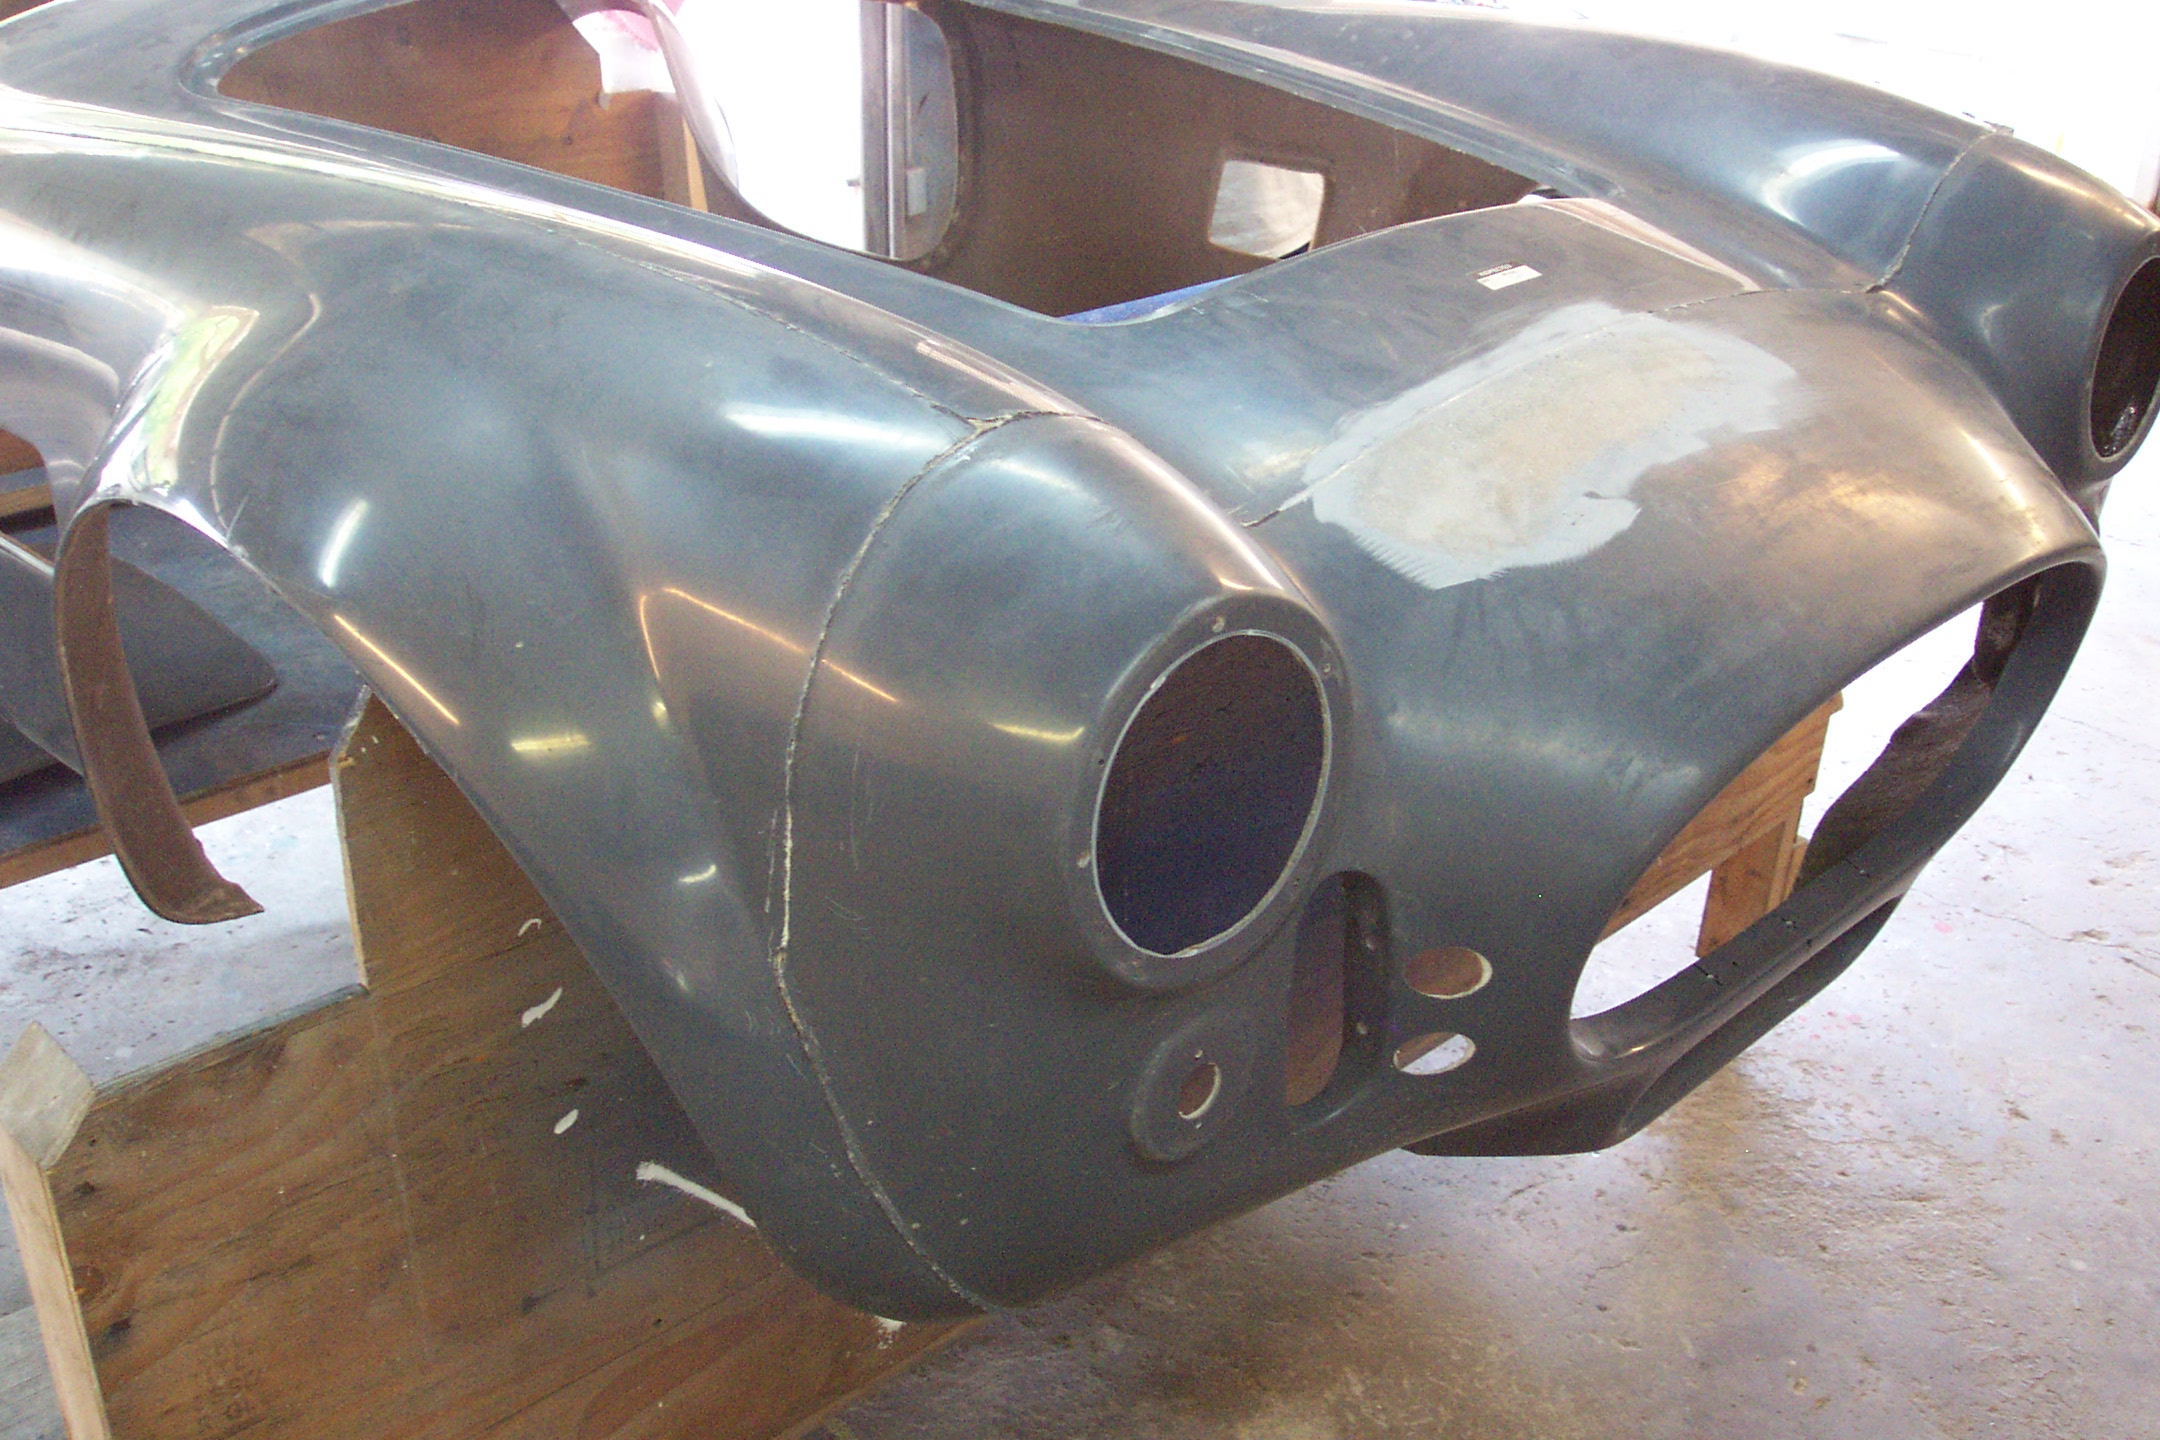
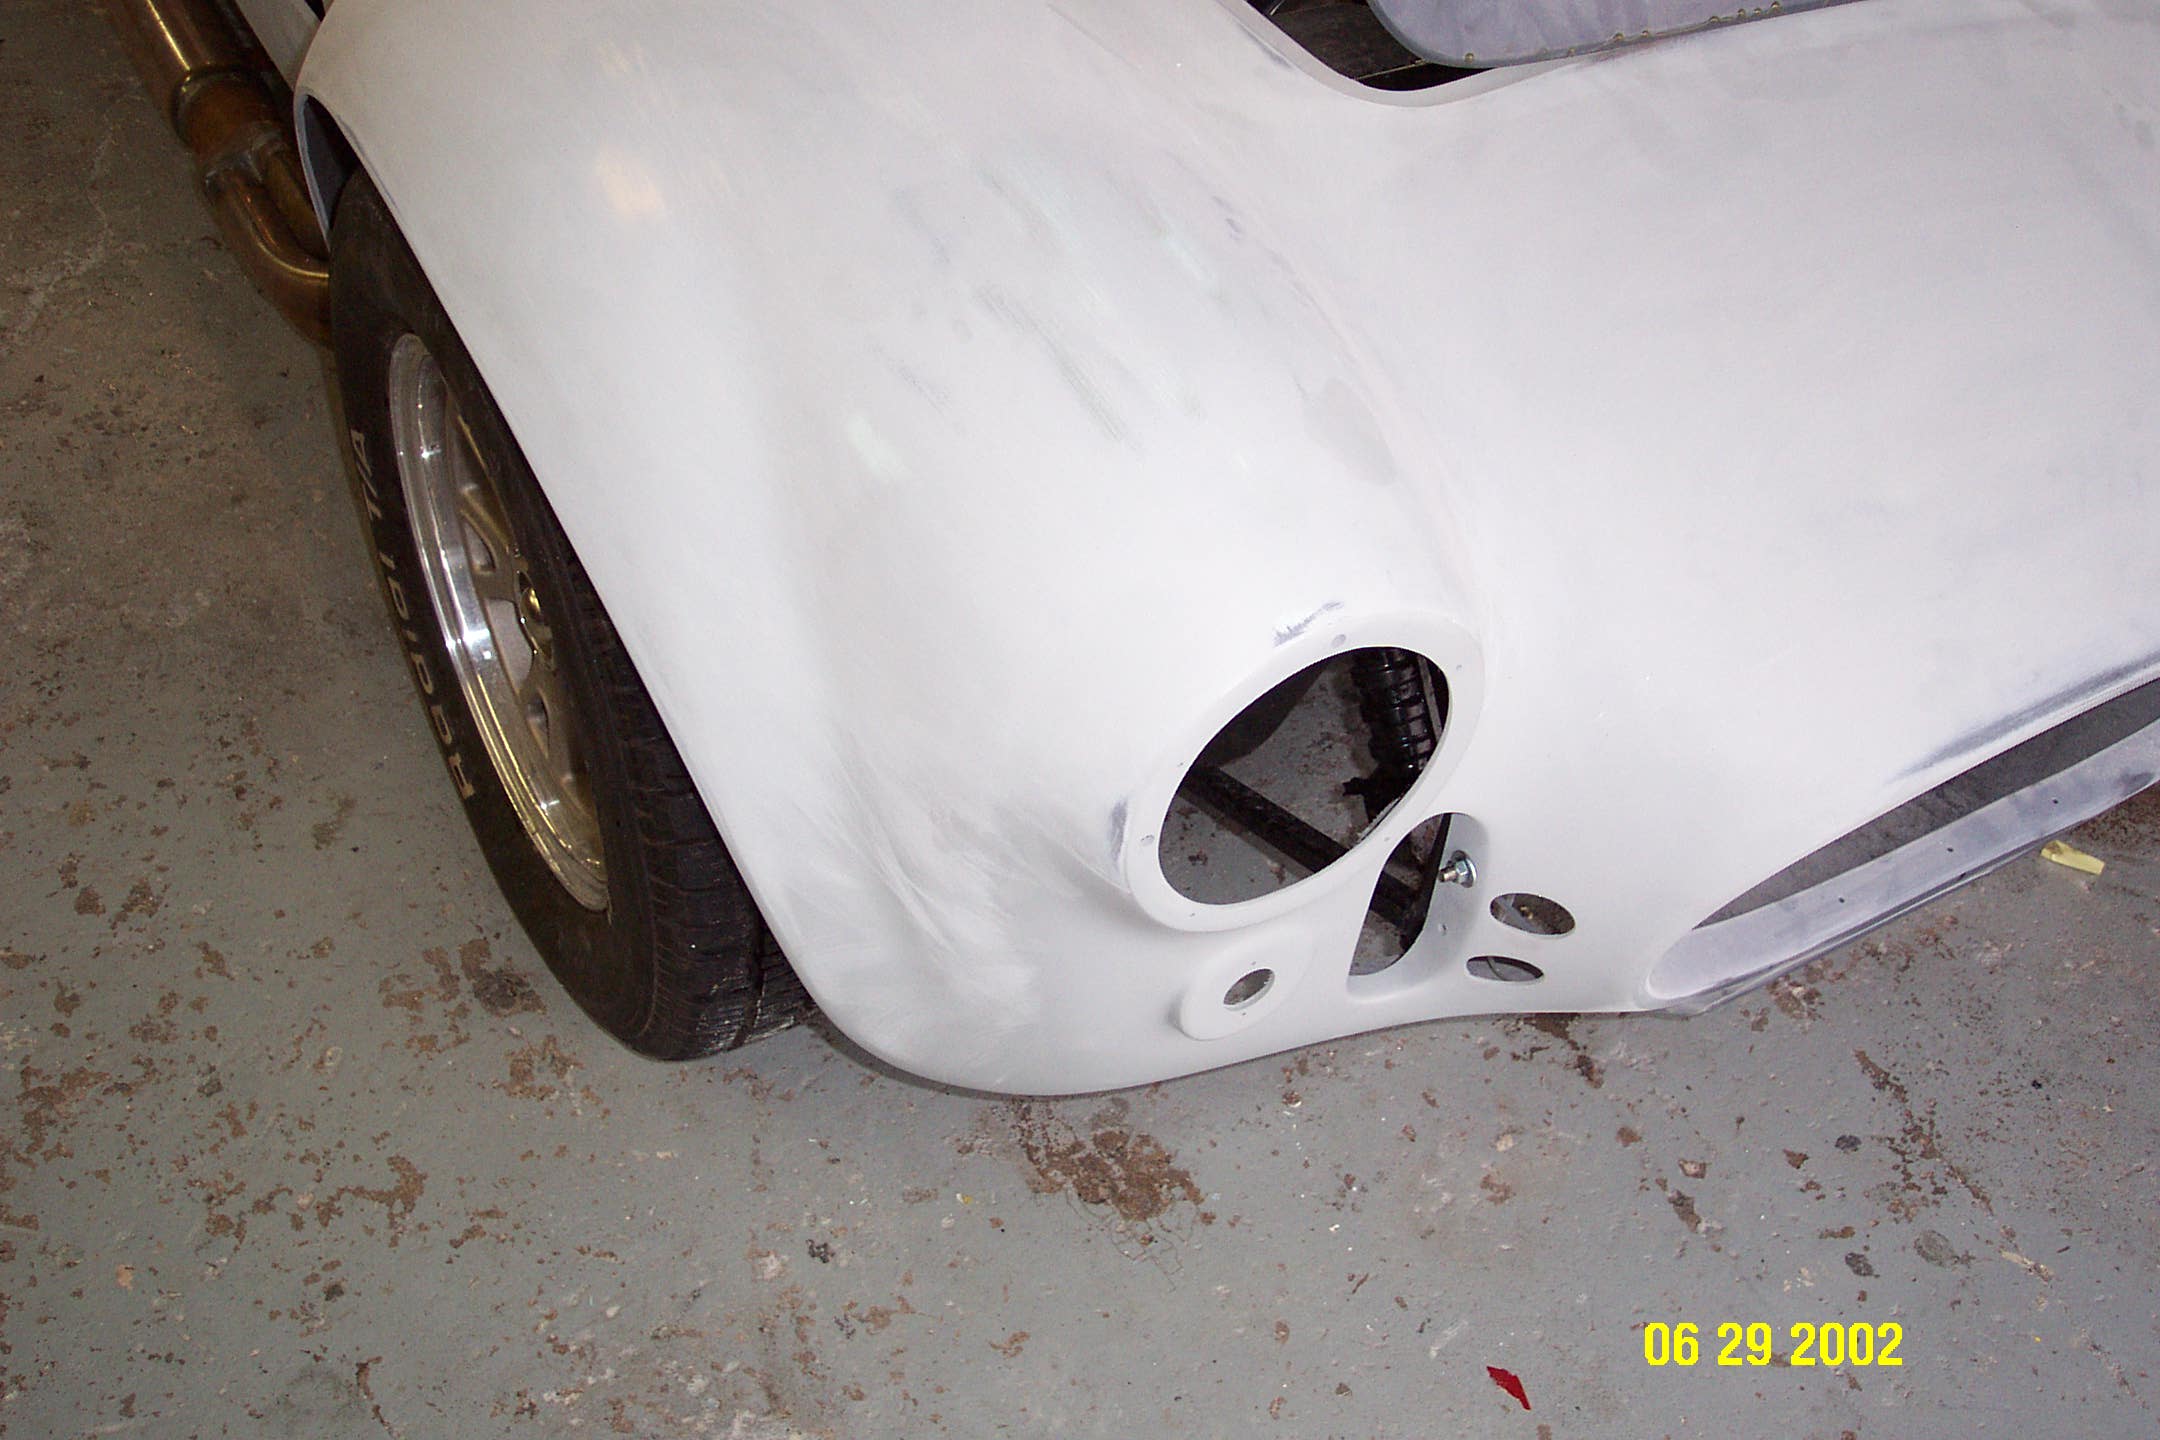
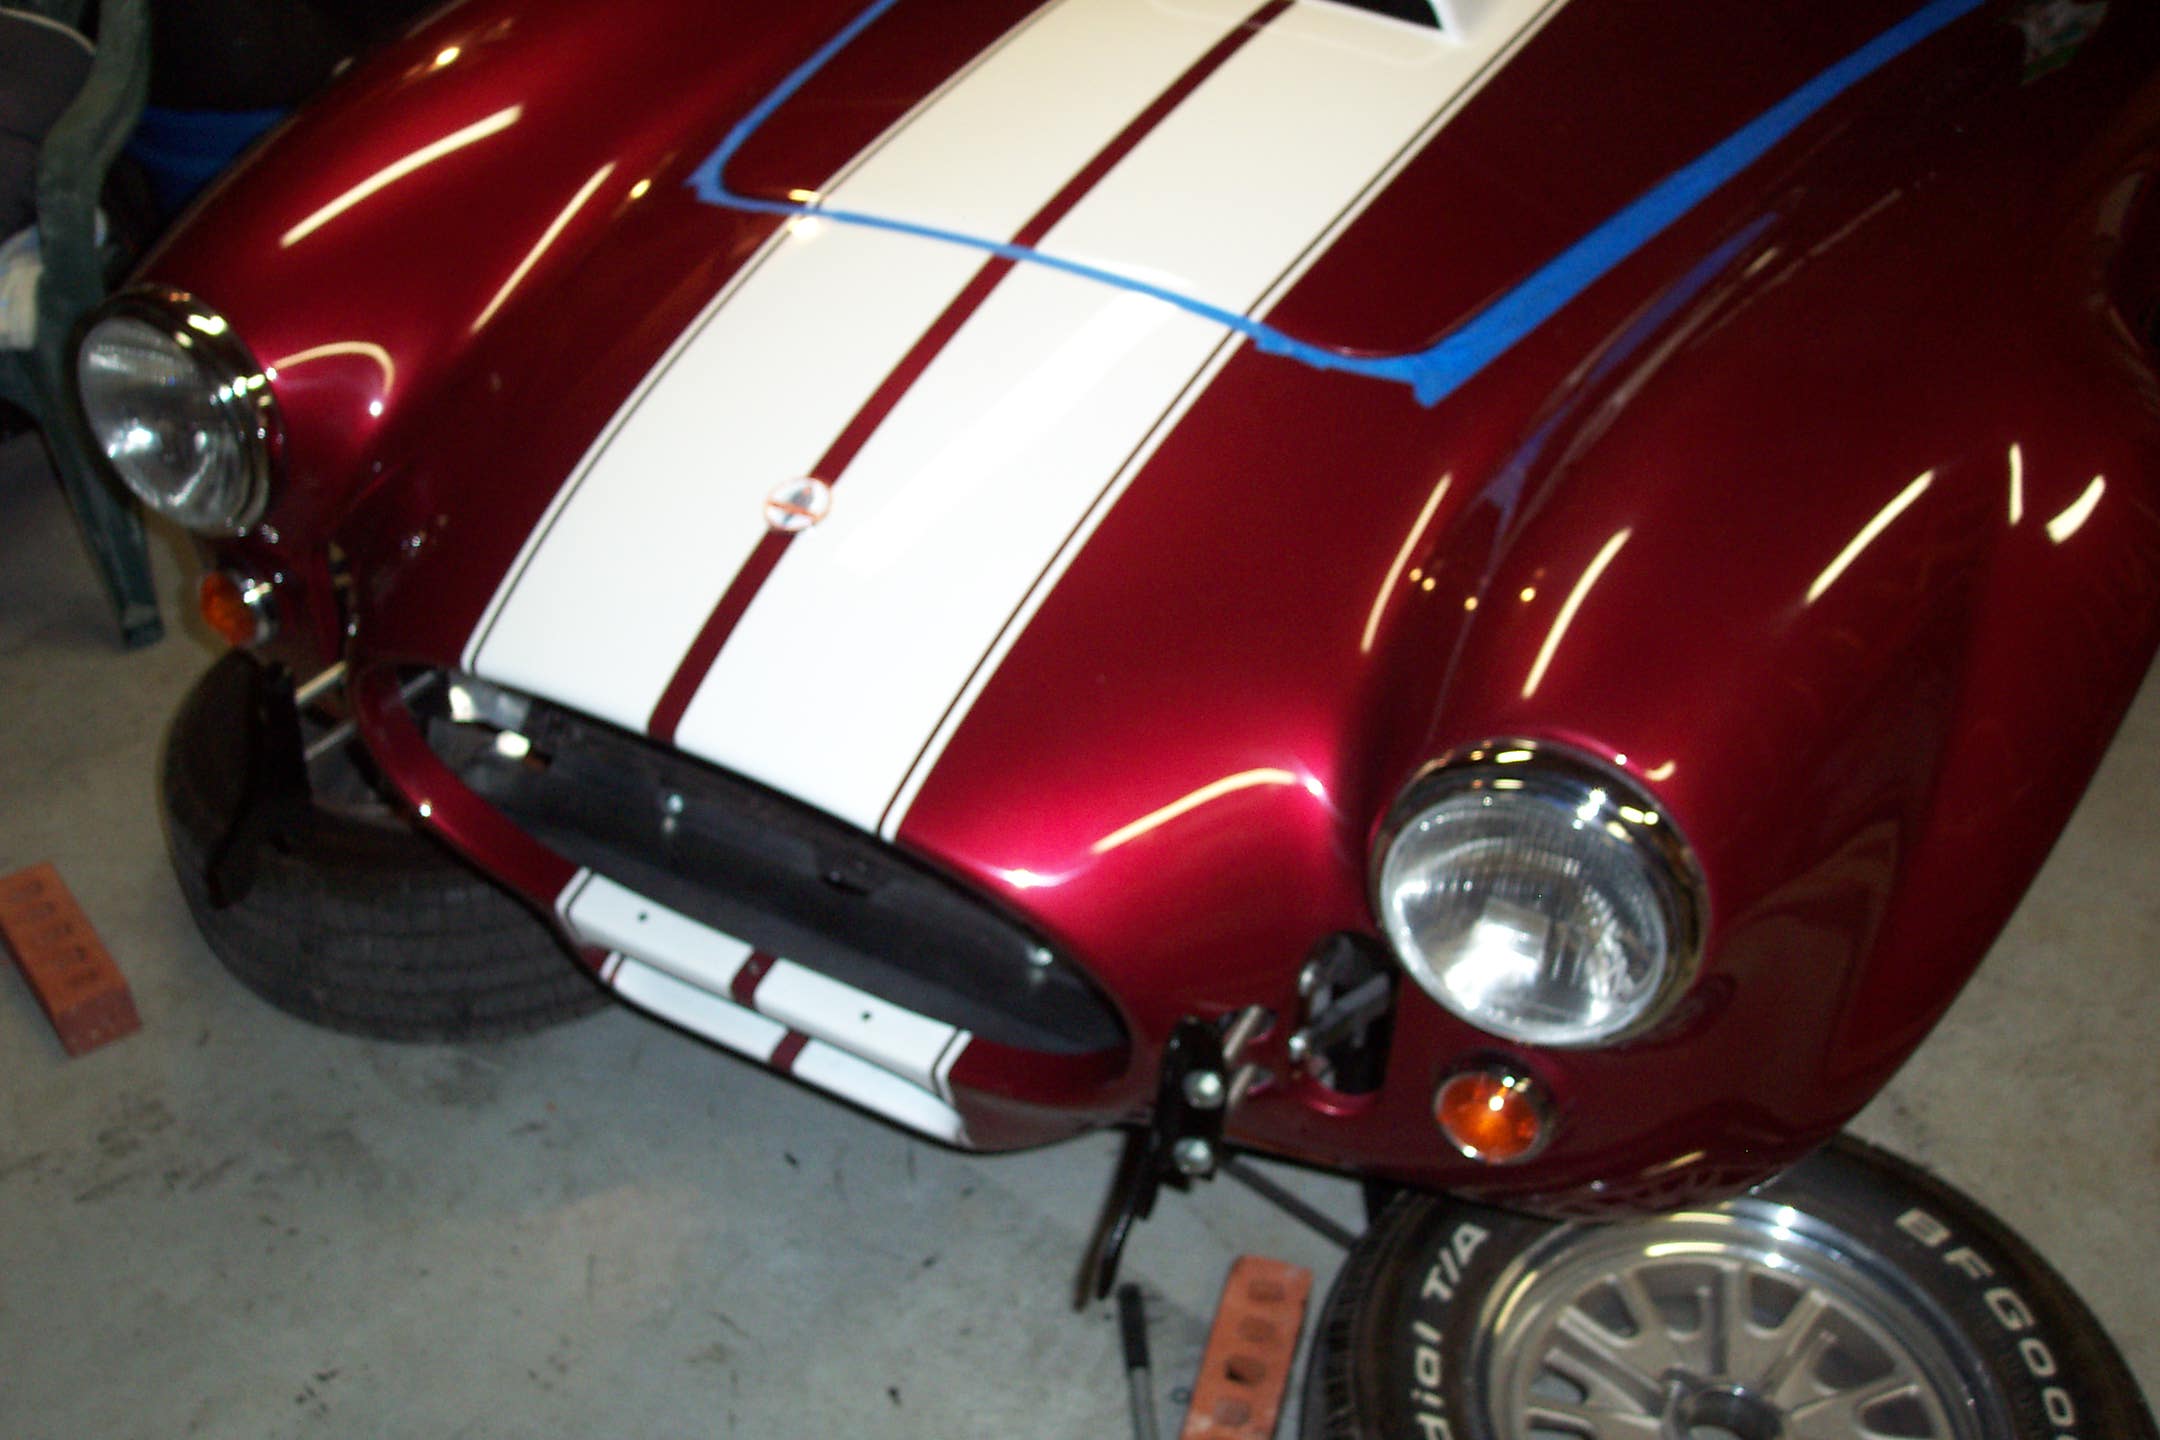
There are lots of exposed edges of fiberglass in the front of the car that need to be finished out well.

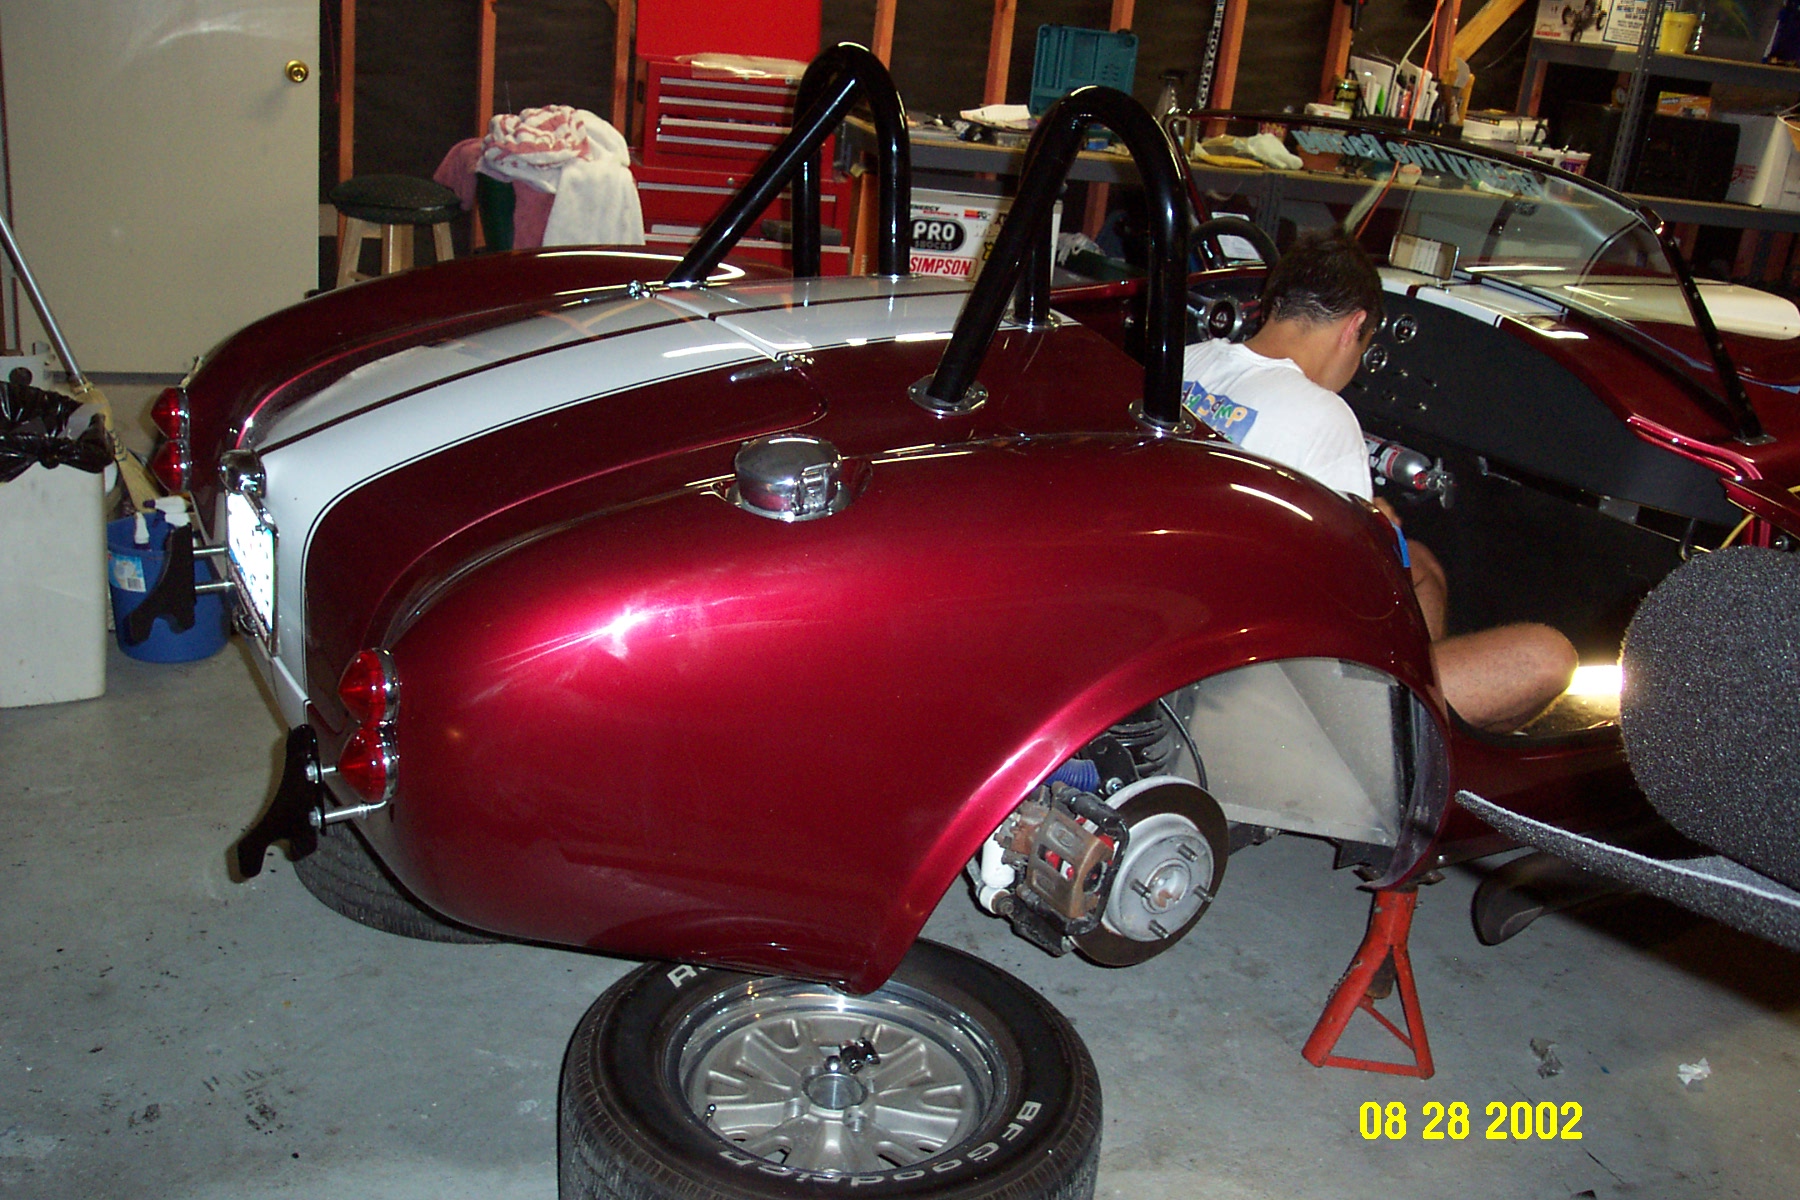
The backend of the car had several bad places in the fiberglass that were ground off and then built back up. This work was in addition to the seams that were ground and filled.
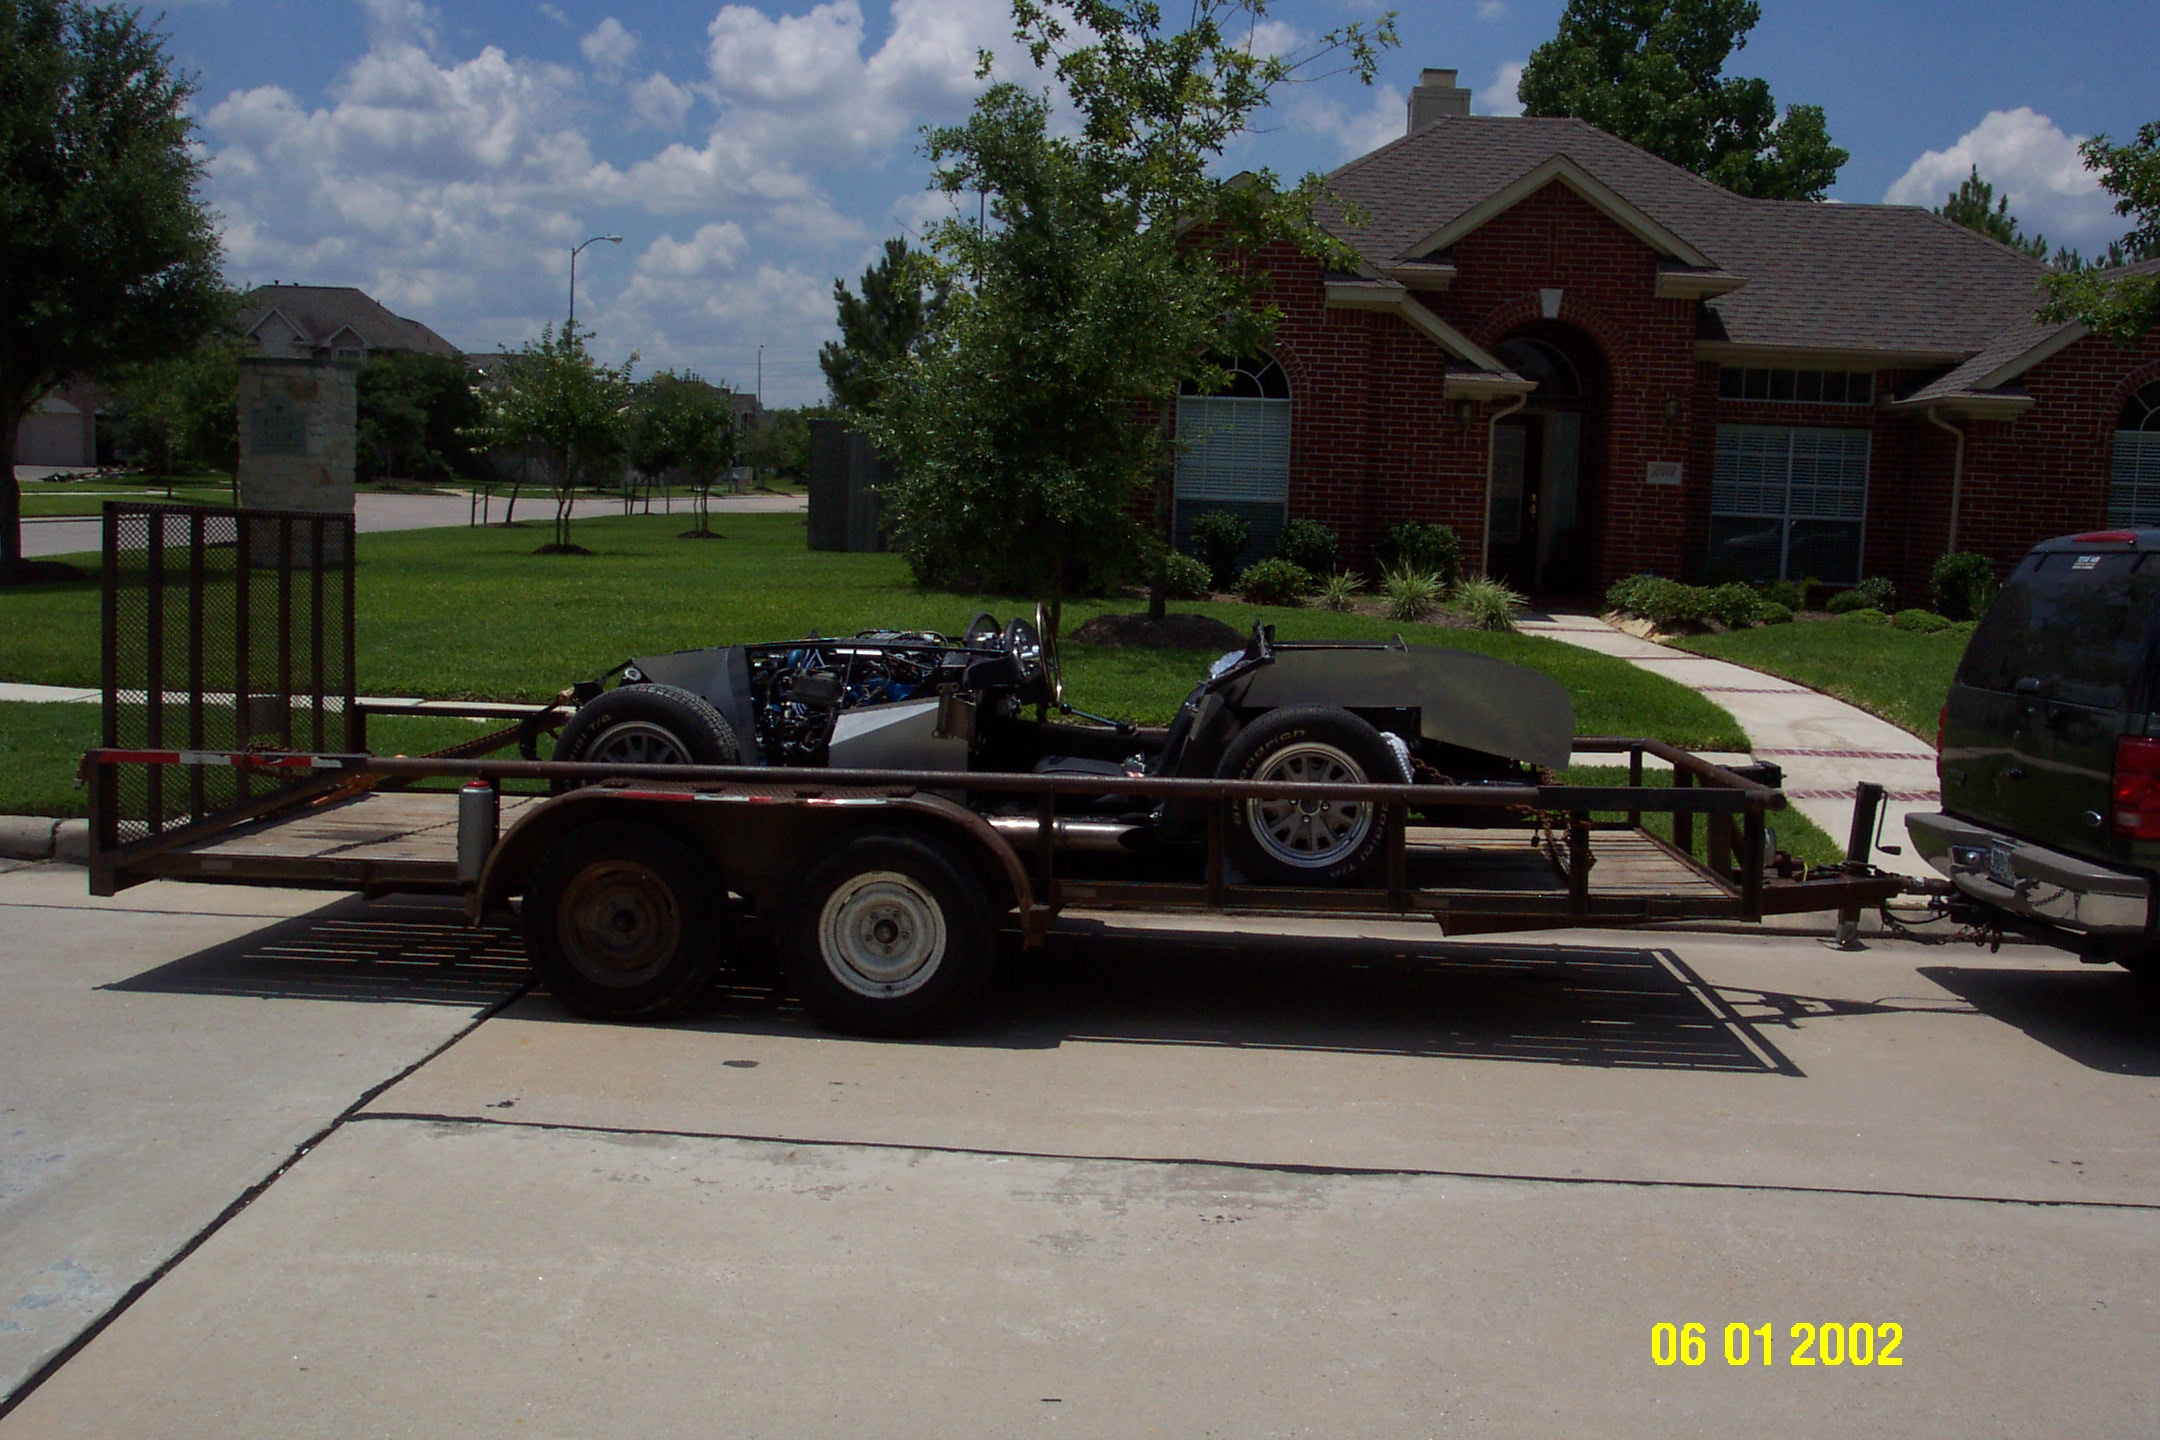
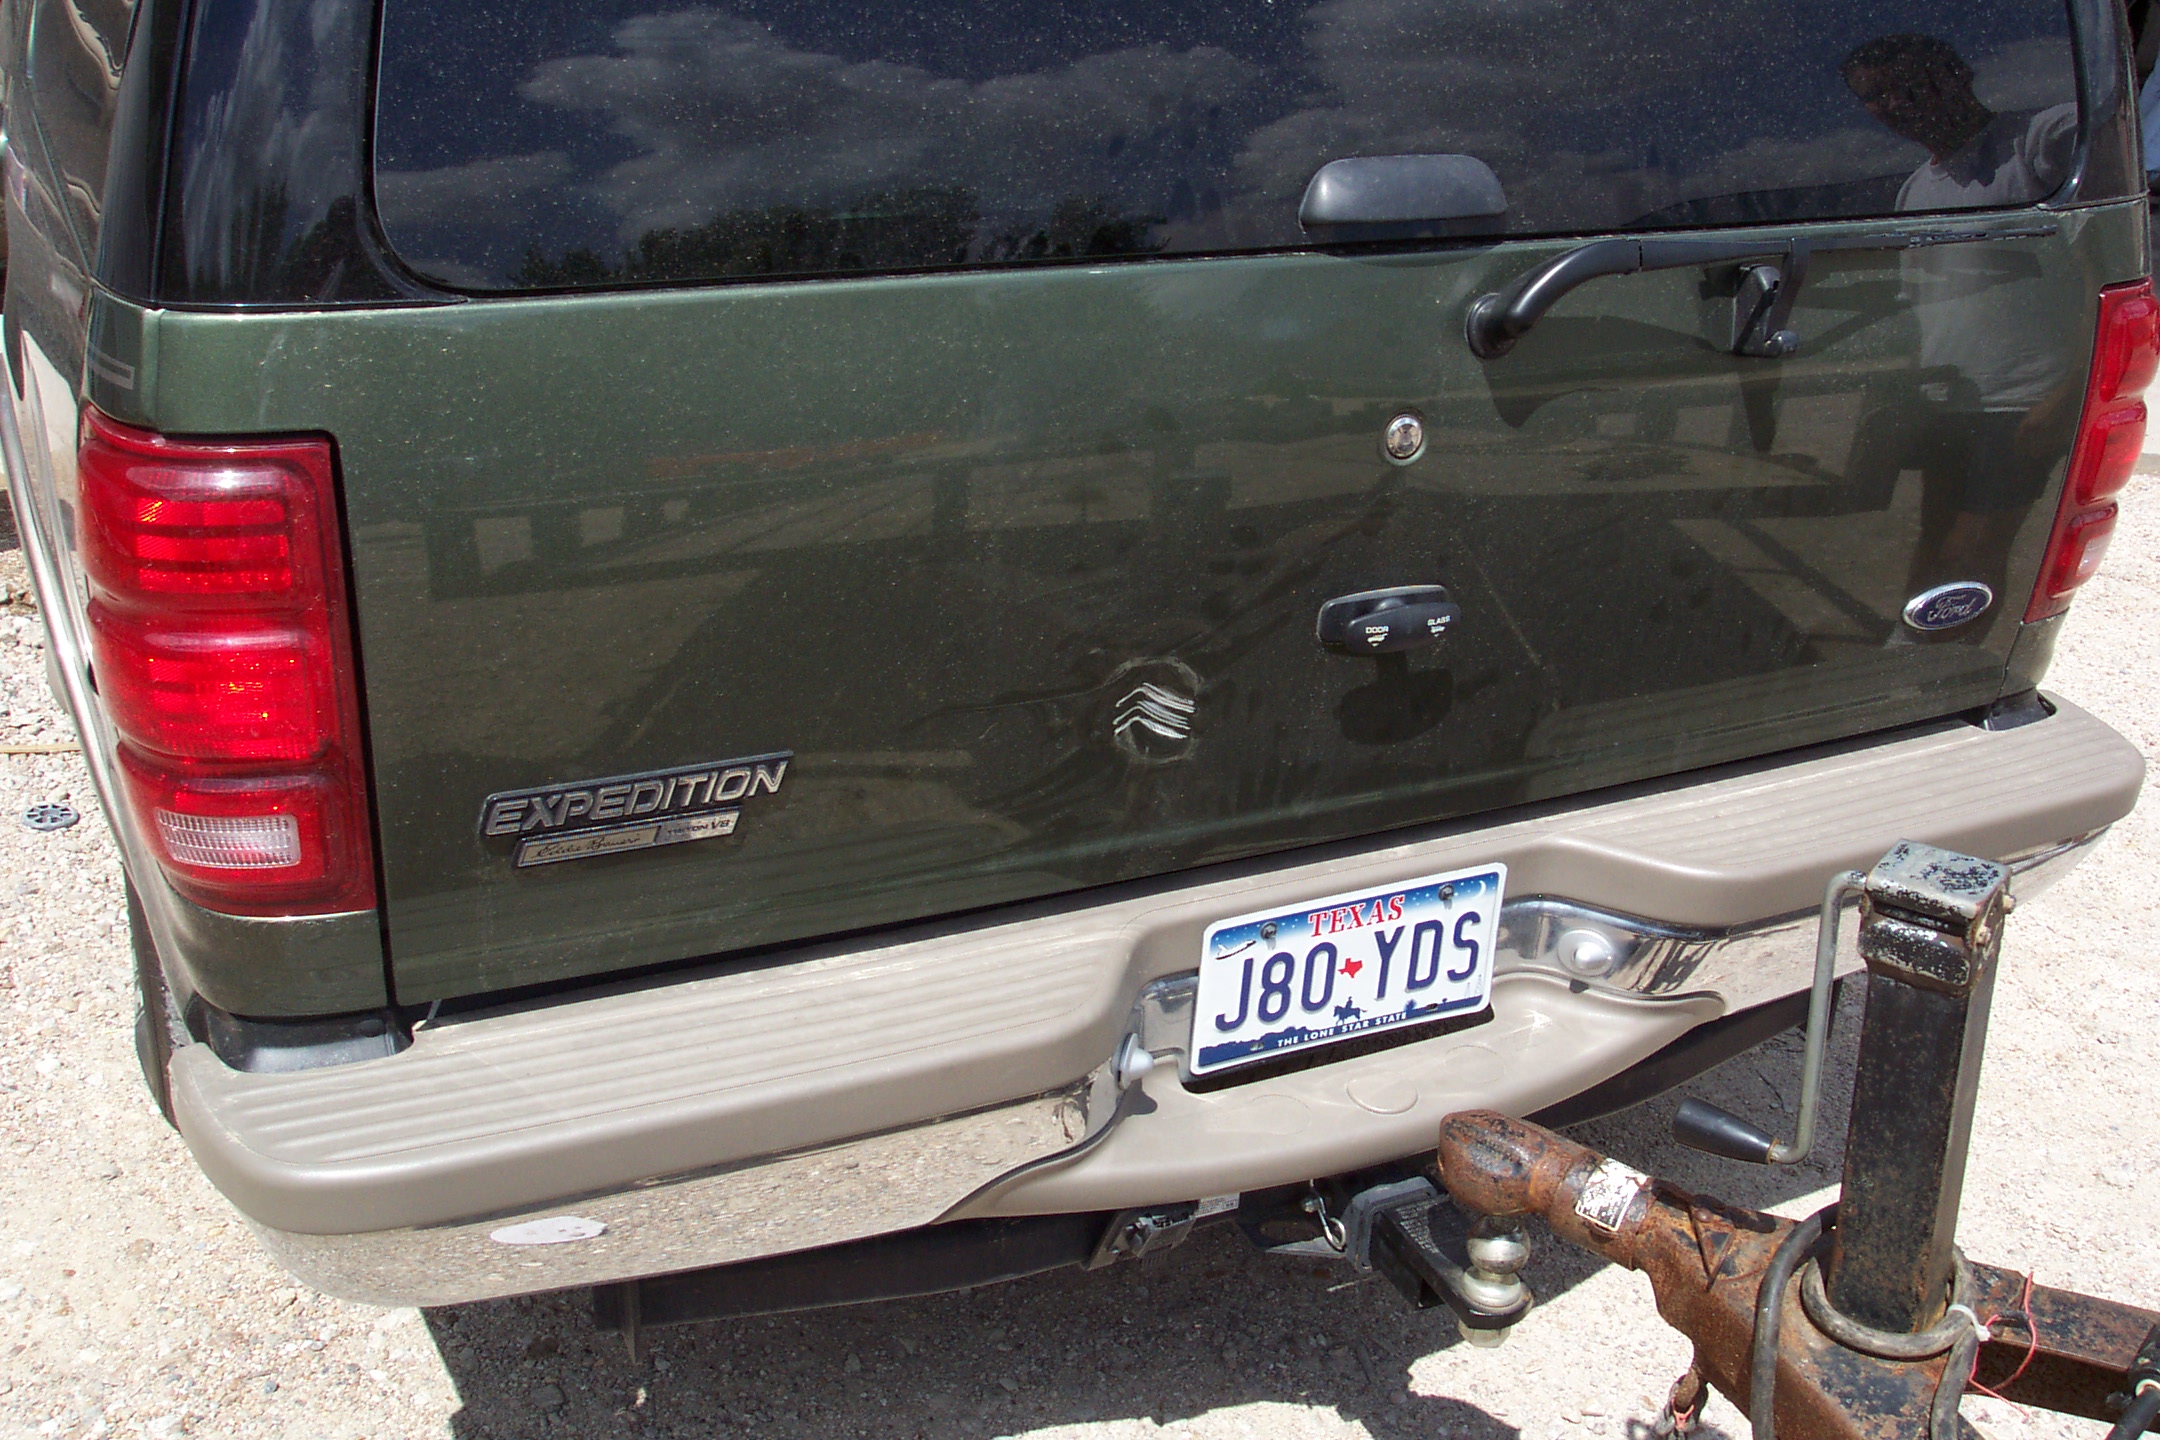
We then took the chassis back home to finish the power brake conversion. The Expedition took a hit from the trailer hitch. A good lesson was learned that day: a 2″ and 2-1/16″ trailer hitch look very similar!!!!
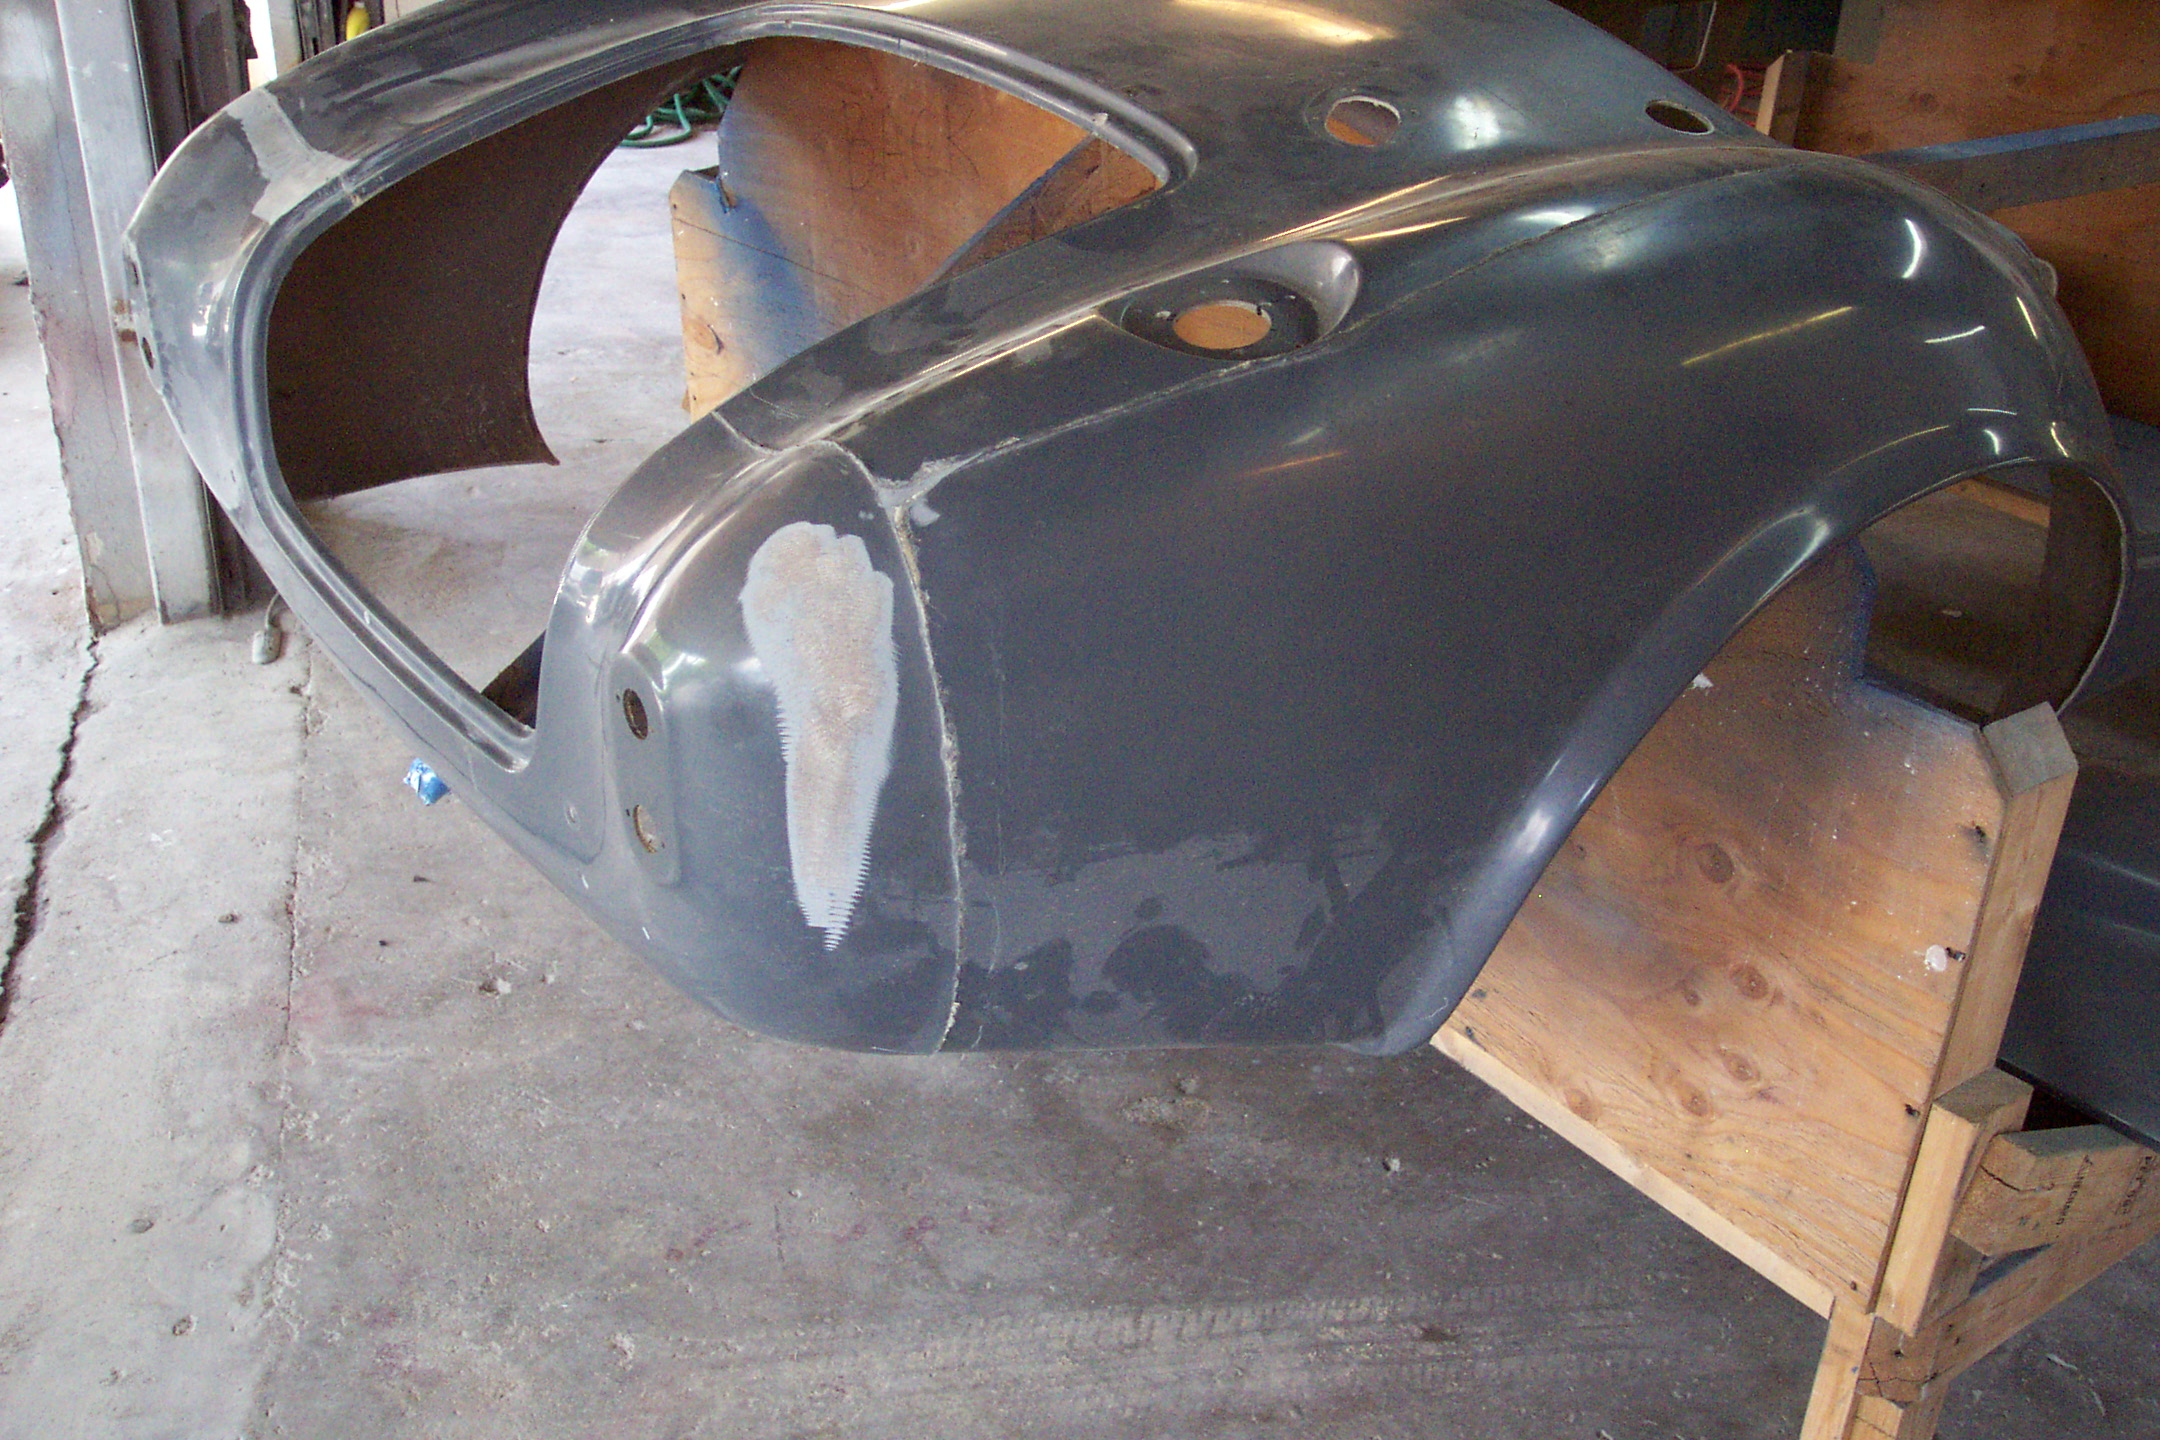
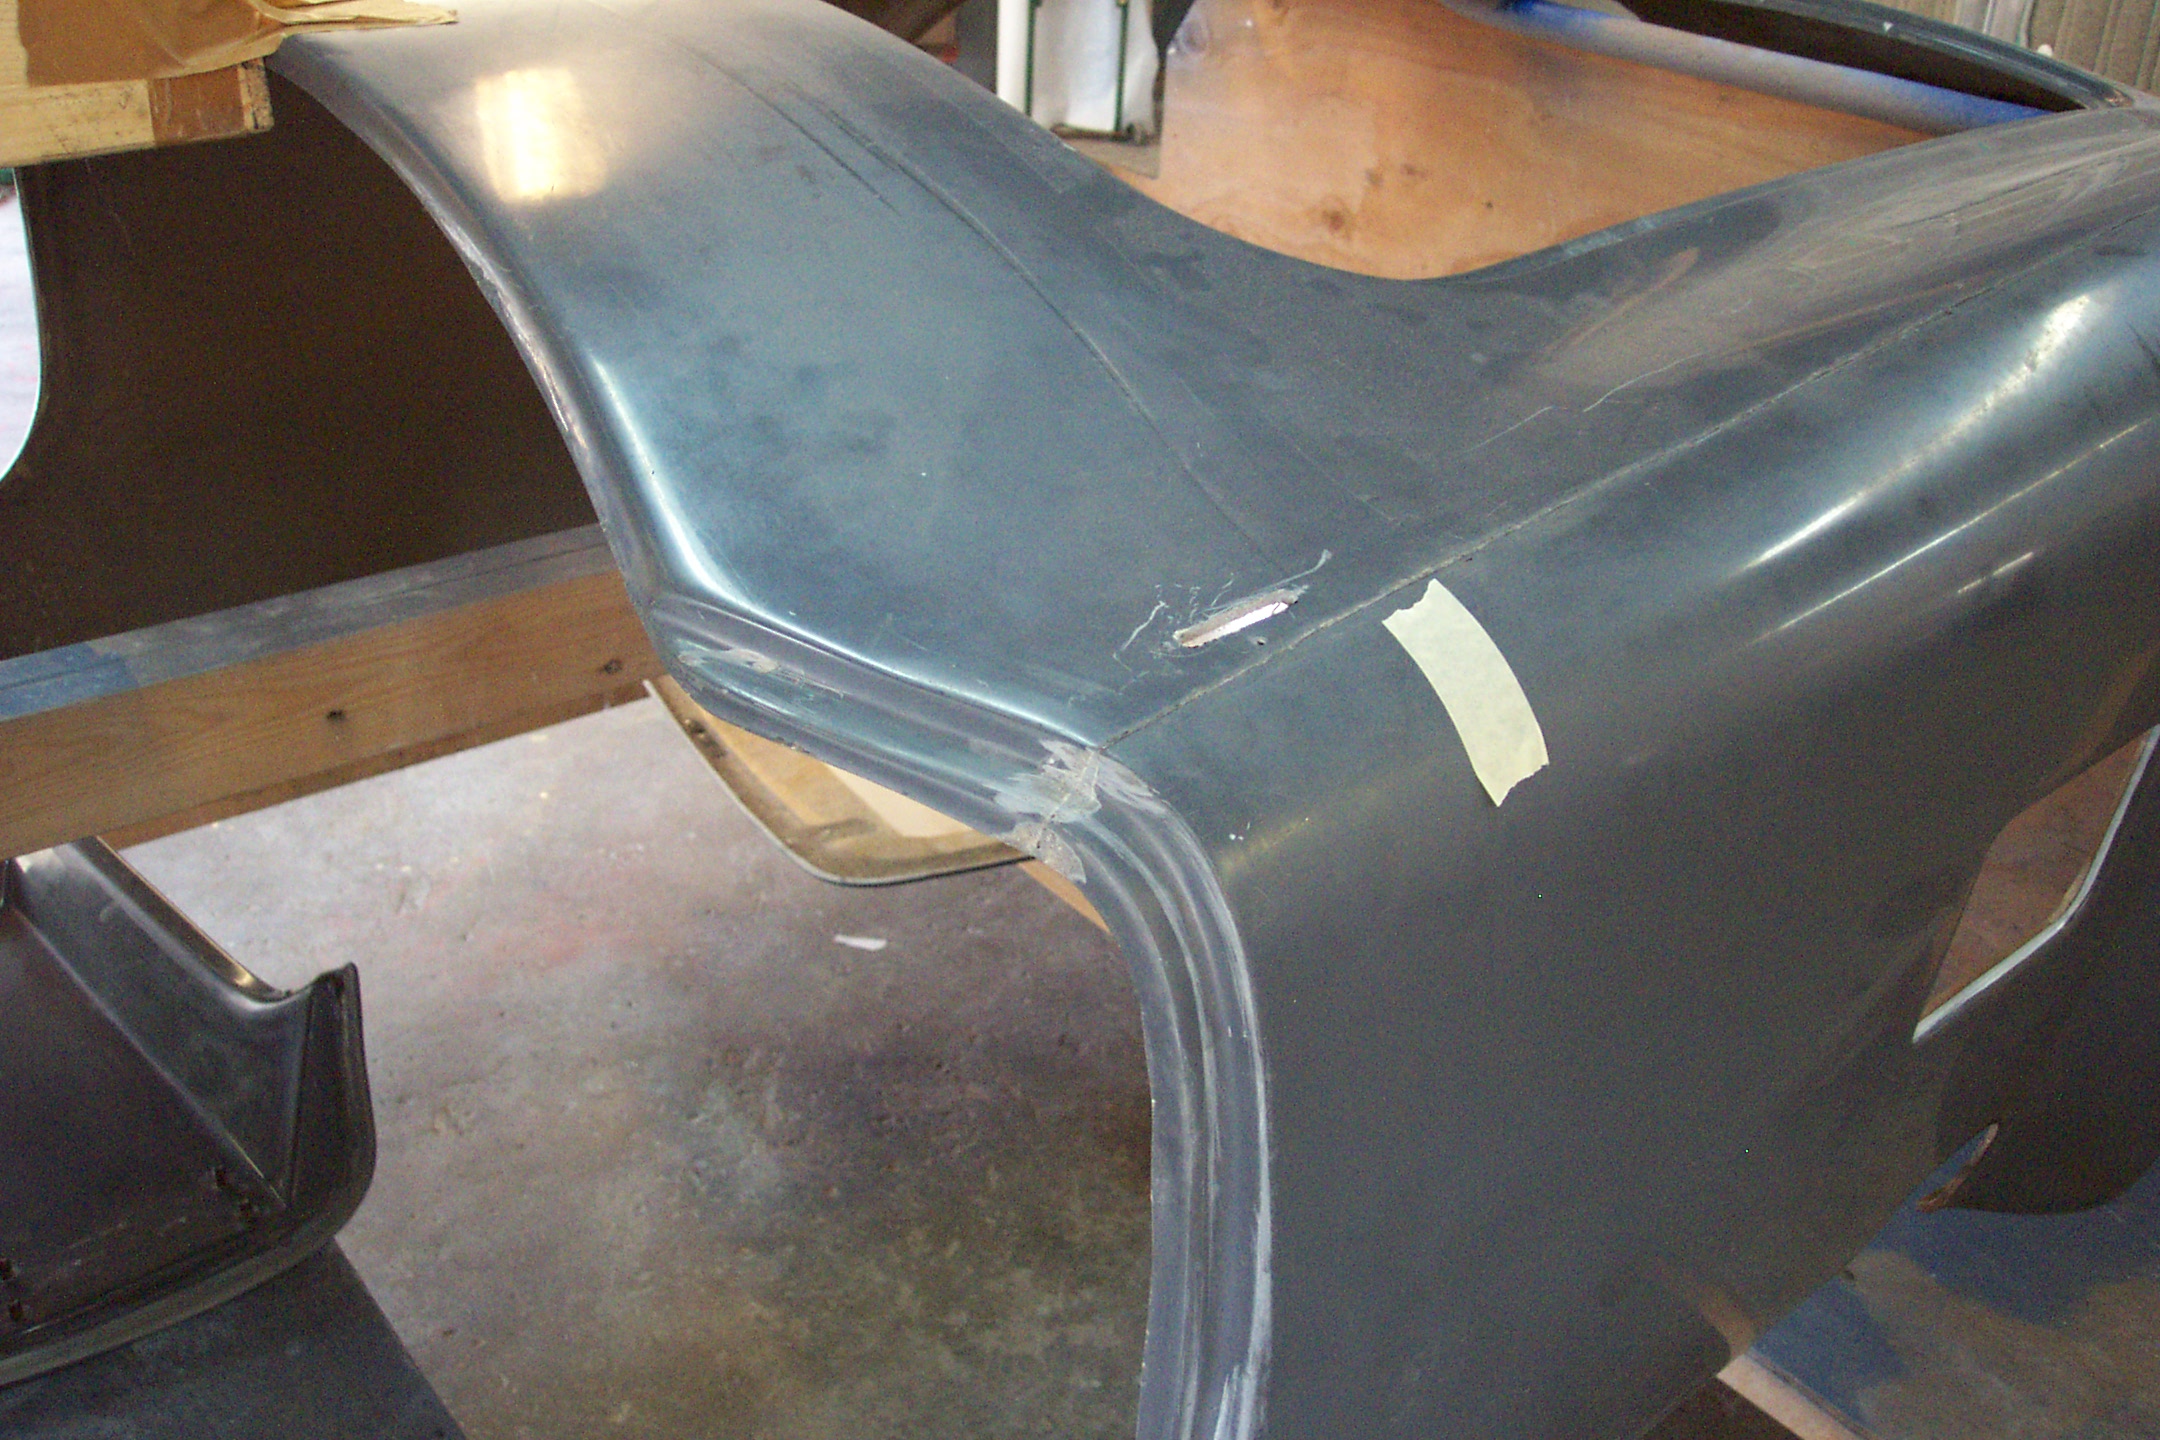
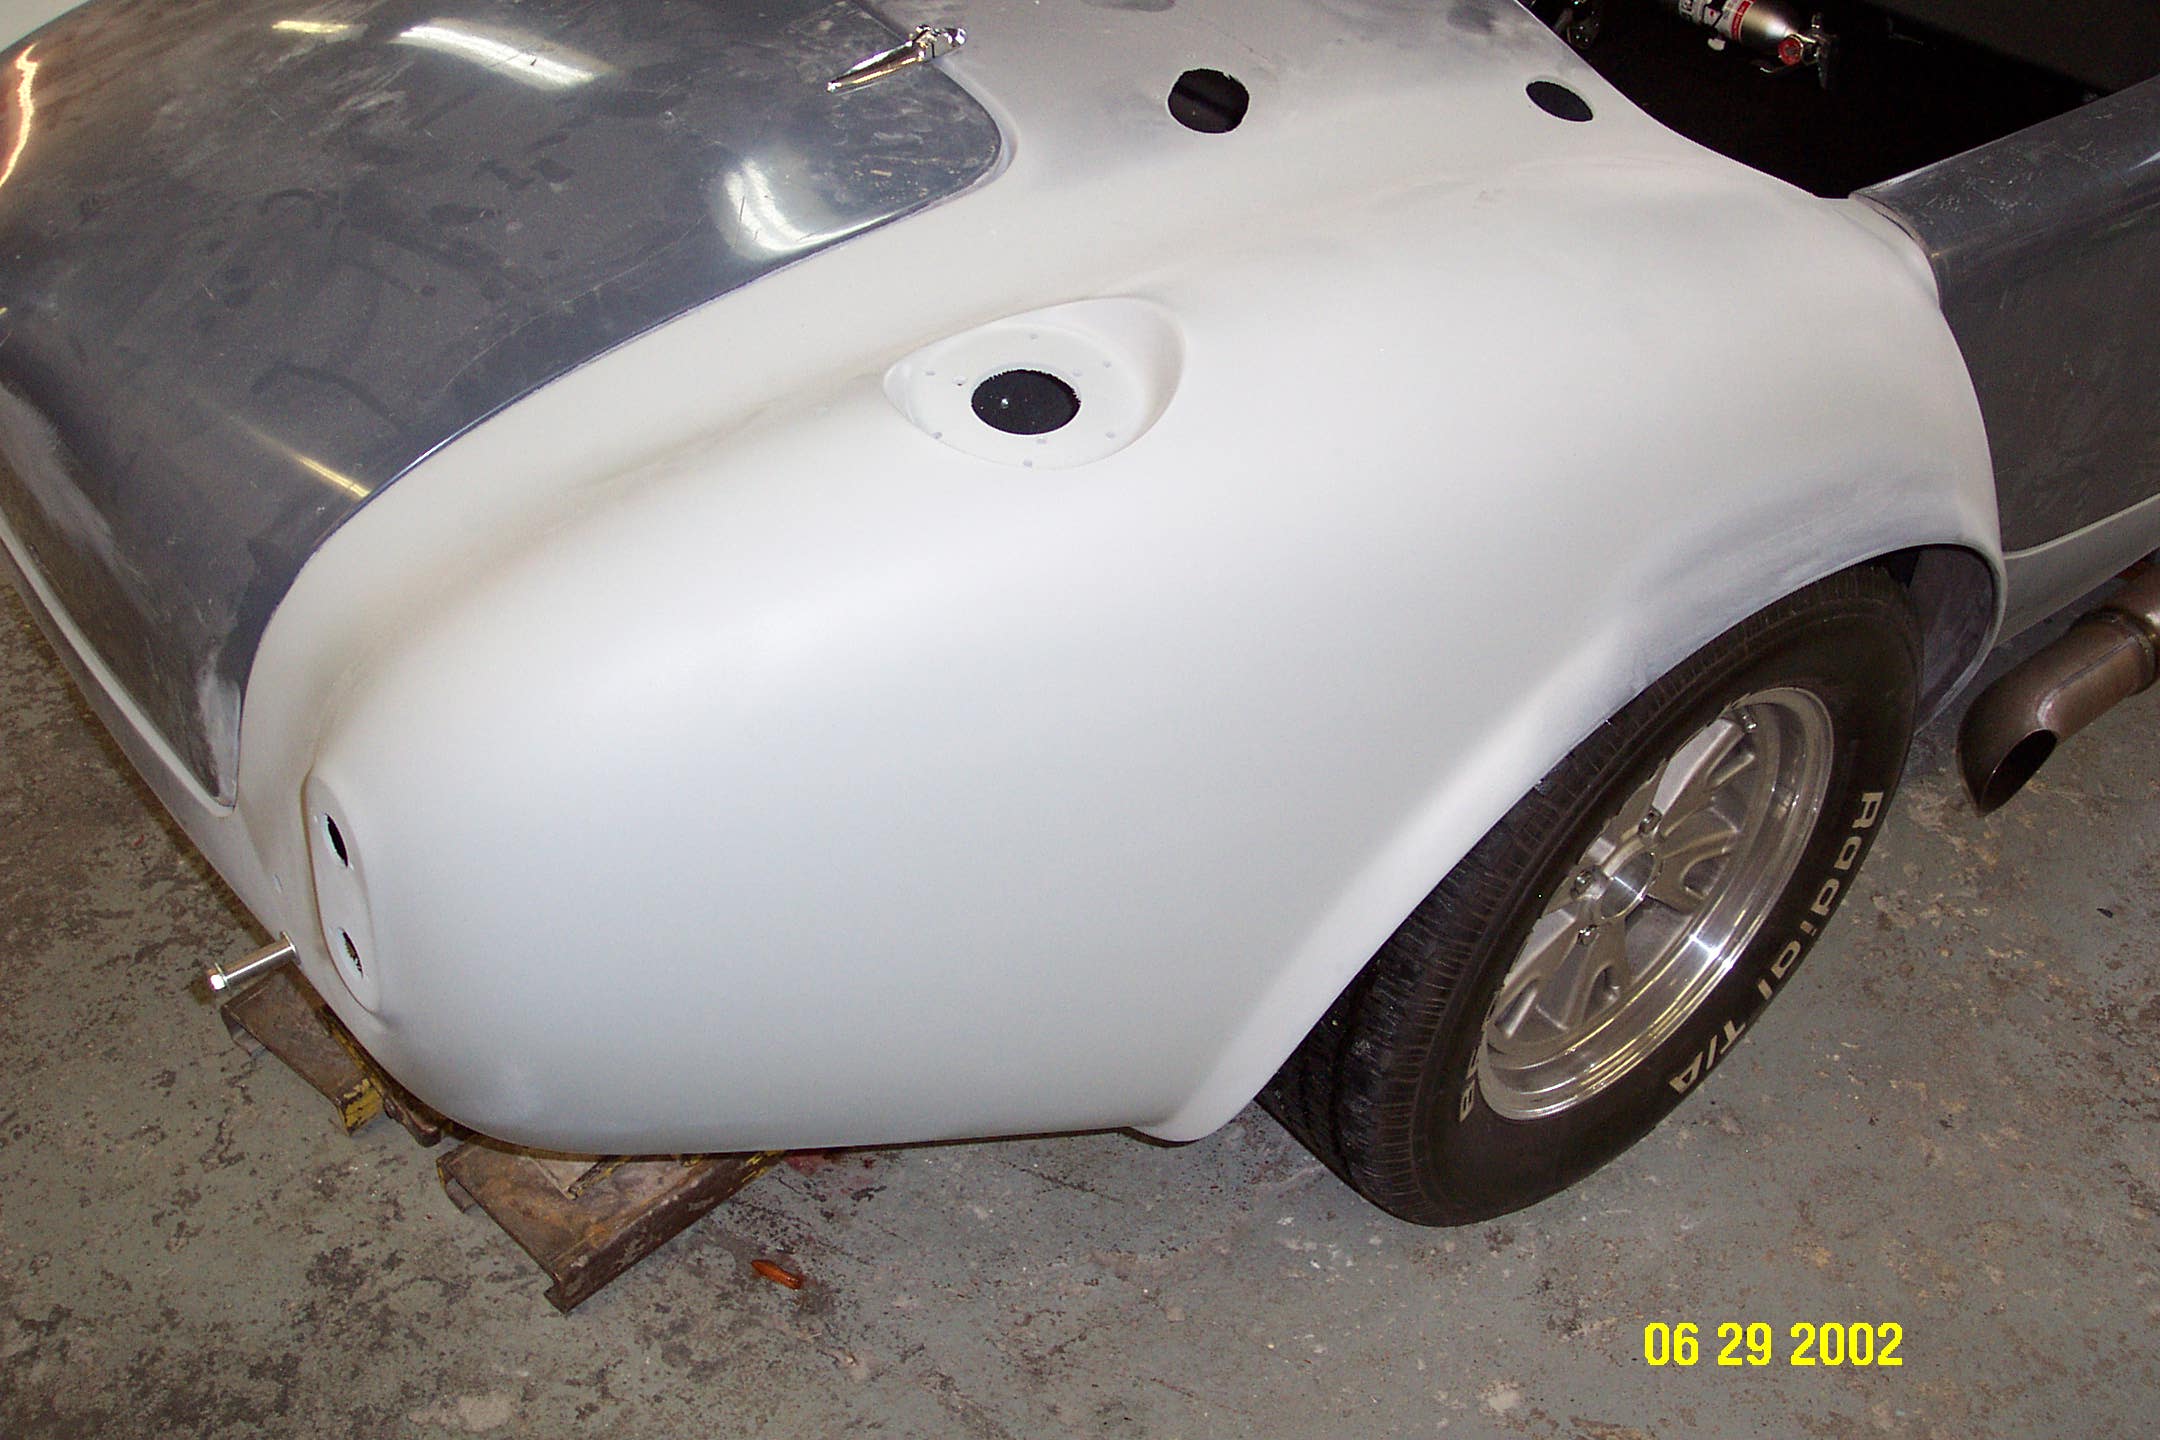
After lots of grinding, filling and sanding the car really started to look smooth.
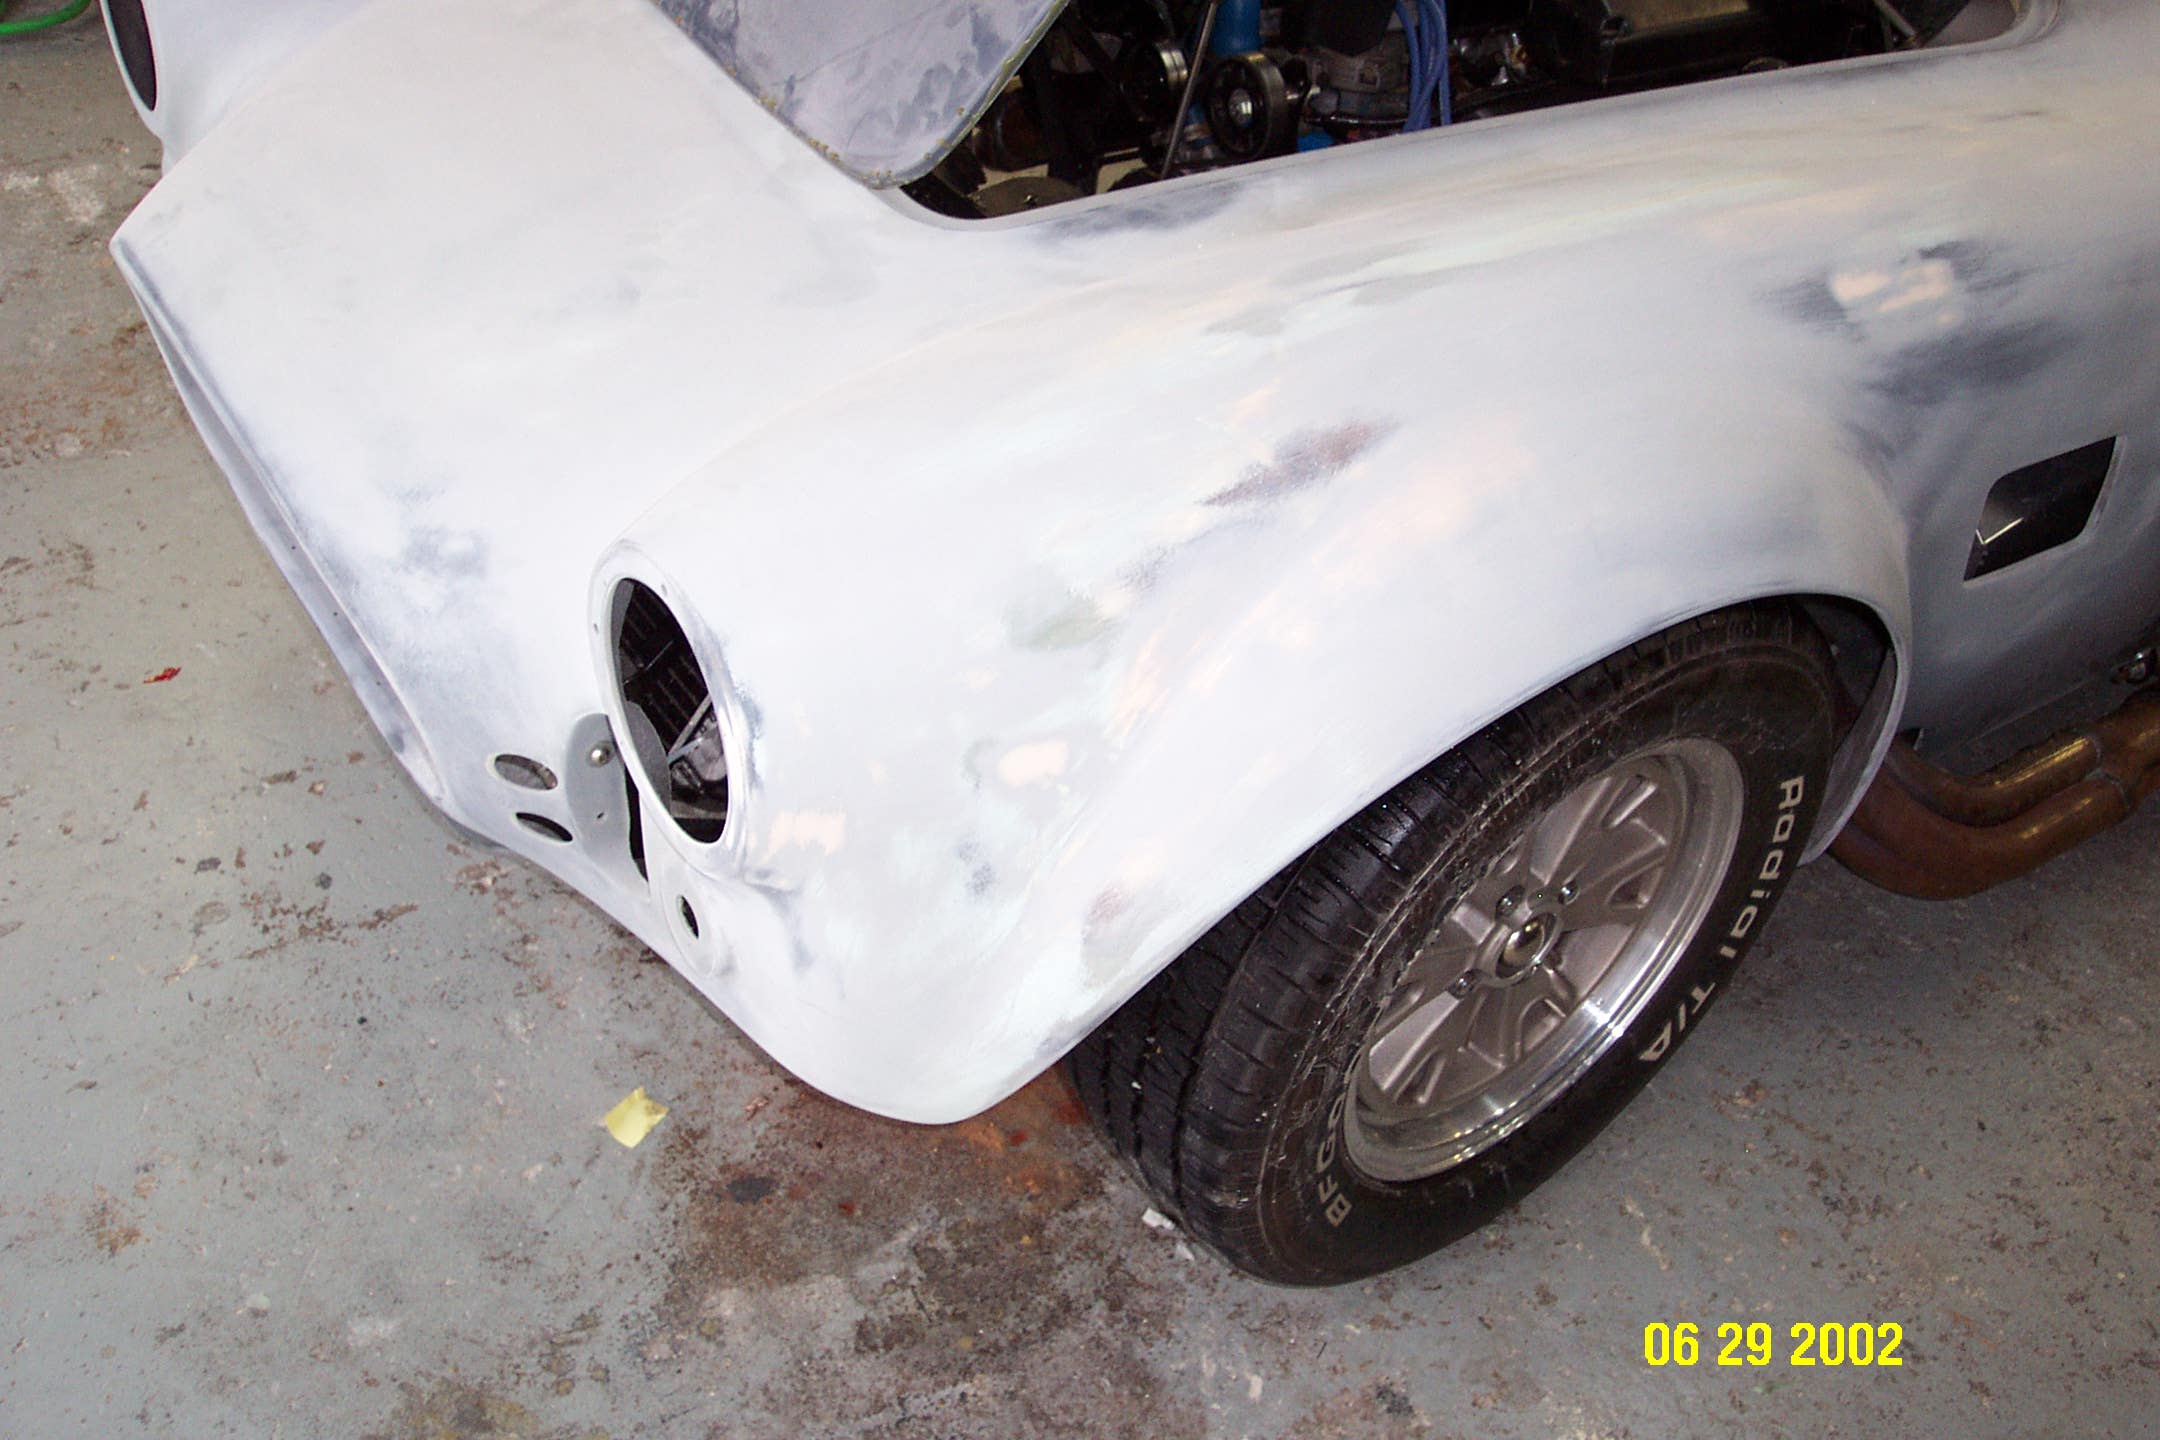
The curve of all the fenders had to be “built” back up after the seams were ground down.
We had to cut down the spacers for the rear quick jacks because it pushed the body out too far for the trunk to close properly.

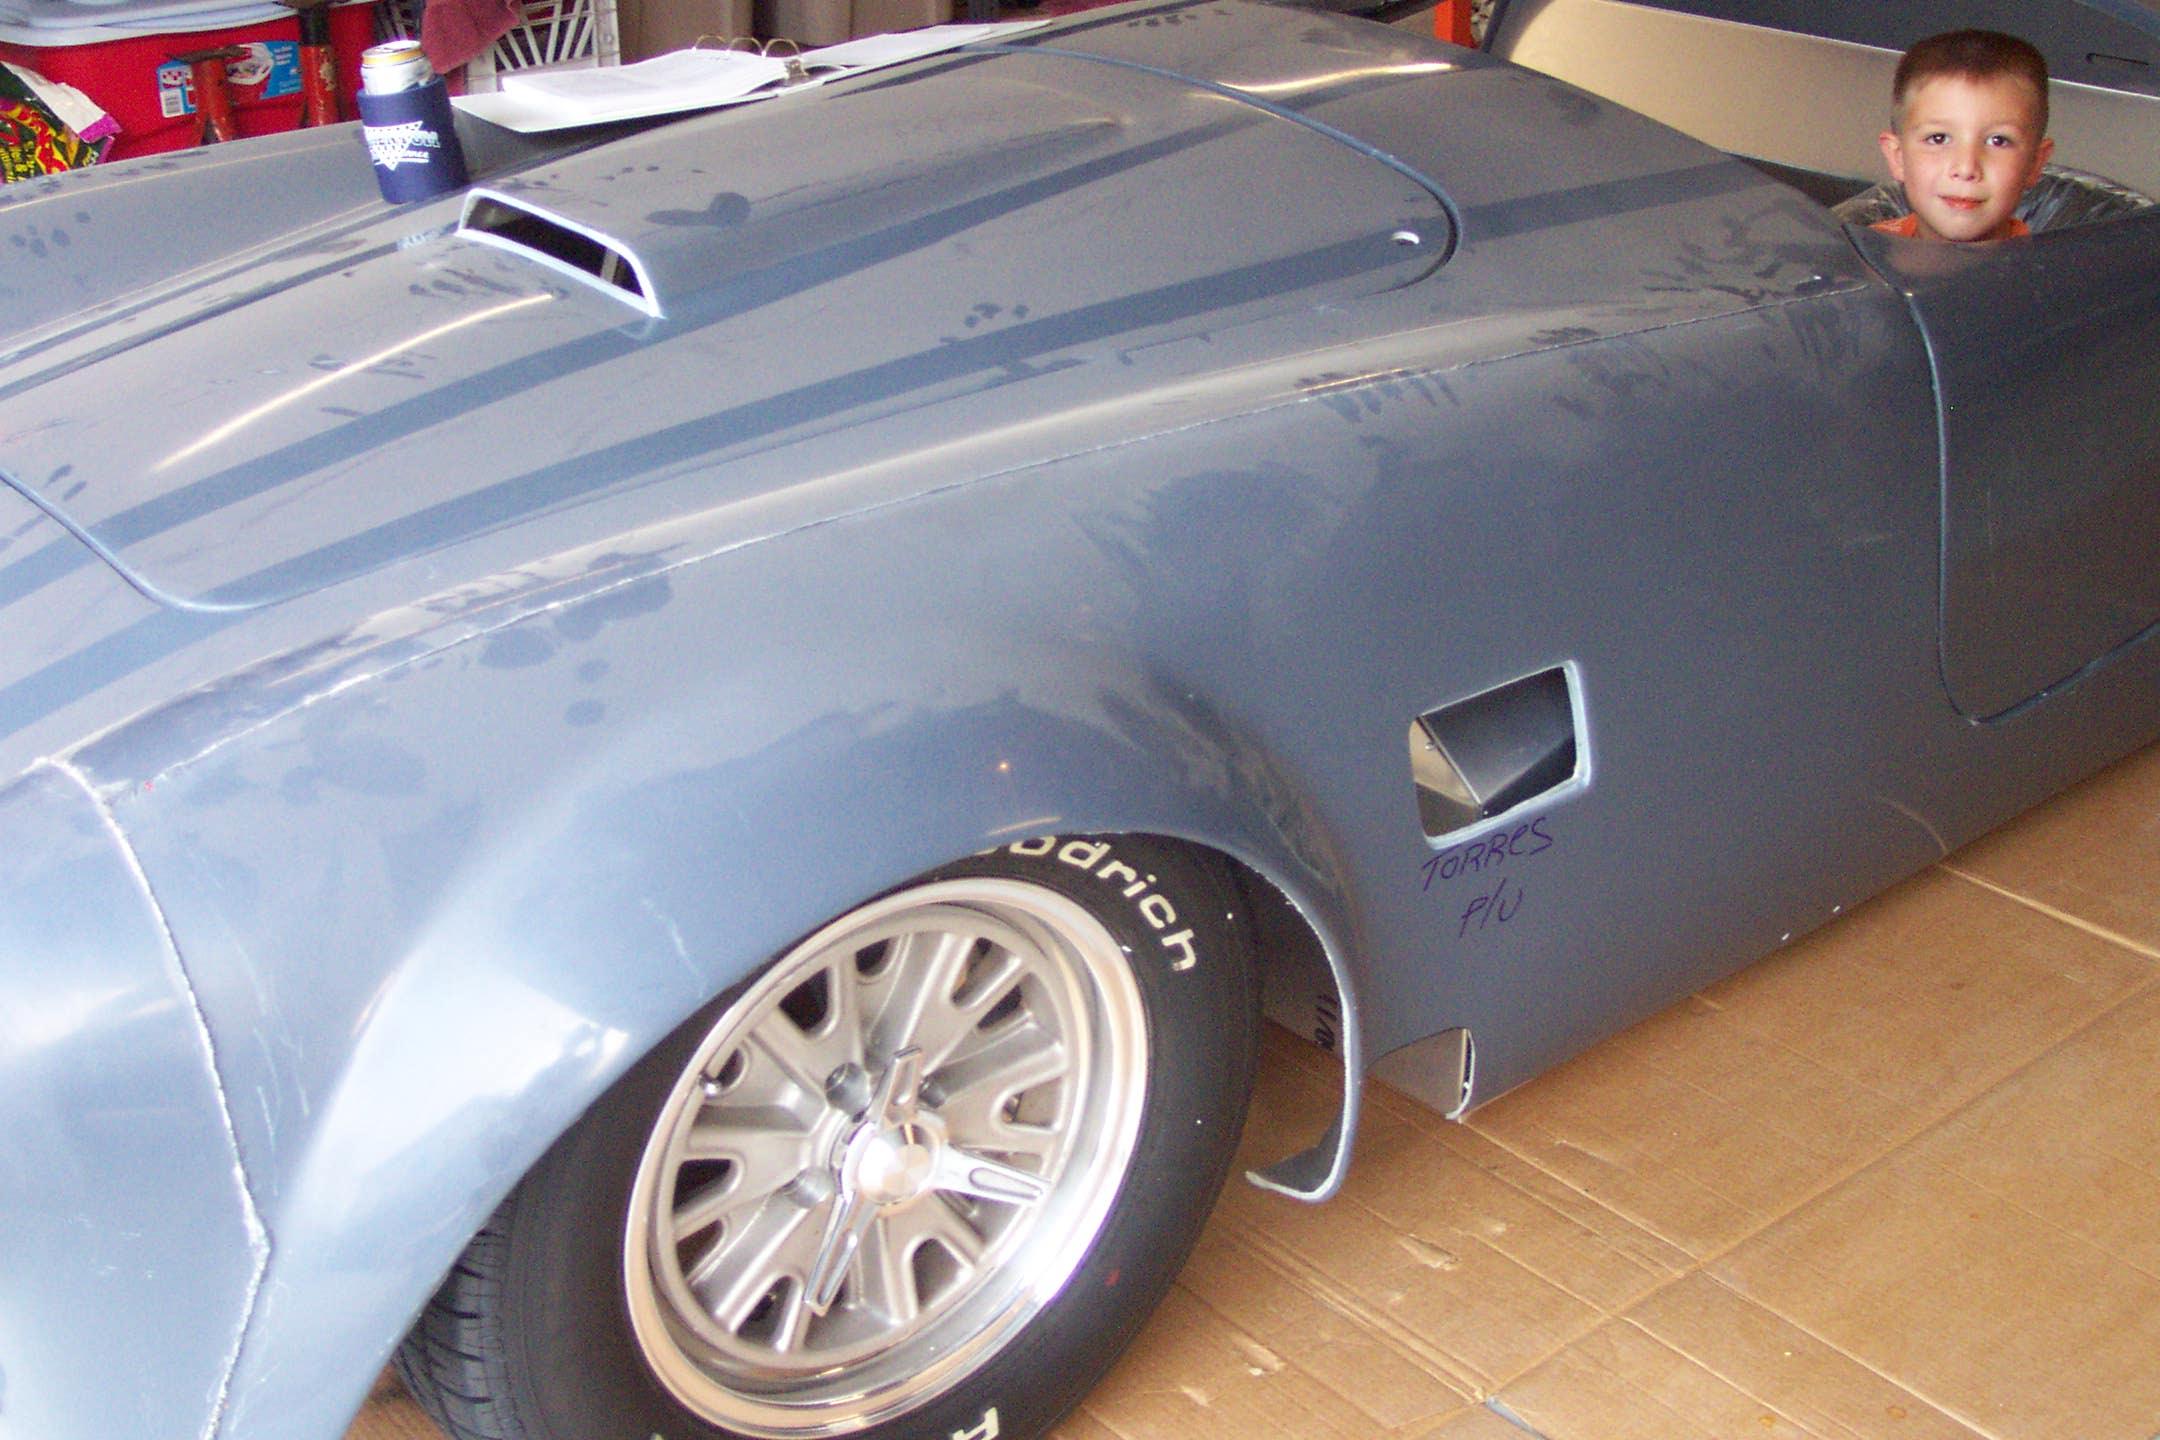
The area around the sidepipes and fender vents got a lot of attention. Duane (aka Venemous) showed up to lend a hand when we removed the body for final painting.
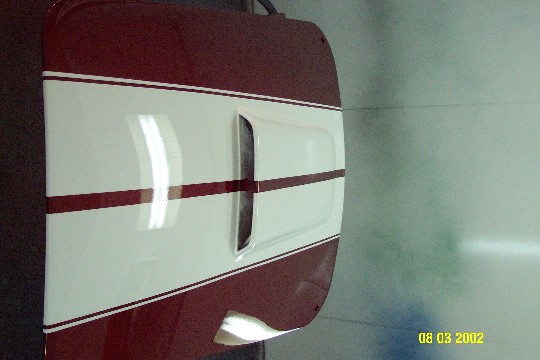
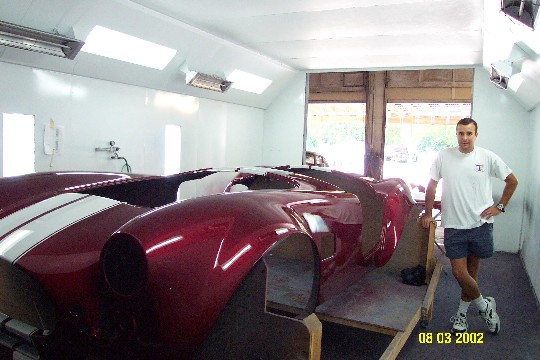
Here are some pictures of the body in the paint booth. From a distance the stripes looked good, but there were some defects and they had to be repainted. The striping was an additional expense and some aggravation for us as well as the paint shop, but we feel it added a great look to the car.


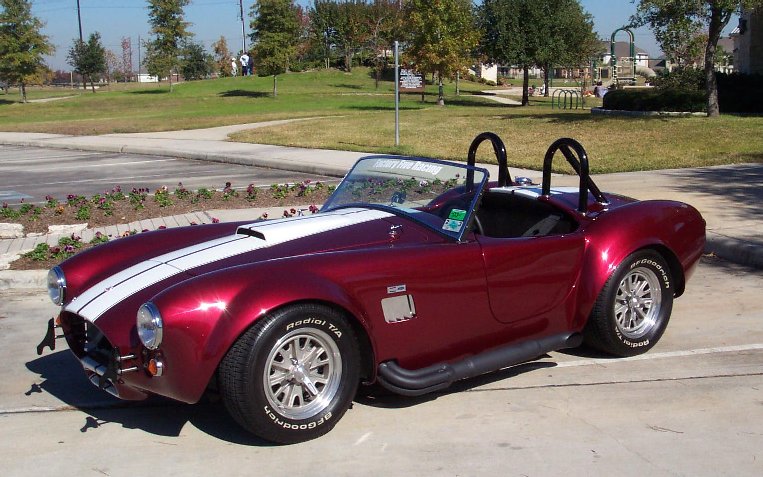
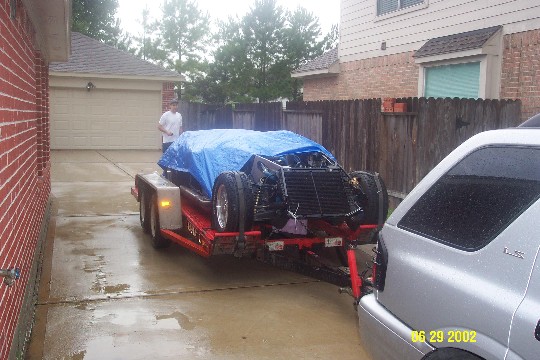
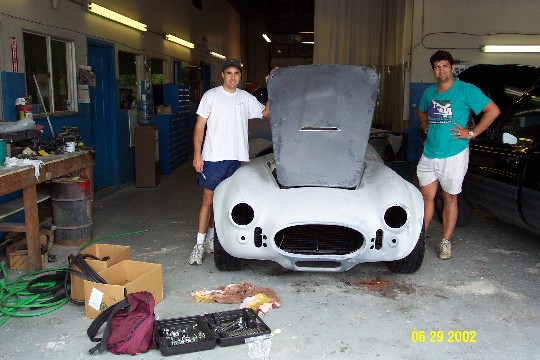
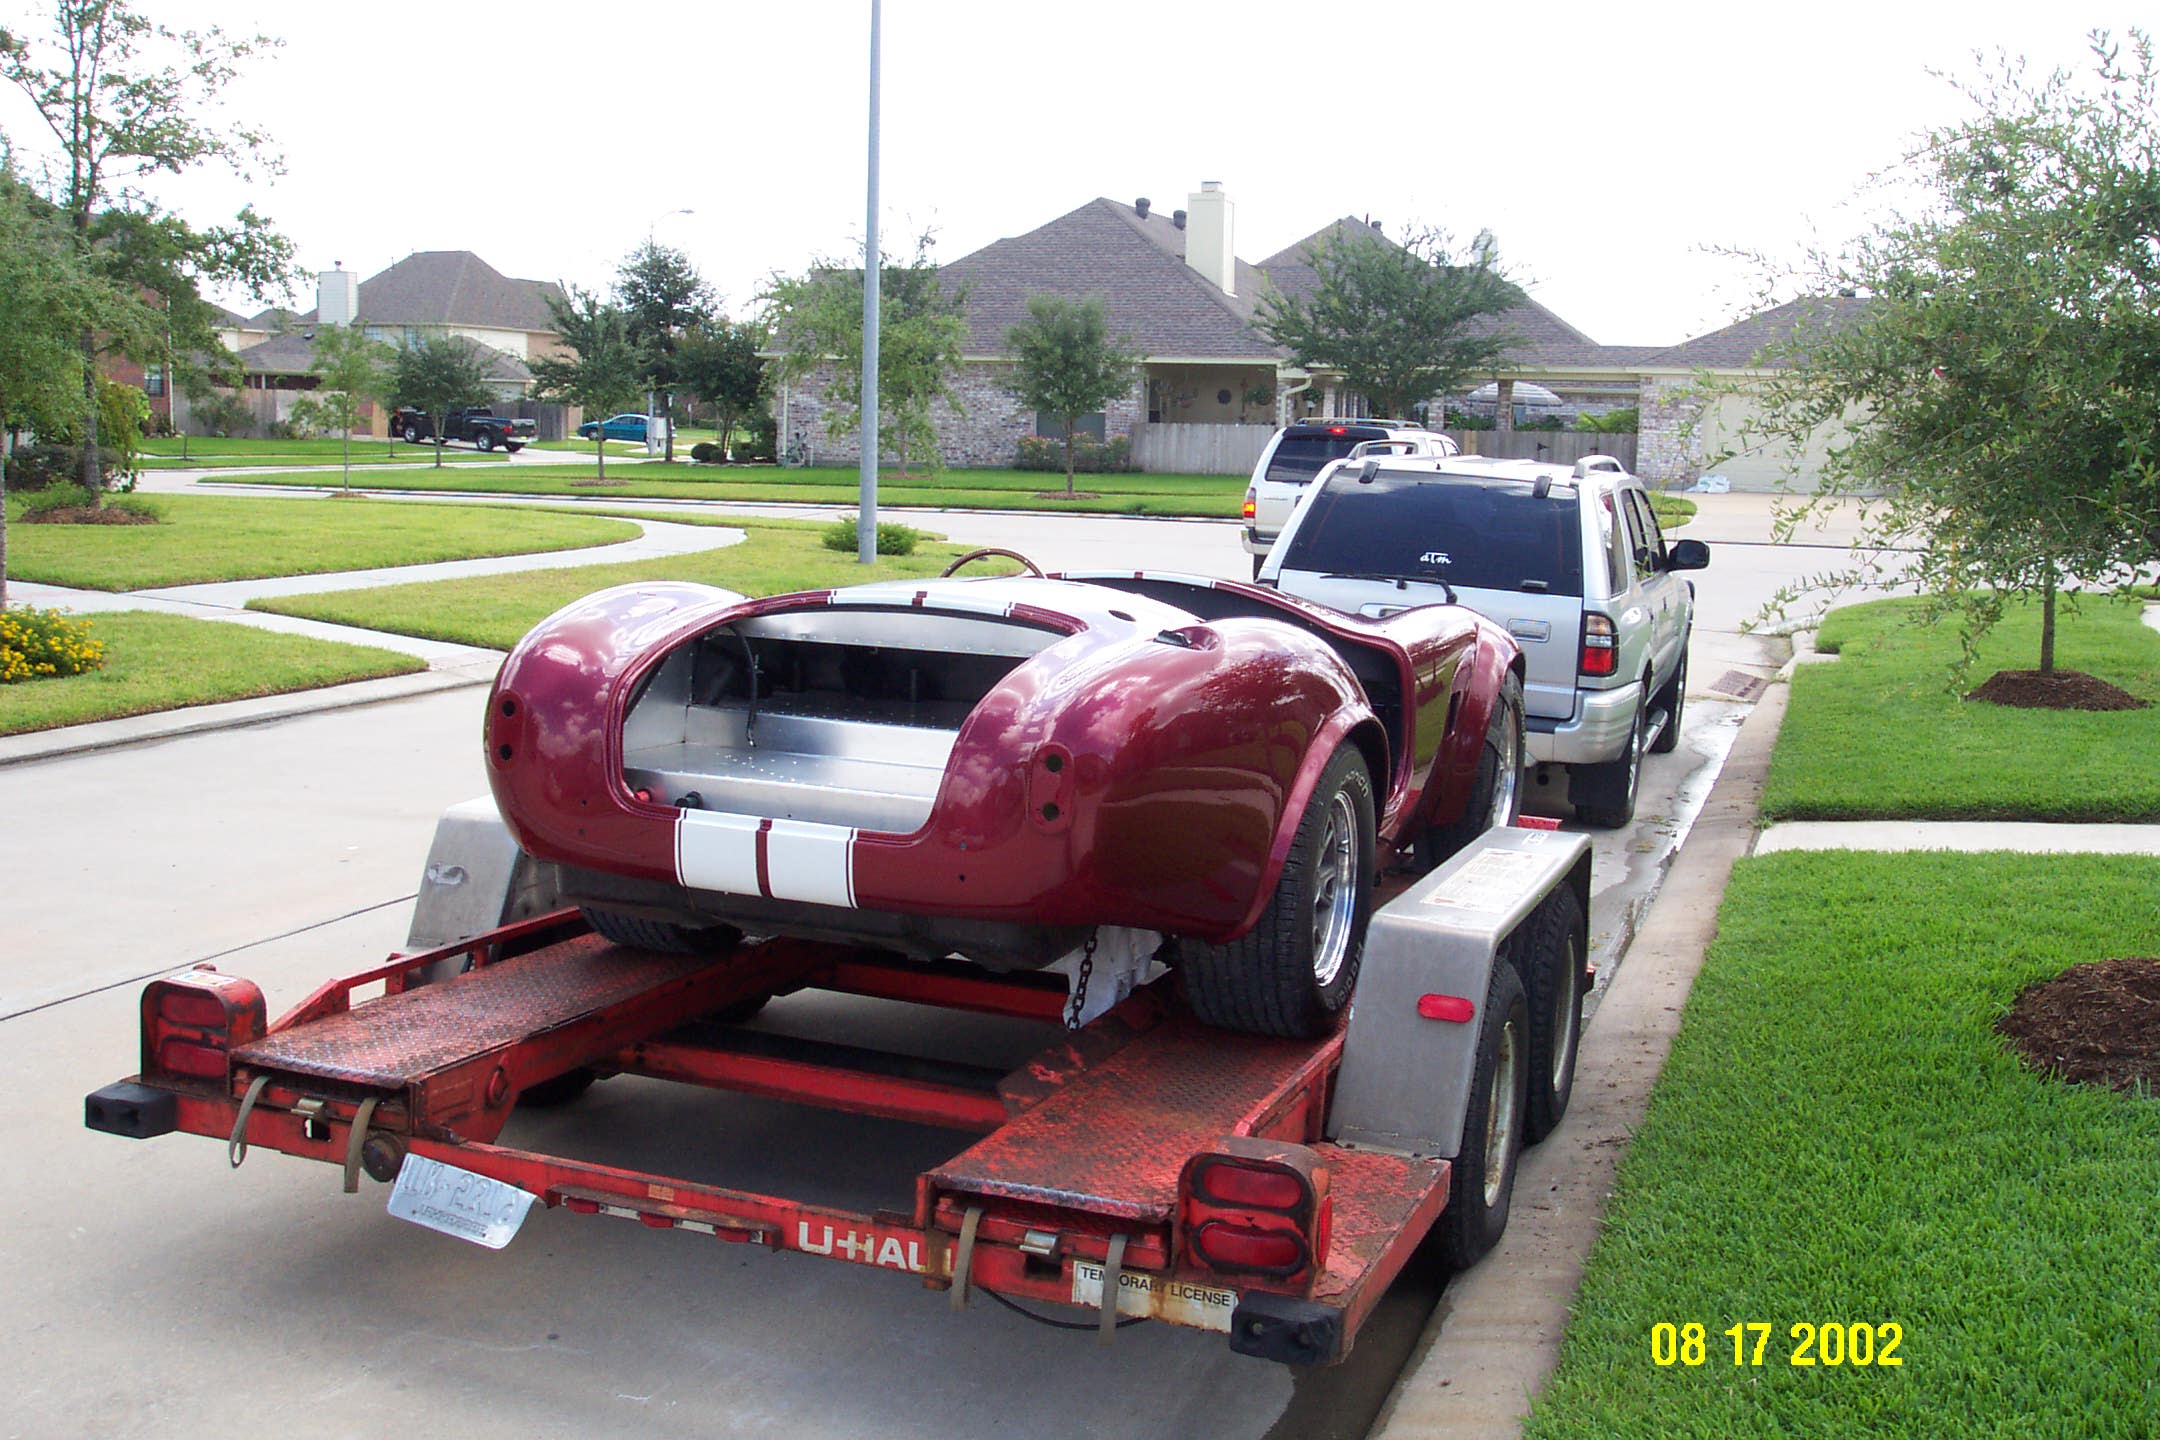
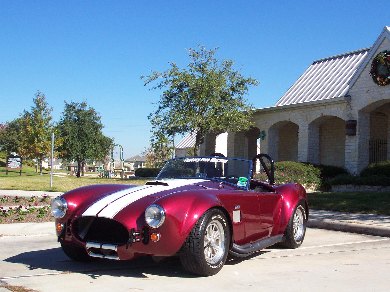
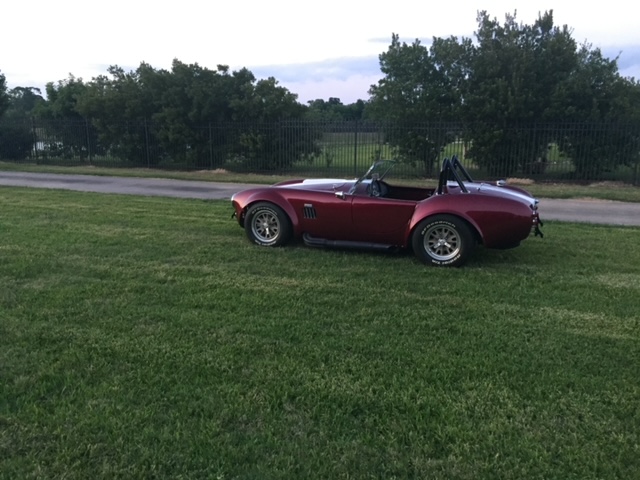
Here is Damian next to his Aggie maroon baby as well as the car out in the sunlight. The body was temporarily secured for transport. Hood, trunk, doors, etc. will be installed back at the house. We enlisted several local Cobra folks to help lift and install the body and you can see their cars in the background.


The car made it home safely and is ready for reassembly


August 2002 Completed Car
After getting it painted and reassembled, the car would sputter and was difficult to drive. We swapped many engine parts and even the gas tank. It turned out to be a loose plug on the engine computer. Now the car runs great and has over 500 miles on it. The goal was to finish the car in 12 months and we did it in 15 months and we were only 25% over budget. But in the end, it all worked out and we were very happy with the final product. The best part is that other than the paint we did all the work ourselves


2003 Double Venmo 3
August 2014 Brake Repair
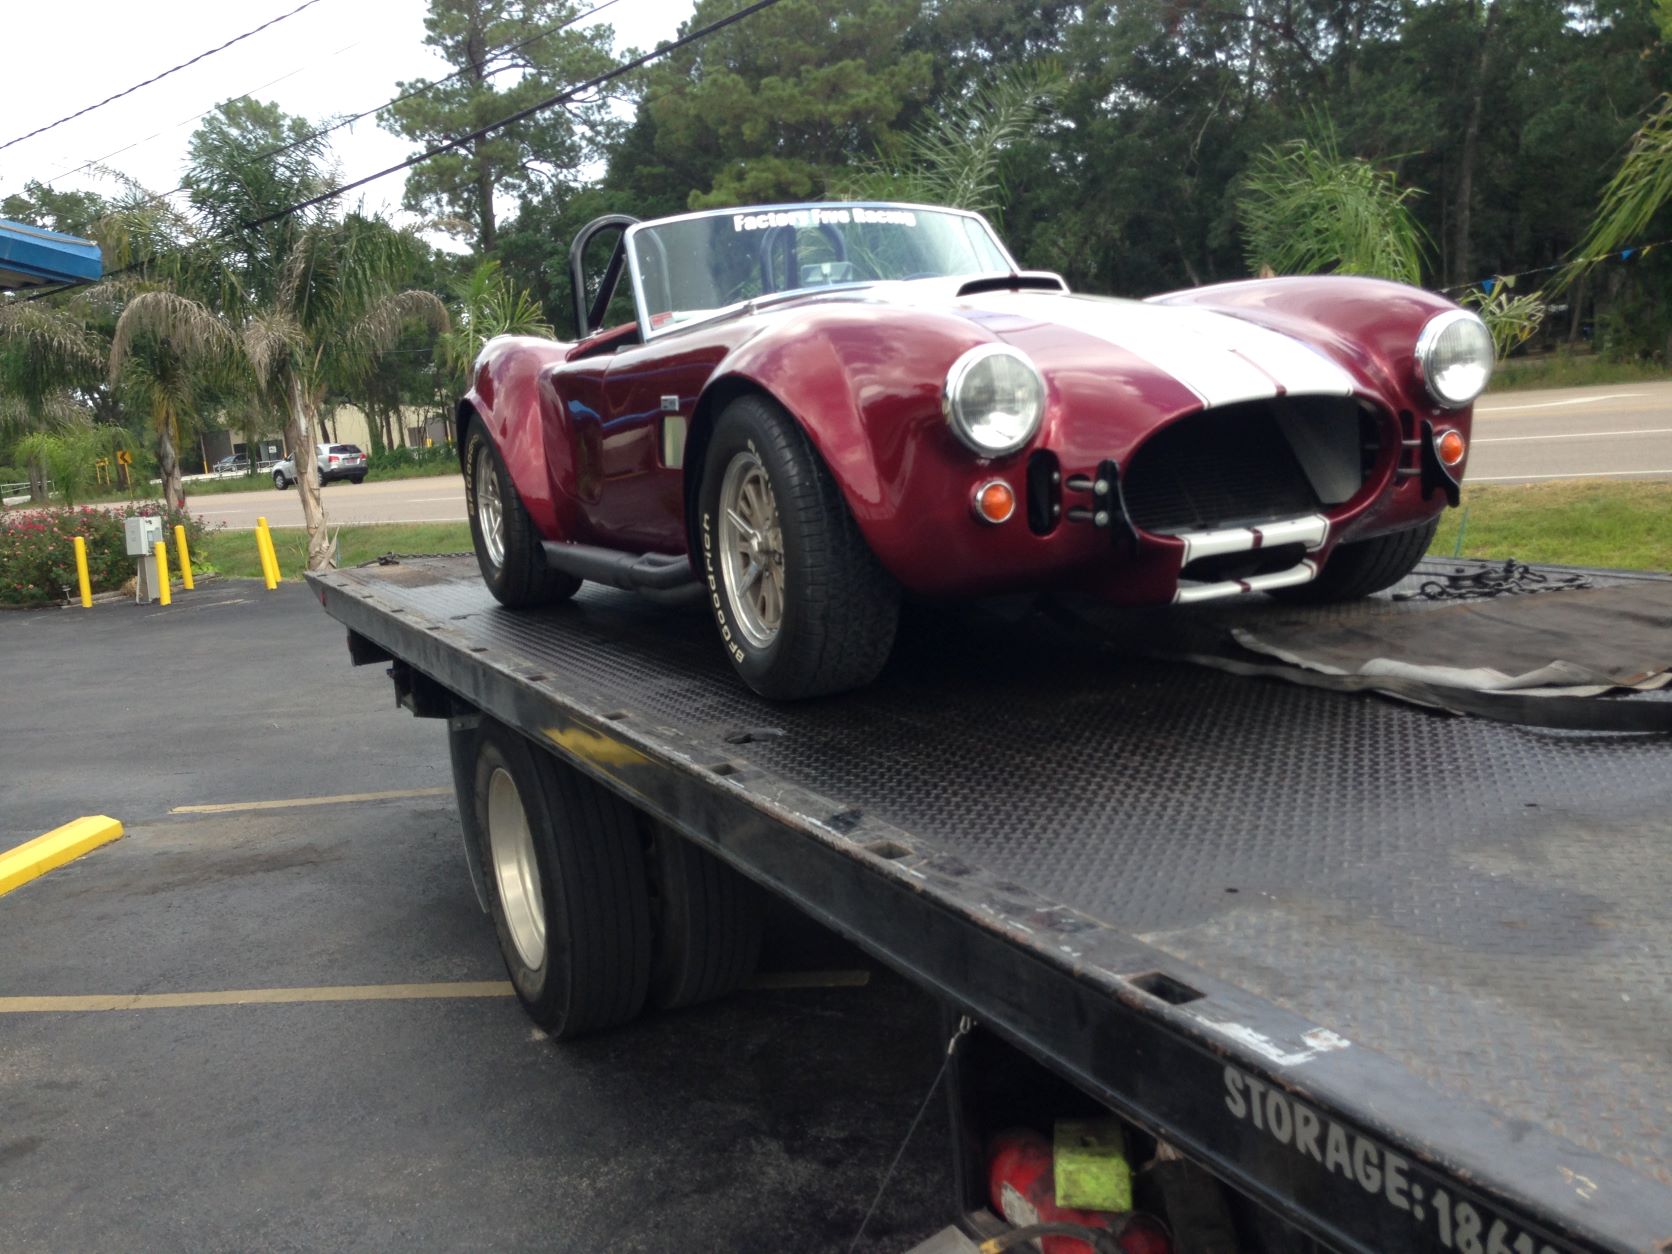
While out on a joy ride, I had a little problem with the brakes. The left front caliper kept grabbing when I hit the brakes and would lock the left front wheel. I was able to get the car to a safe spot and towed it home. After replacing the bad caliper, it was back on the road. However, I should have probably flushed the entire system out at that point. A few years later the power brake system went out and it was a tedious and costly repair. New fluid might have prevented that 2019 repair.

2016 Autocross
May 2018 Photo Shoot


April 2019 Brake Repair
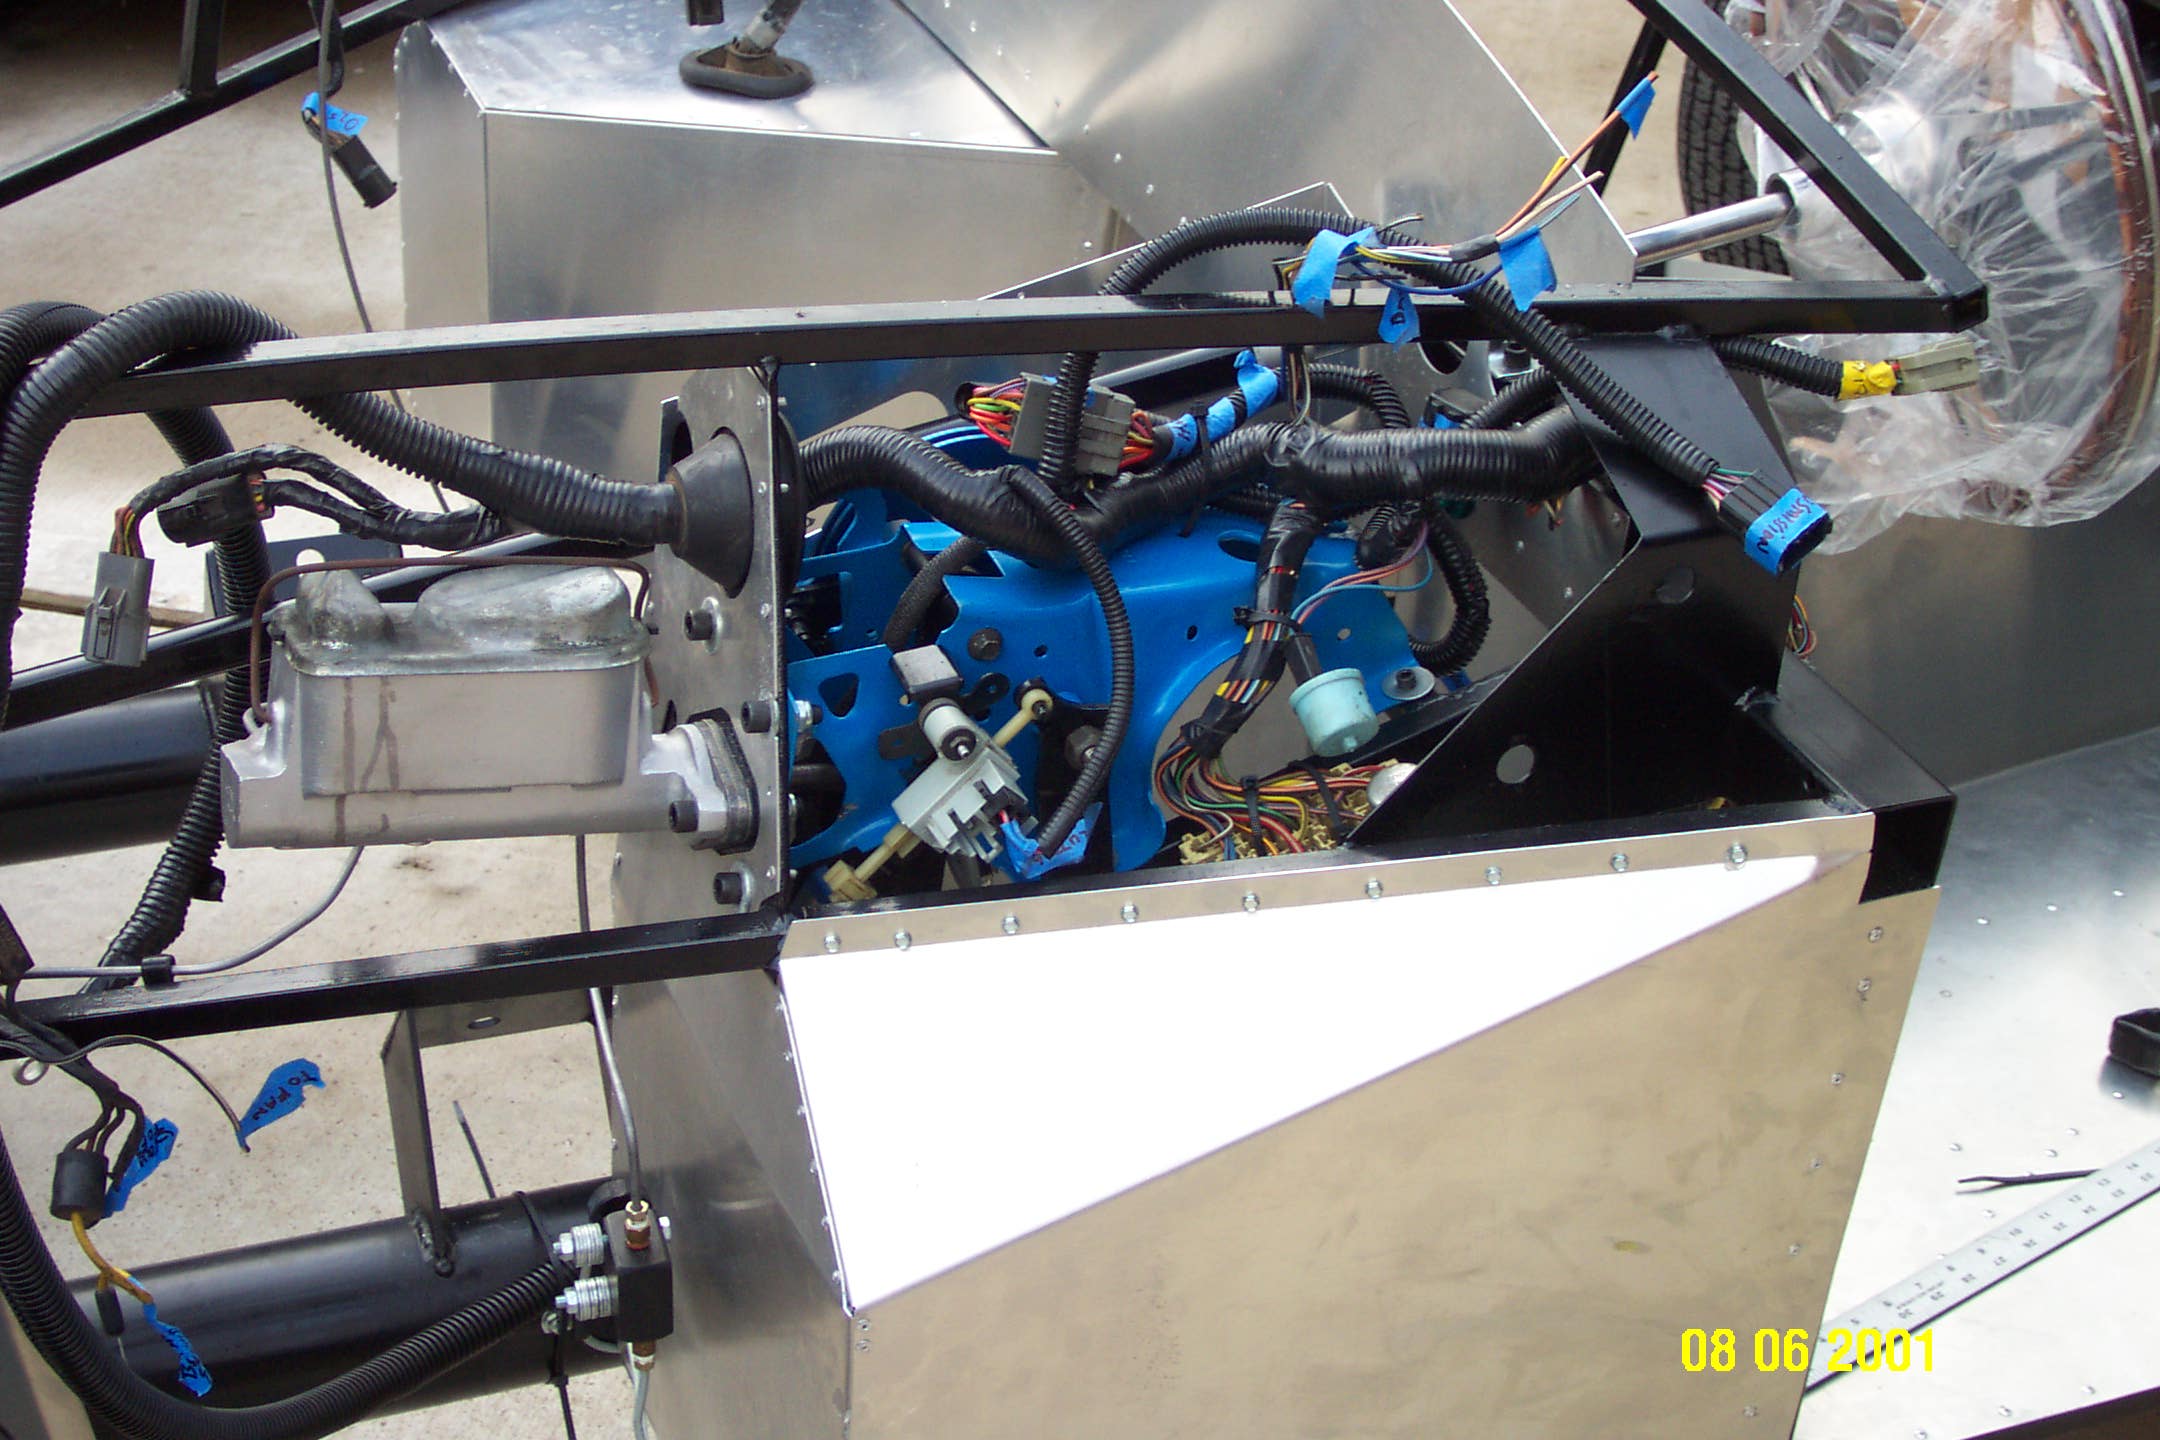
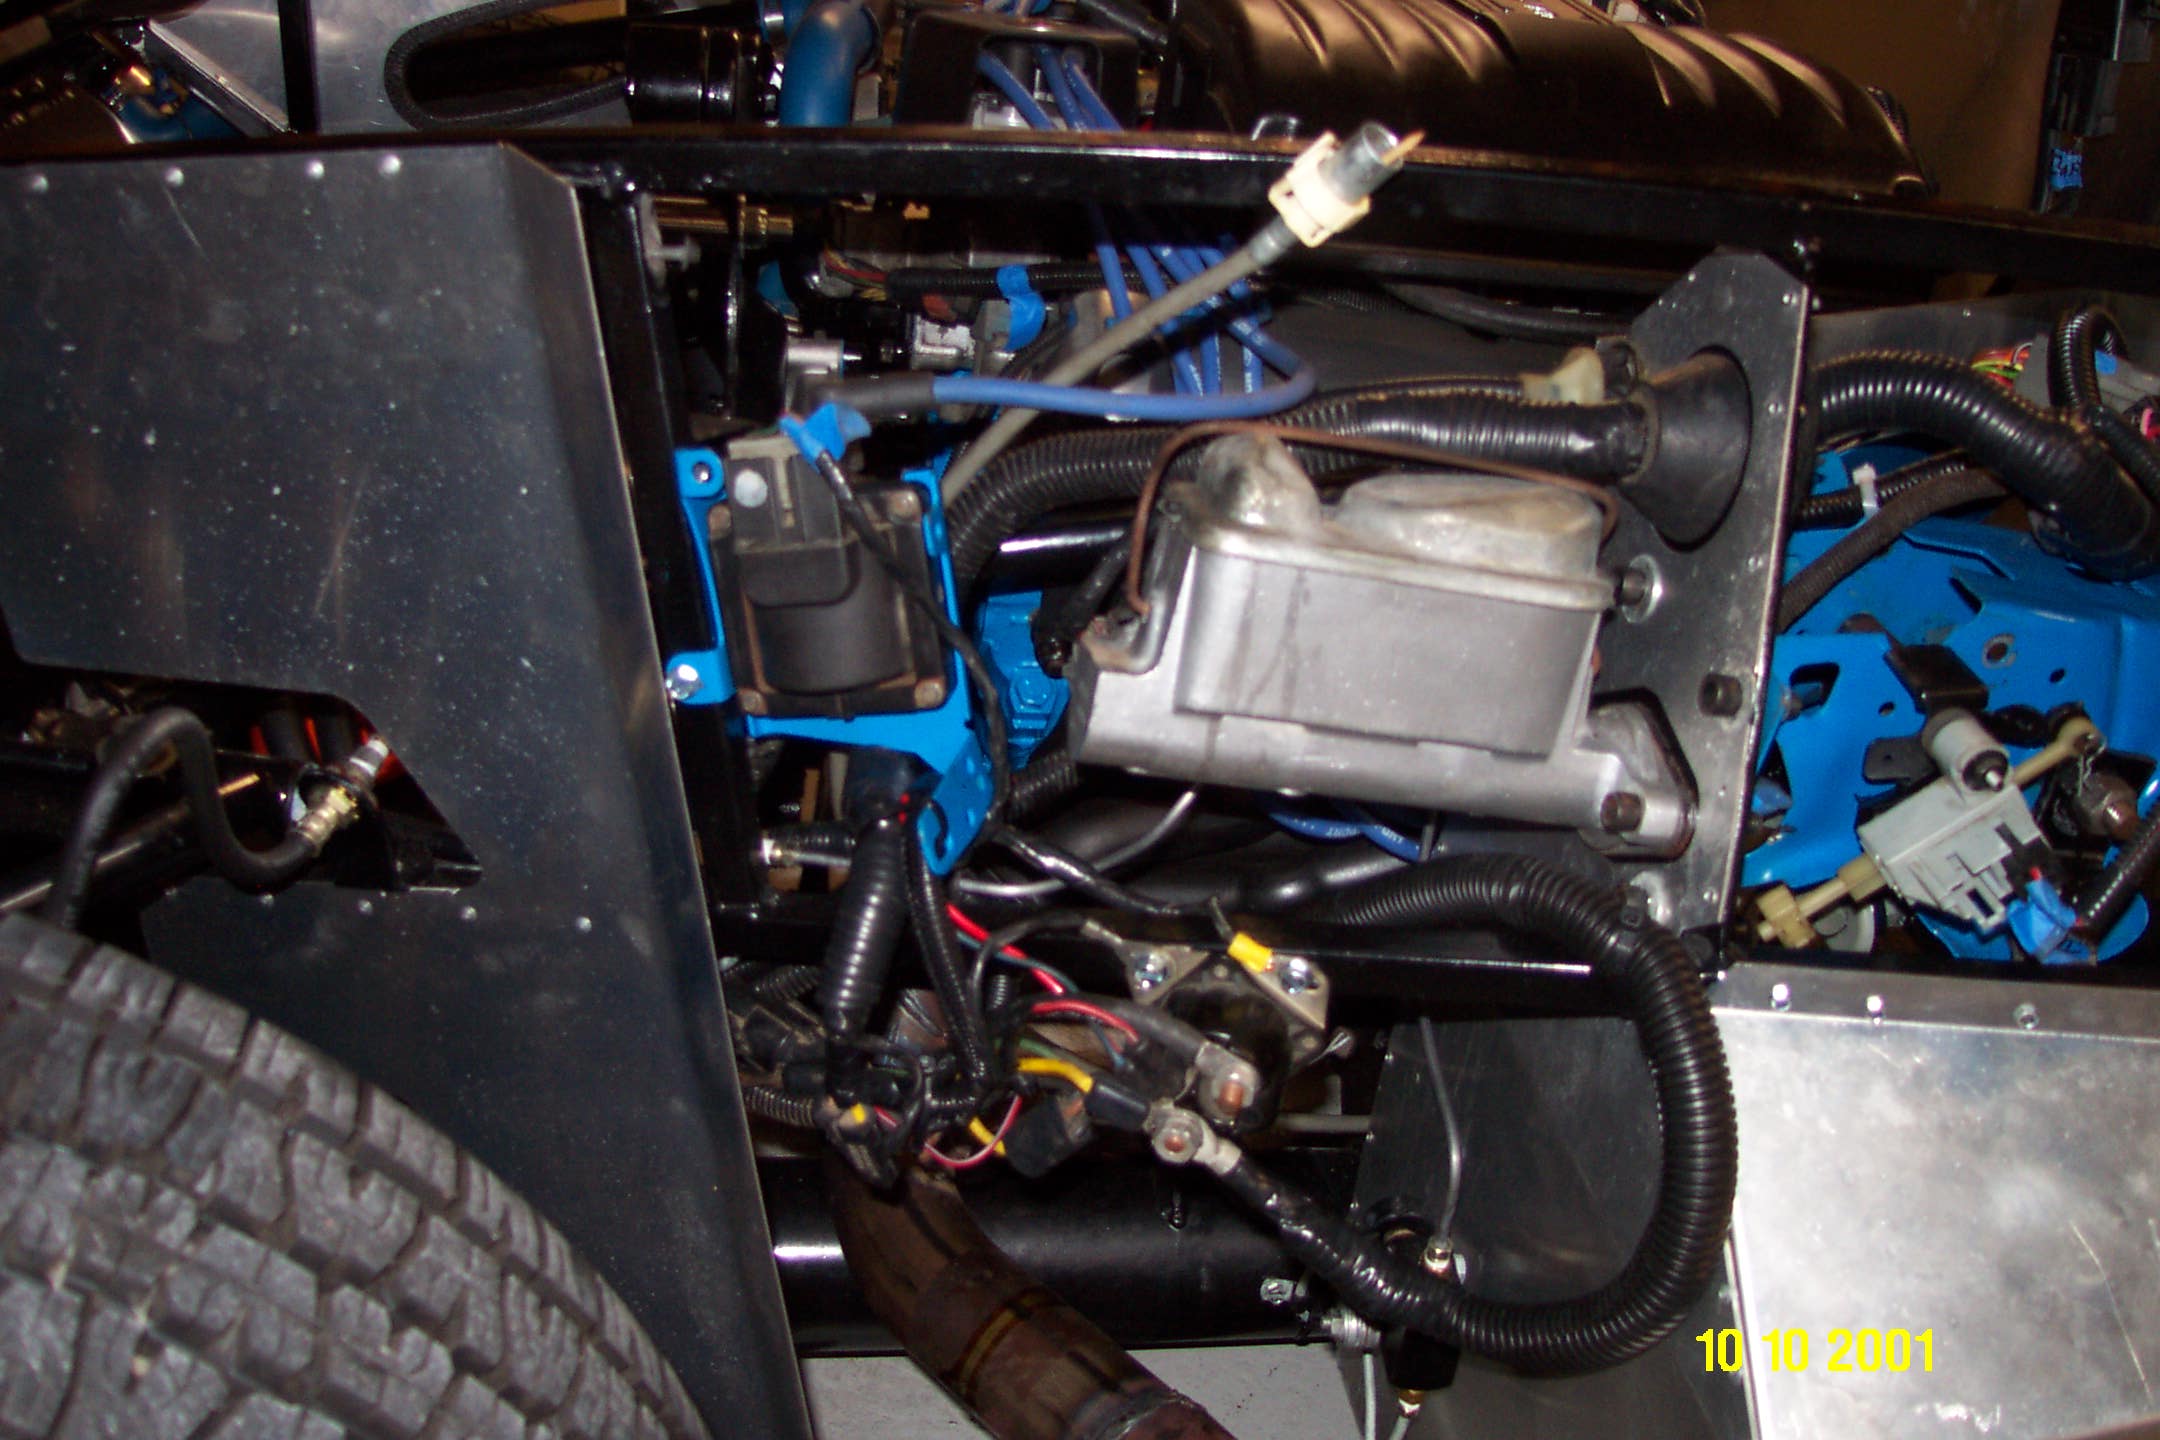
During the initial build we used an electric brake booster from a 1987 Buick Grand National. Over the years those have gotten very expensive and hard to obtain. I was able to find a “rebuilt” unit, but after many attempts by multiple mechanics we were not able to get it working properly. We even sent it back the vendor and had them retest it.
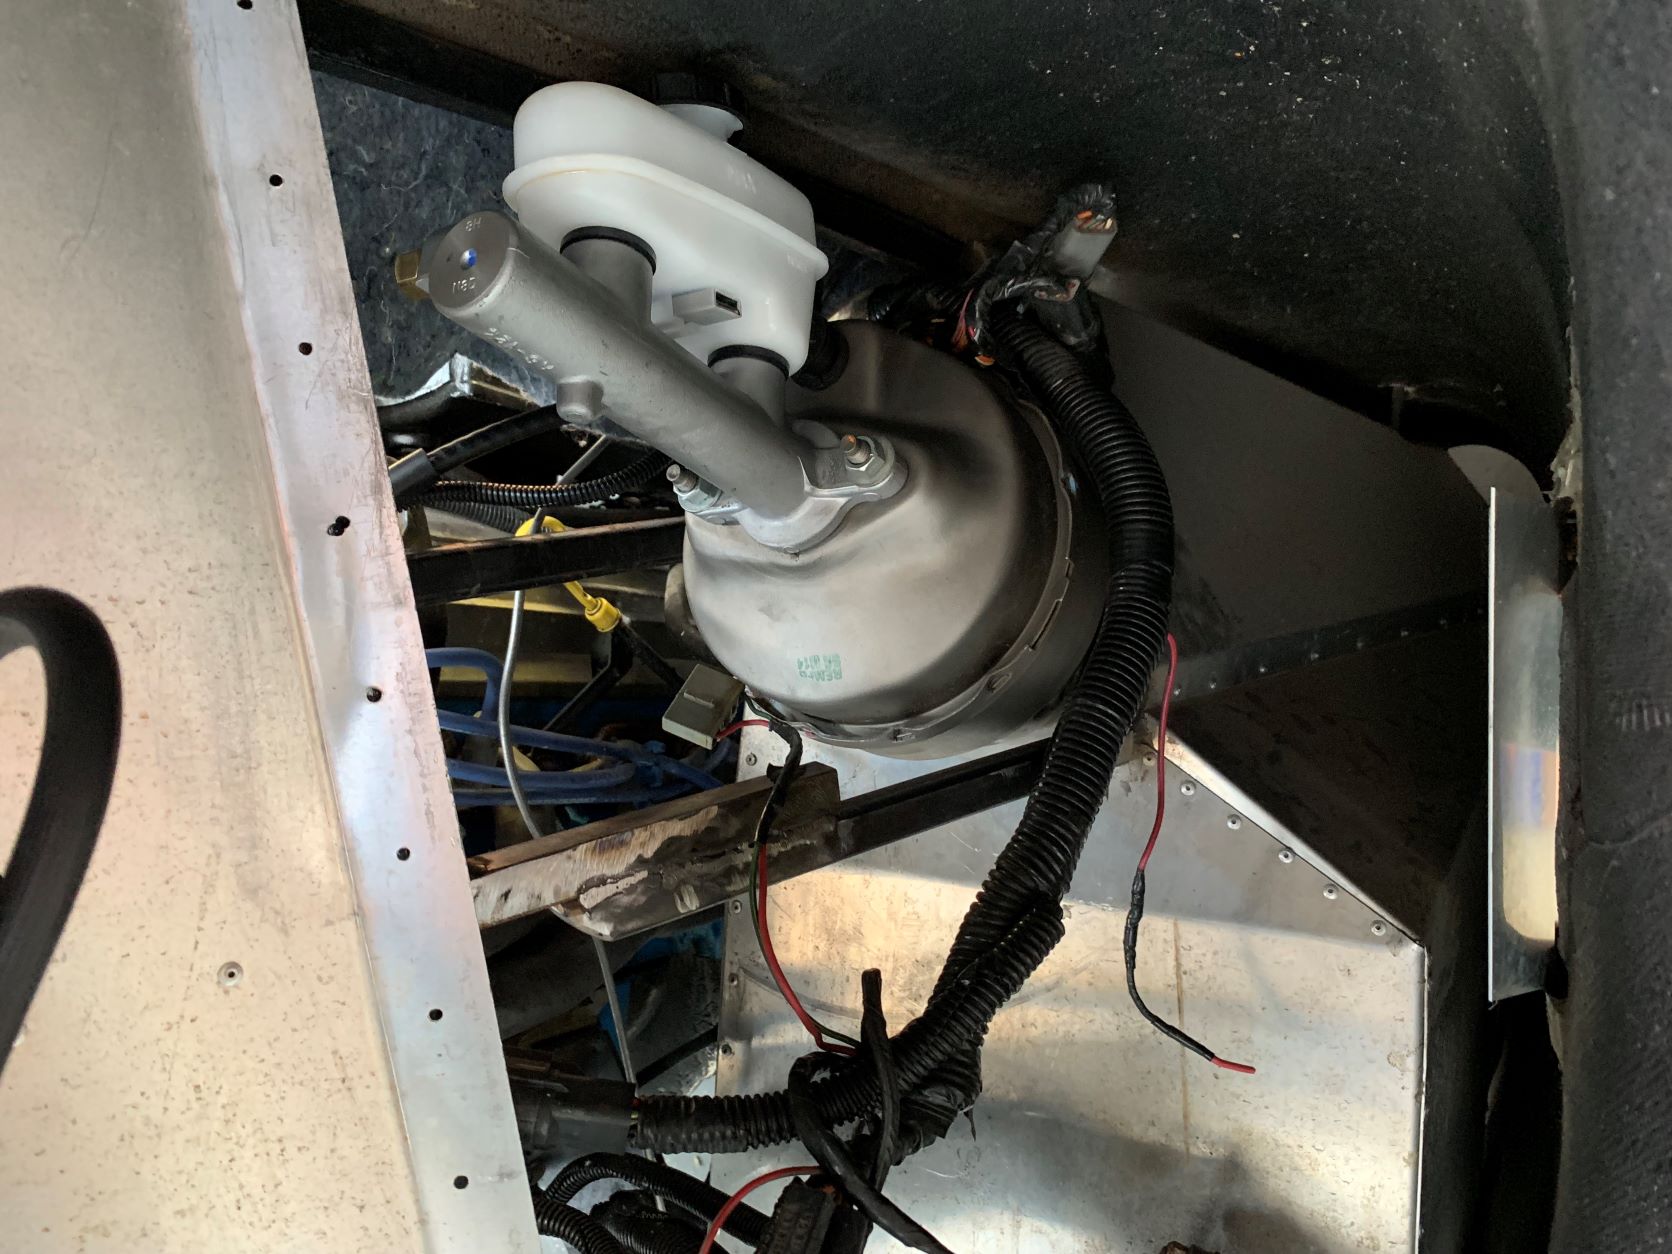
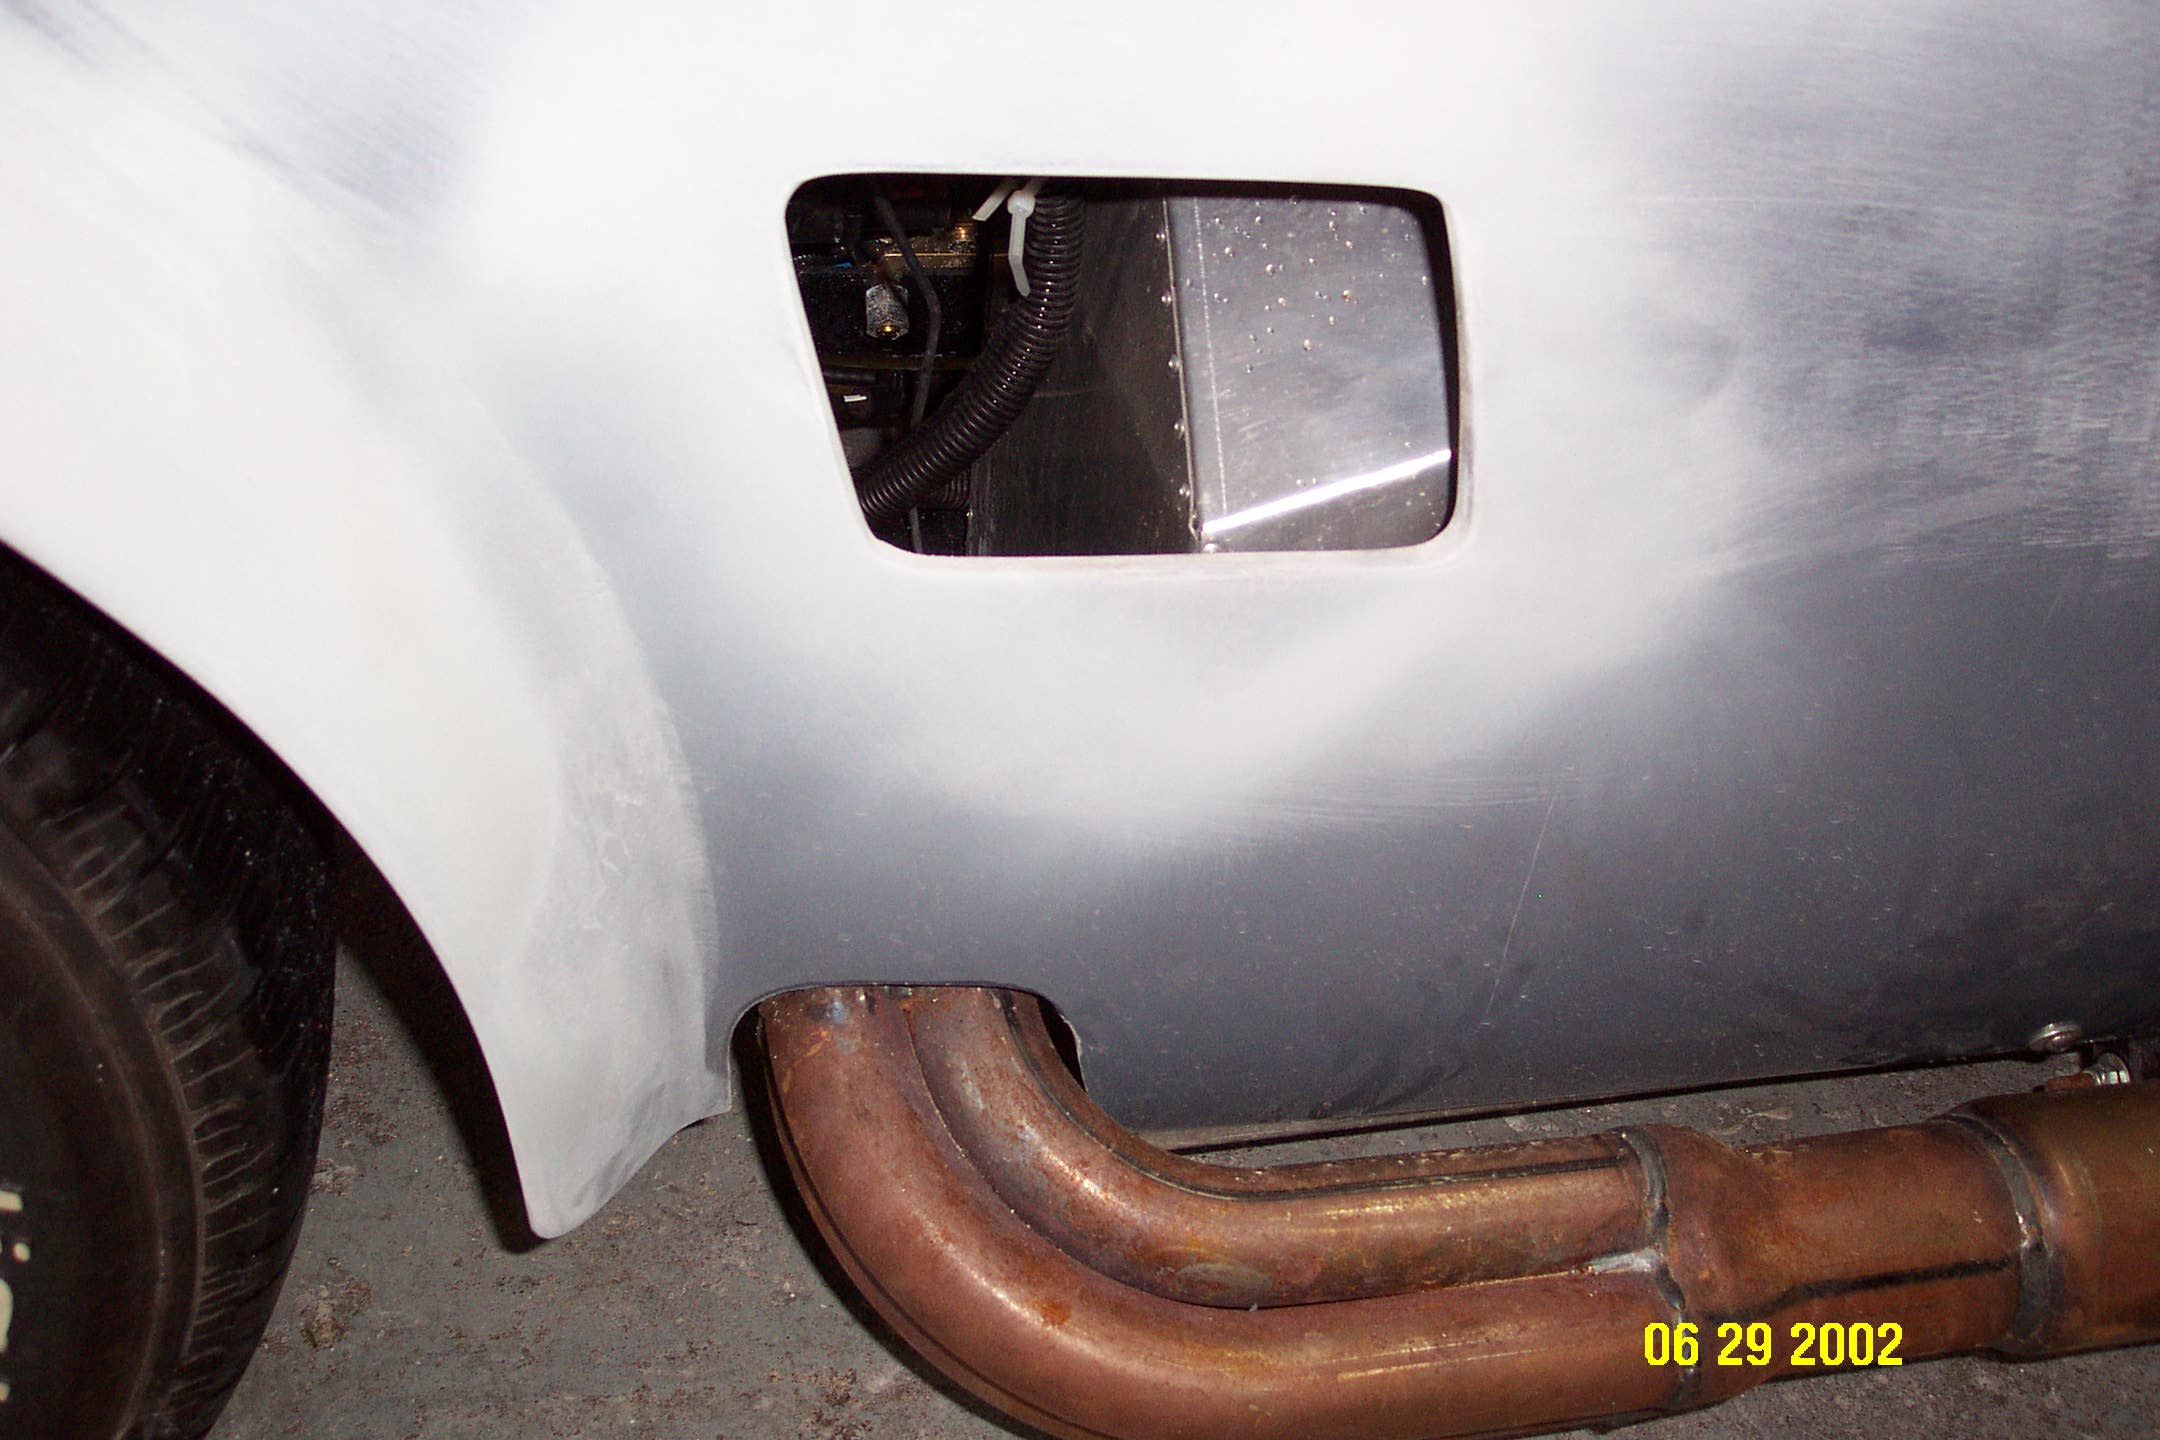
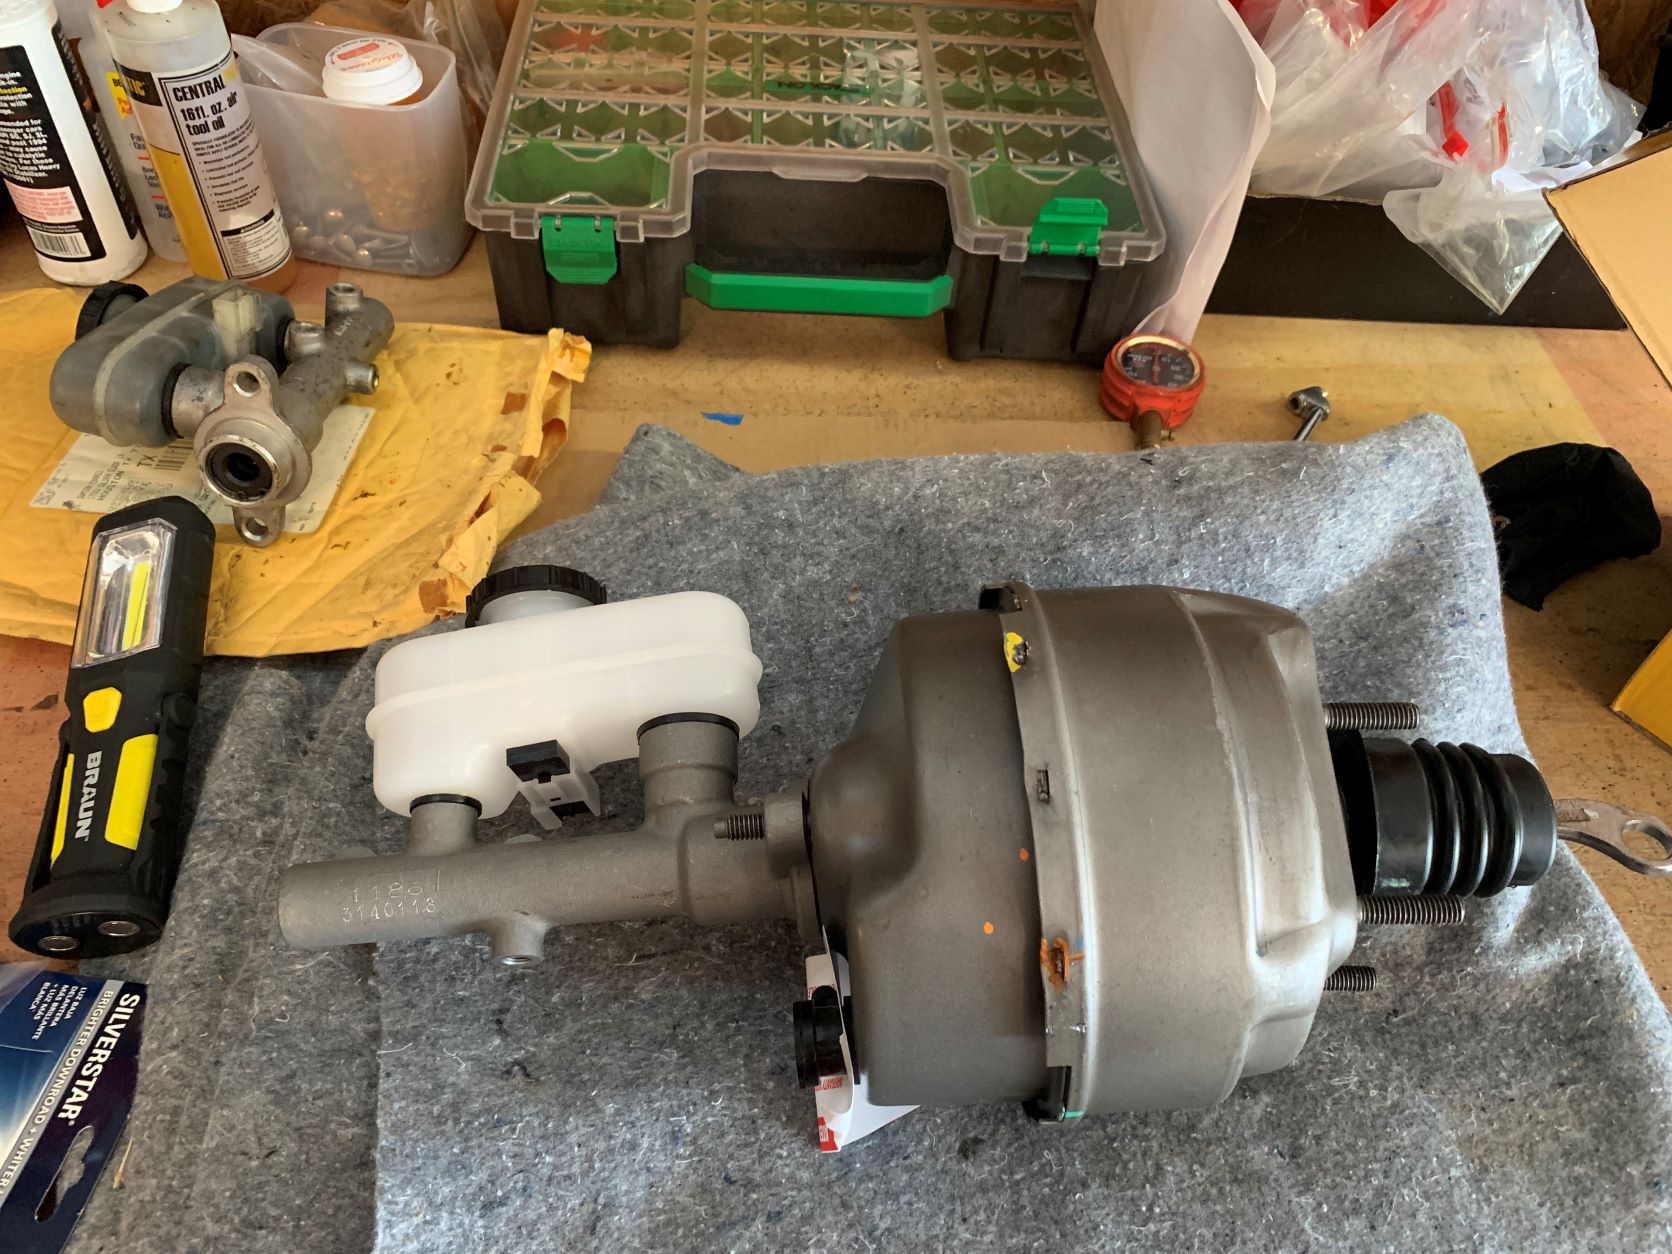
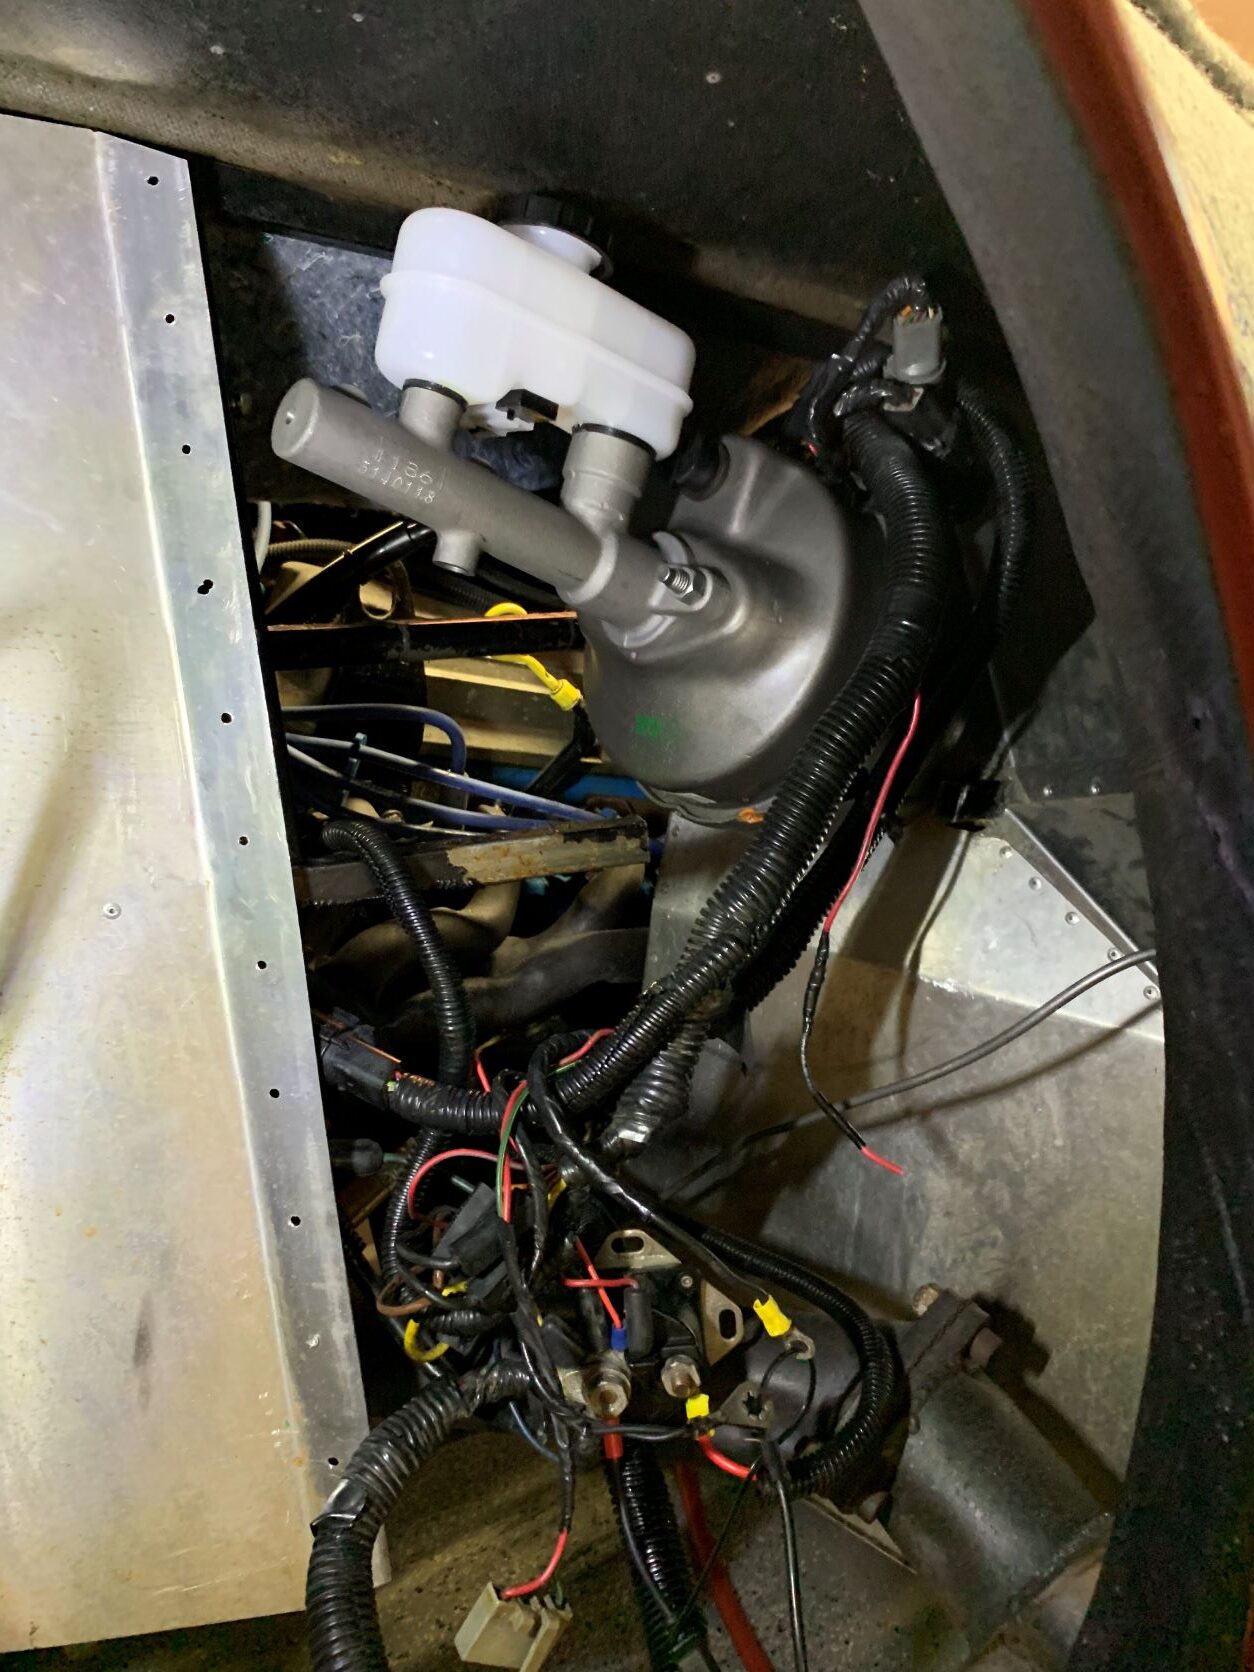
Finally we gave up and decided to install a vacuum powered system from a 1993 Mustang. Mechanically it is much simpler, but it is much larger and required modifications to the firewall and frame. All this work was done with the body in place by removing a small aluminum panel behind the front tire.

In order to install the new system, we had to make the opening larger and drill some new mounting holes. All this work was done with the body in place through a small opening behind the front tire. Not very fun. I don’t even want to talk about working under the dash to secure the nuts on the back of the power booster.


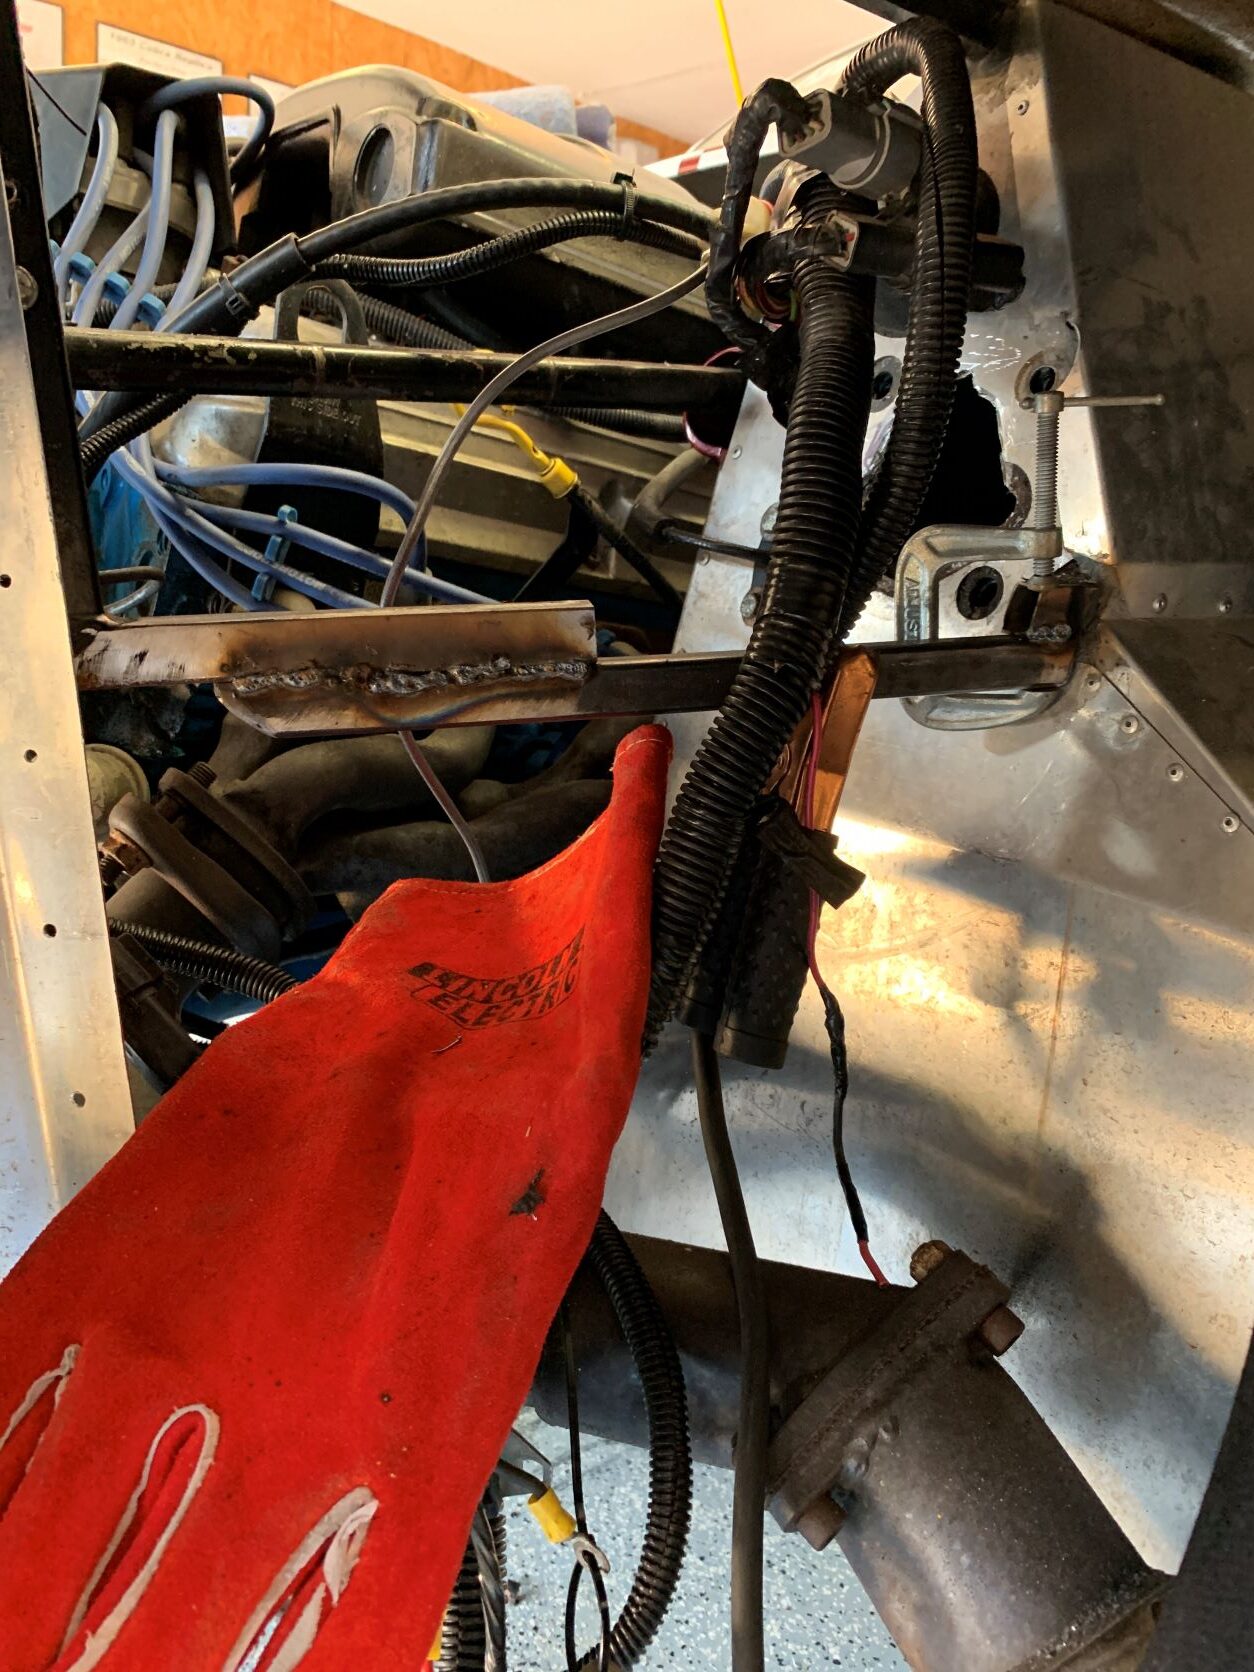
Here is the final installation of the brake booster and master cylinder after the support bracing is welded back in.