
The donor car was acquired in February 2002 and the vehicle was on the road and registered in August 2004. The stock engine was rebuilt with several upgrades to increase power. The brake system was upgraded to 5 lug disc brakes on all four wheels. The majority of the suspension is stock Mustang, but modified to utilize adjustable coil over shocks.
2002 Donor Tear Down
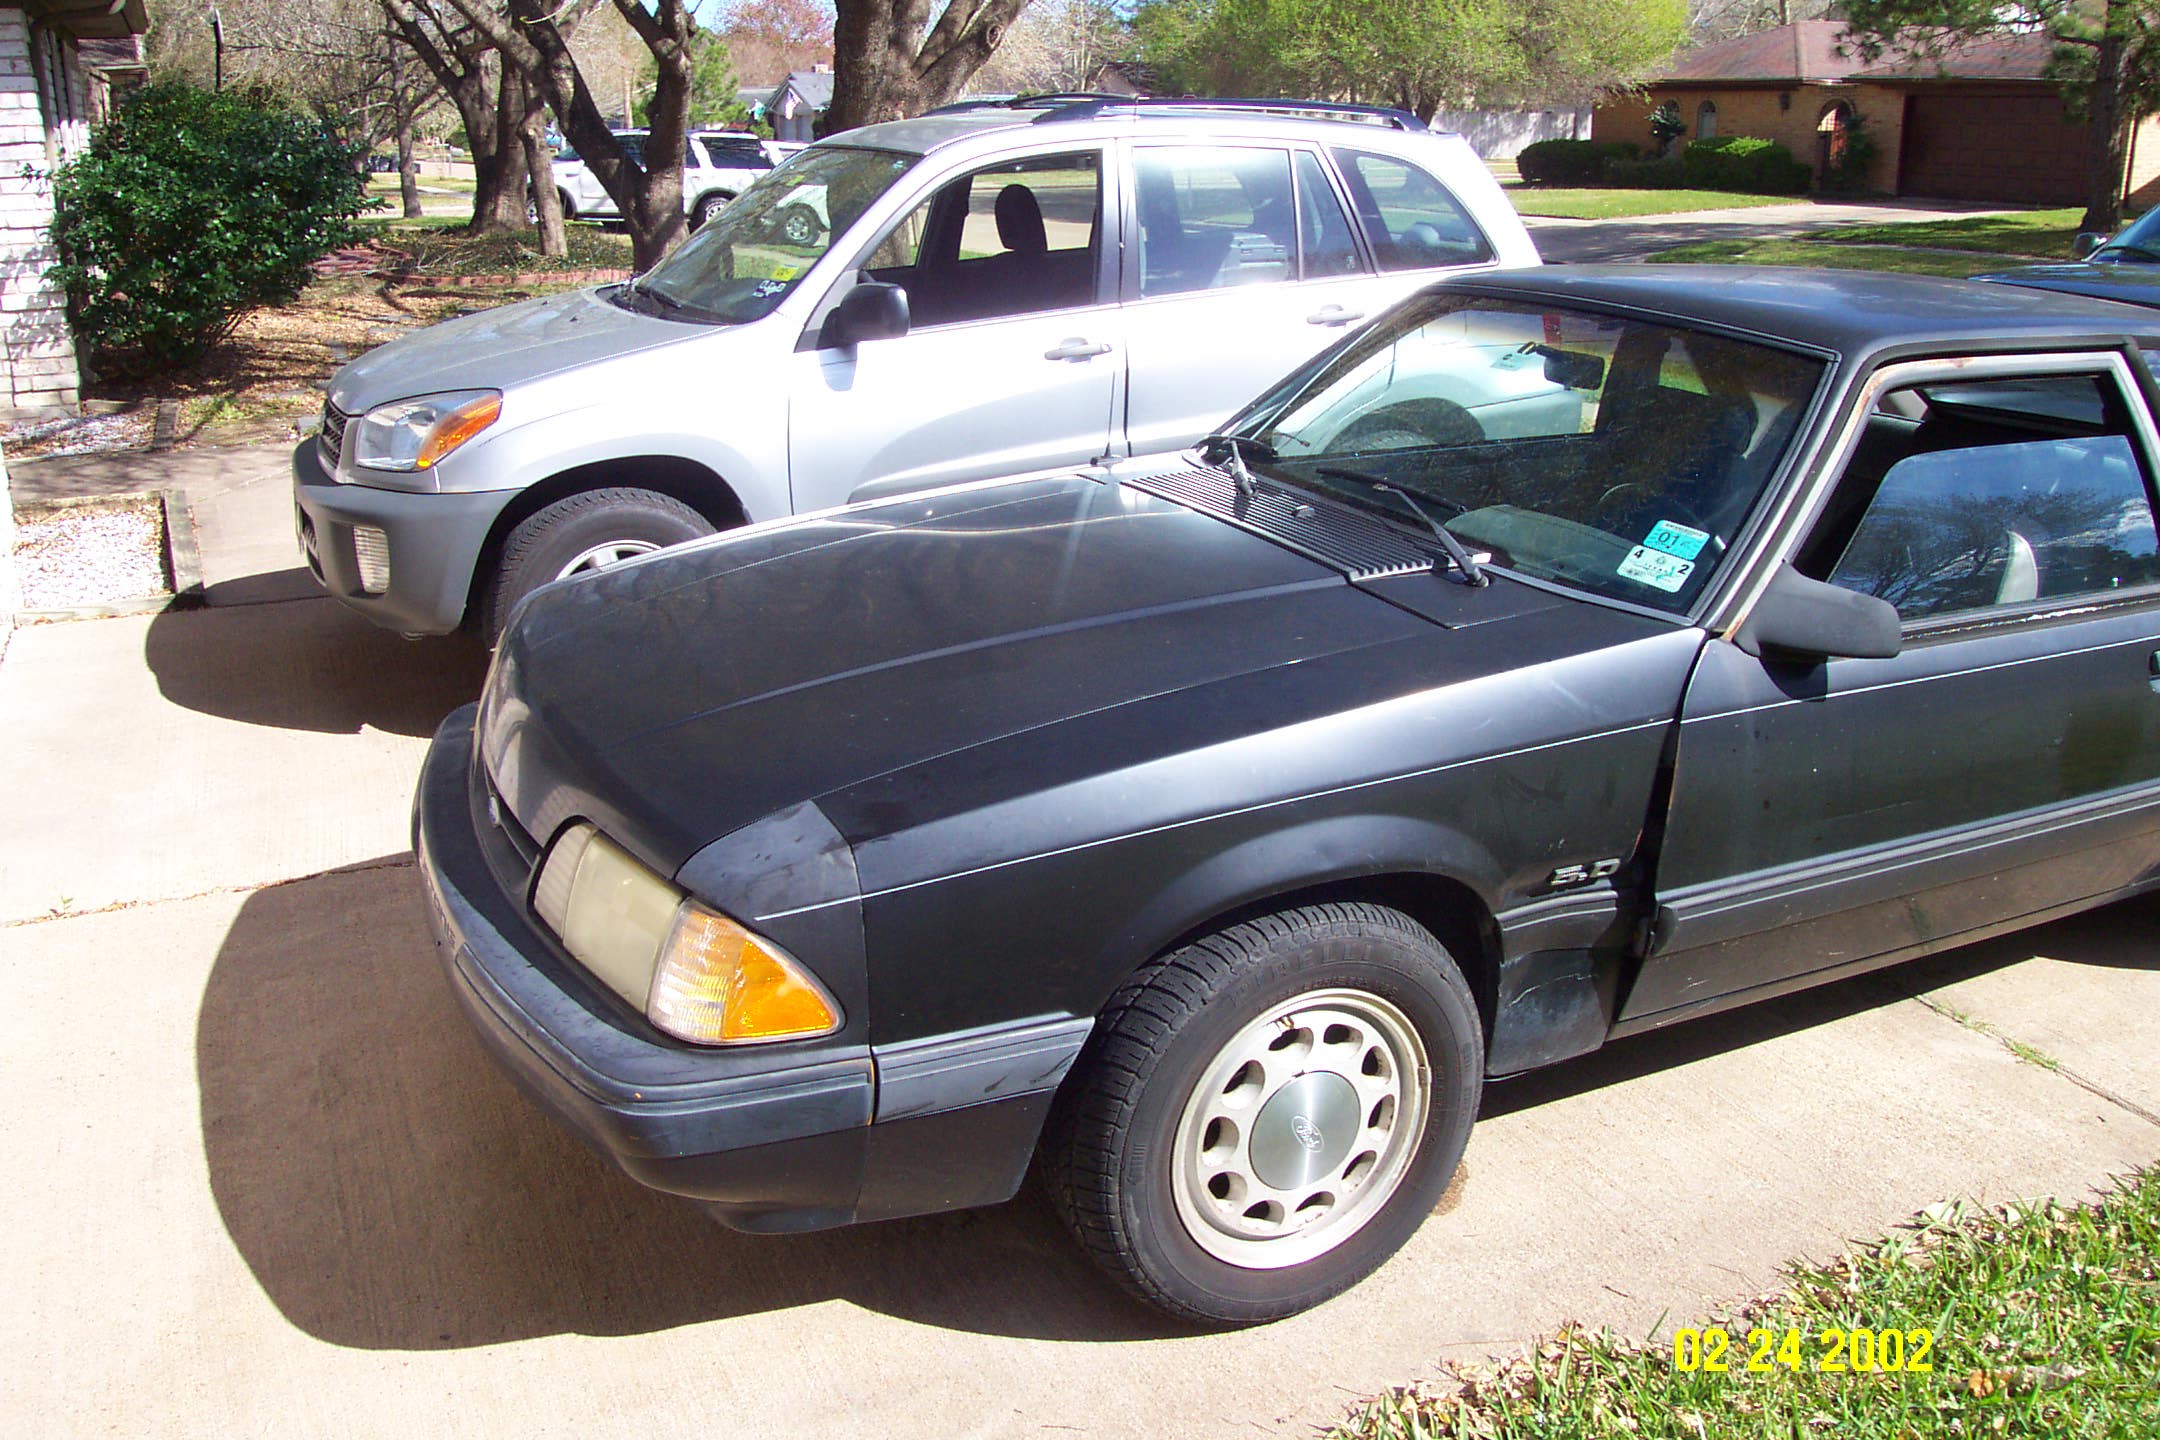
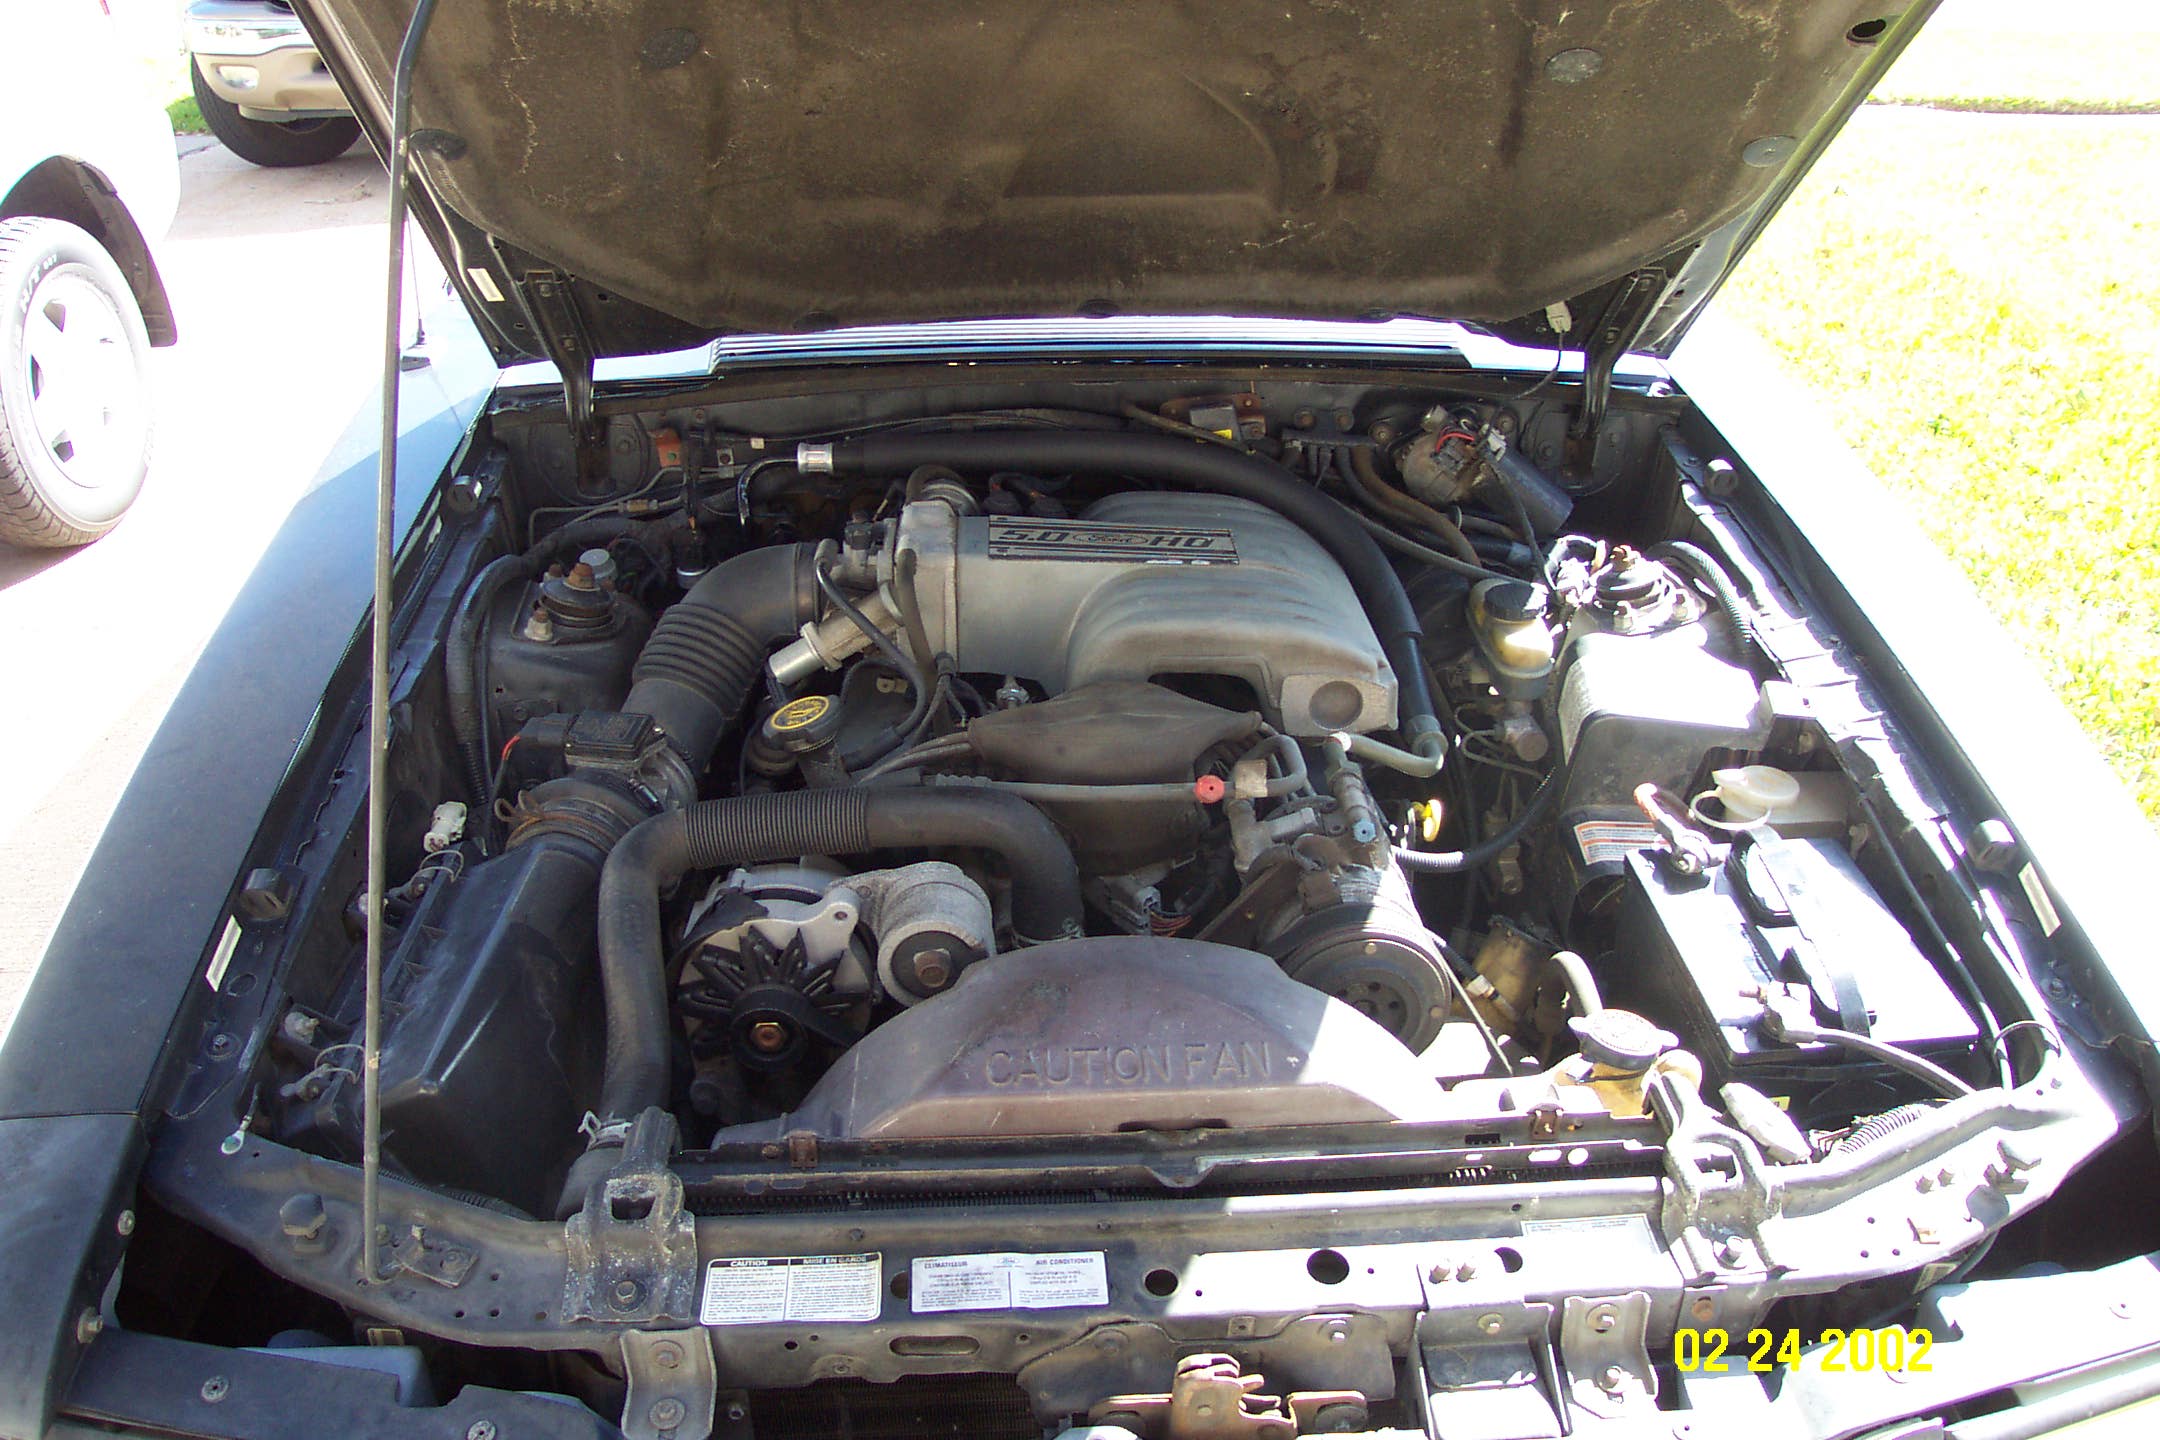
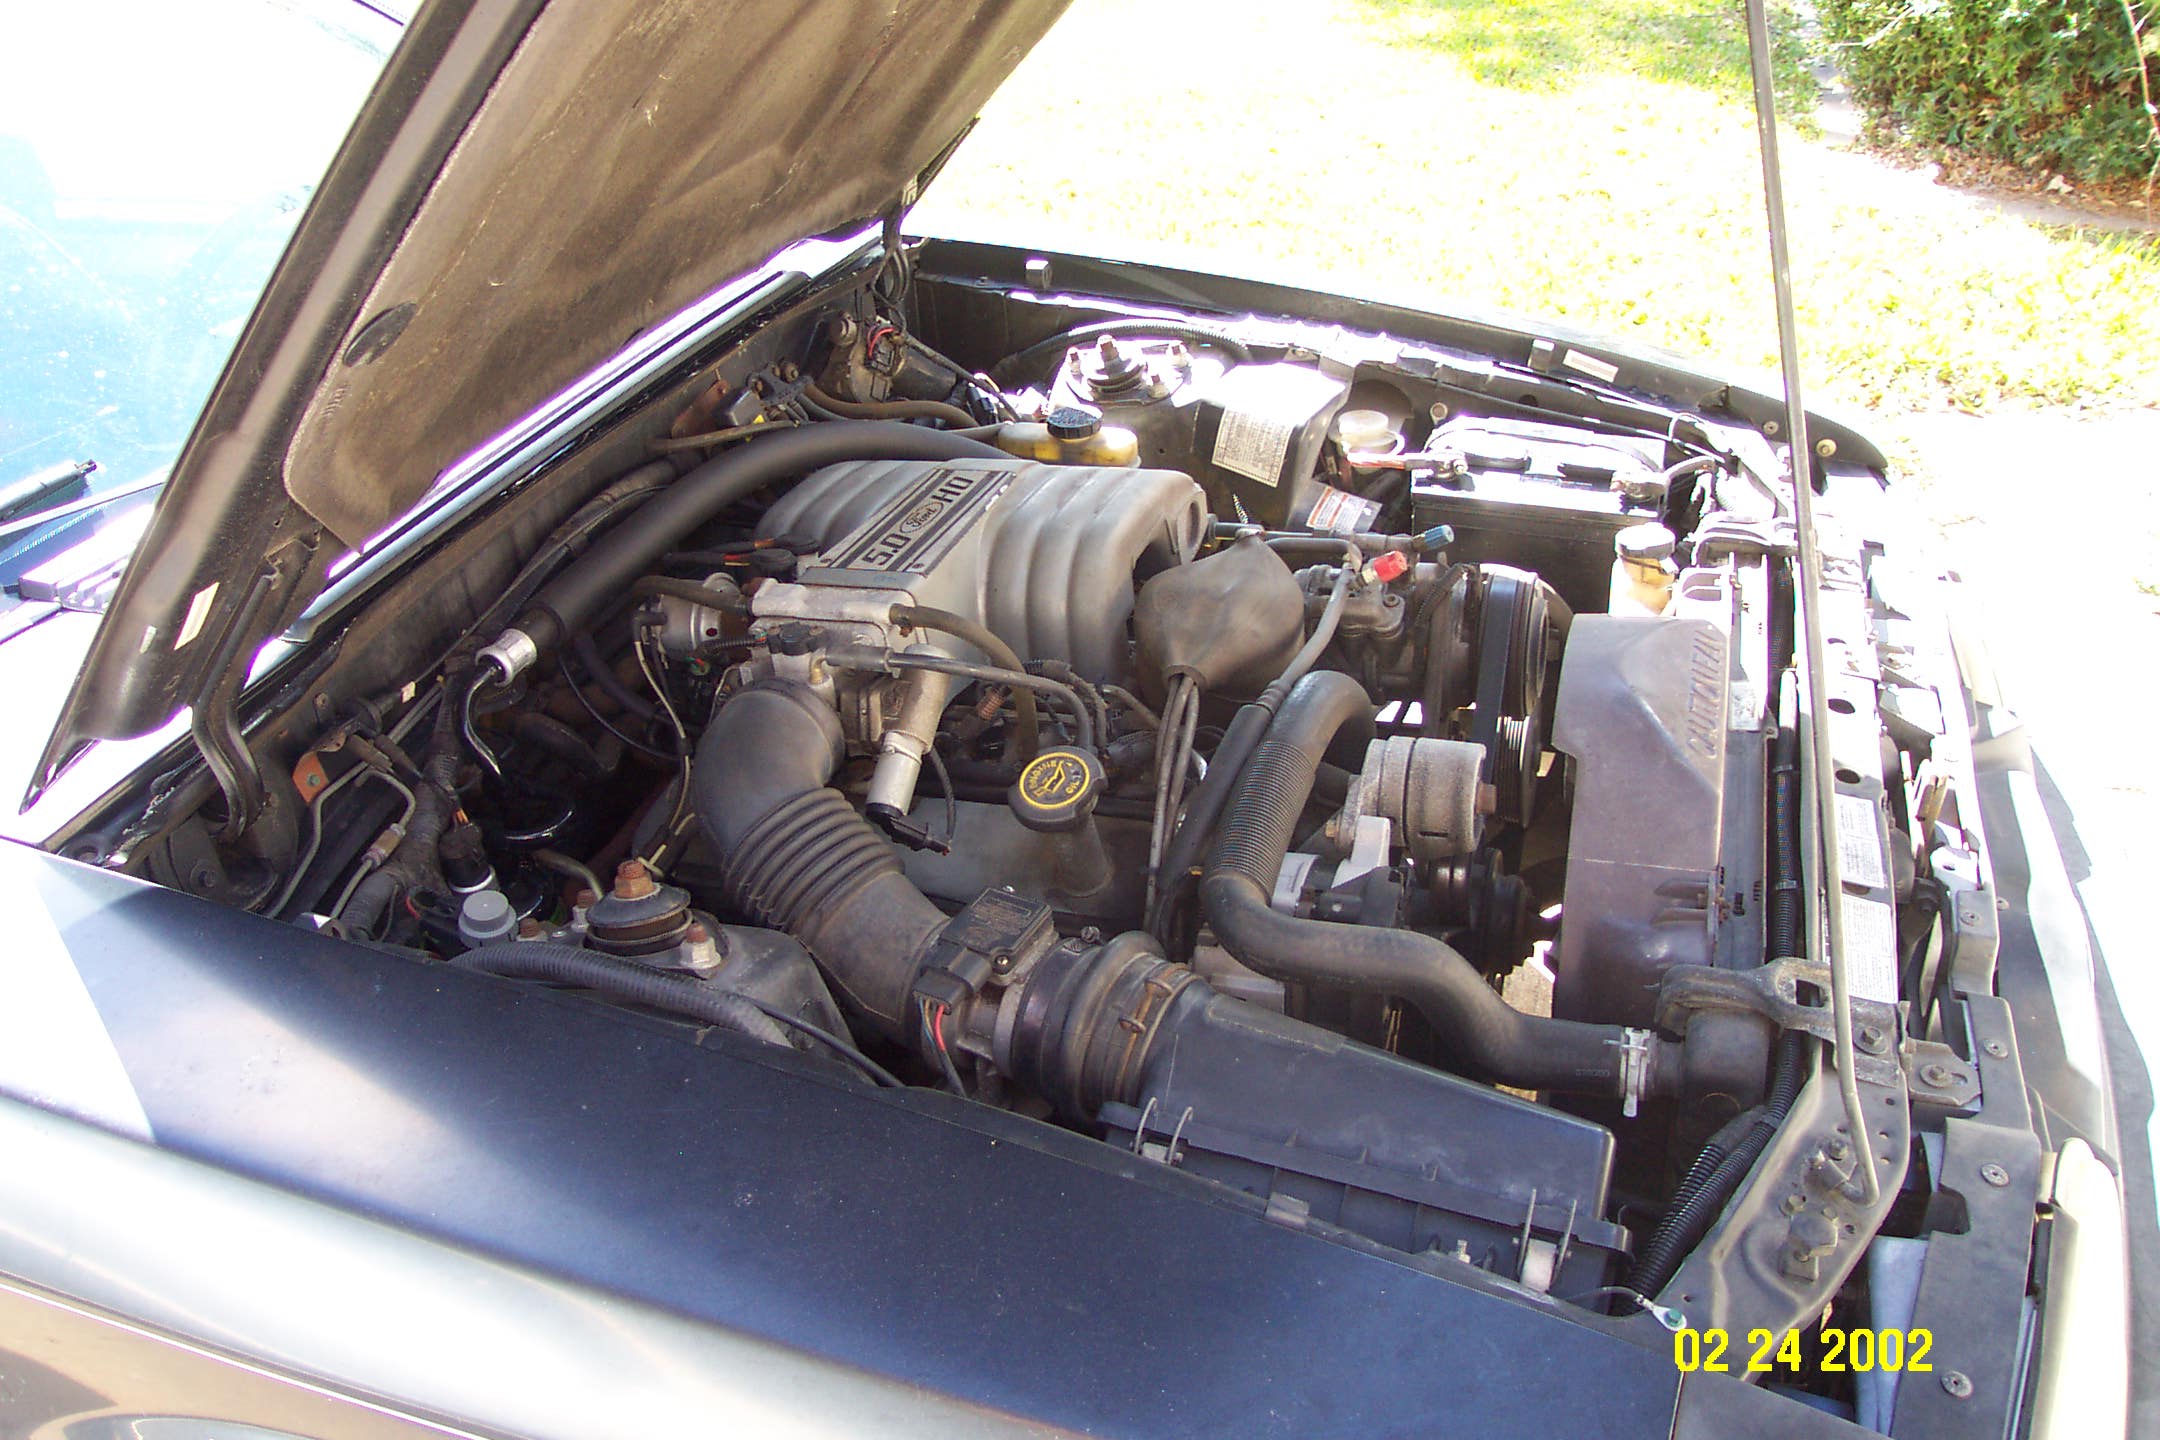
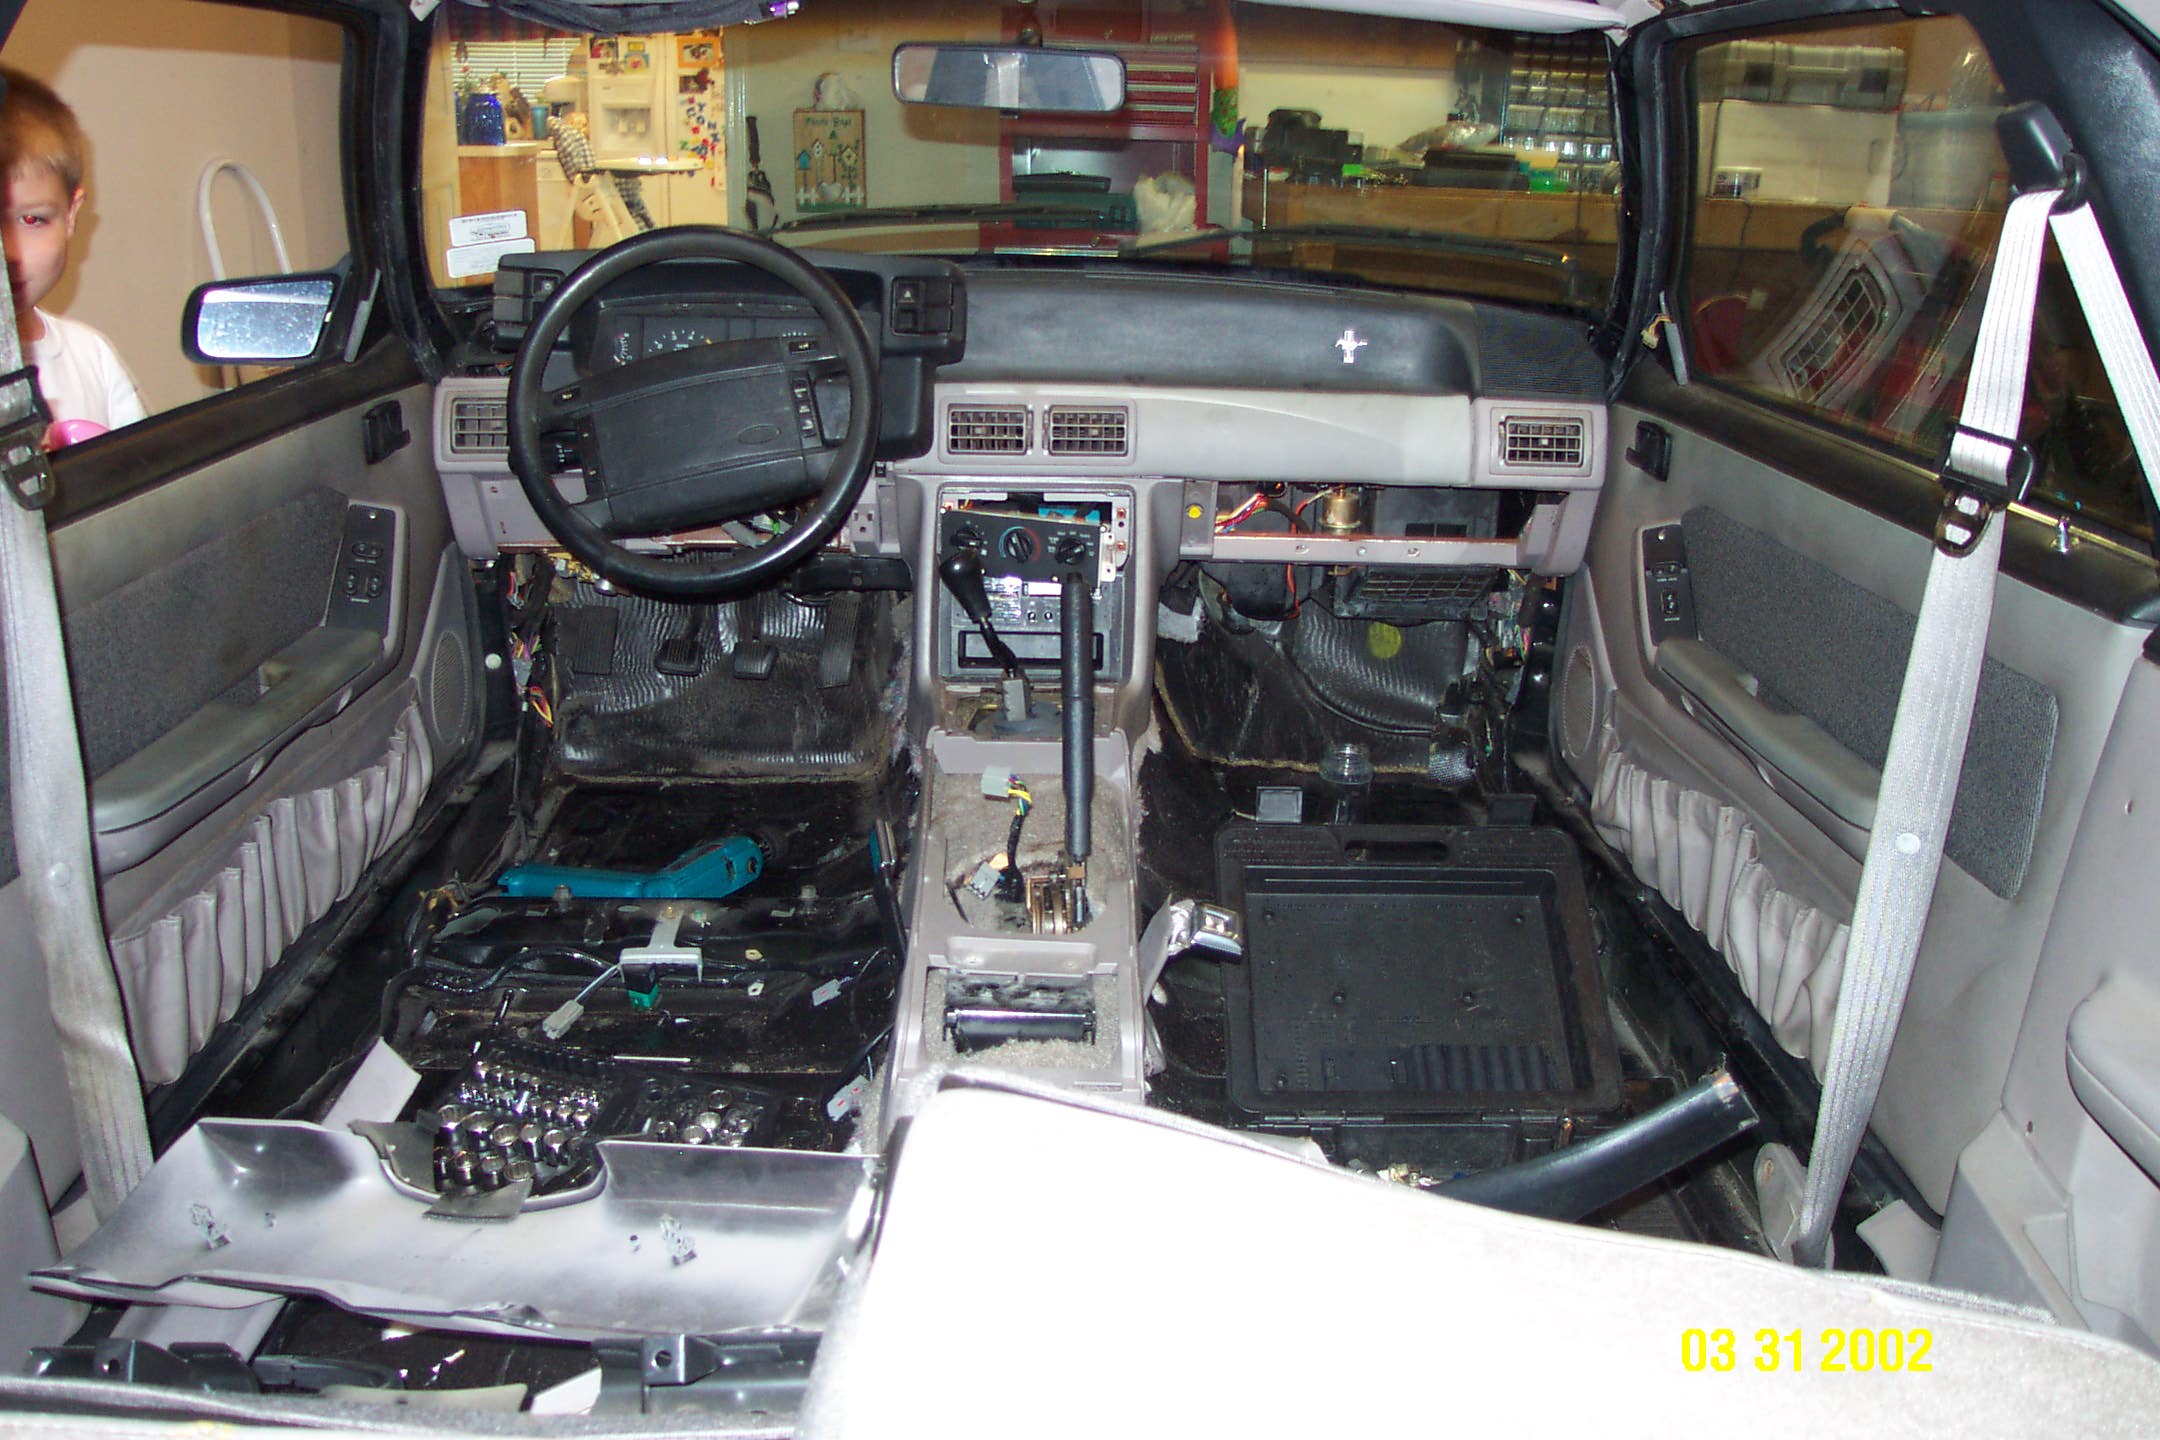
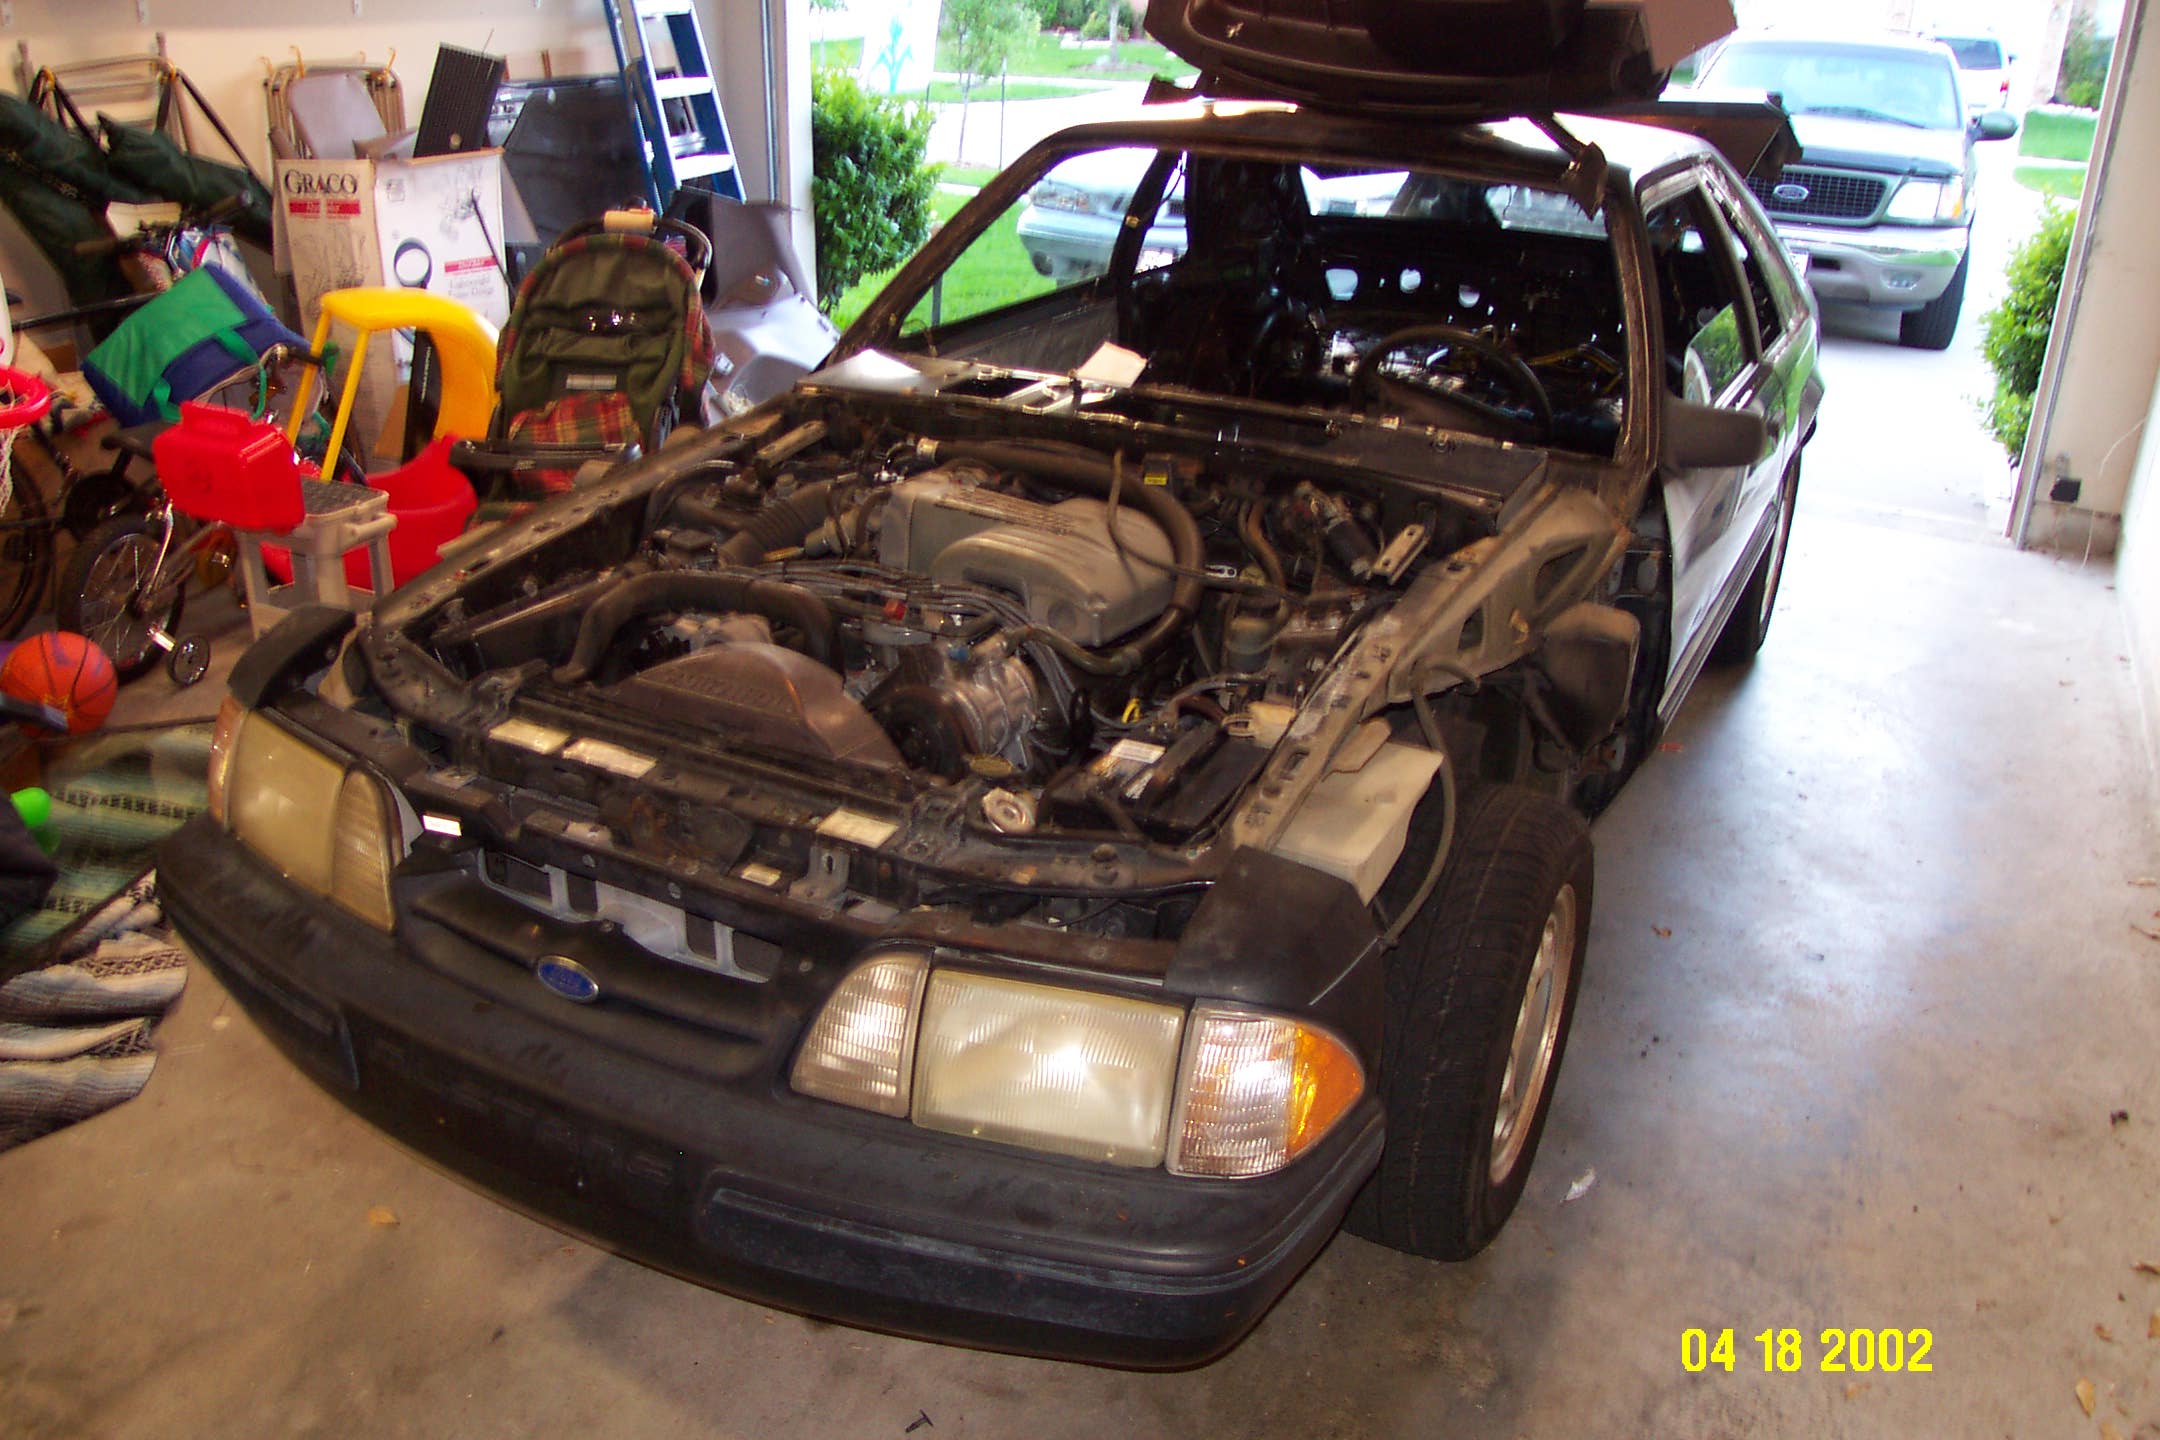
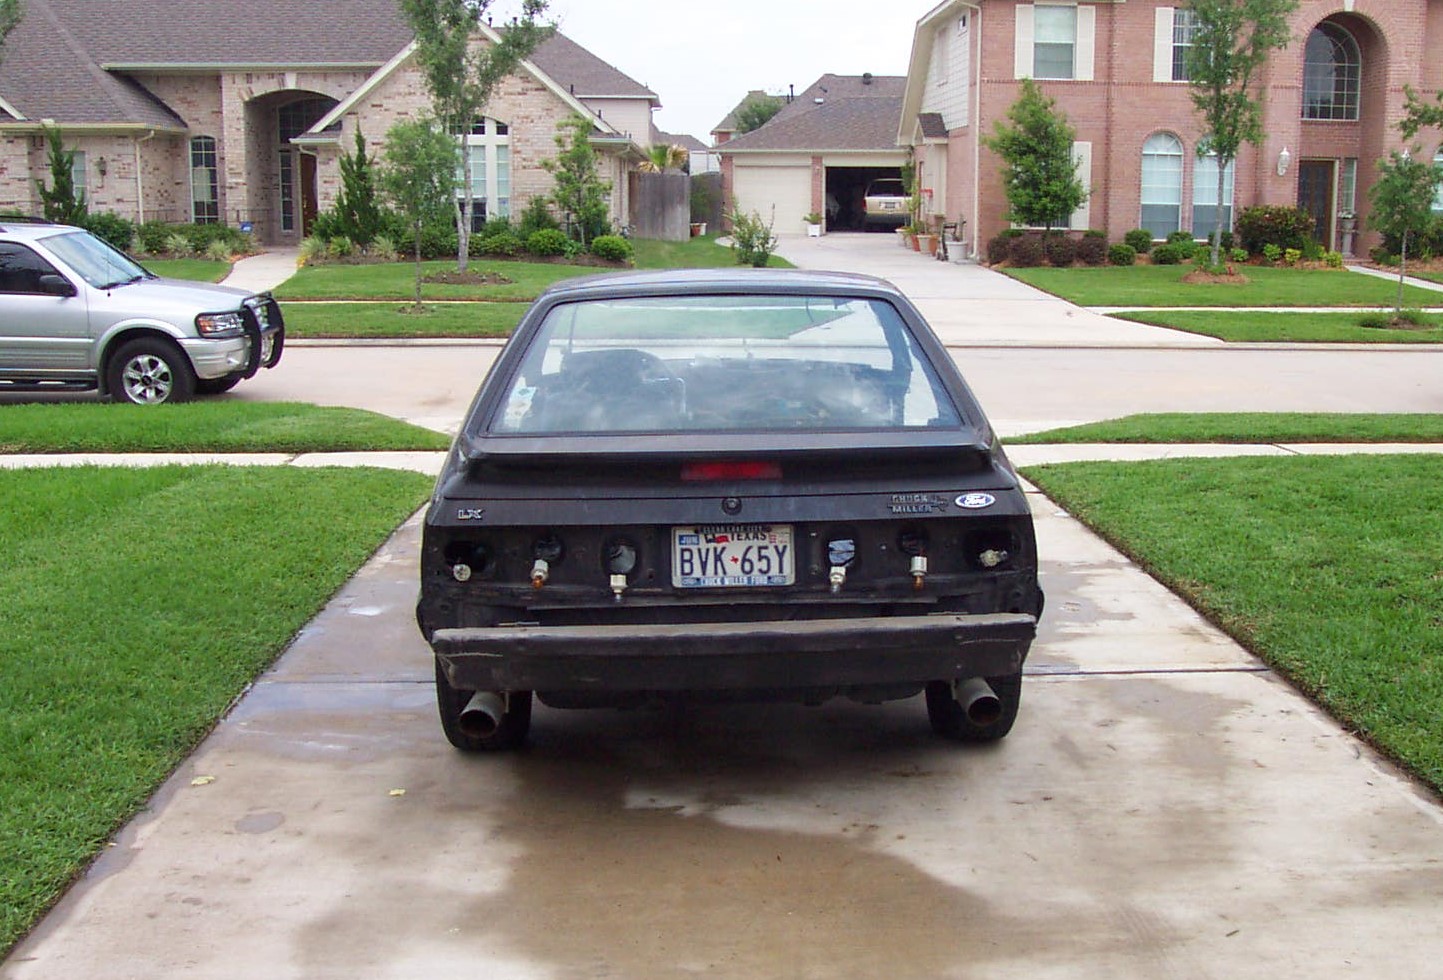
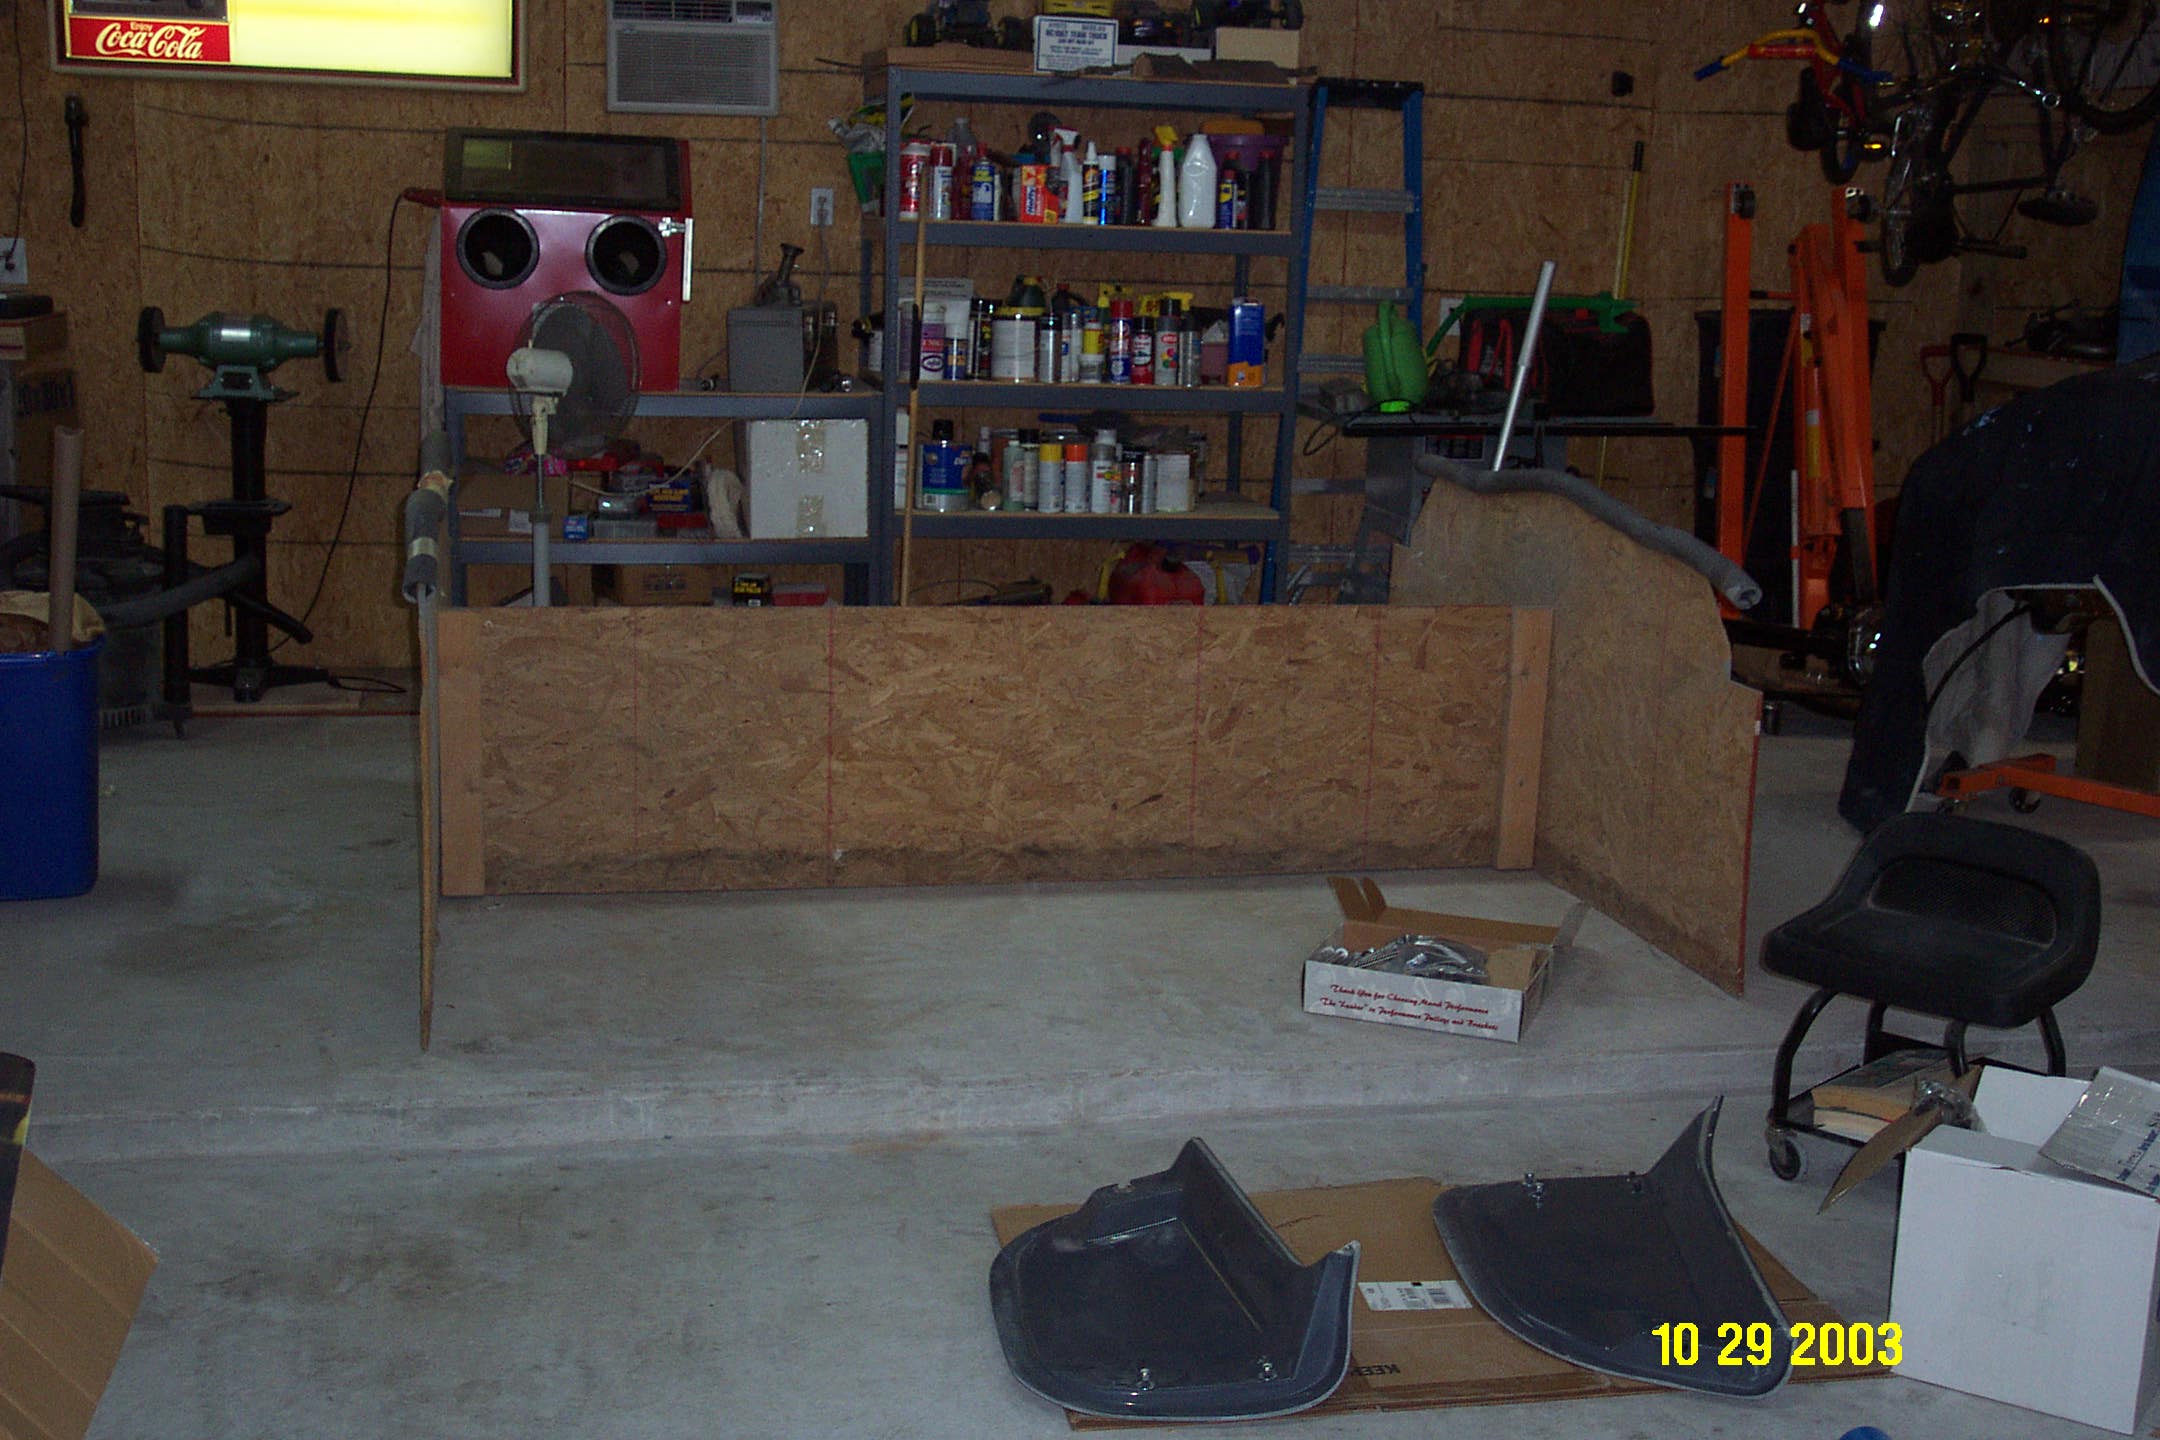
Here are some pictures of my donor. It had been in a couple of small accidents, but nothing major and I was able to drive it home with no problems. The interior had a small problem with an exploded Coke, but most of it came off the parts I was able to sell.
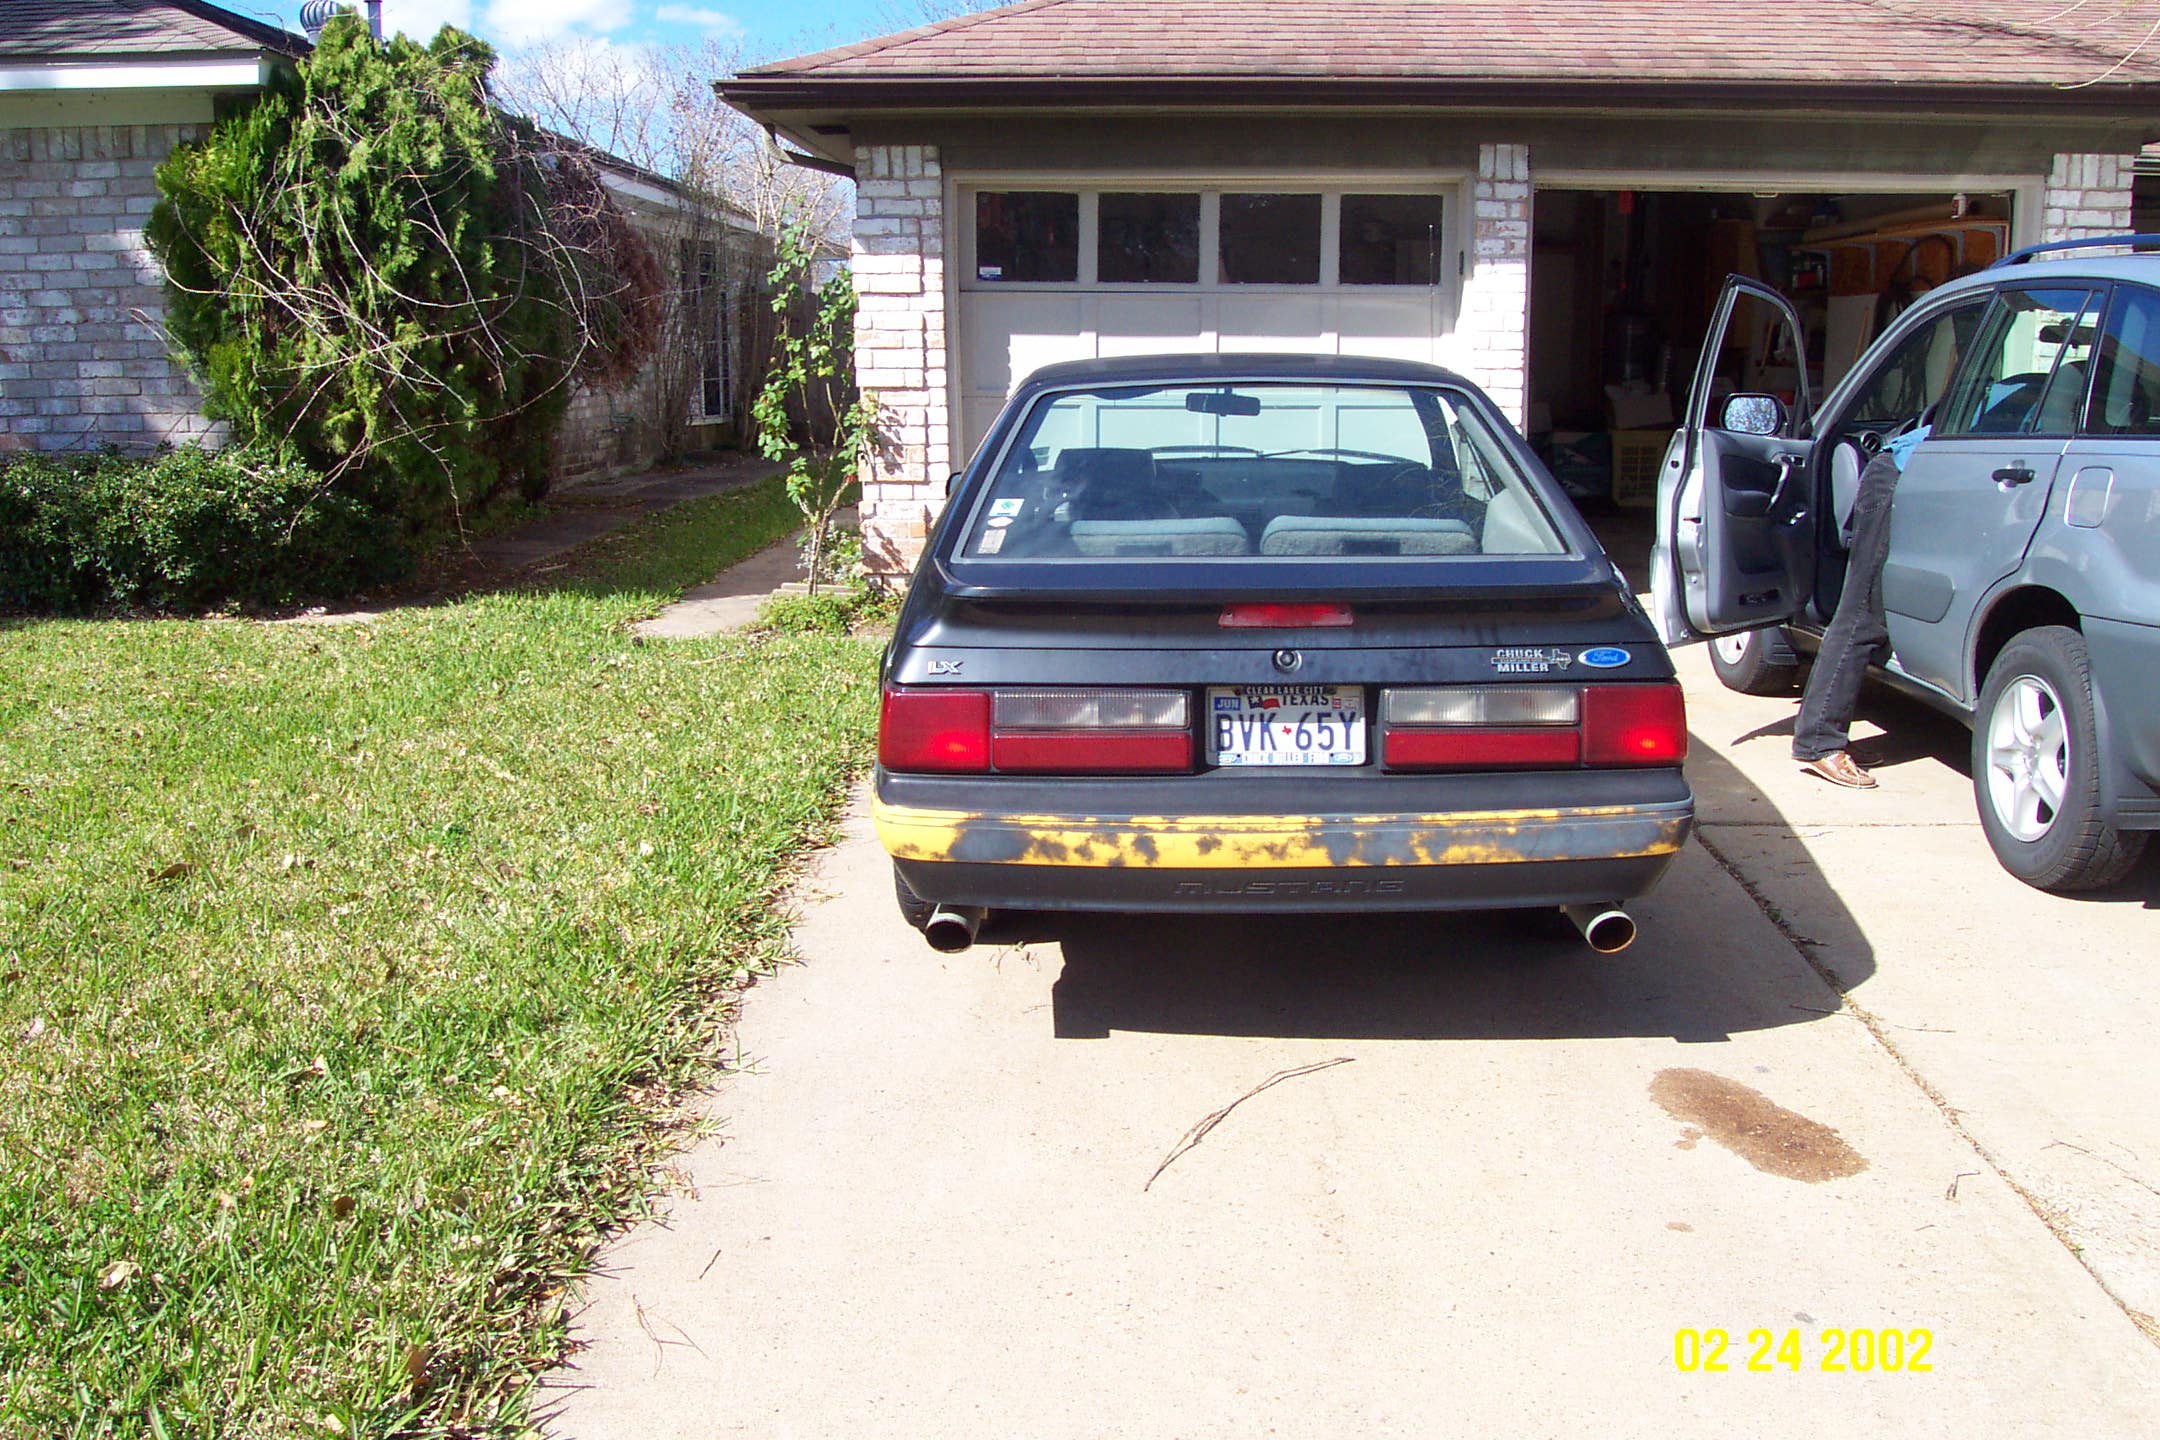
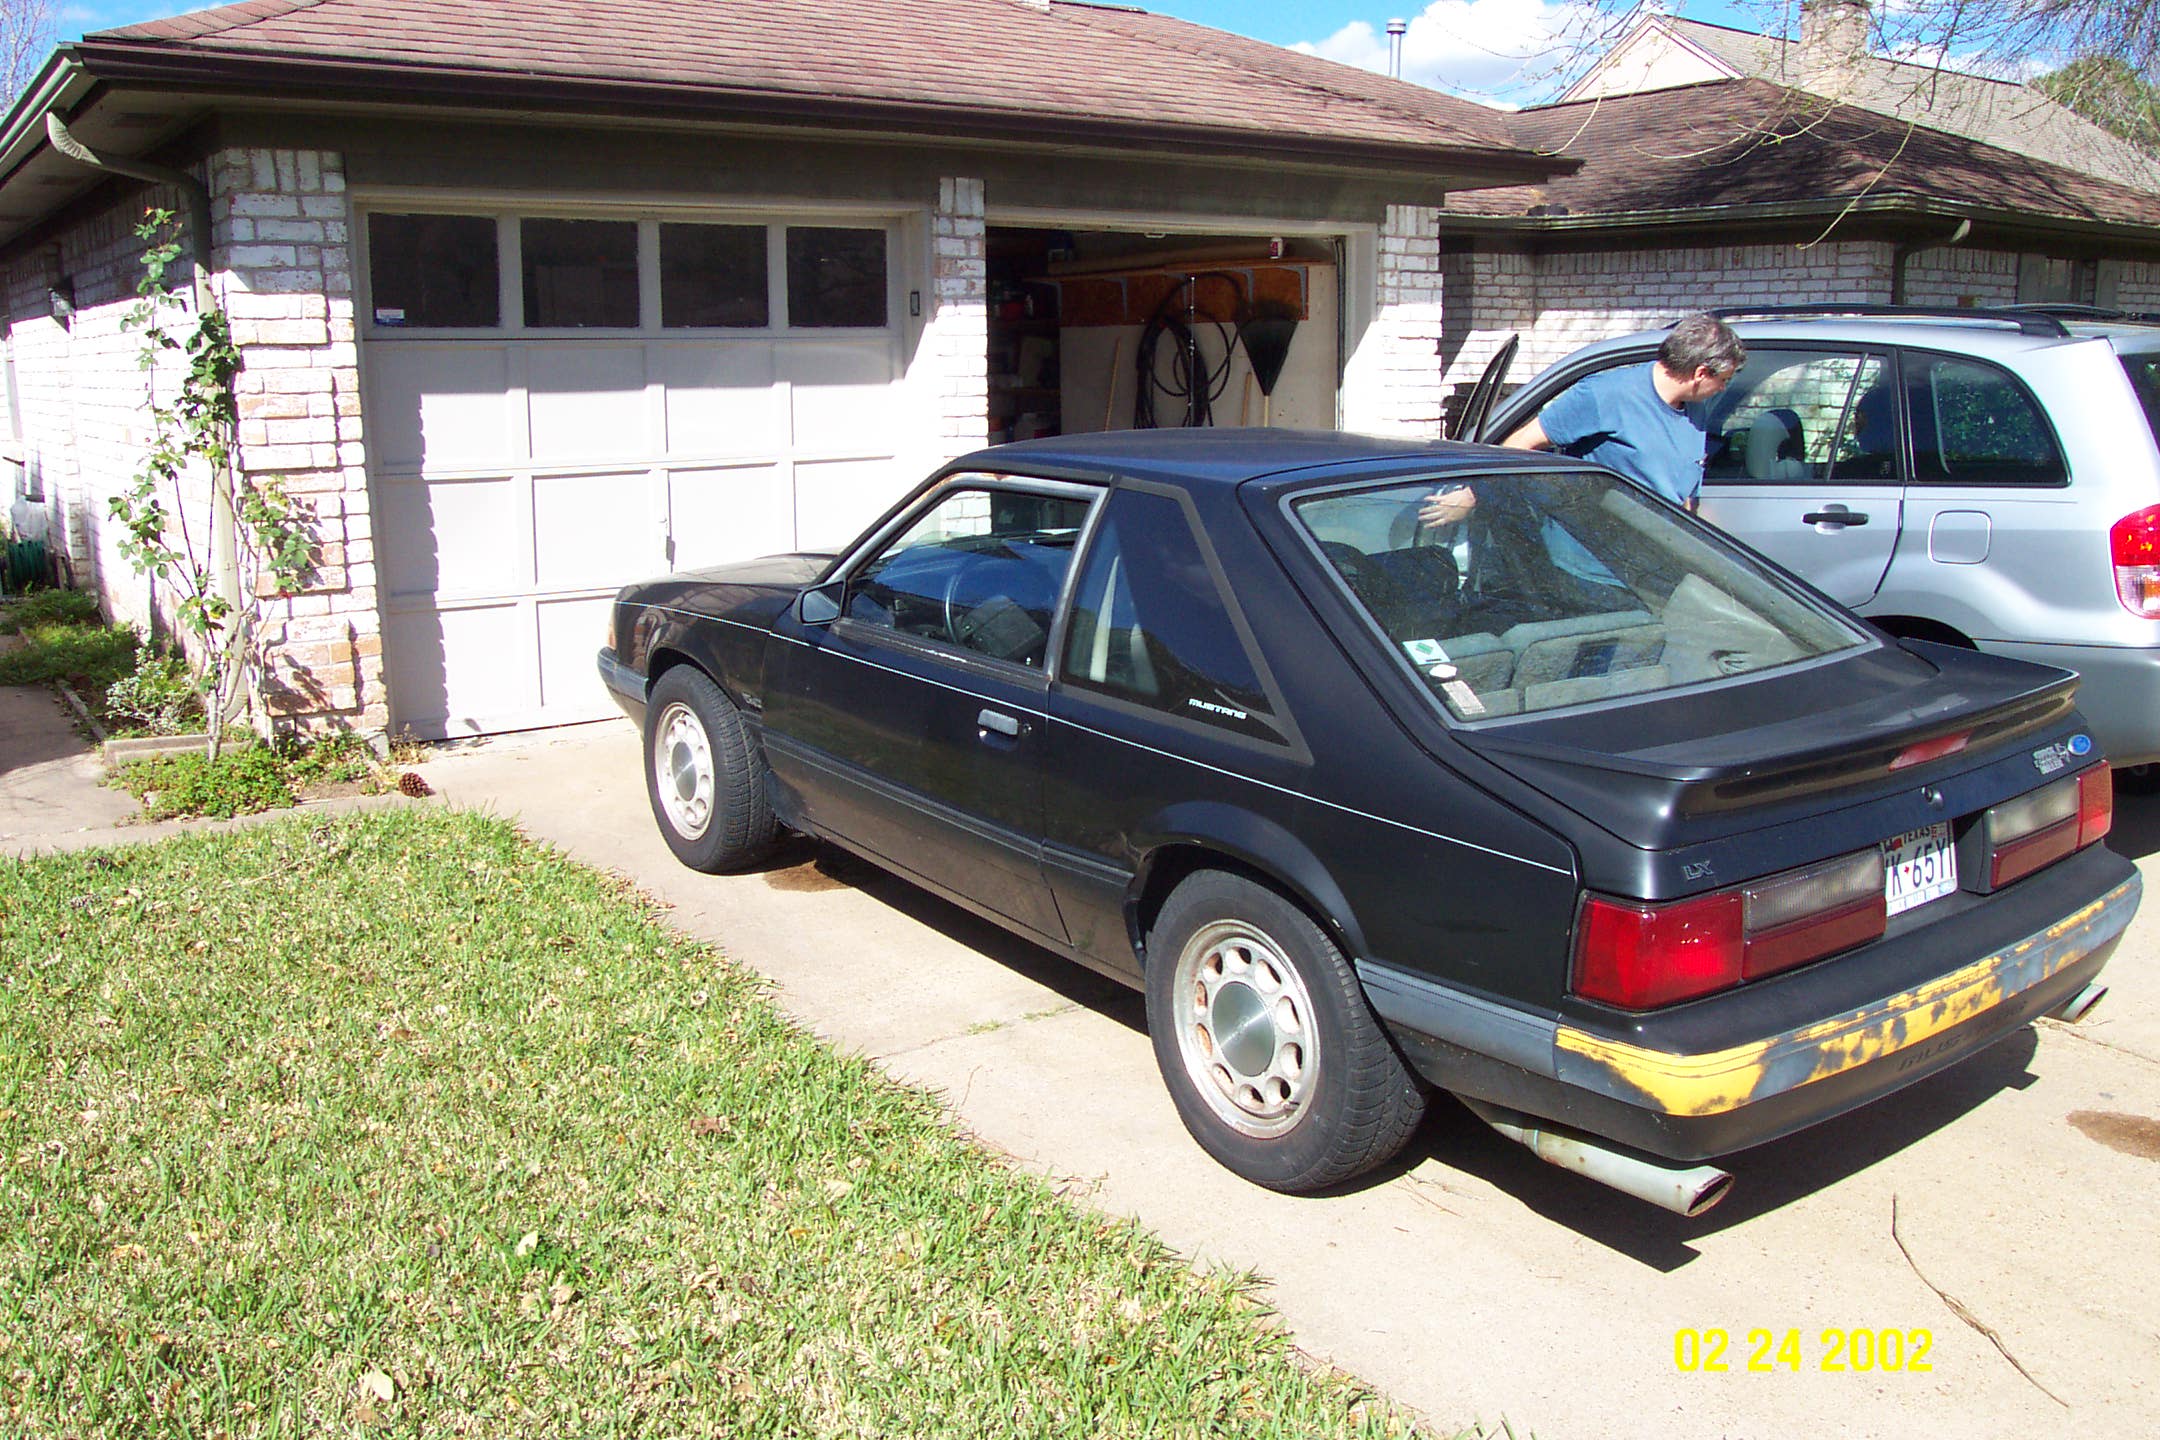
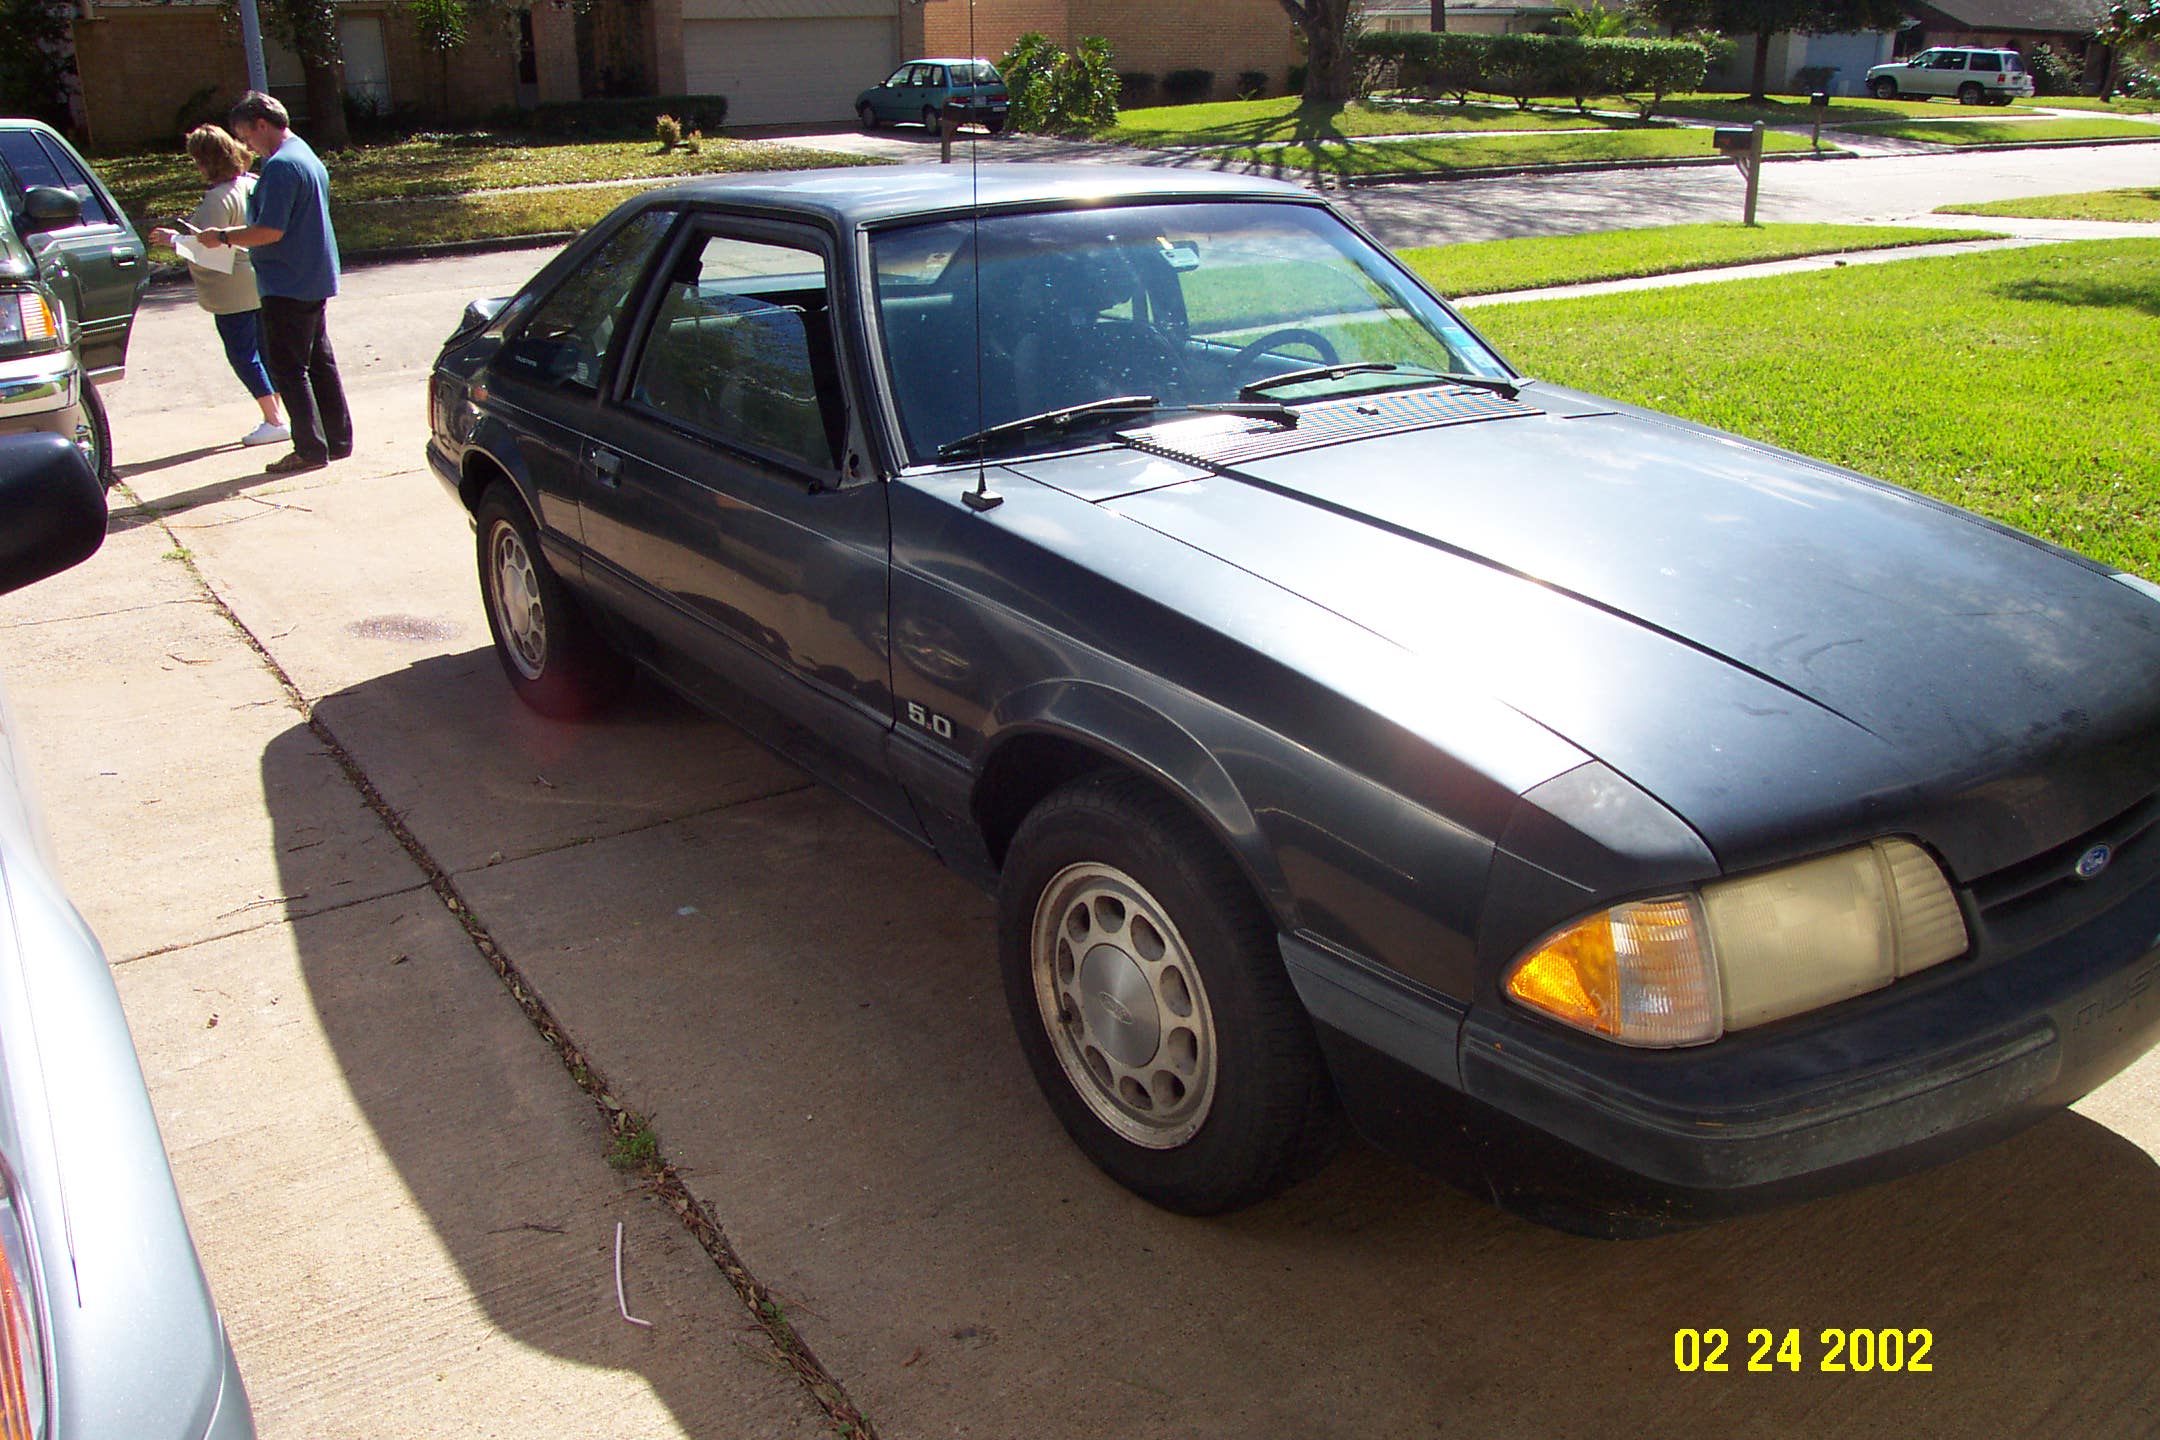
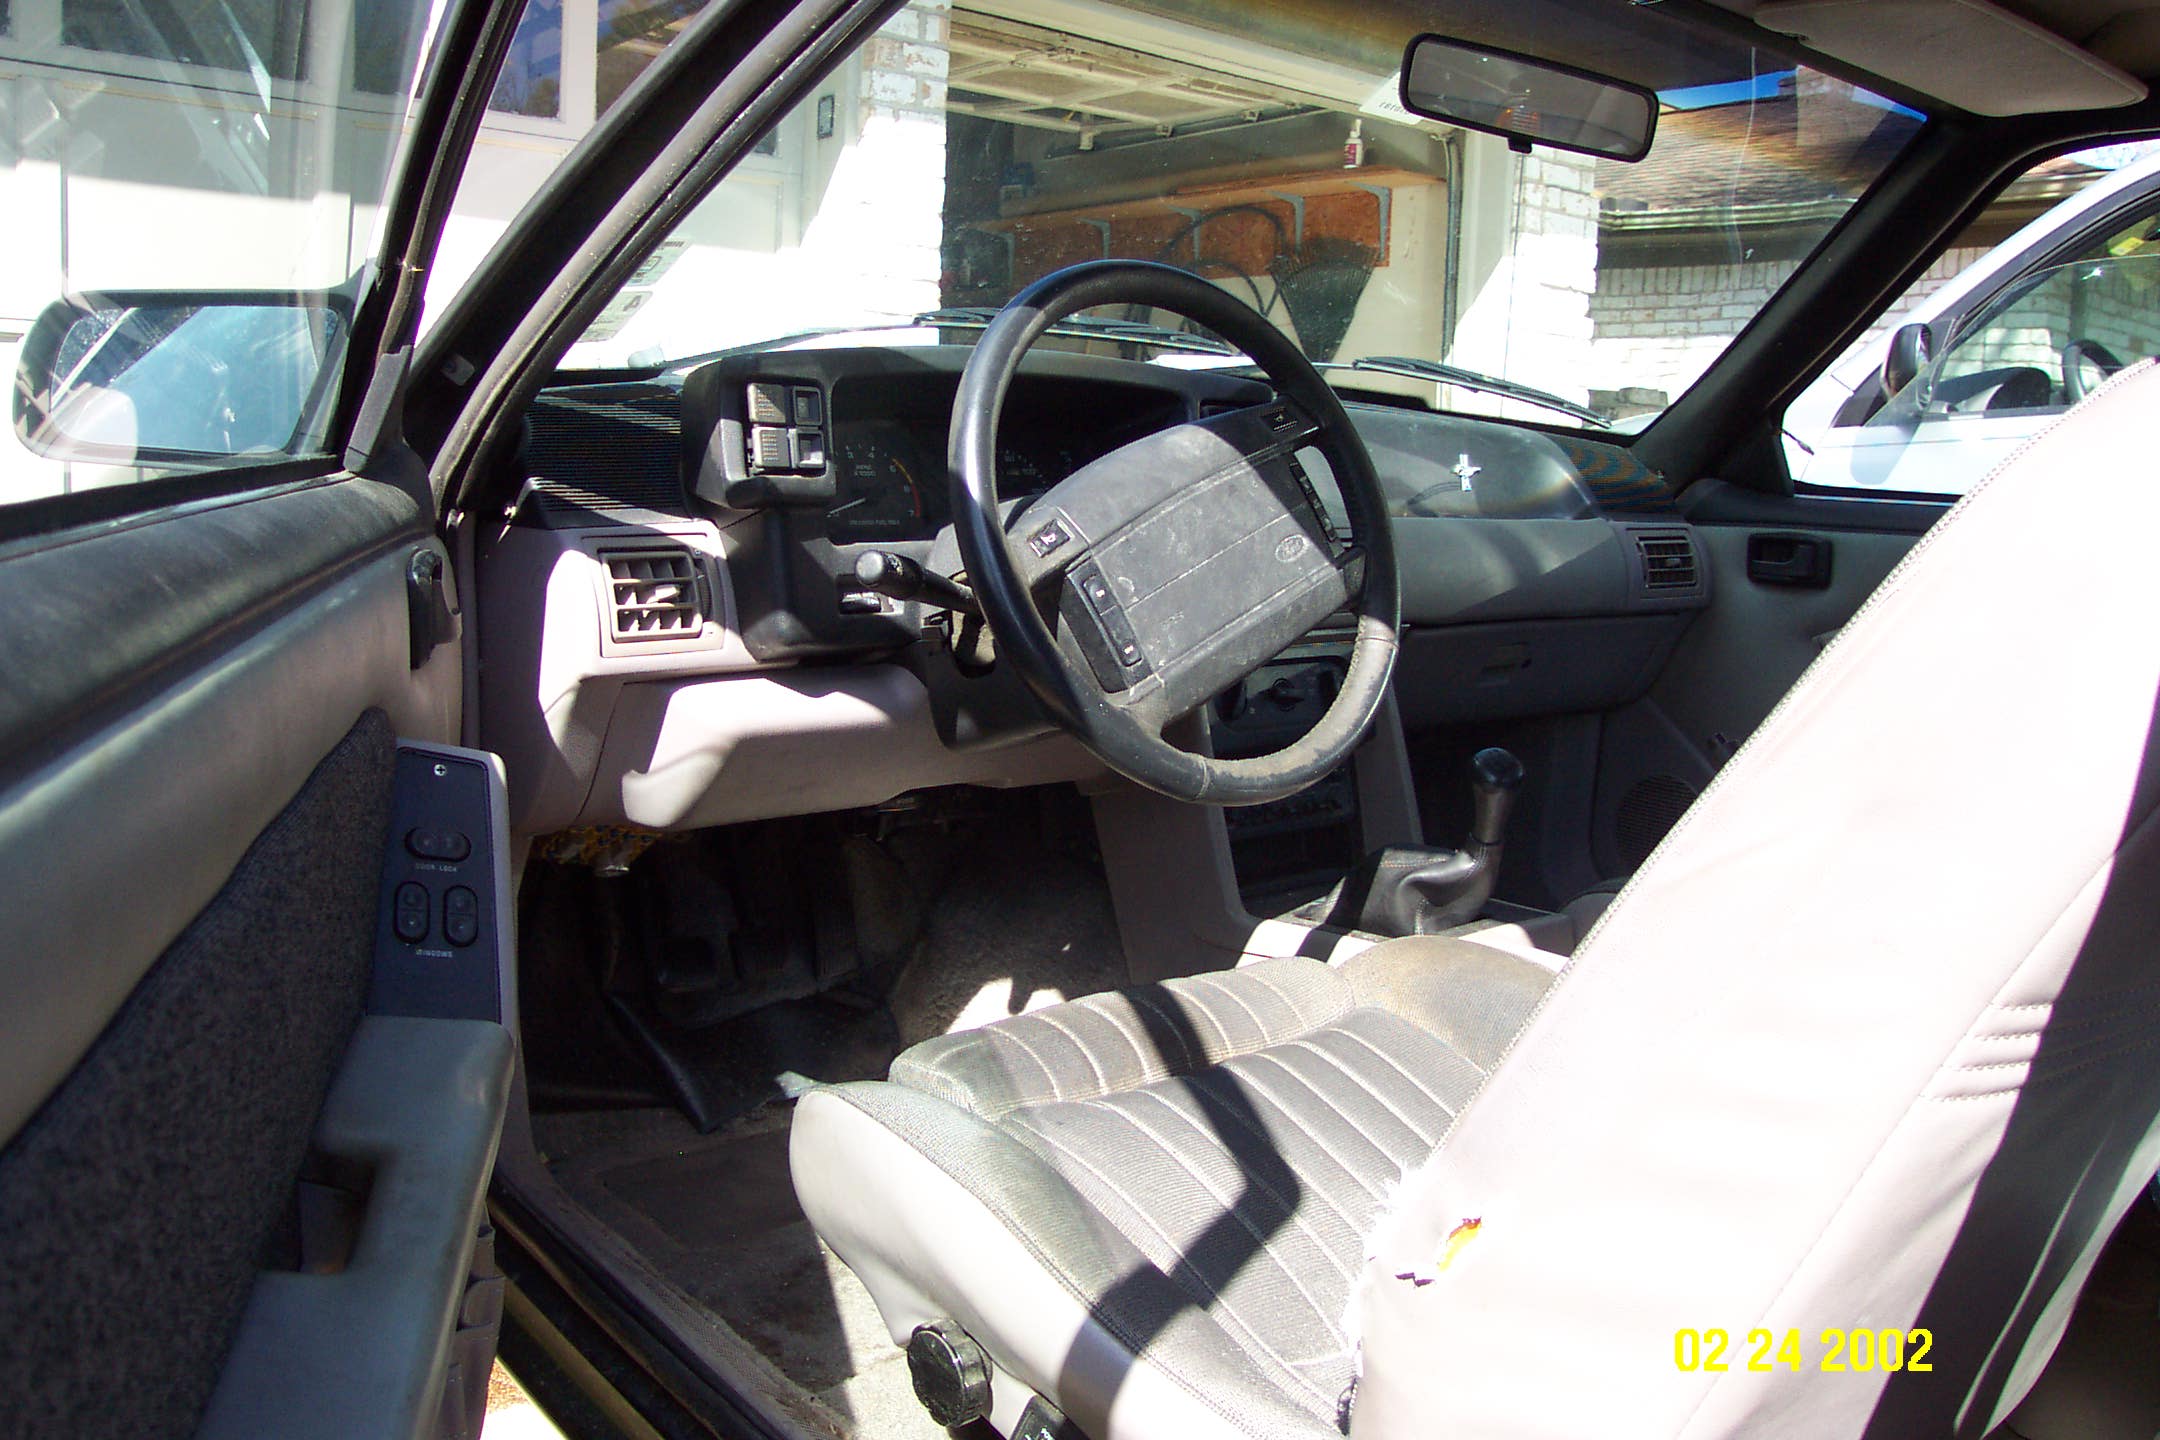
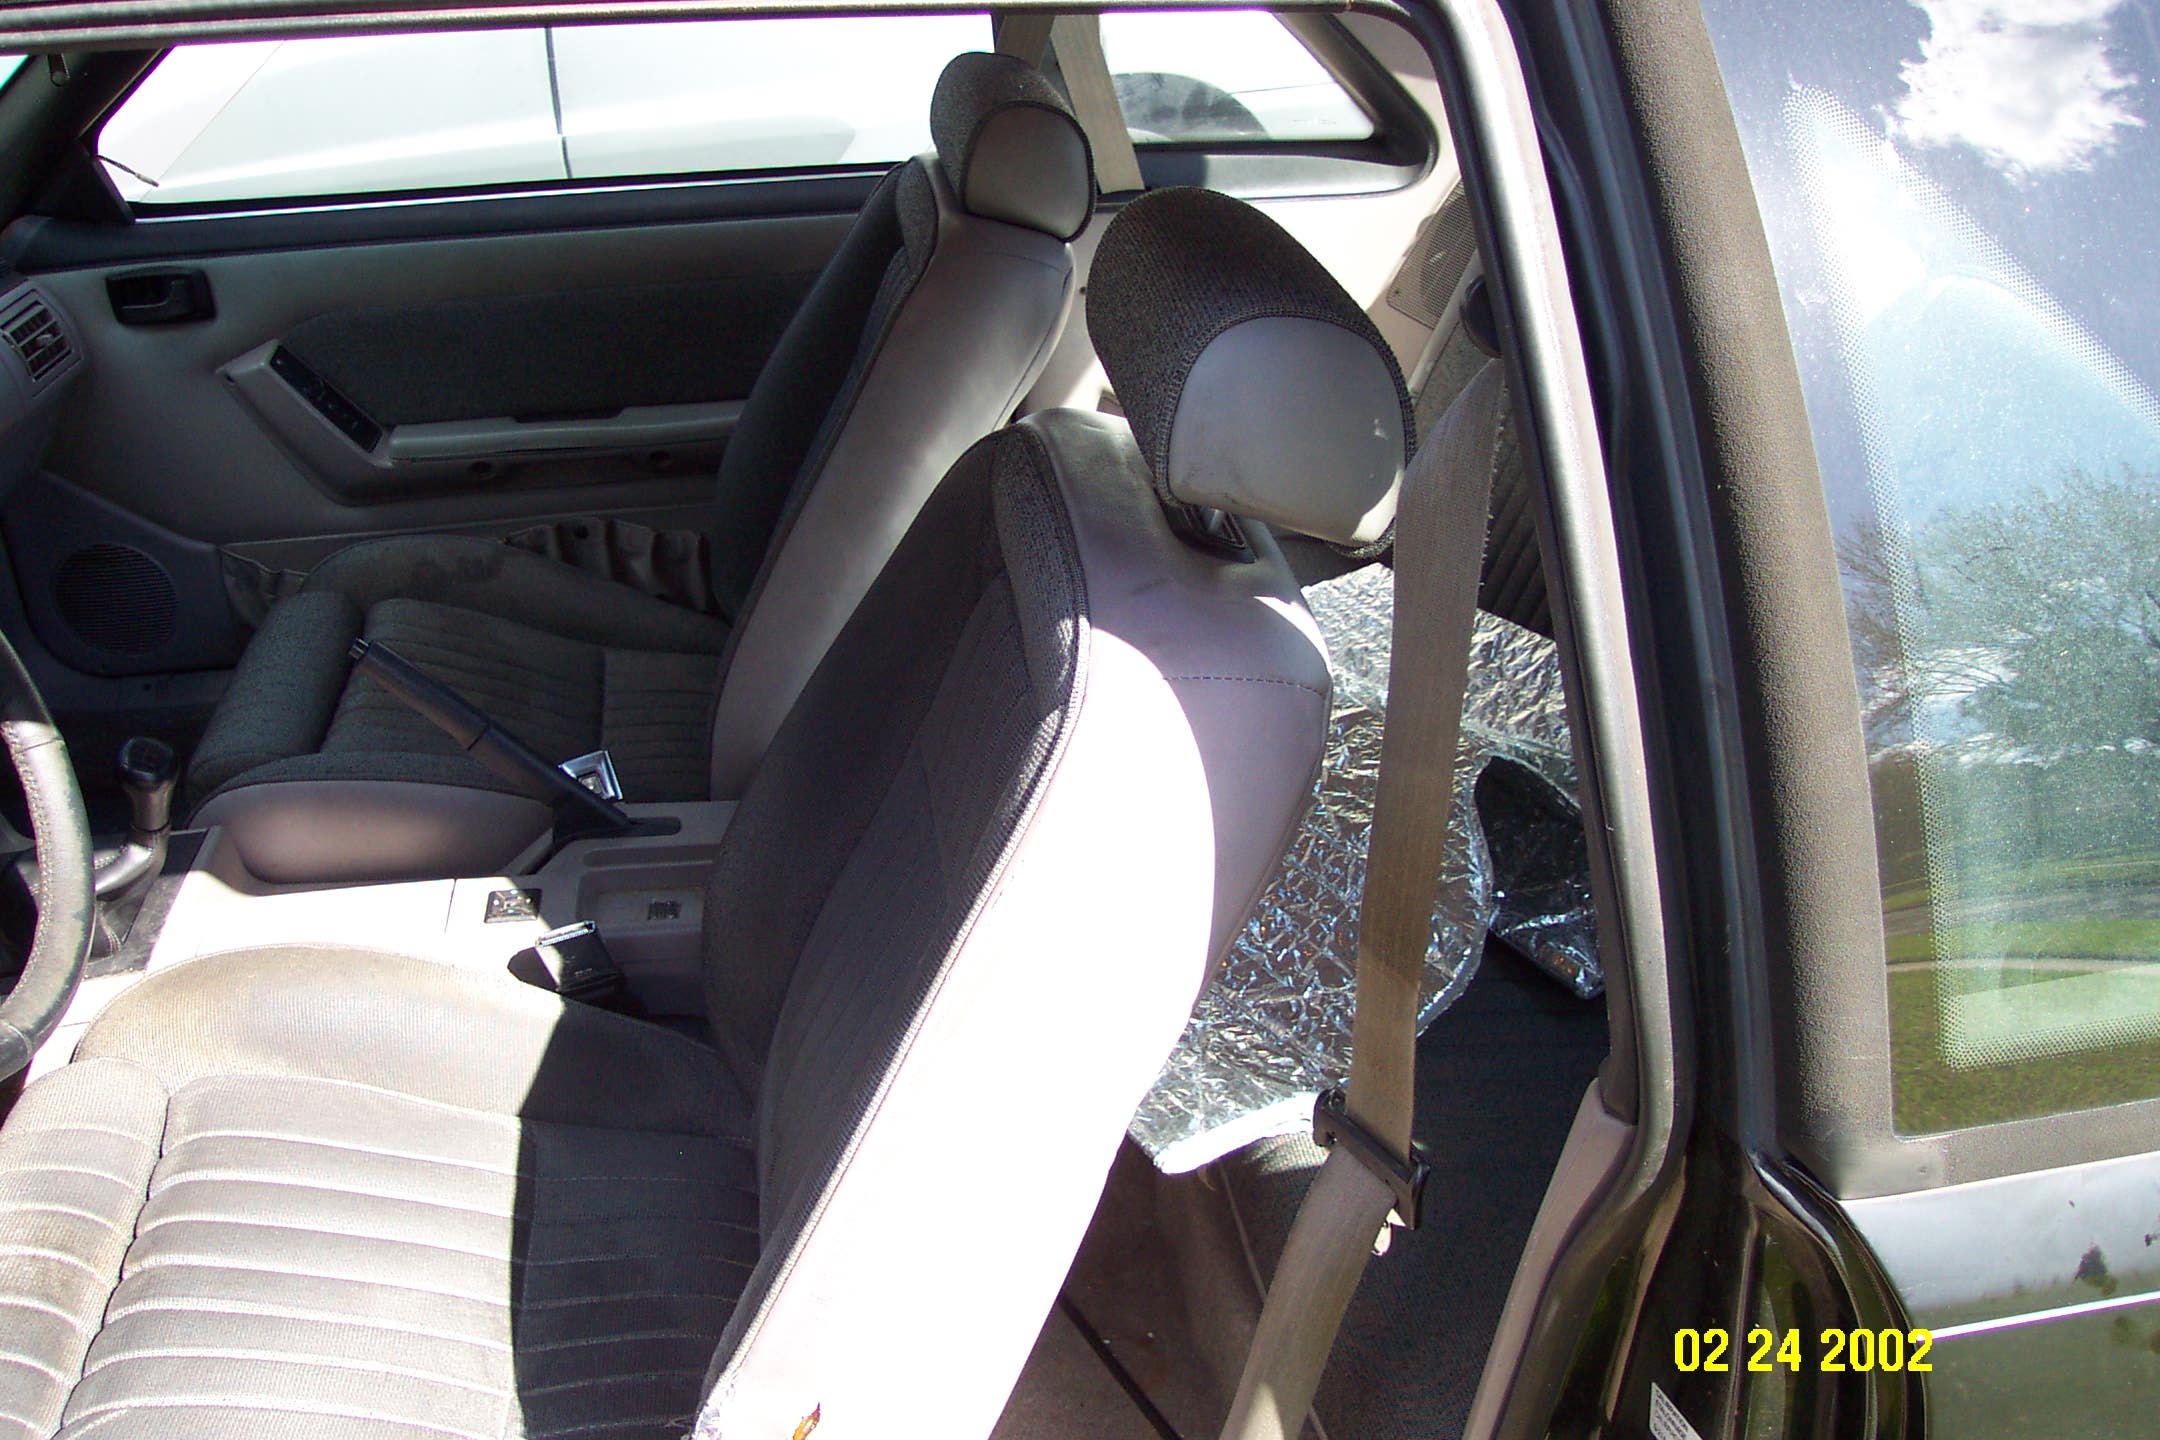
The car had a new battery and started well, but would hesitate under acceleration. After doing a tune up, I found out that it was because of corrosion on the coil wire. I was able to strip and sell most of the interior. The front of the car also provided some parts for resale.

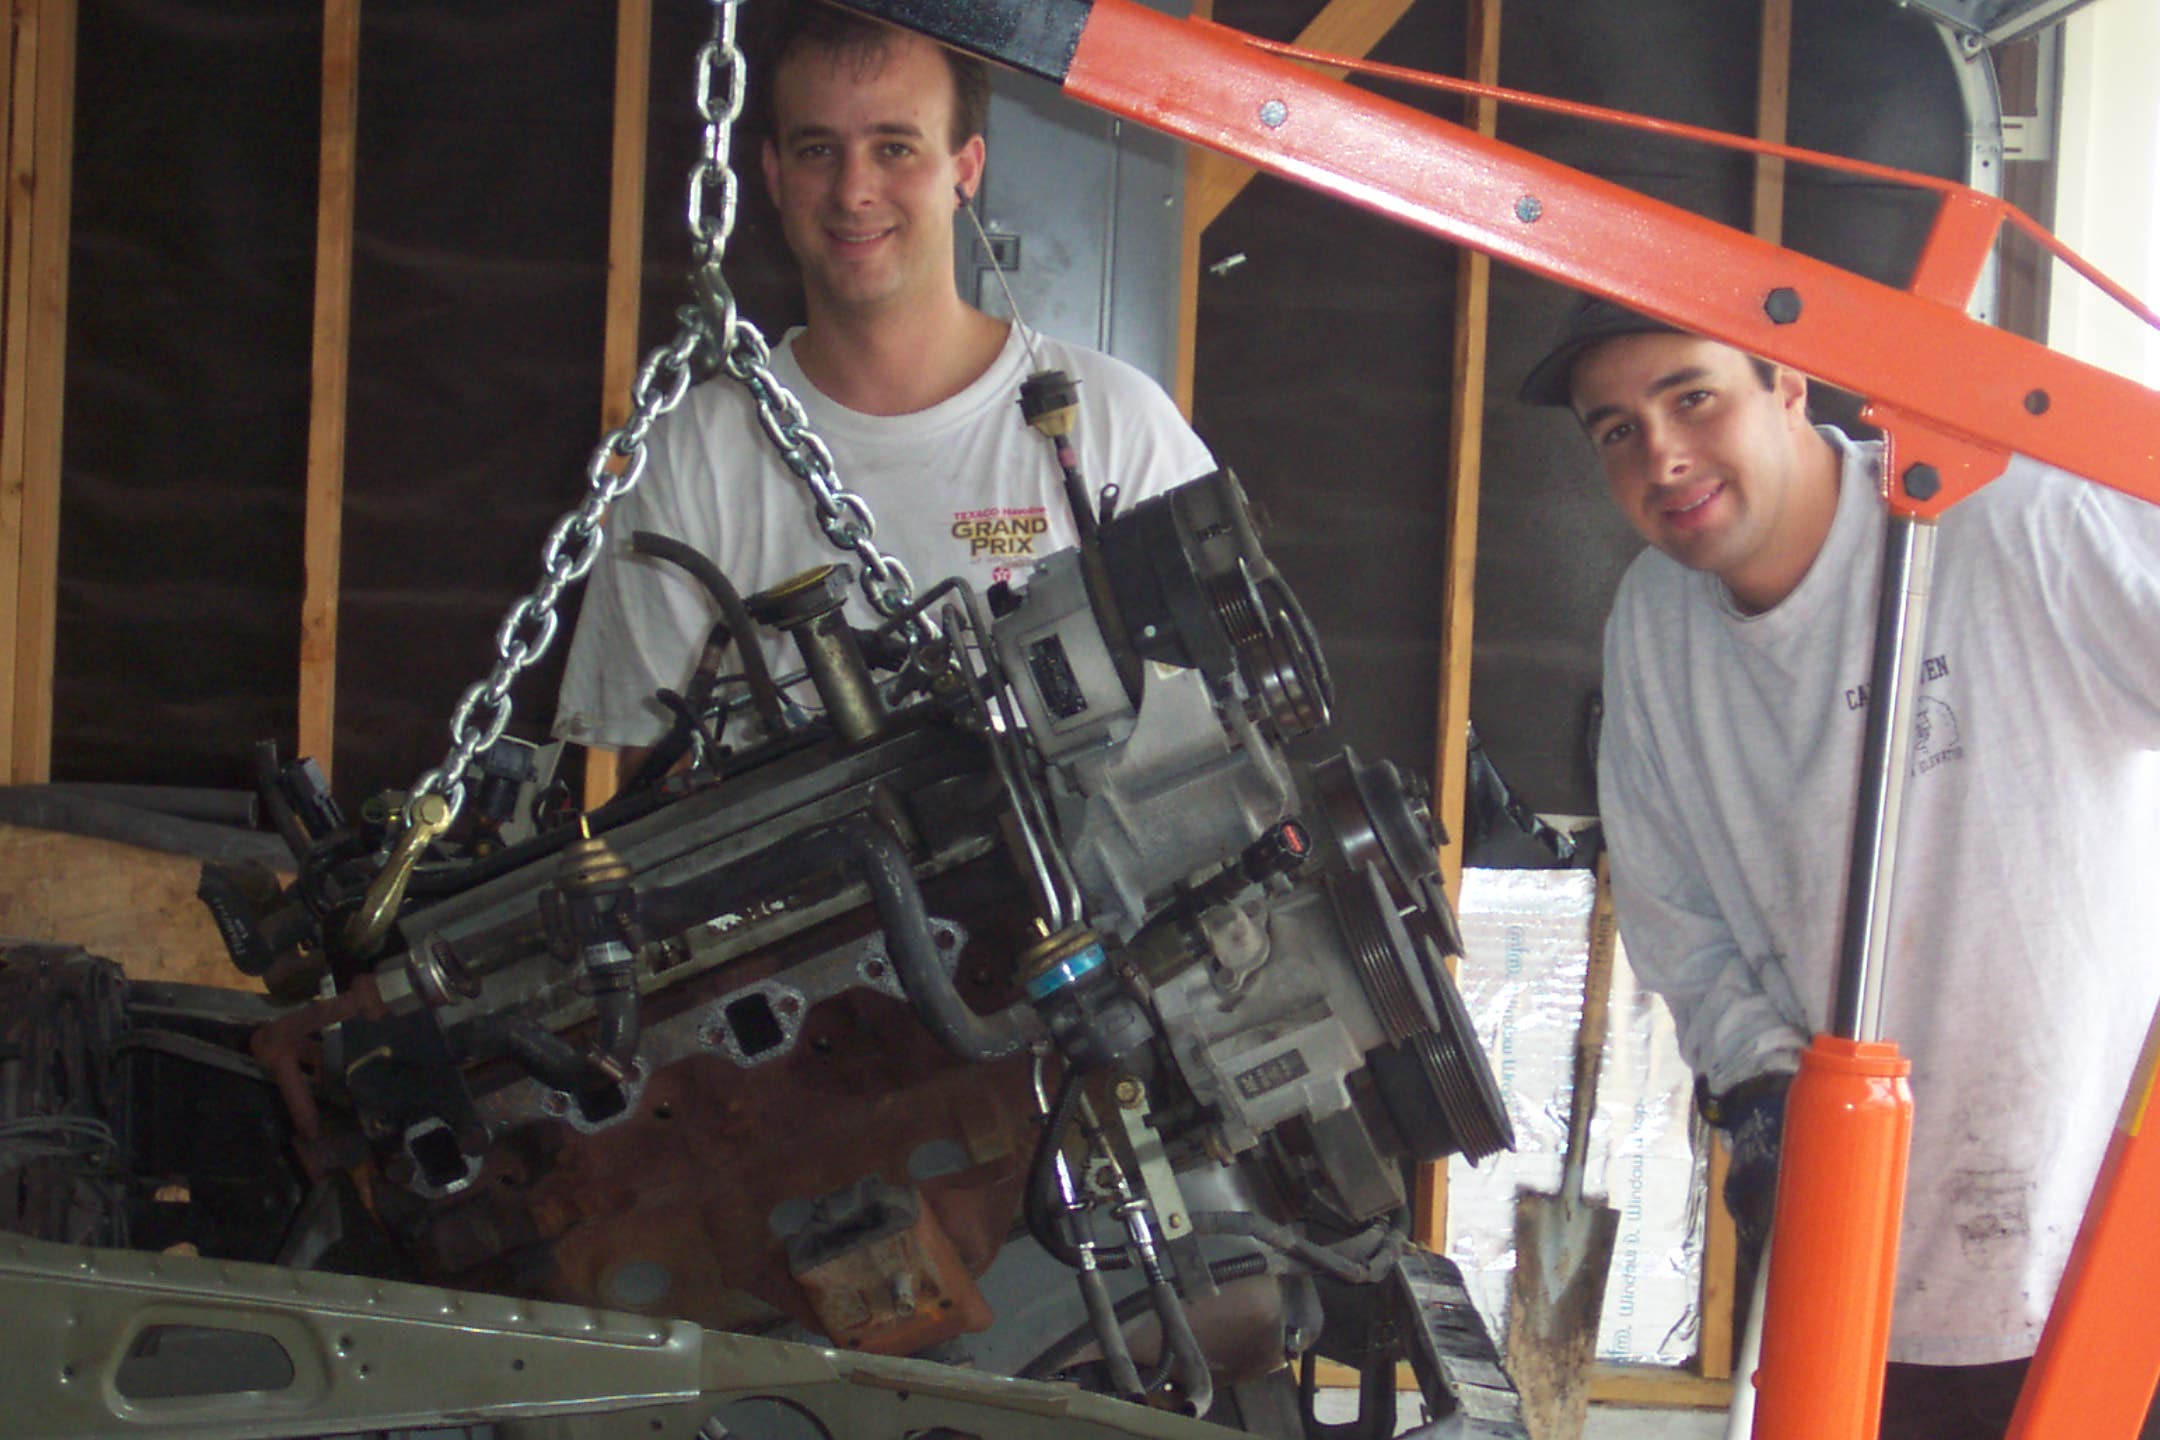
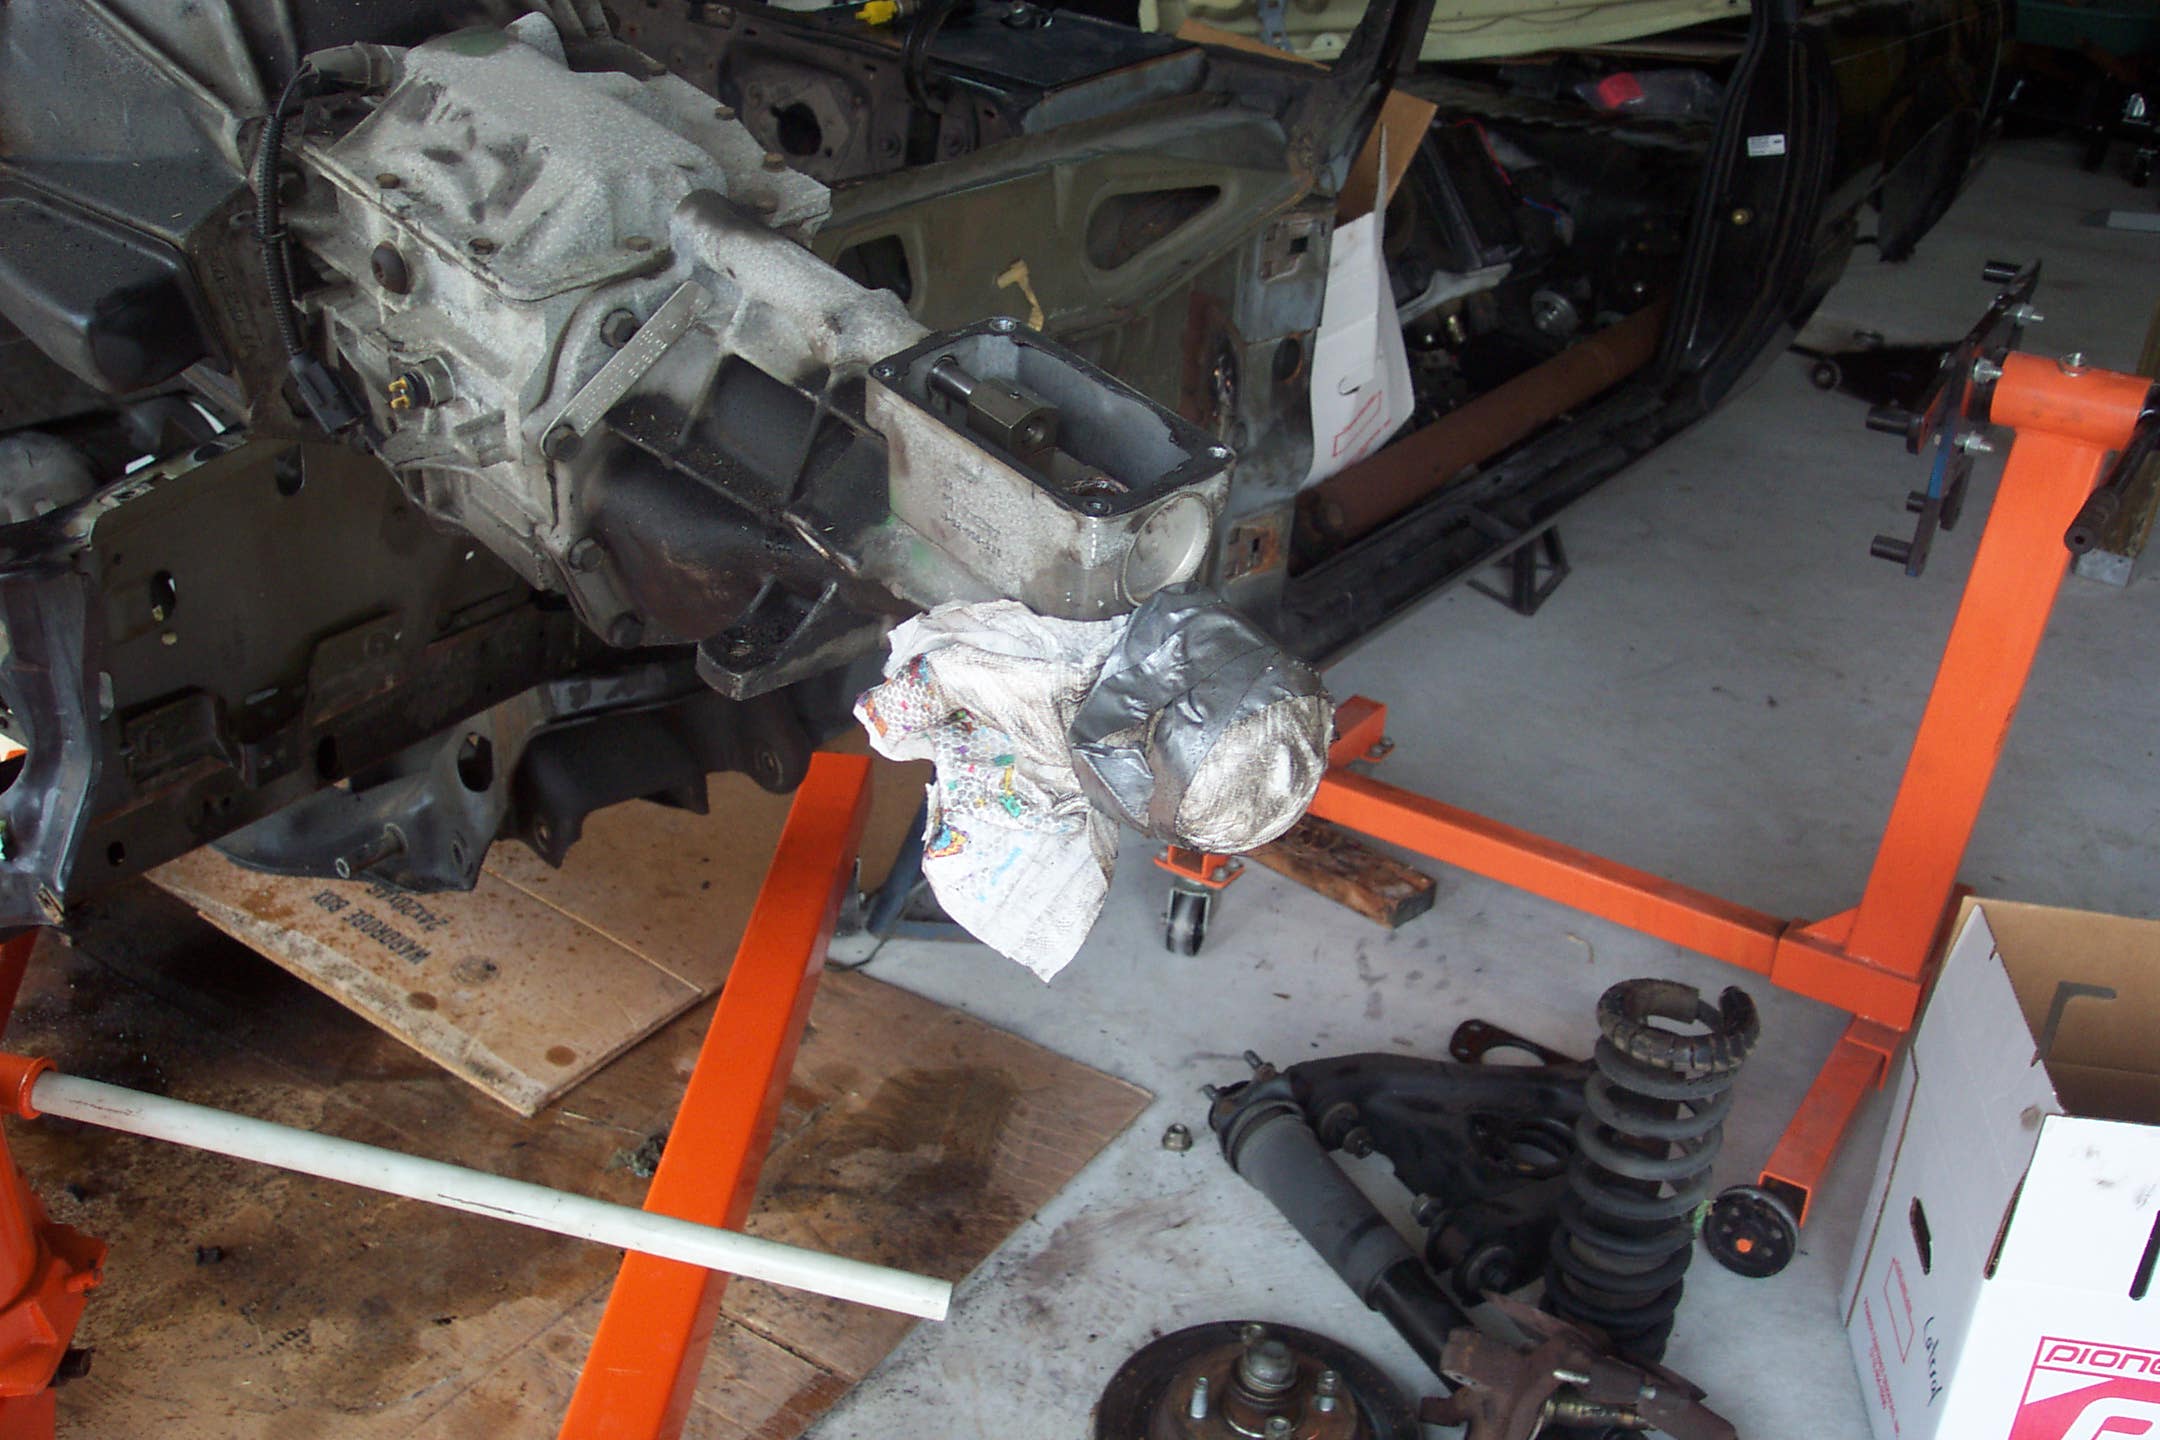
I actually drove the car like his in the neighborhood for about a mile to get it back to my garage. Engine removal was a big milestone in the teardown. A baby diaper works well to keep transmission fluid from leaking out when you remove the engine and transmission from the car.
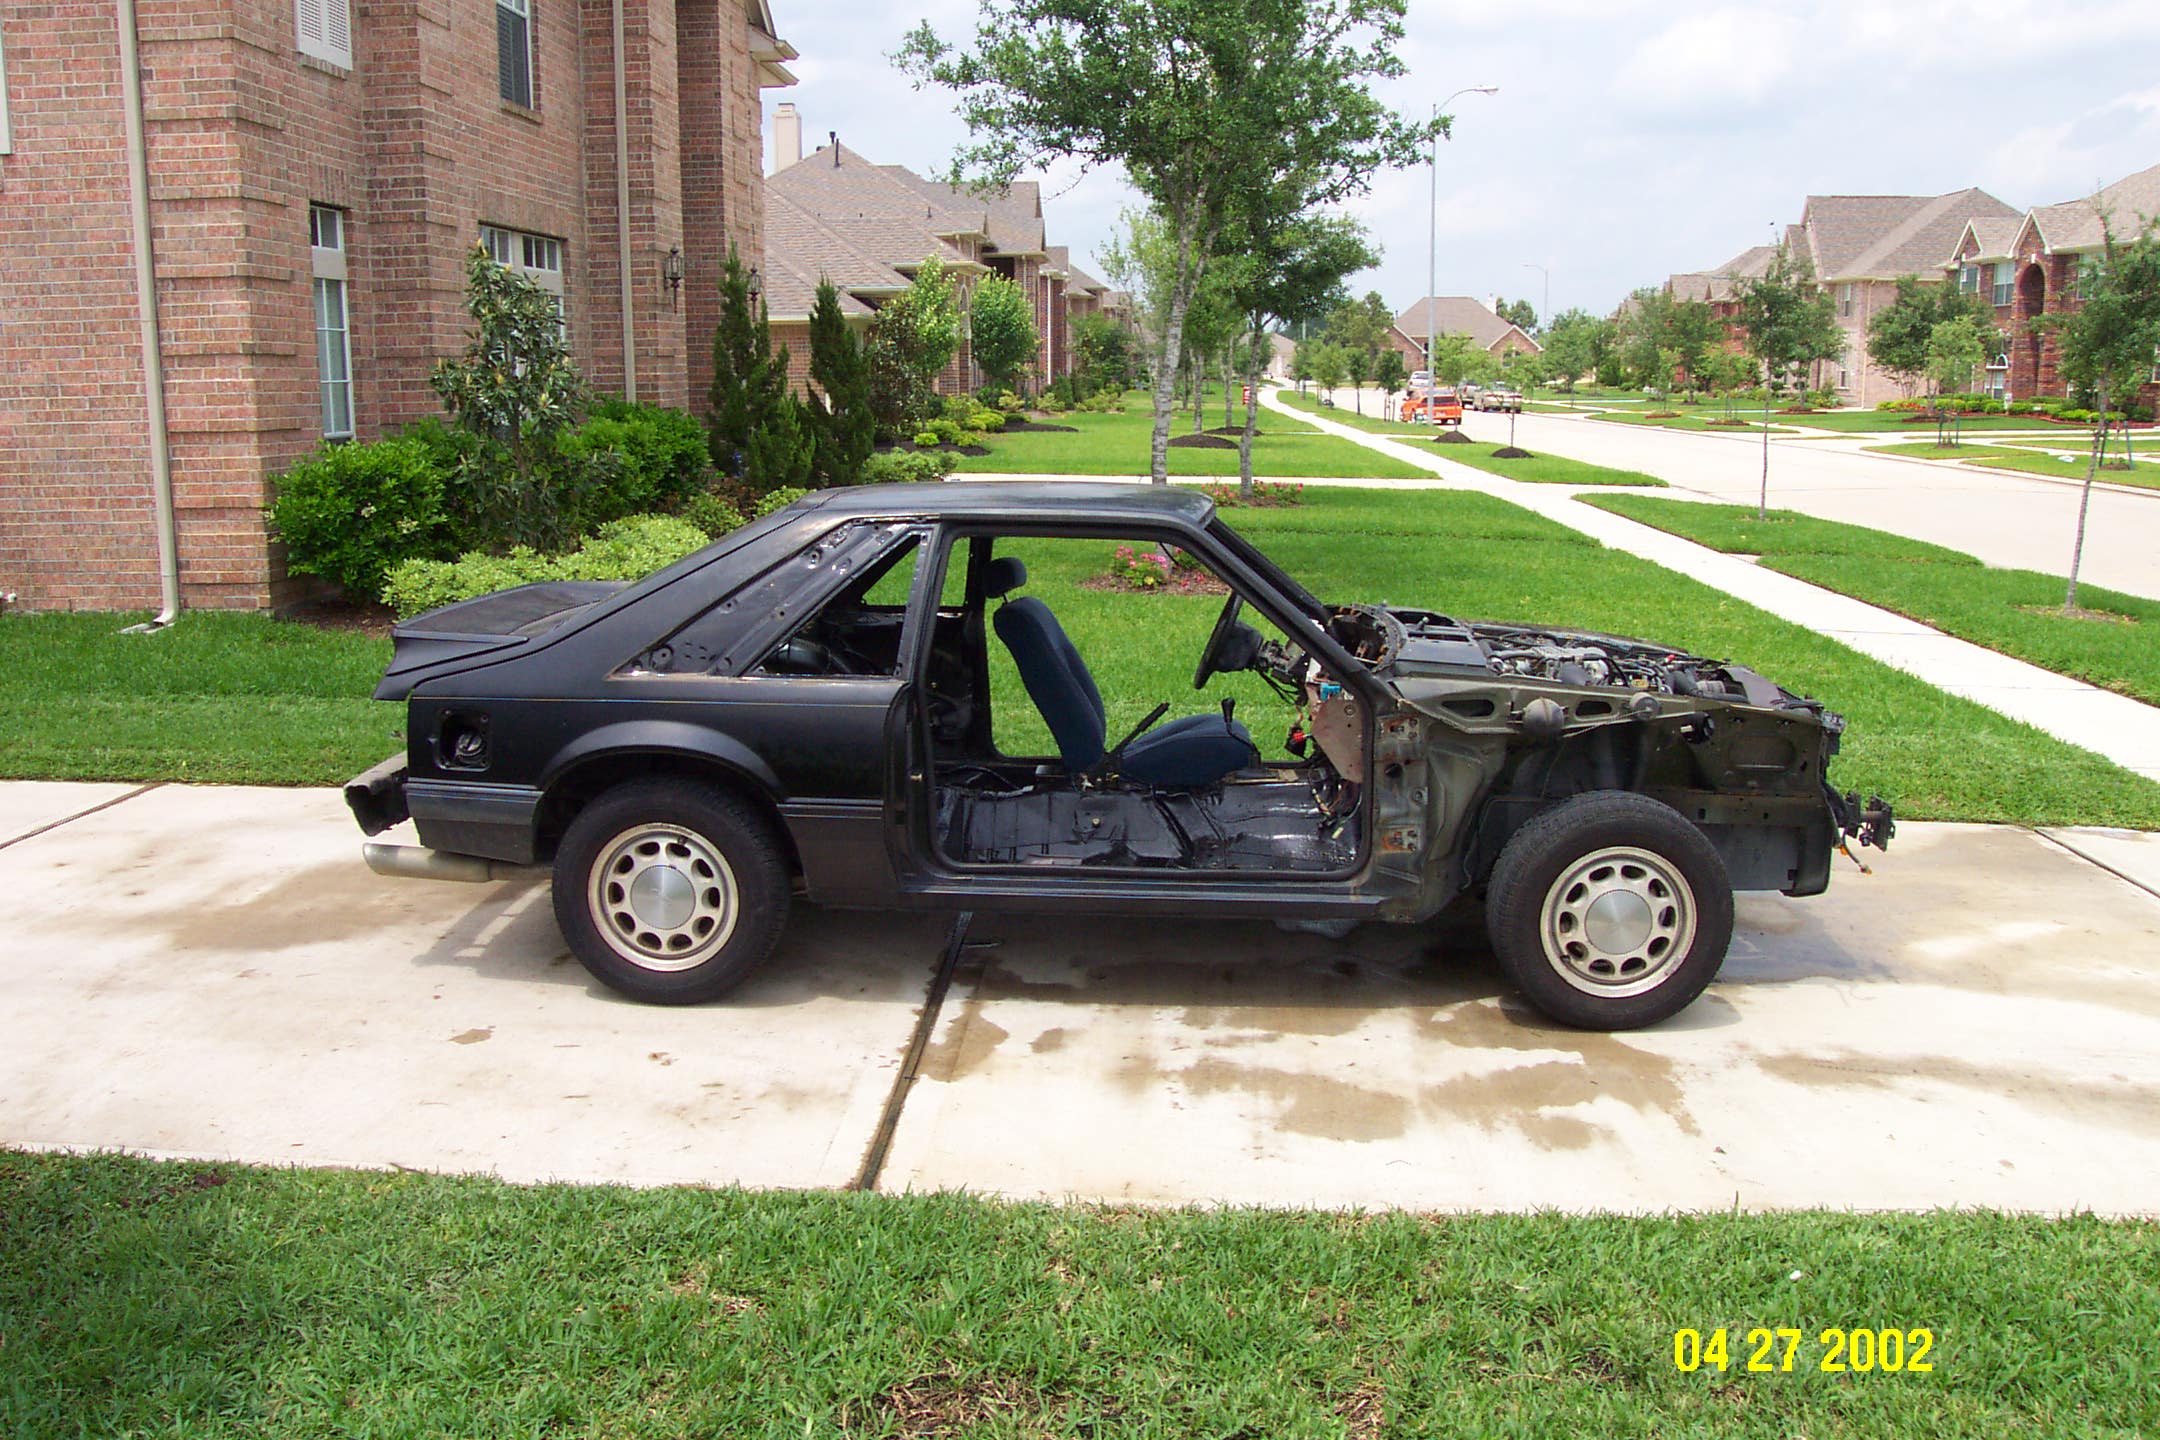
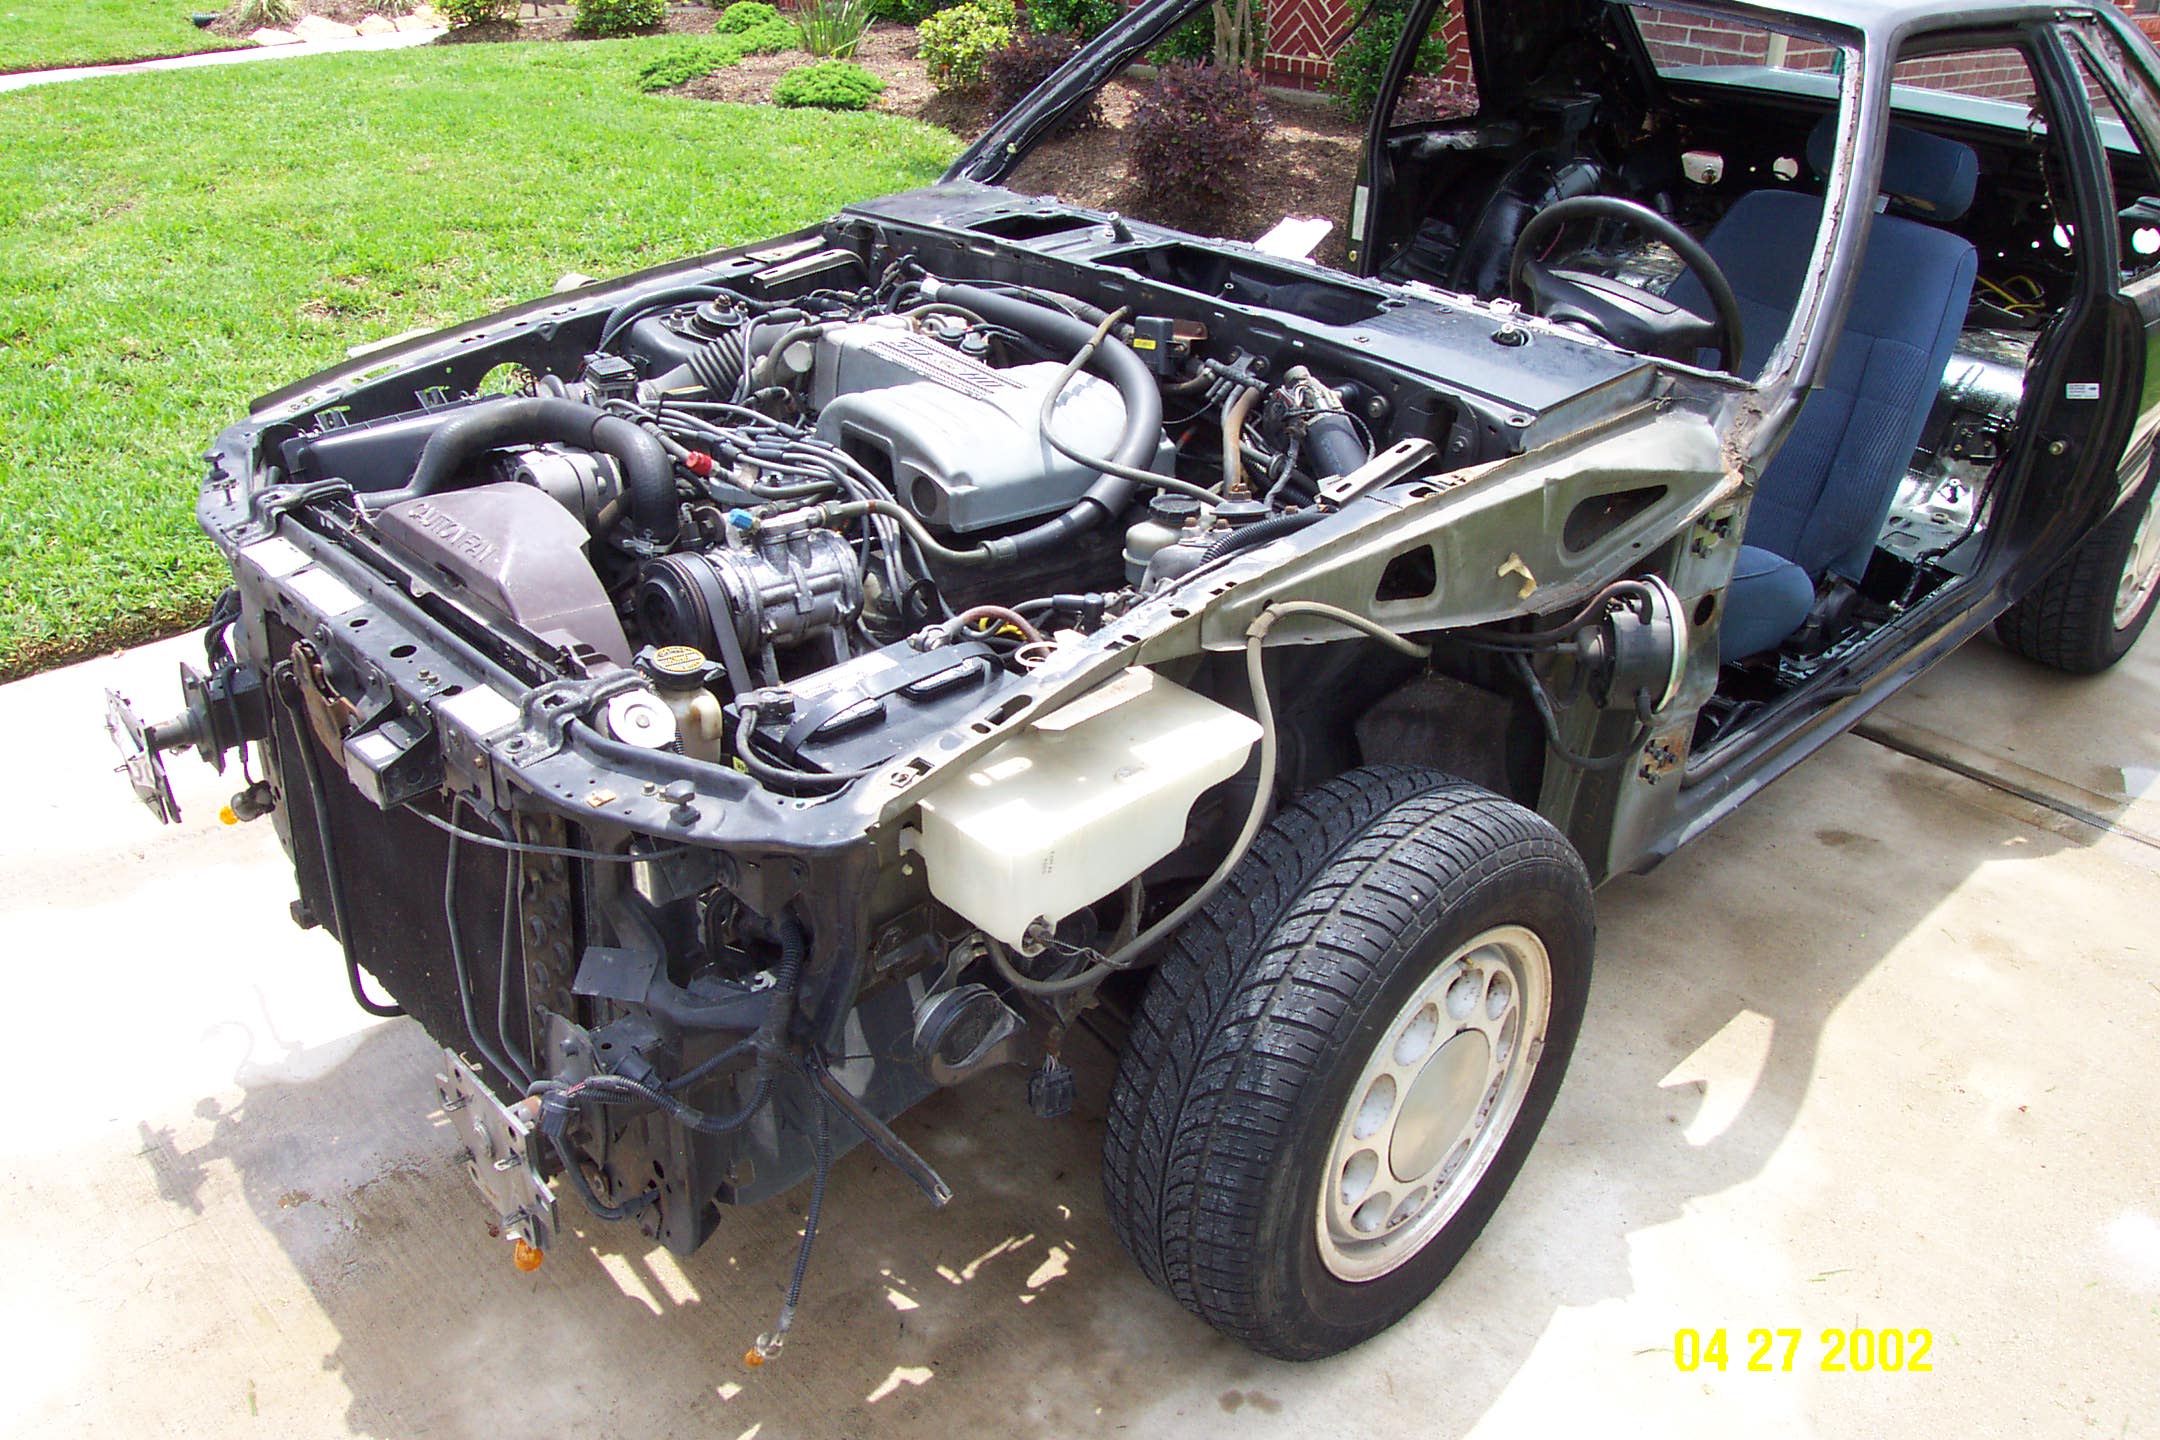

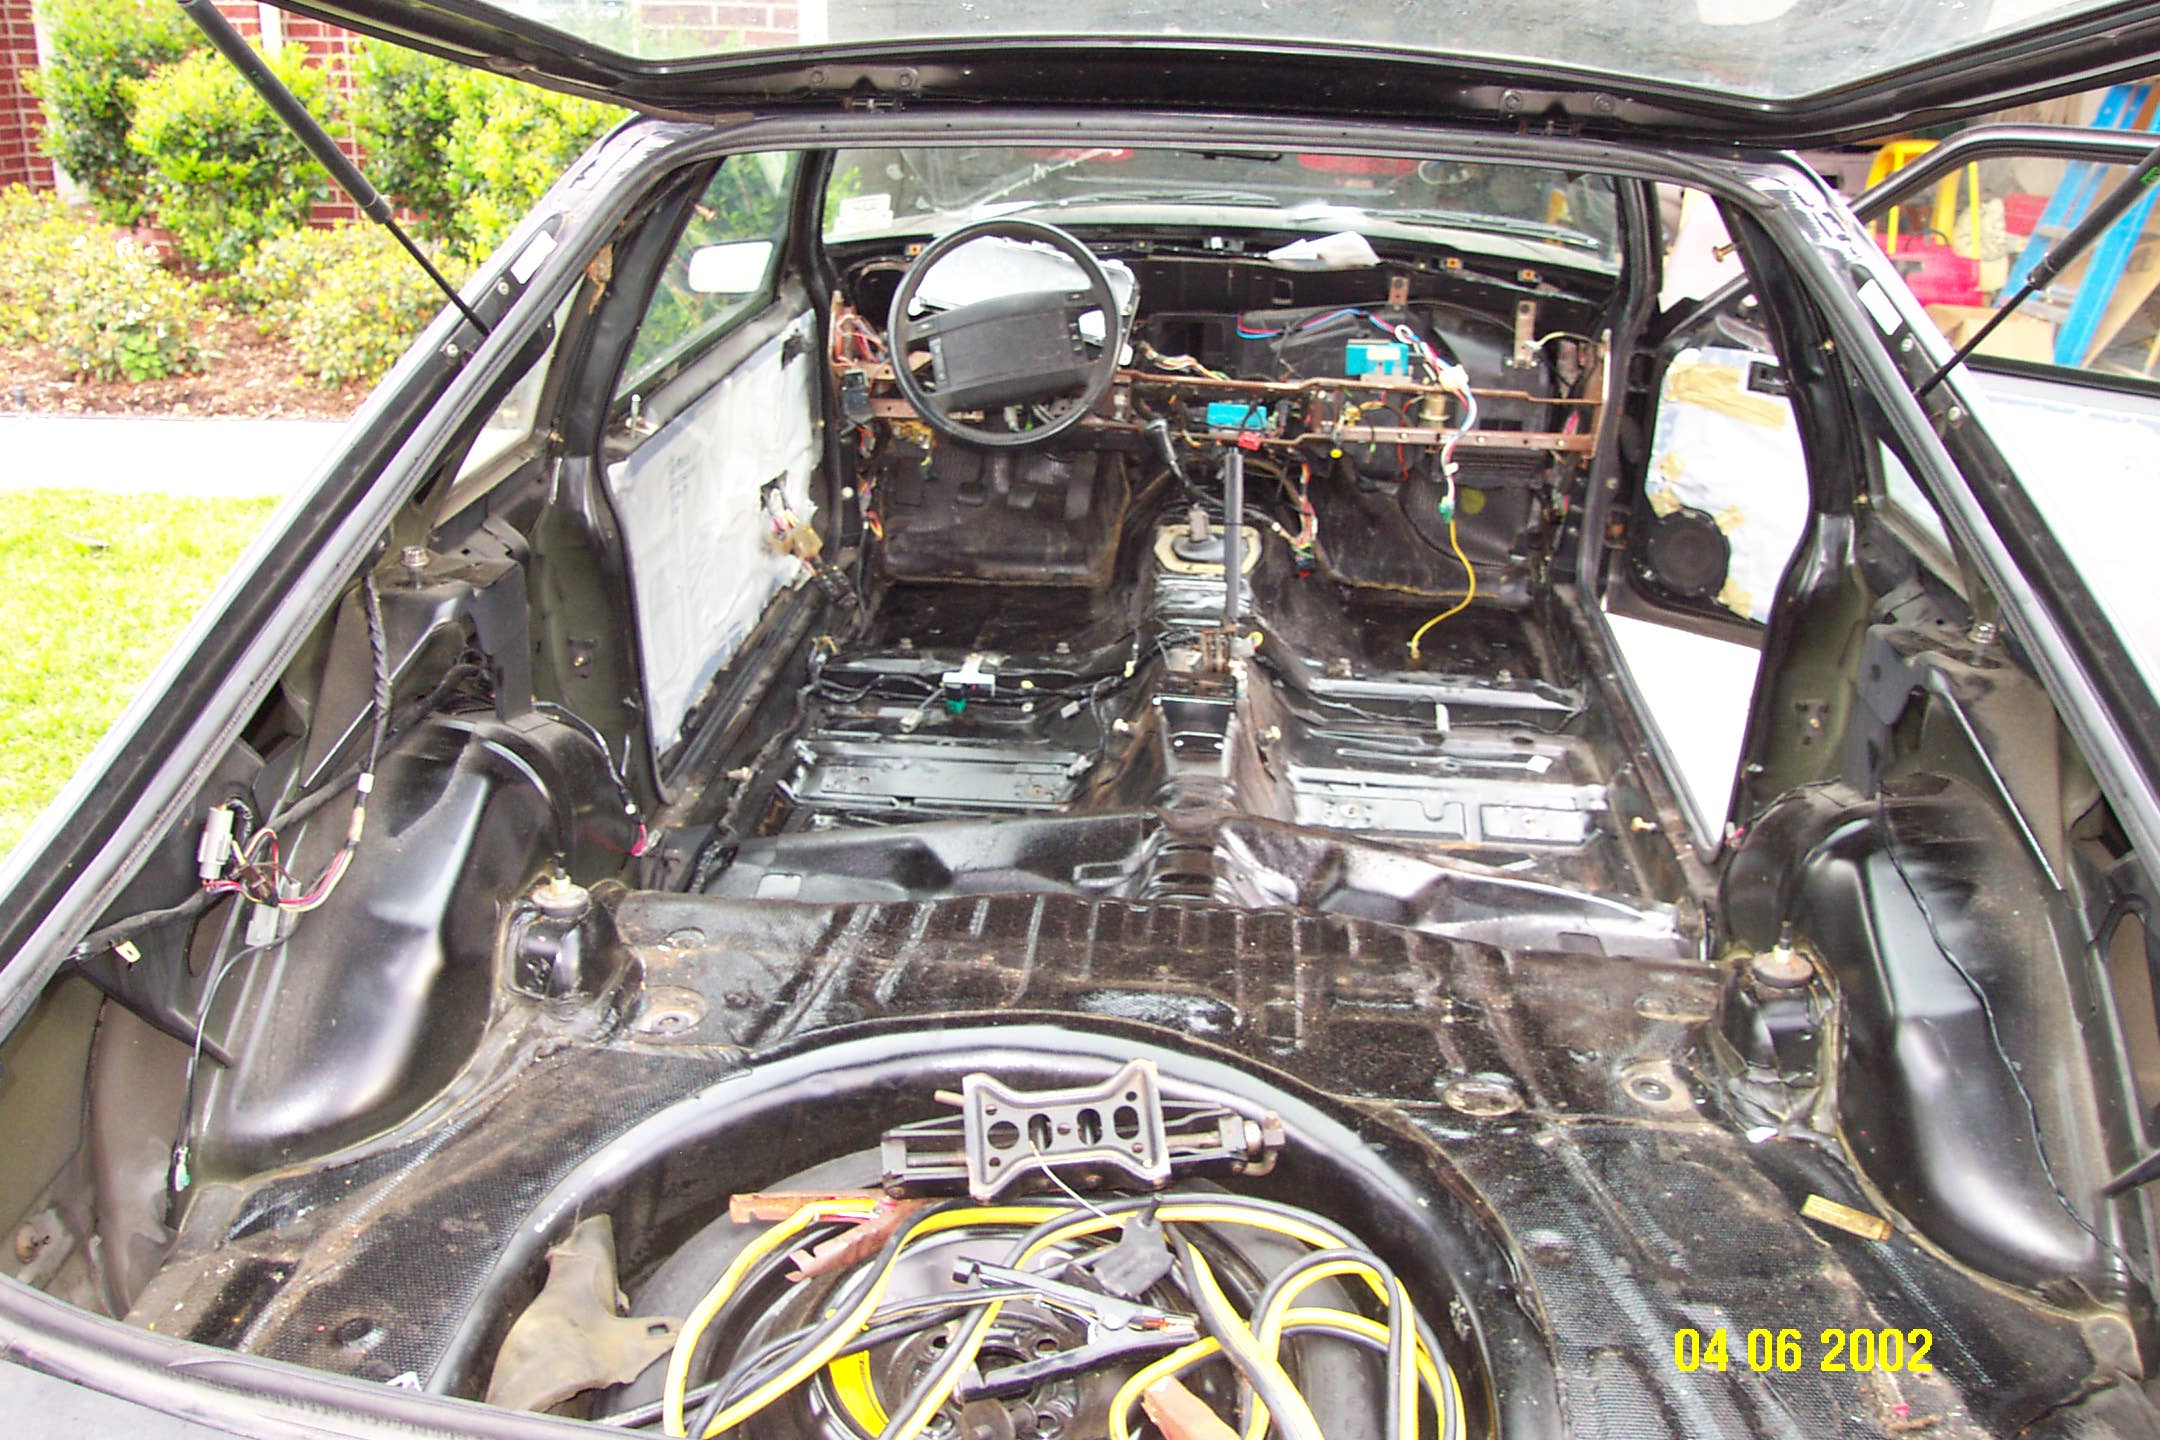
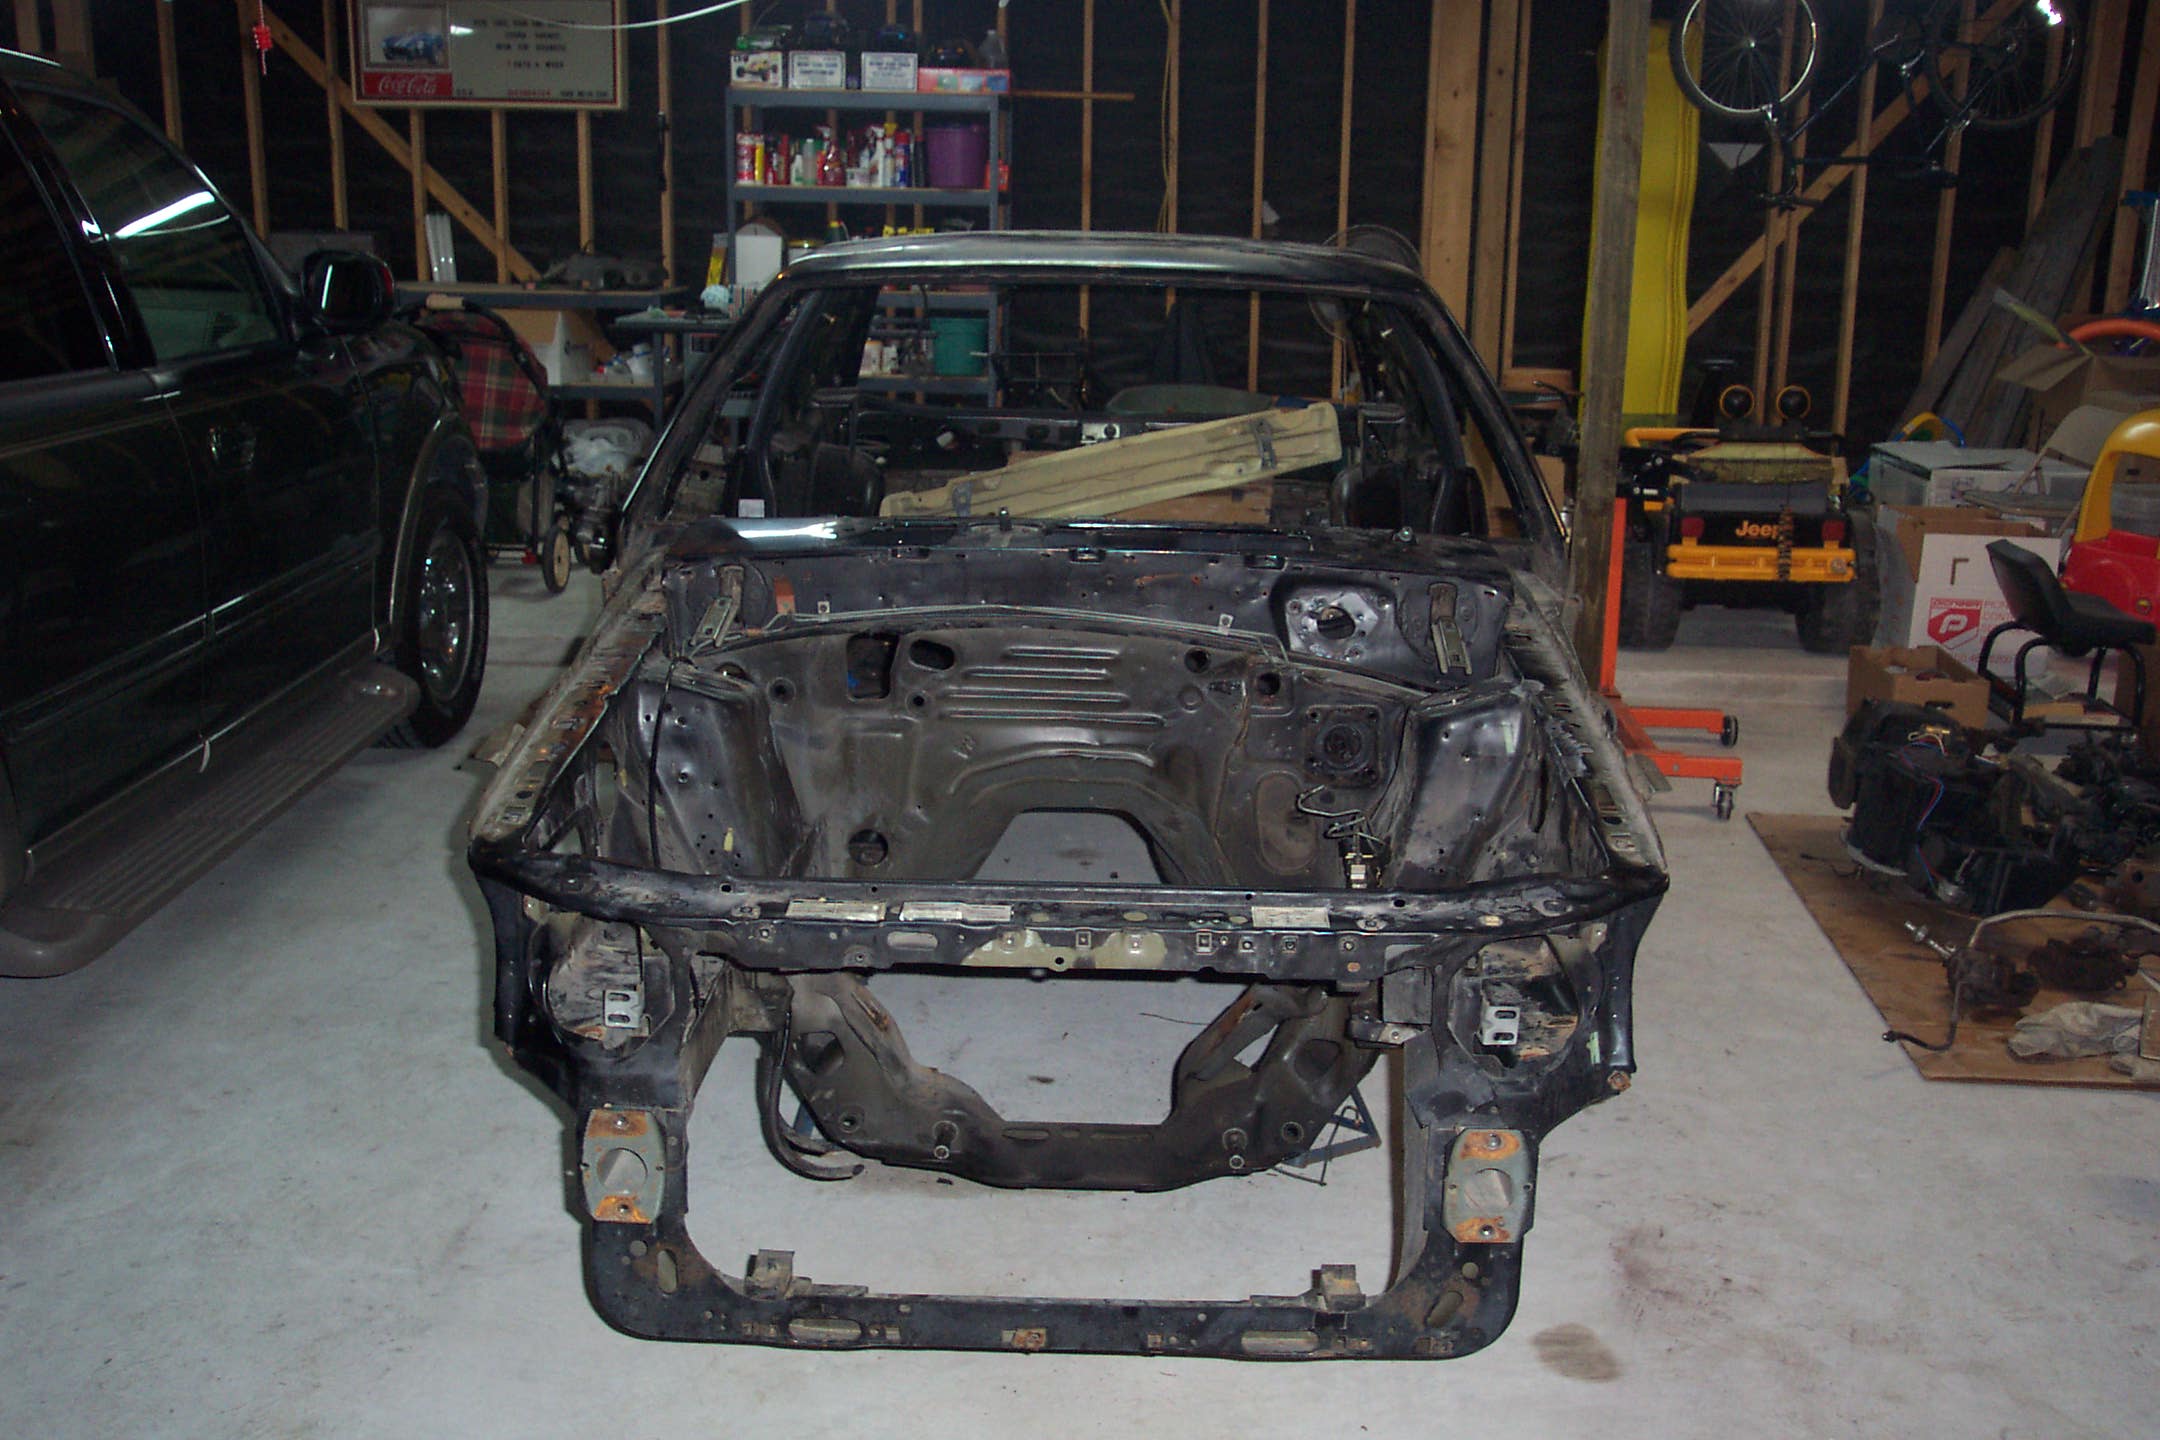
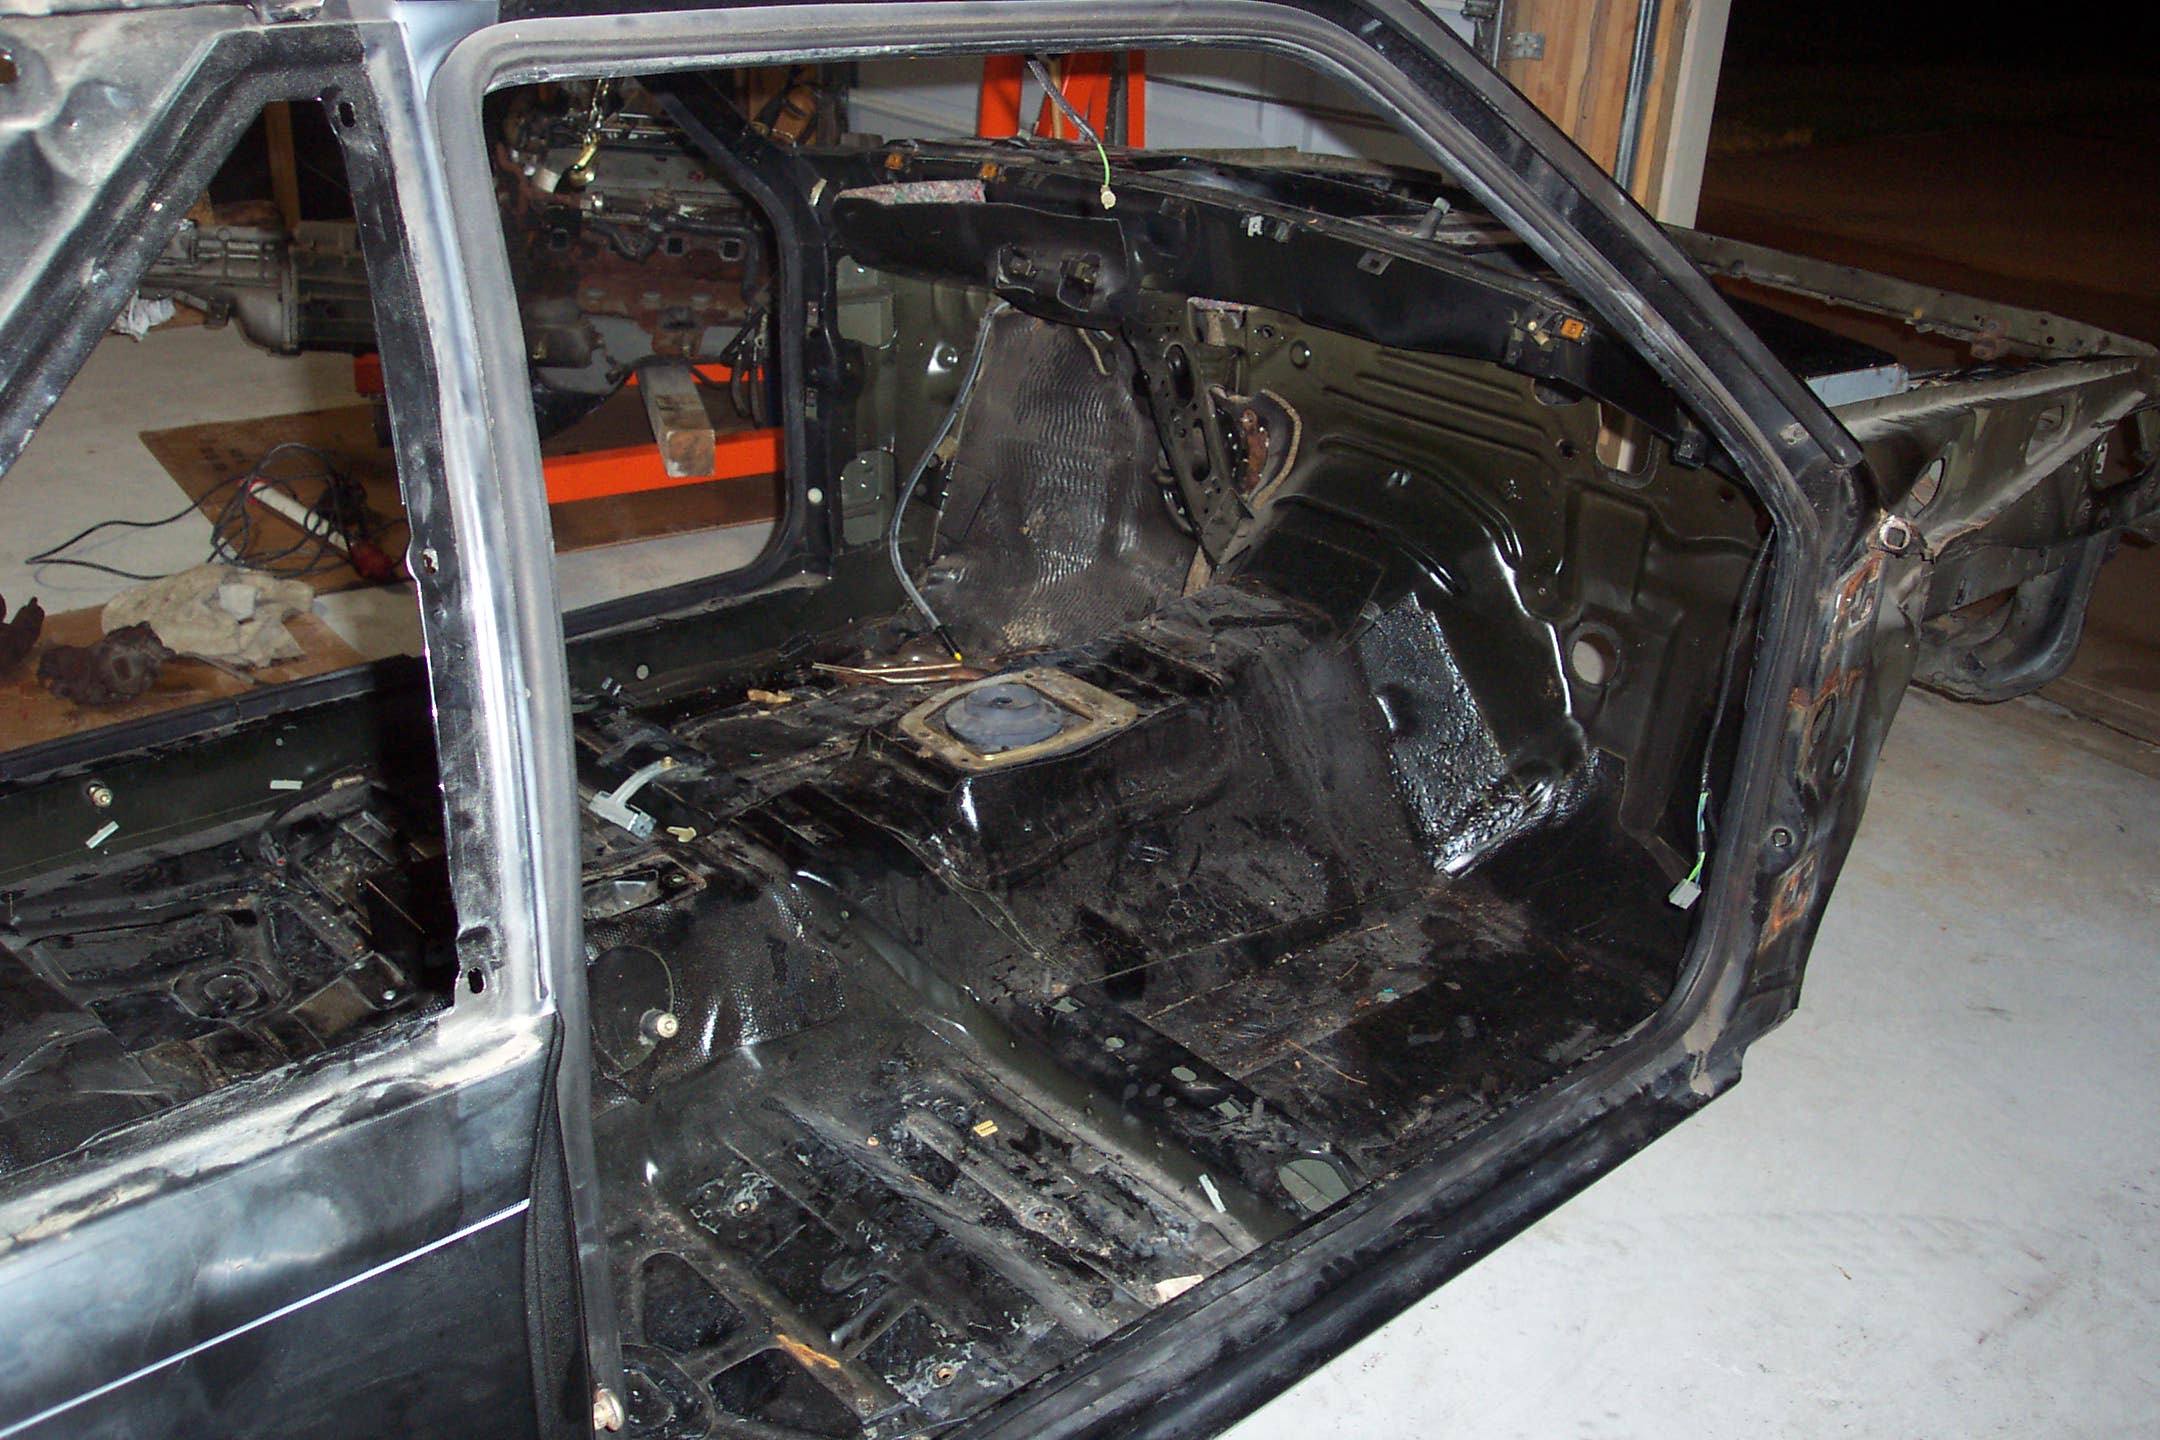
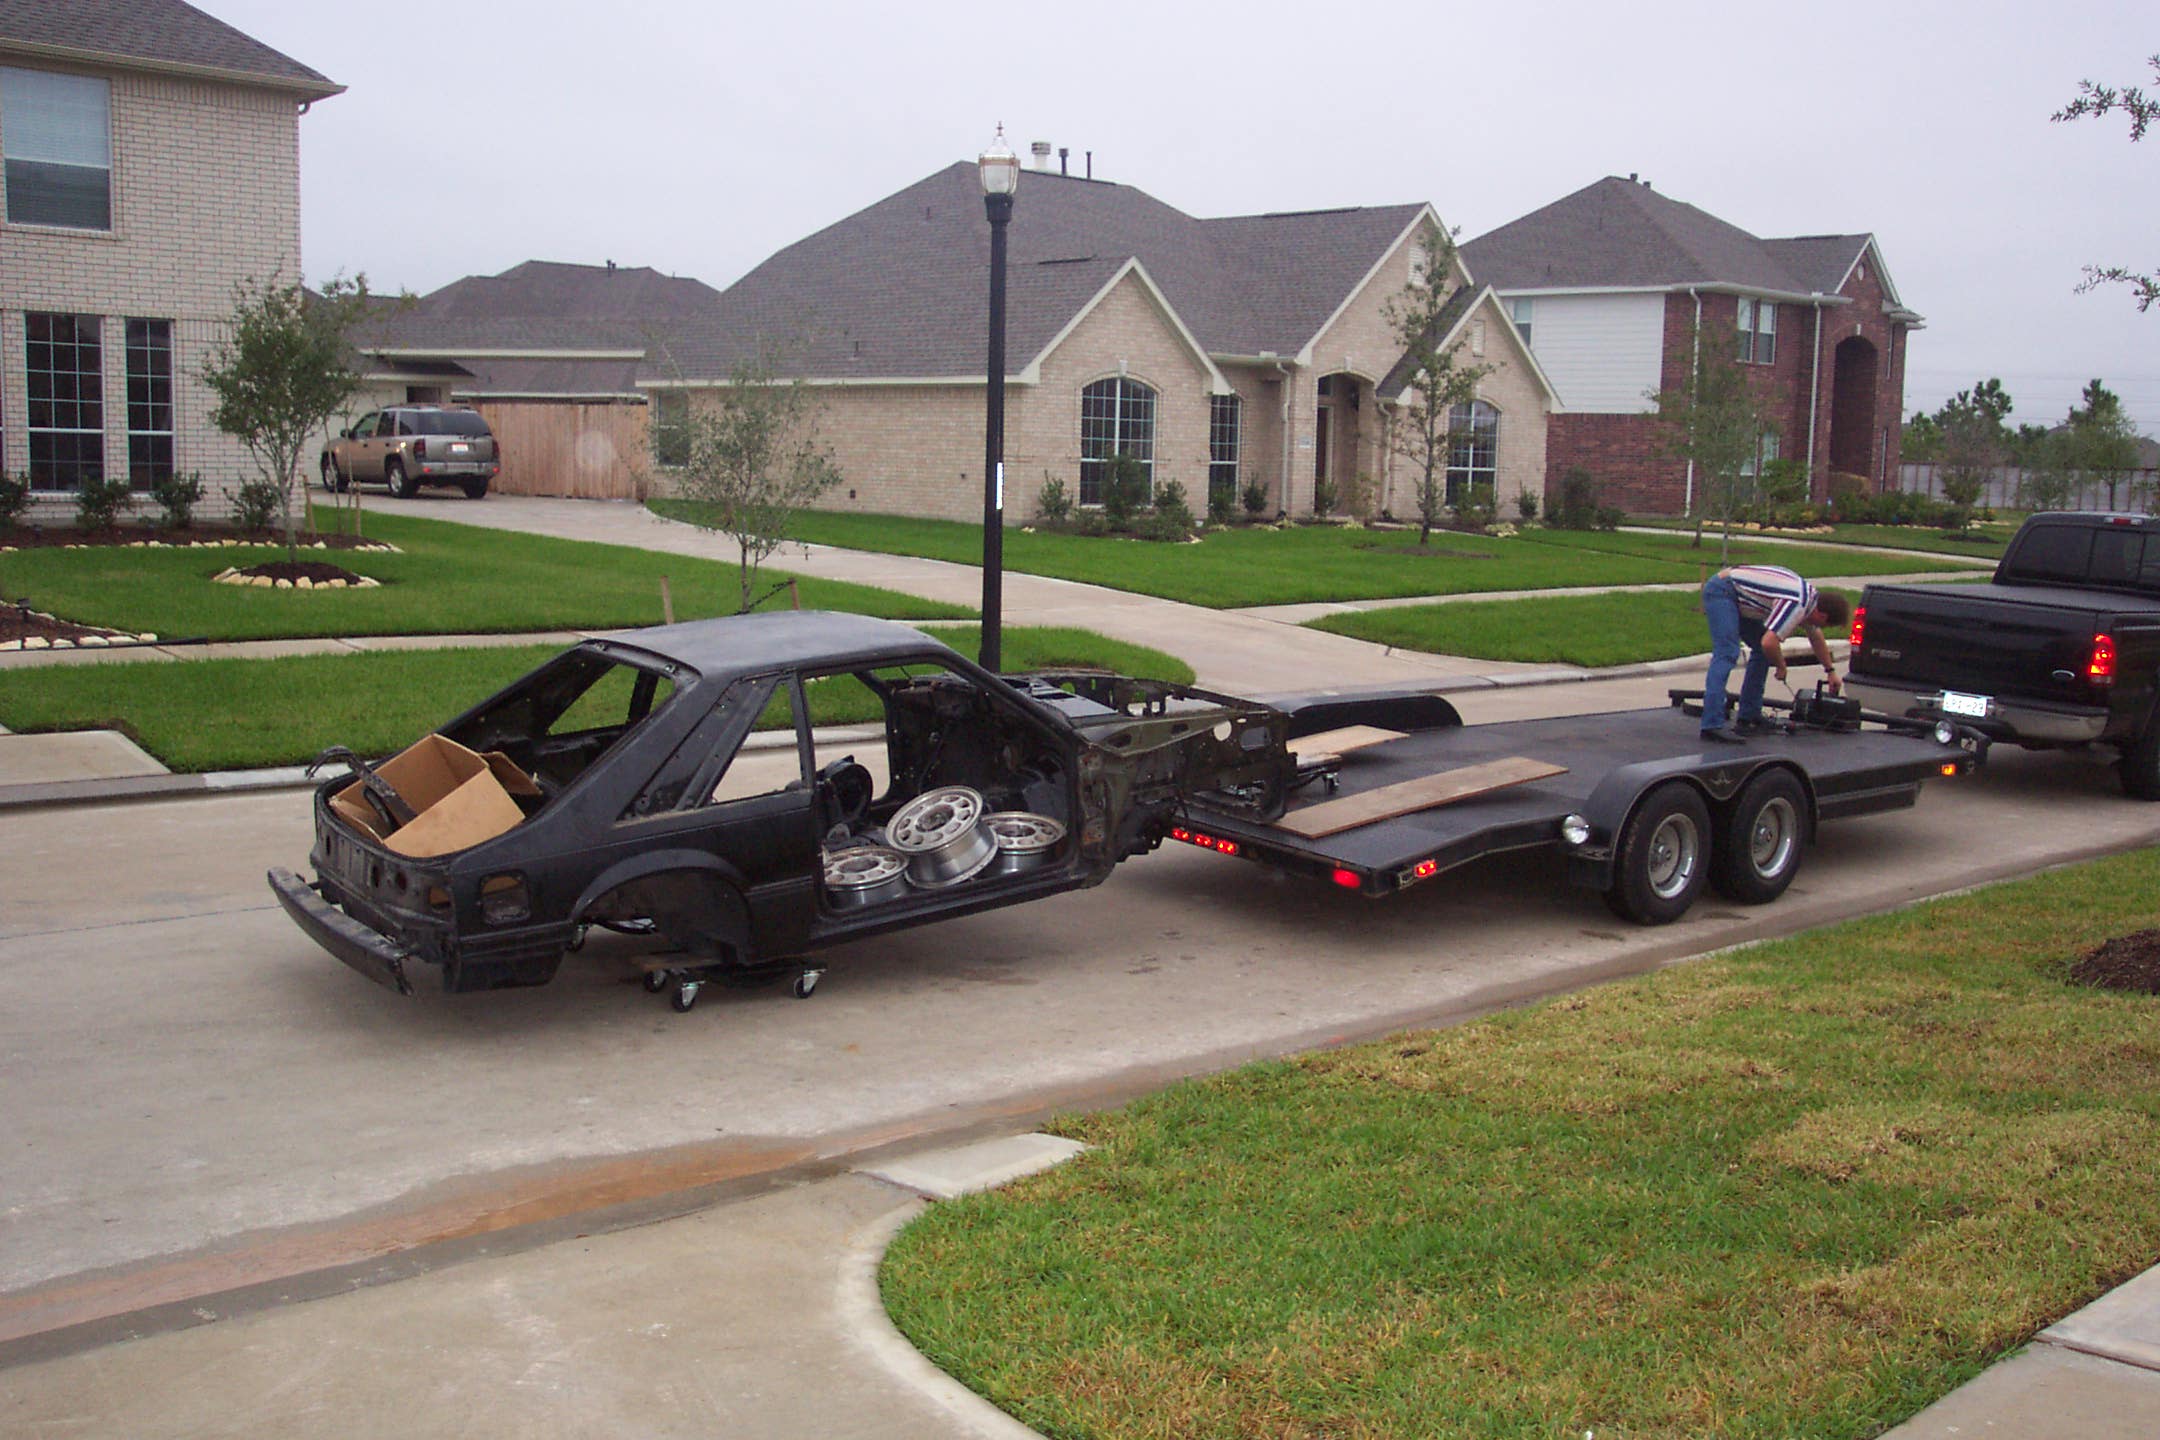
I stripped almost every part off the car and got it down to the bare shell. The bare shell did not go to waste. I found a local Mustang guy who would haul it off for me. He needed the front part of the chassis to repair another Mustang that was wrecked.
2003 Cleaning & Painting Parts
The engine and suspension part required quite a bit of cleaning. I used a variety of powder coating, POR 15 and spray paint to get them looking new.

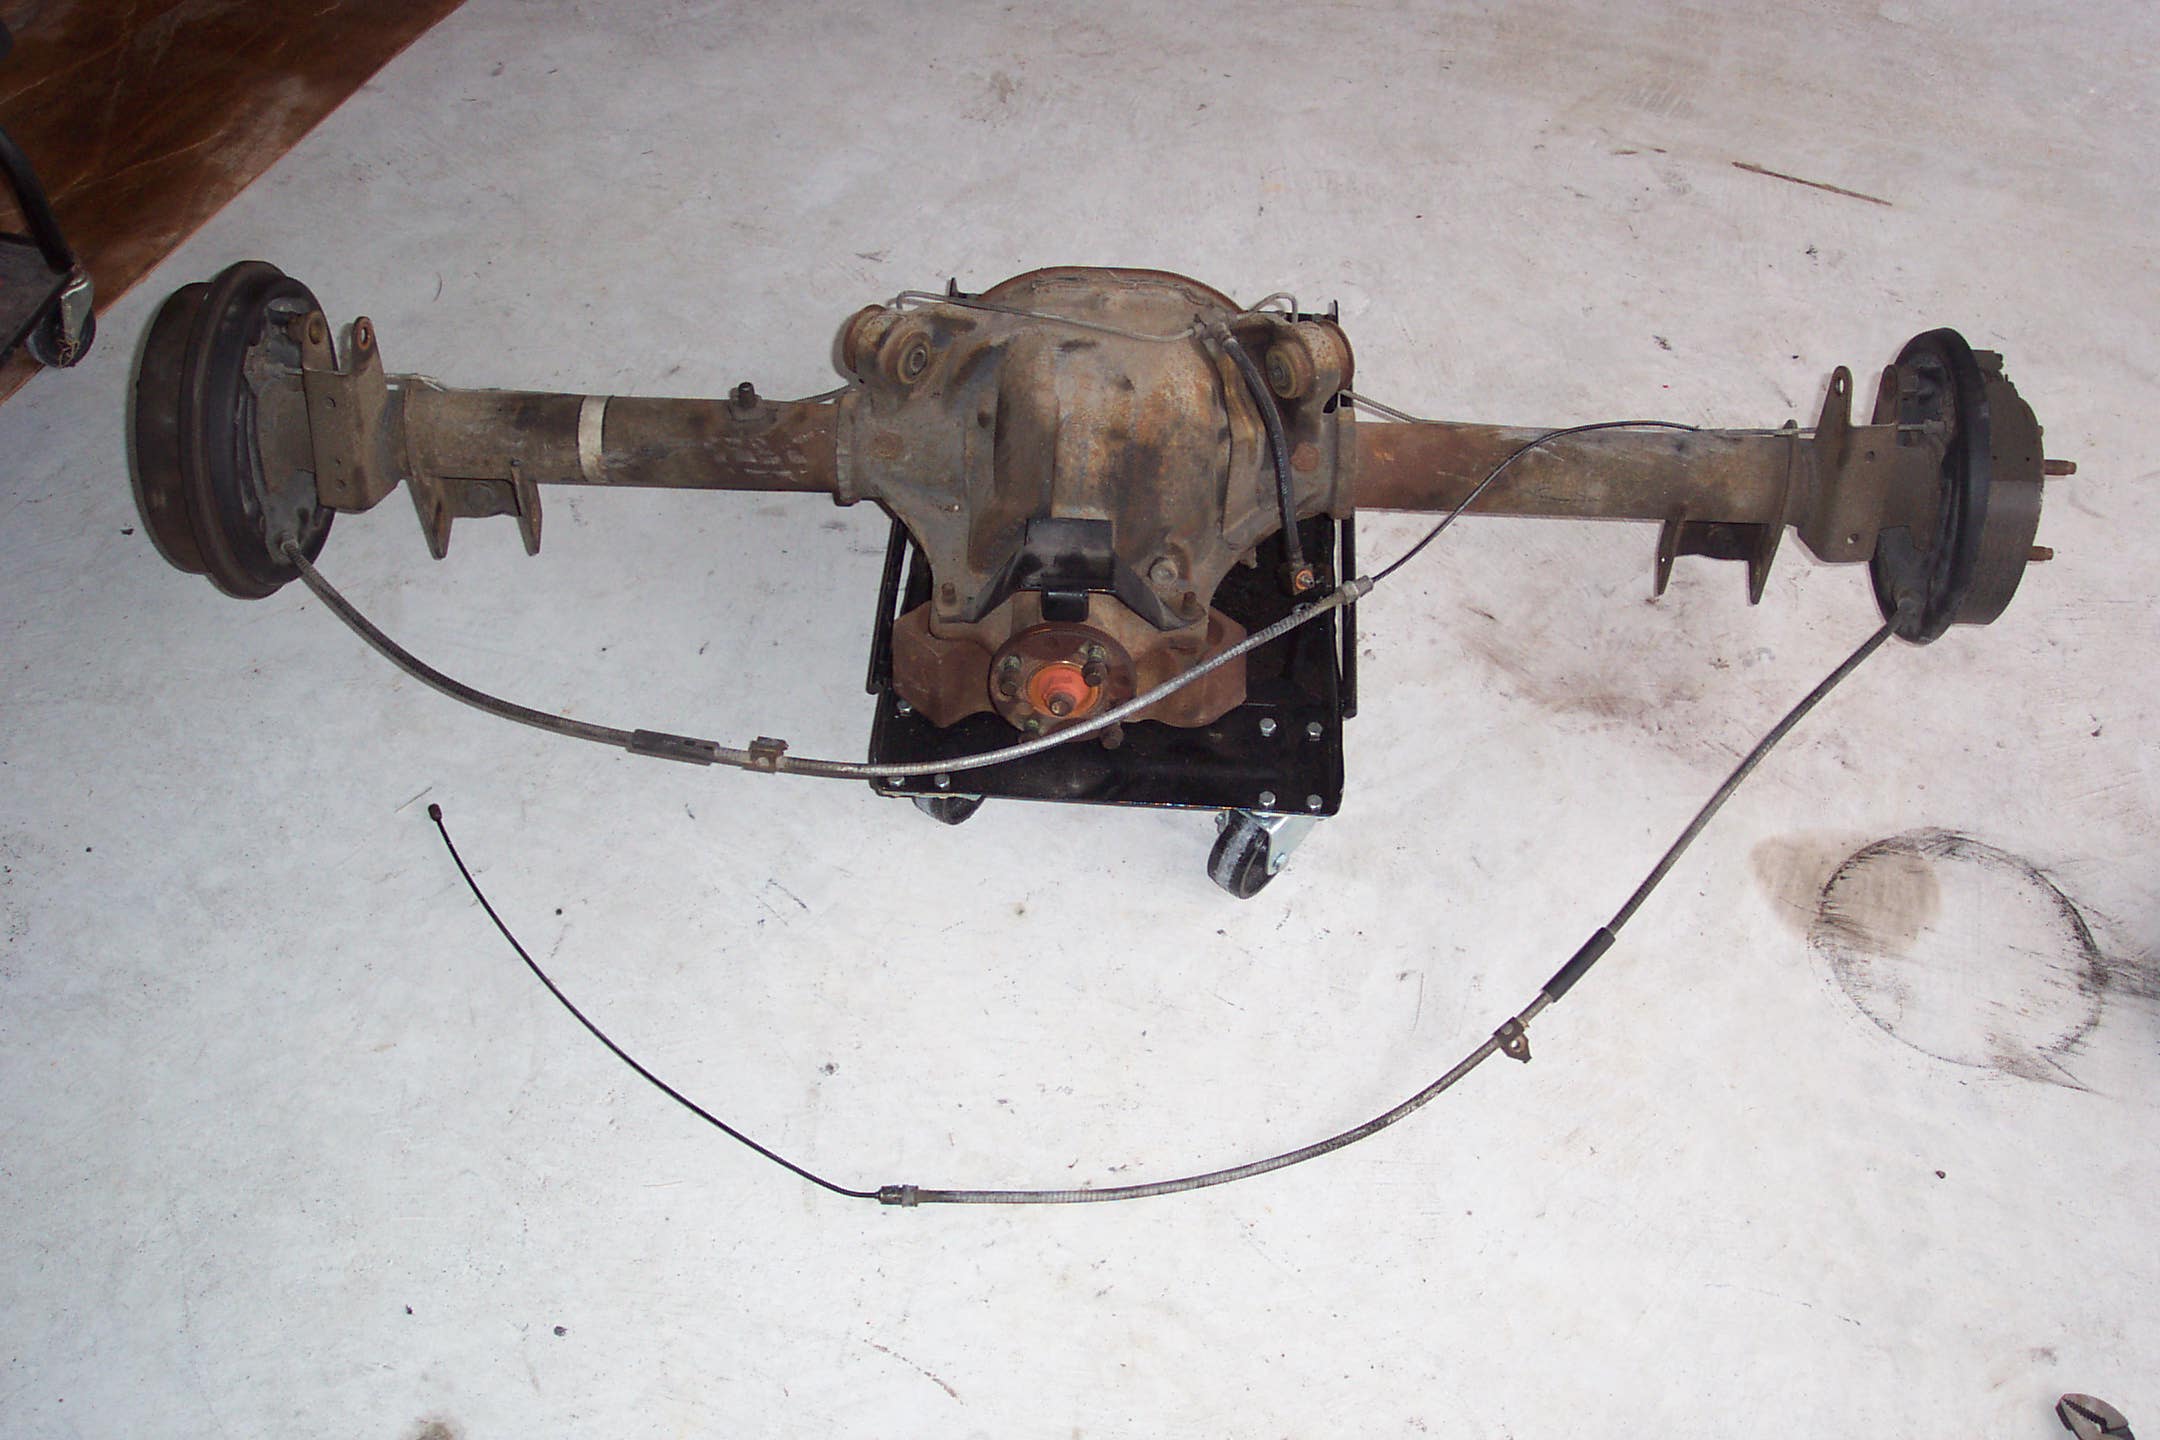
Here is the rear axle before any work was done. It cleaned up pretty well. I also replaced the rear differential cover with a new chrome one.
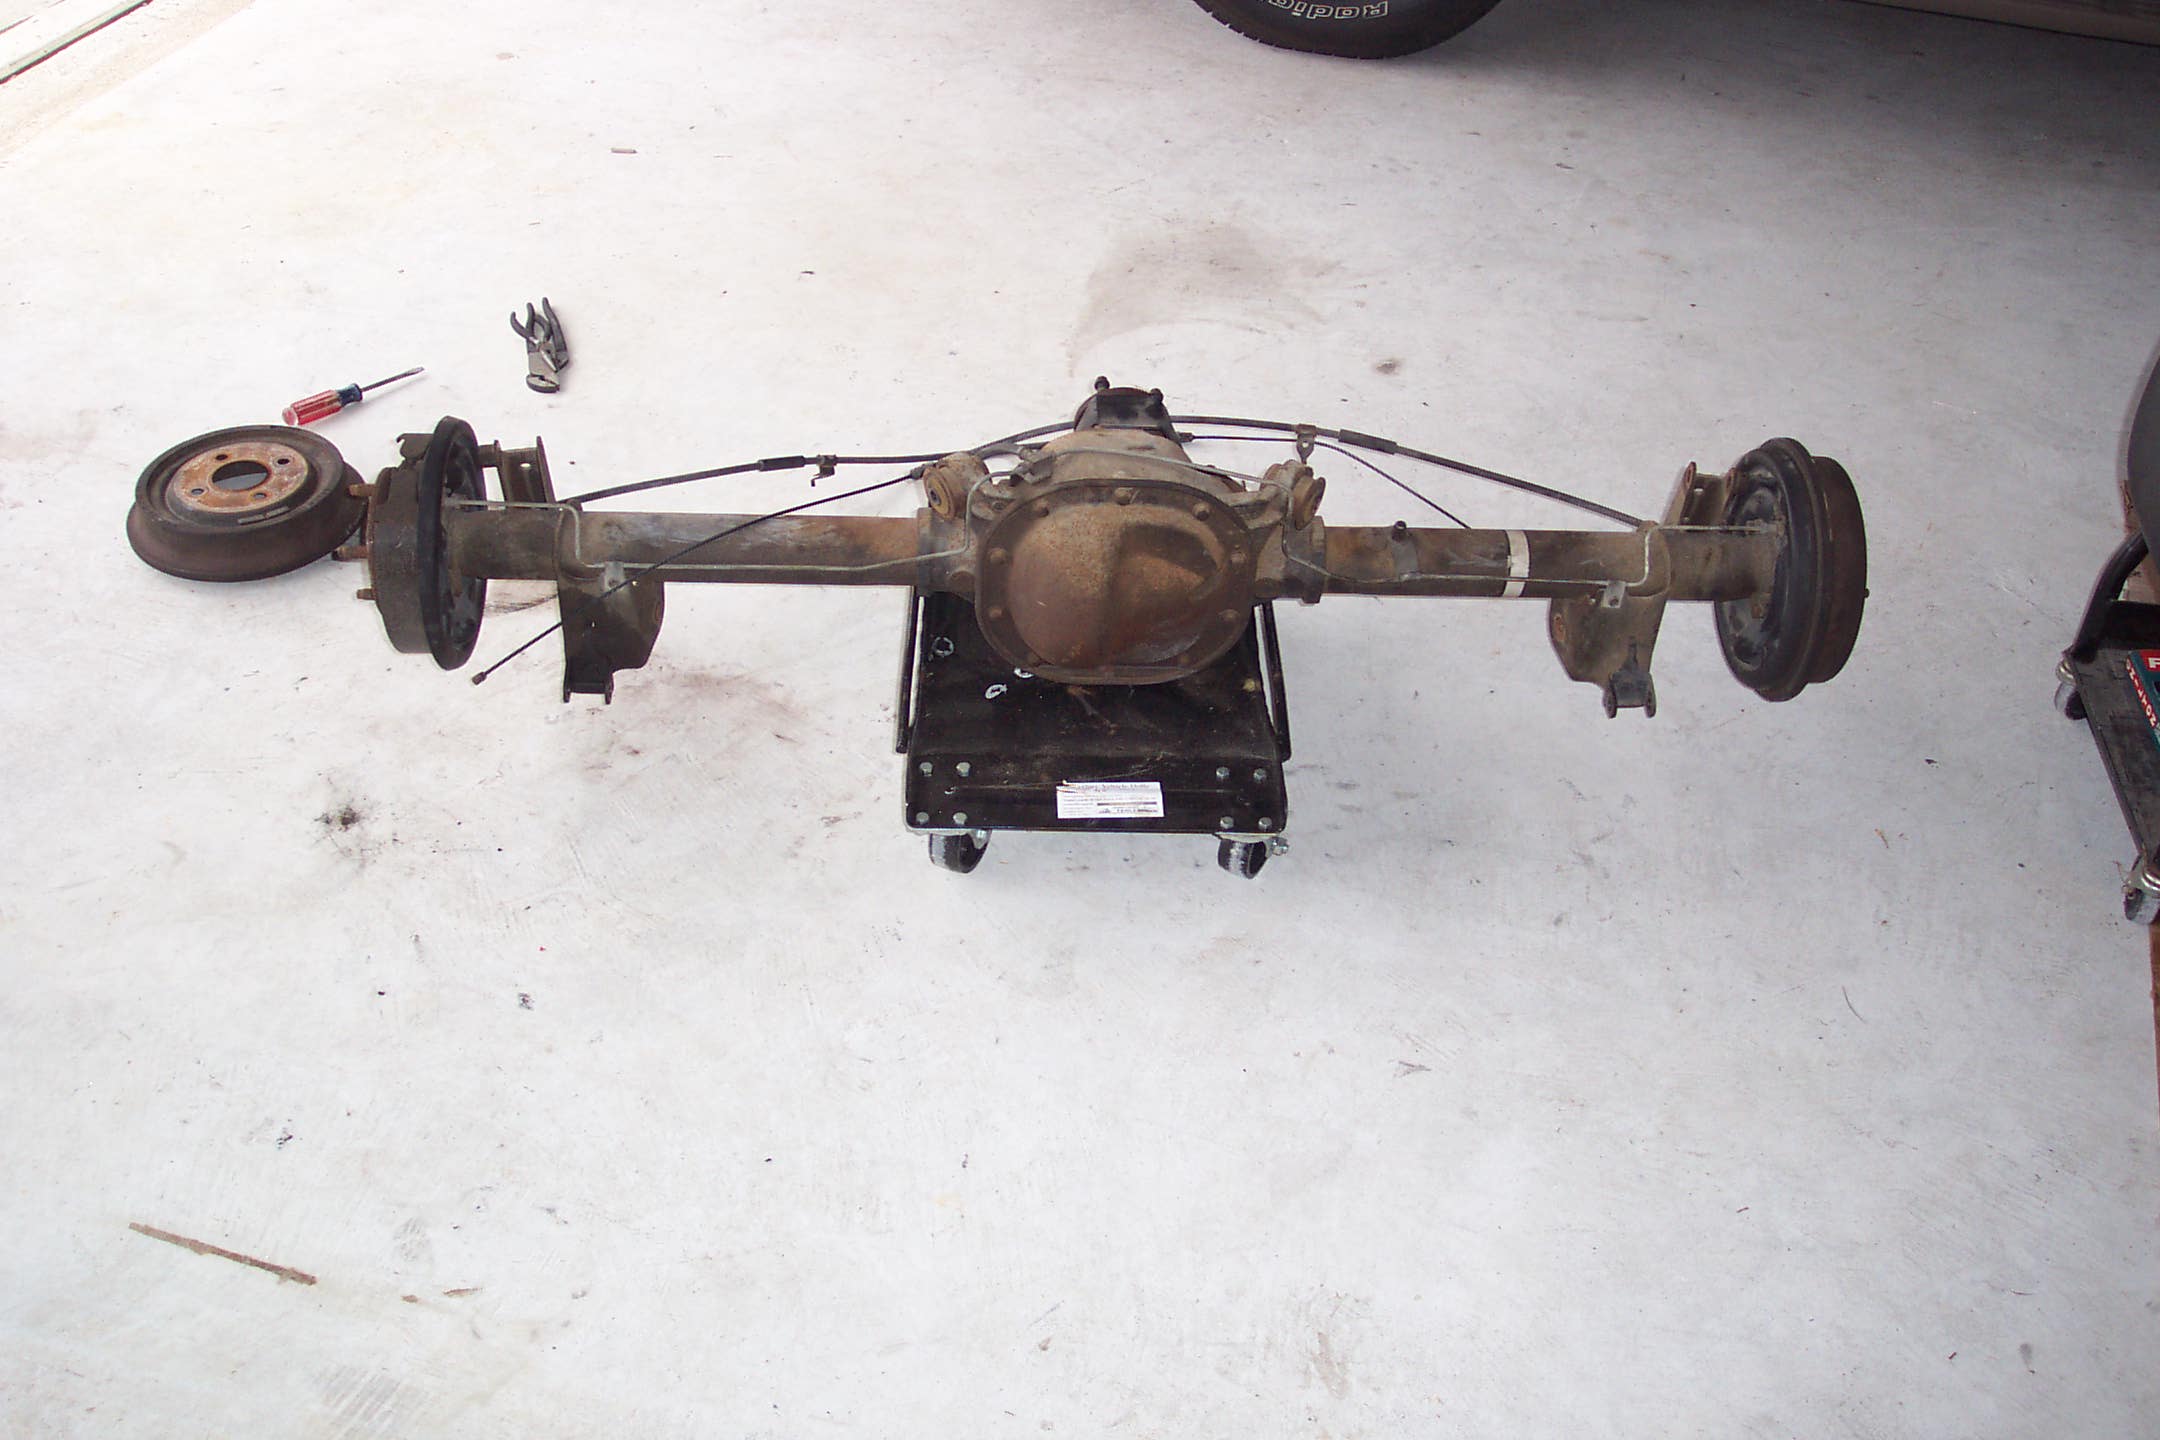

The entire brake system on the rear axle was replaced and converted to disc brakes. That meant minimal cleaning, but lots of new parts
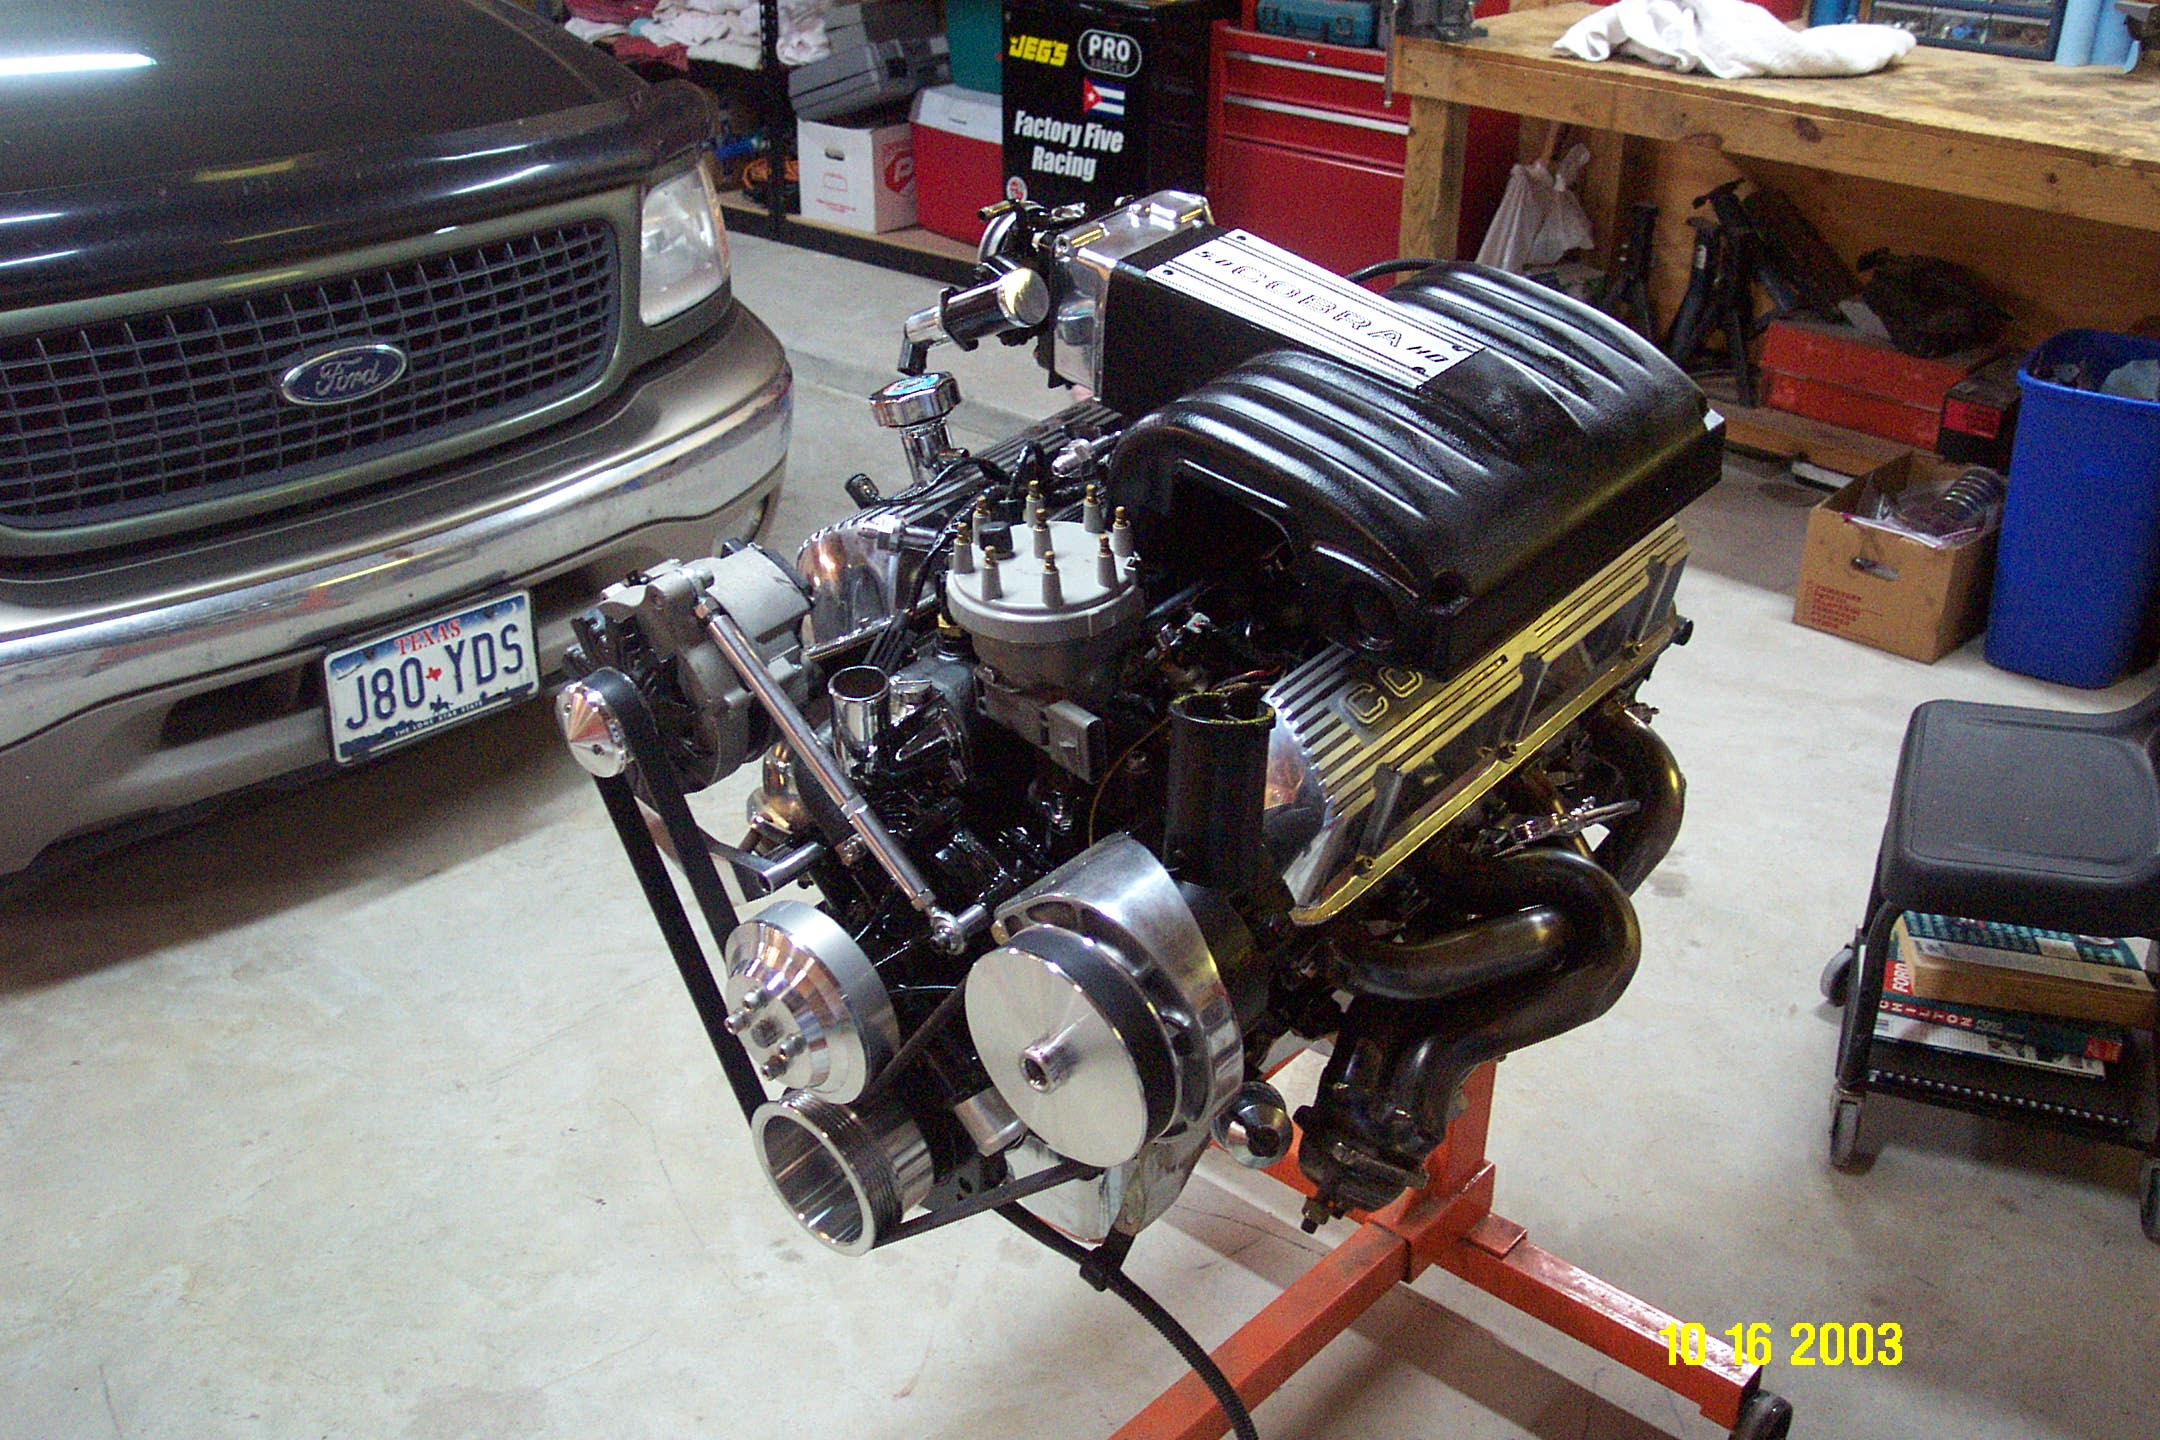
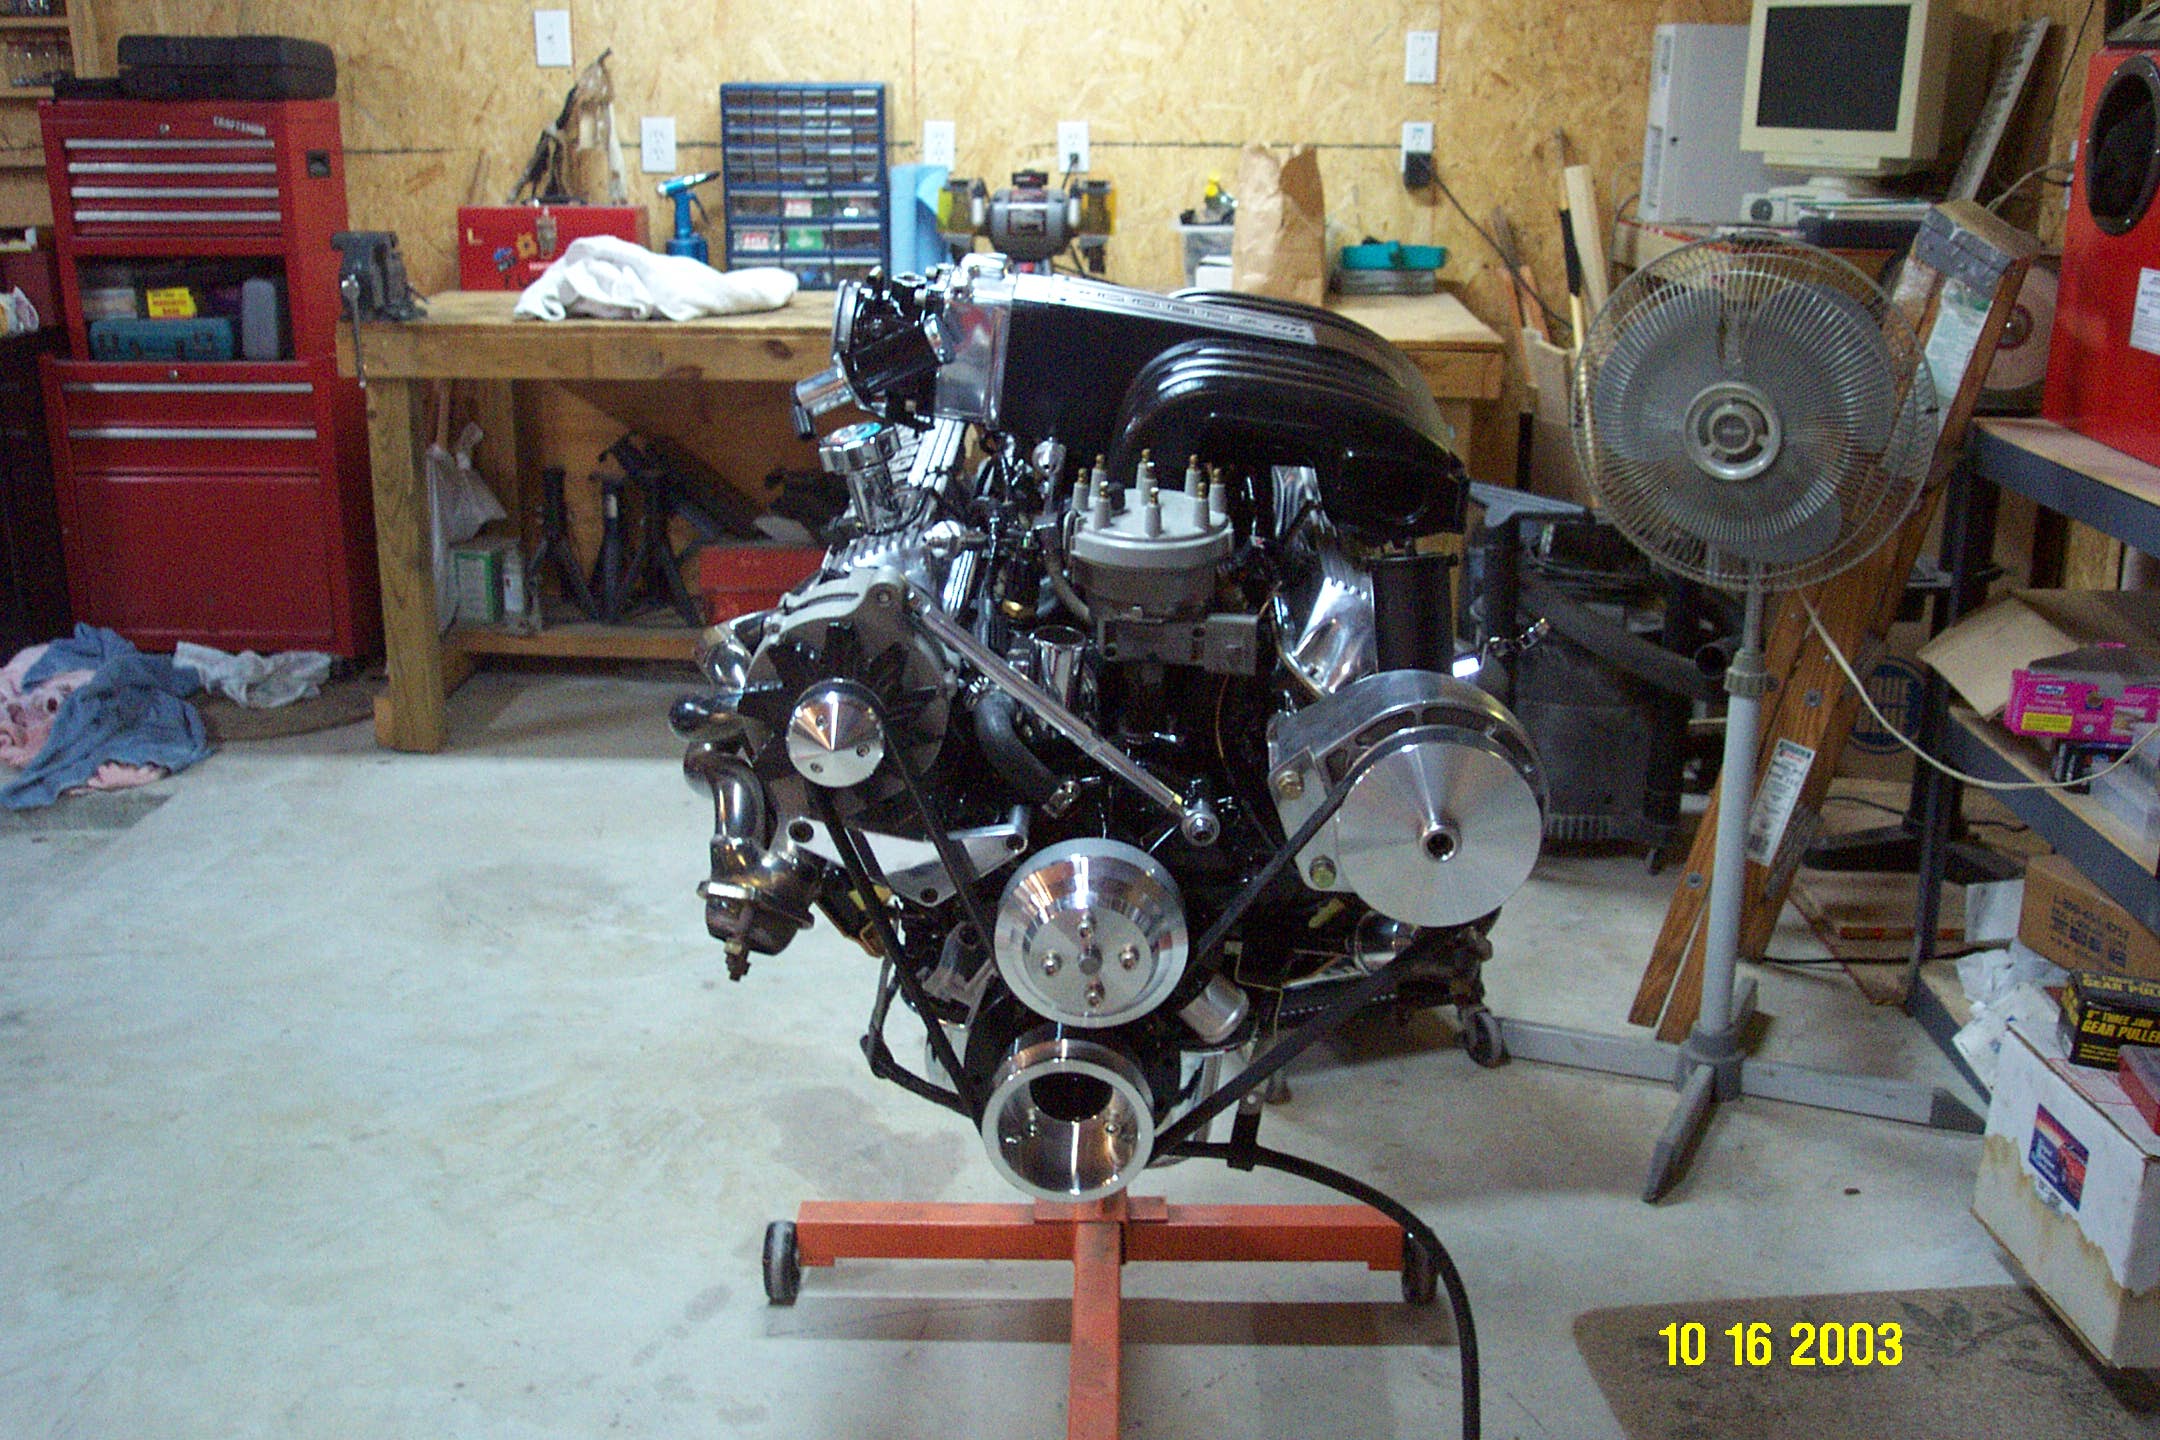
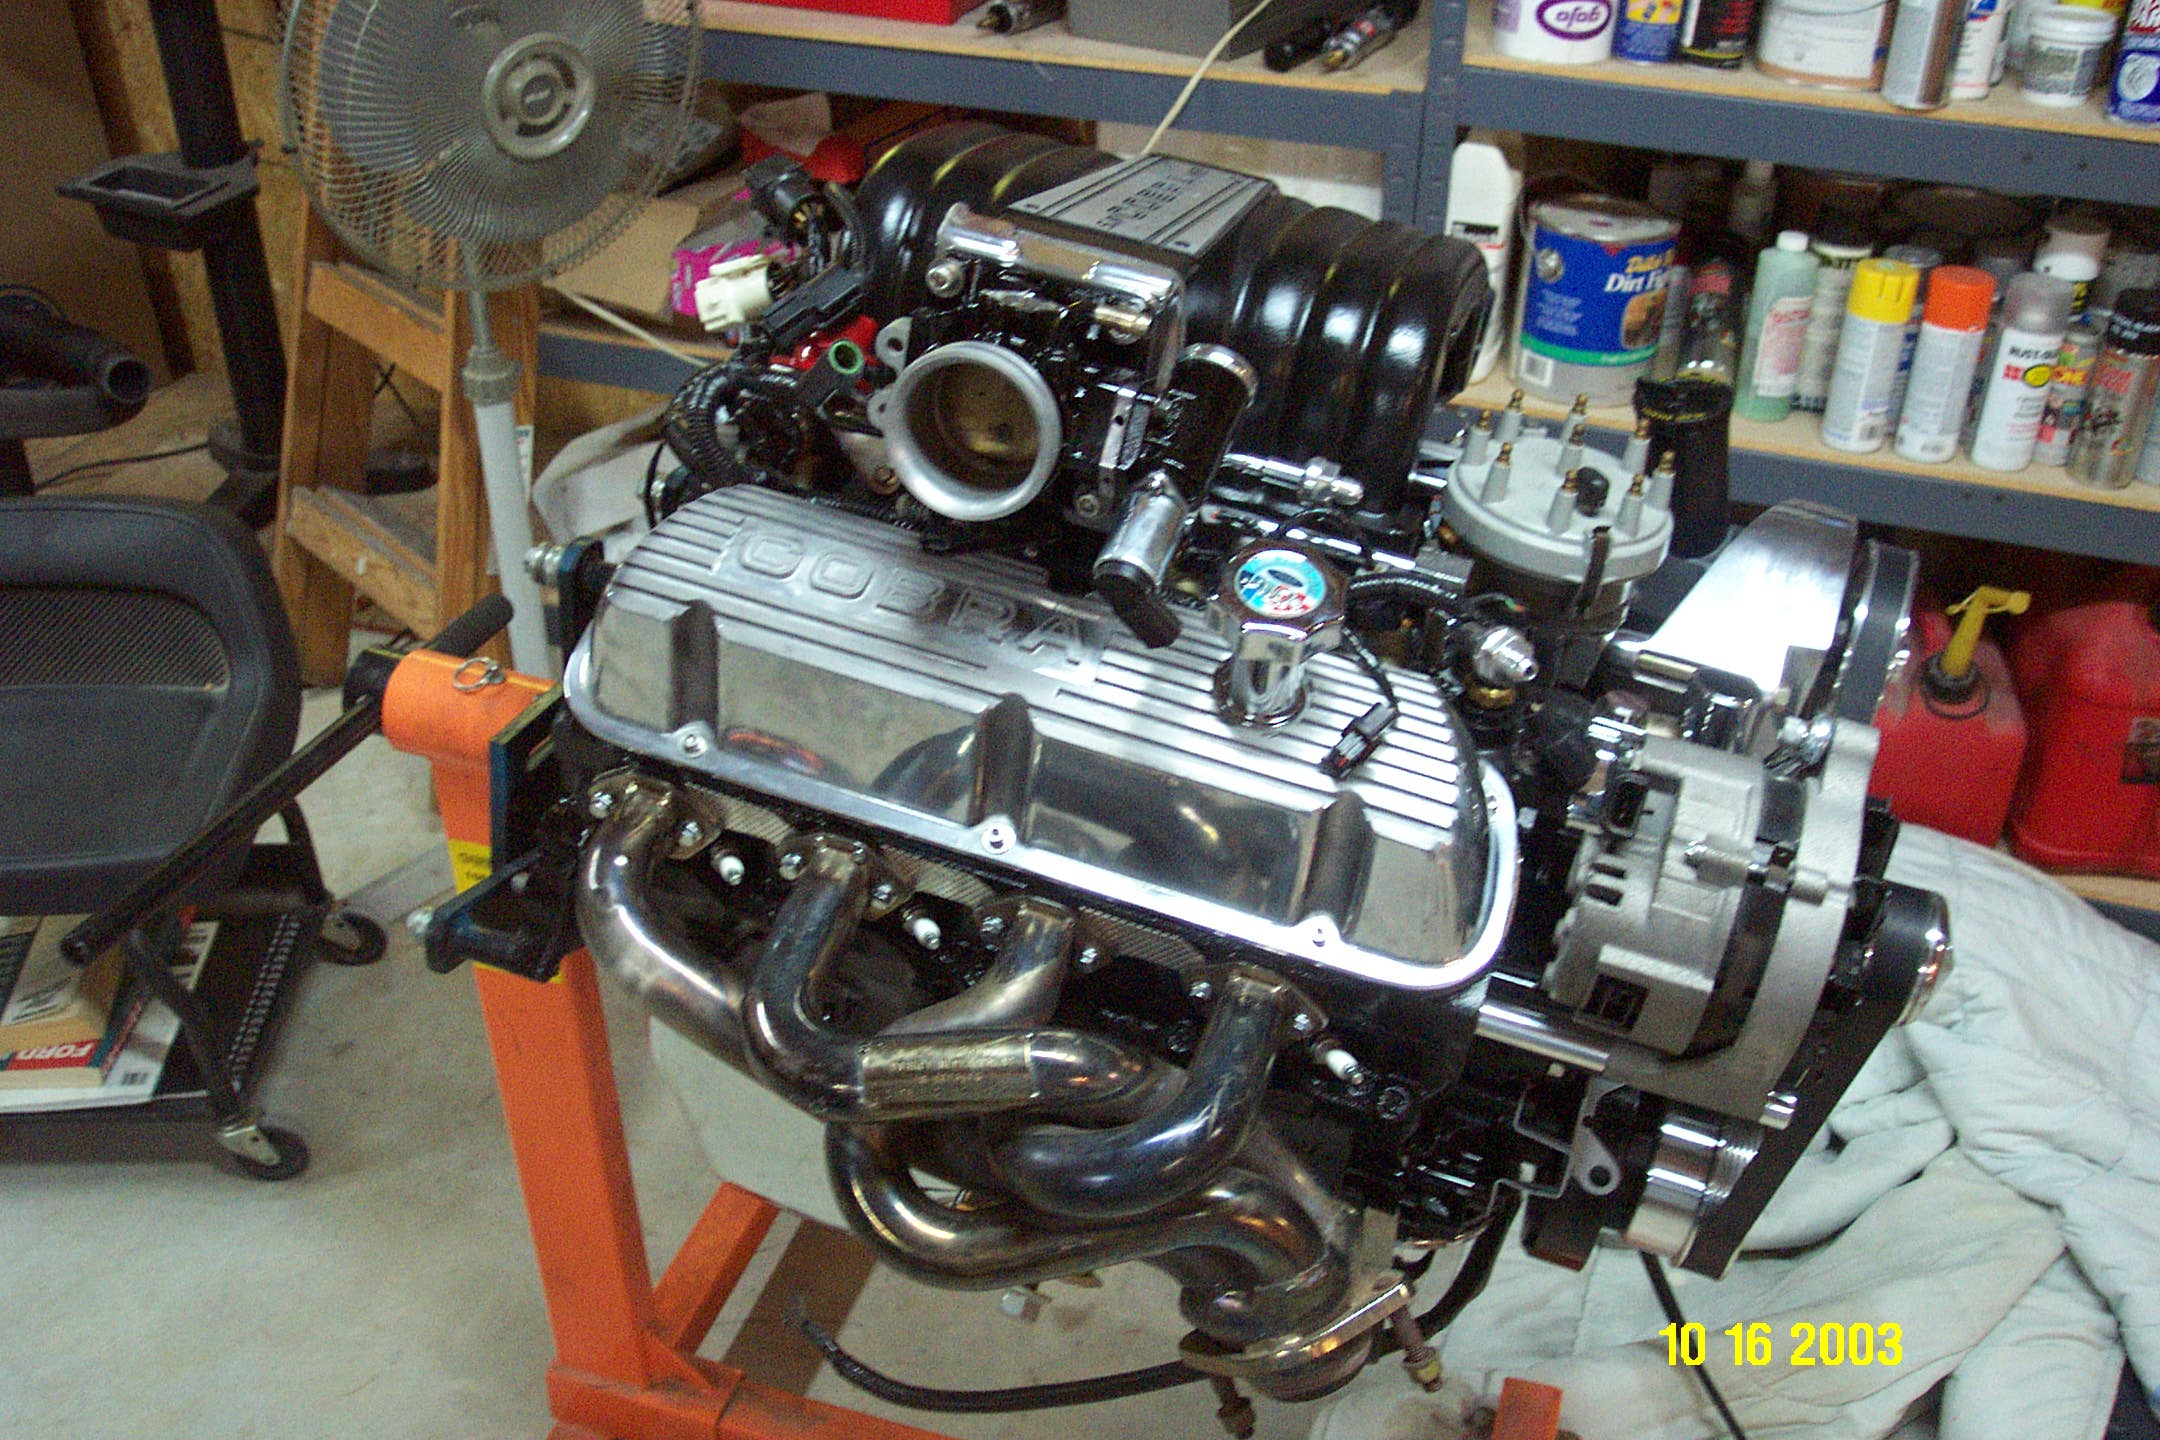
The engine got an overhaul as well as a paint job. I also replaced the valve covers and pulleys with polished aluminum parts.
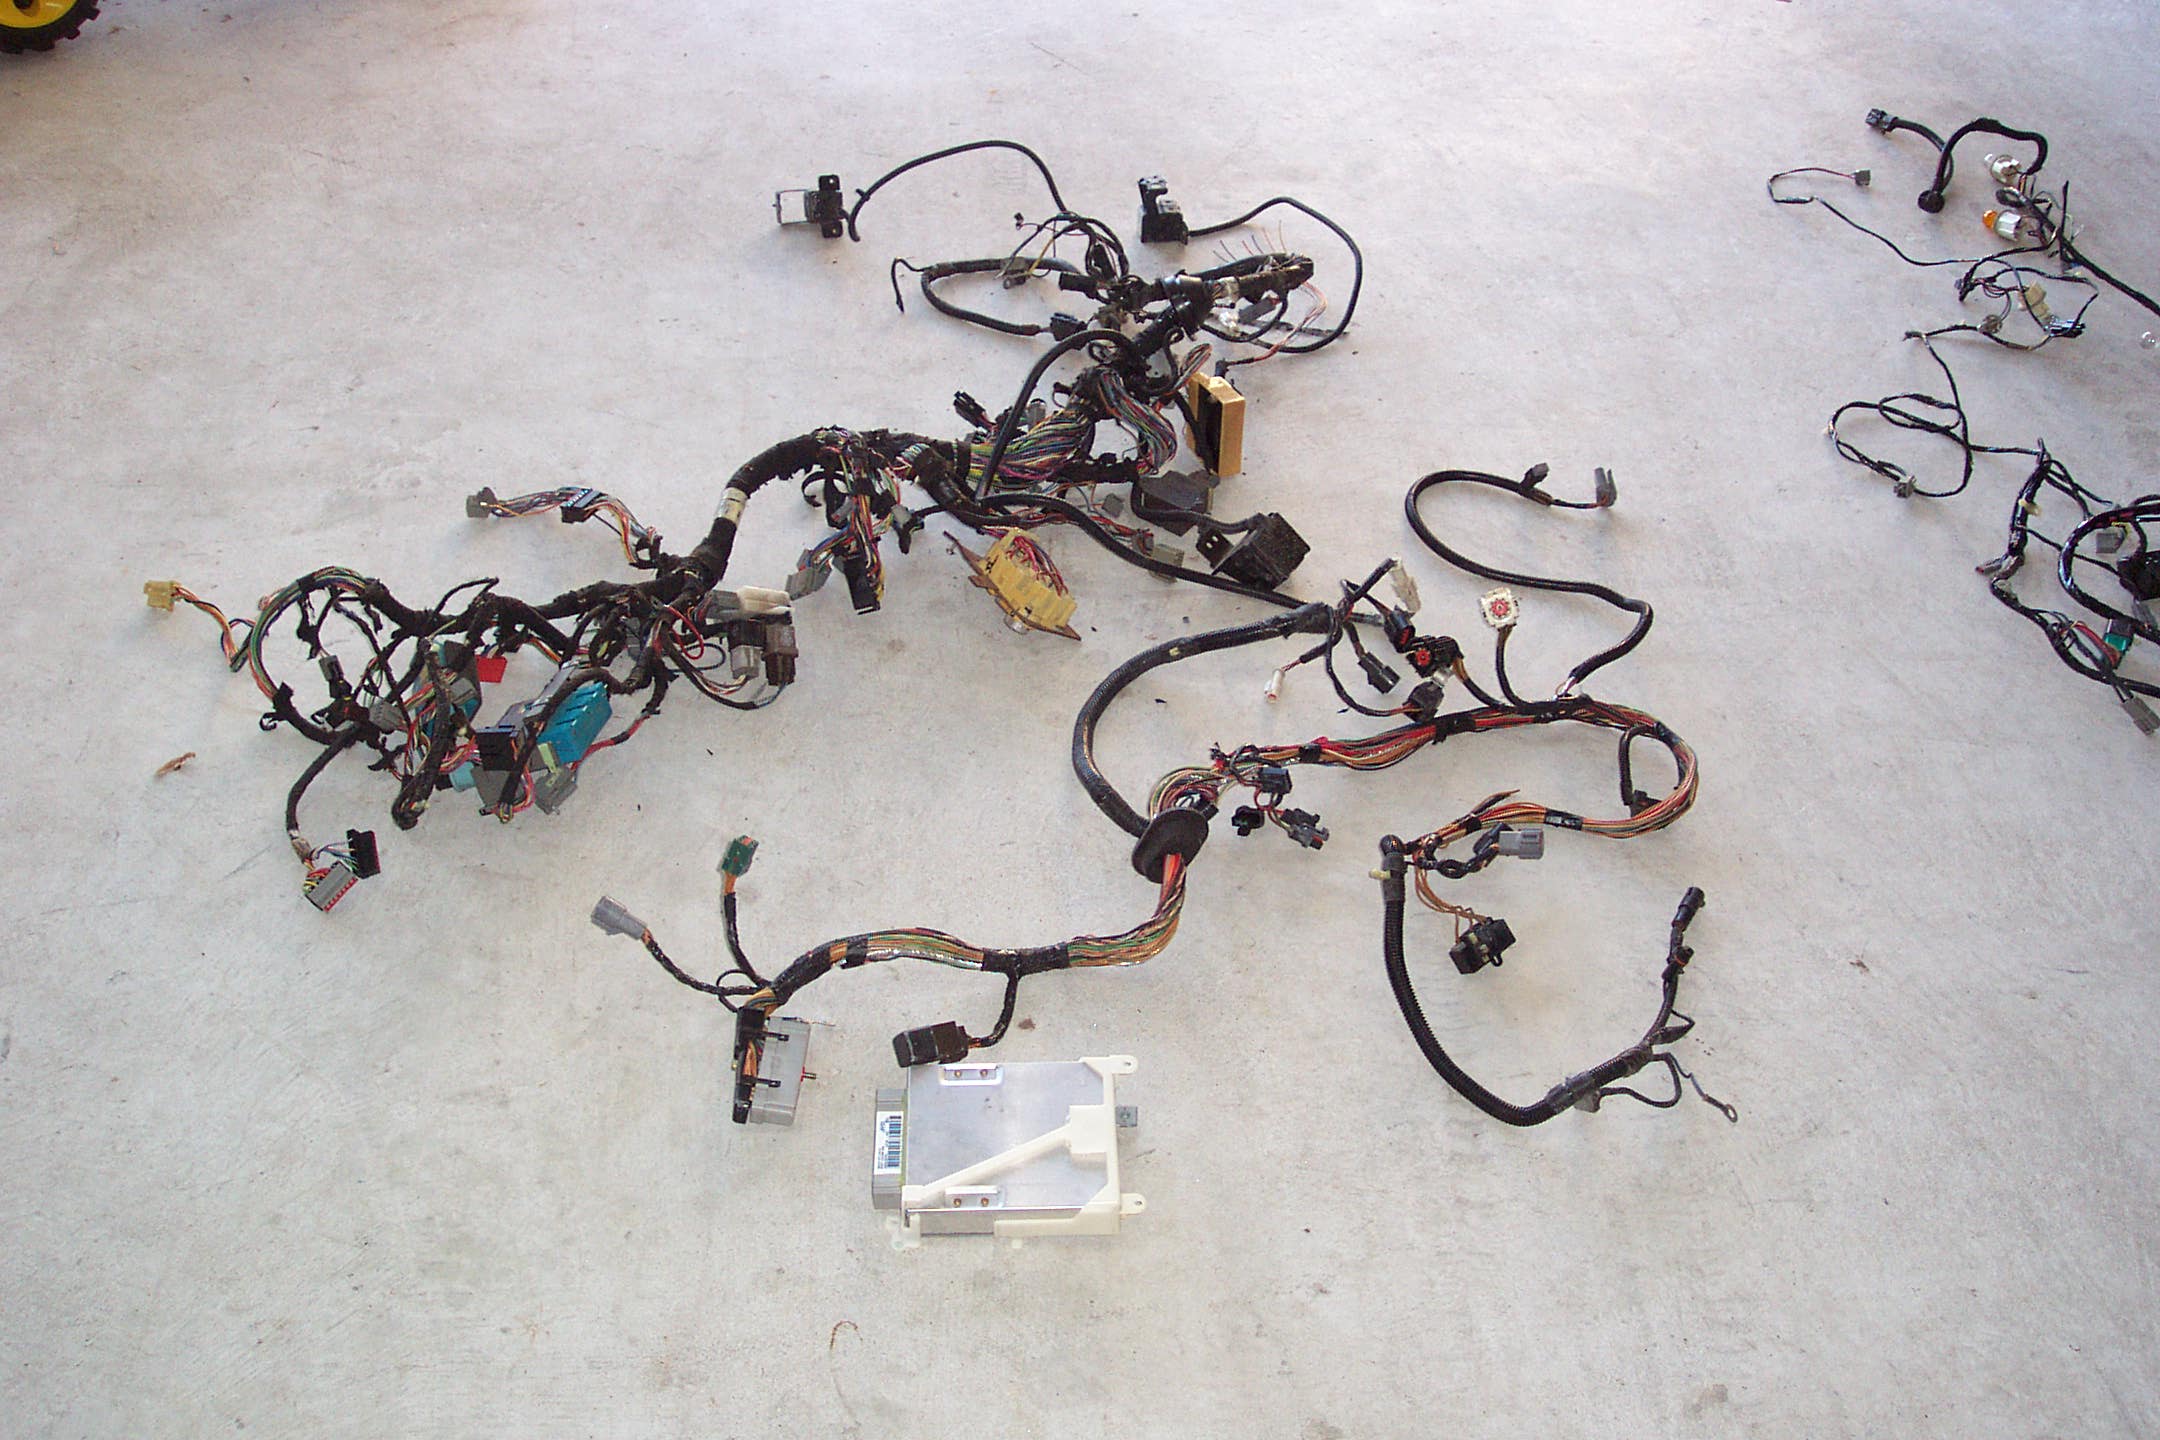
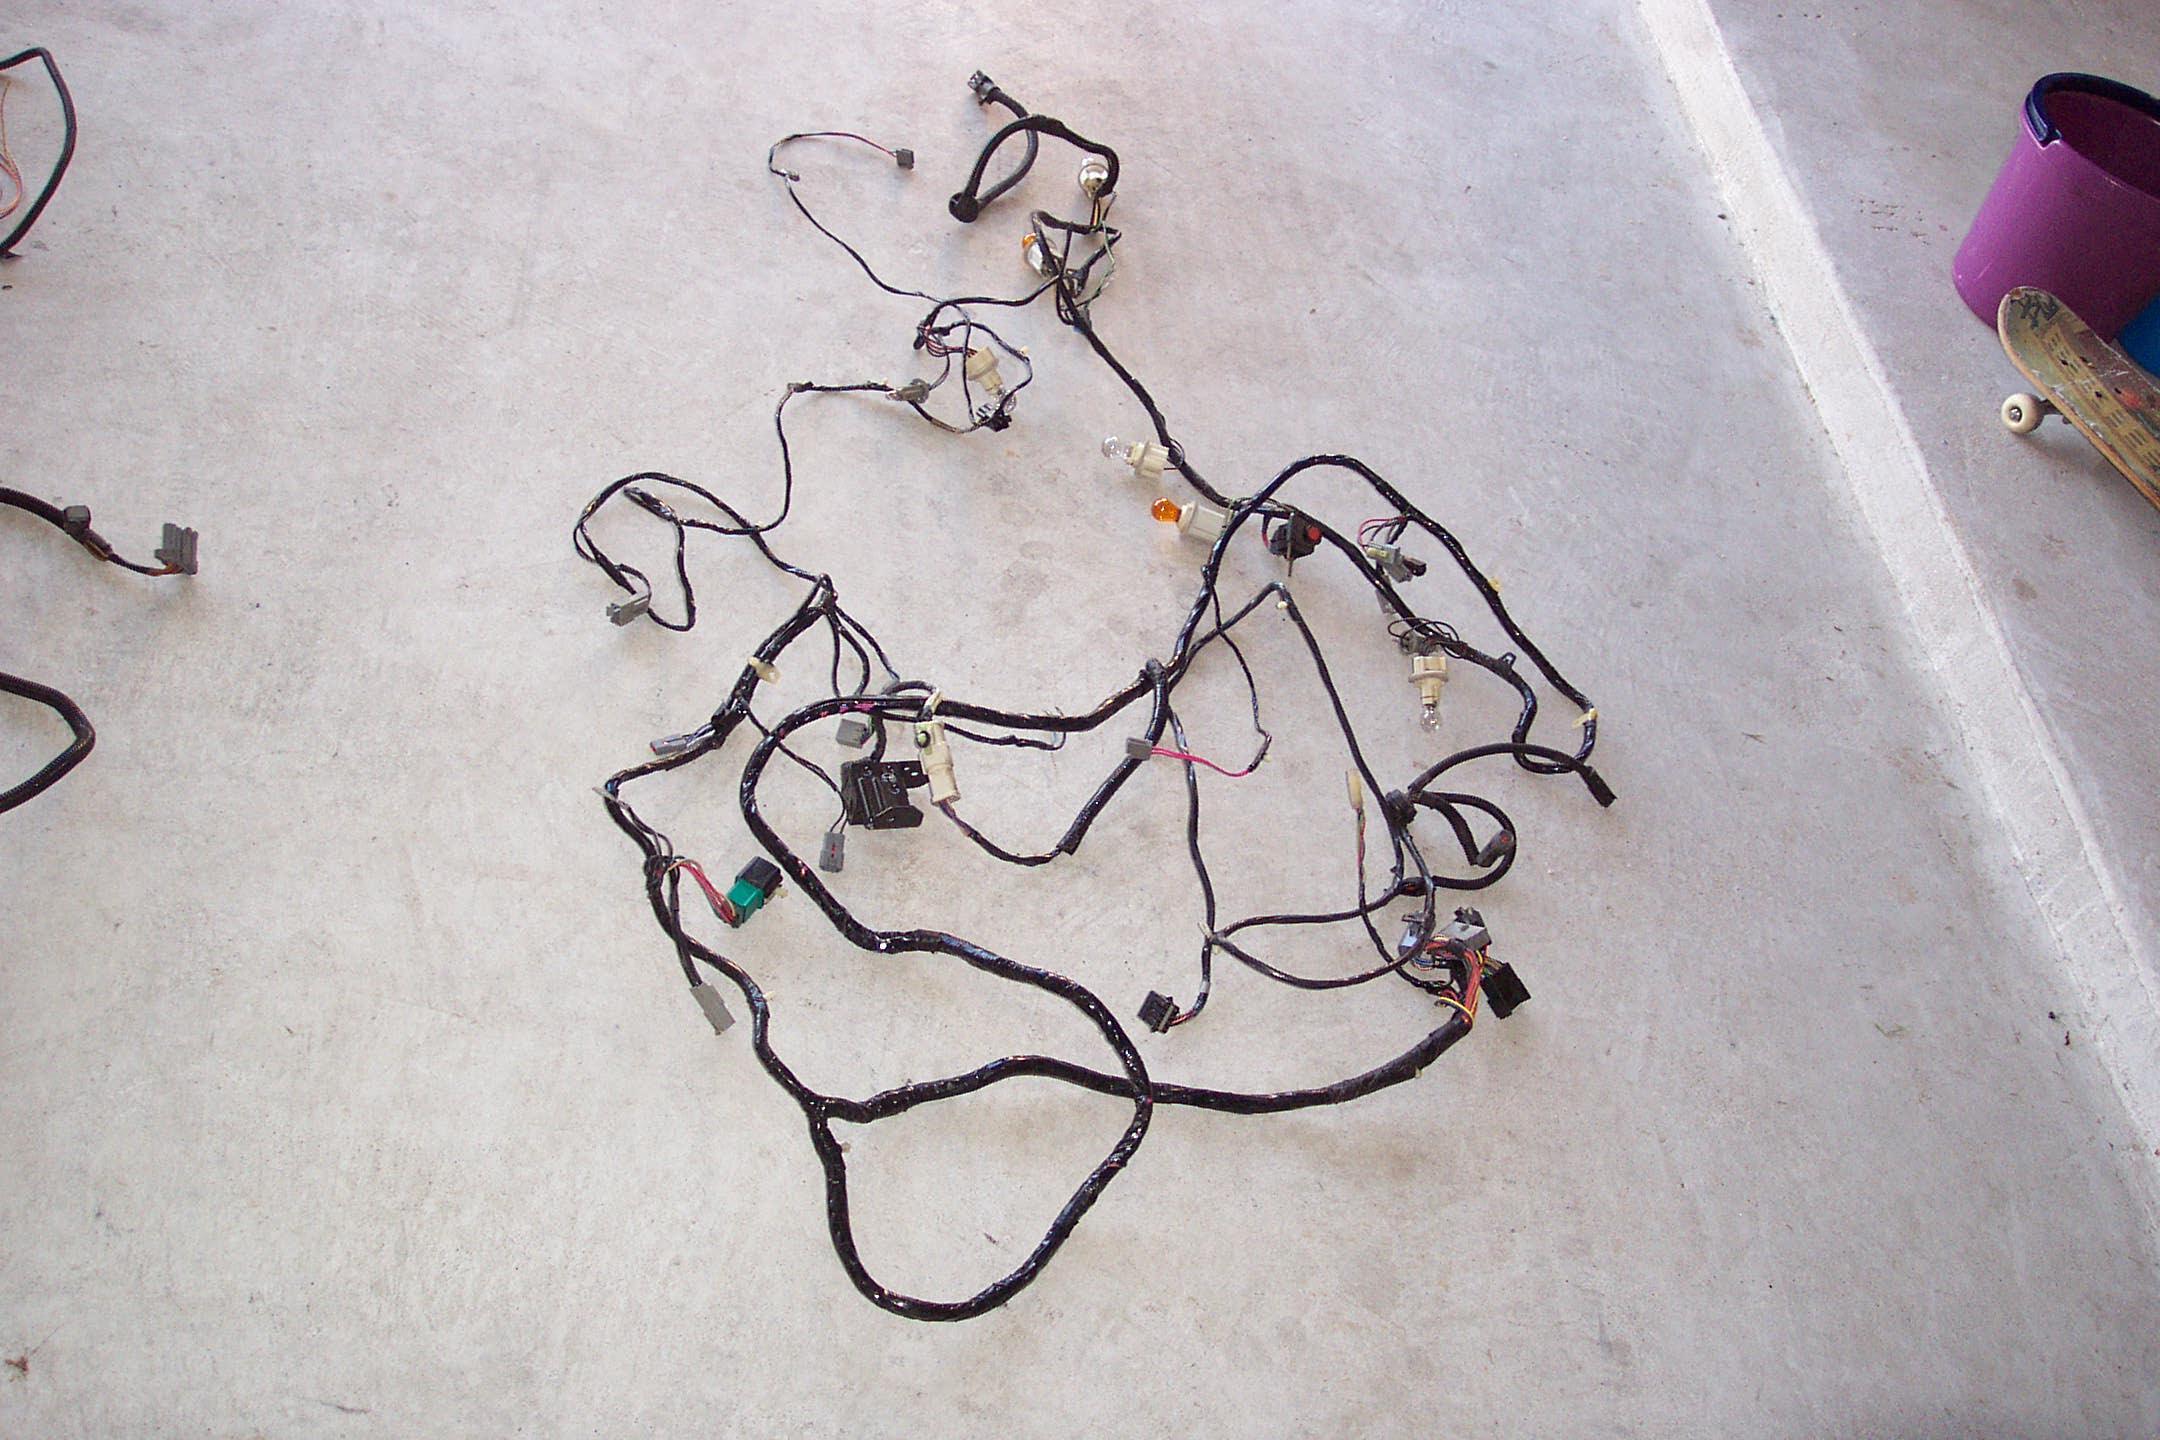
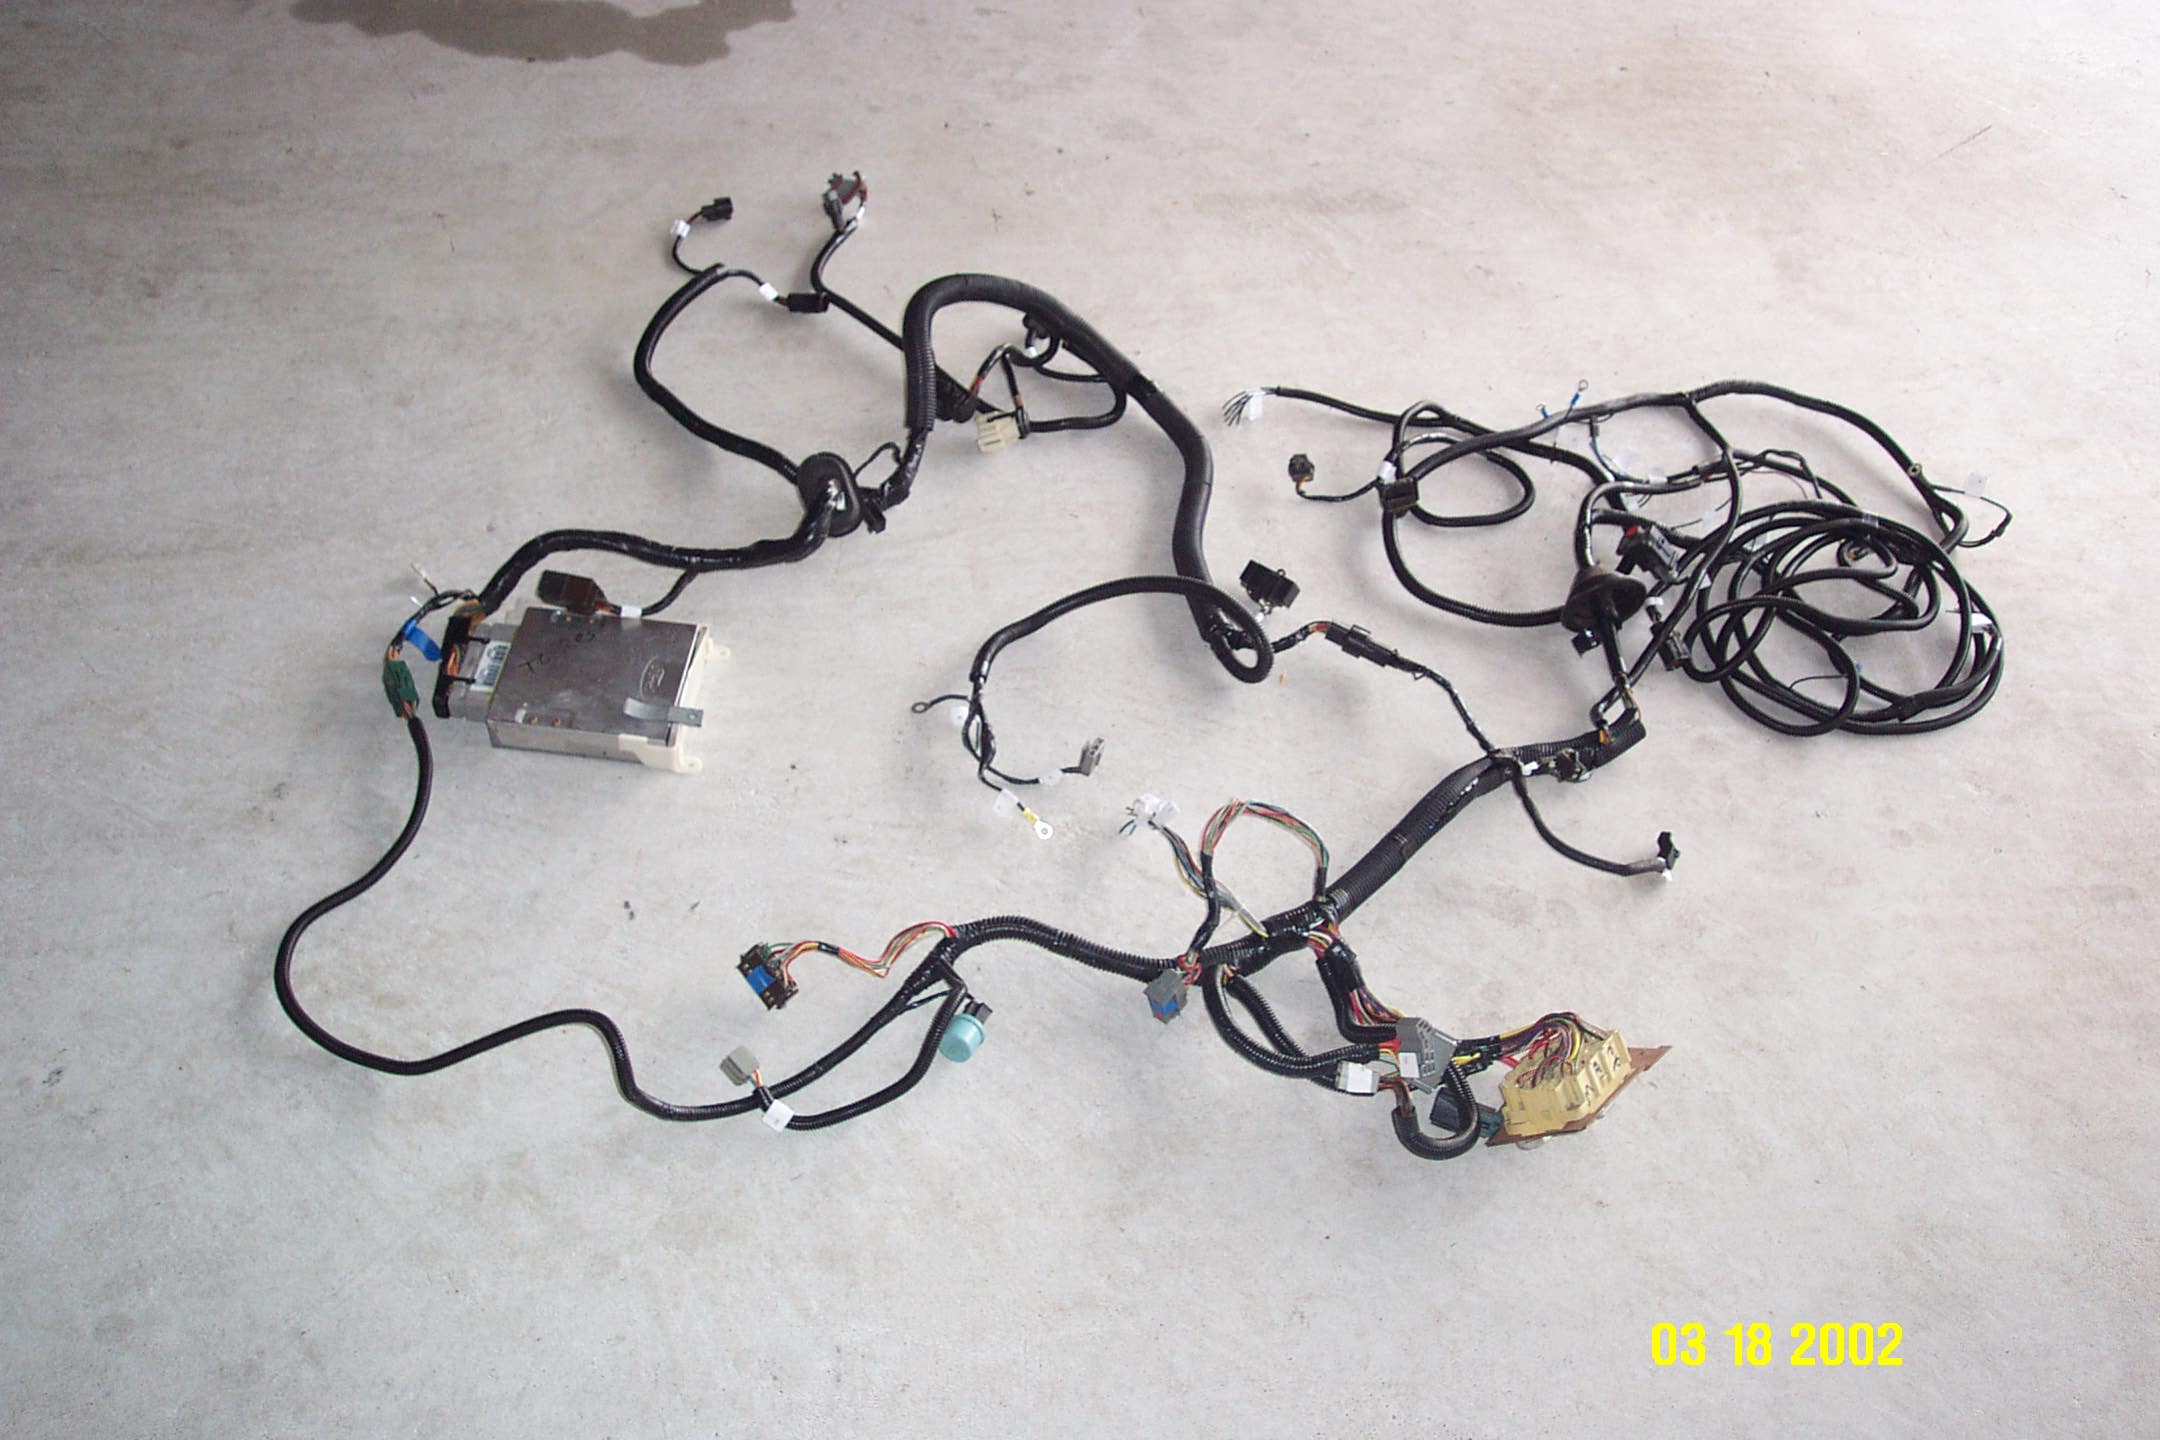
Even though you don’t see the wiring, it got some cleanup as well. The wiring in the first and second picture came straight out of the Mustang donor. In the last picture it has been cleaned up, all the extra wiring for air conditioning, power windows, radio, etc. have been removed.
2003 Five Lug Disc Conversion
Here is a side by side comparison after most of the work was completed. The new system will better braking and will also look better when seen through the wheel.
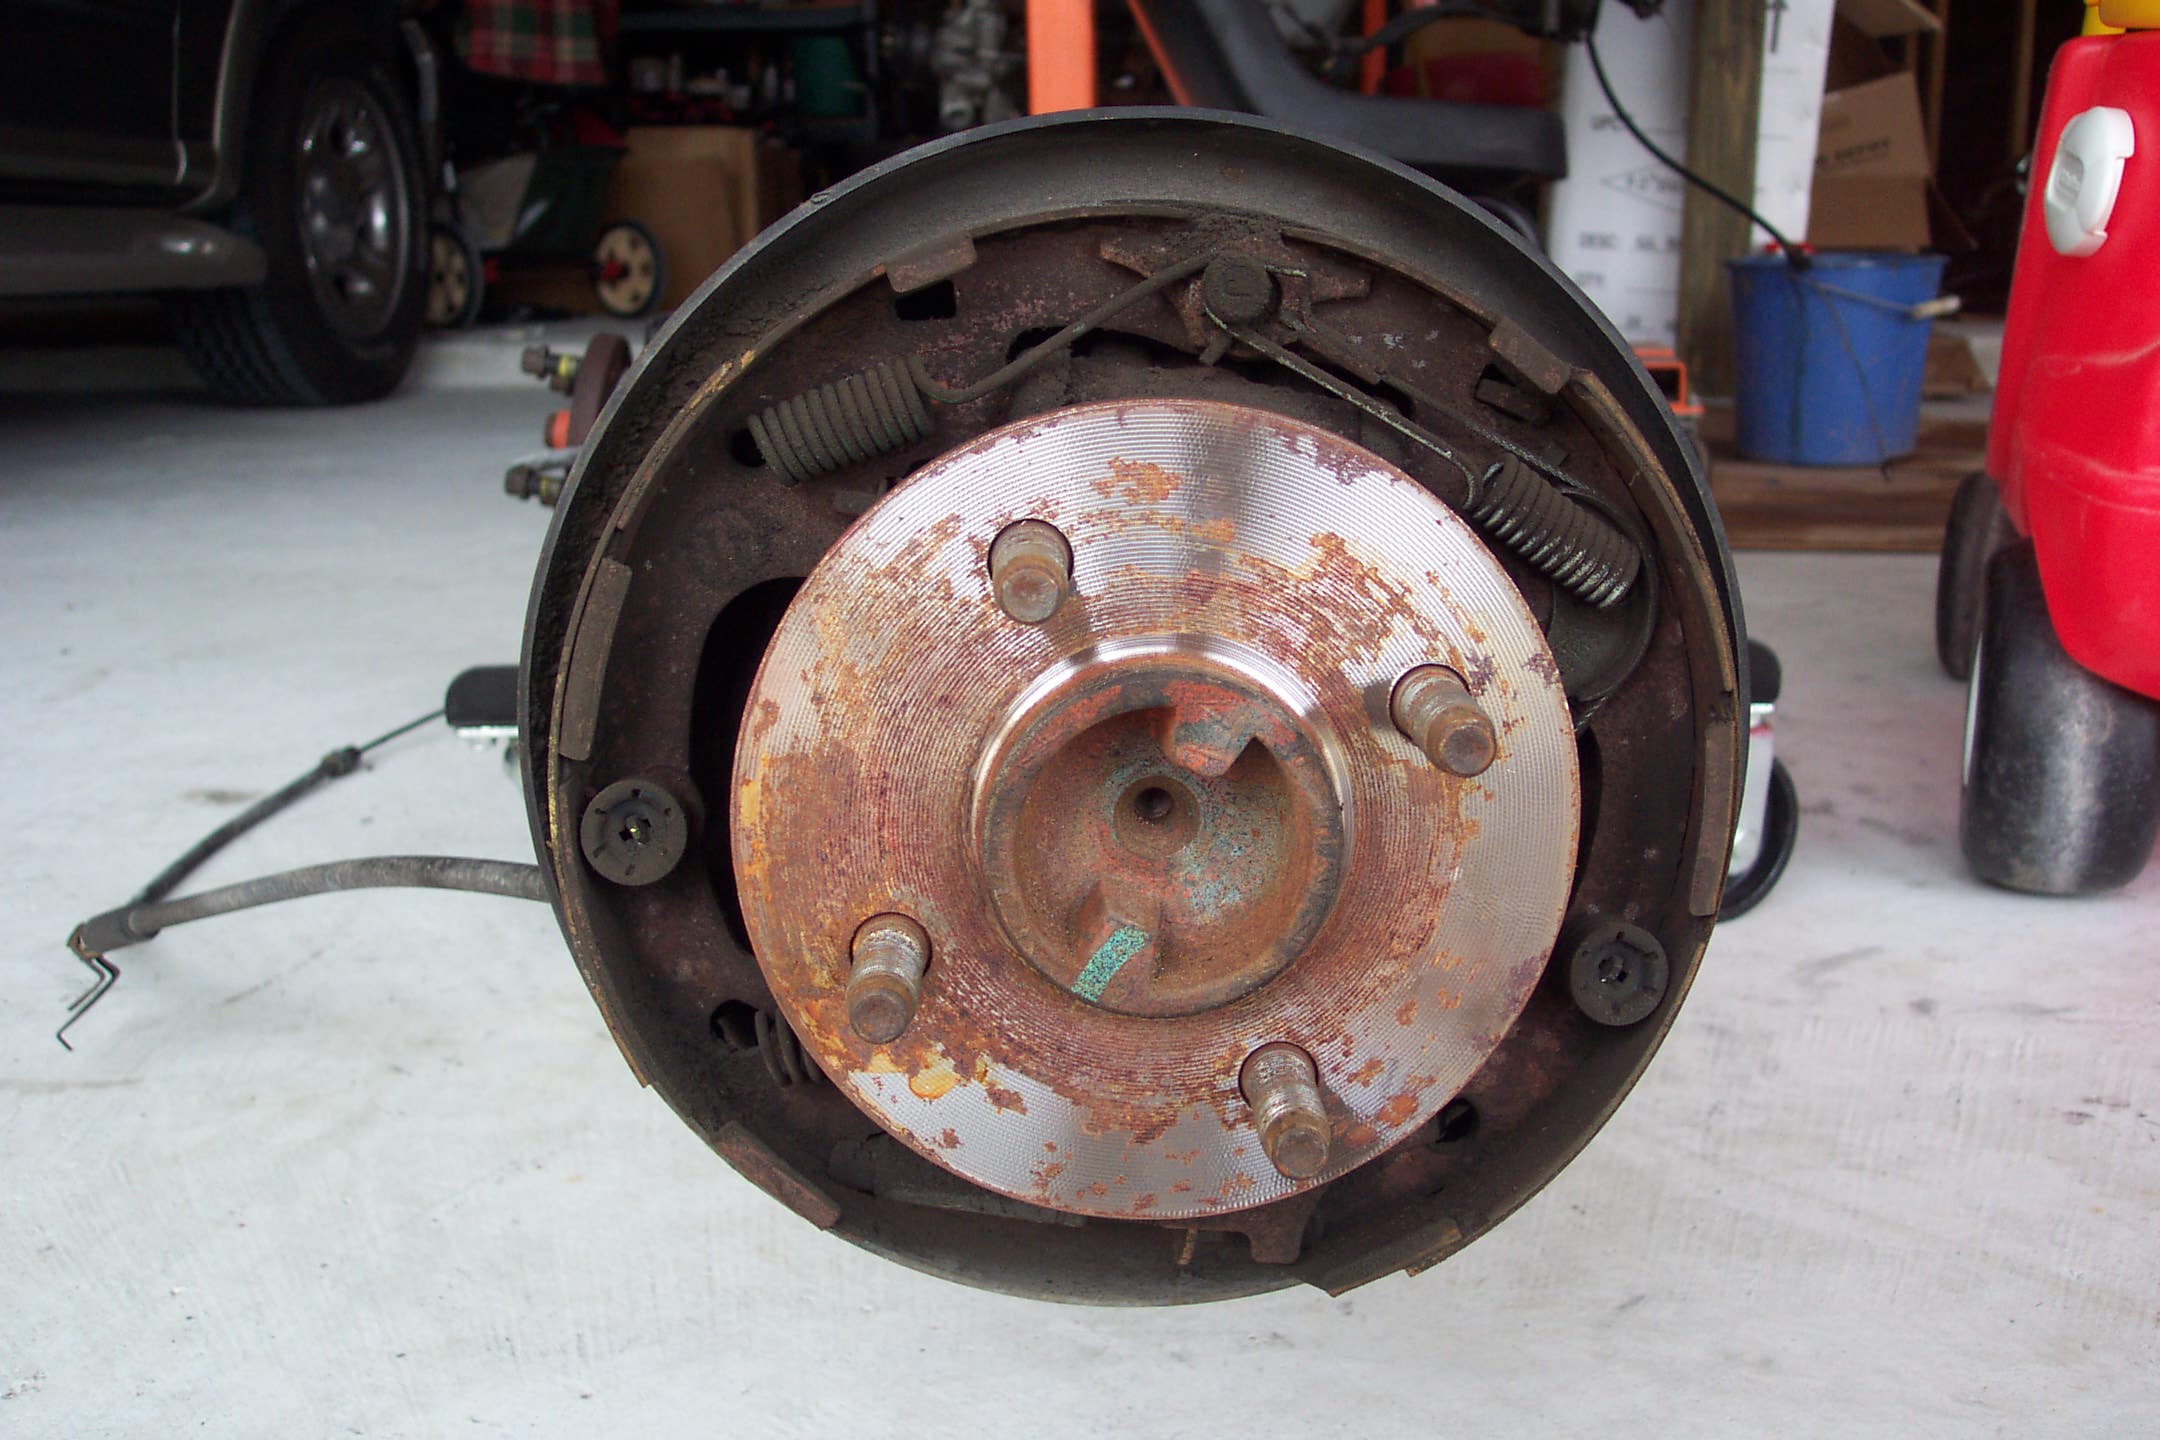
Here is the old drum brake system just as it came out of the Mustang.
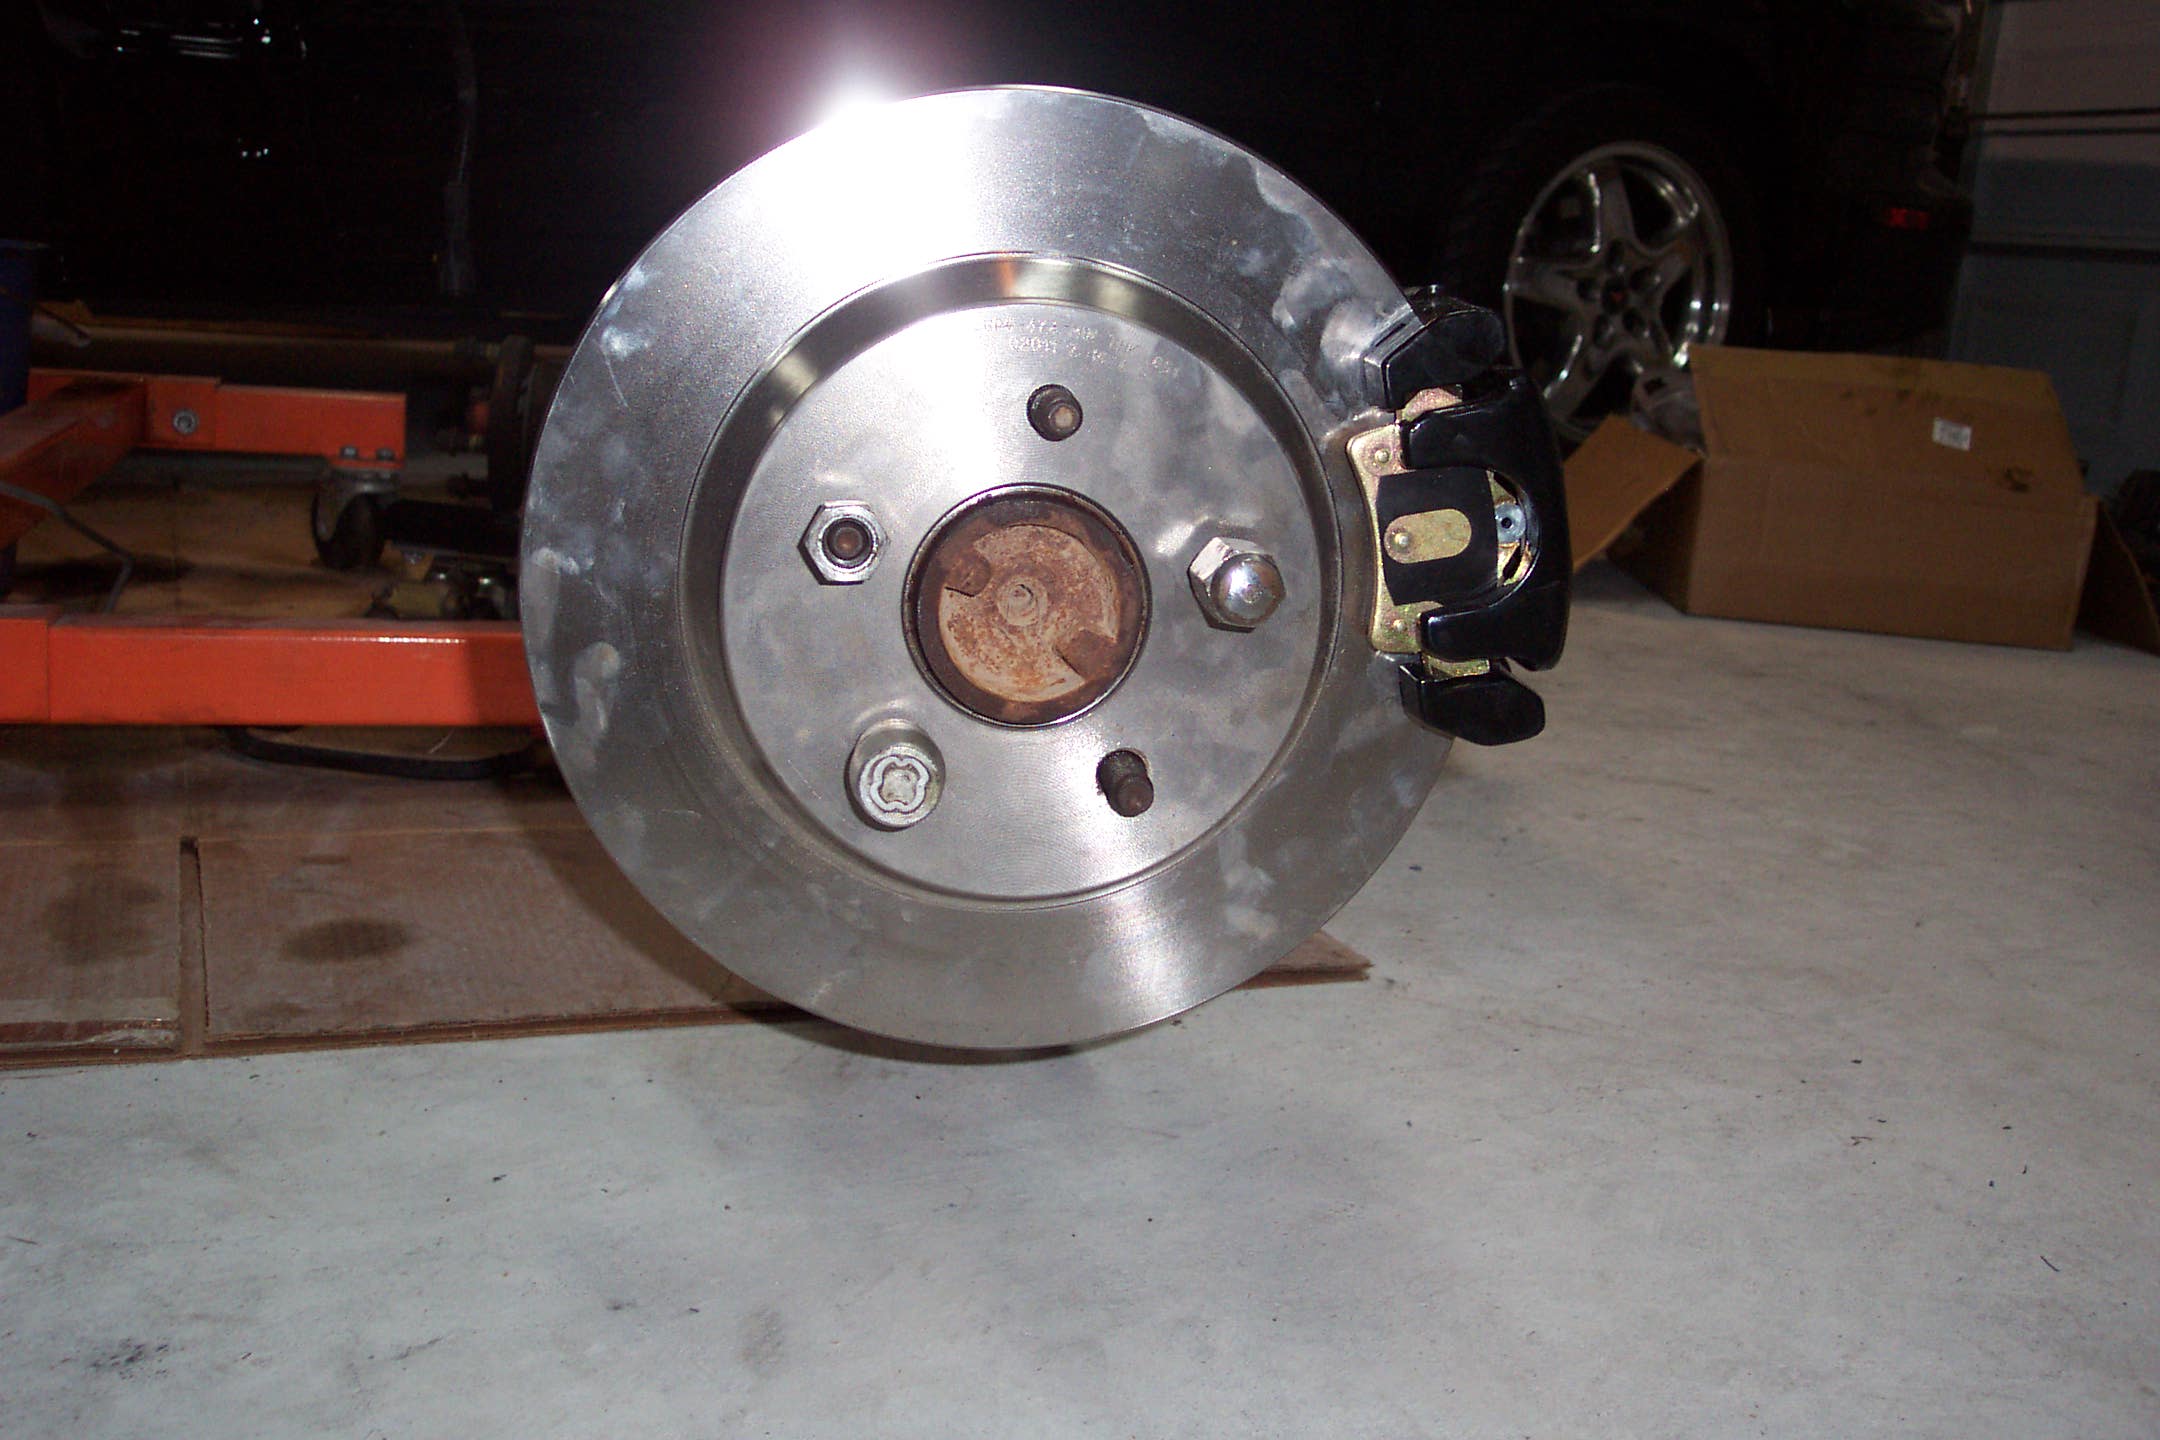
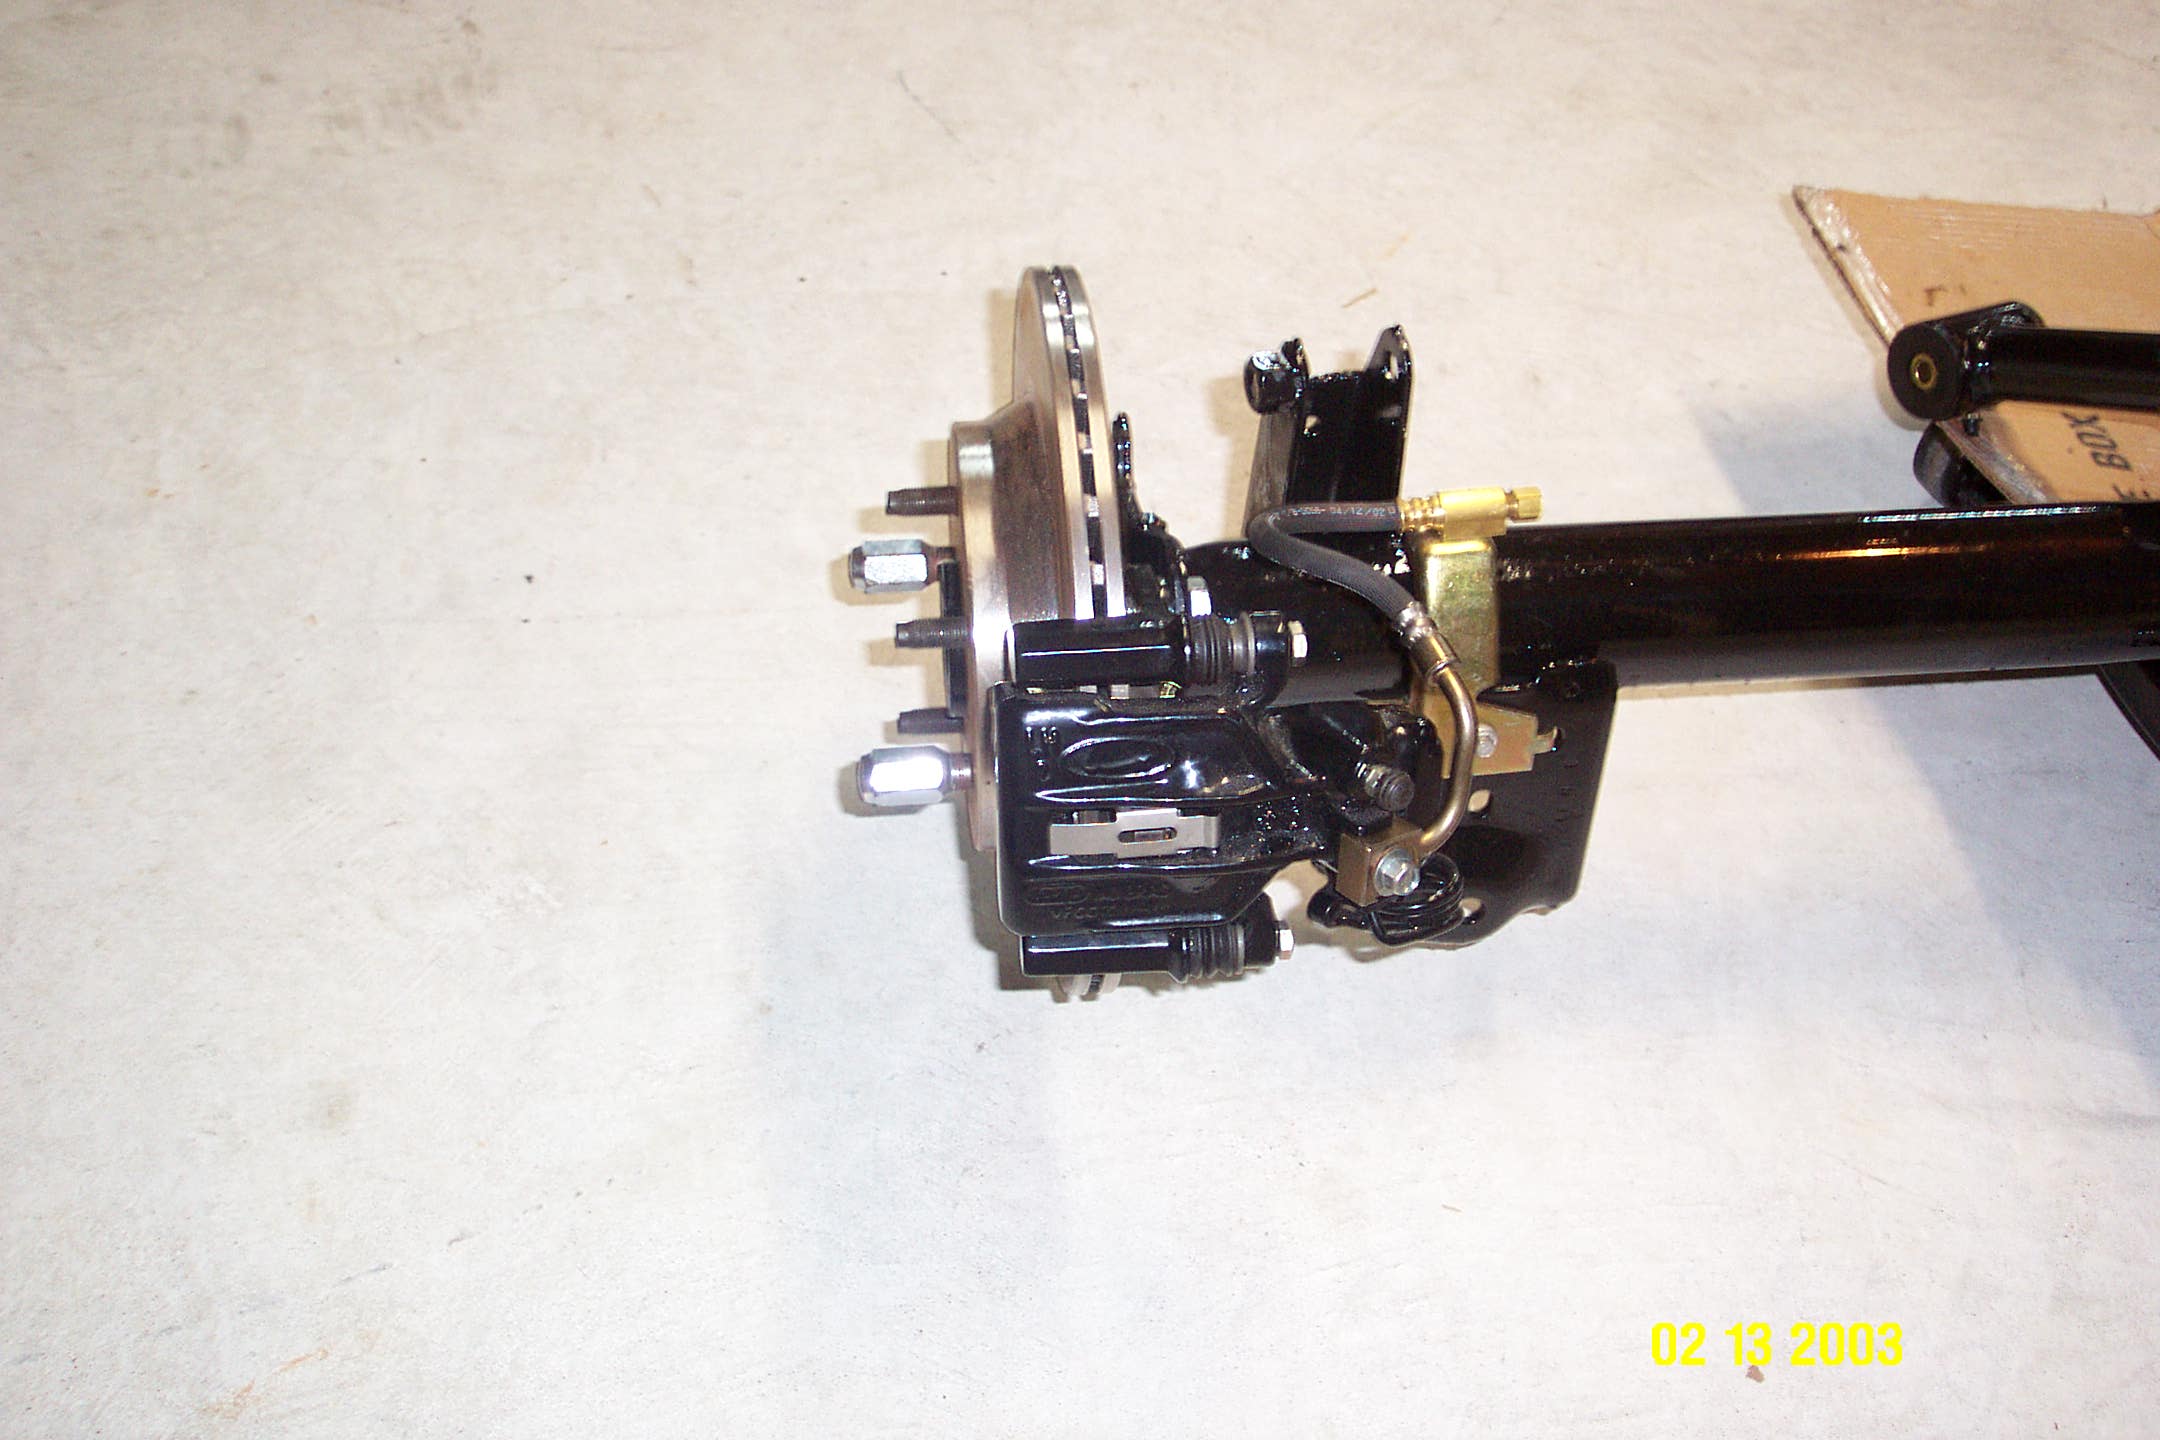
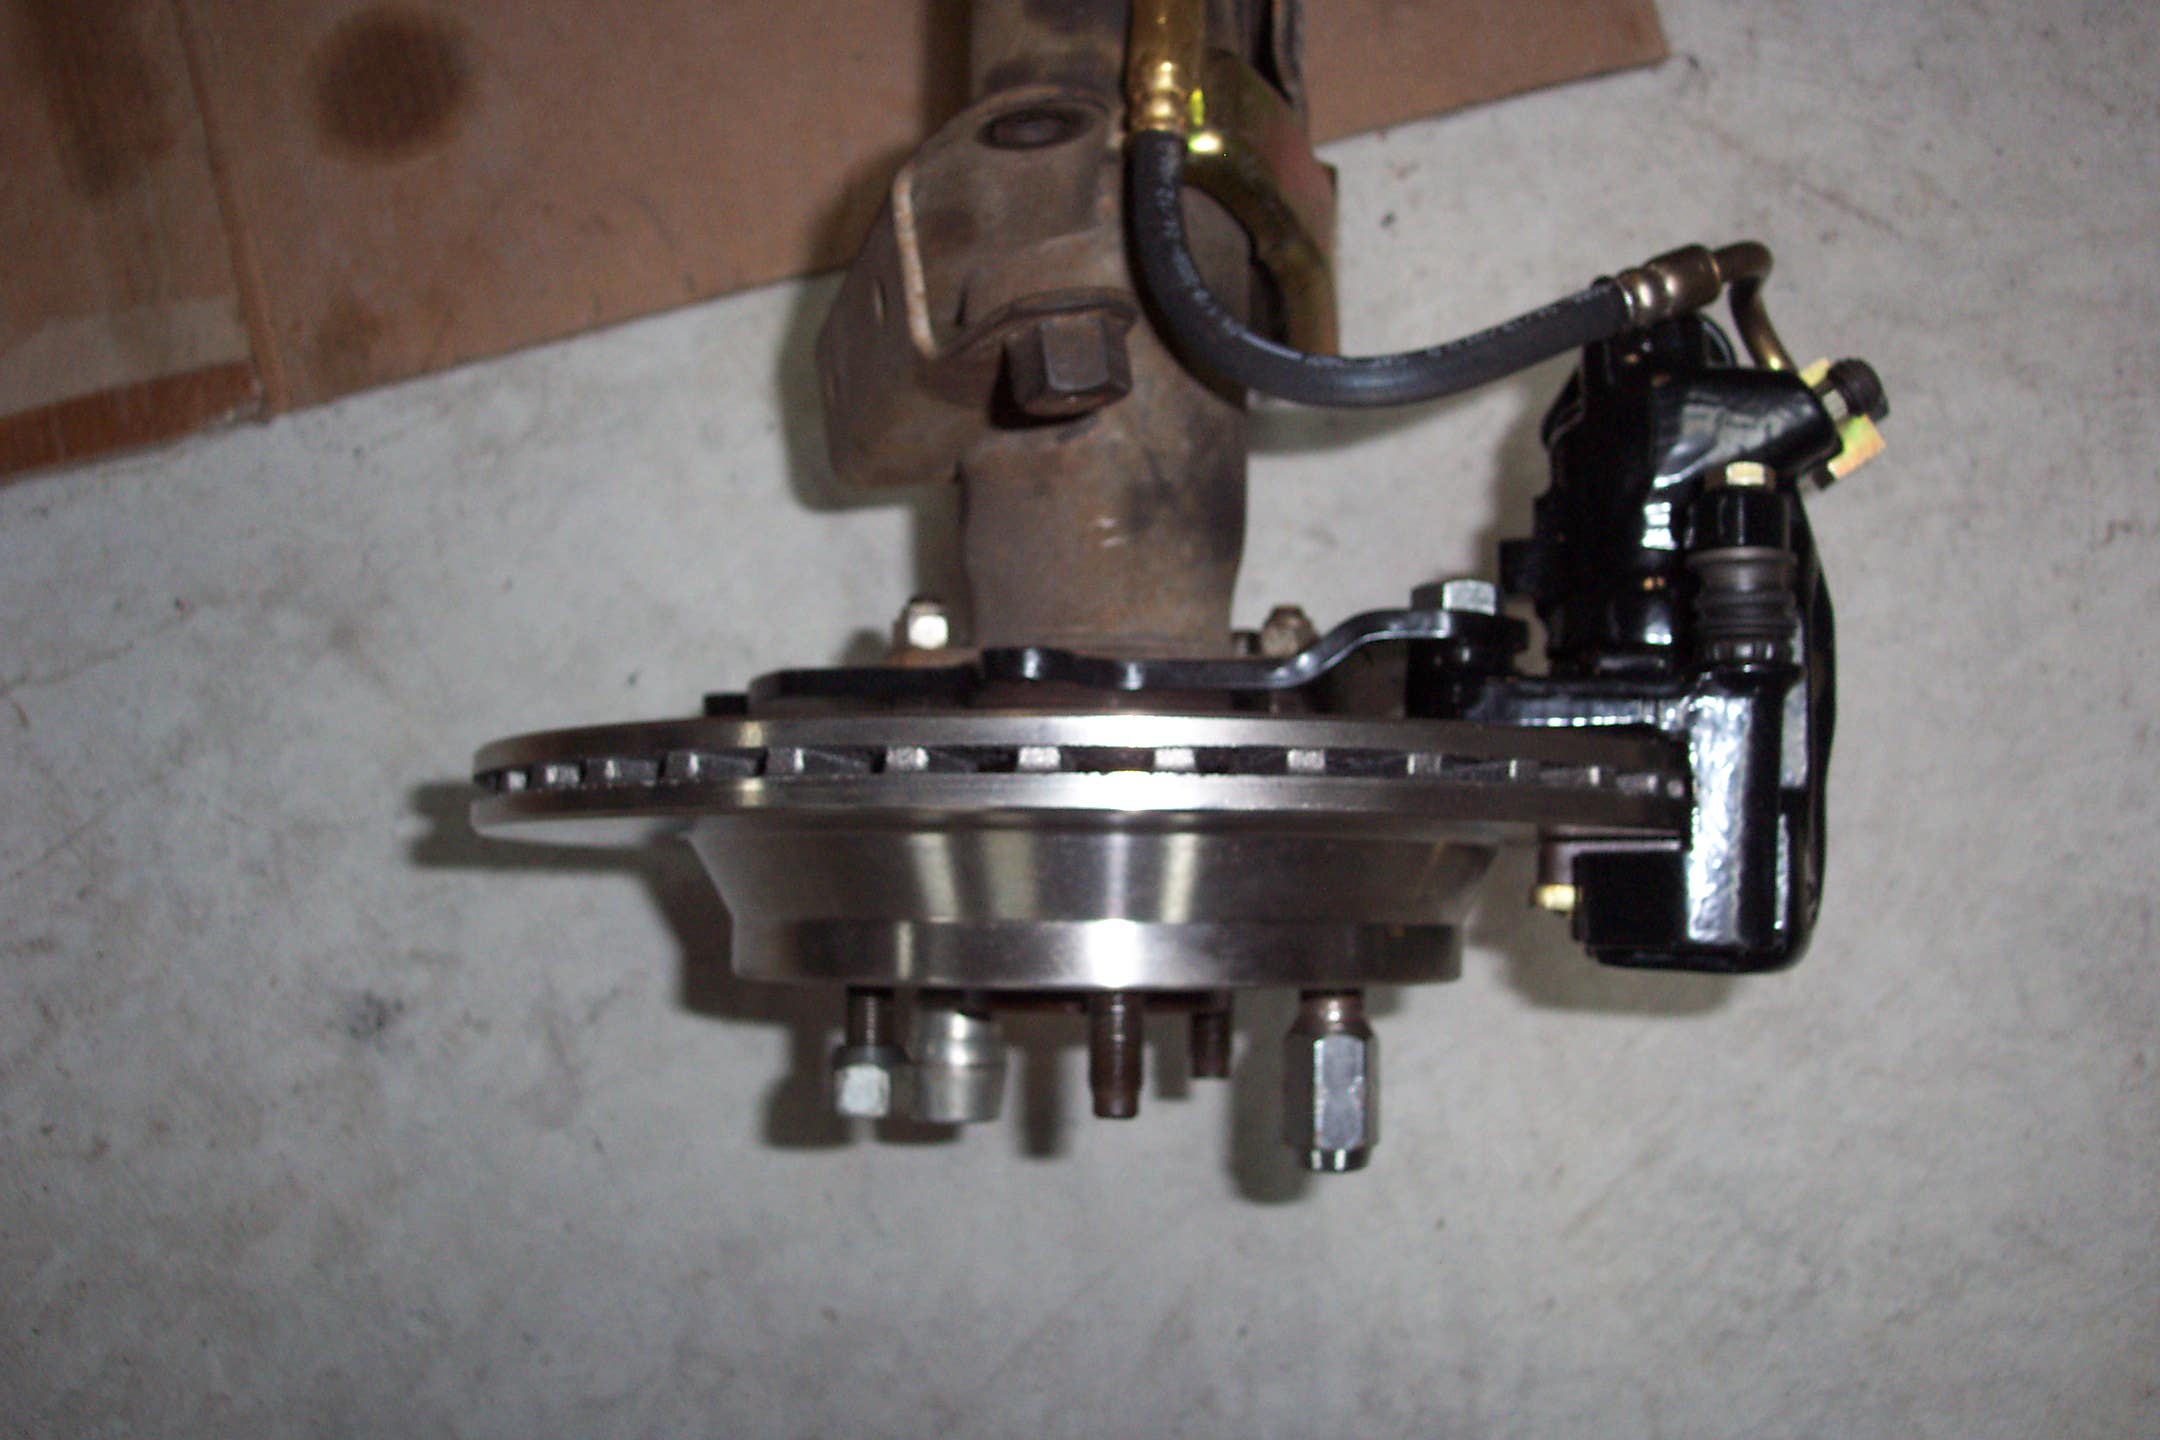
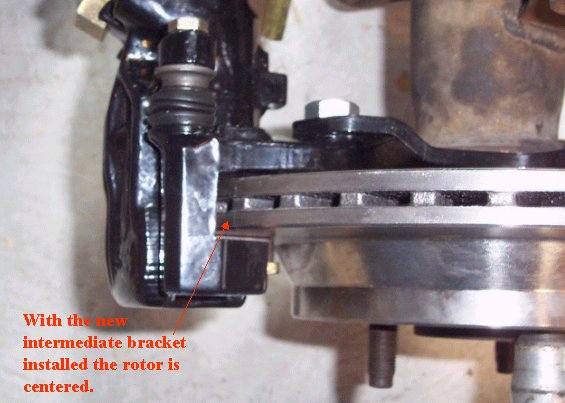
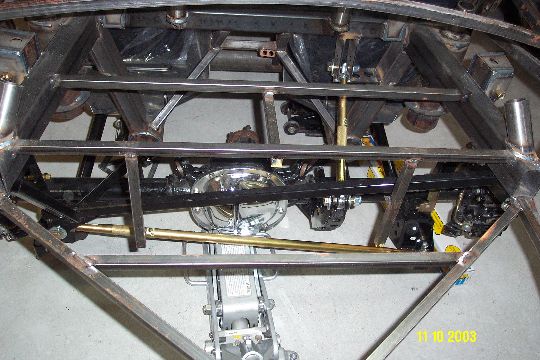
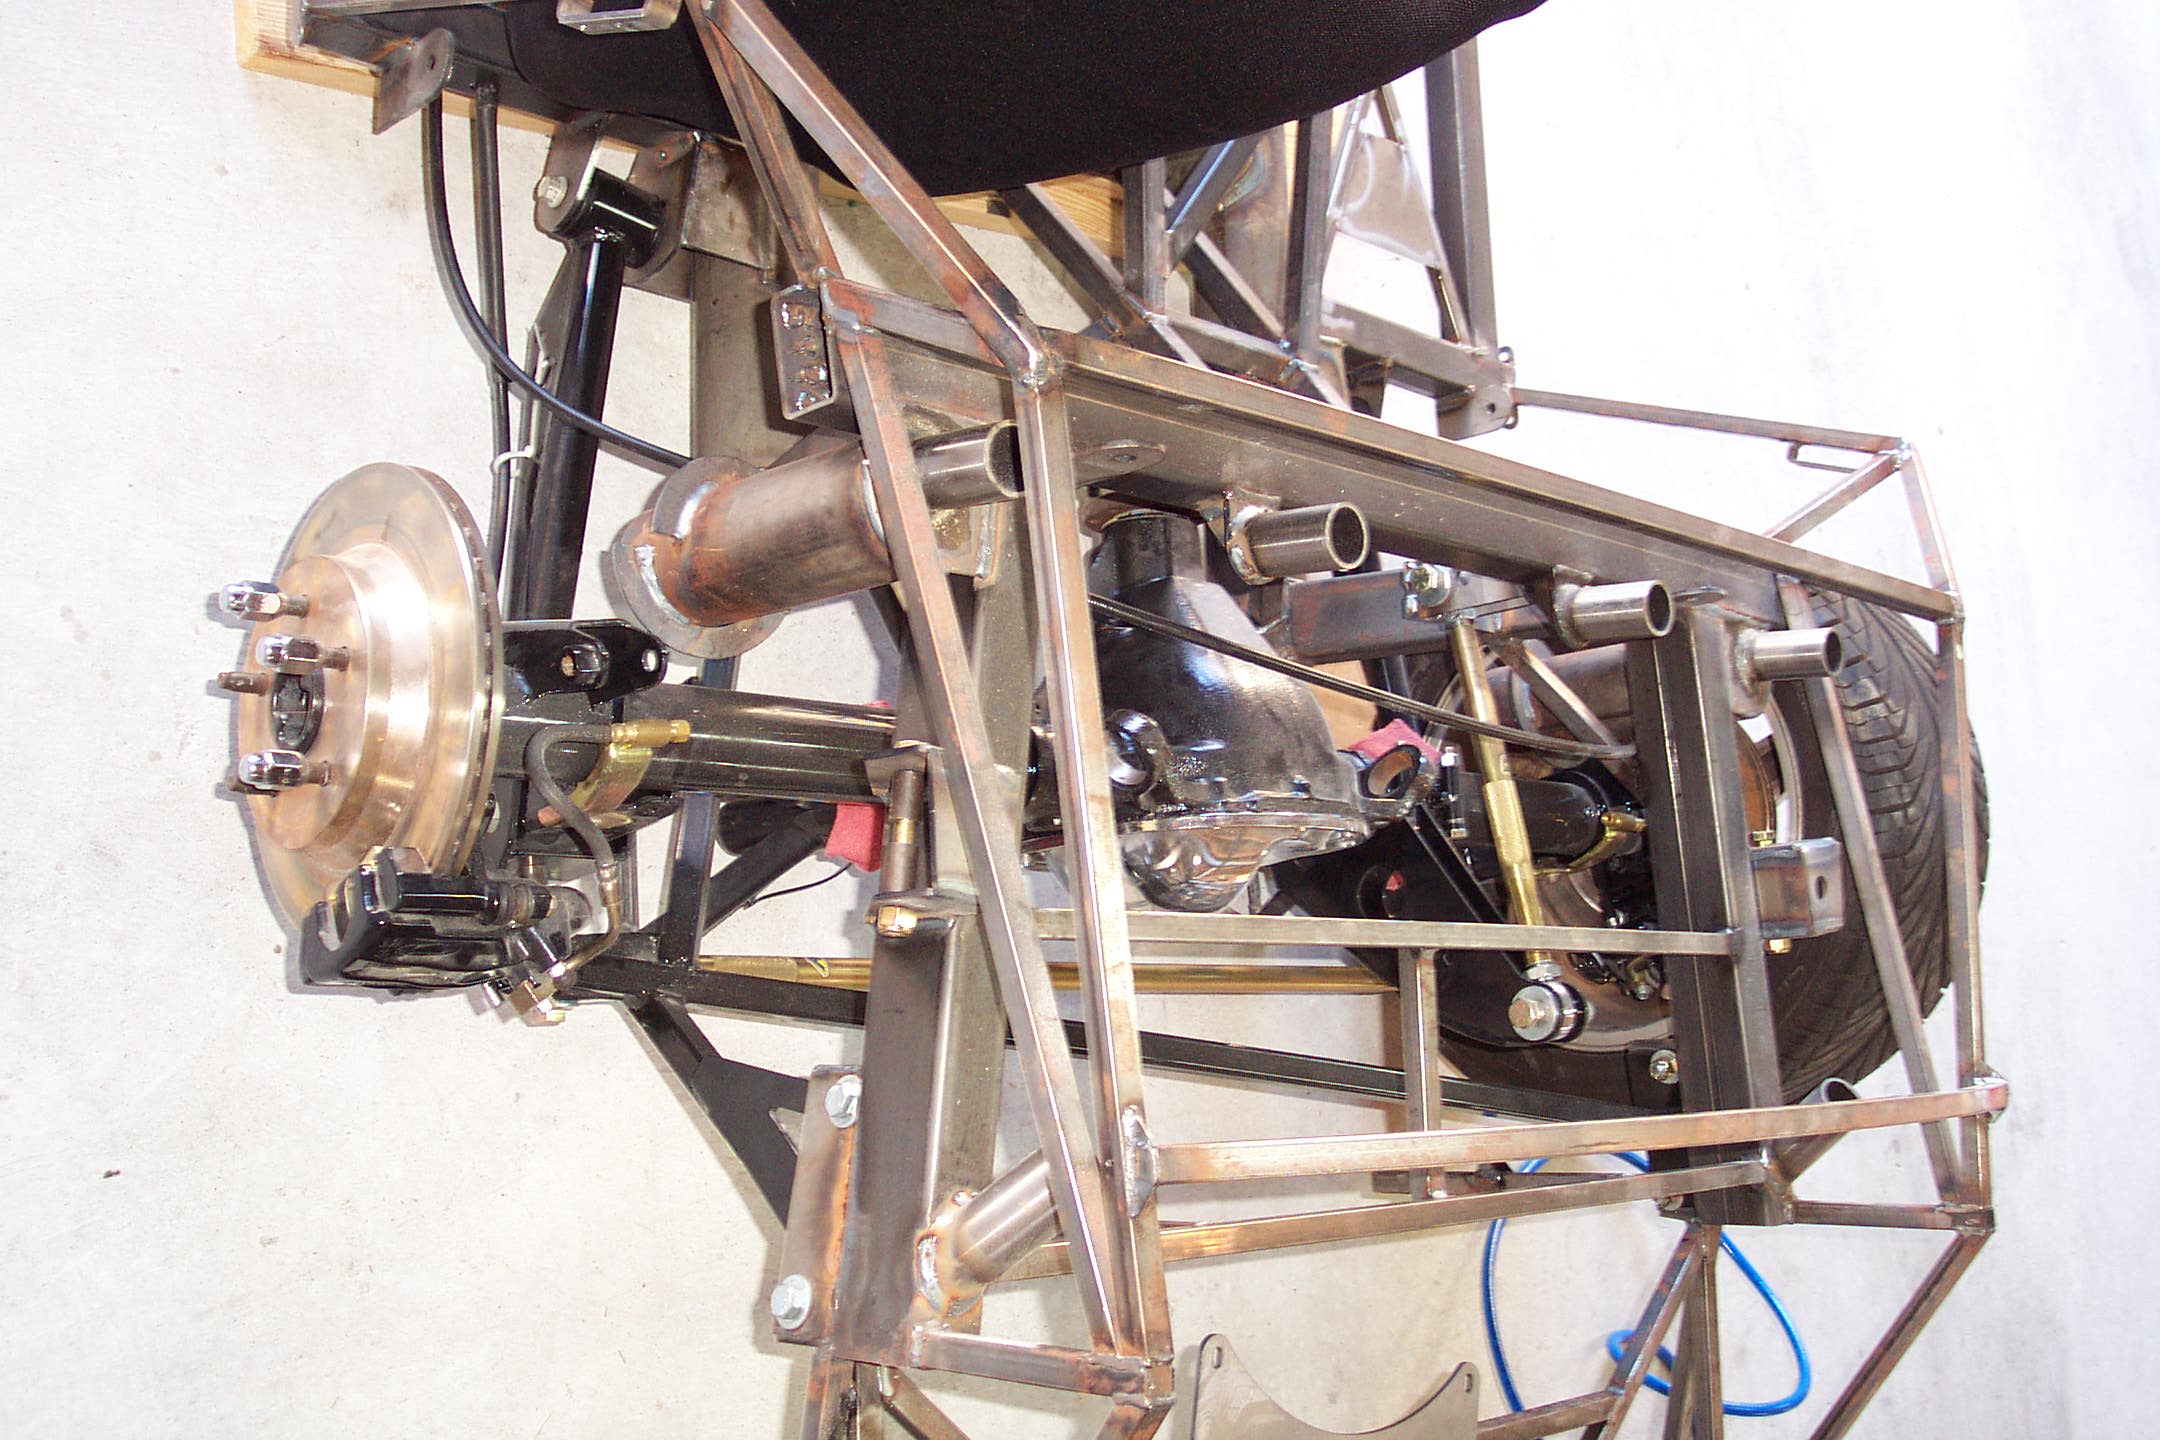
In order to make the change I needed new axles, brake rotors, calipers and caliper brackets. Here is the top view of the final assembly

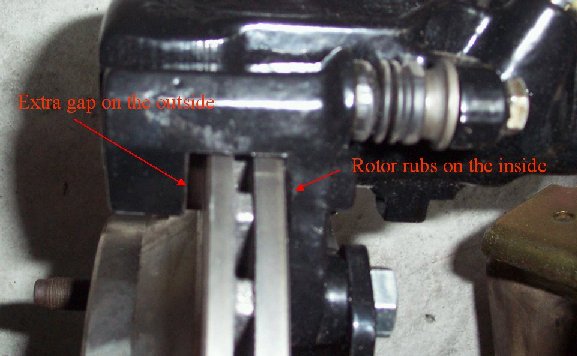
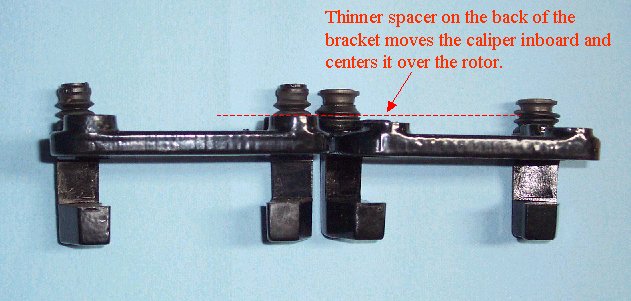
The first calipers I got rubbed the rotor. It turned out to be a problem with the intermediate caliper bracket. The picture below shows both intermediate brackets side by side. The thinner bracket centered the caliper over the rotor. With the new brackets installed the rotor is now centered.
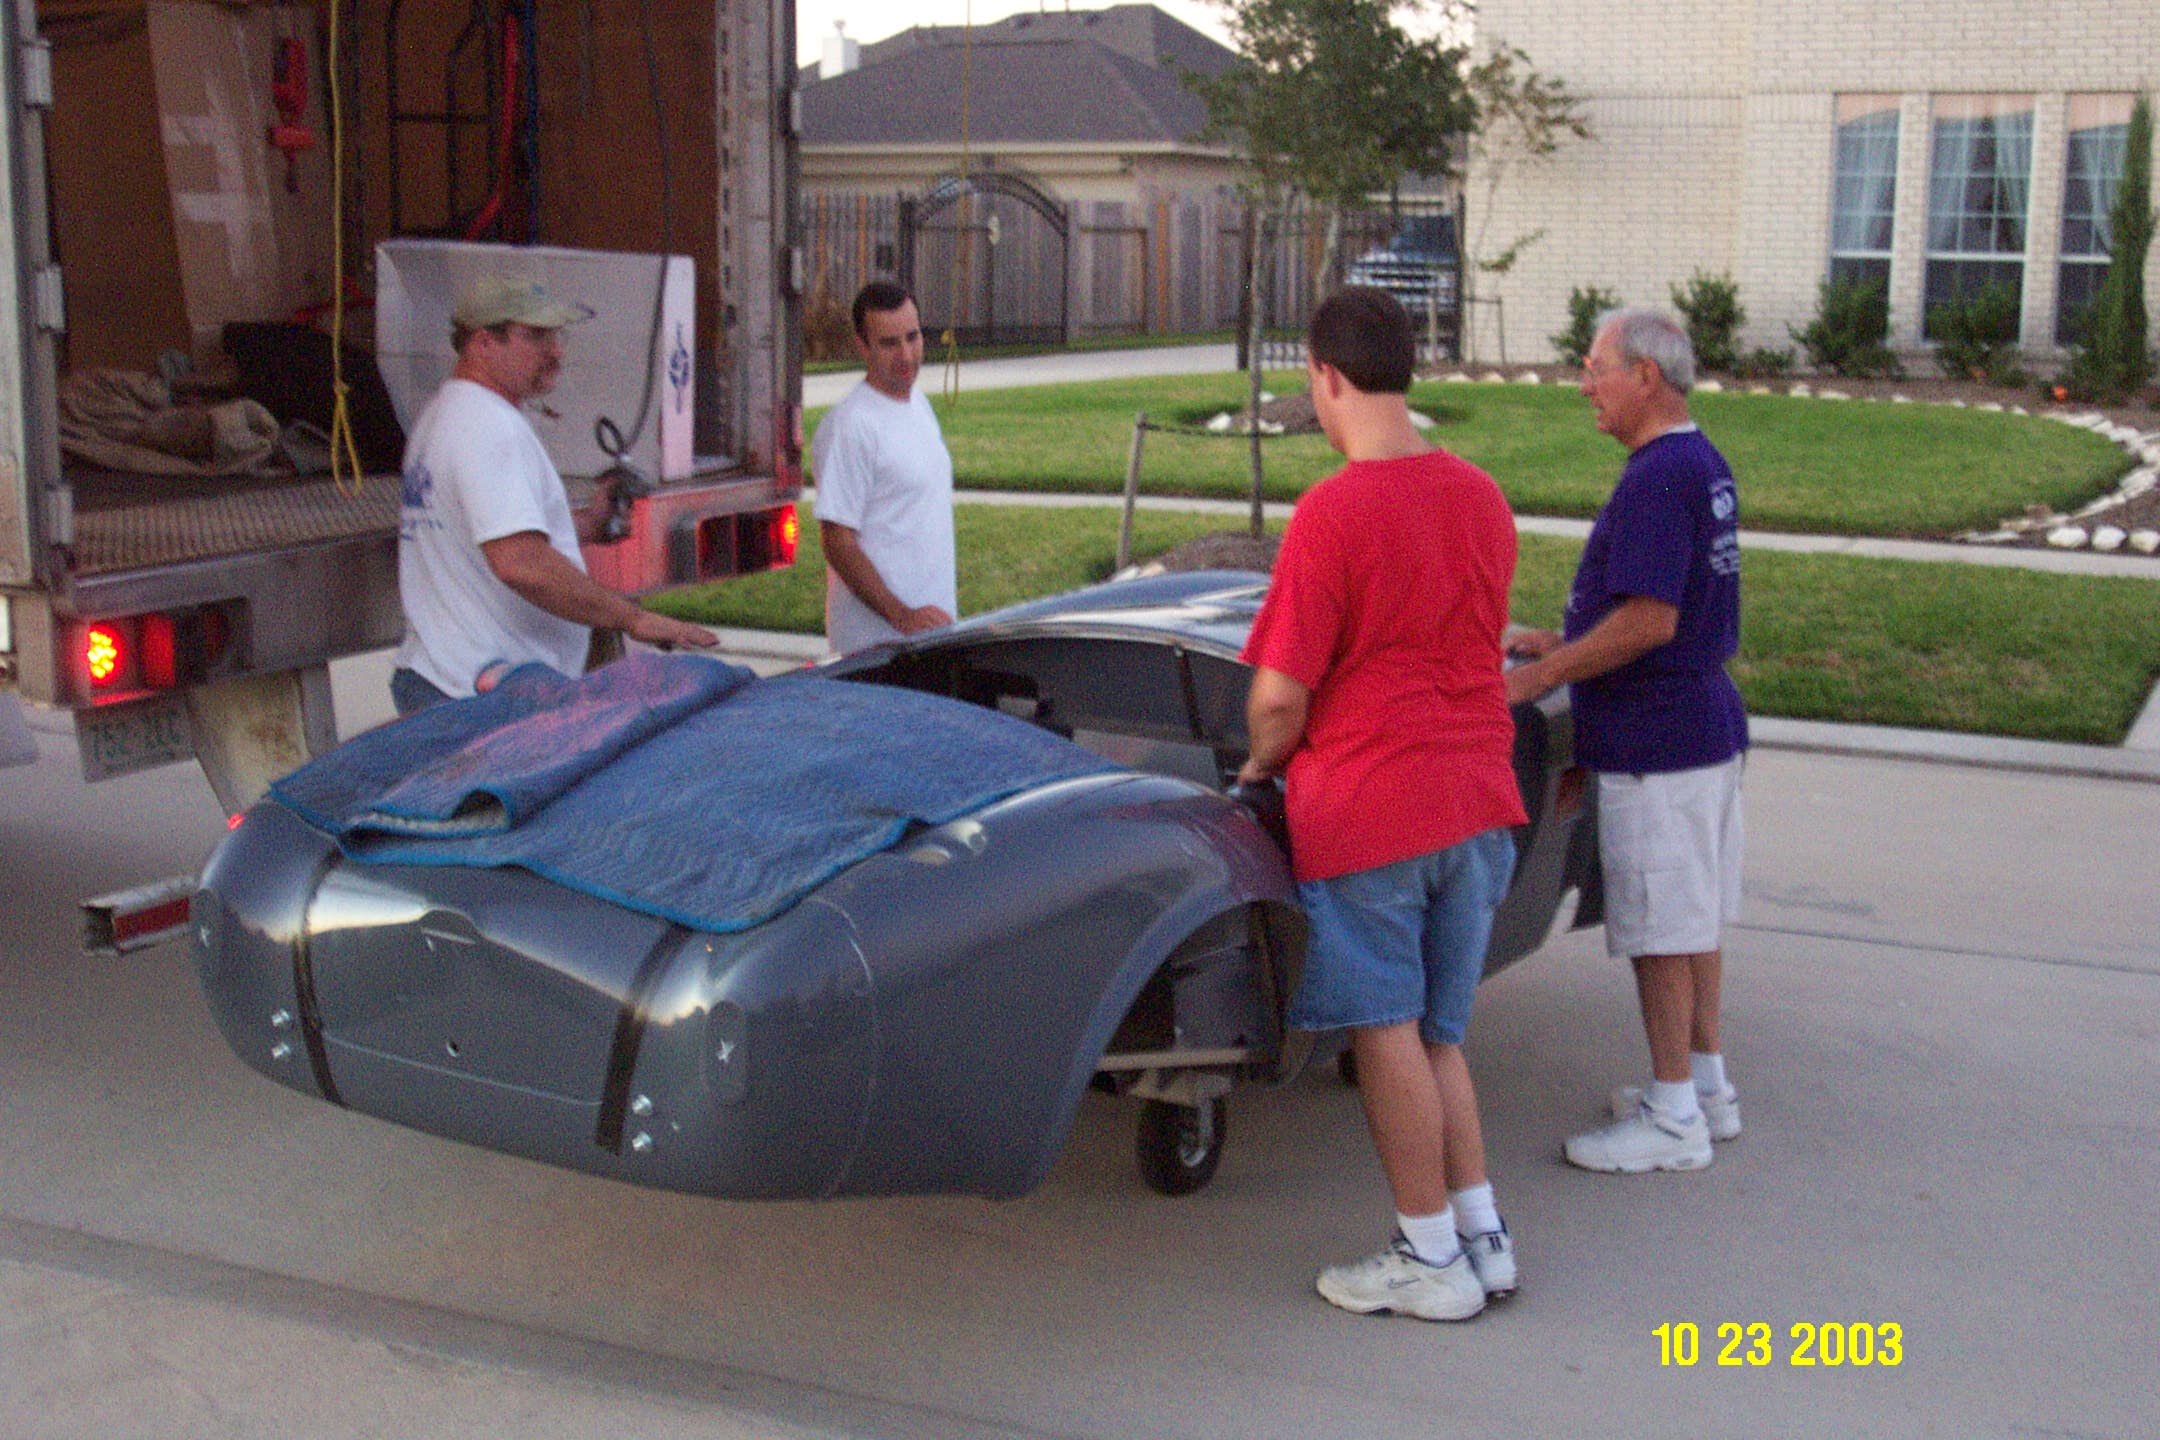
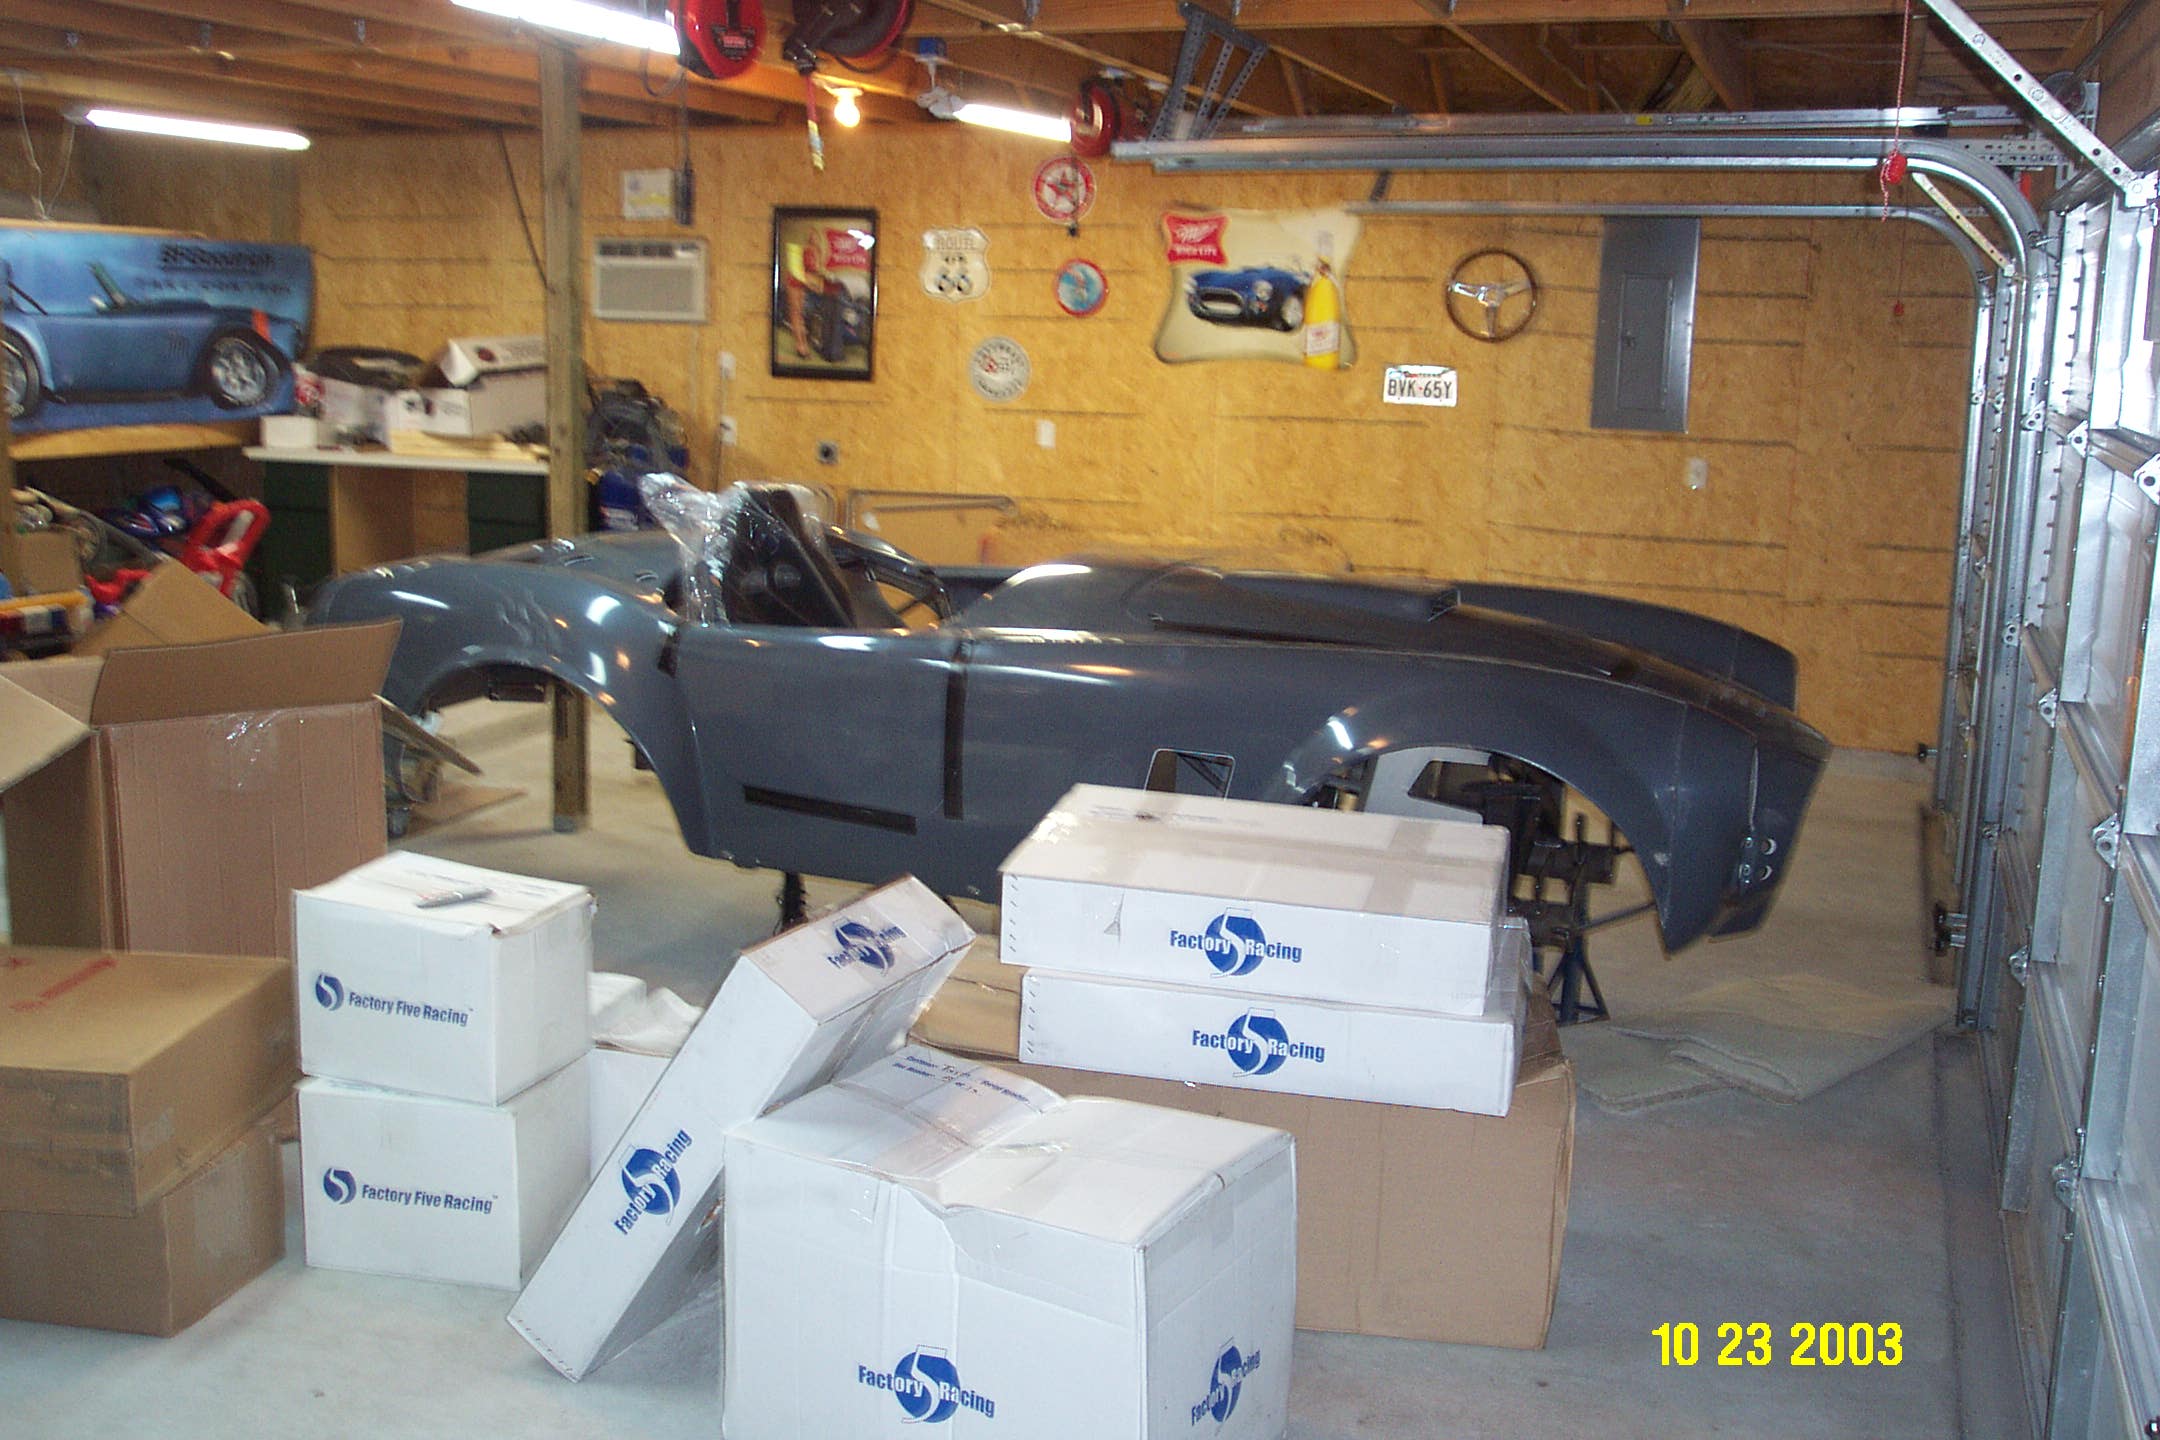
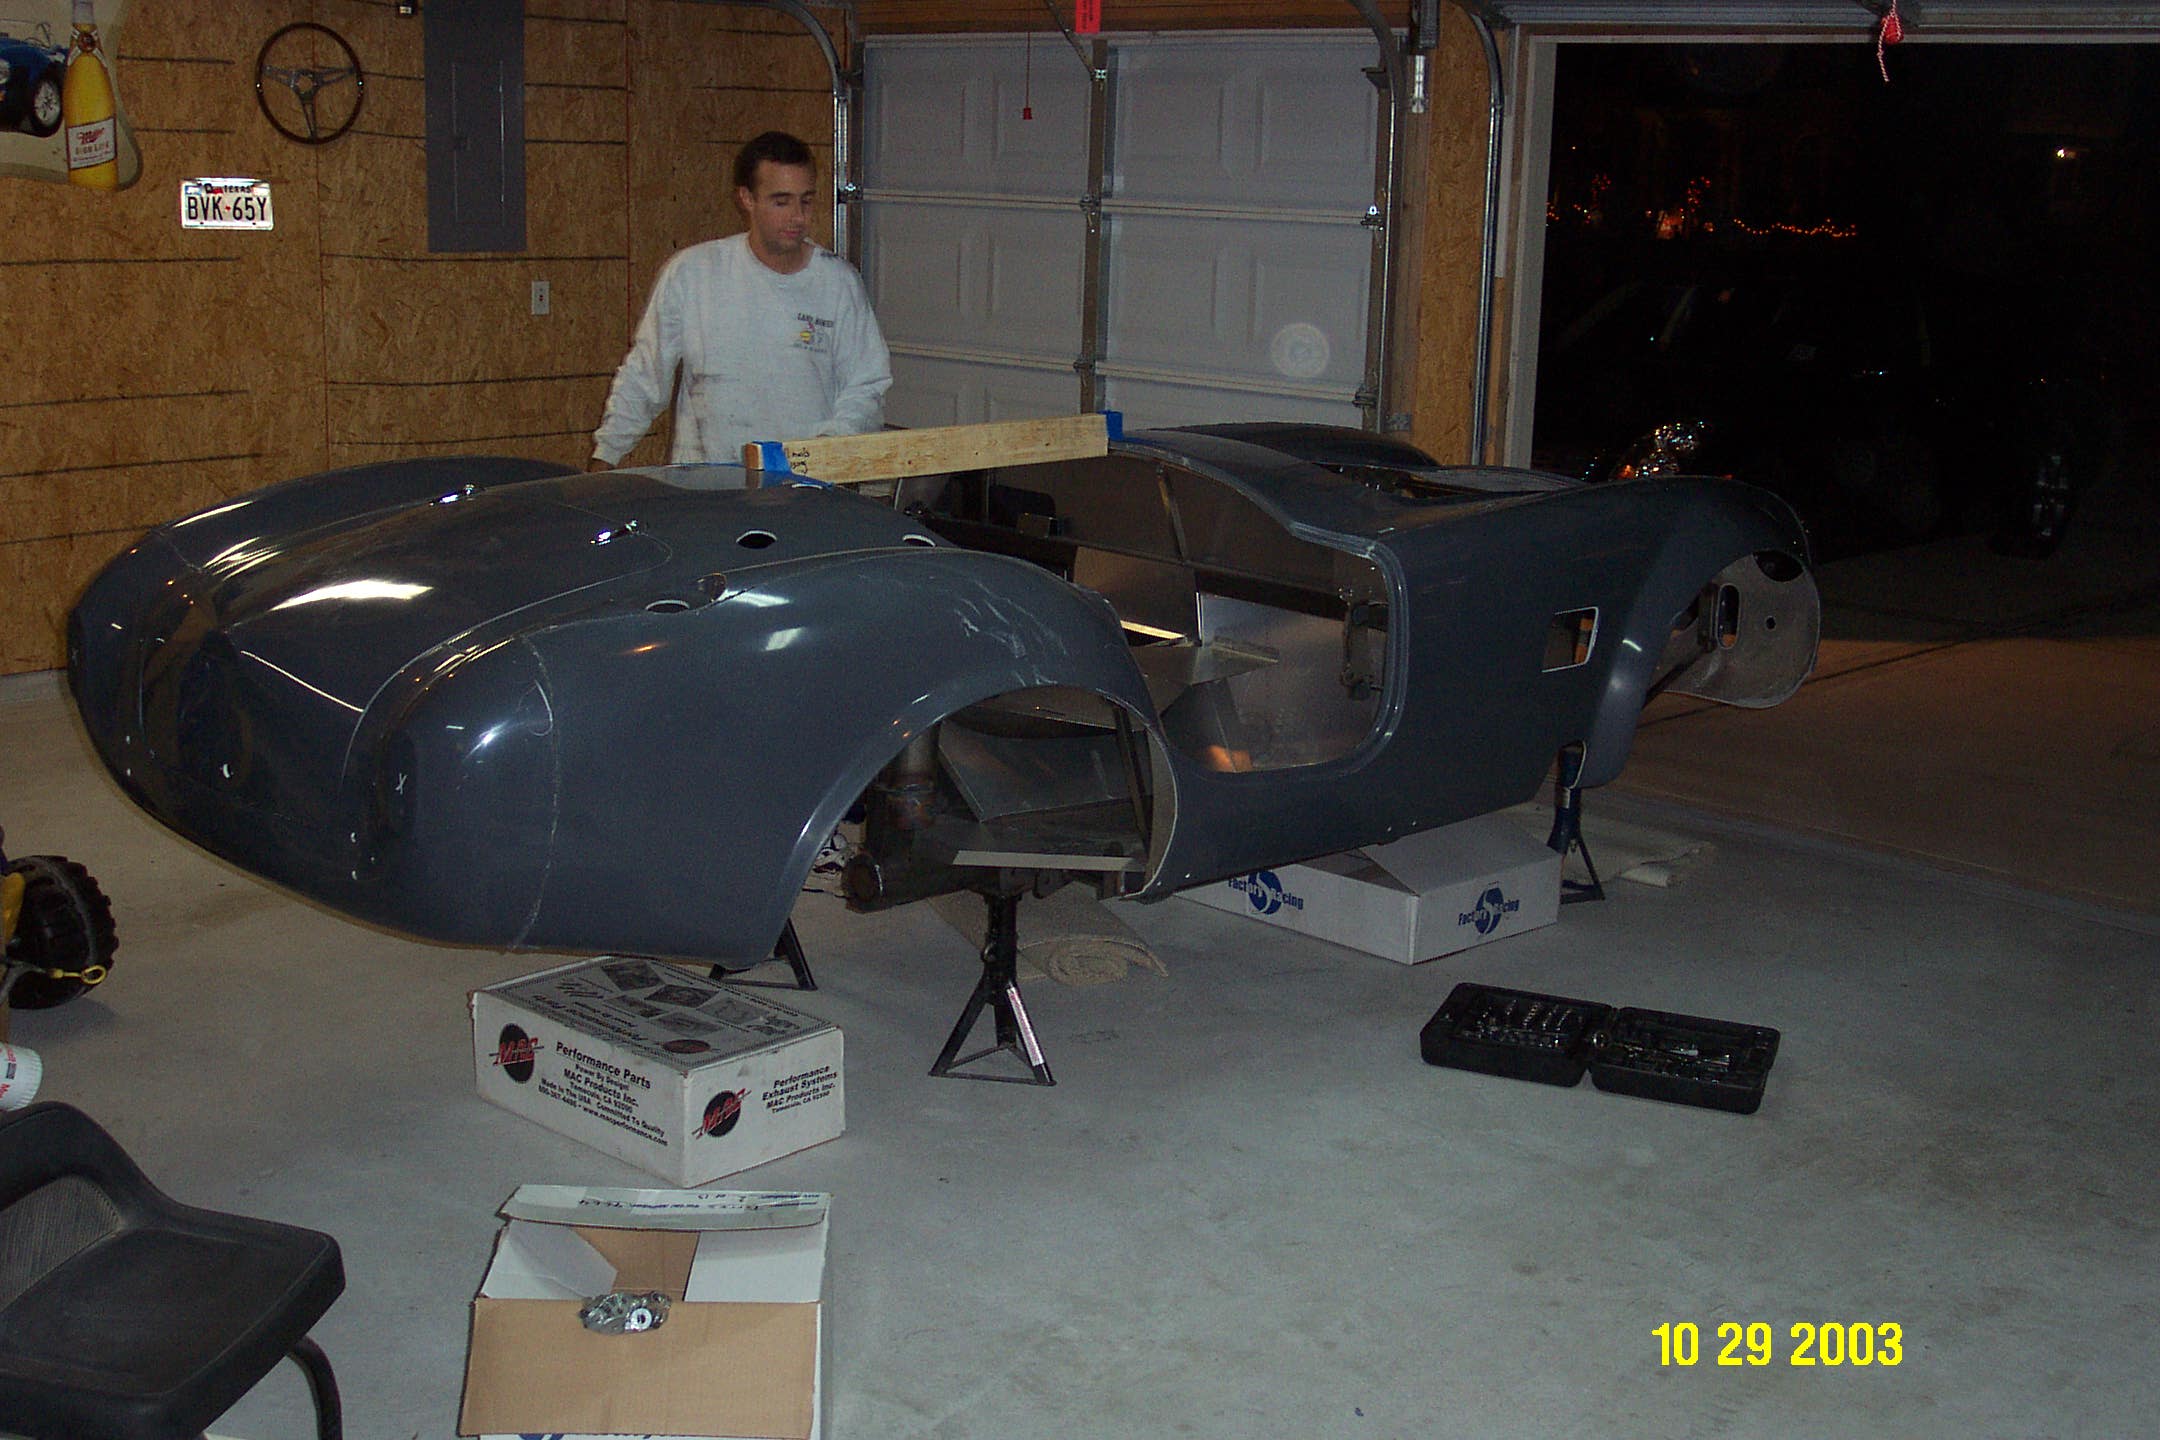
2003 Kit Delivery
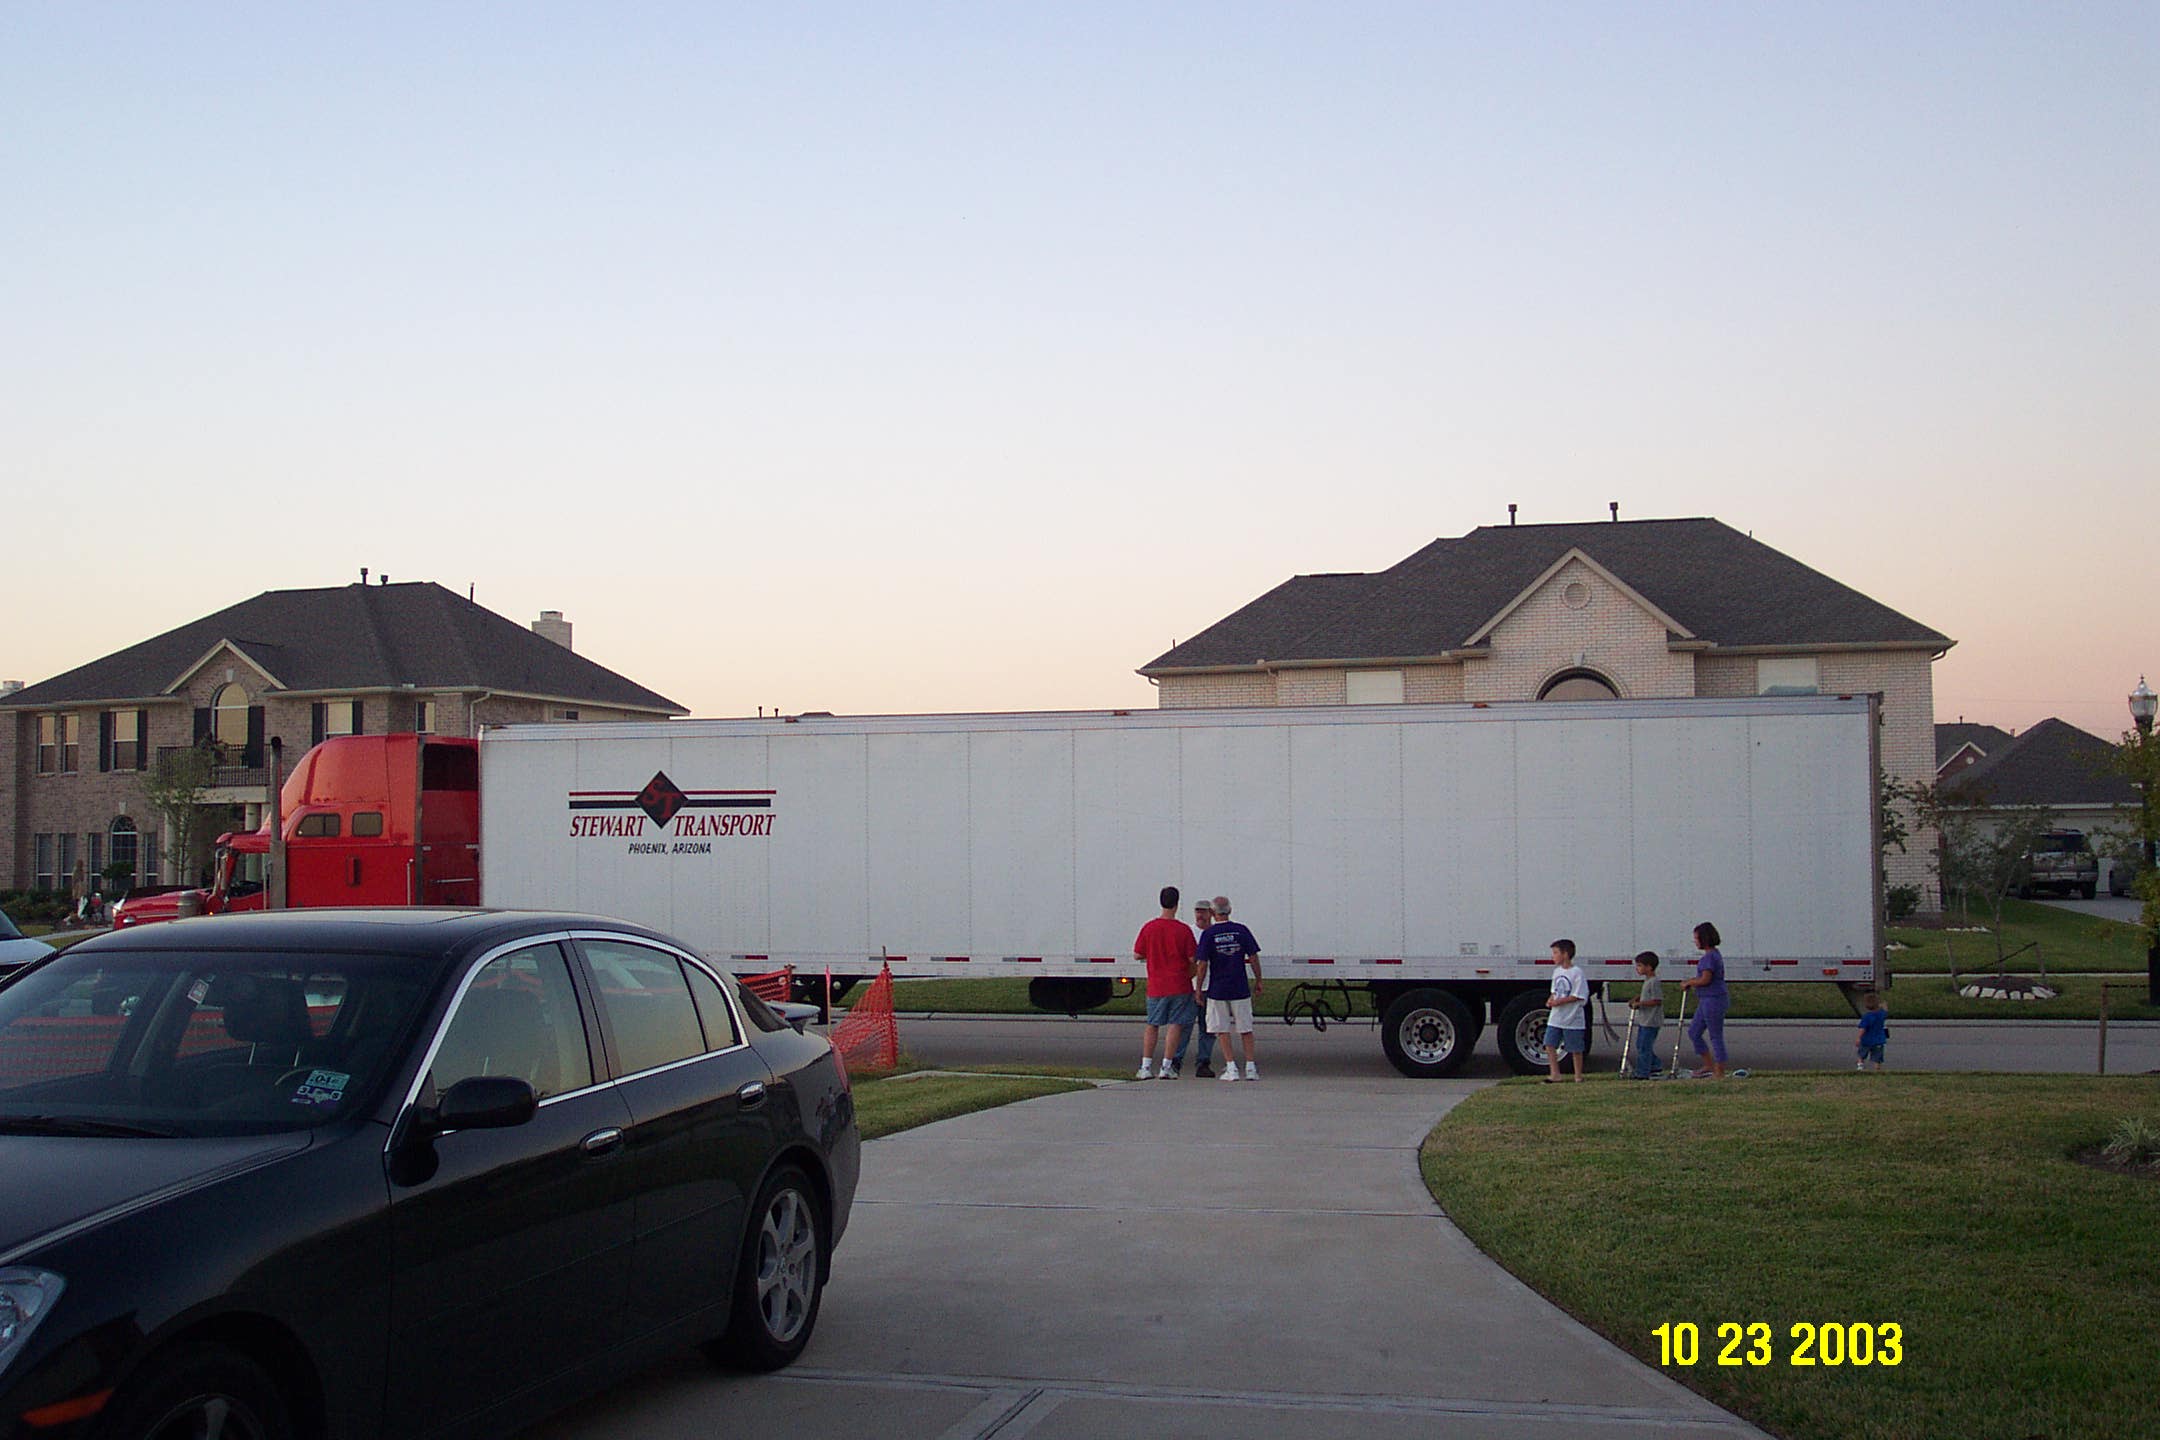
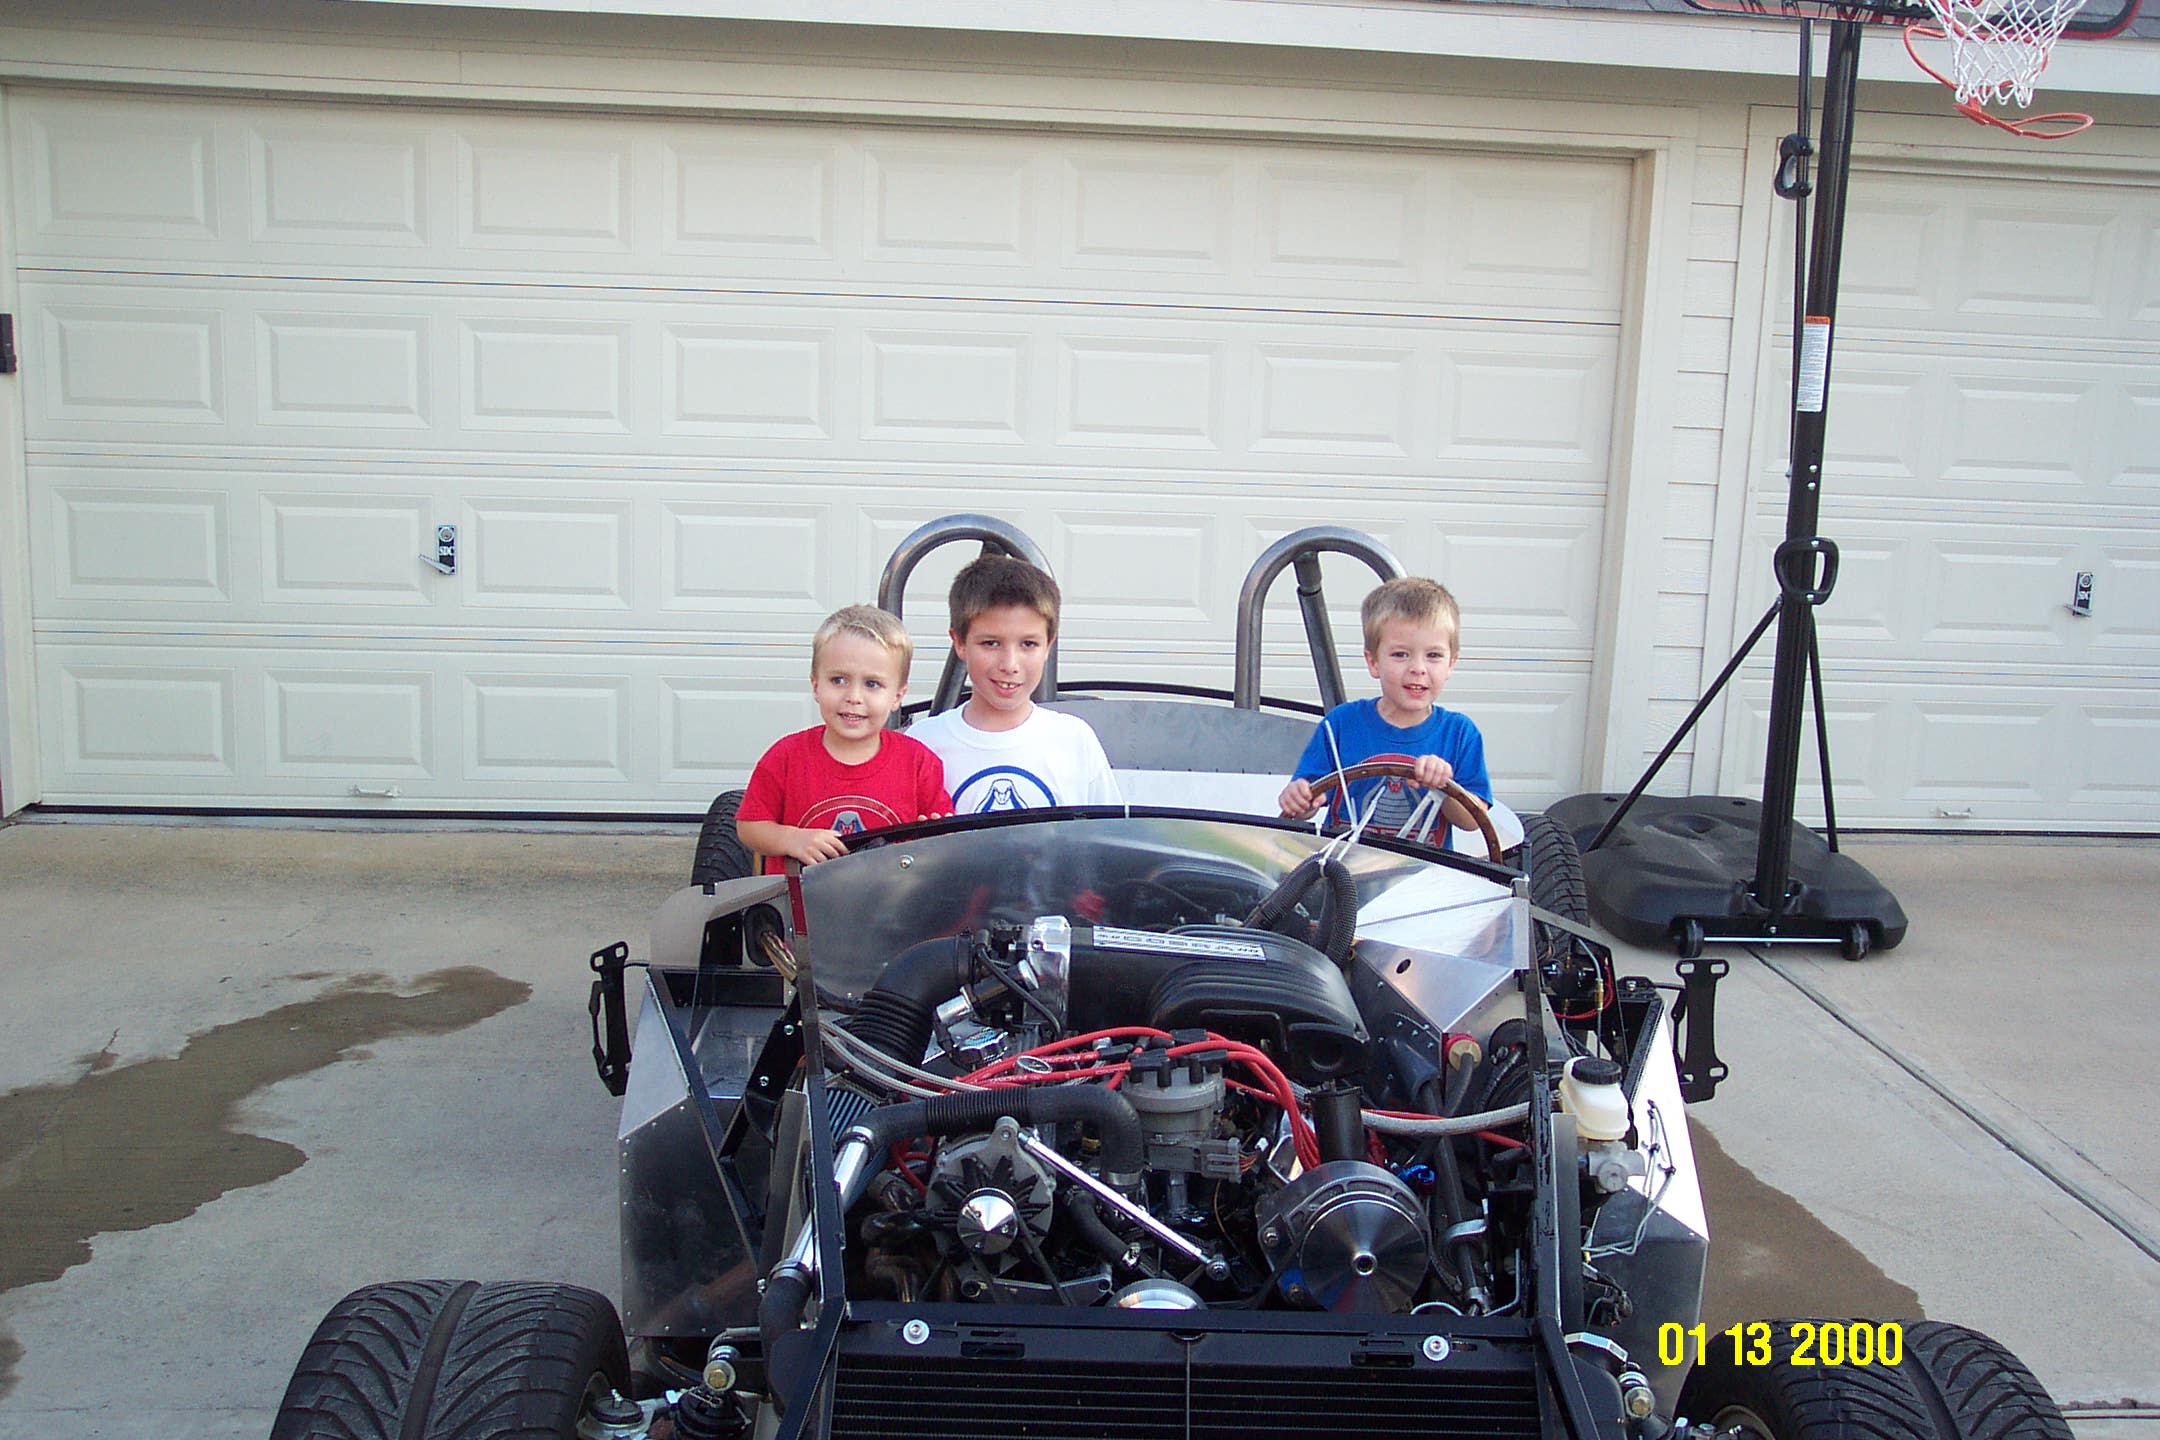
Here is the Stewart Truck at the end of the driveway. The truck is equipped with a special winch to lower the car to the ground.
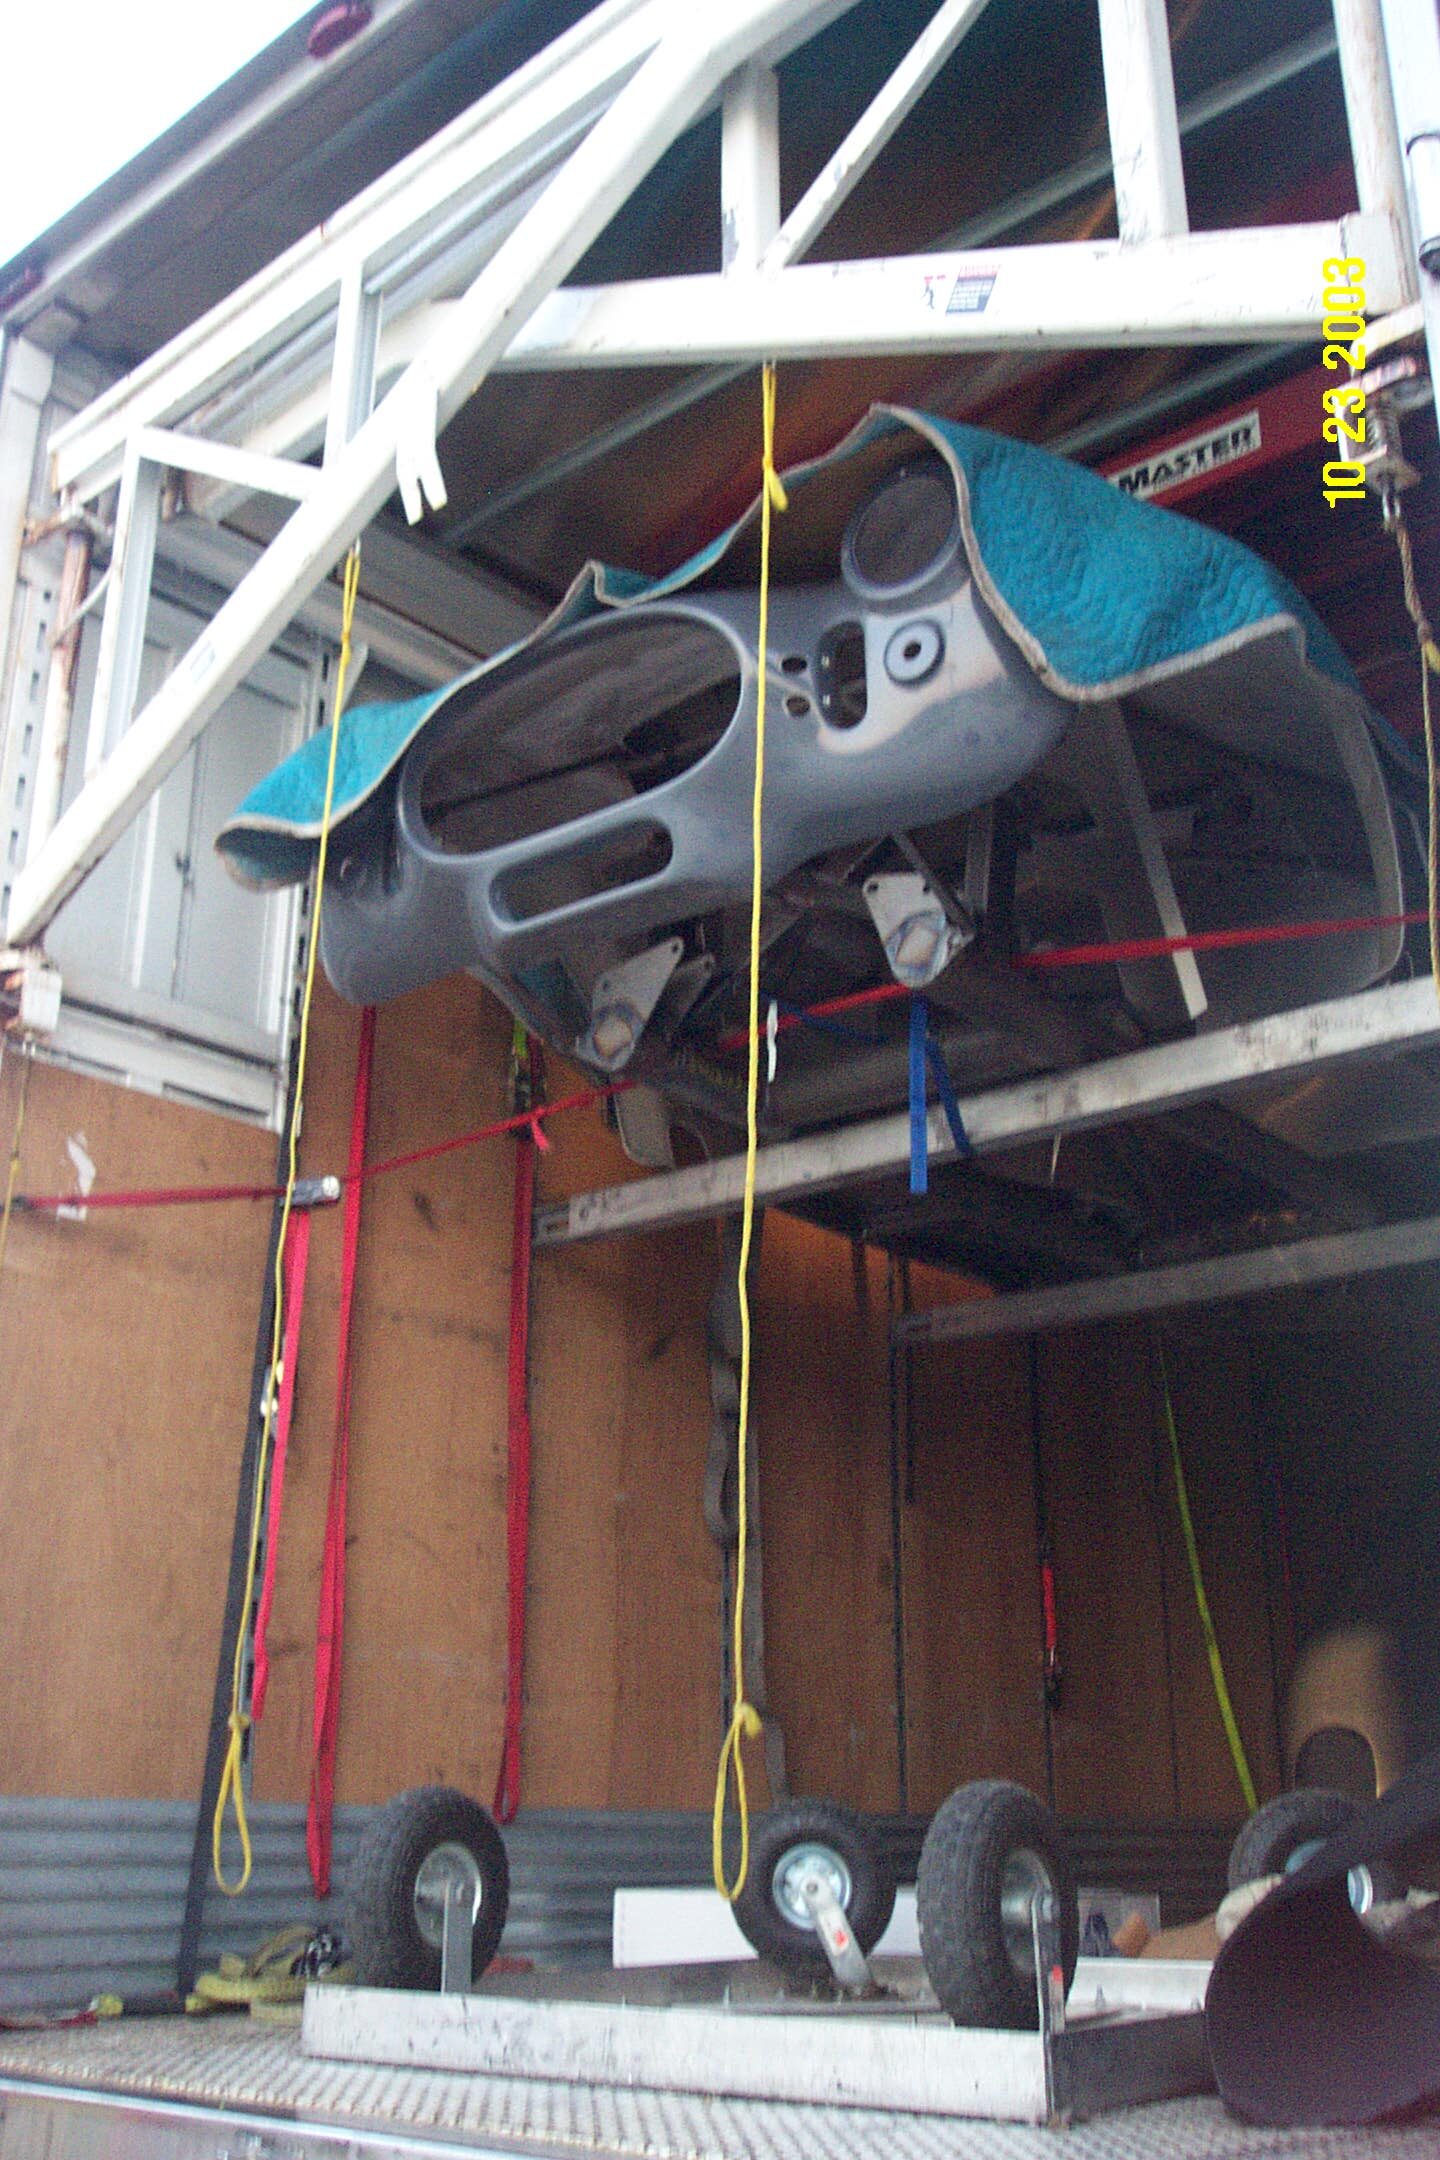
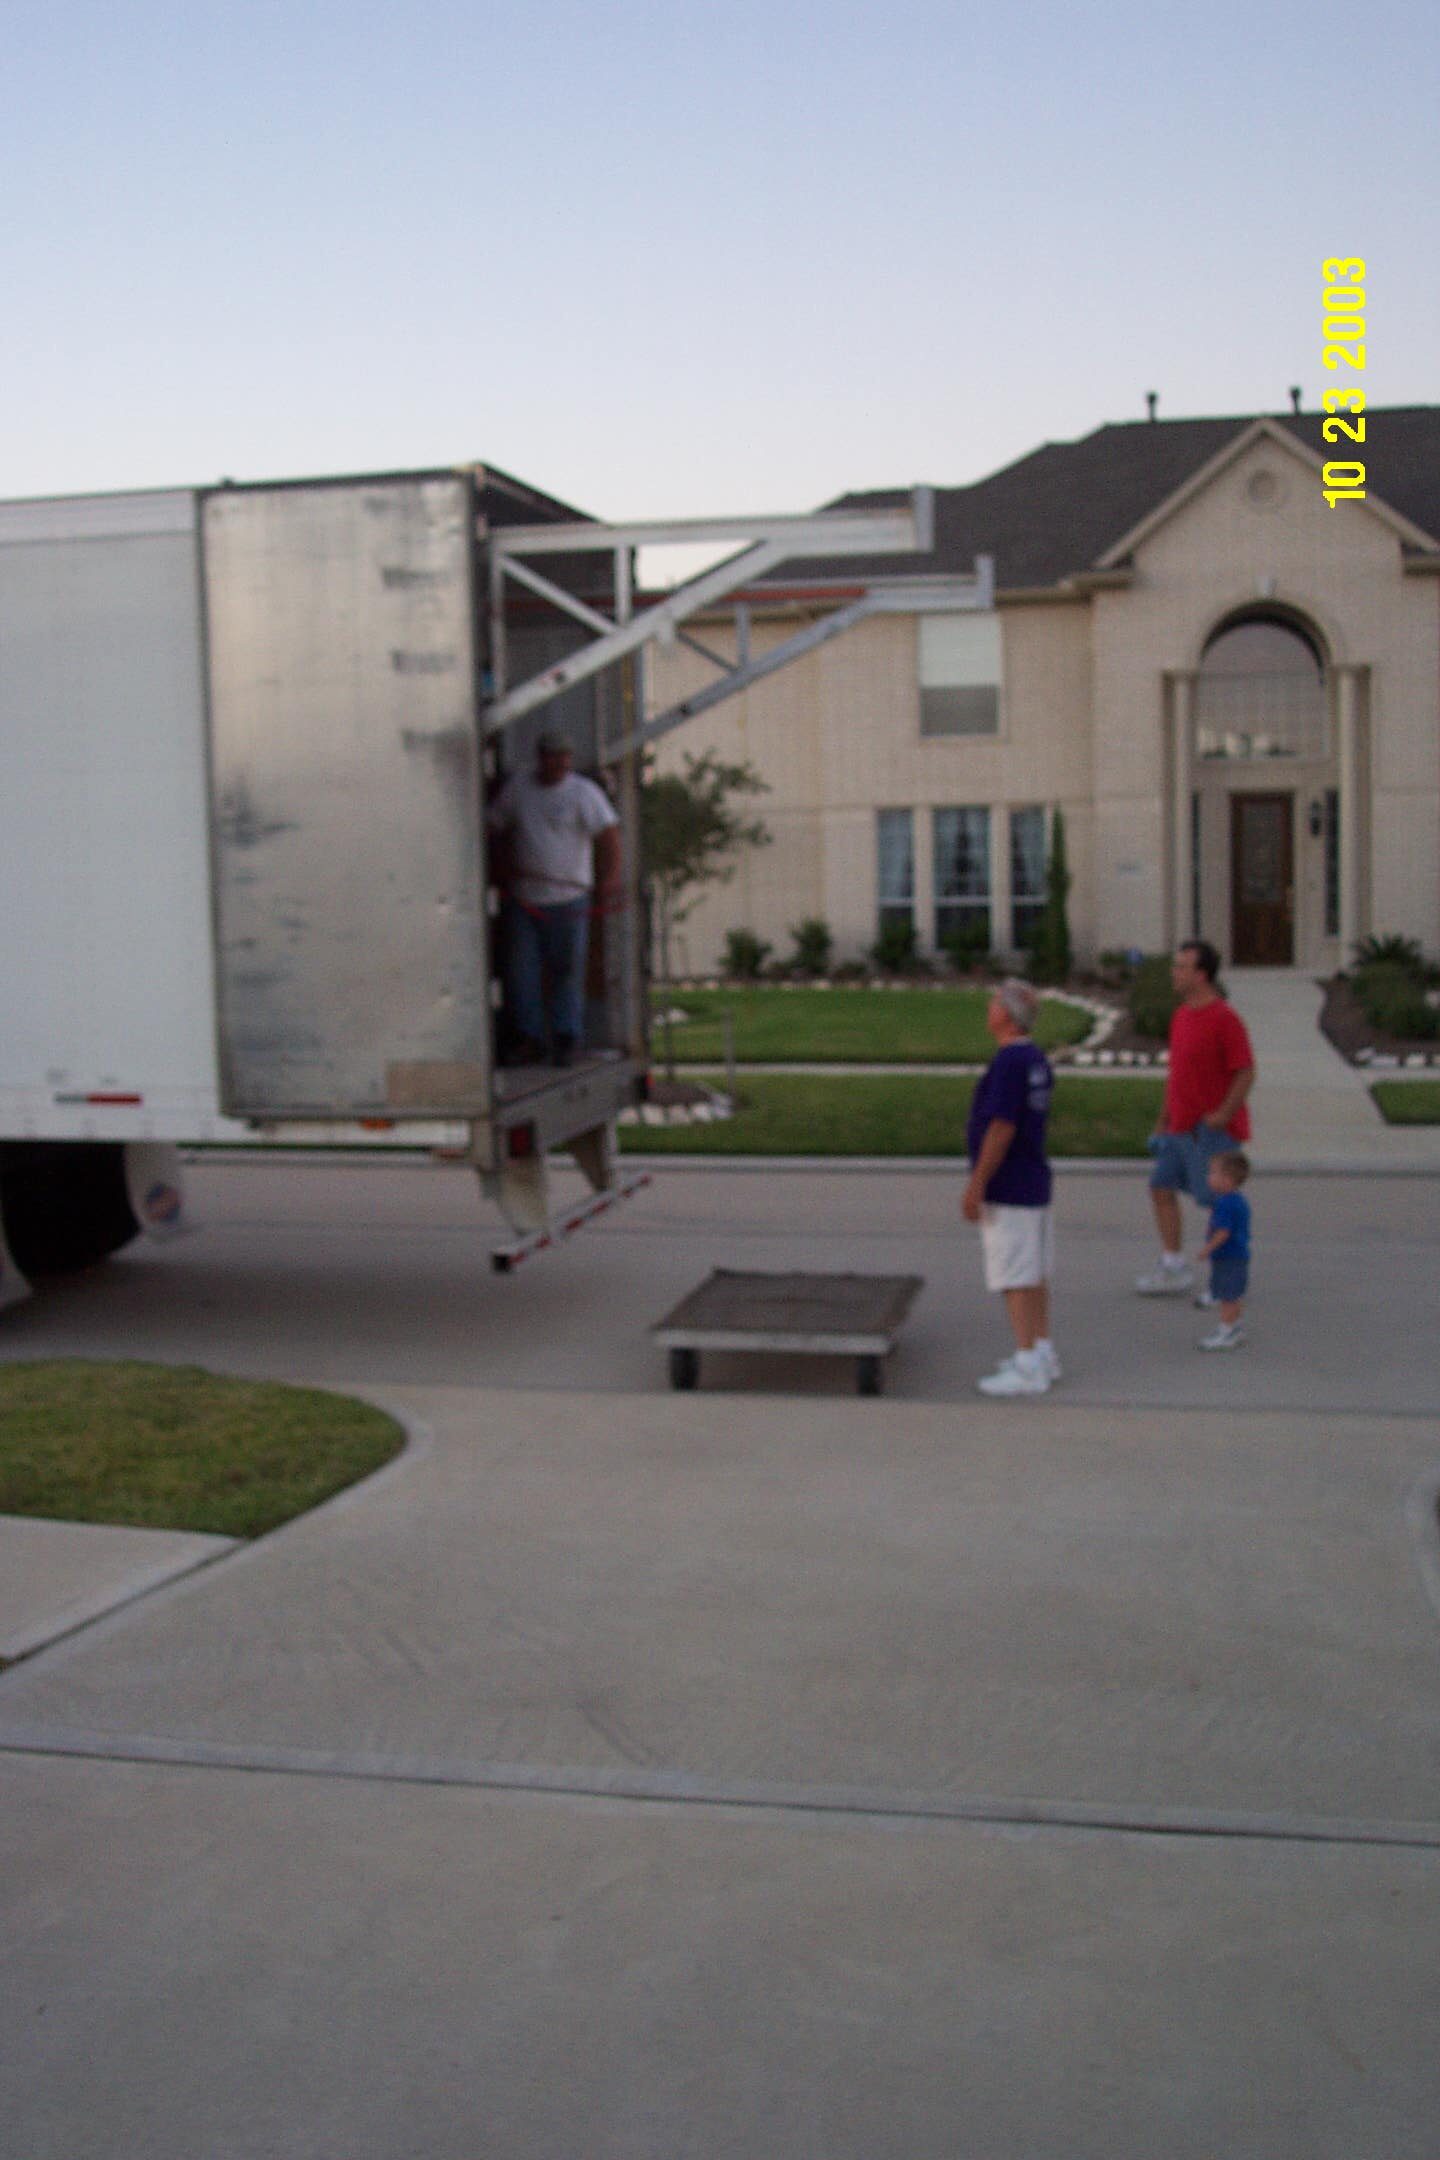
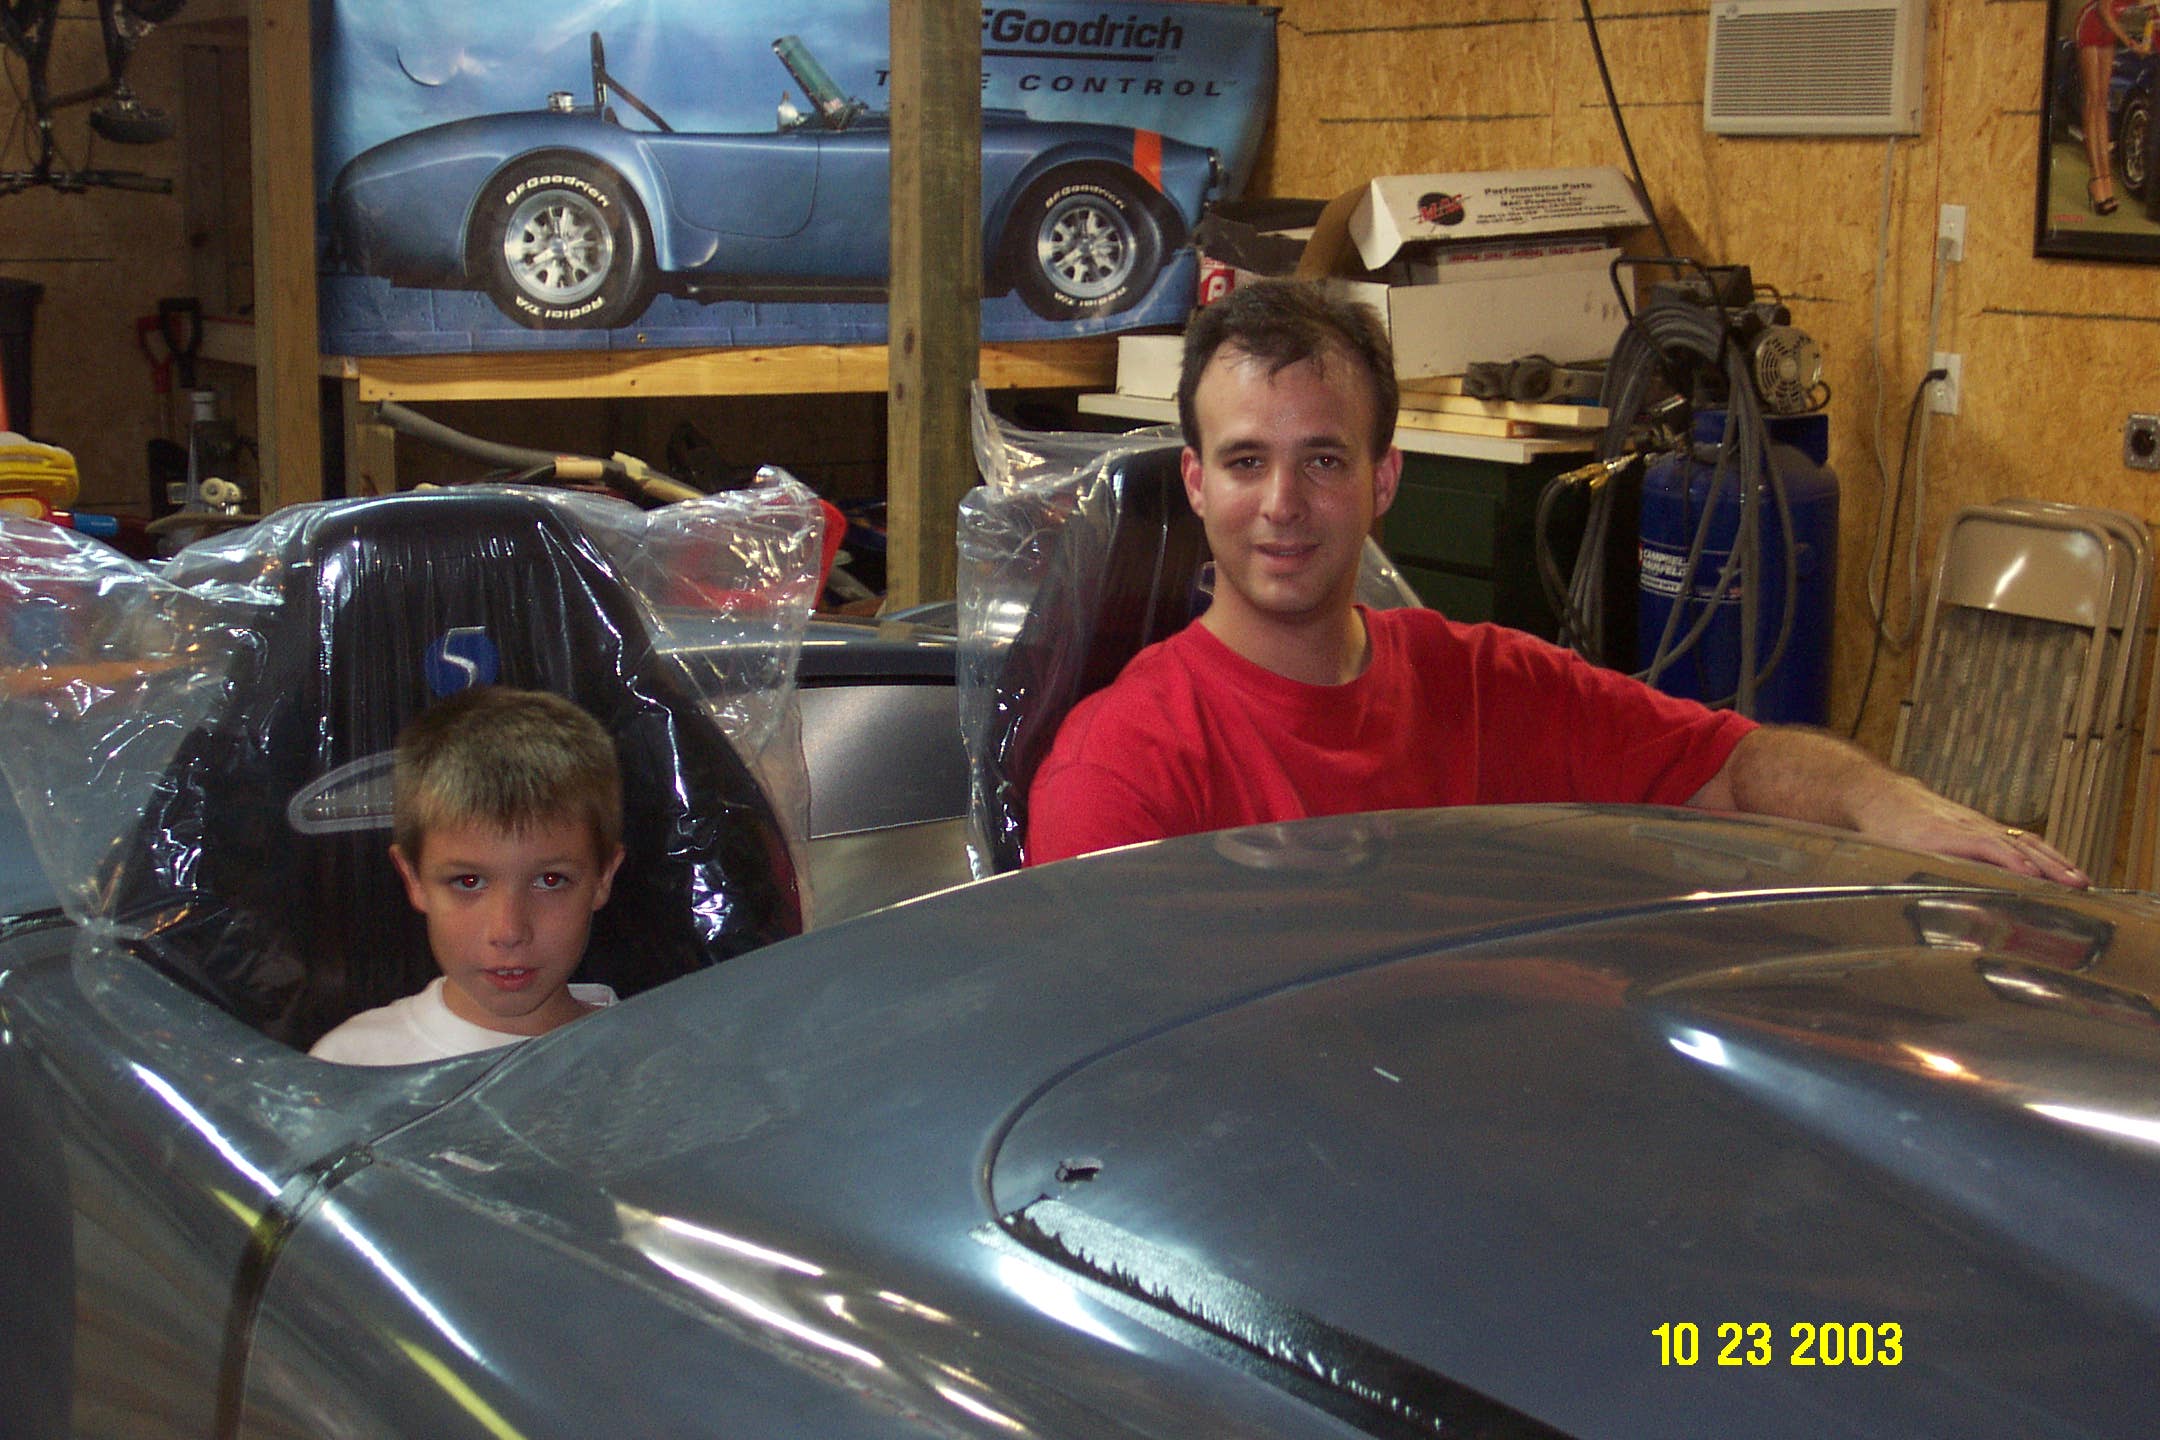
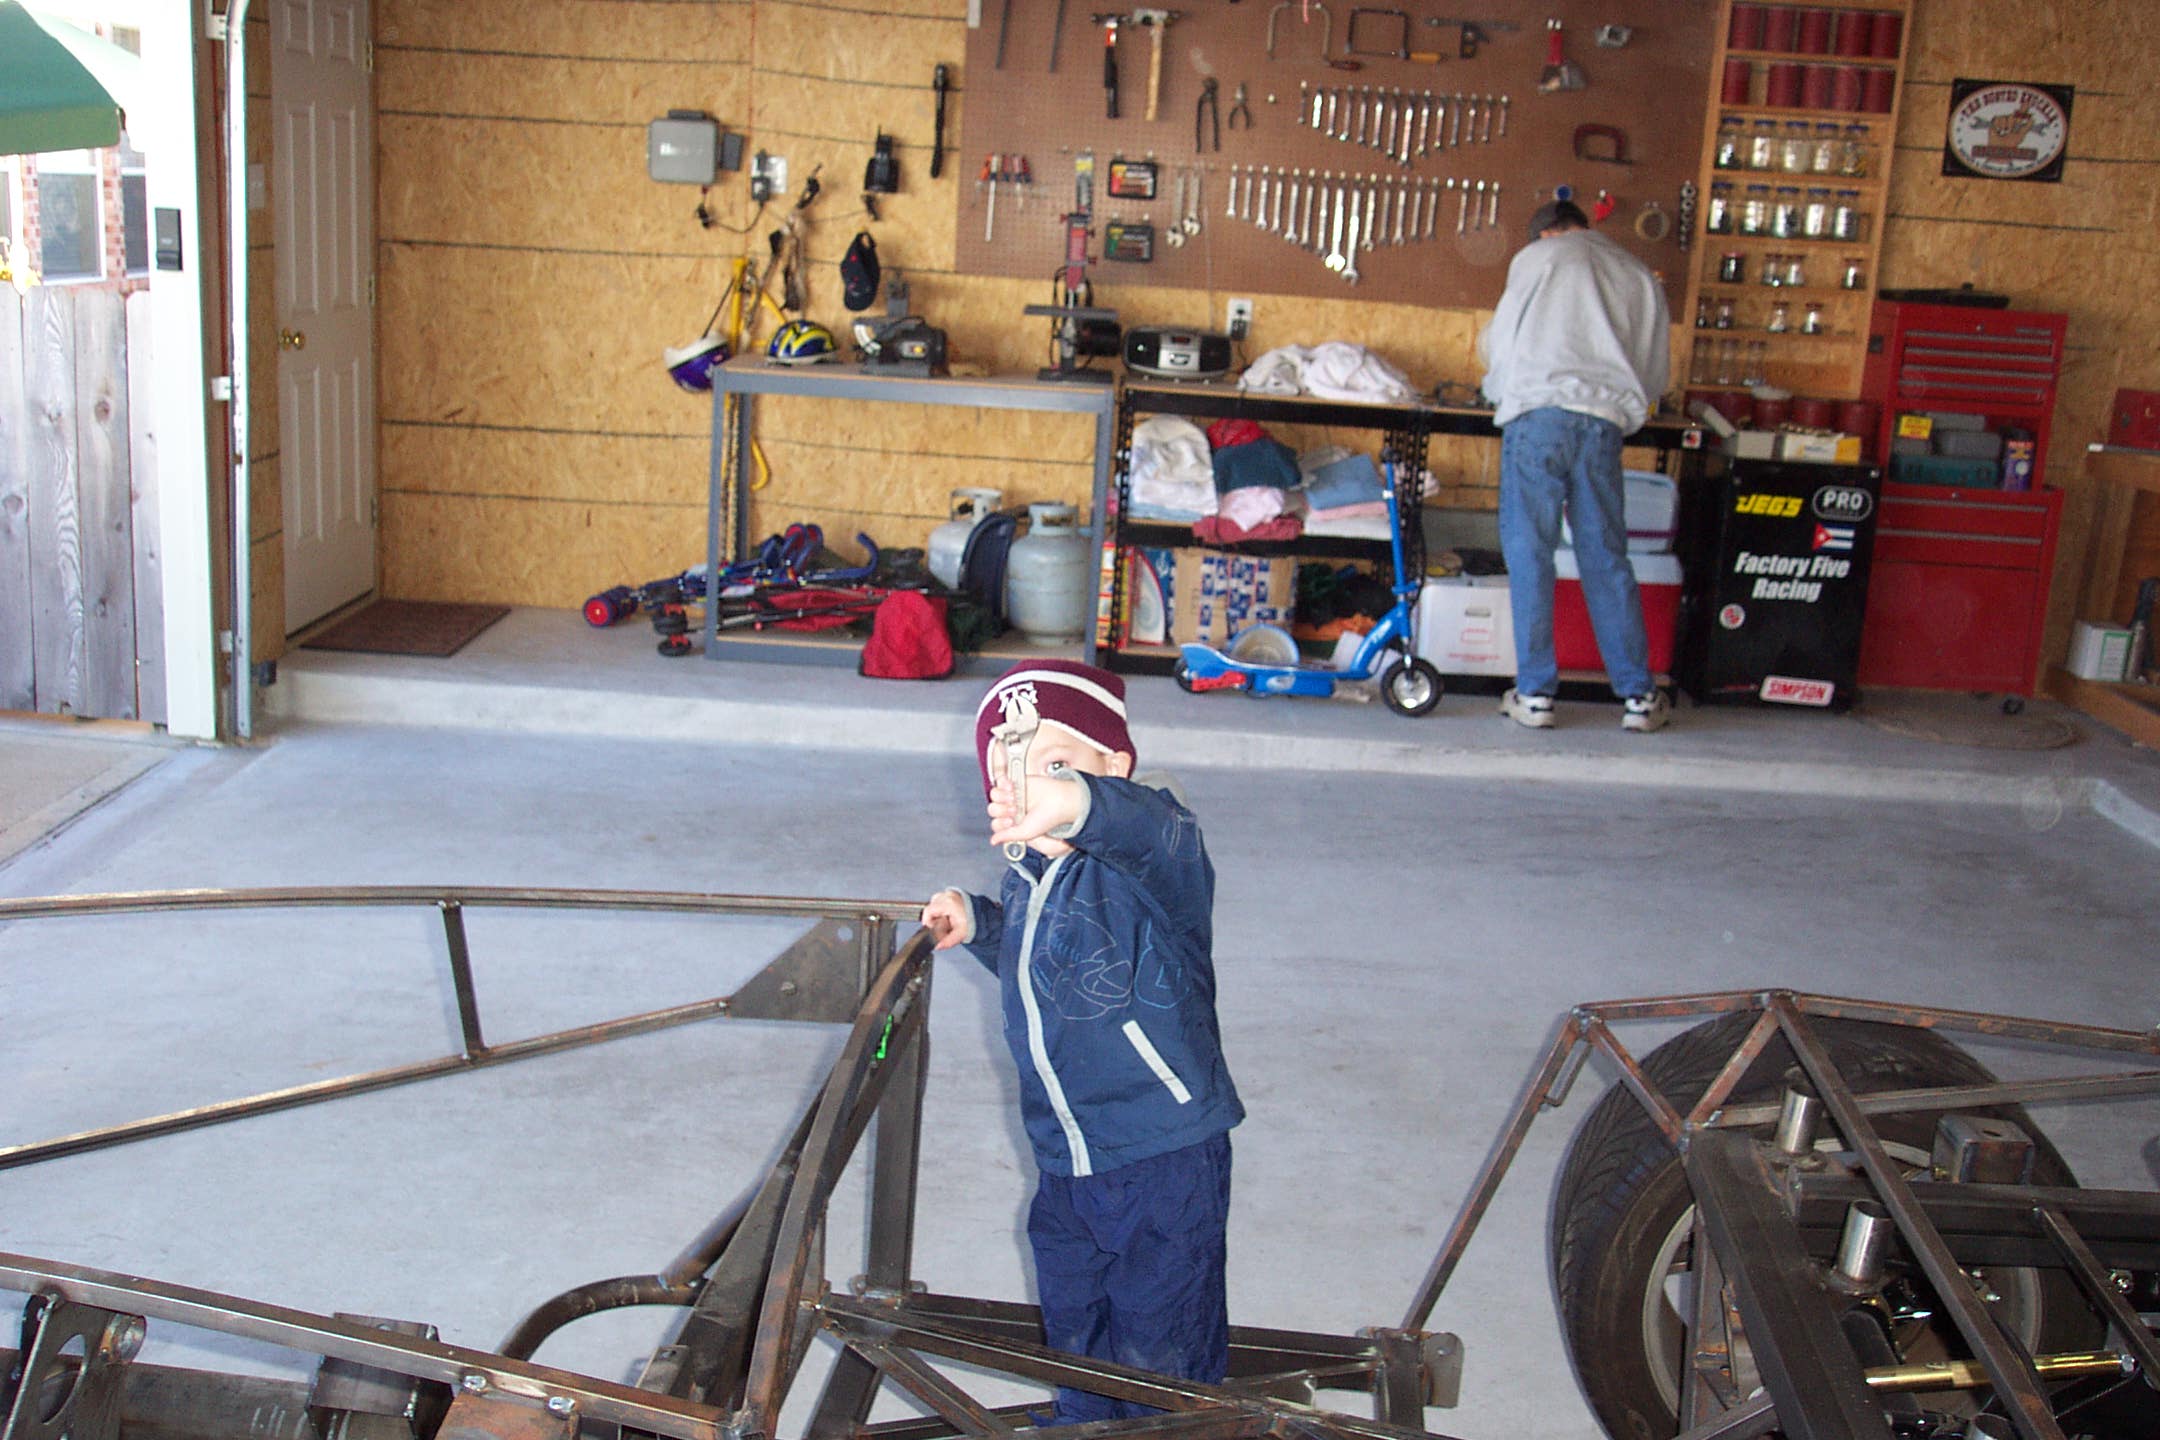
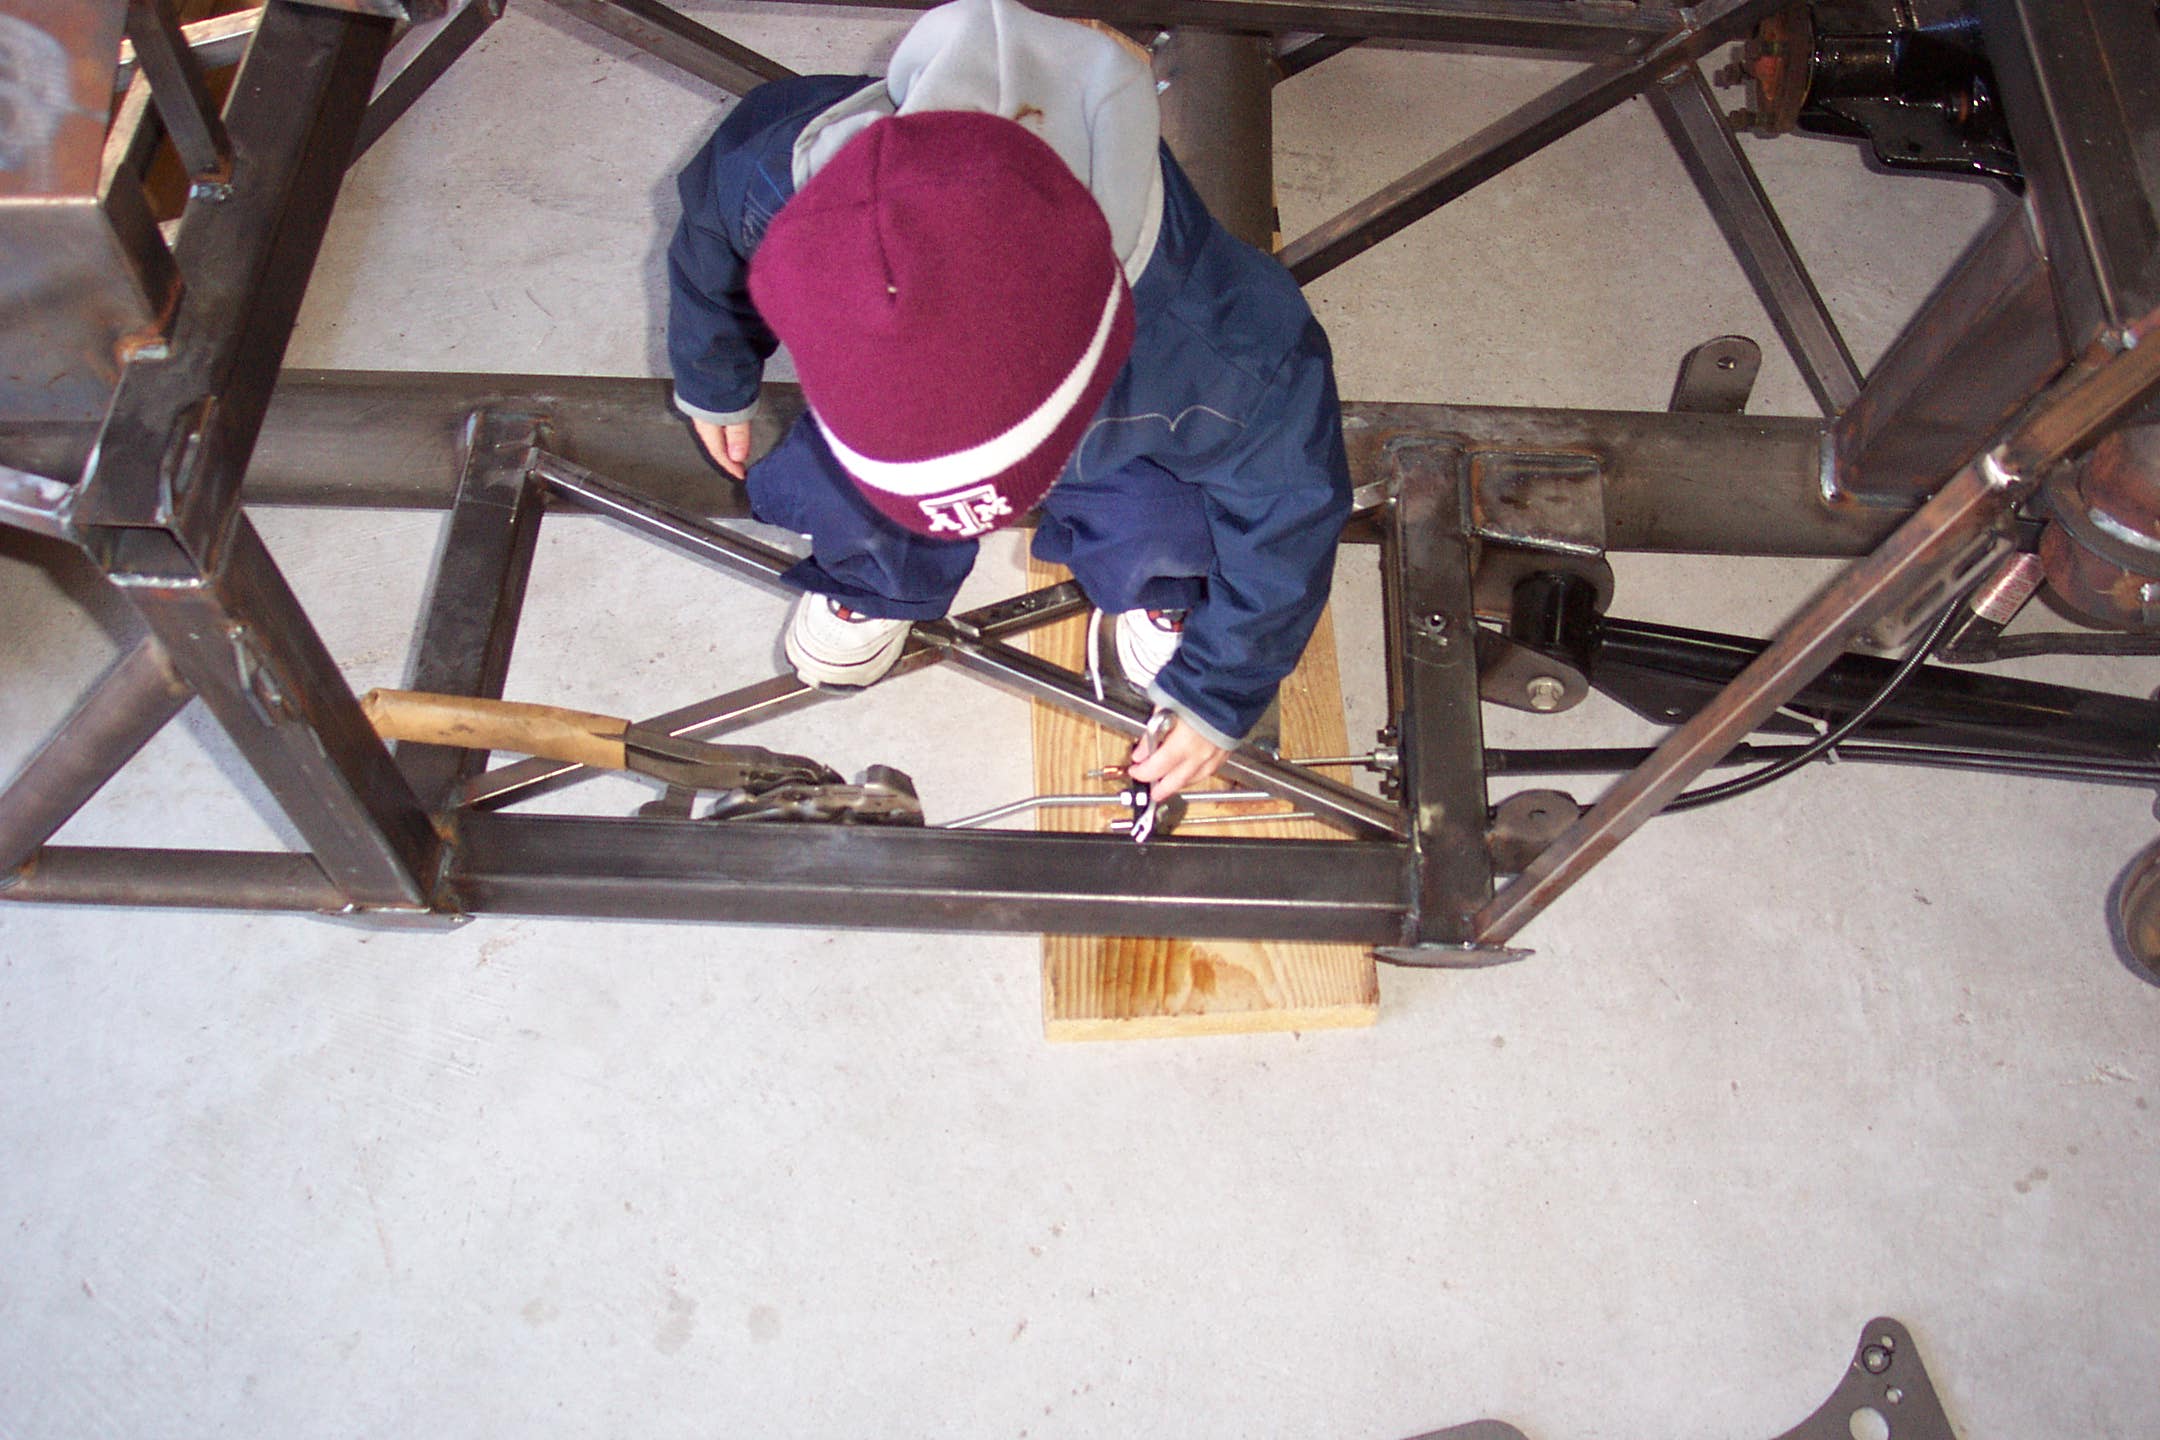
Here is the body and frame rollers so that it can be pushed up the driveway into the garage. The car is safe at home in the garage along with lots of boxes full of parts. Ben and I had to take the car for a quick “test drive”.
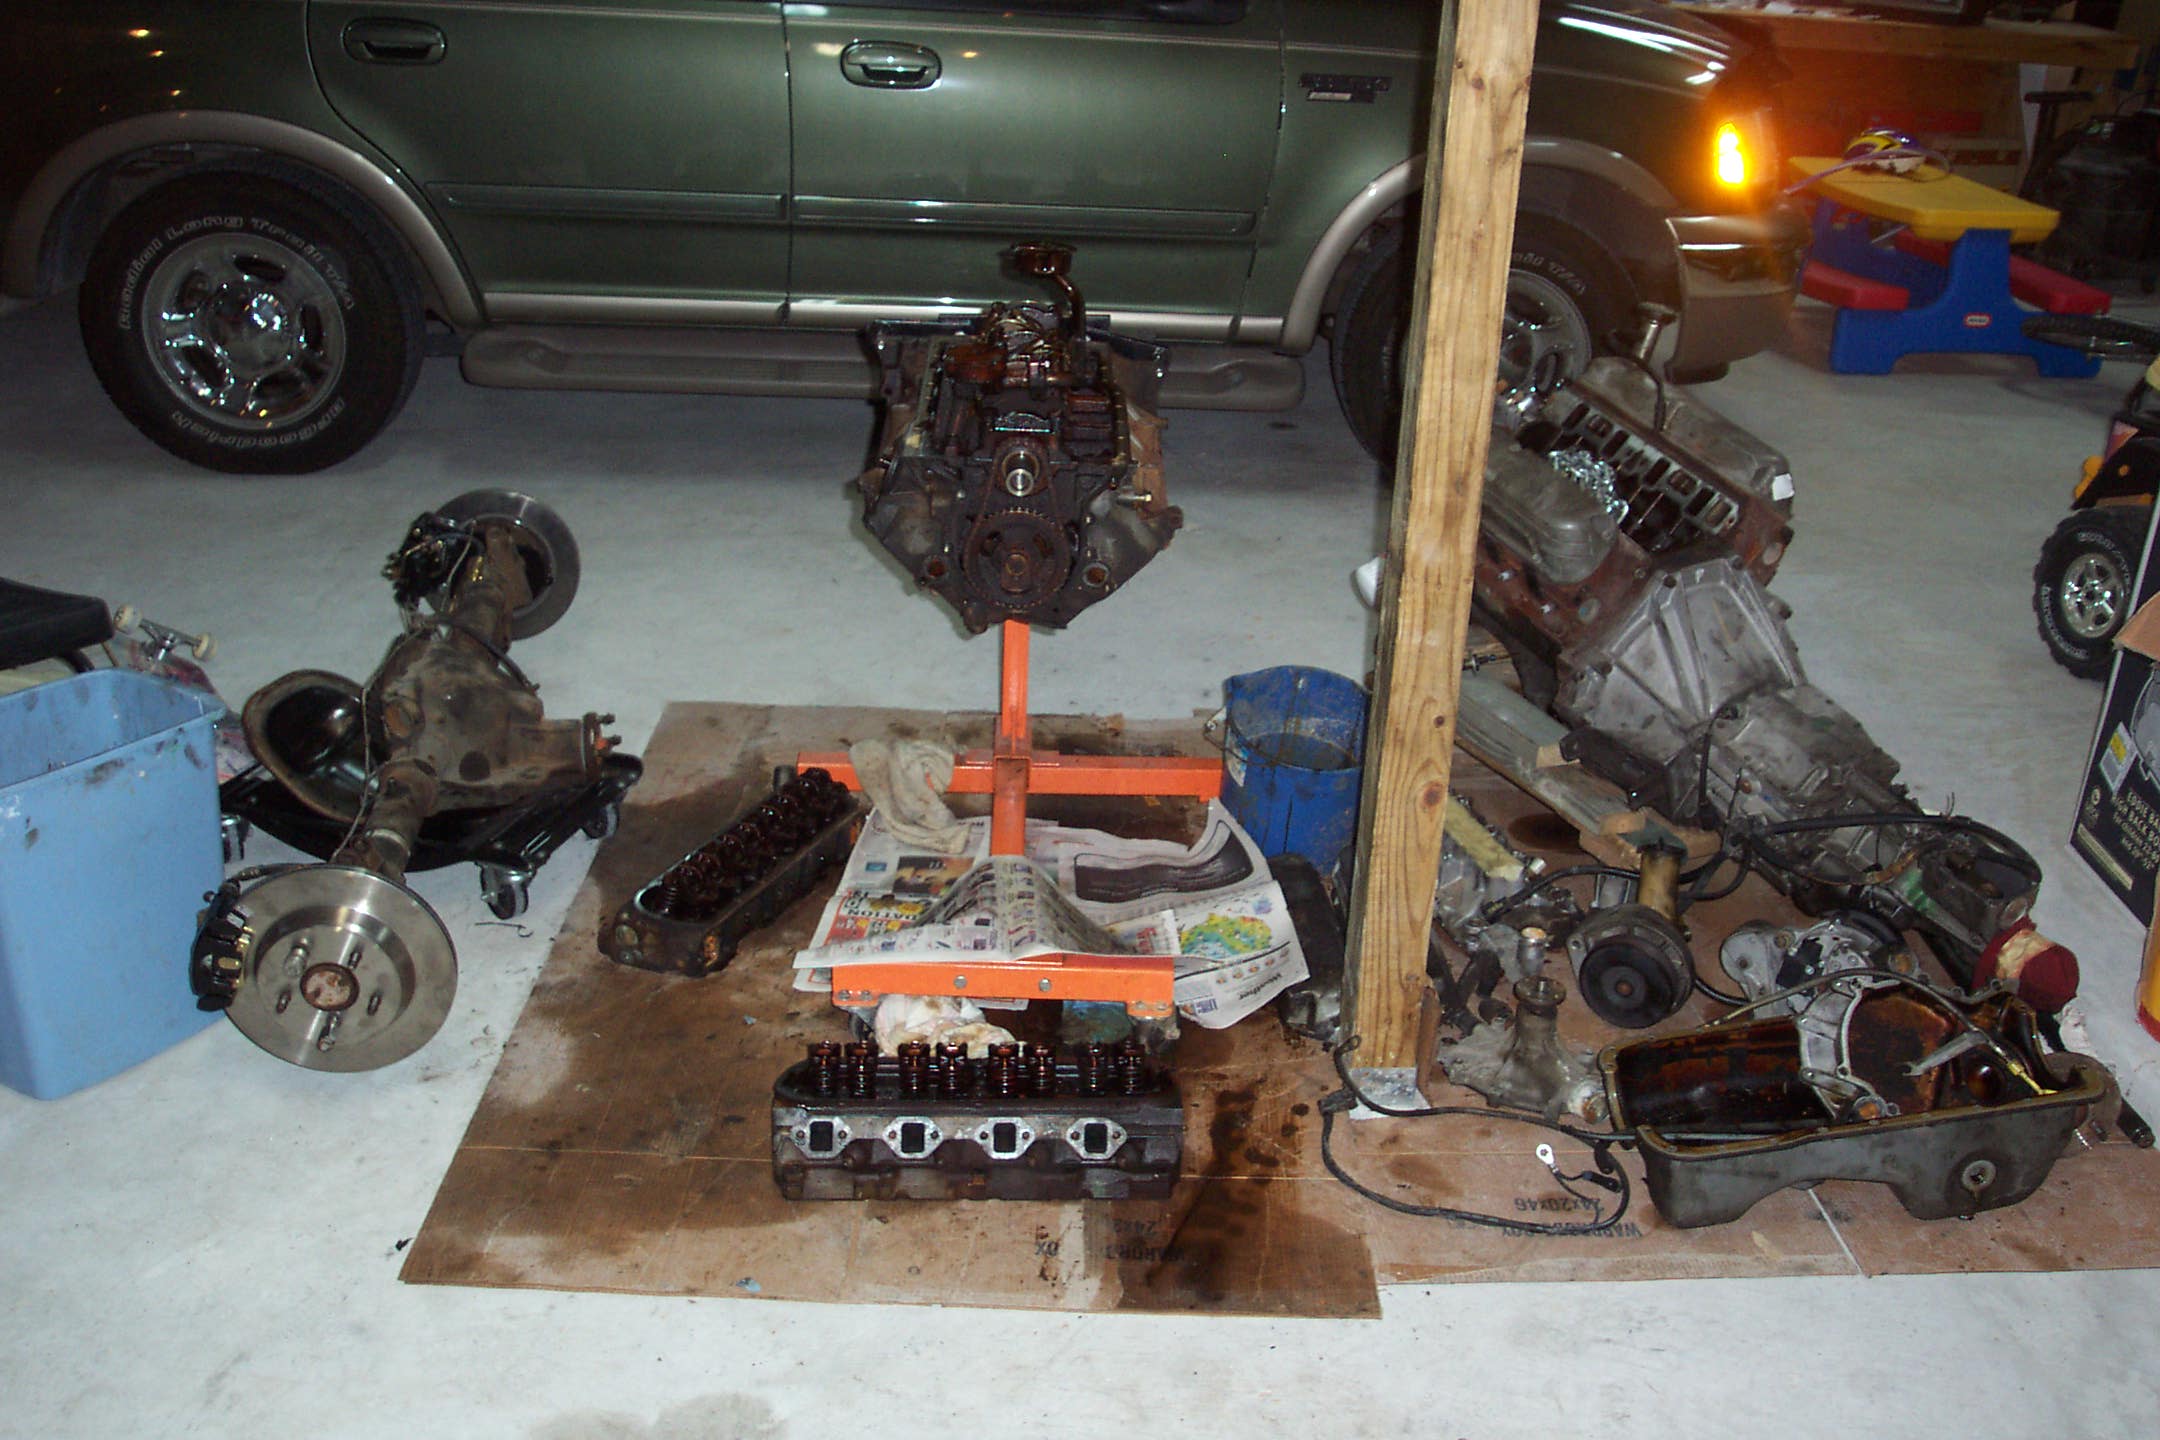
2003 Engine Overhaul
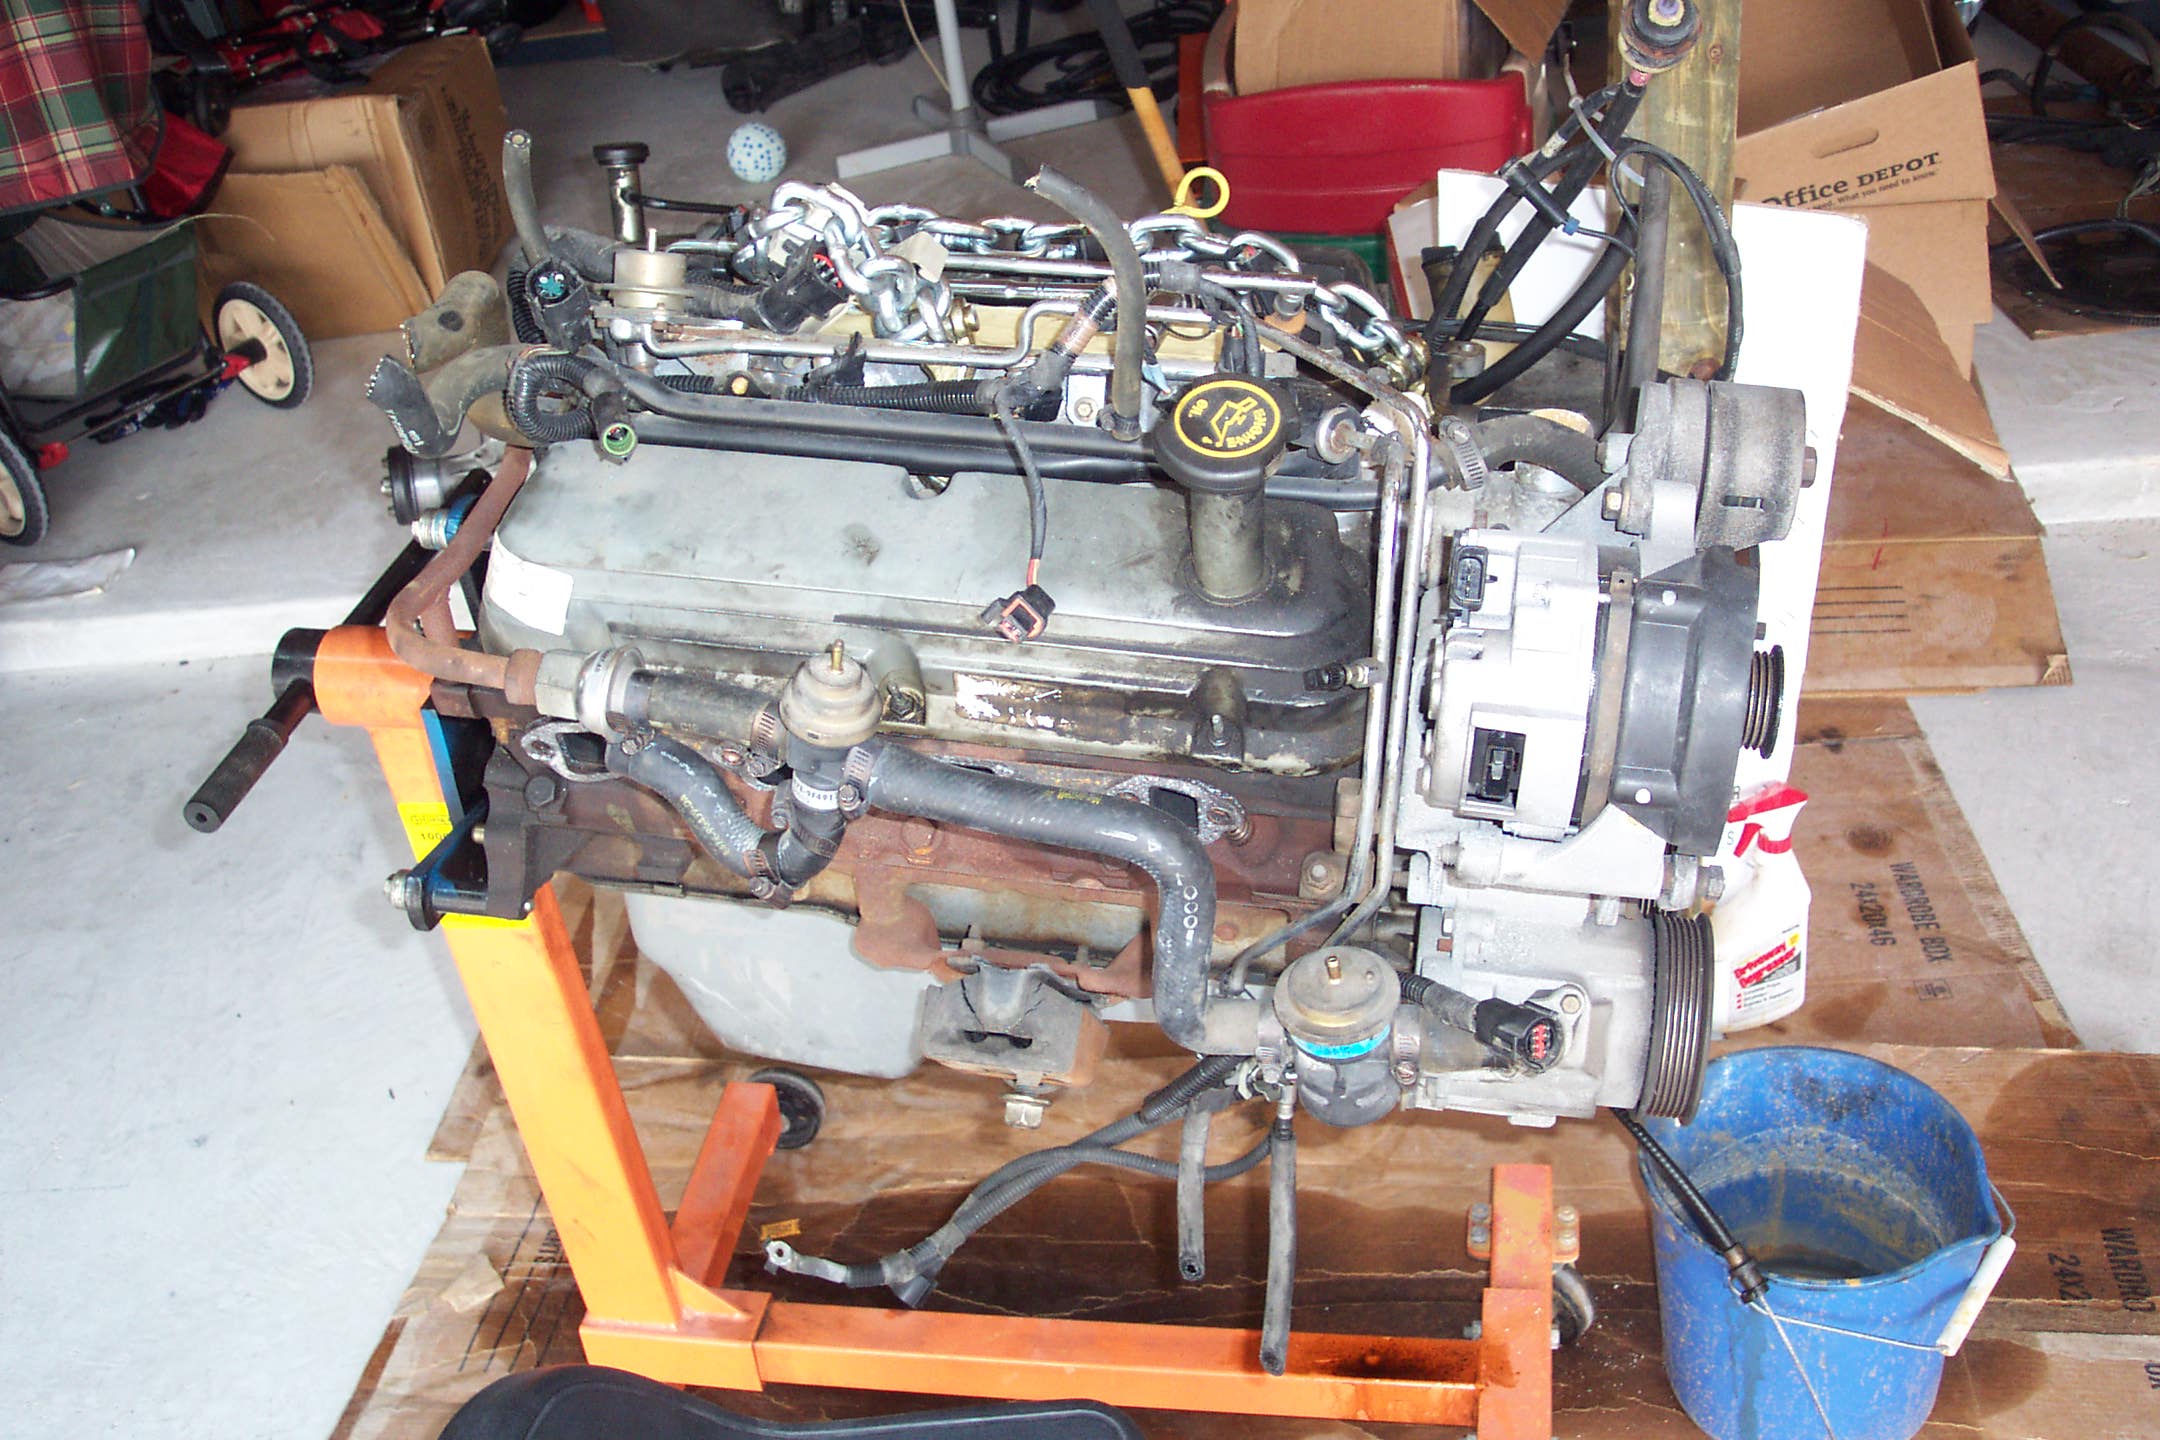
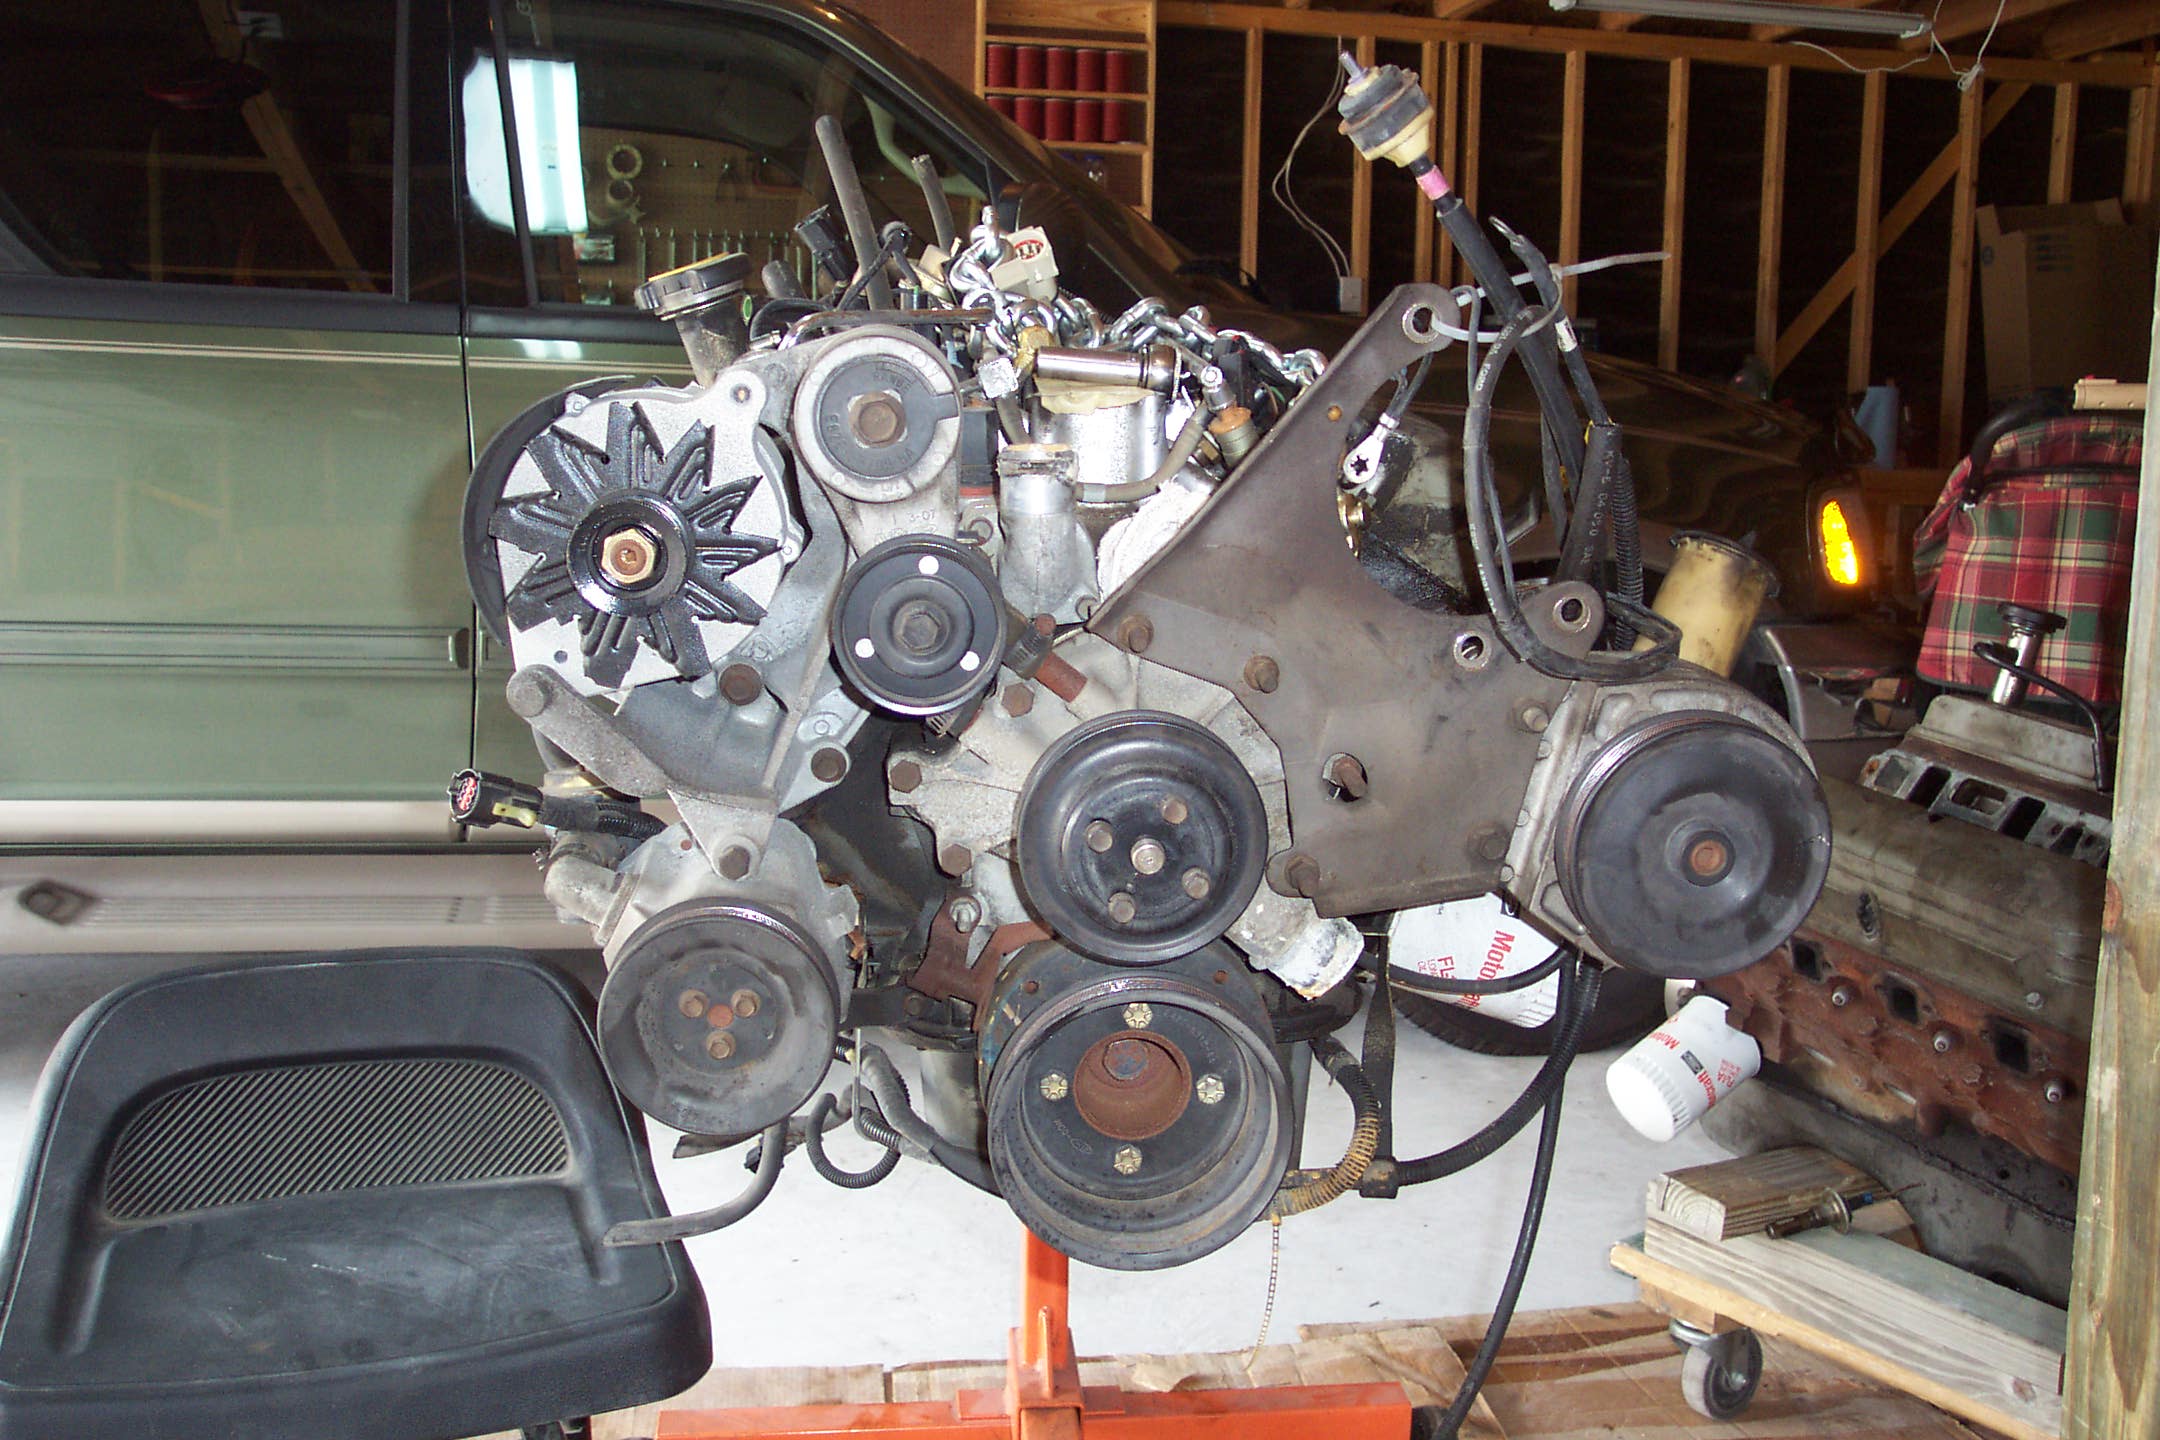
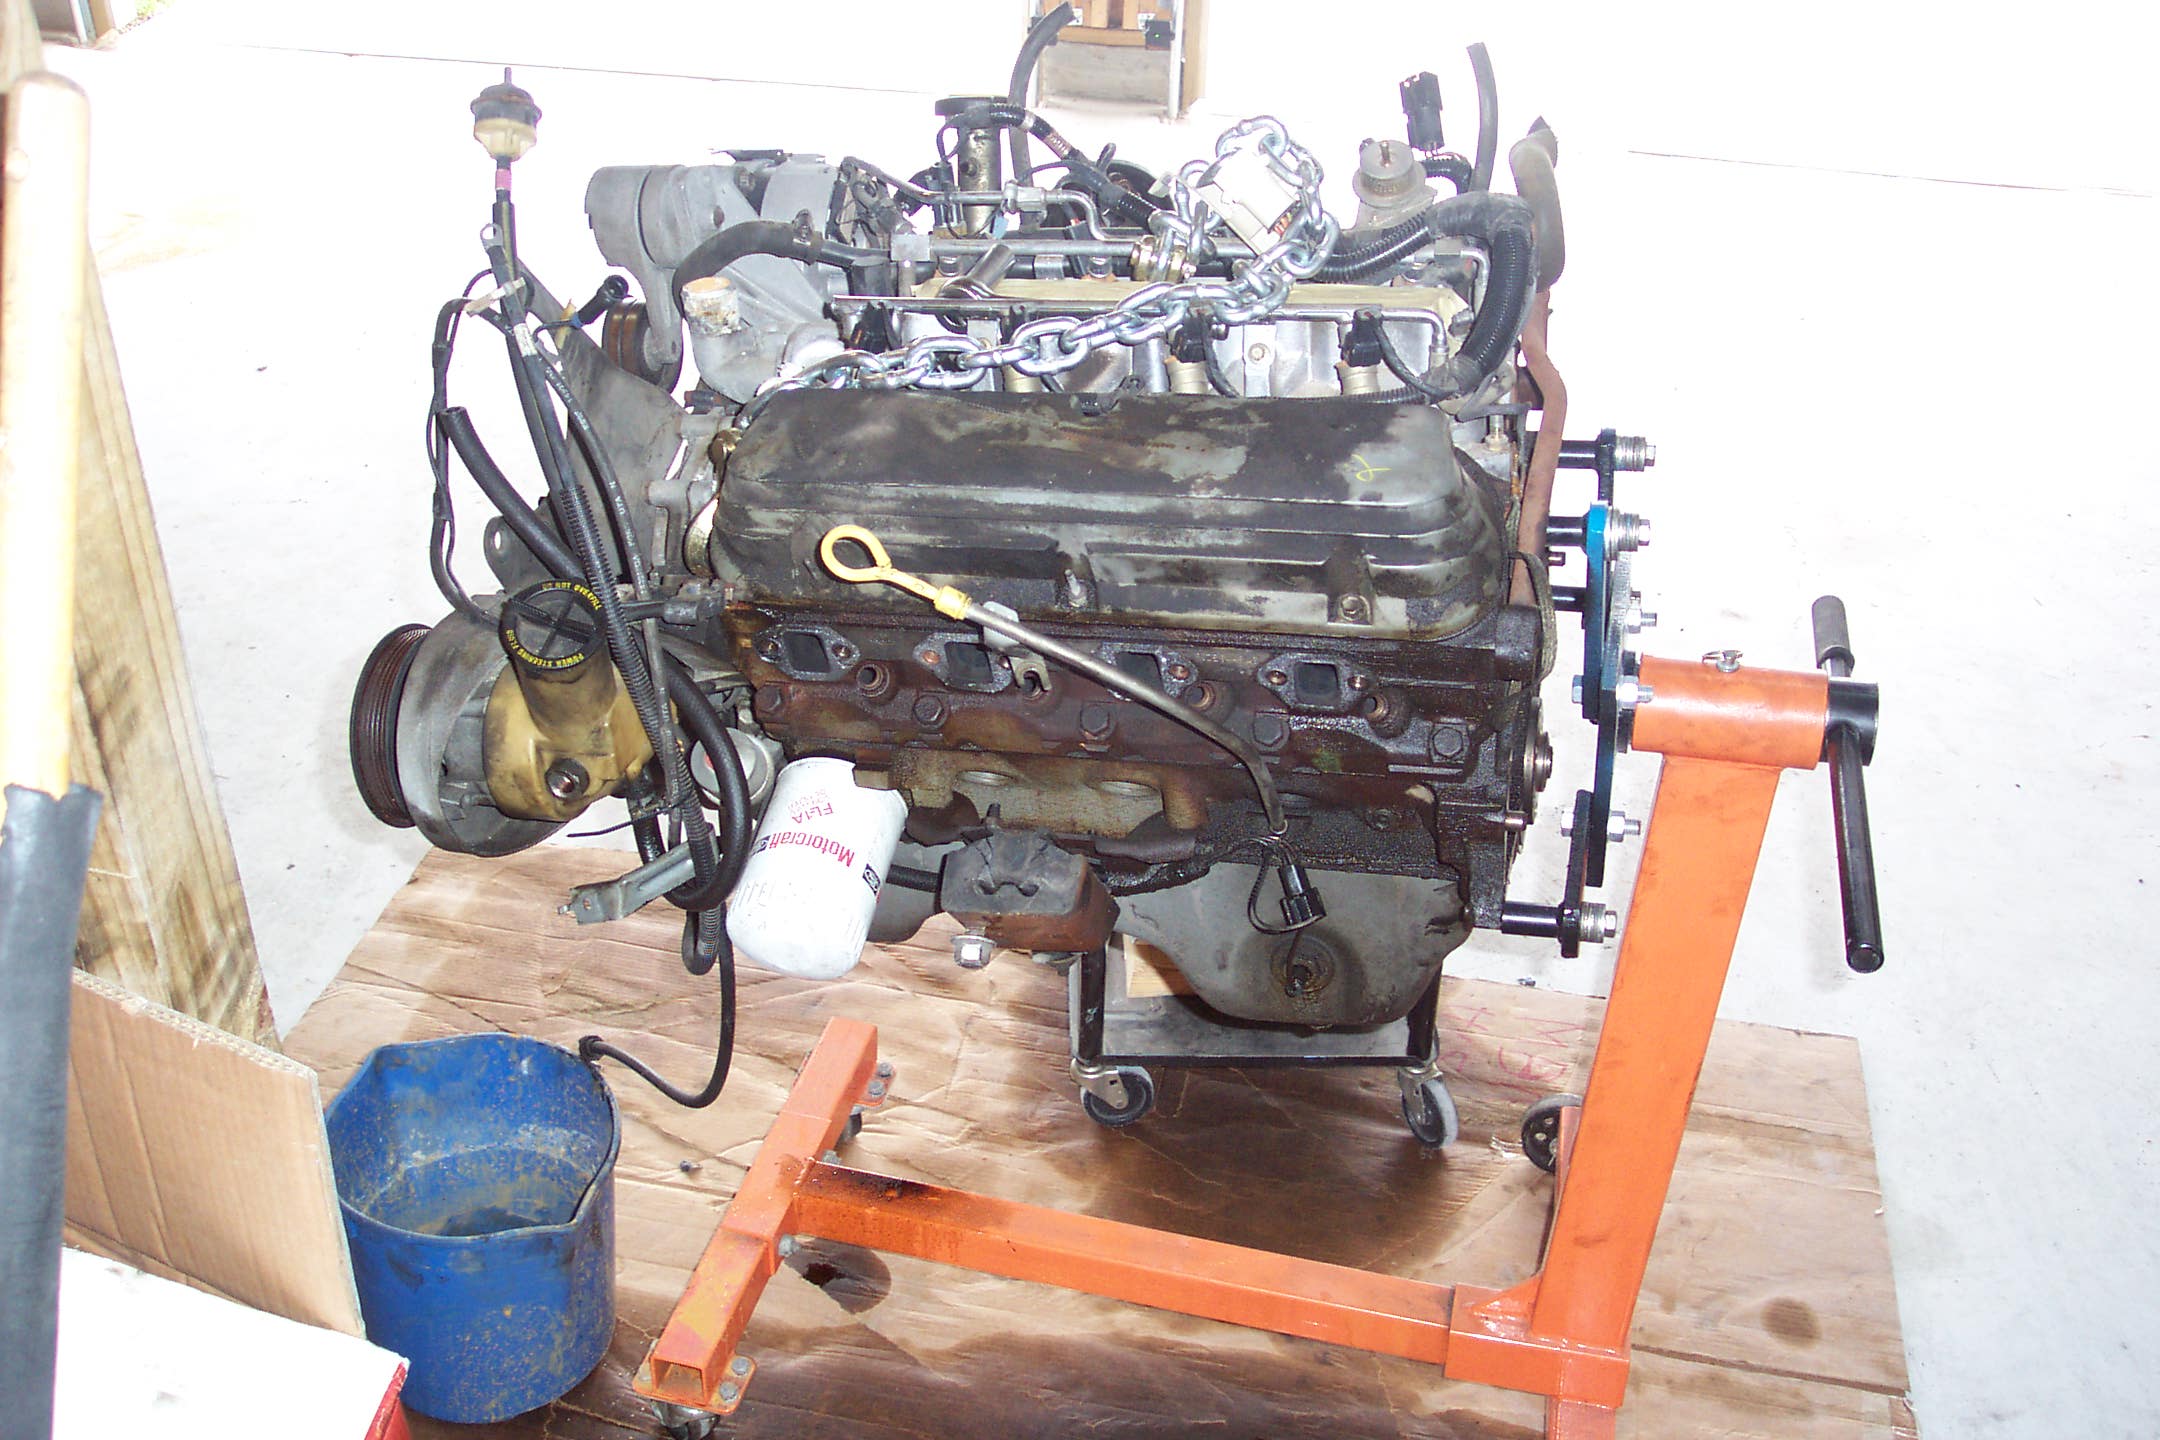
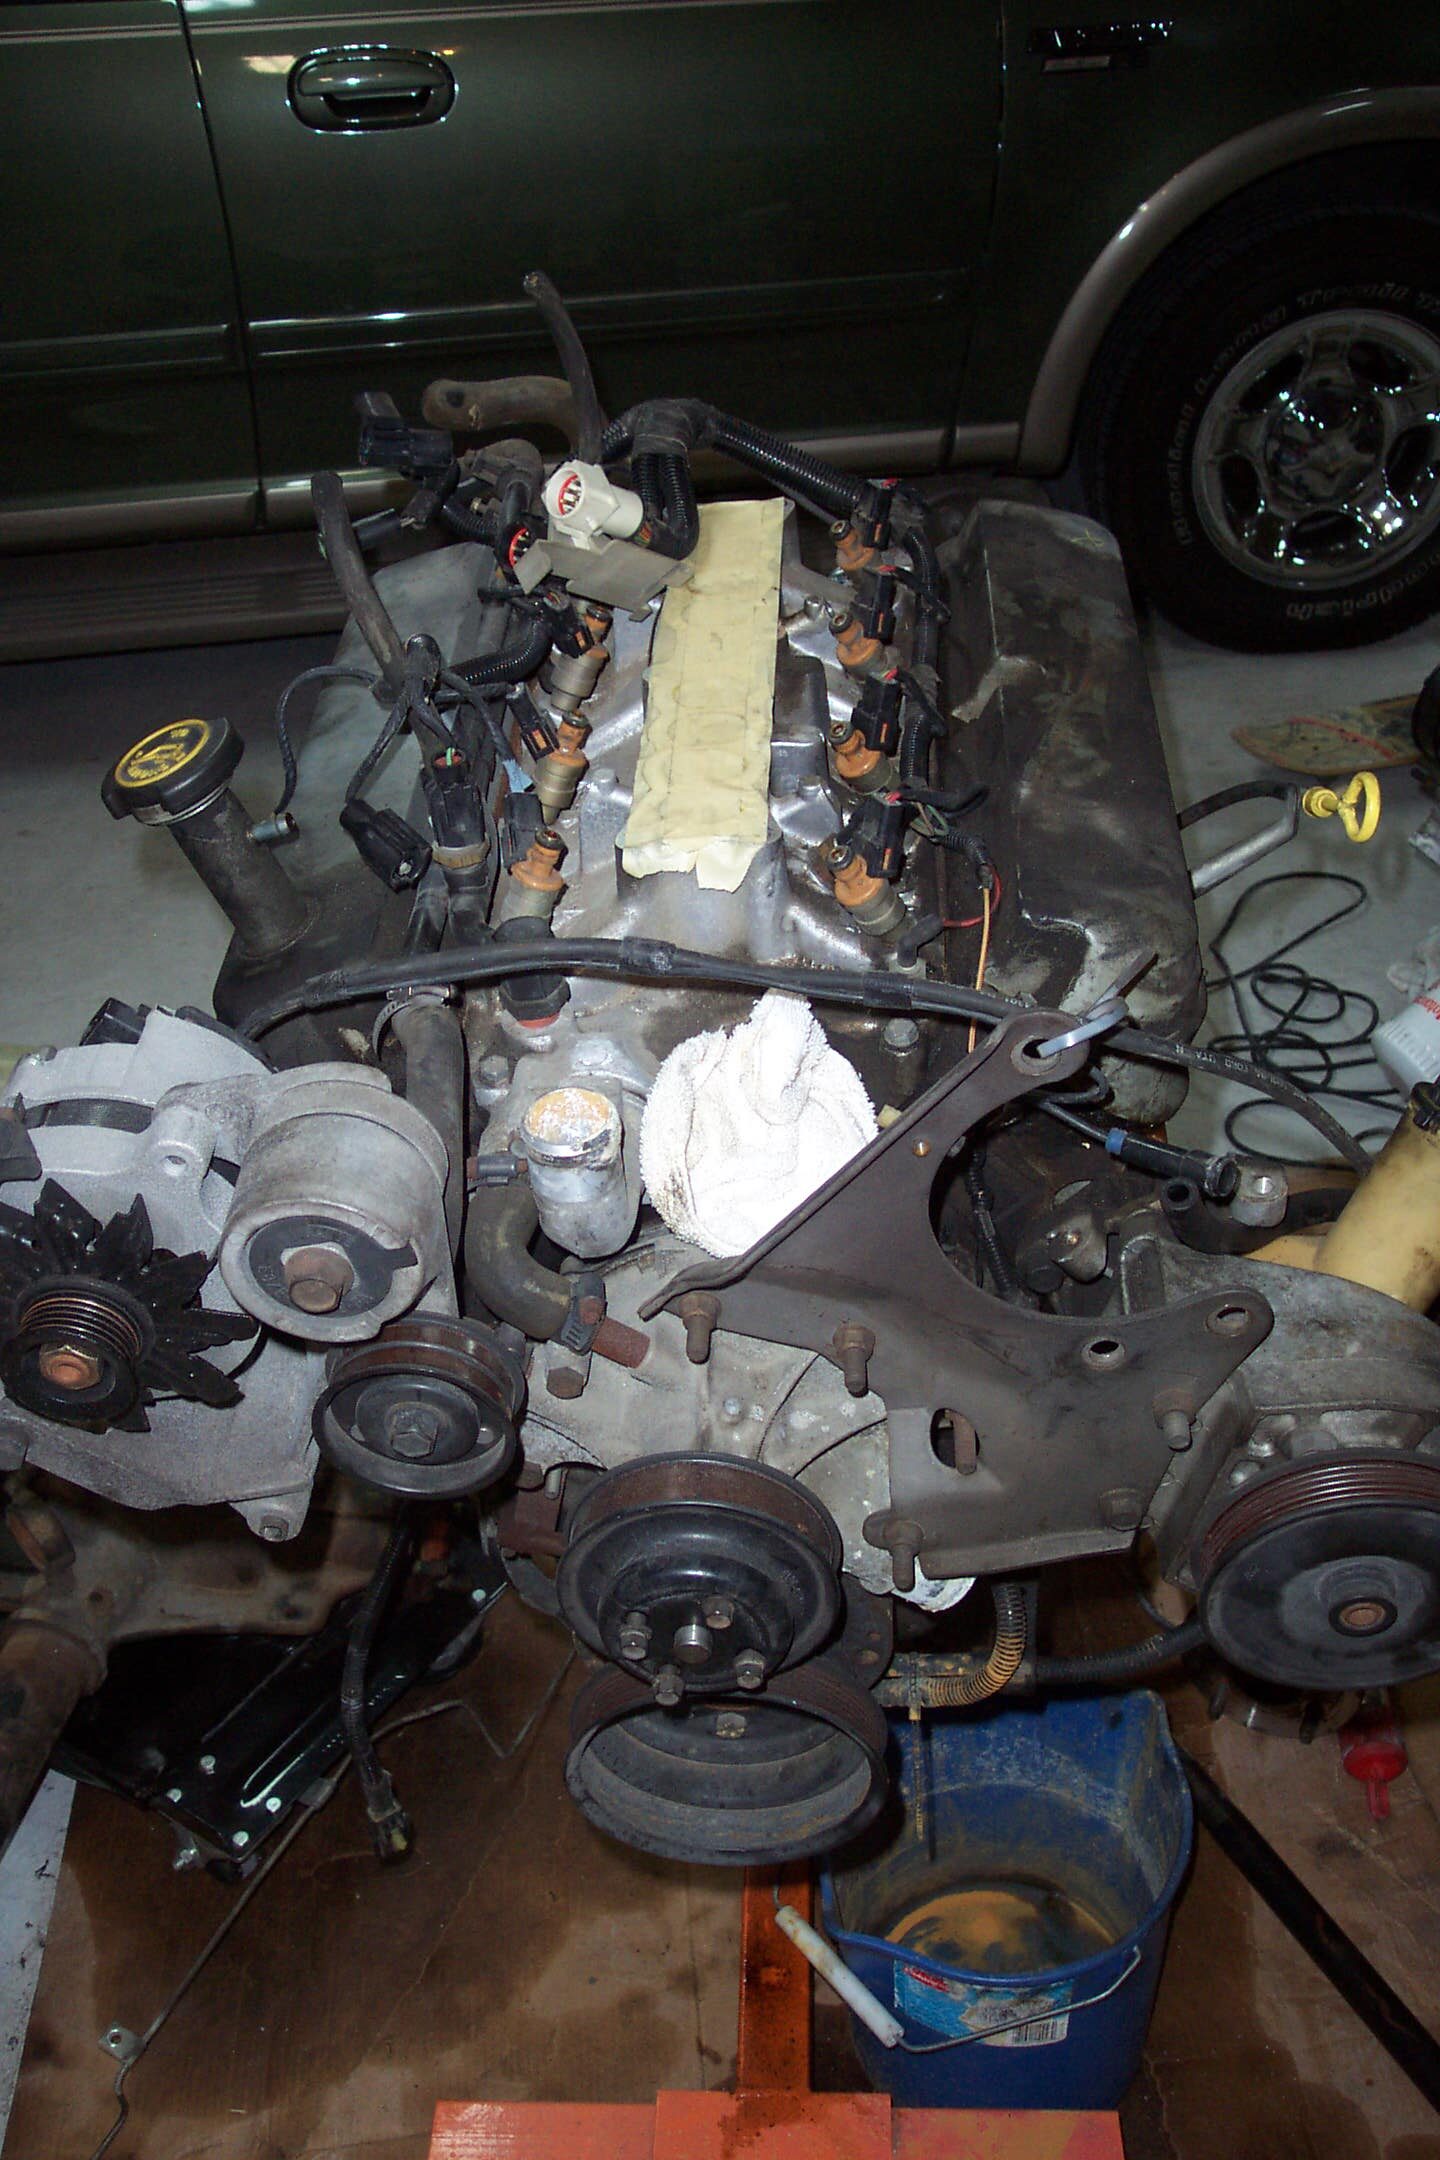
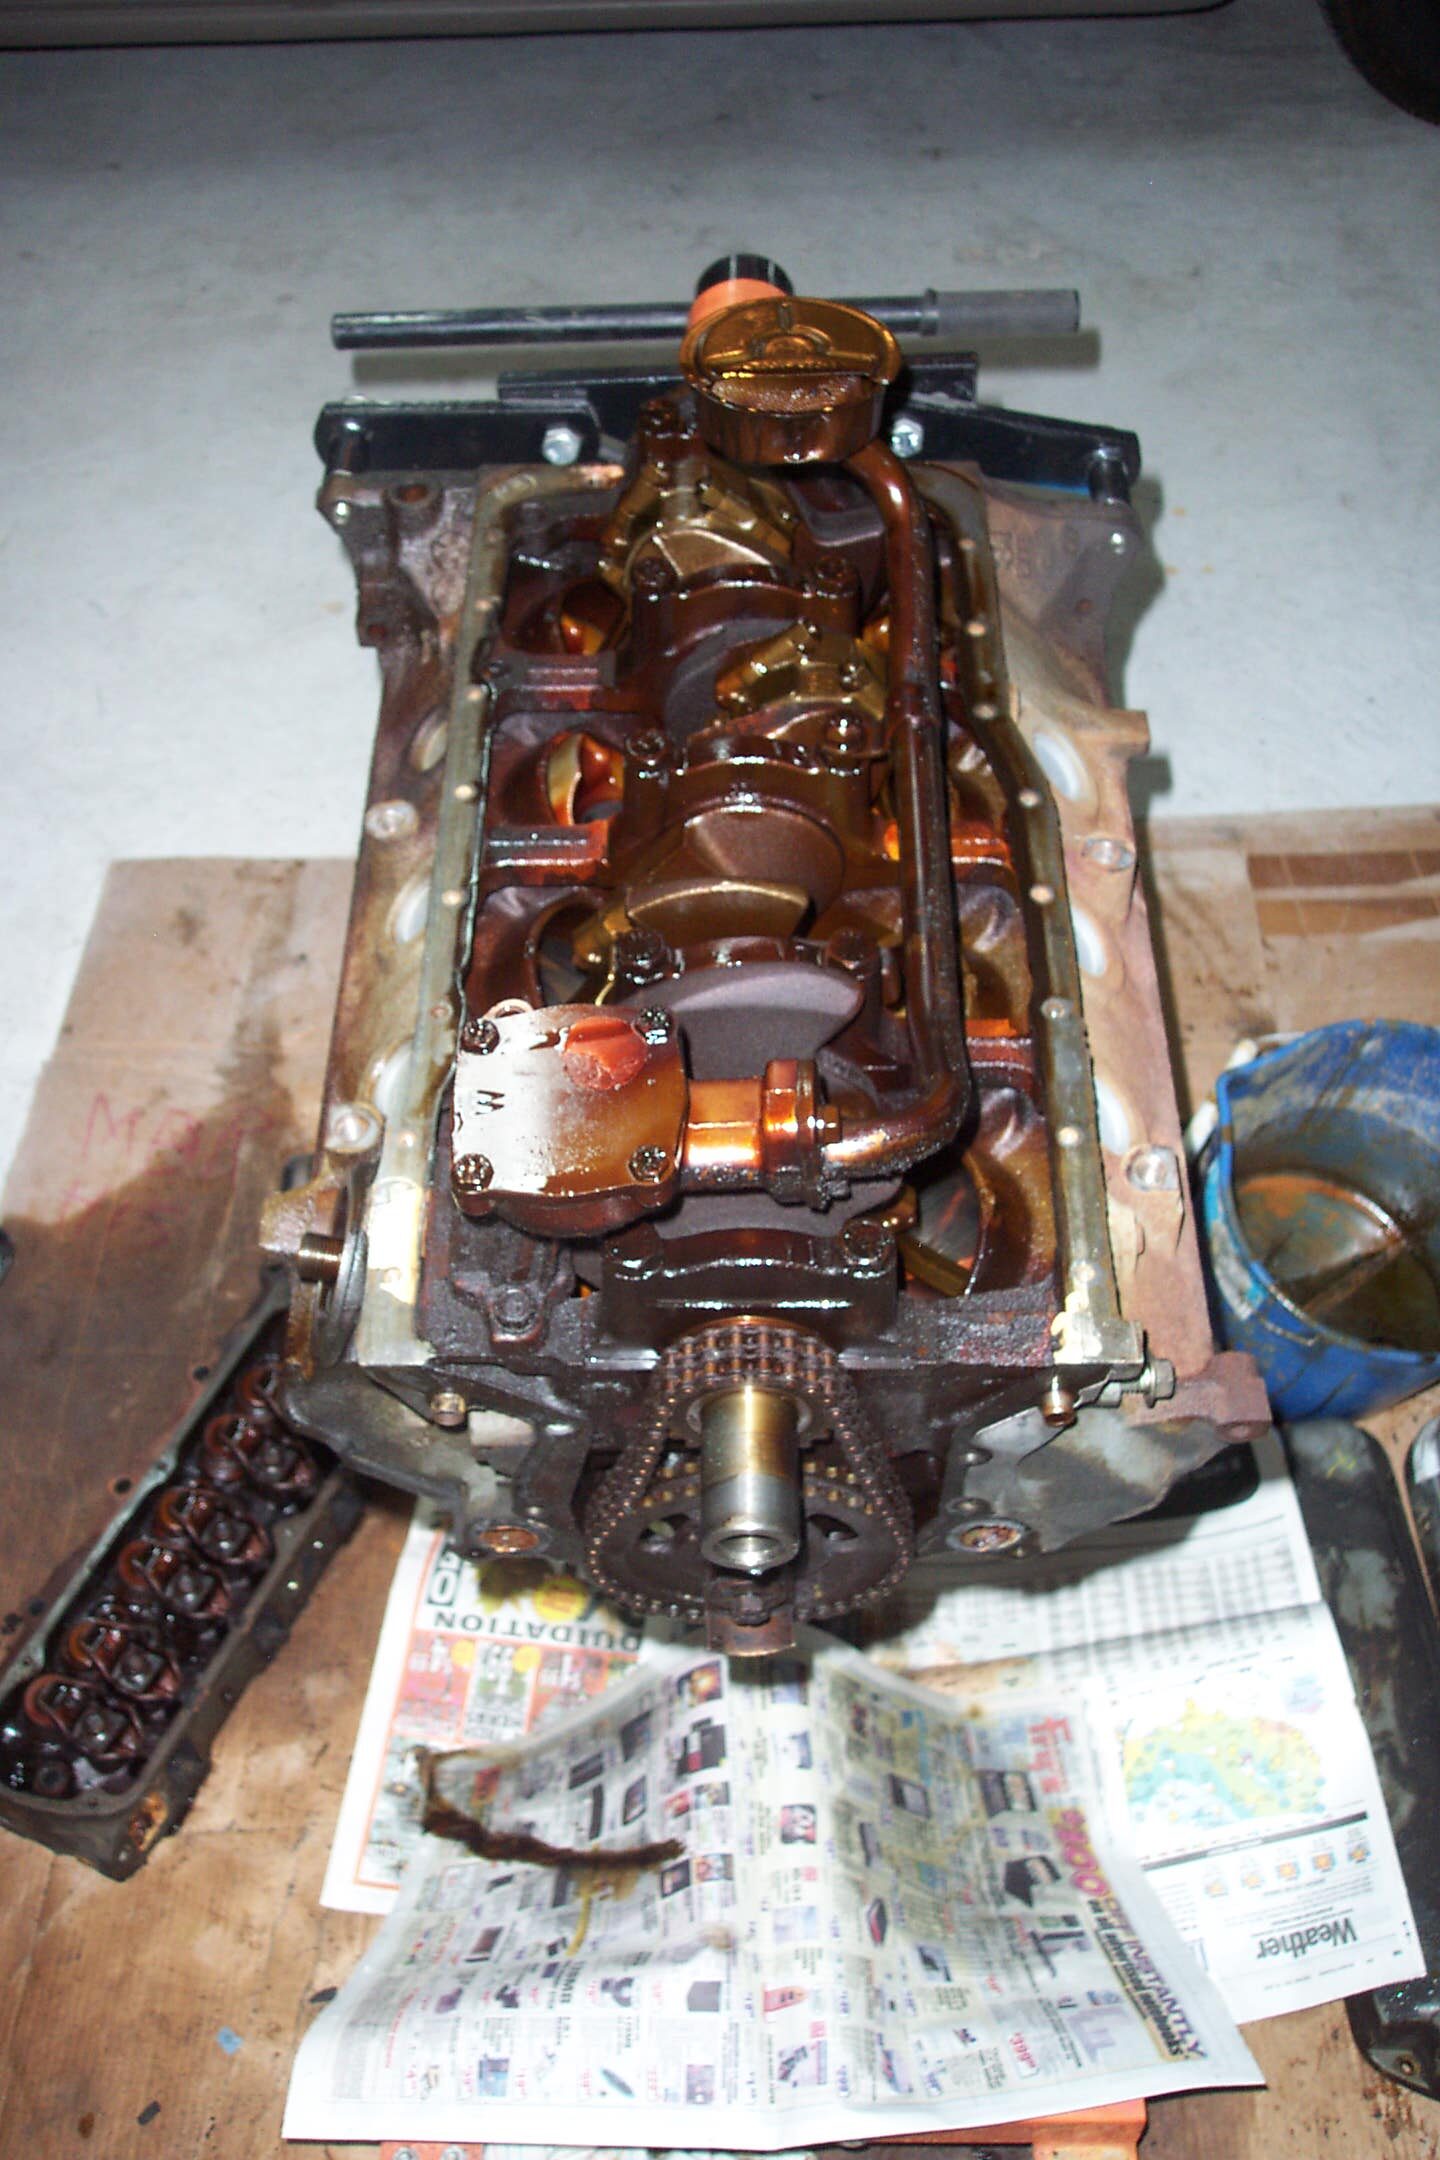
When the engine came out of the car it looked pretty rough but ran well. The plan is to strip the entire engine down and go through each component. There were no major mechanical problems discovered during disassembly.
The plan is to strip the entire engine down and go through each component. There were no major mechanical problems discovered during disassembly.
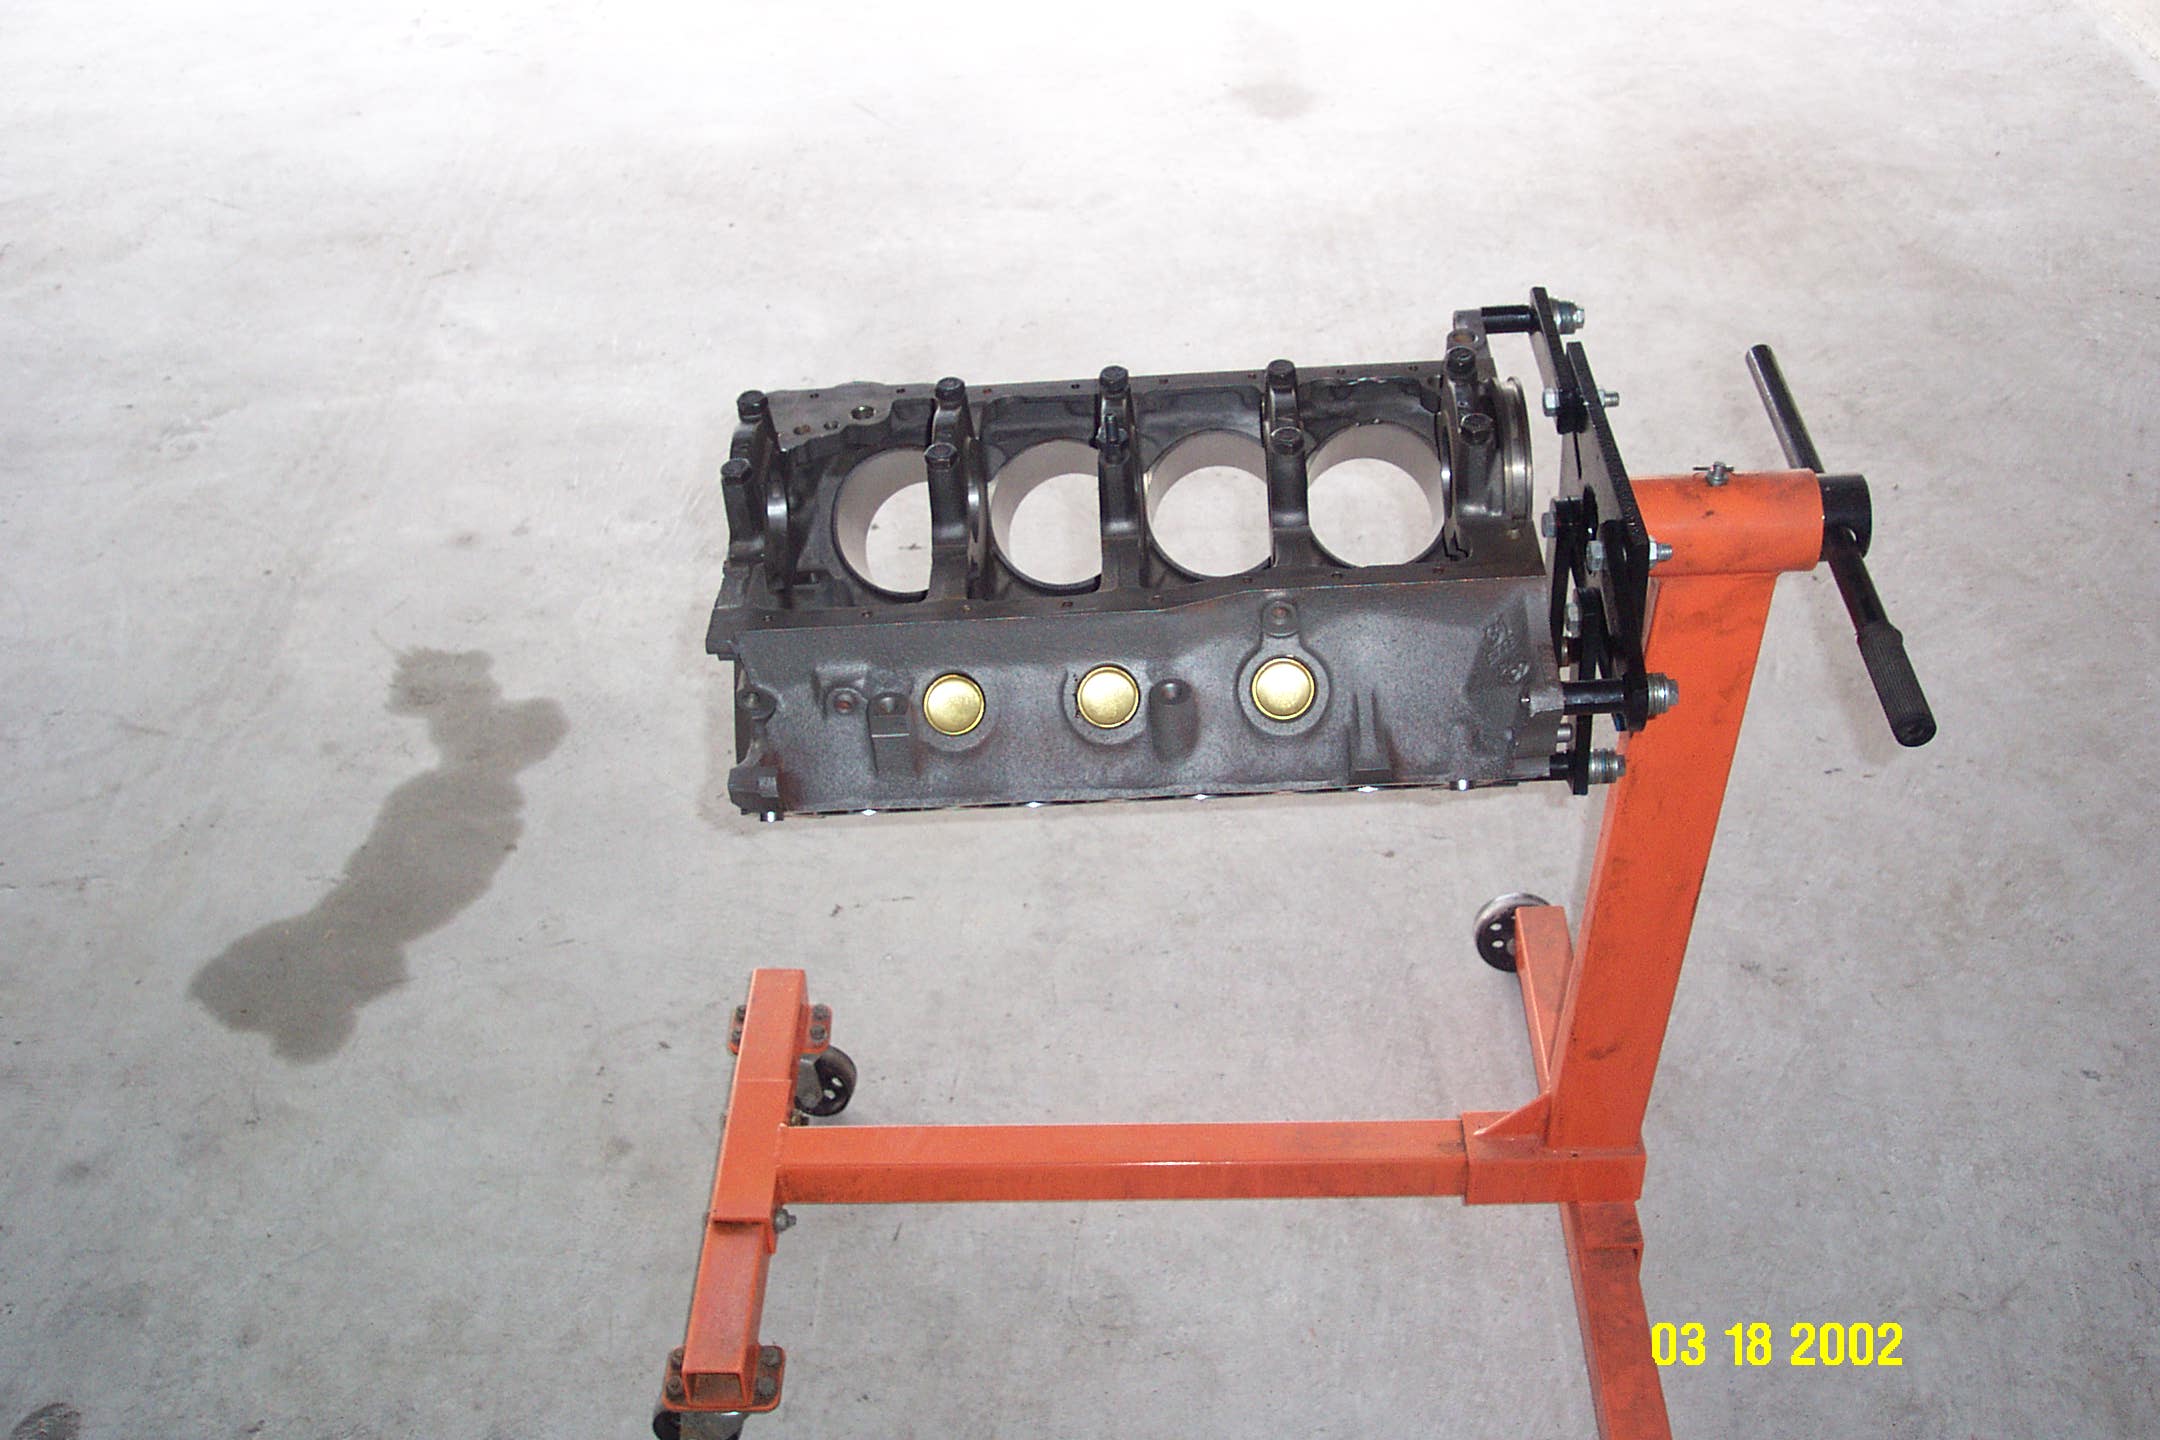
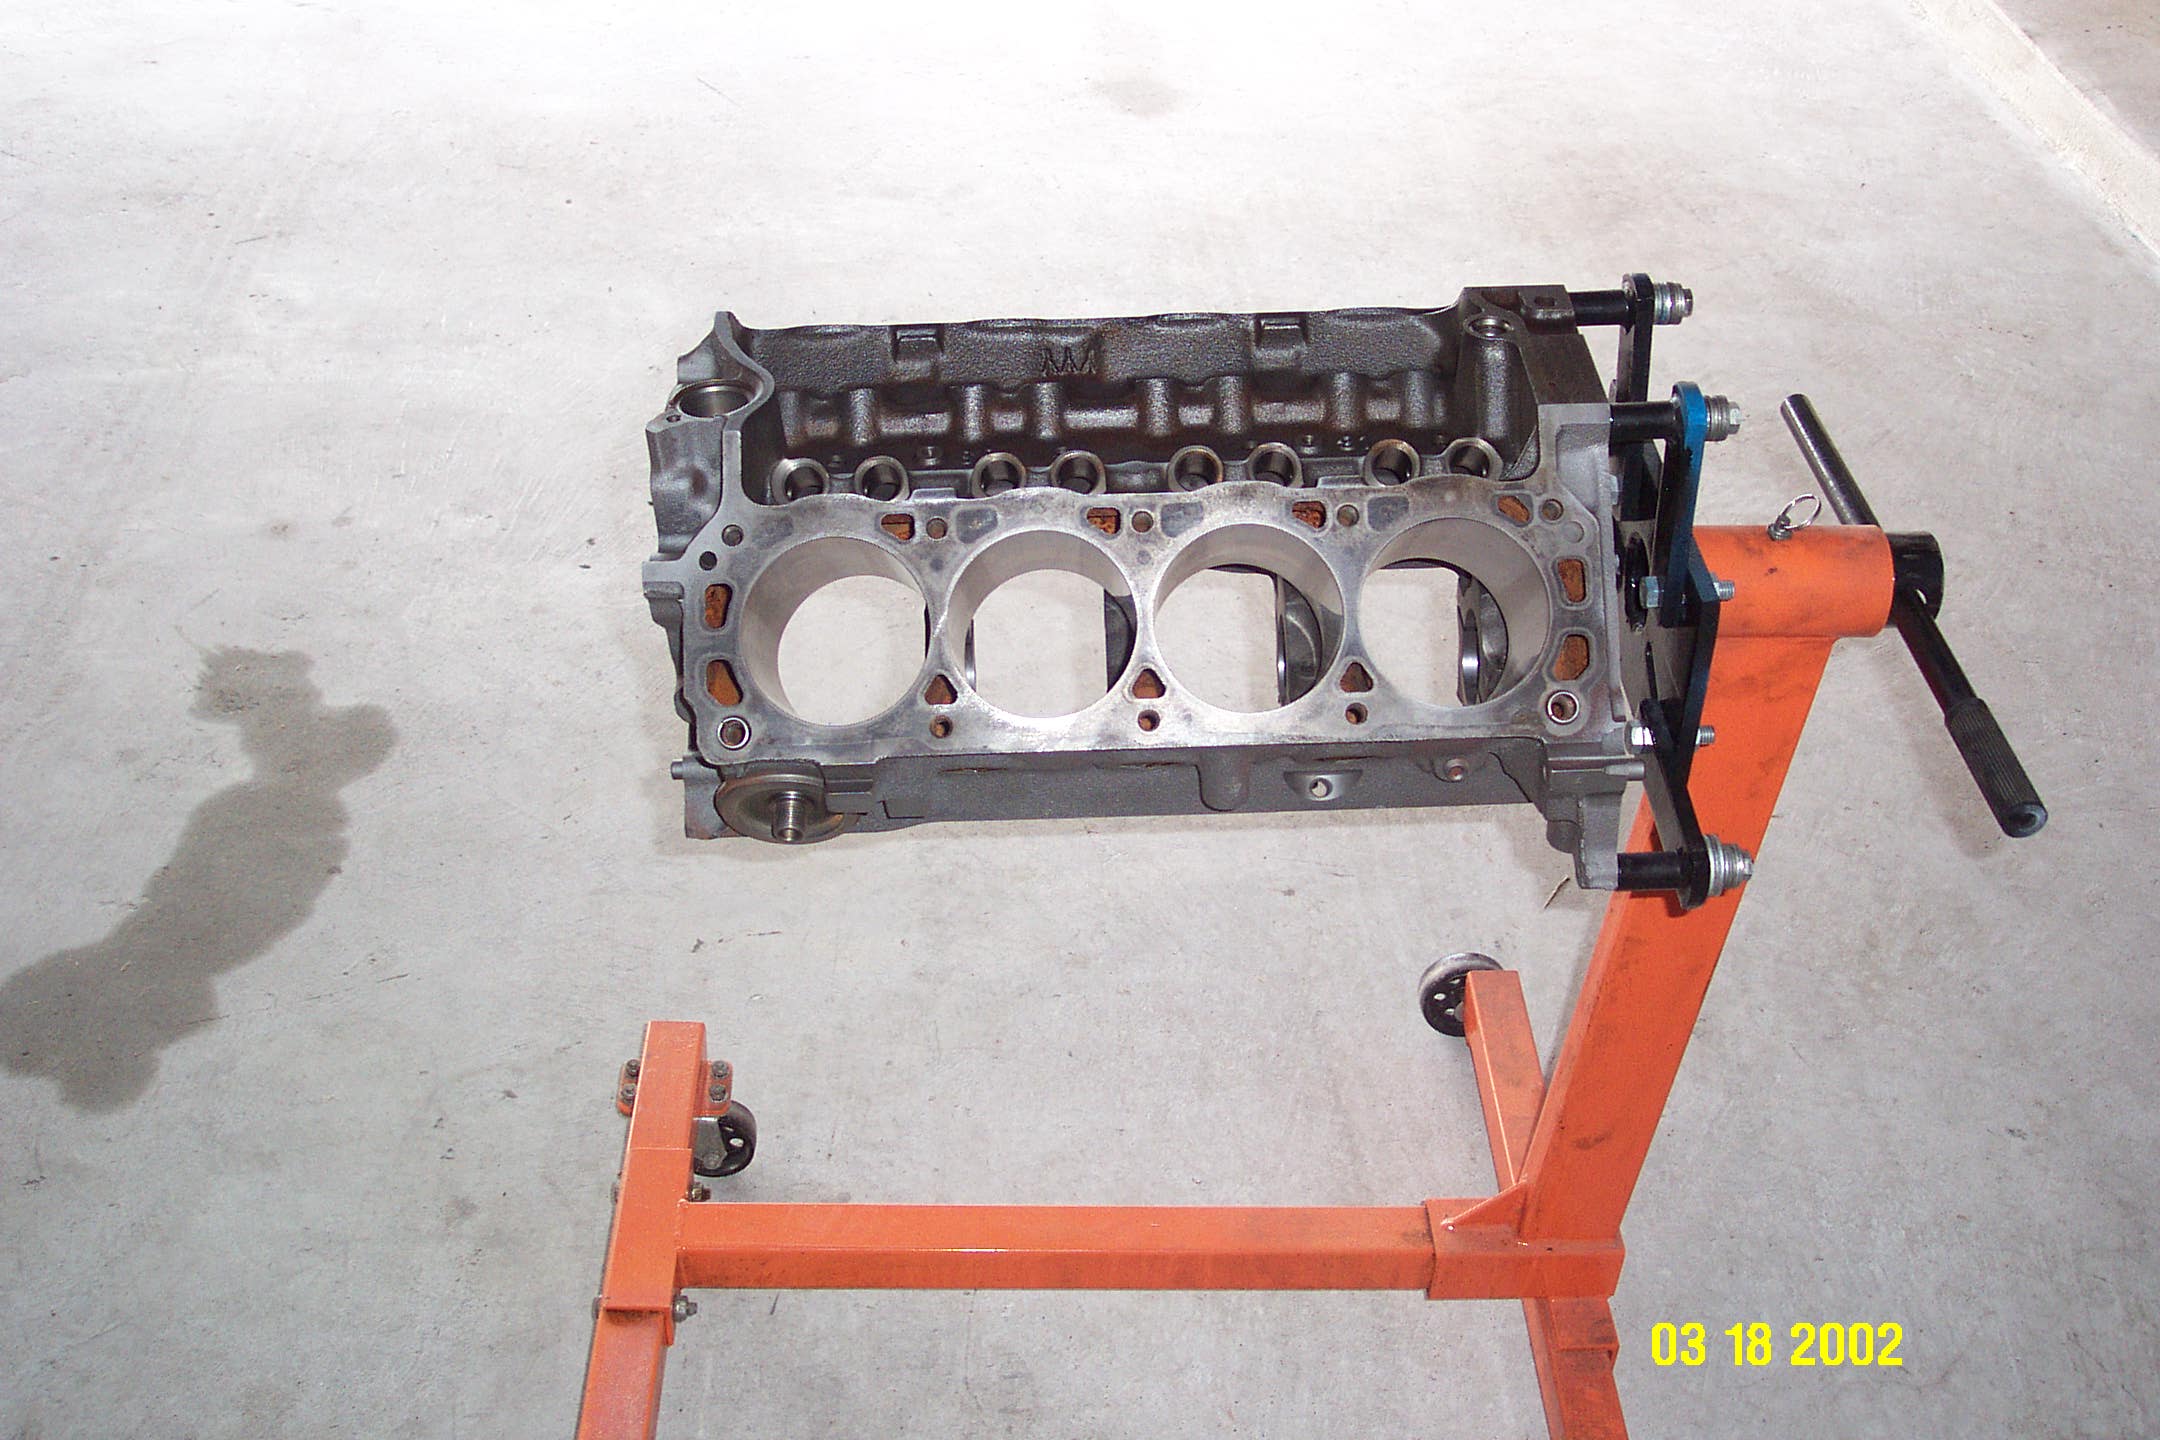
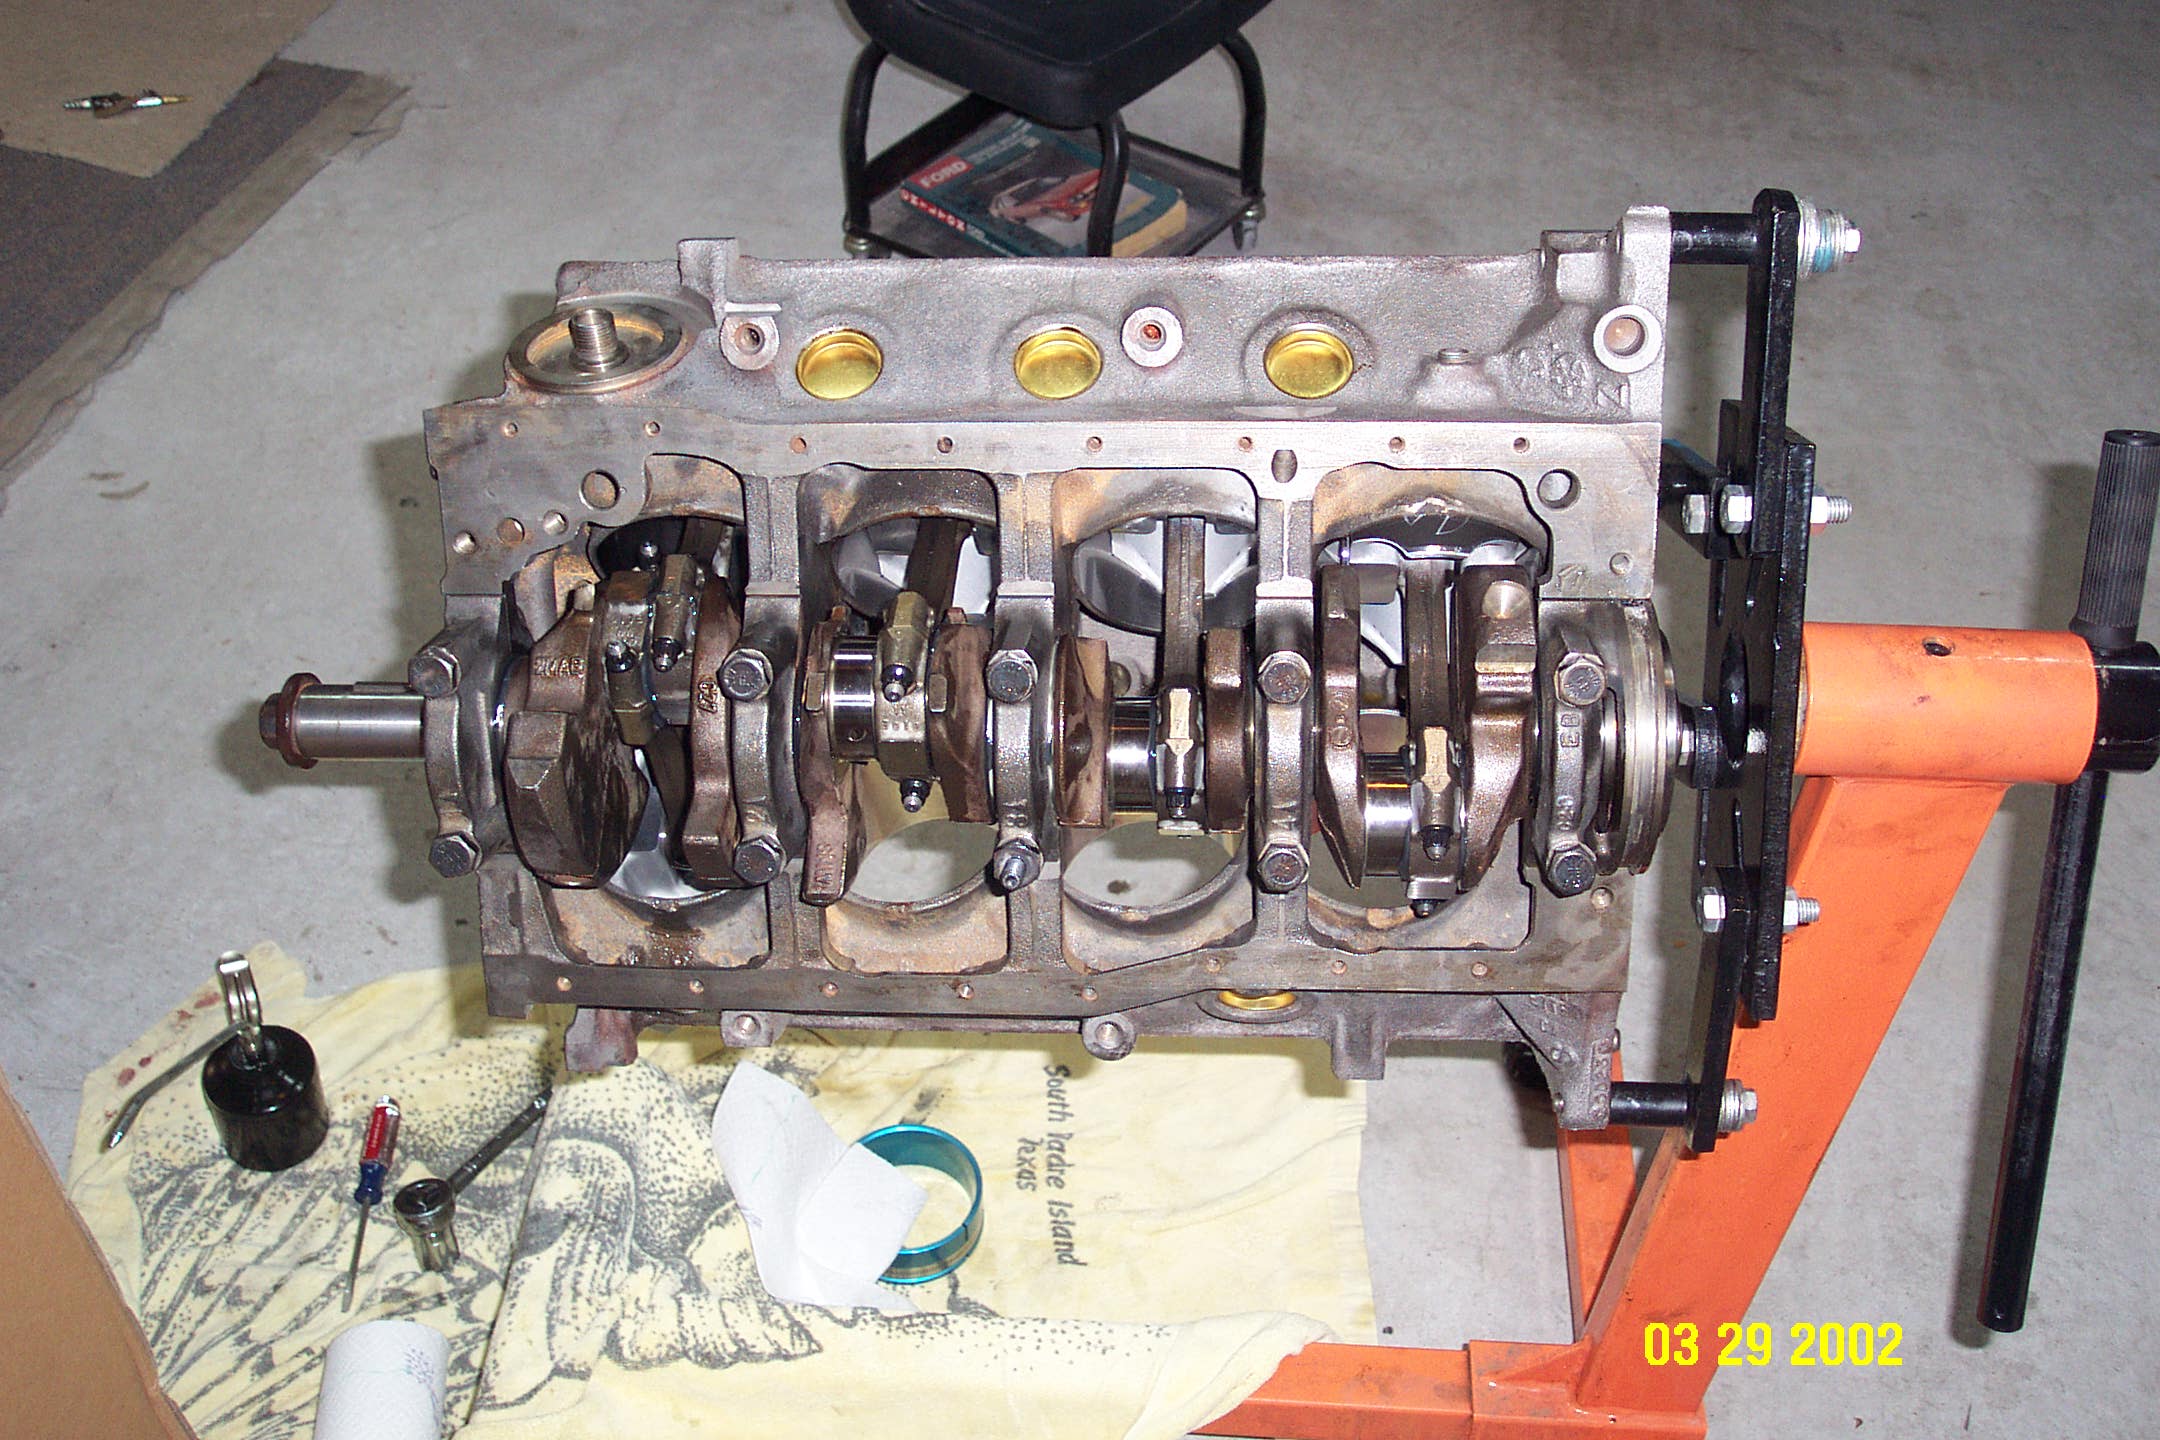
Here is the block after it came back from the machine shop. They cylinders were bored 0.030″ with torque plates, it was line bored, new cam bearing and freeze plugs were installed.
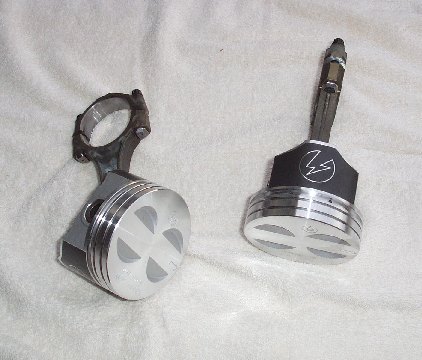
New pistons were installed that increased the compression from 9:1 to 10:10. The rods are stock, but they were machined to ensure the proper diameter for the new bearings
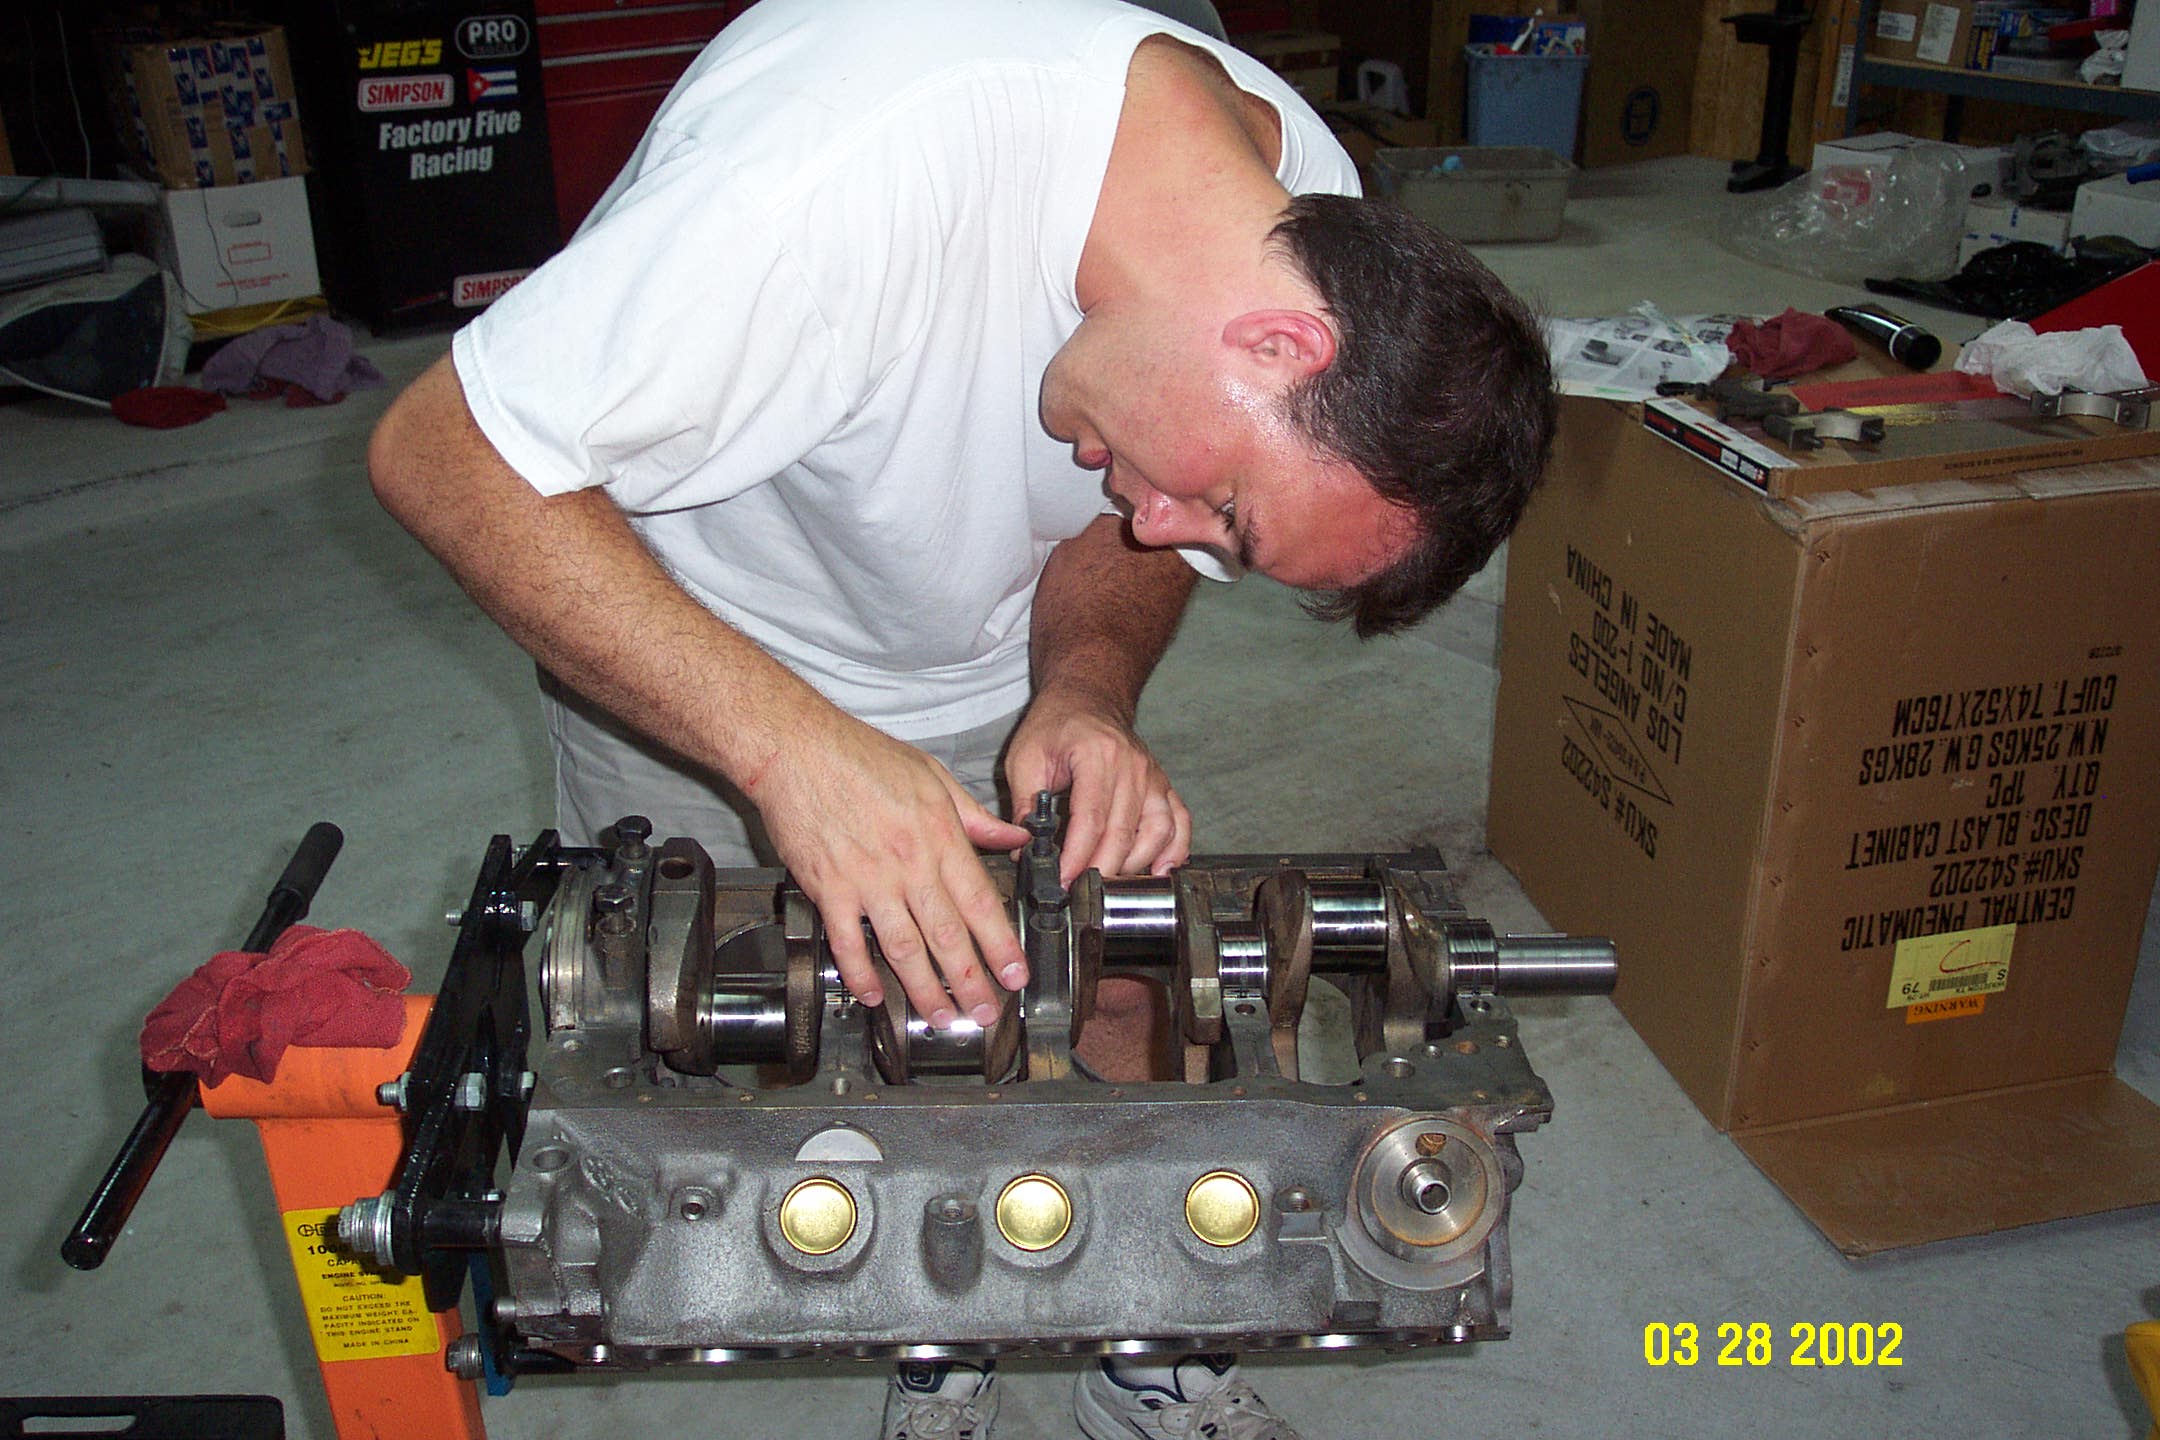
Here I am putting the engine together. This is my first rebuild so I have the manual close by.
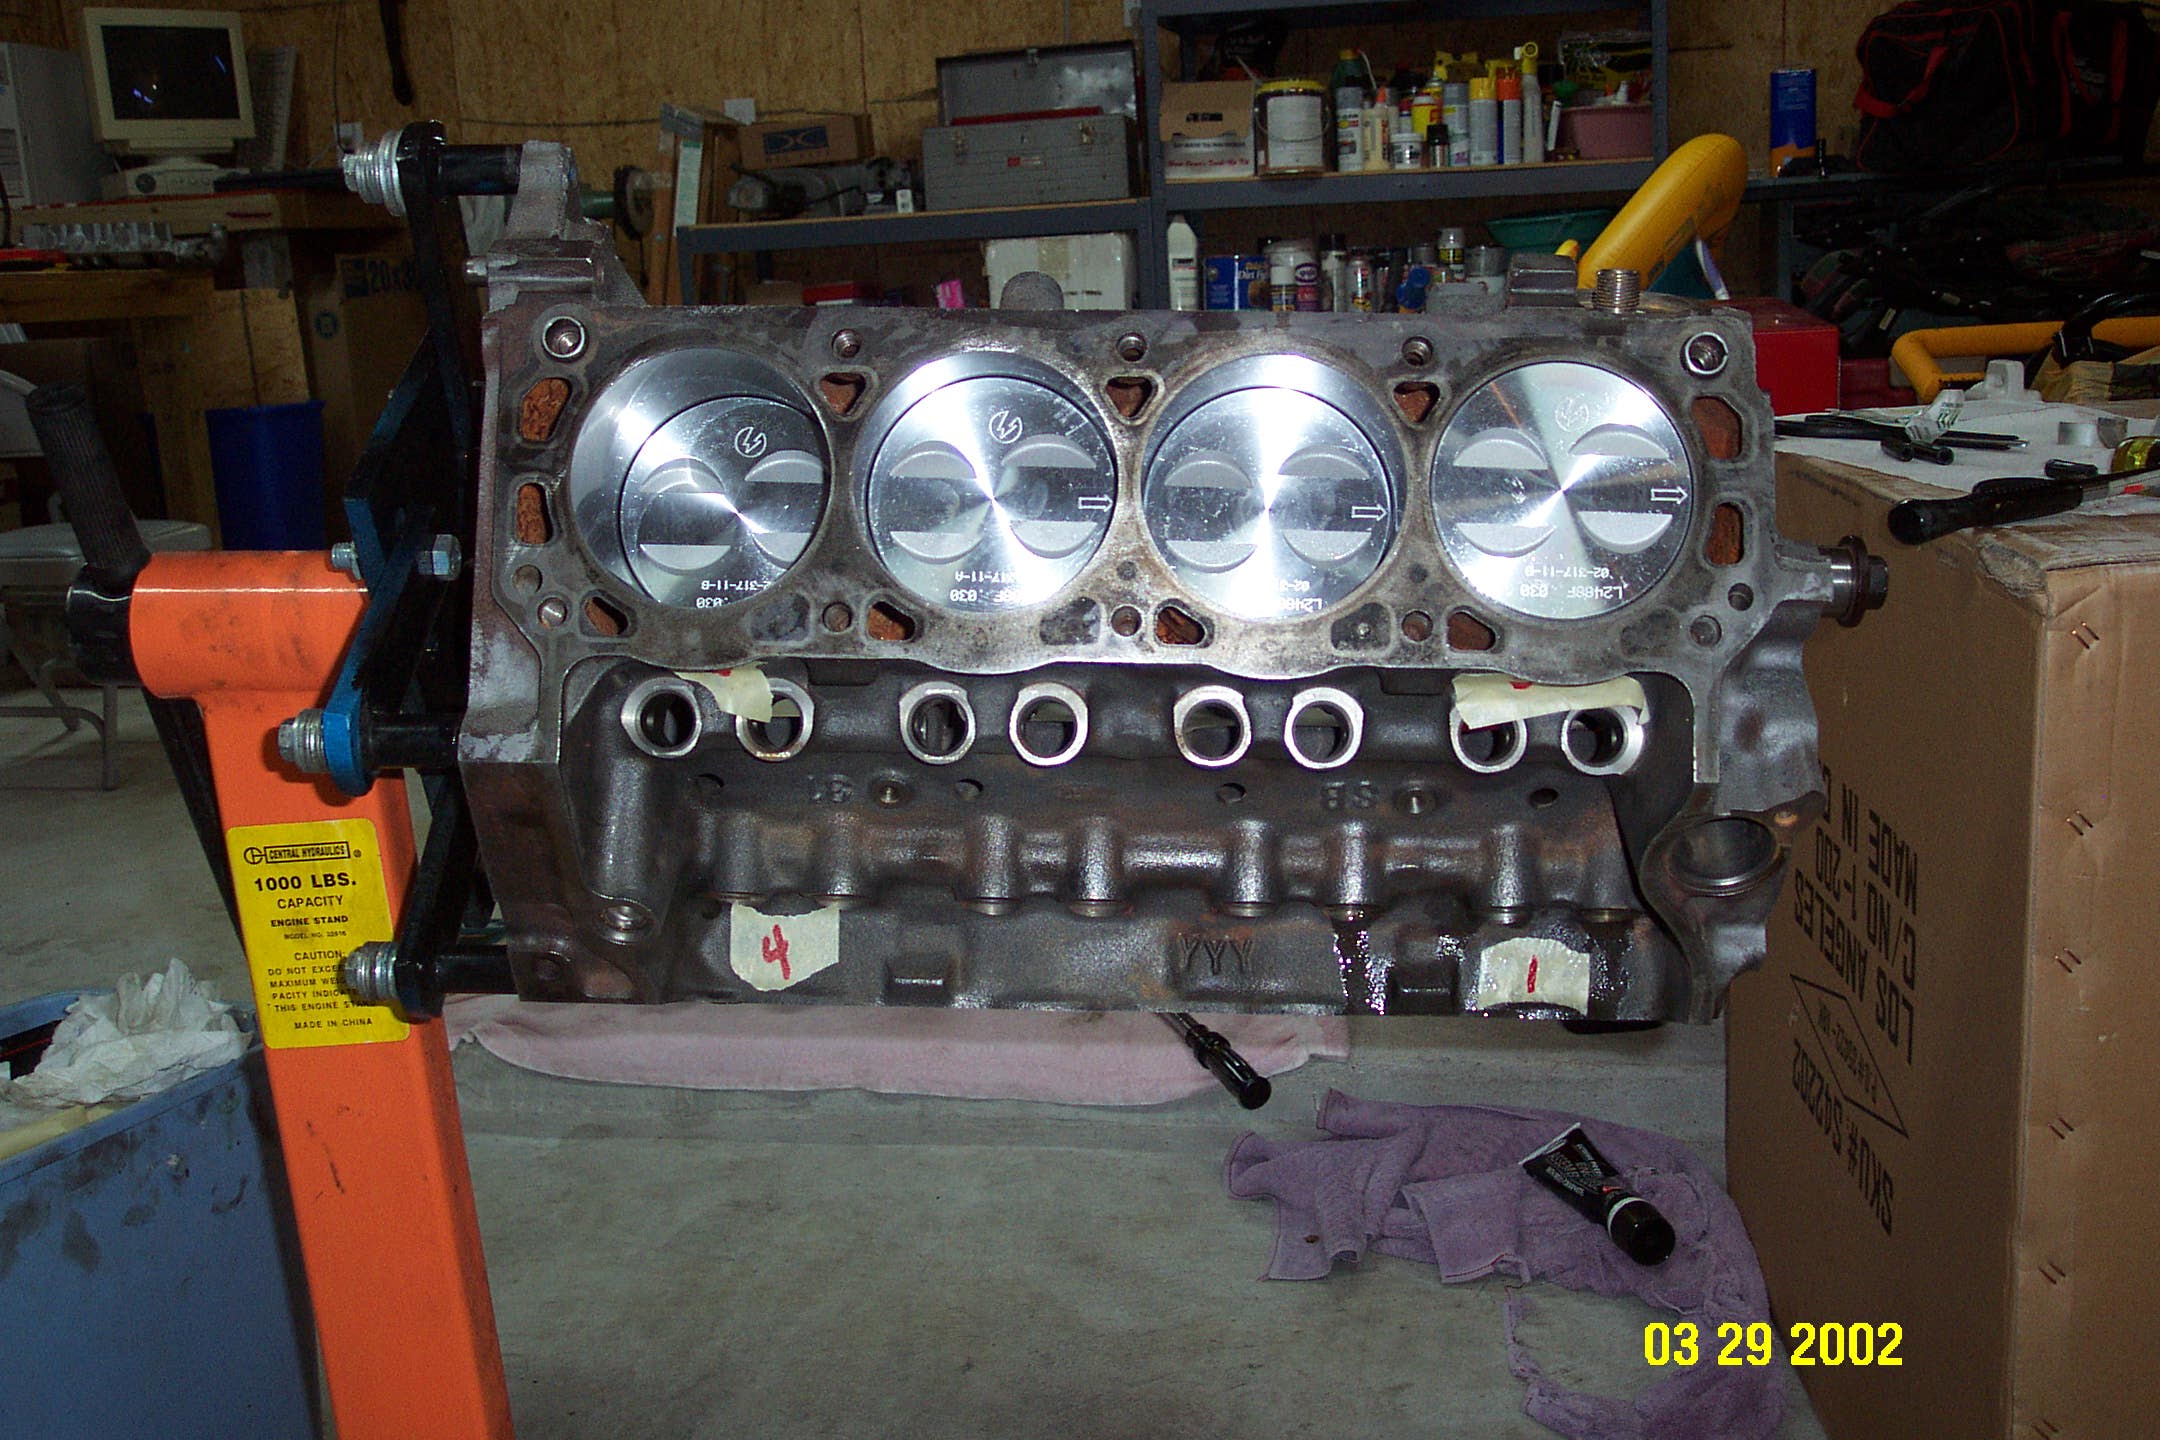
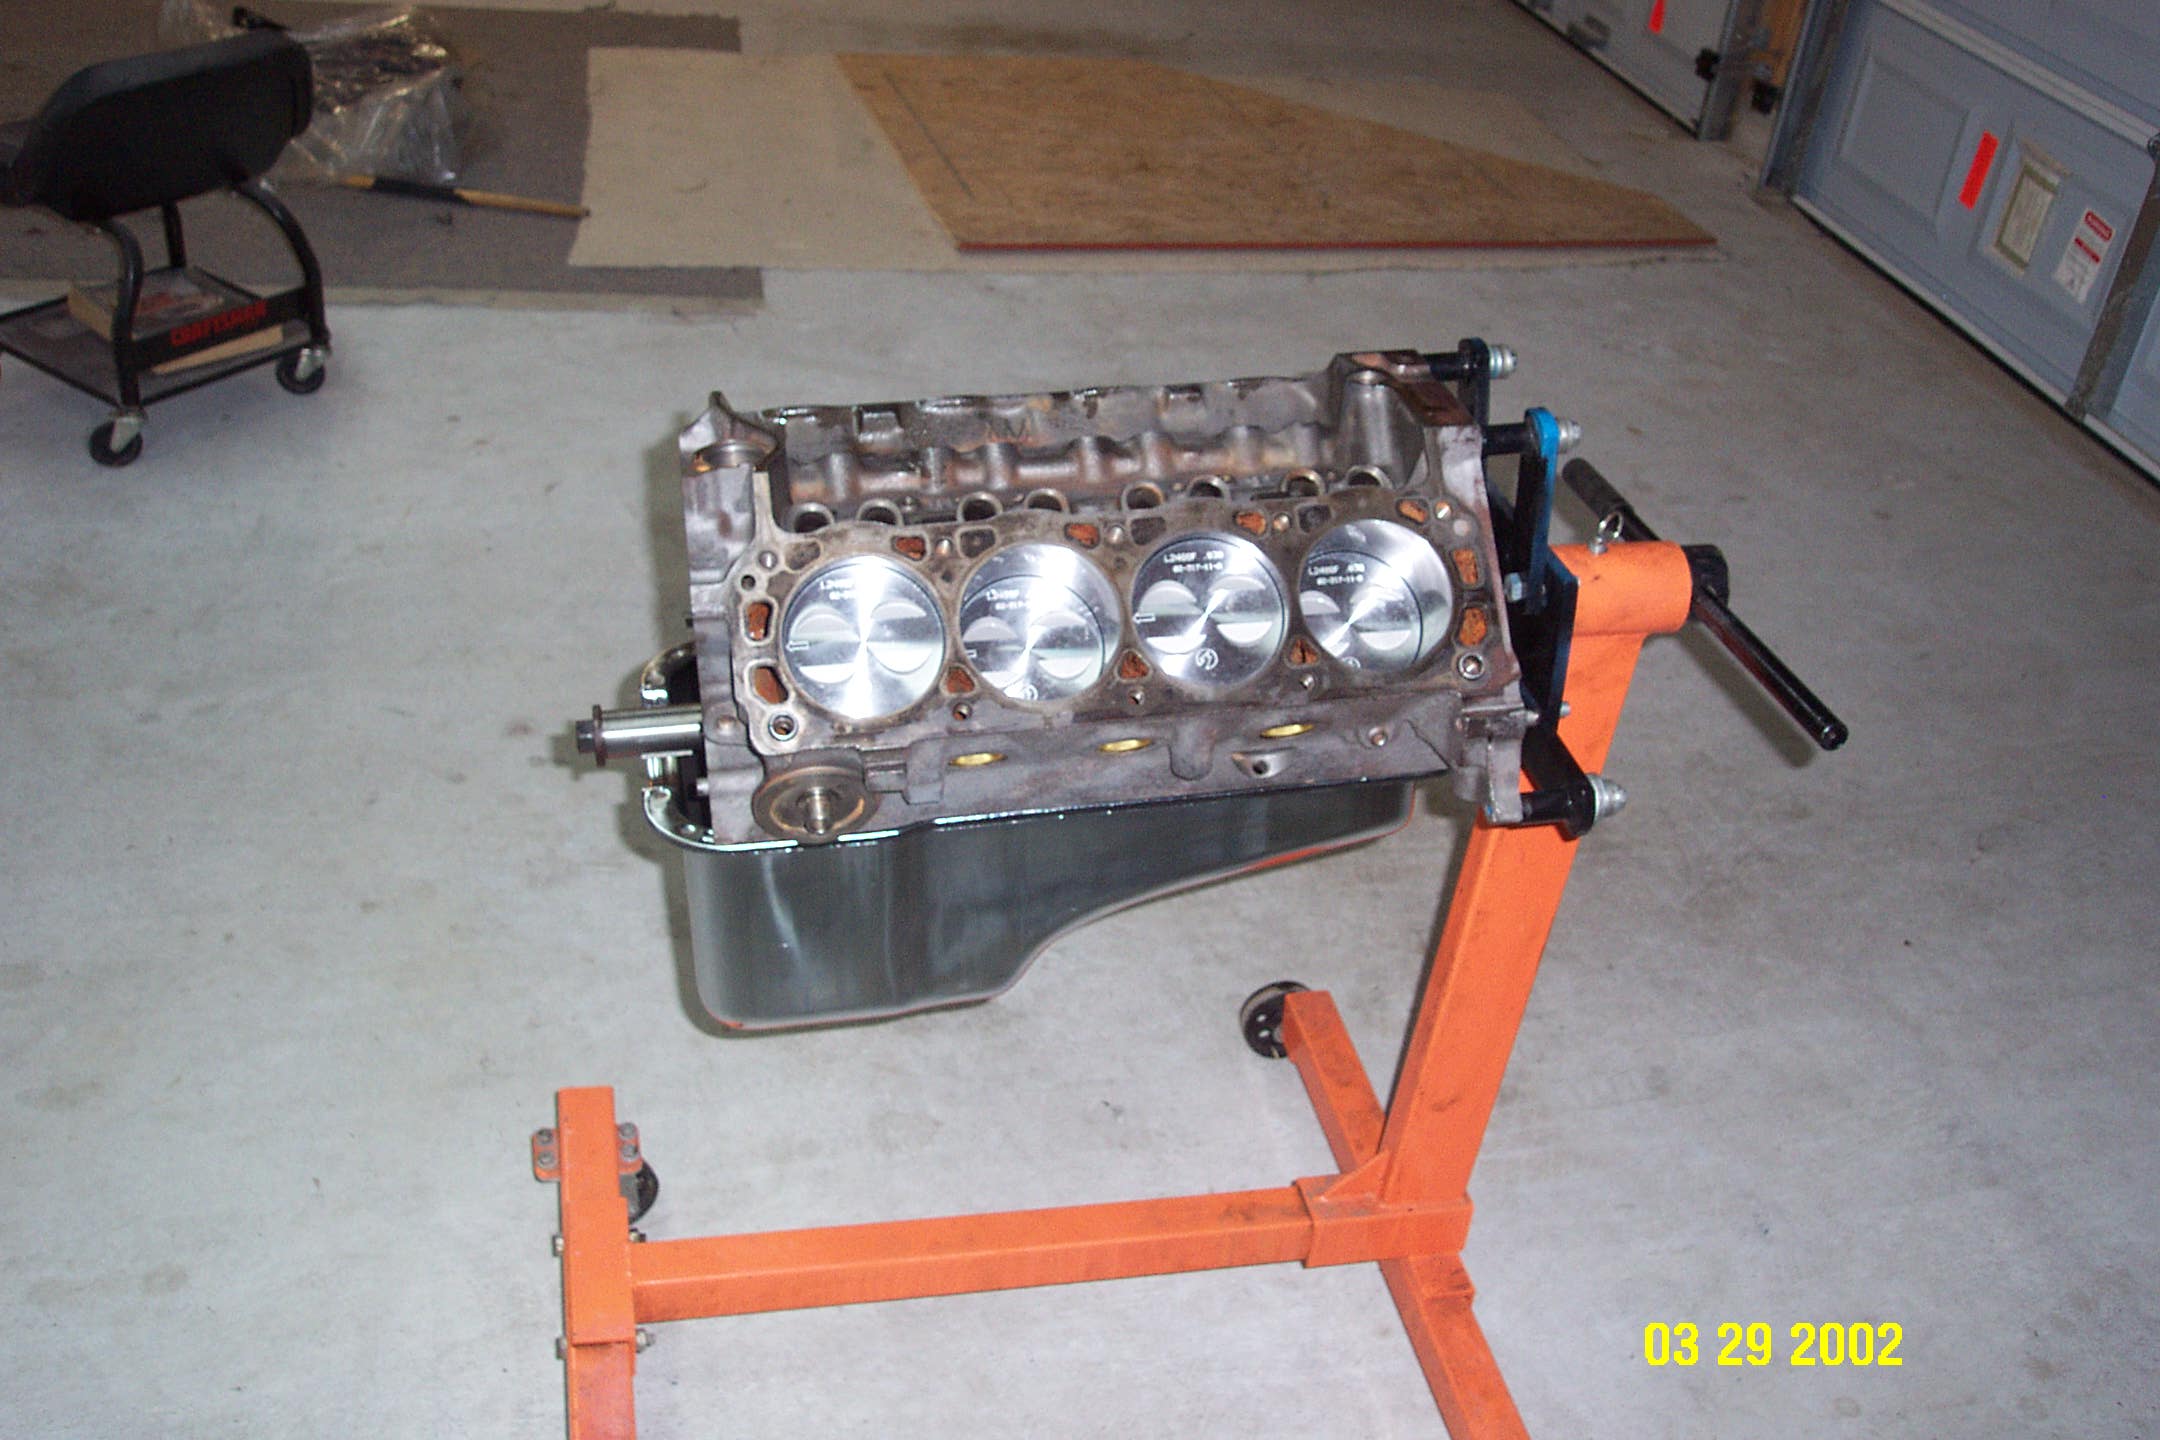
Here is the block with the rotating assembly installed. I was going to use a front sump pan but switched back to a double hump pan. Either will work in the Cobra, but with the front sump pan I needed a new oil pump pickup tube and relocated oil dipstick.

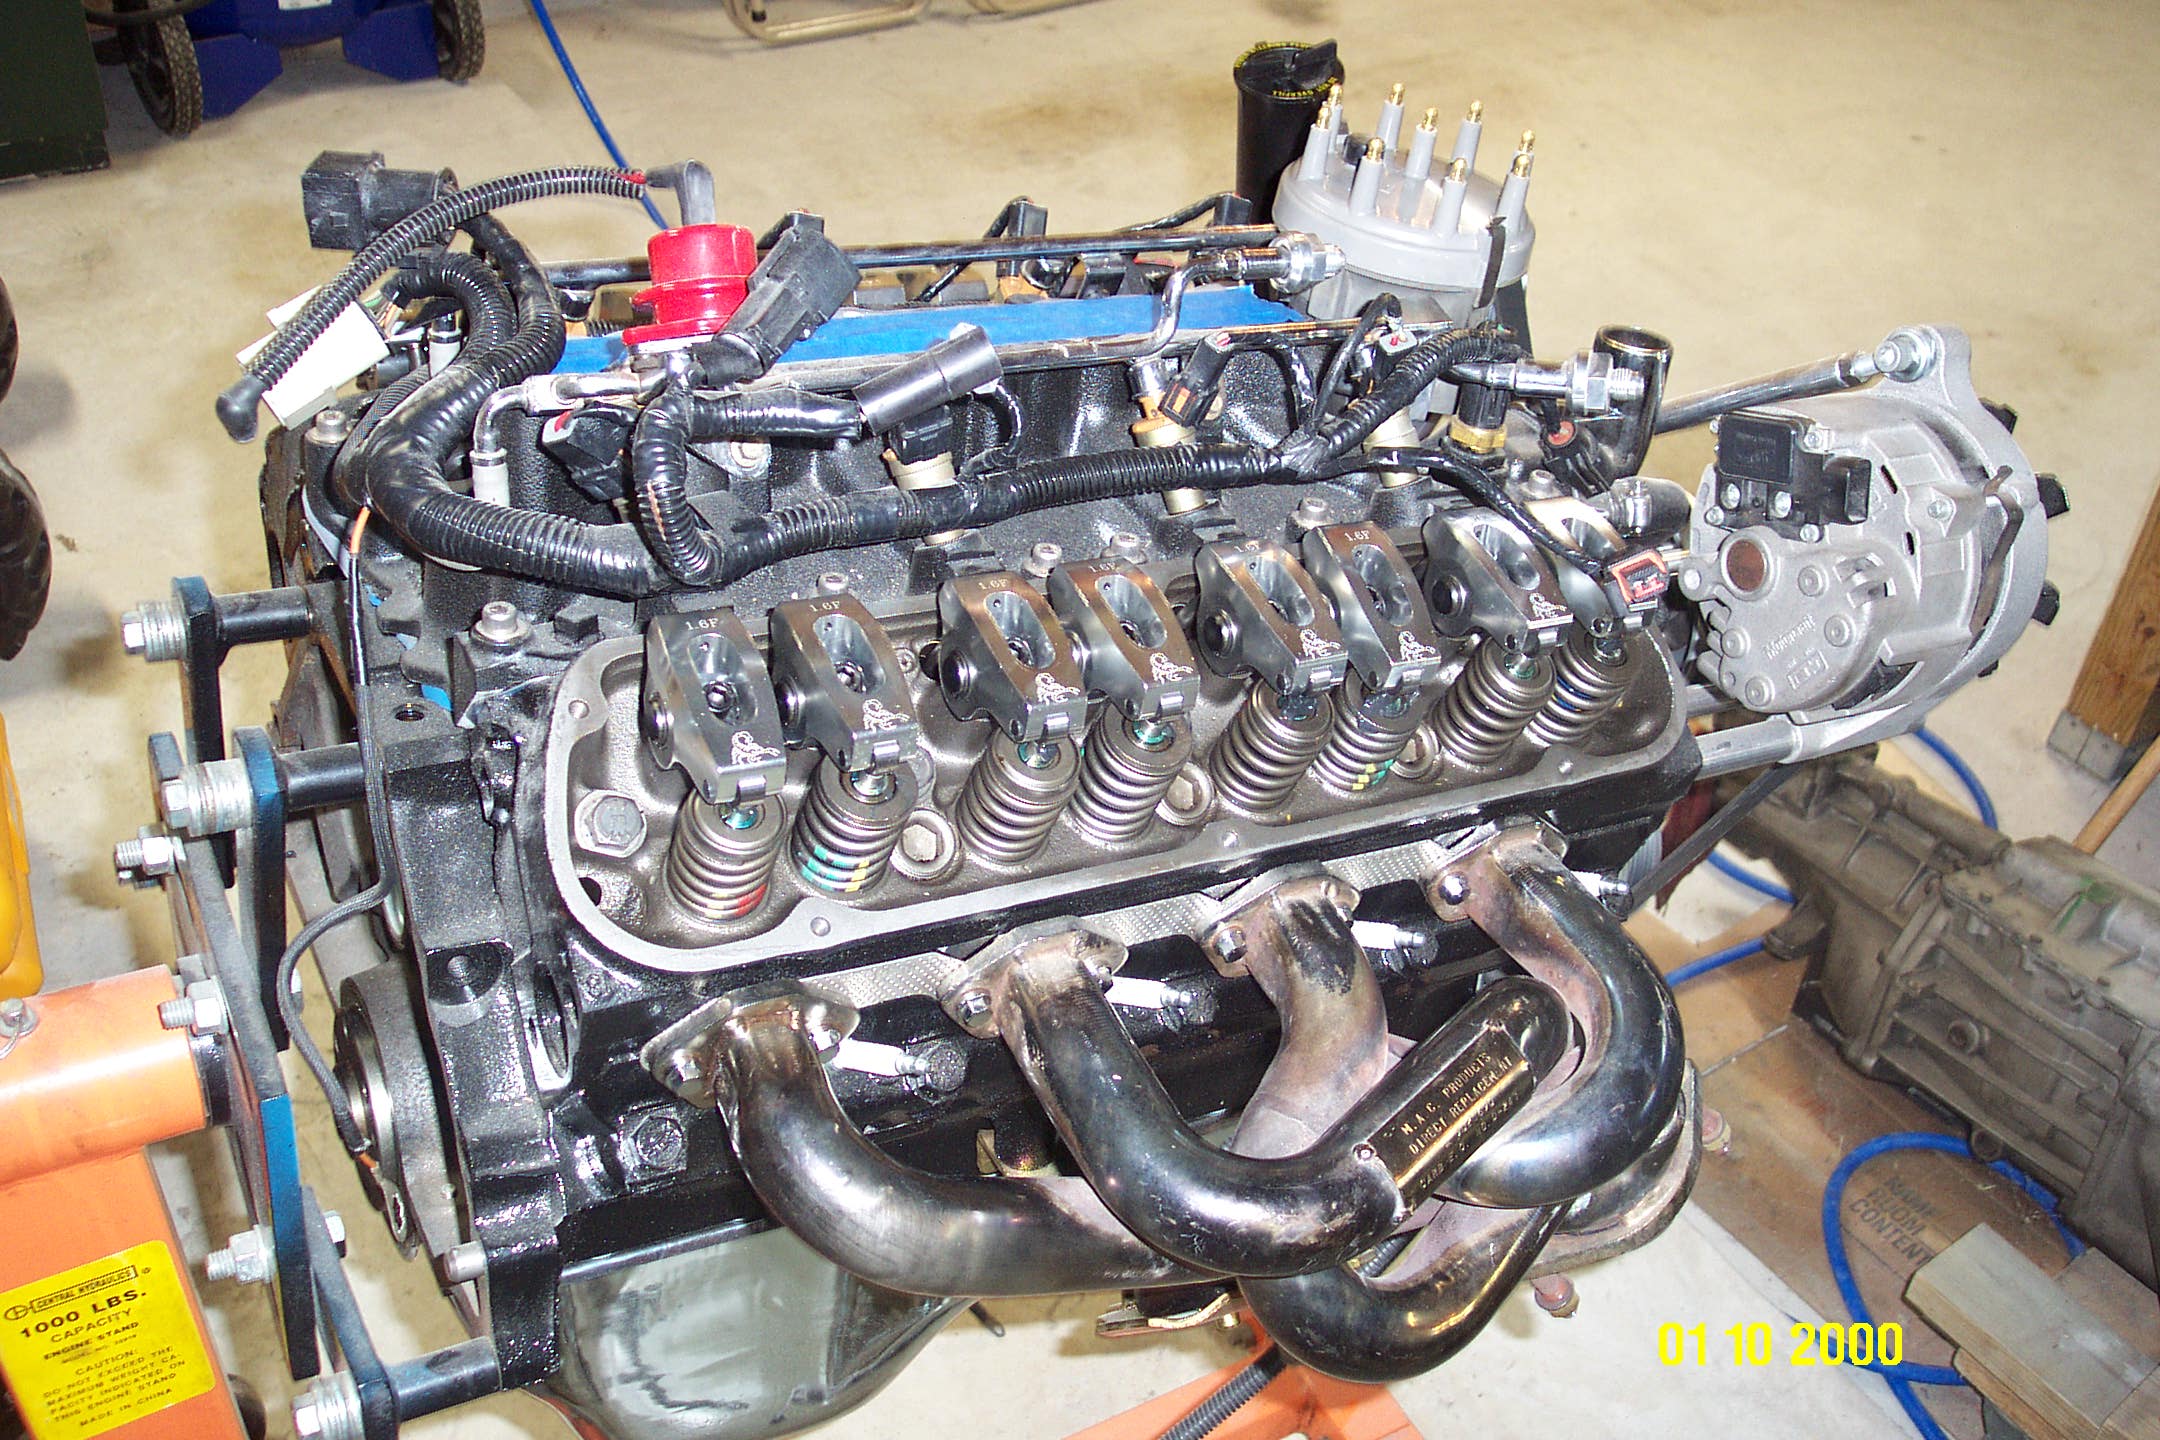
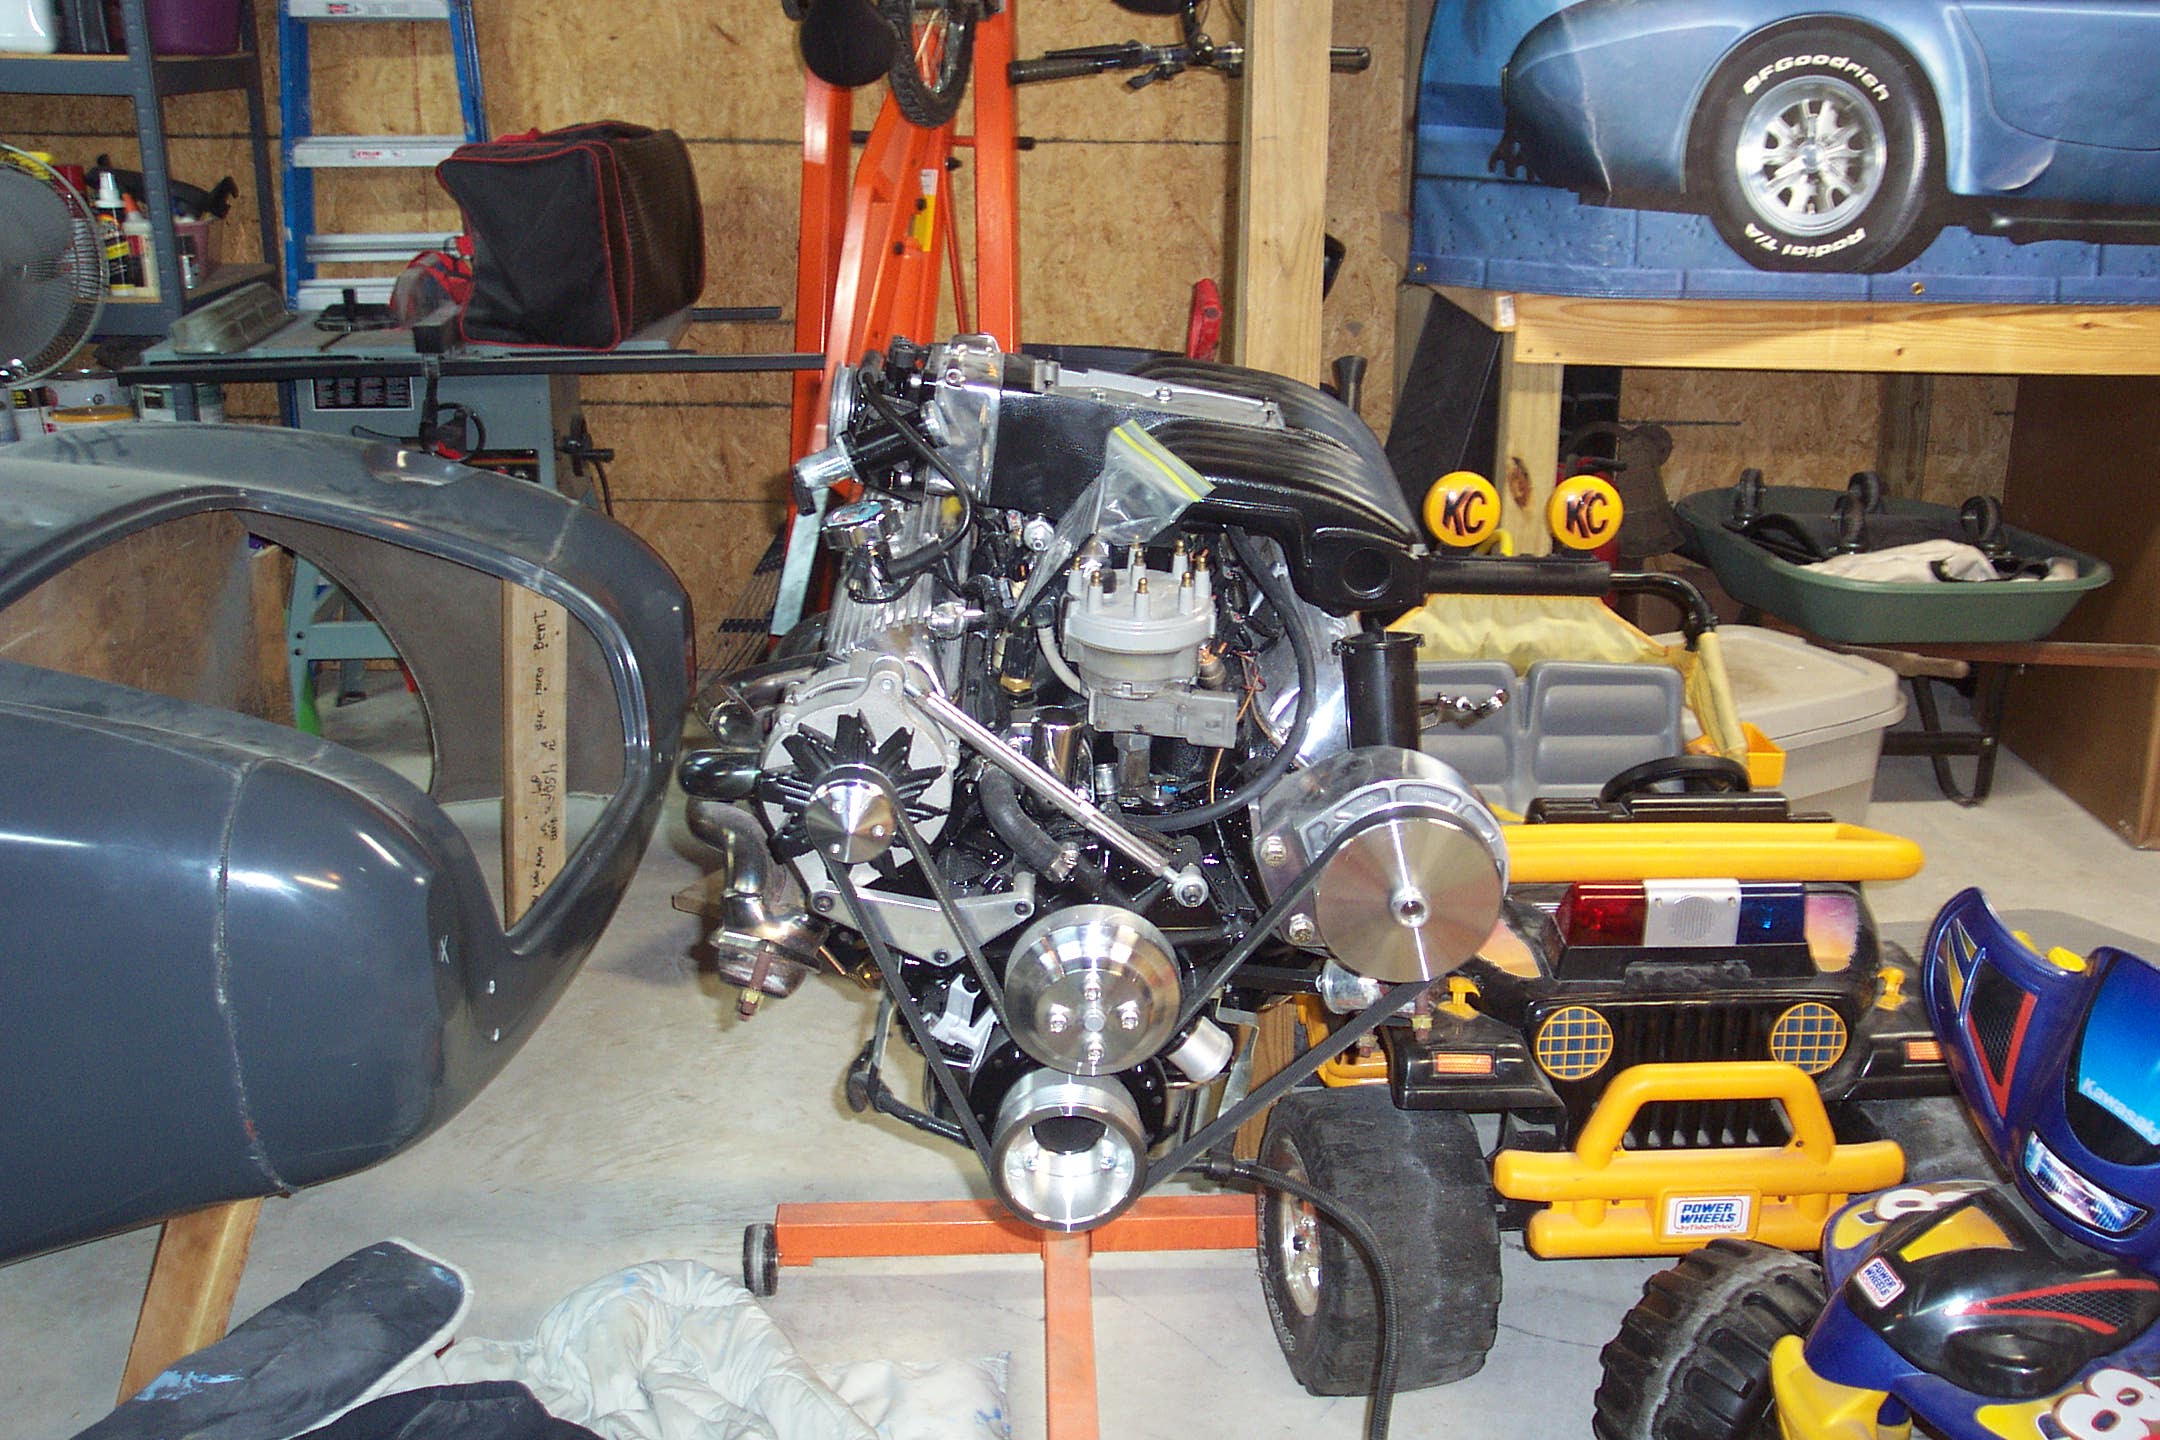
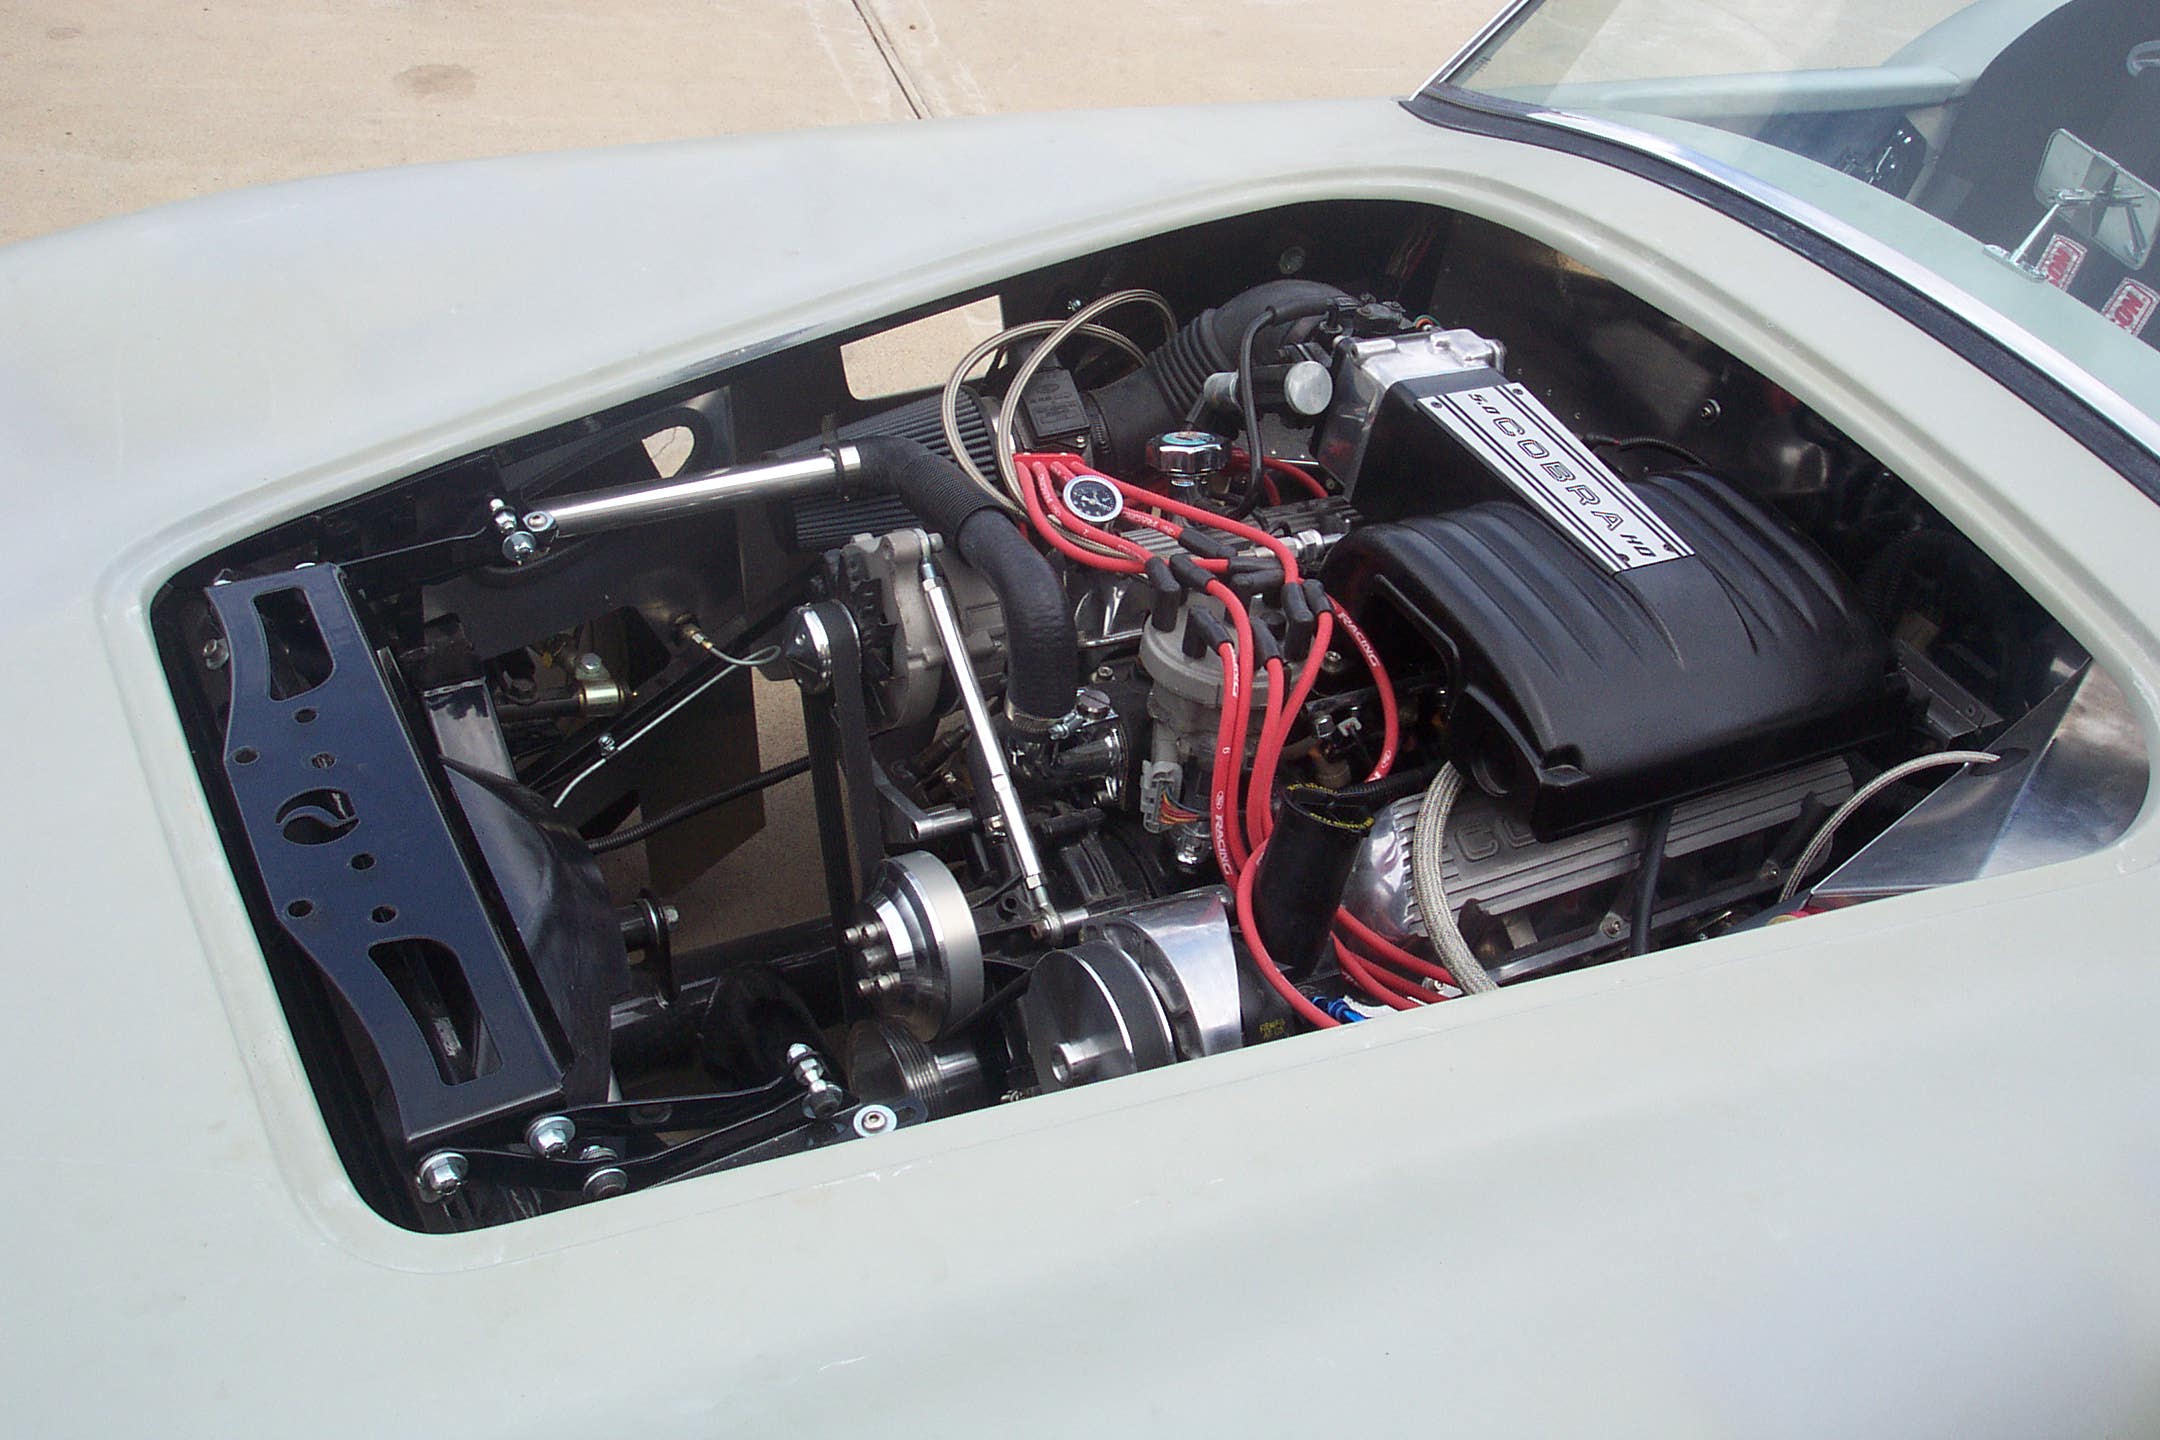
I got lazy and did not take a lot of pictures, so here is the nearly finished engine. I bought some cheap roller rockers, but they didn’t fit very well so I upgraded to Scorpion roller rockers. I also swapped out the alternator mounting system to a manually adjustable version. This cleaned up the belt routing and eliminated the tensioning pulley
There are several modifications that should add more power: higher compression, more aggressive cam shaft (Ford E303), ported cylinder heads, upgraded headers and underdrive pulleys.
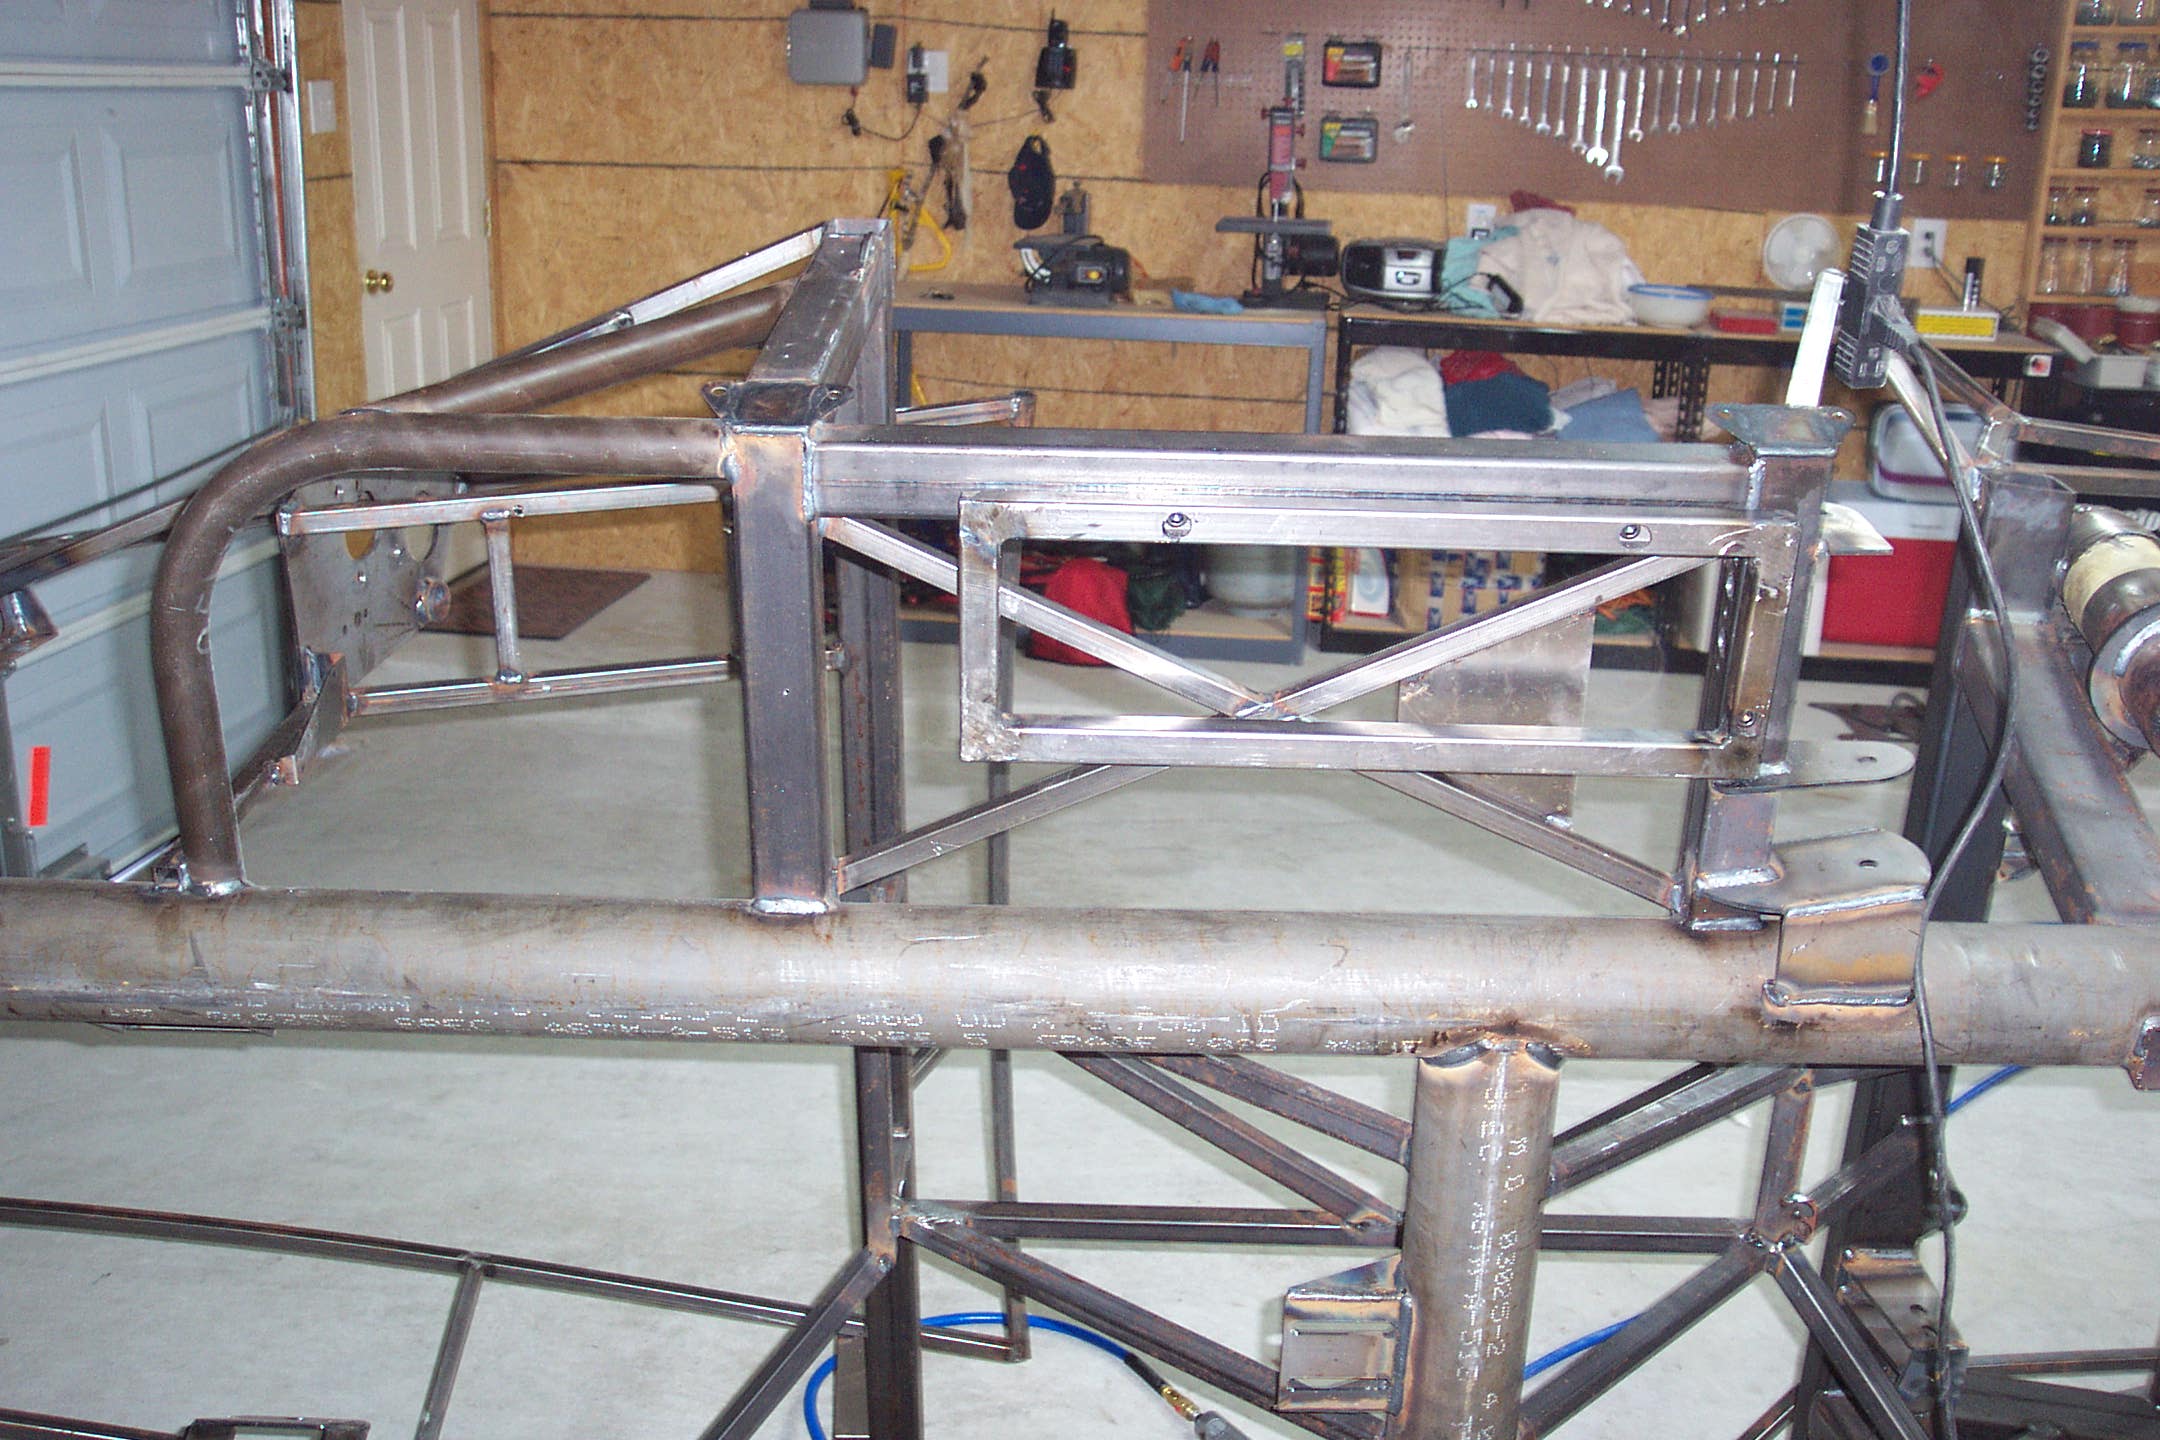
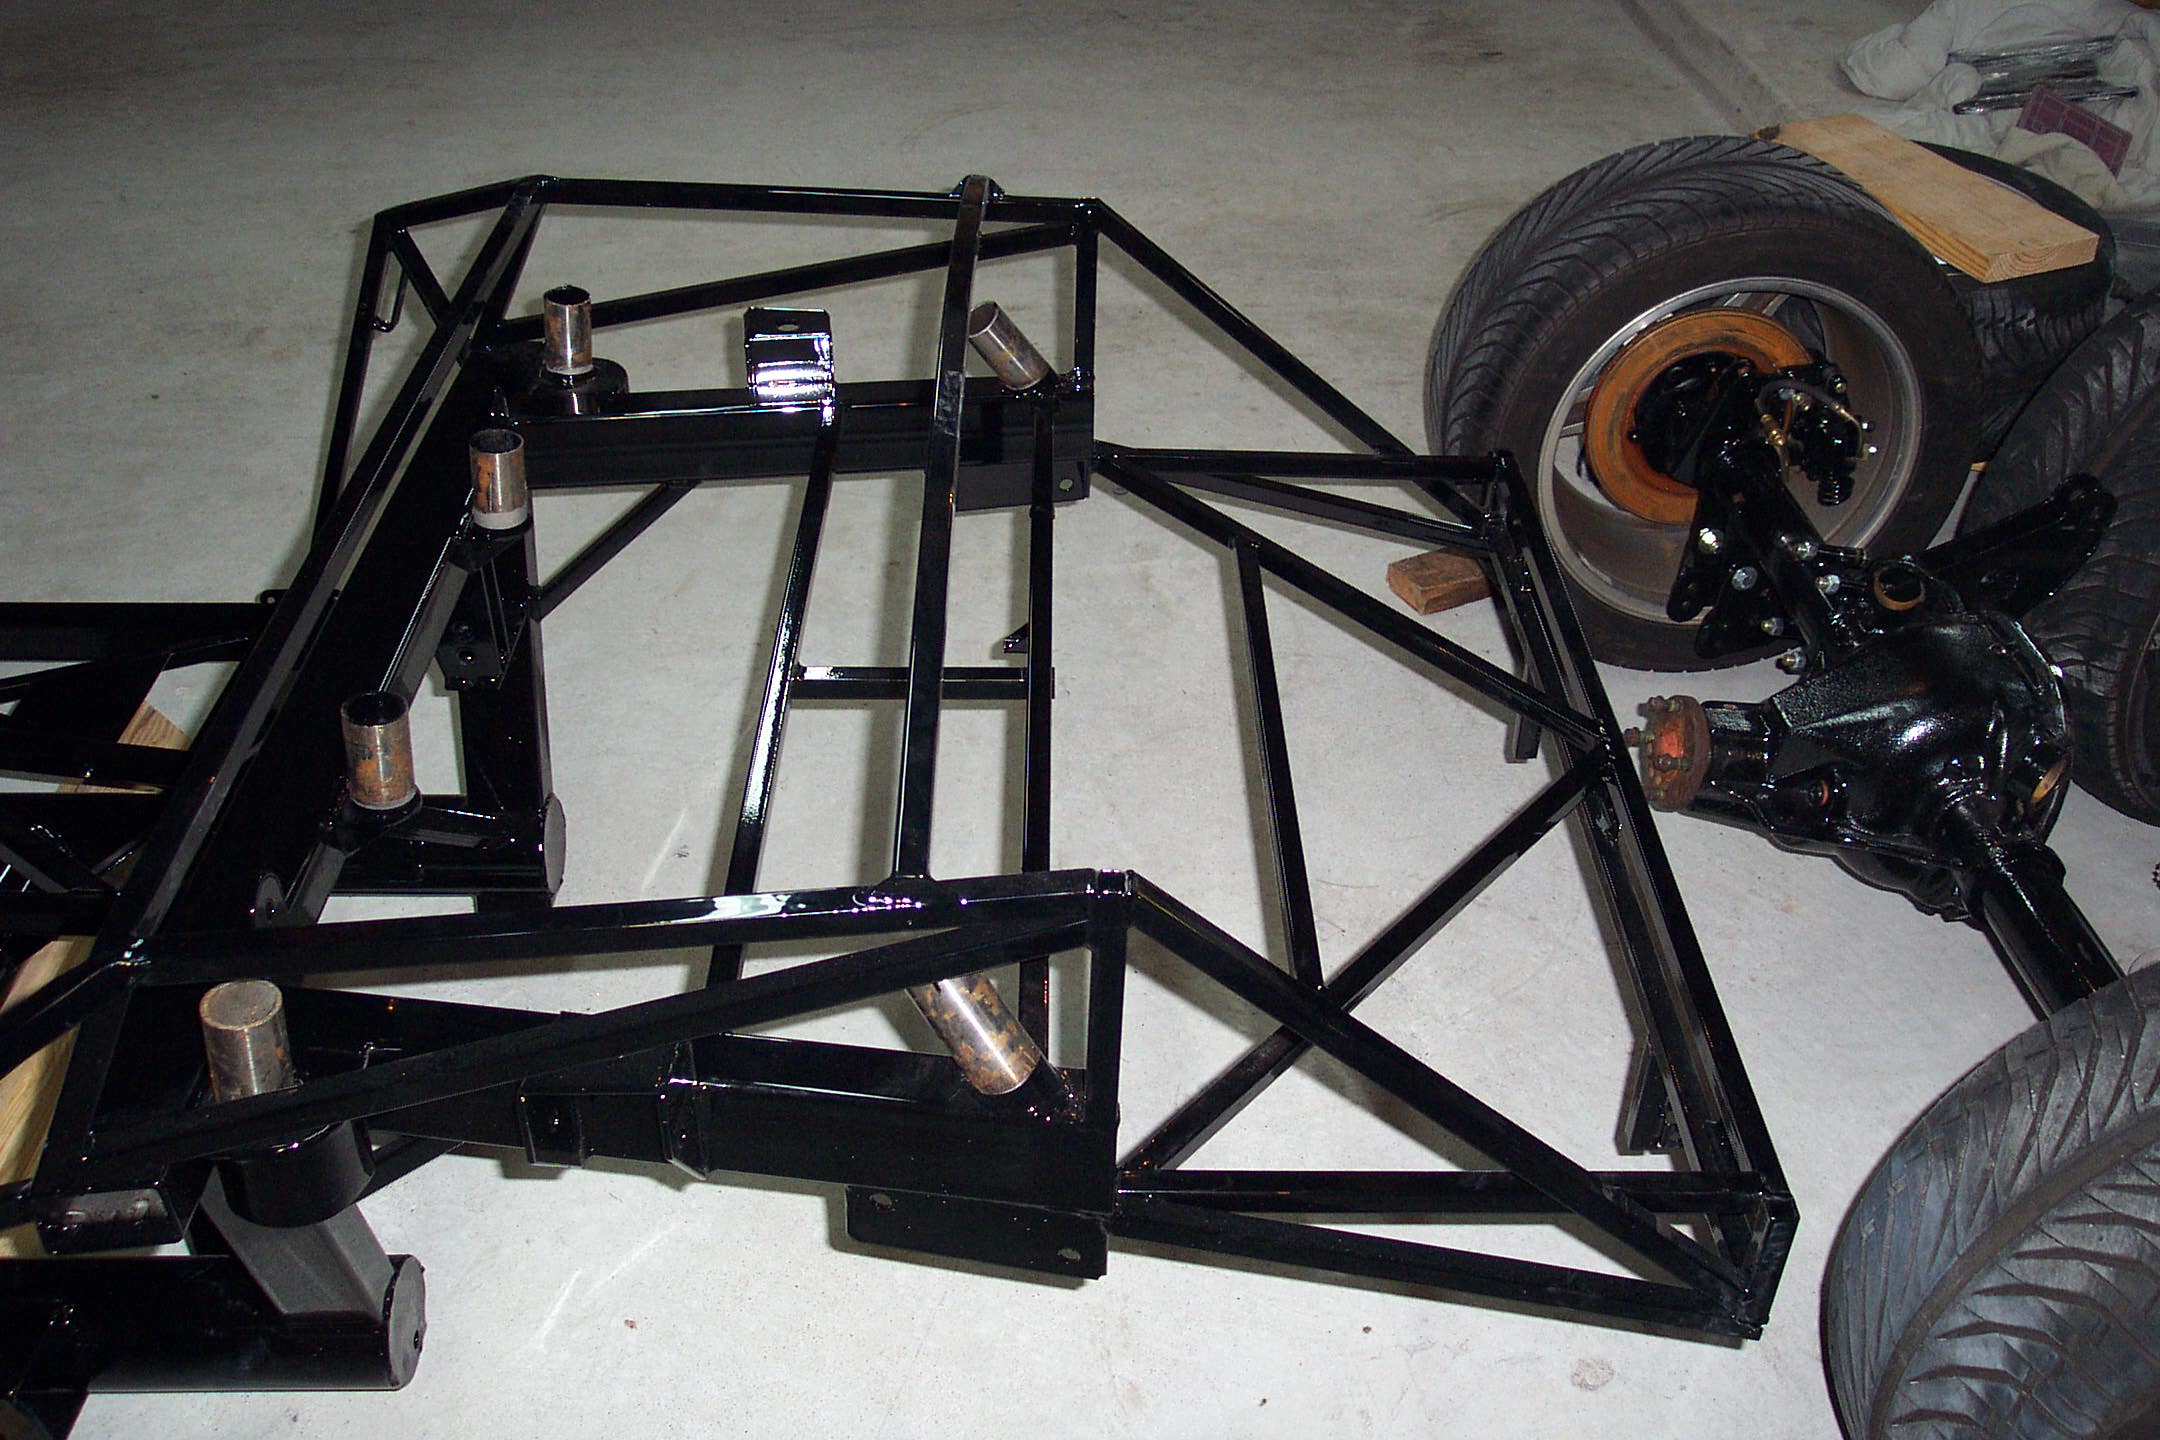
Rolling Chassis
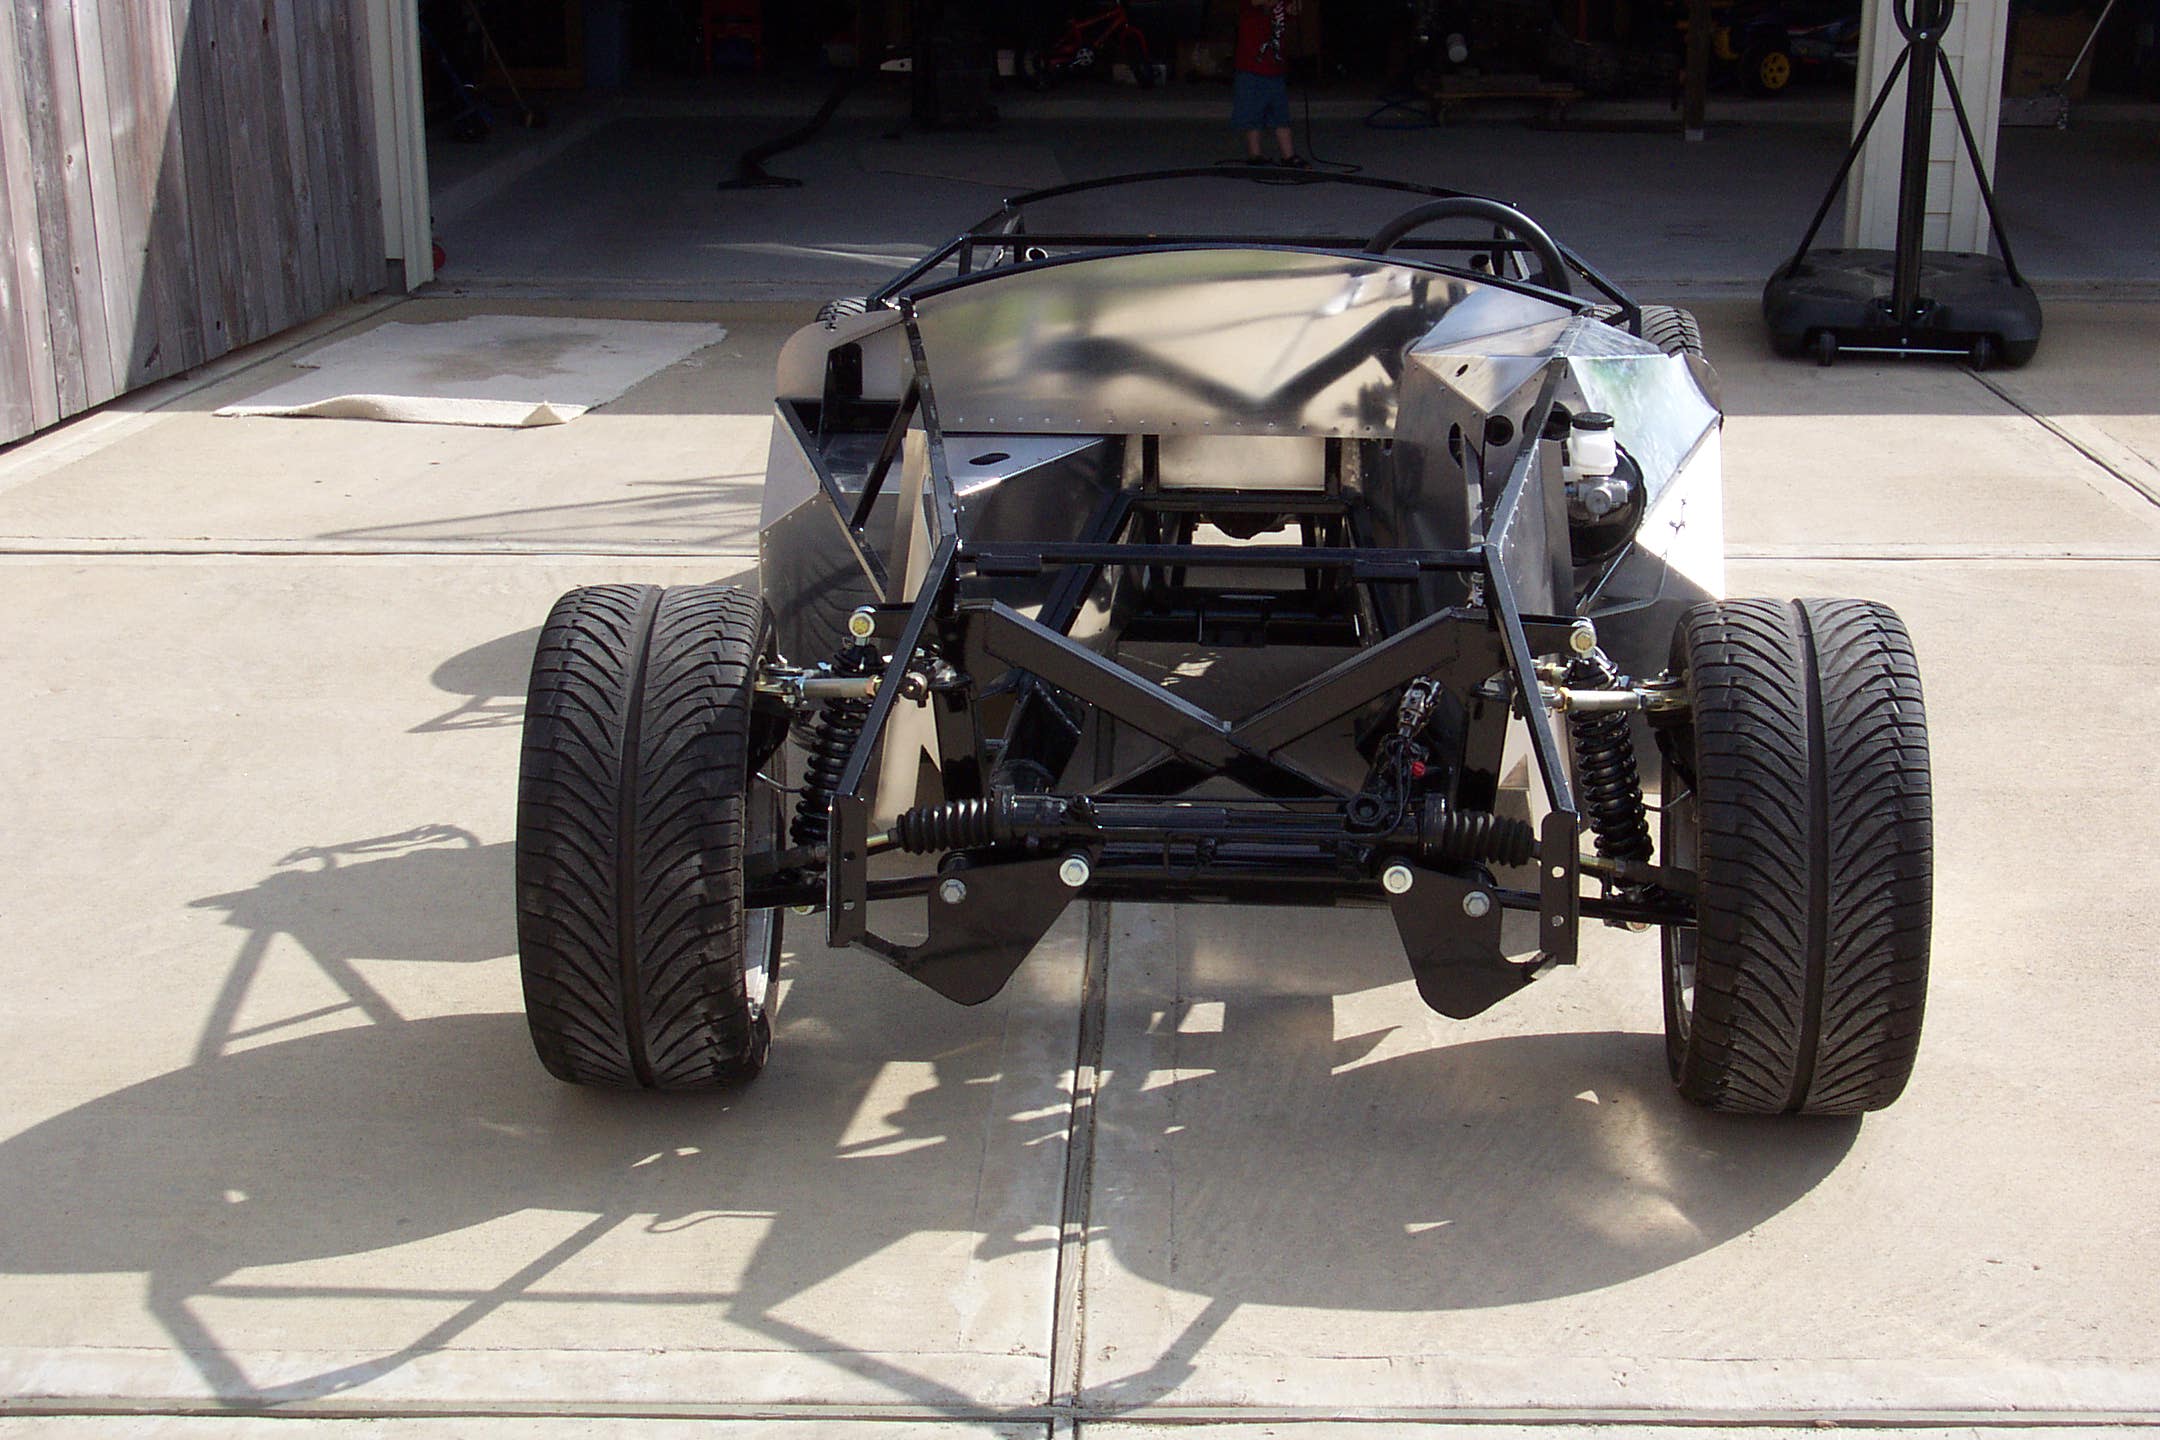
Here is the front suspension and steering being test fit. Here is the rear suspension being mounted up. Notice the spring perches in the picture to the far right. These will be cut off before powder coating.
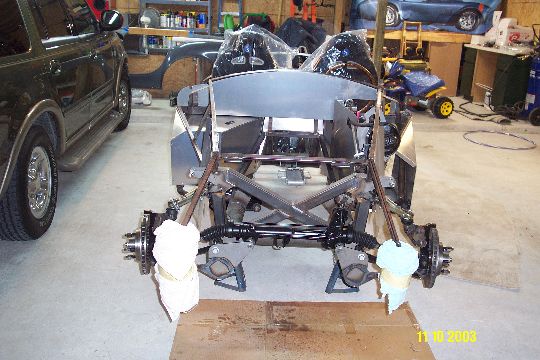
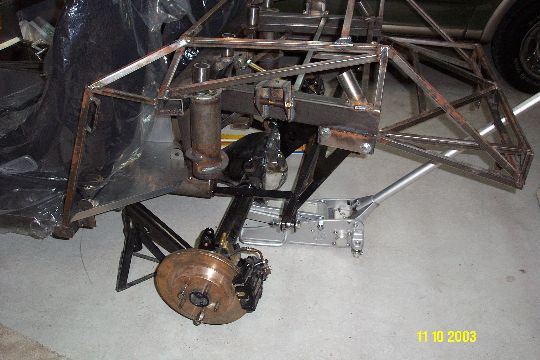
I was not sure if the wheels would clear the body. So I put on the body and lower checked the clearance.

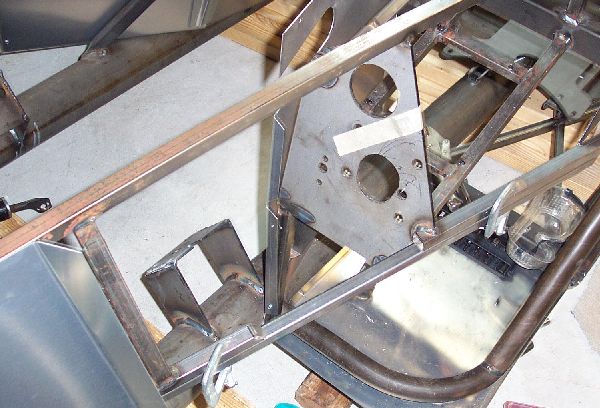
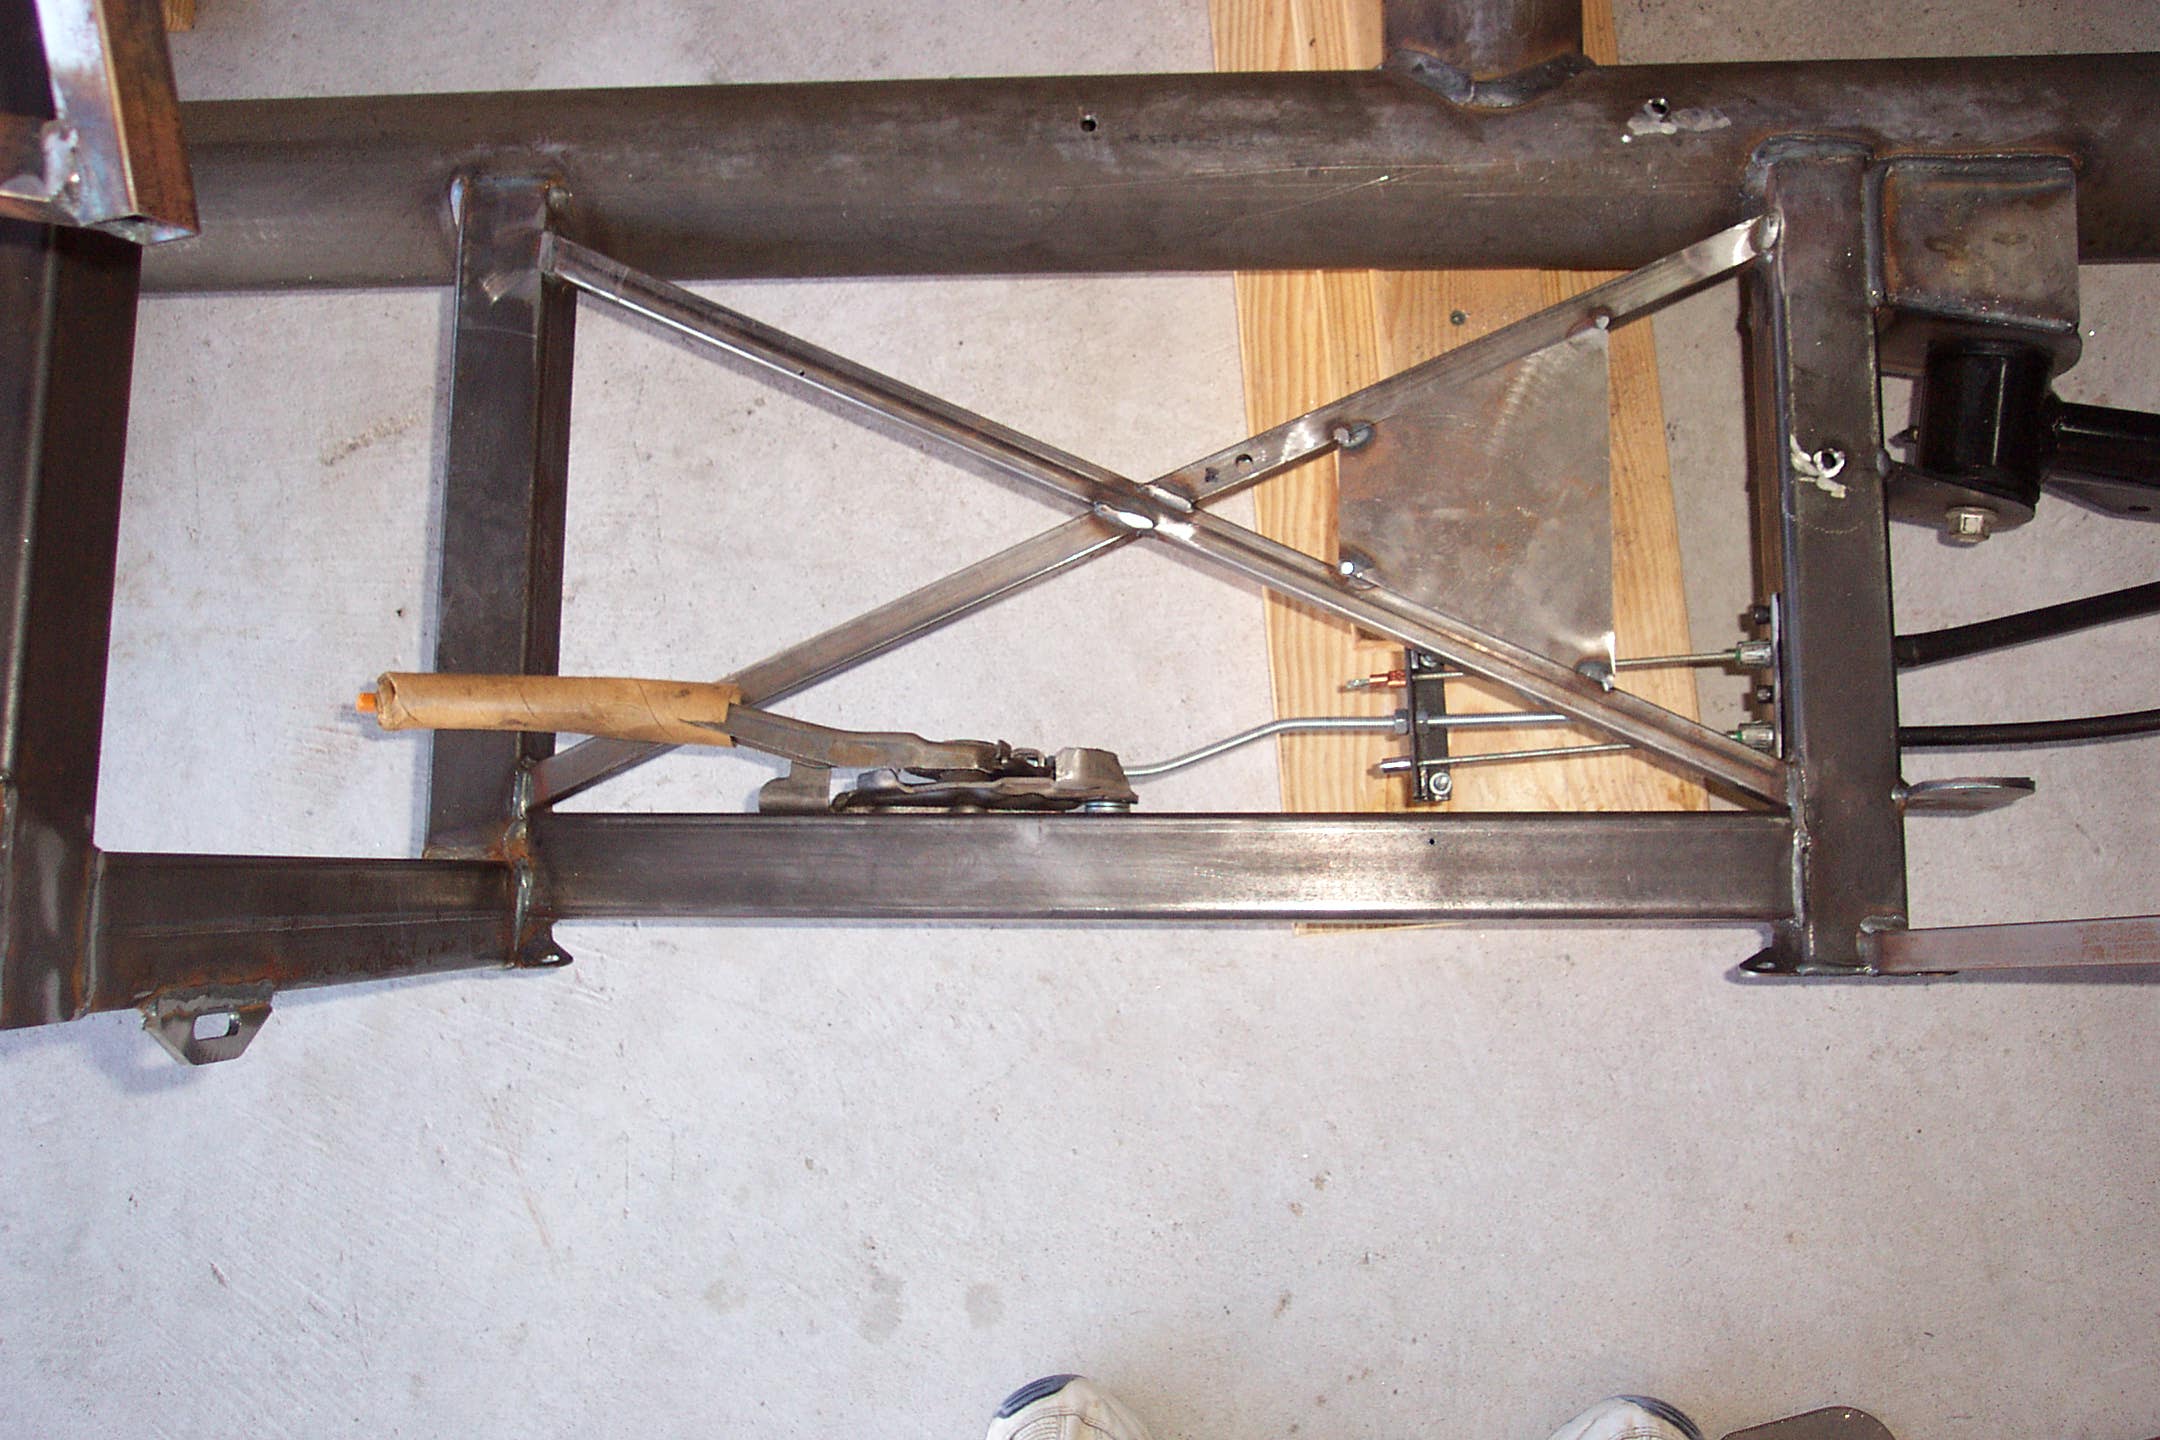
Here are some frame modifications. The first is a skid plate for the driver side emergency brake. Ultimately, we abandoned this emergency brake design which used a Fiero brake handle to the left of the driver’s seat. On the far right is when the spring perches were removed.
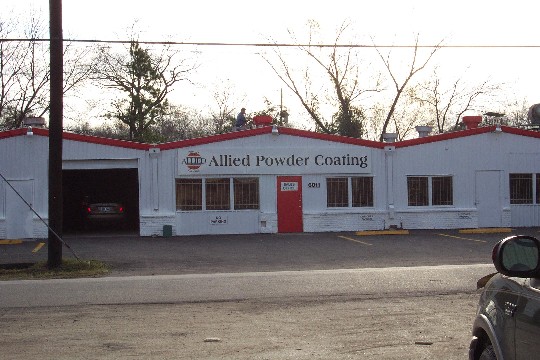
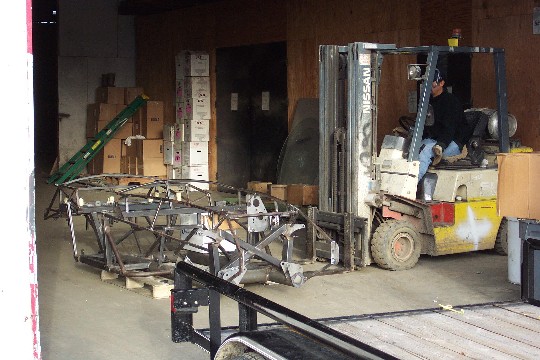
Here is the frame going to the powder coater. Allied Powder Coating coated the frame. They did a great job, but I hear that they have raised their prices.

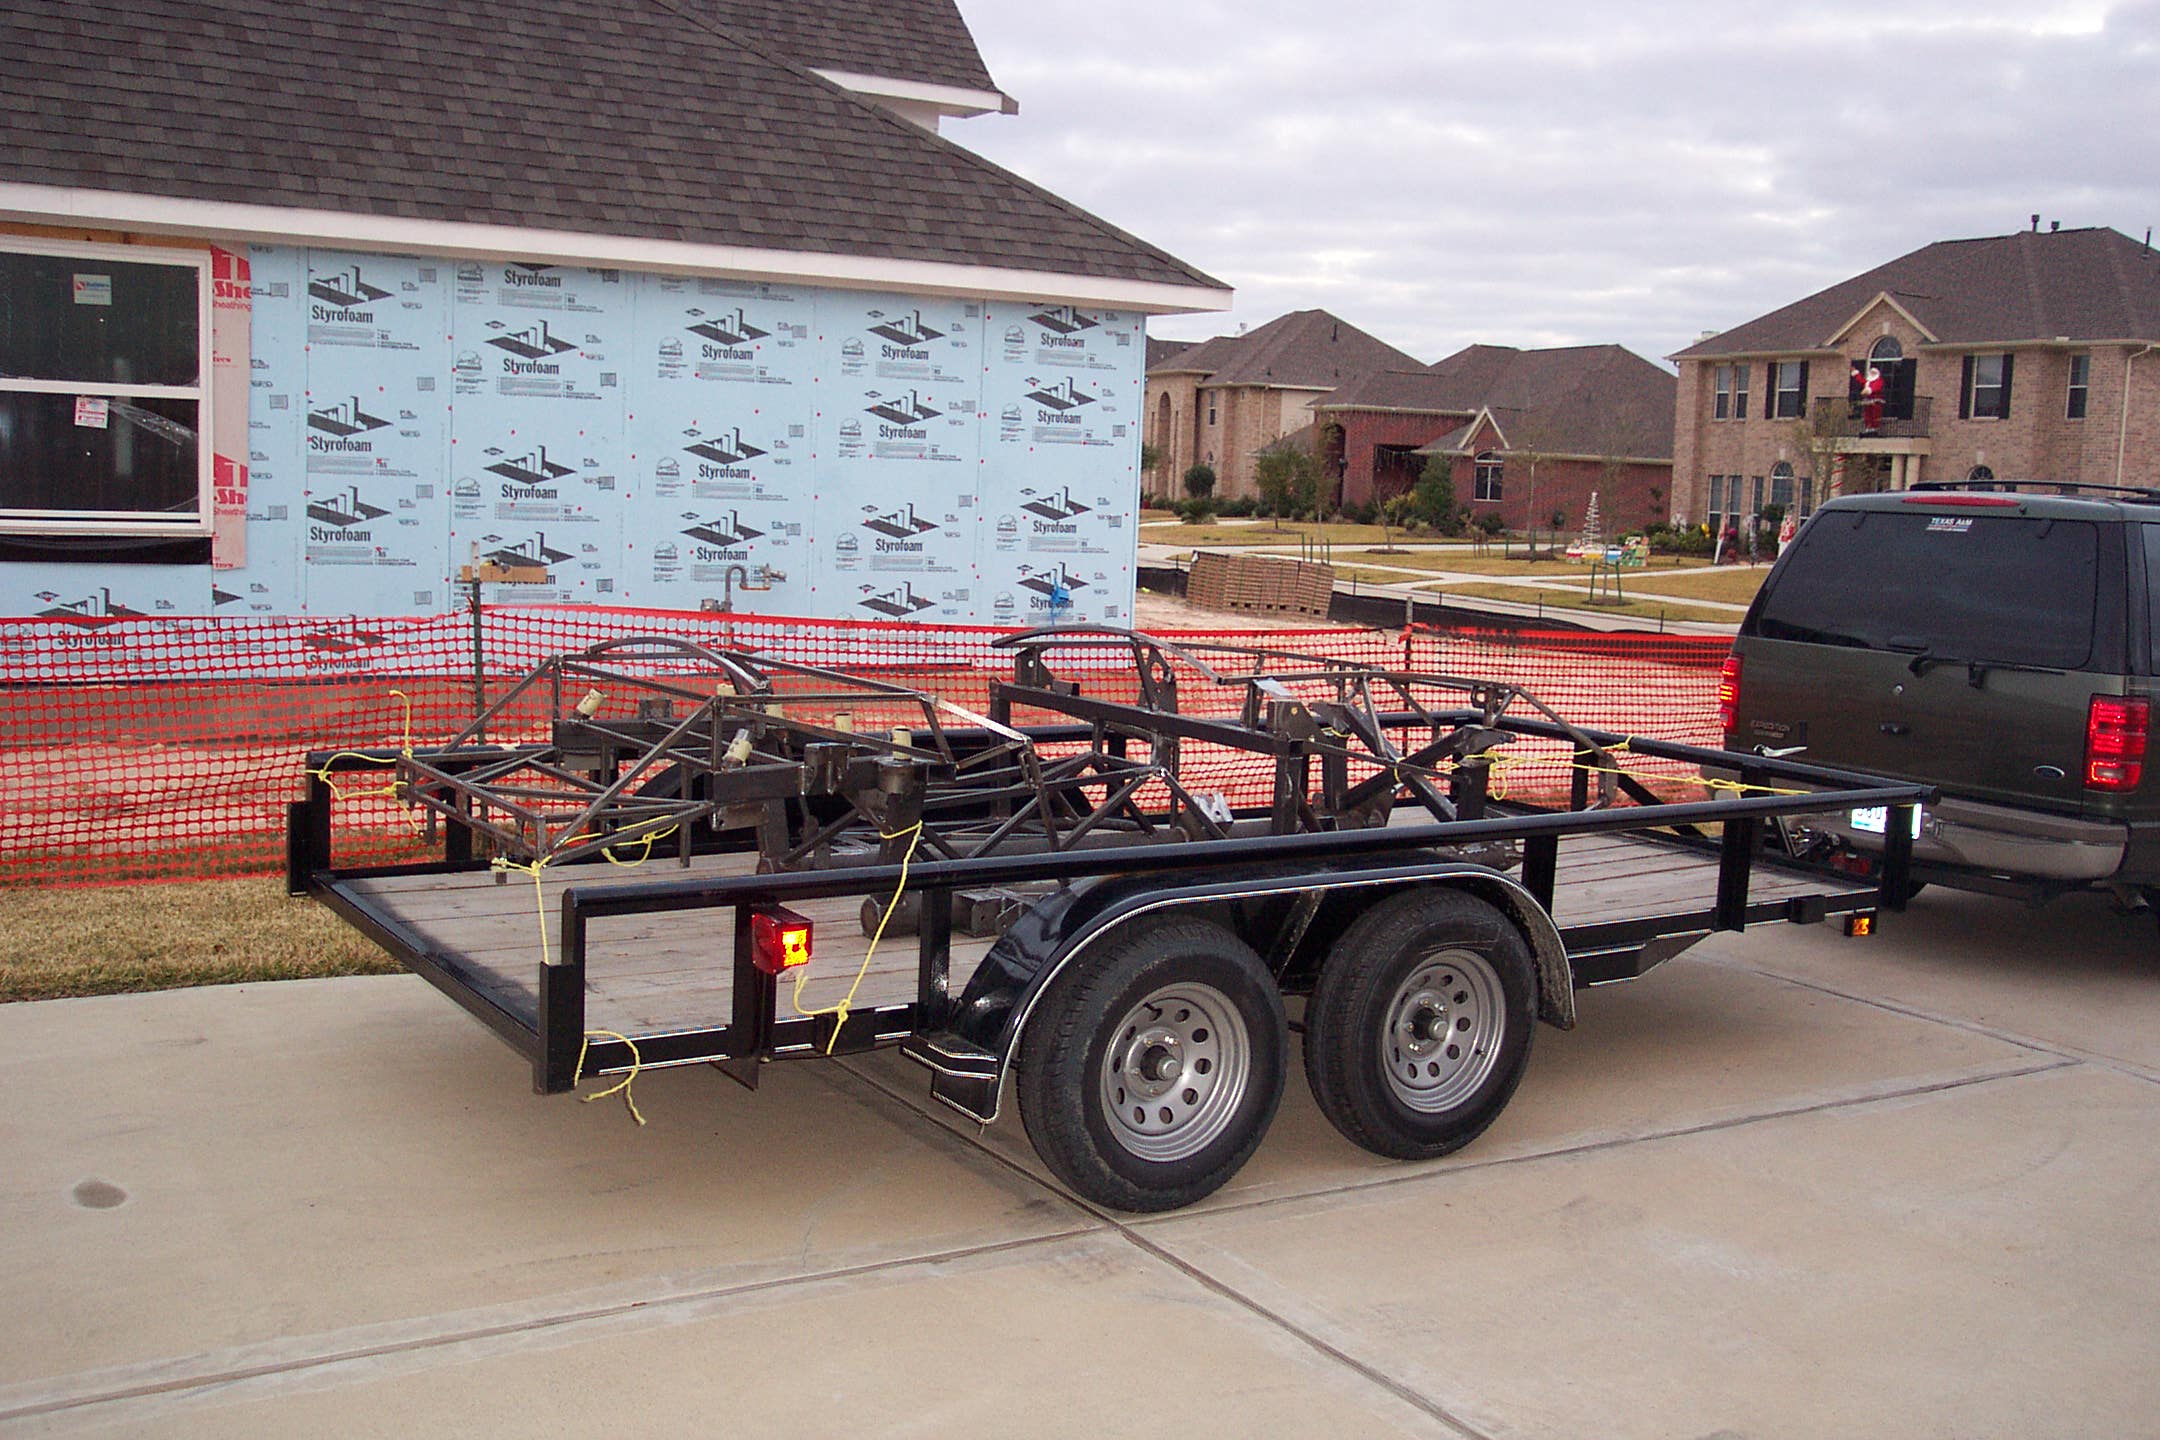
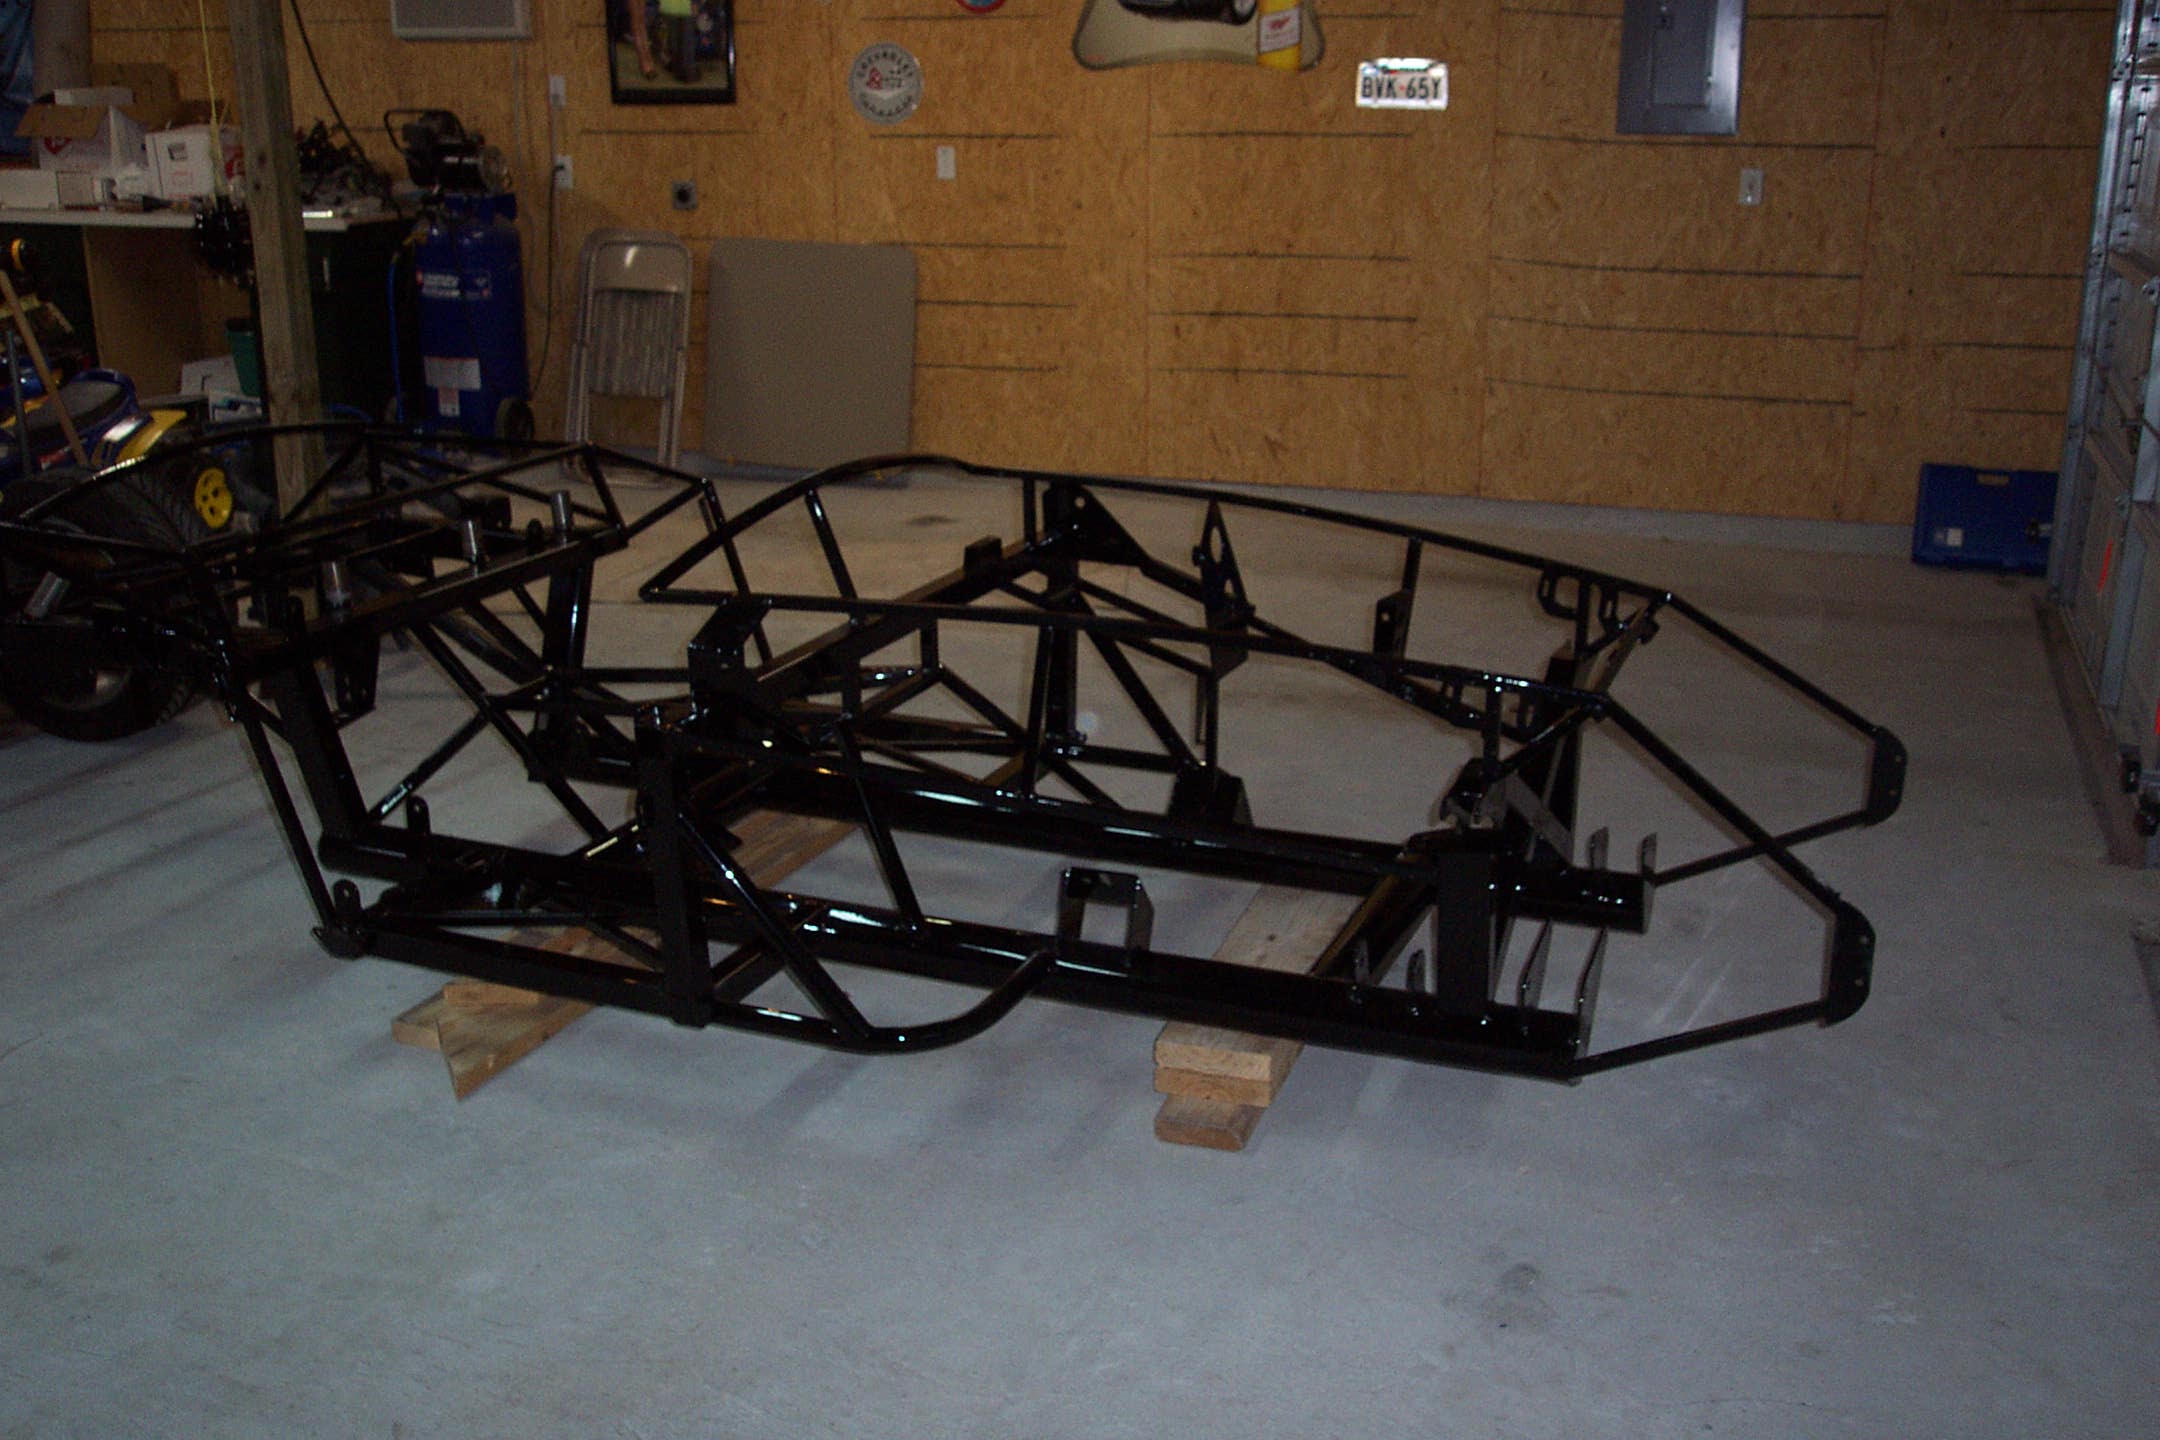
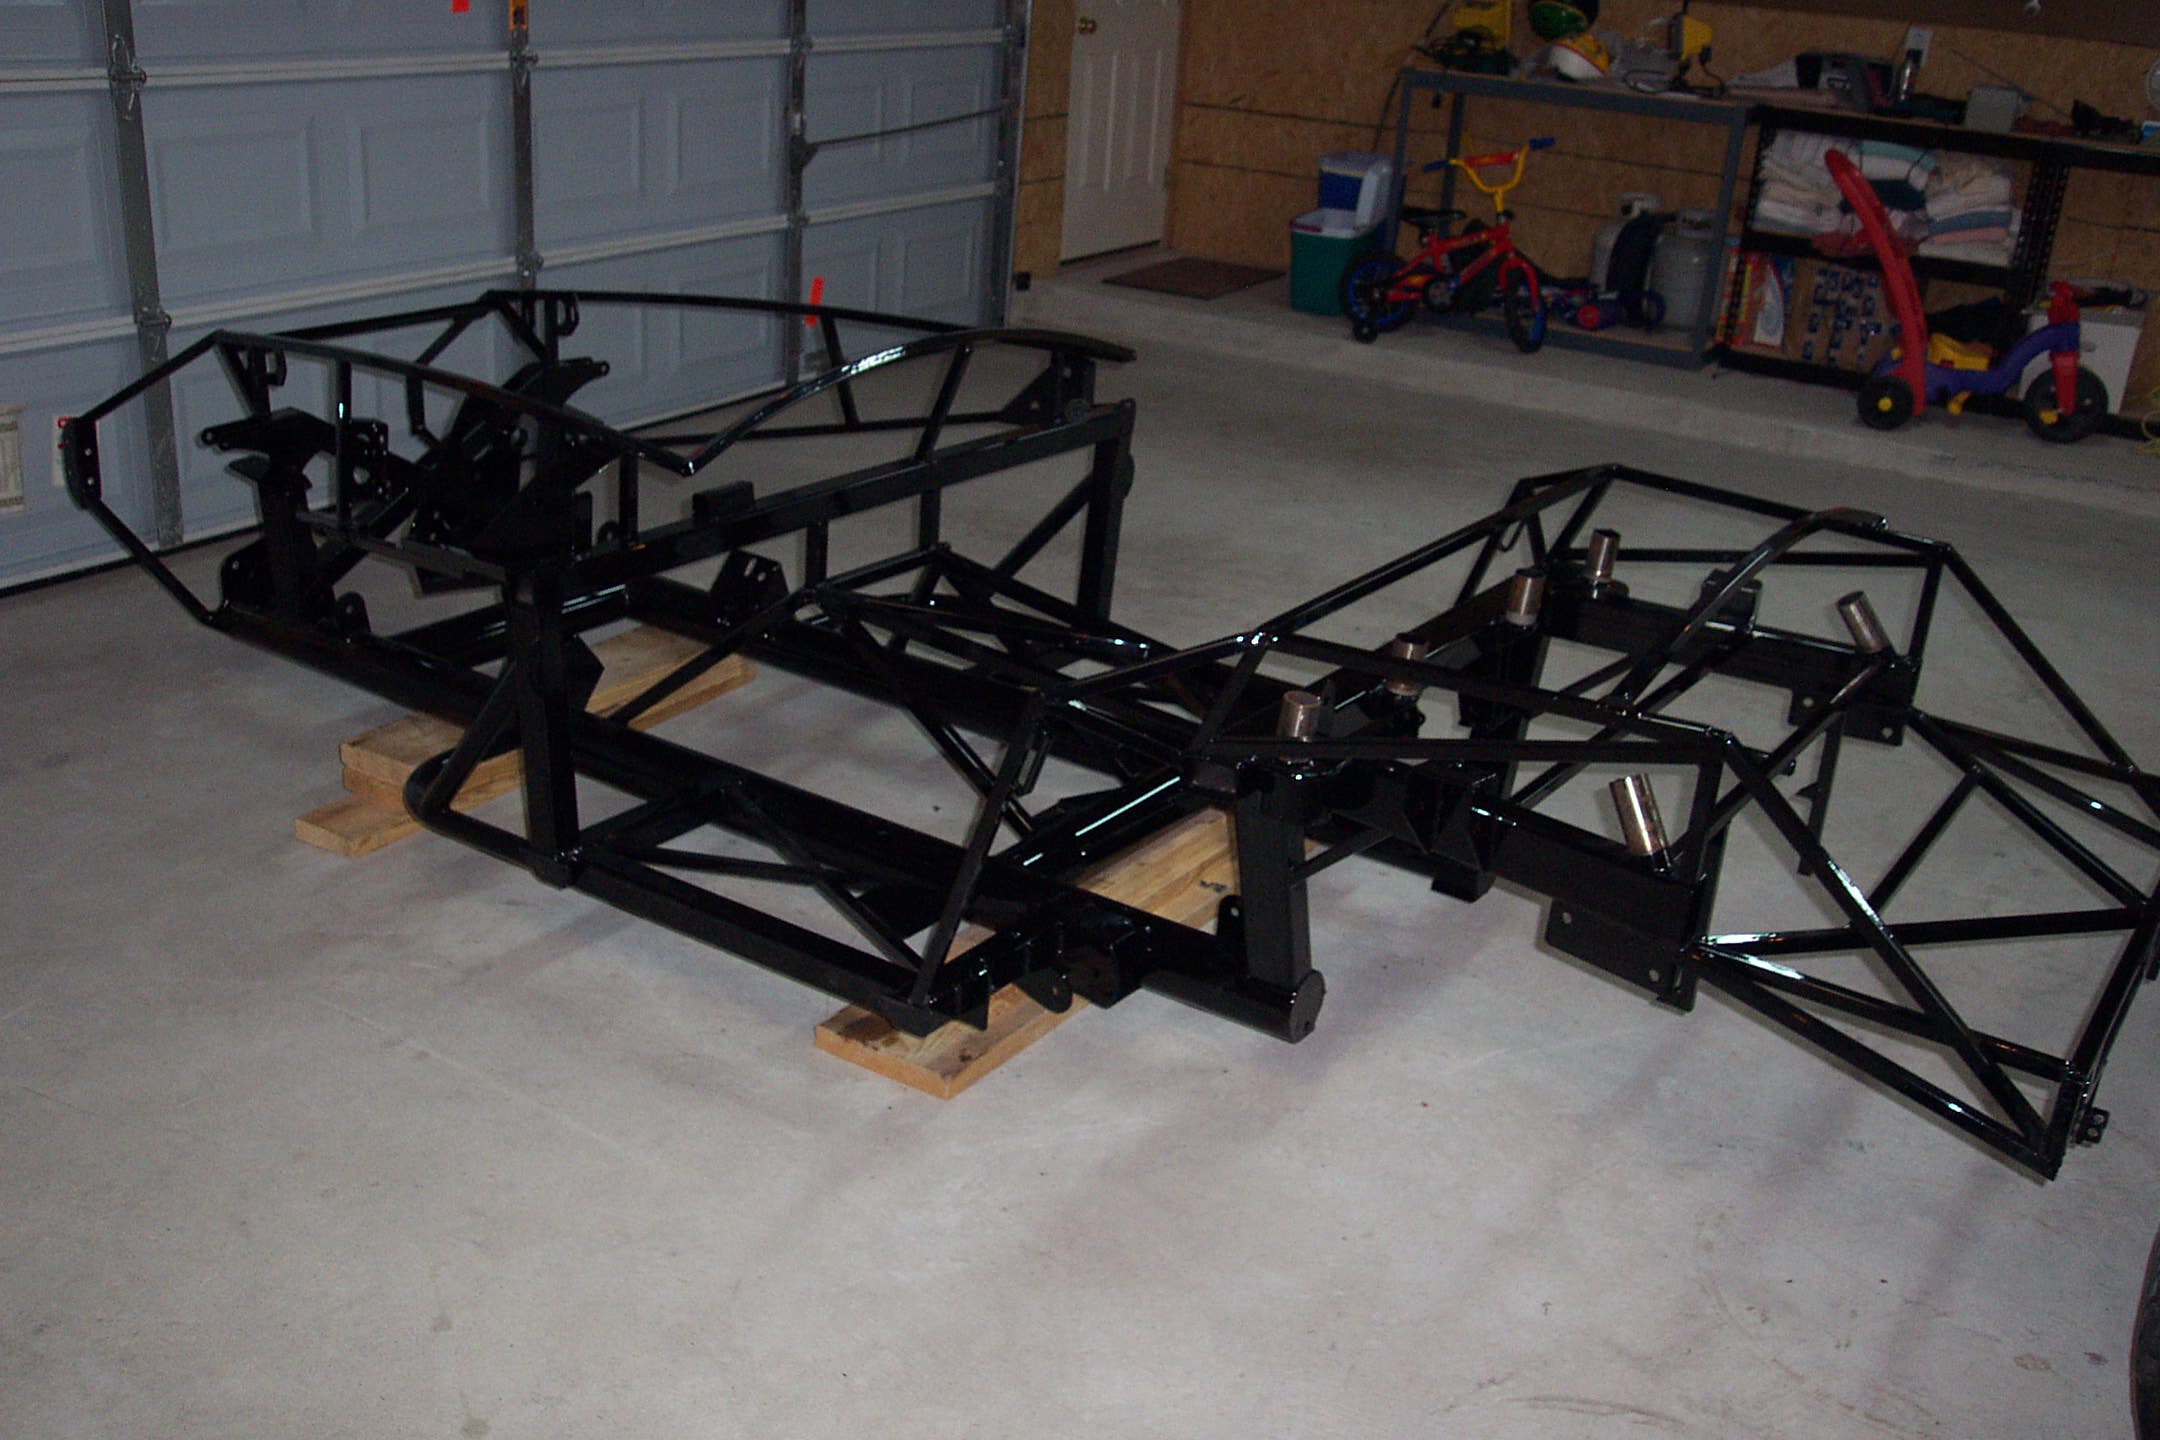
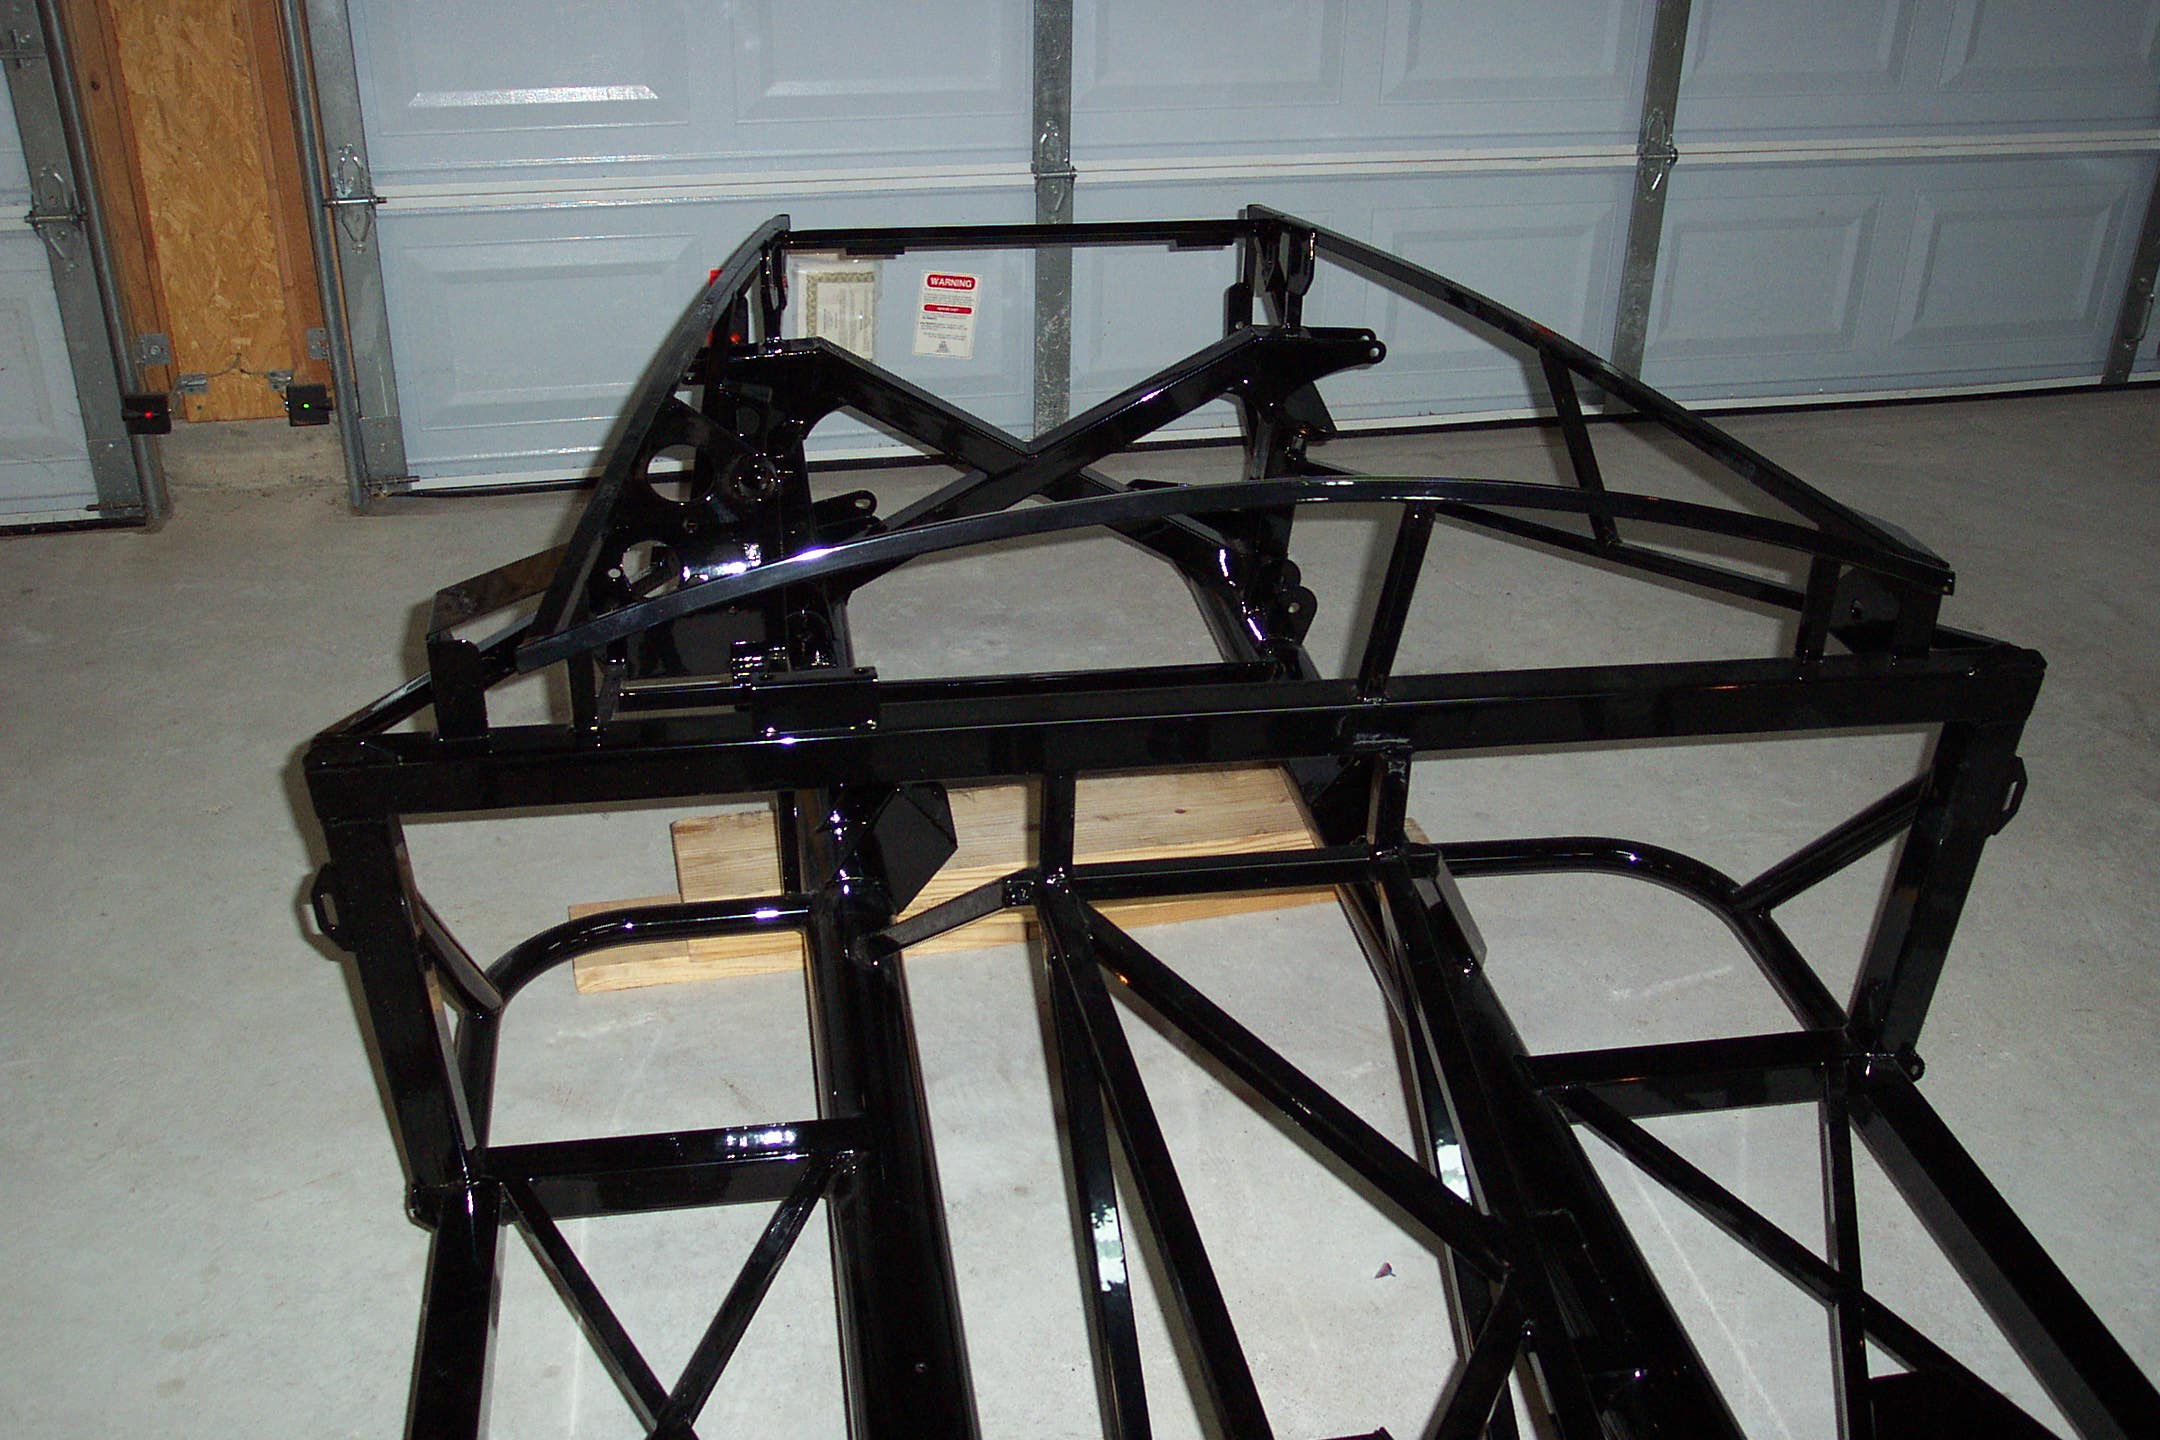
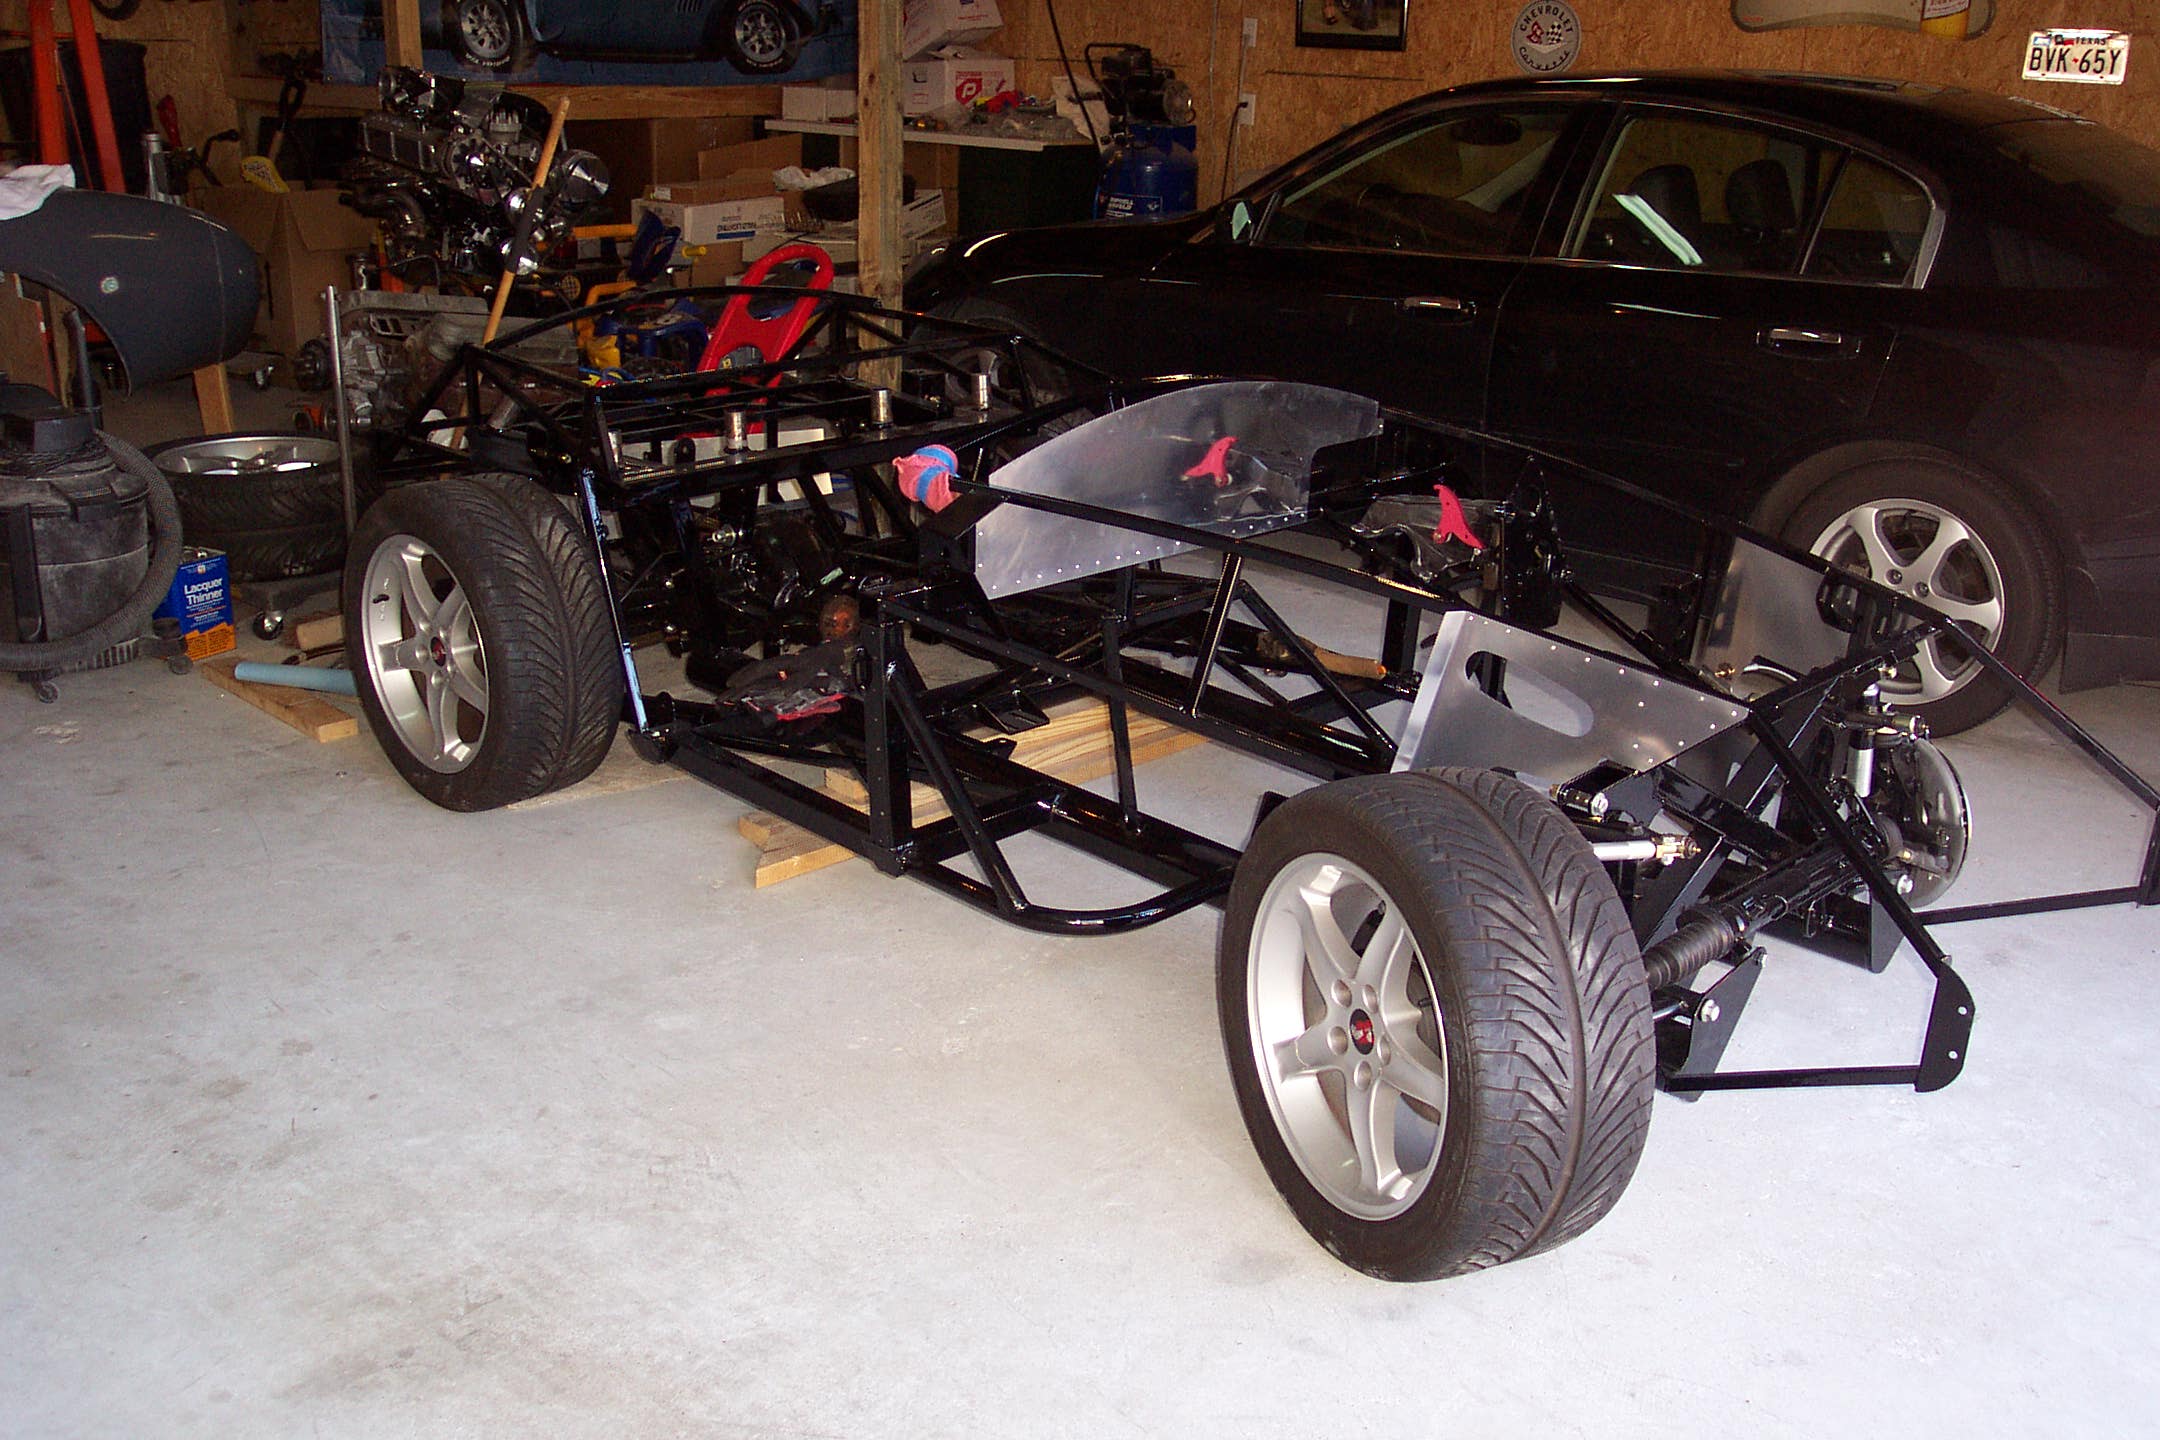
This is the powder coated frame before any assembly has begun. This finish is very smooth, shiny and tough.
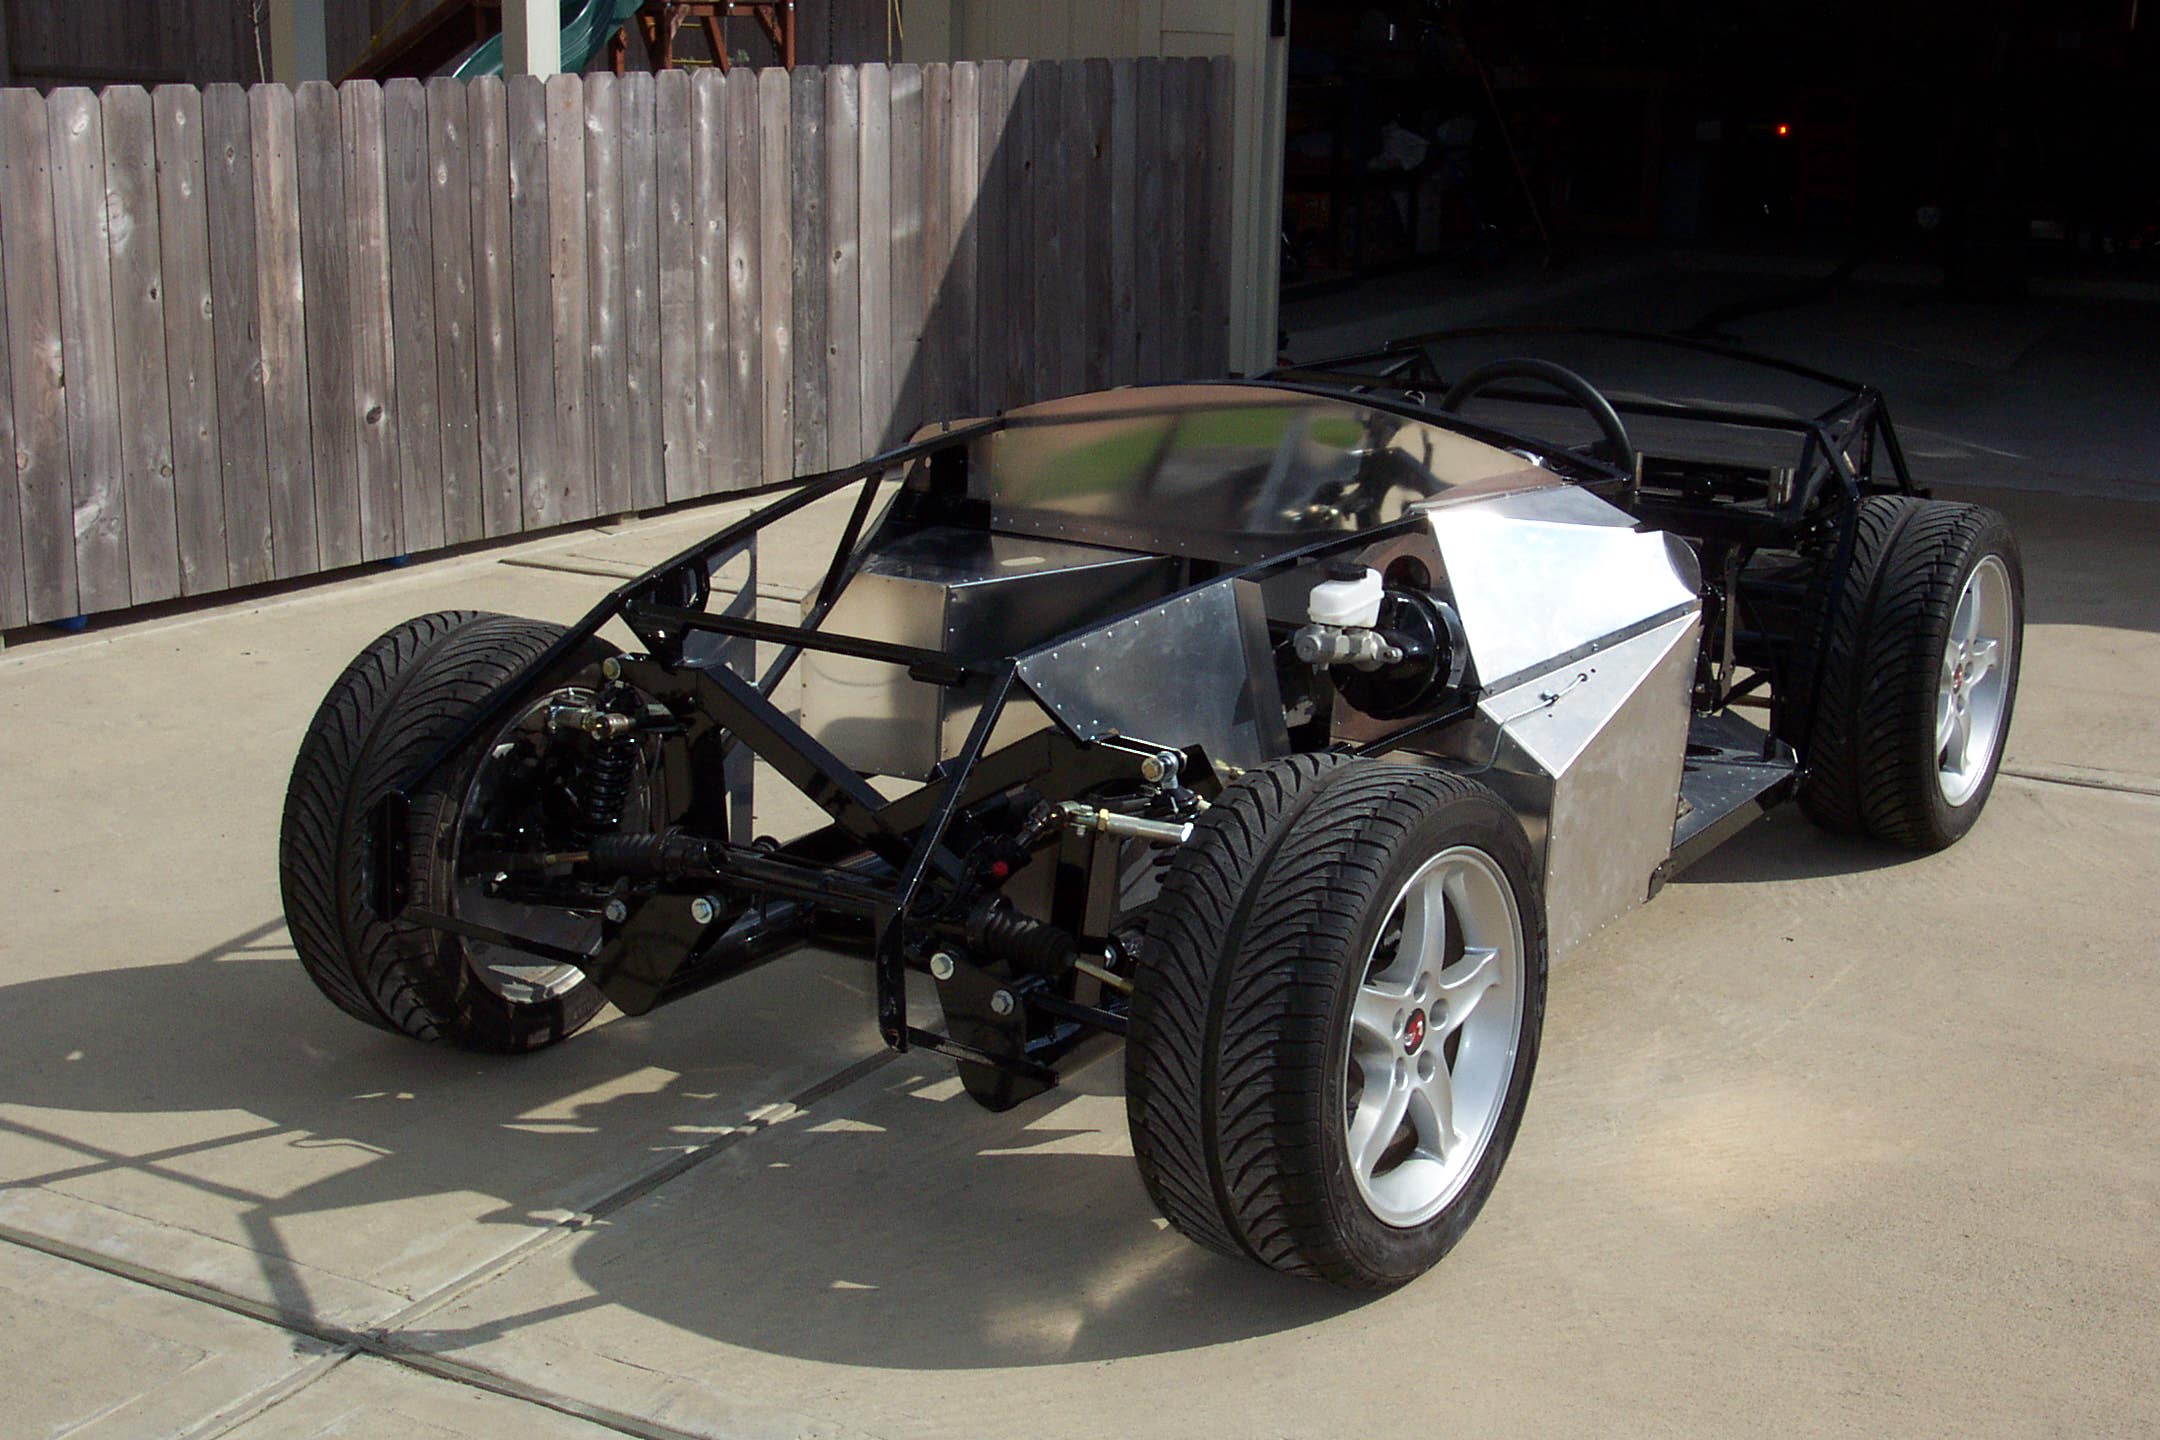
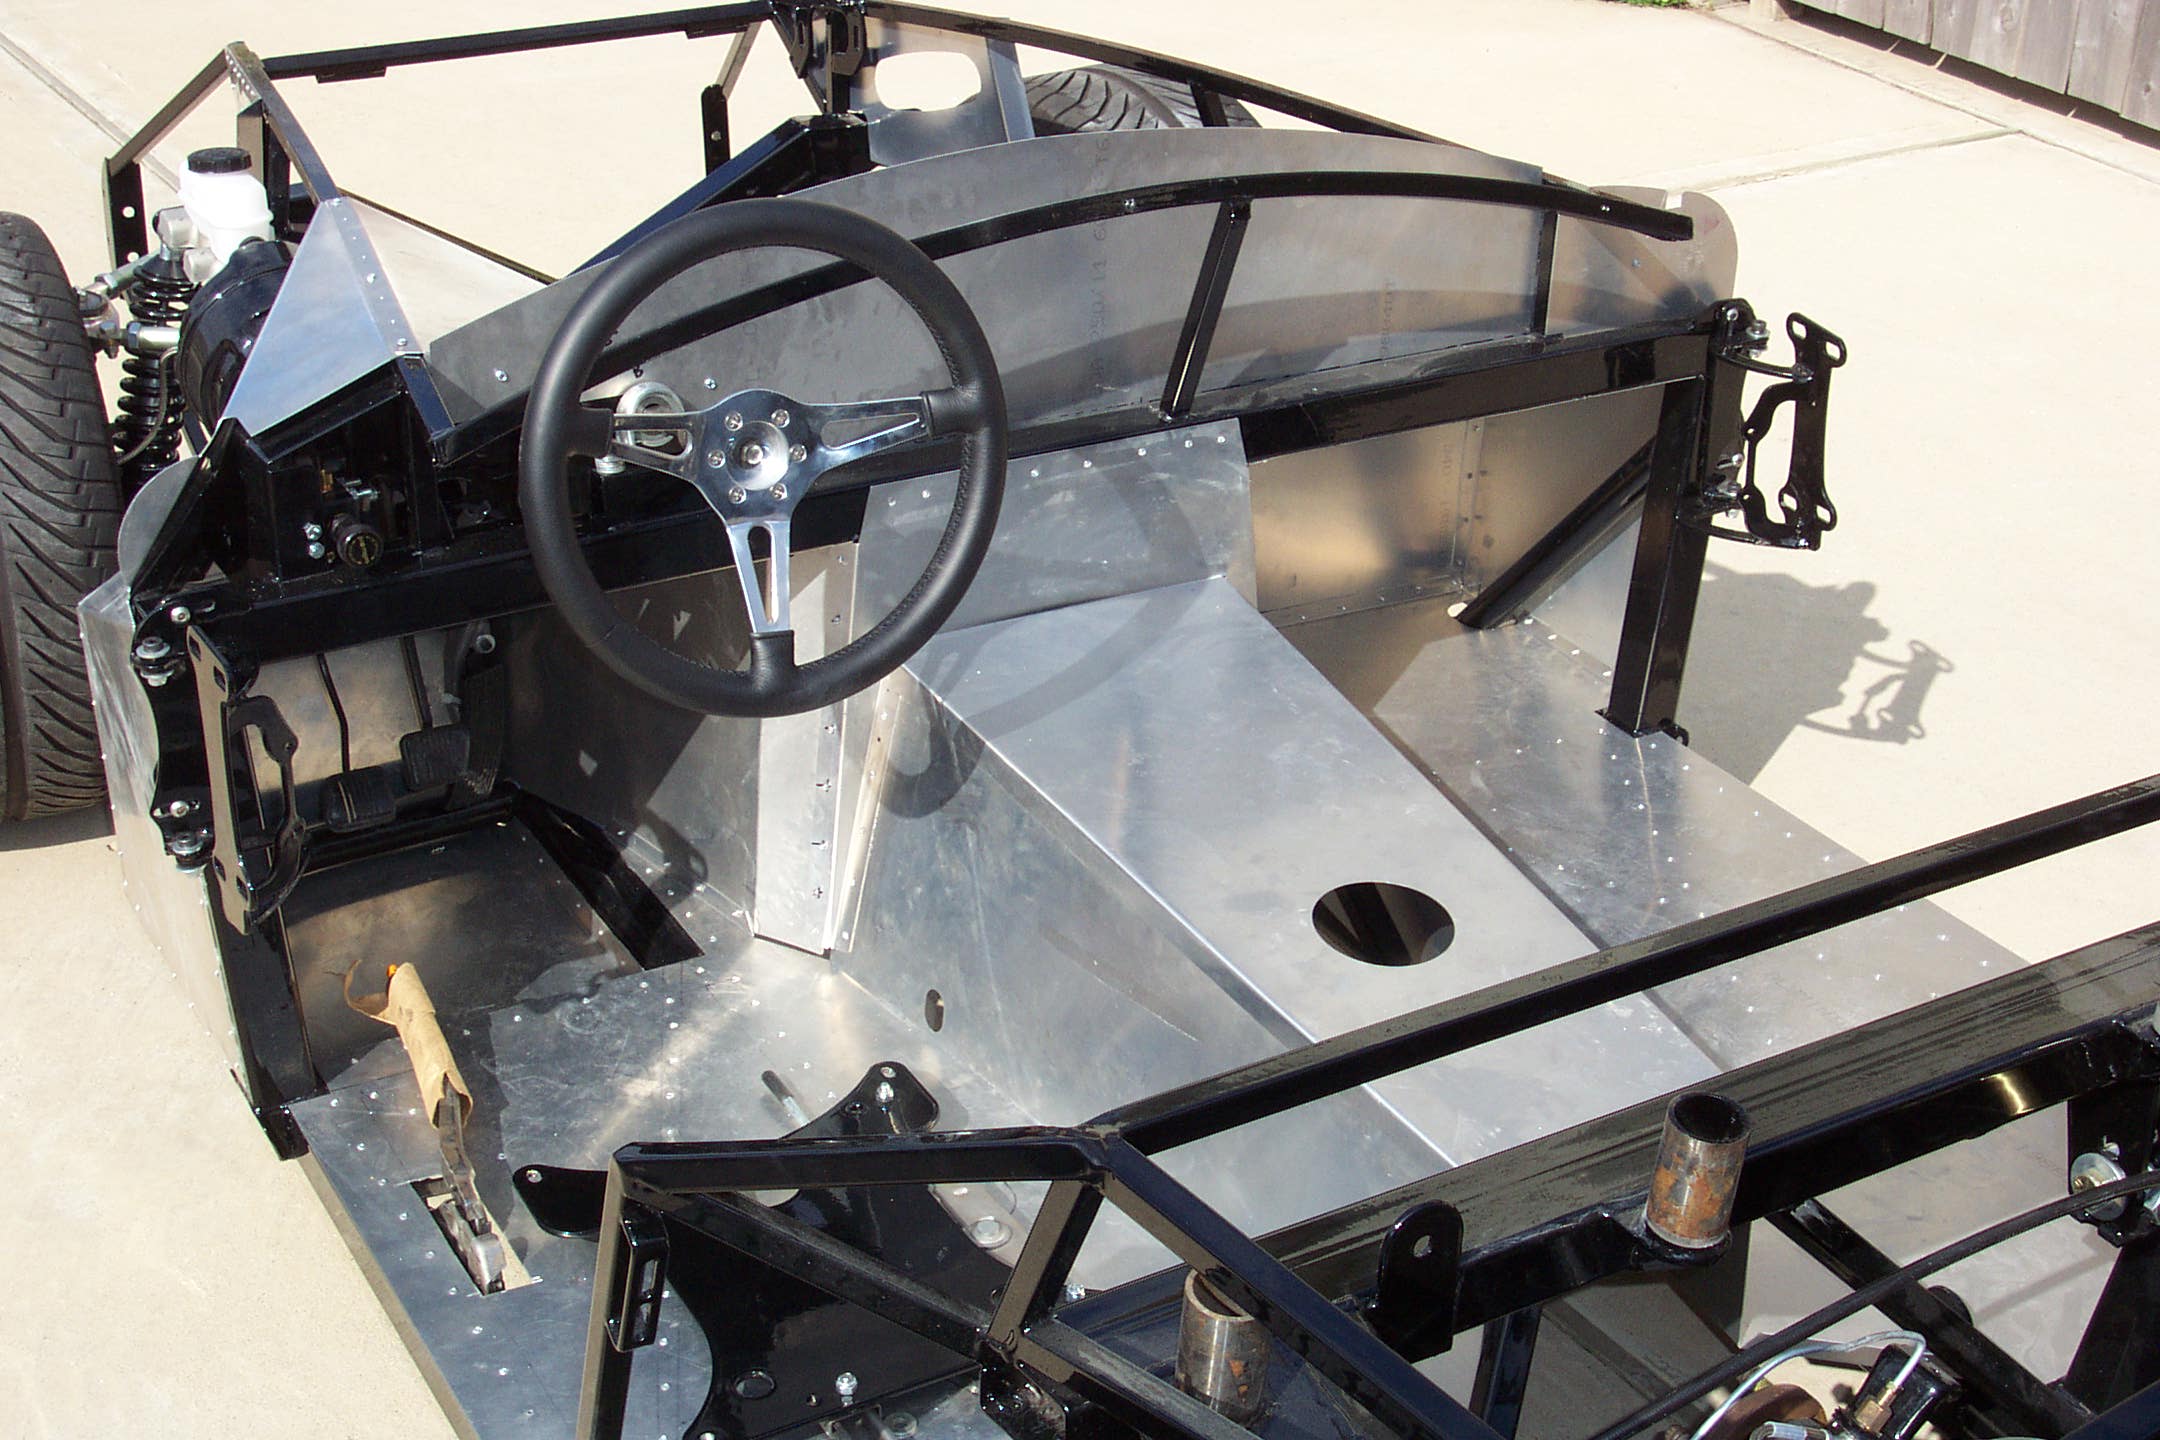
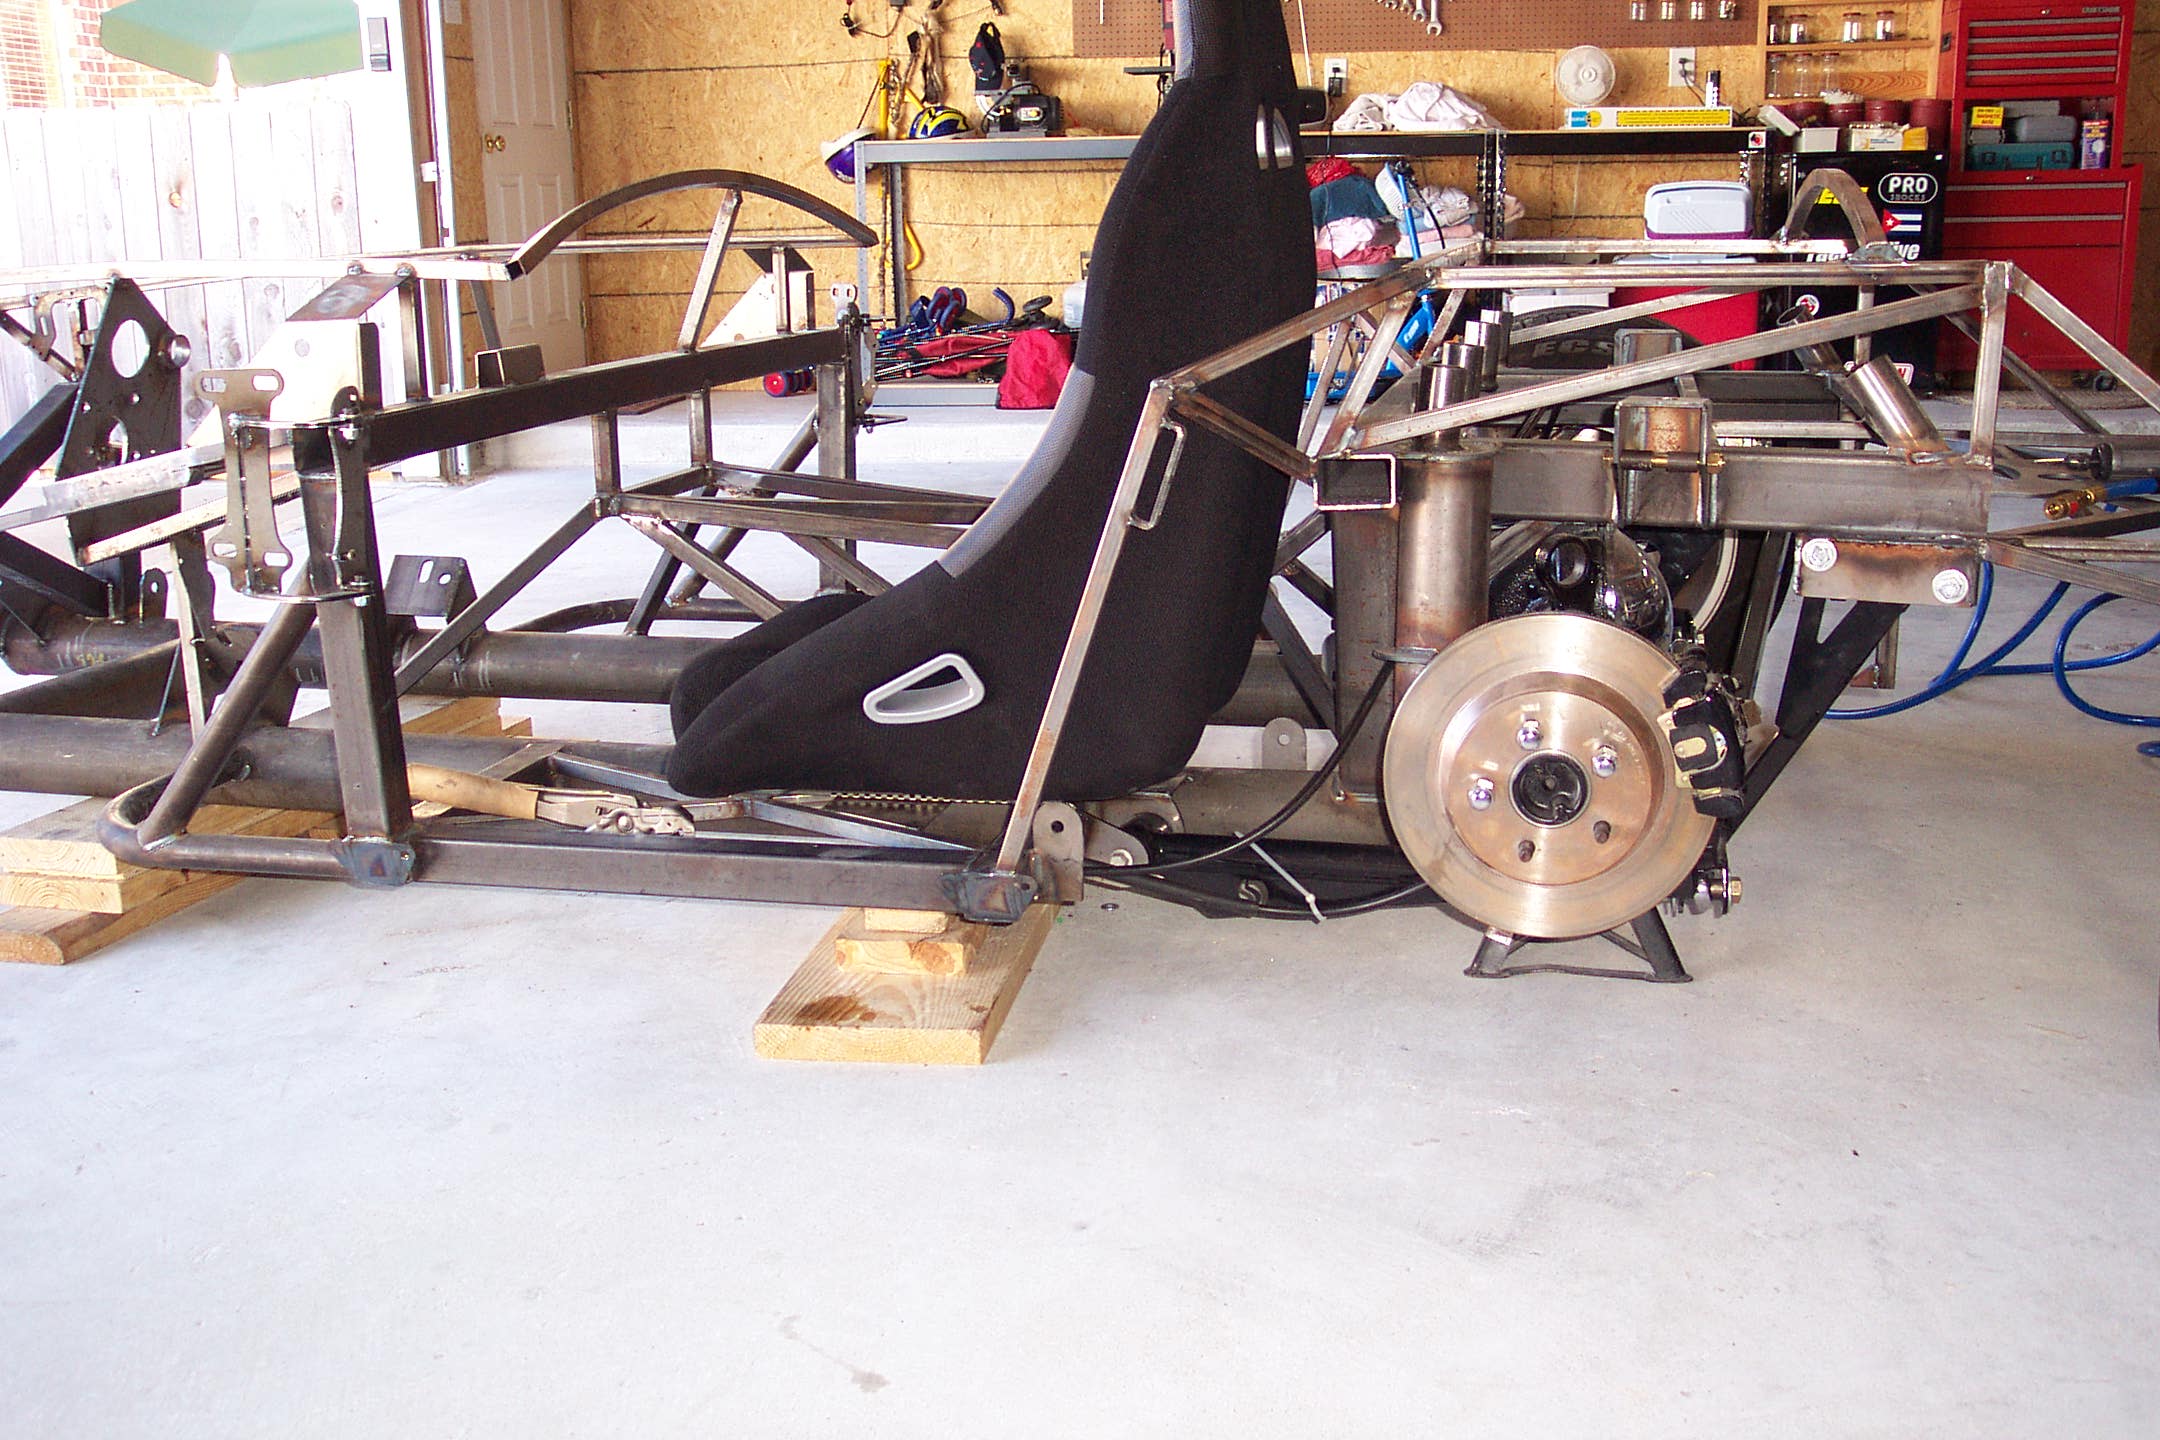
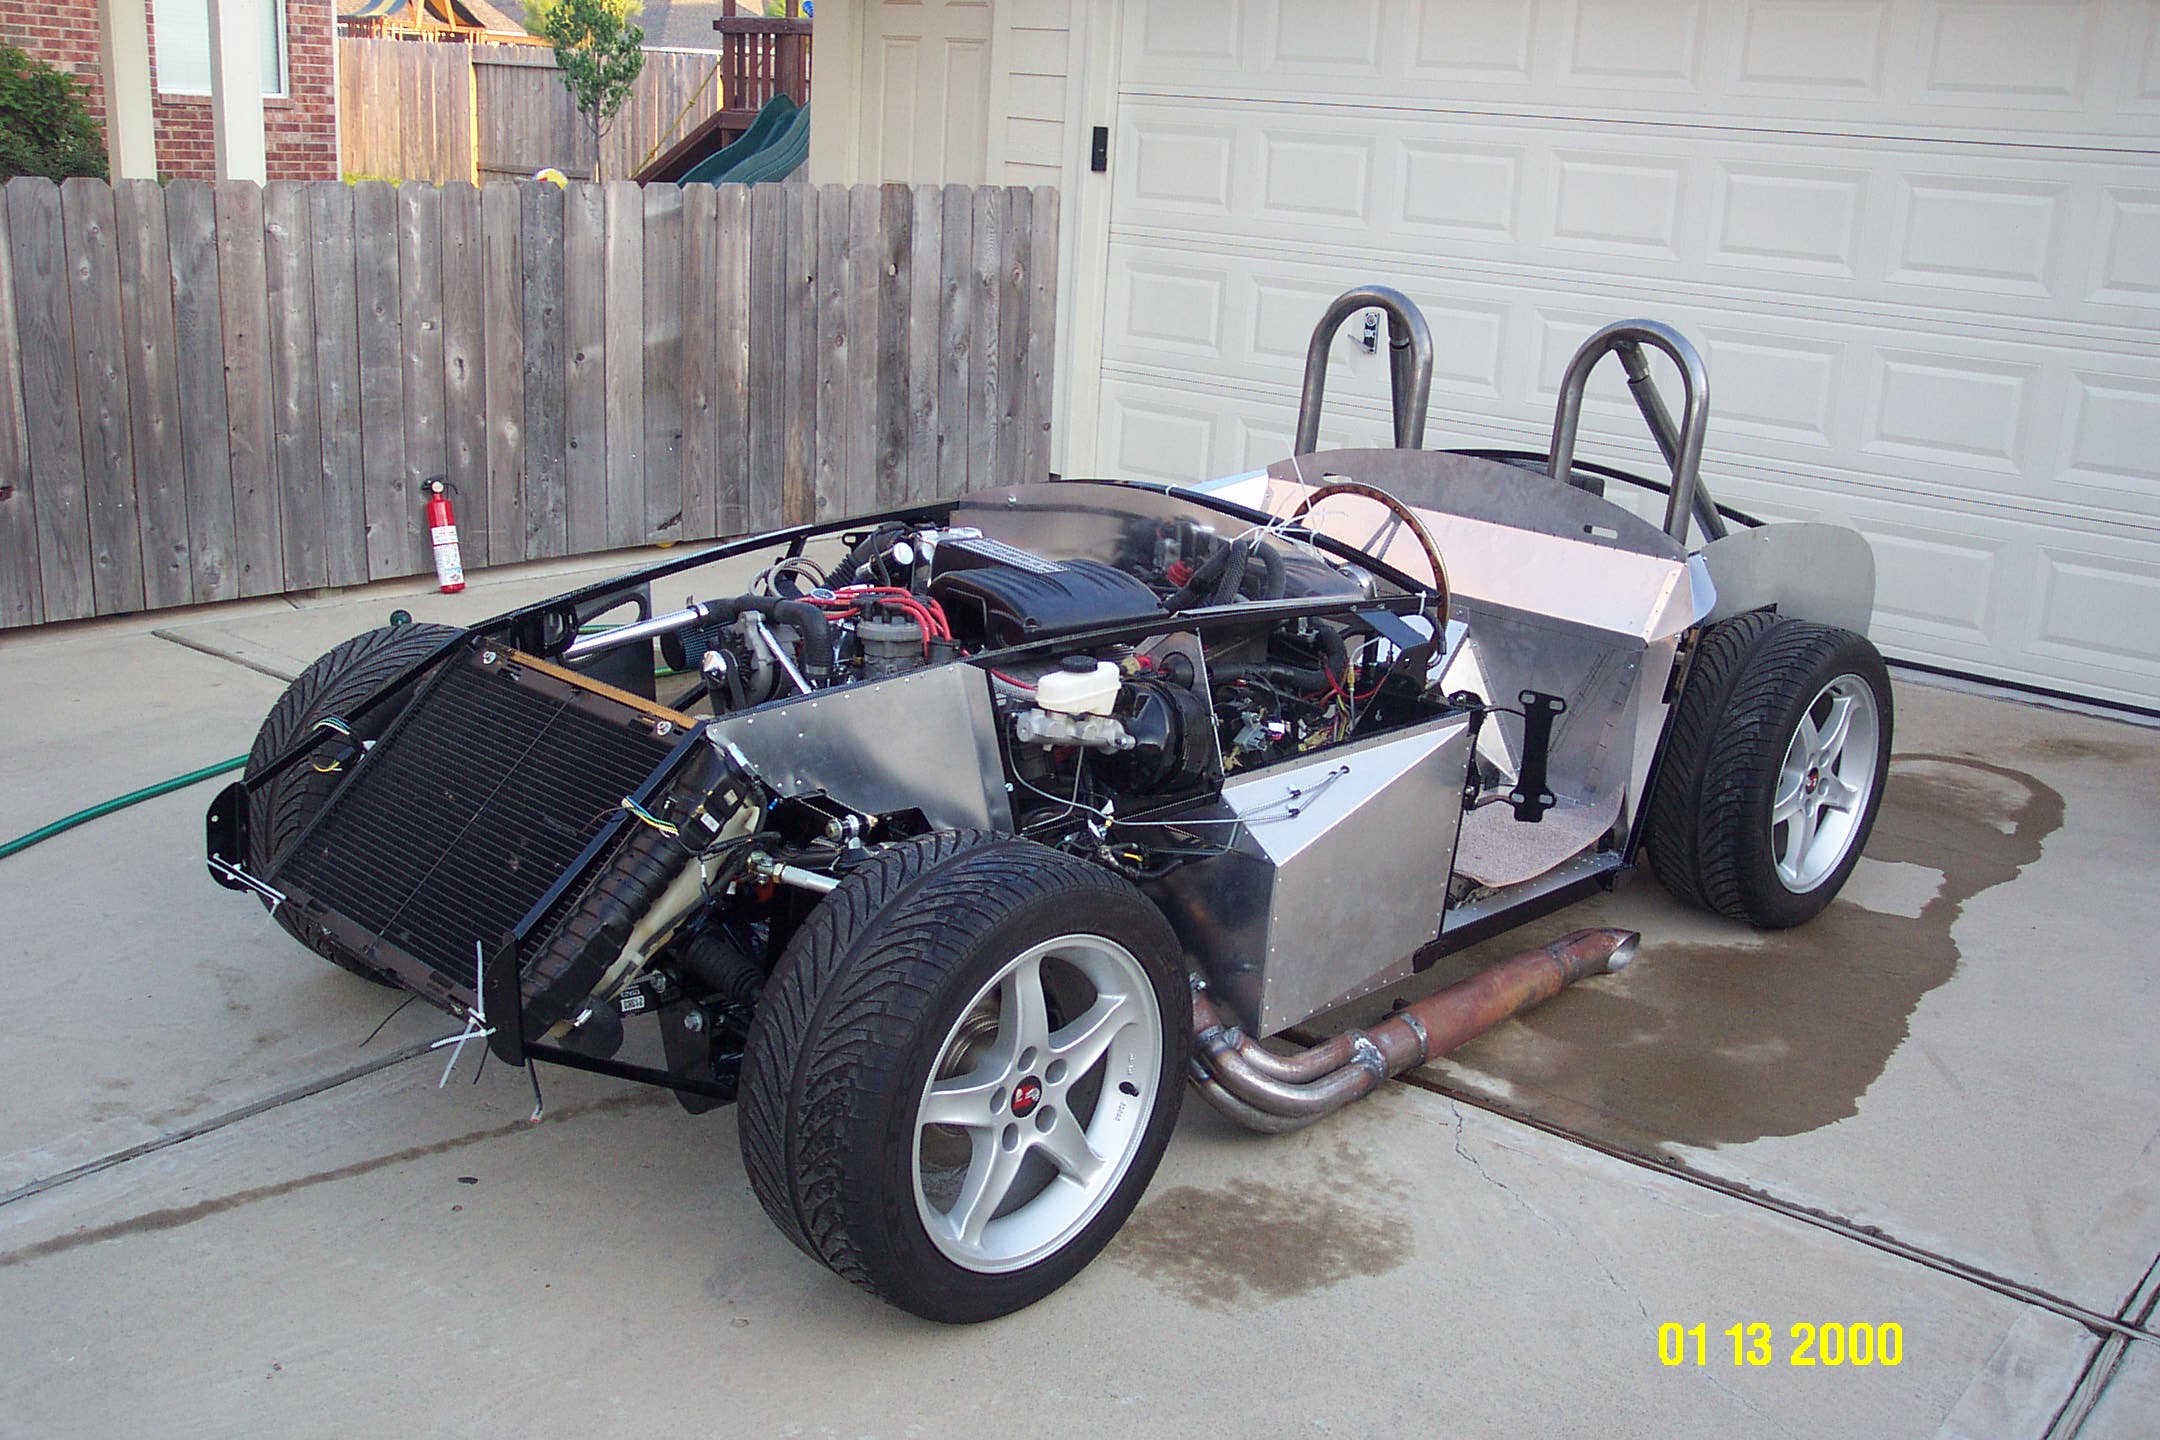
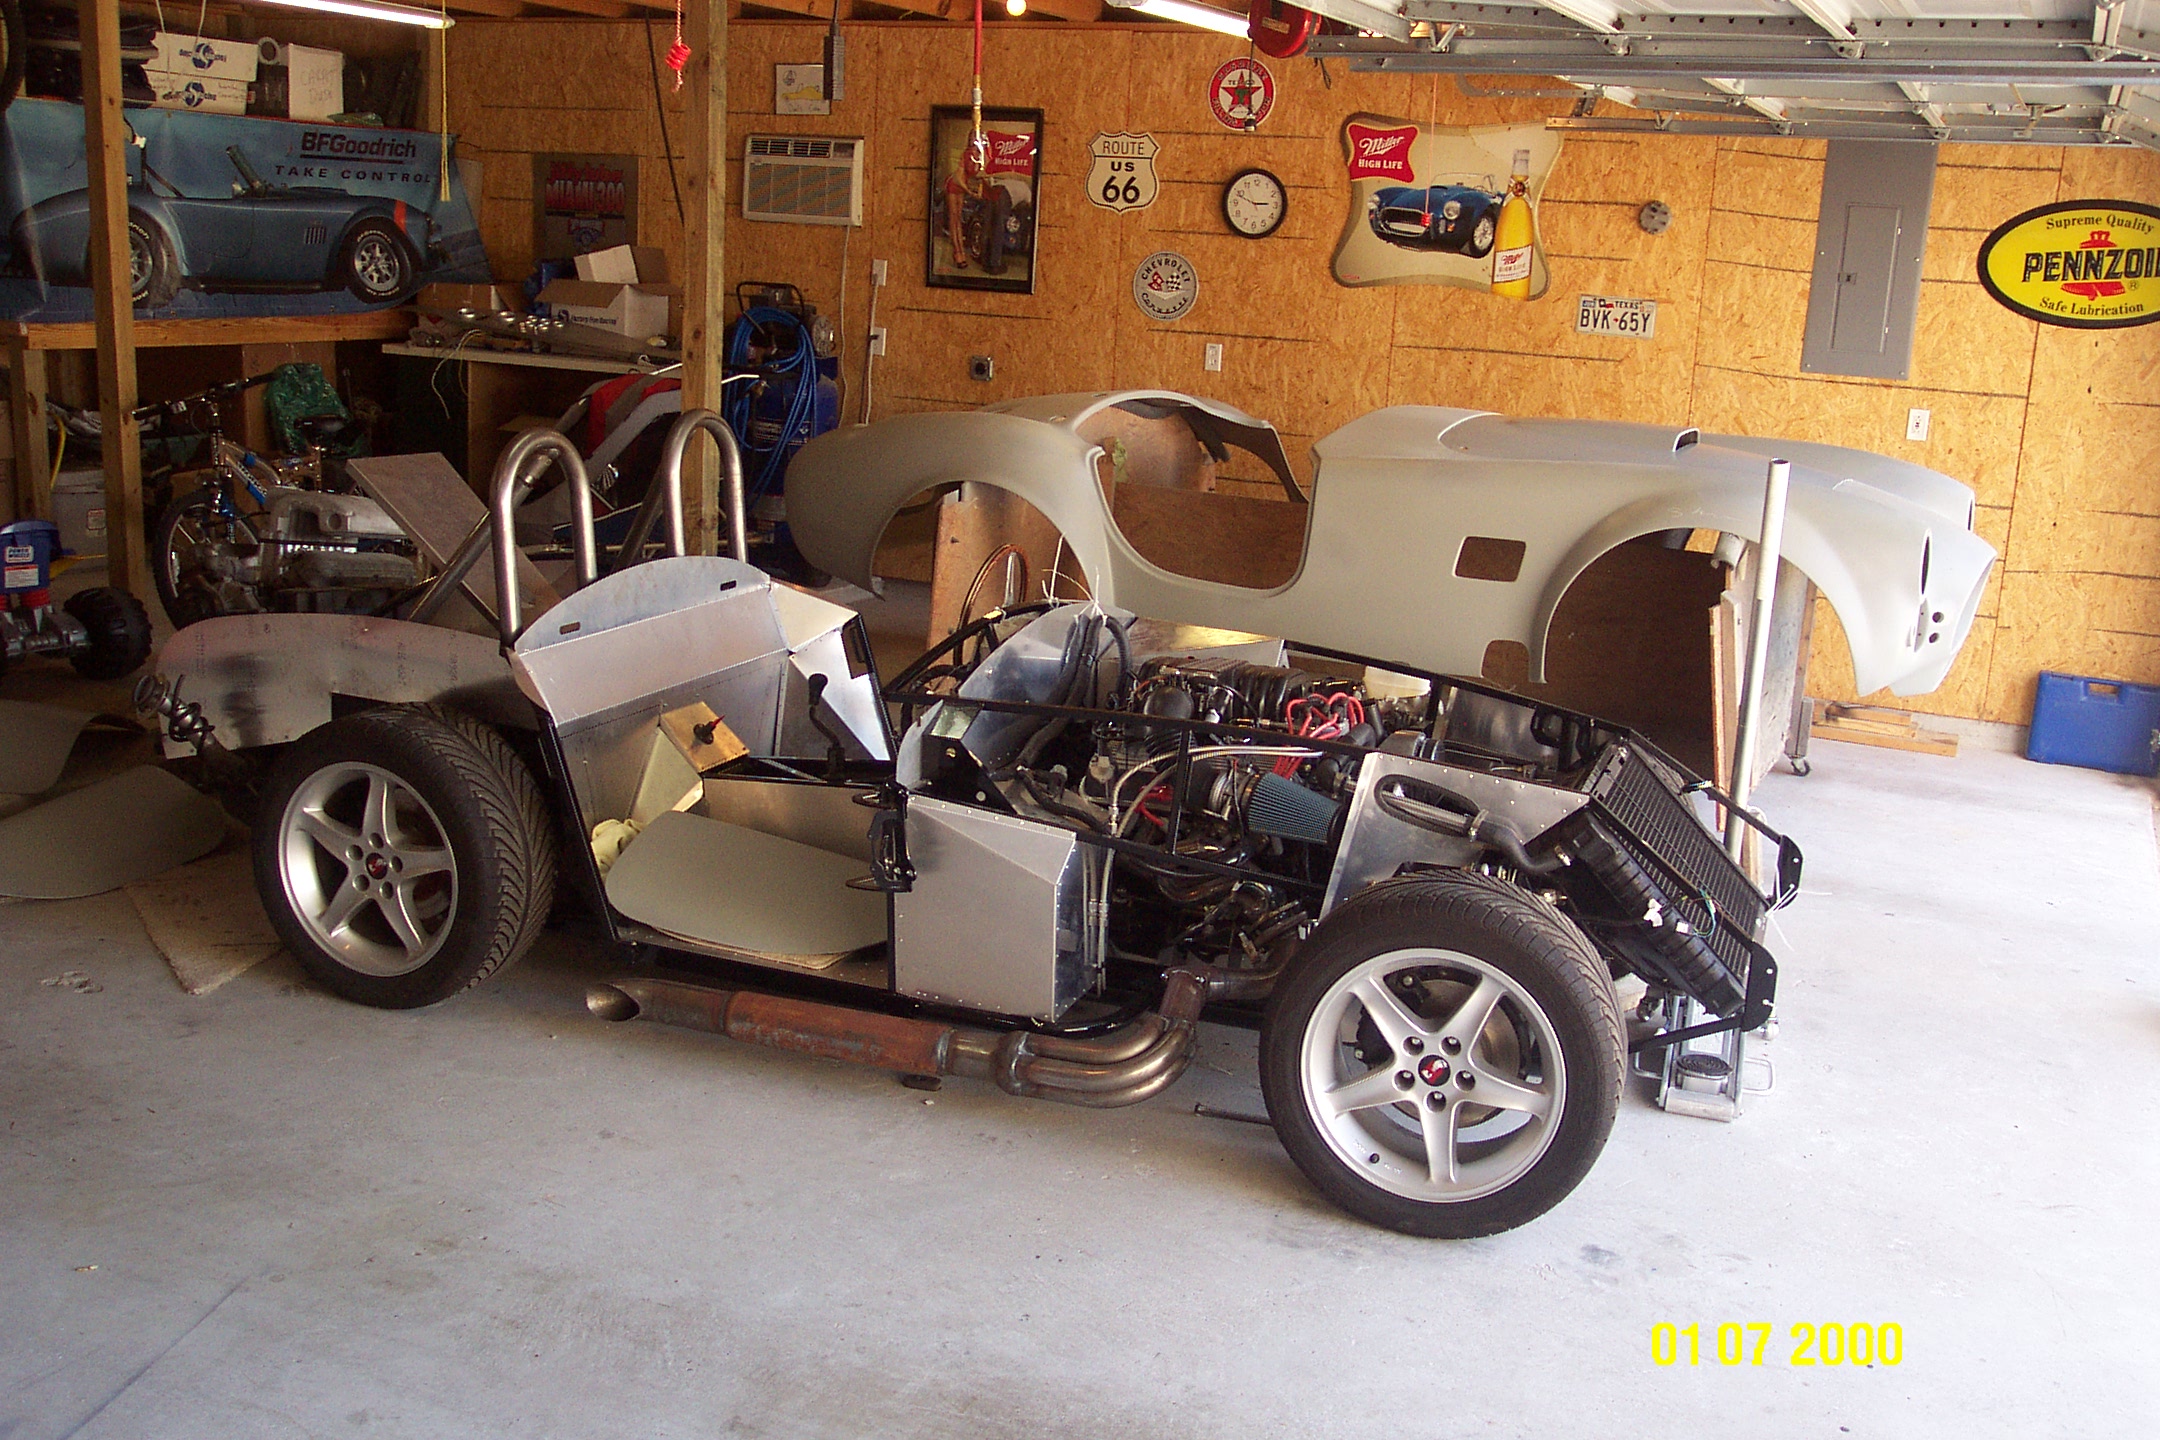
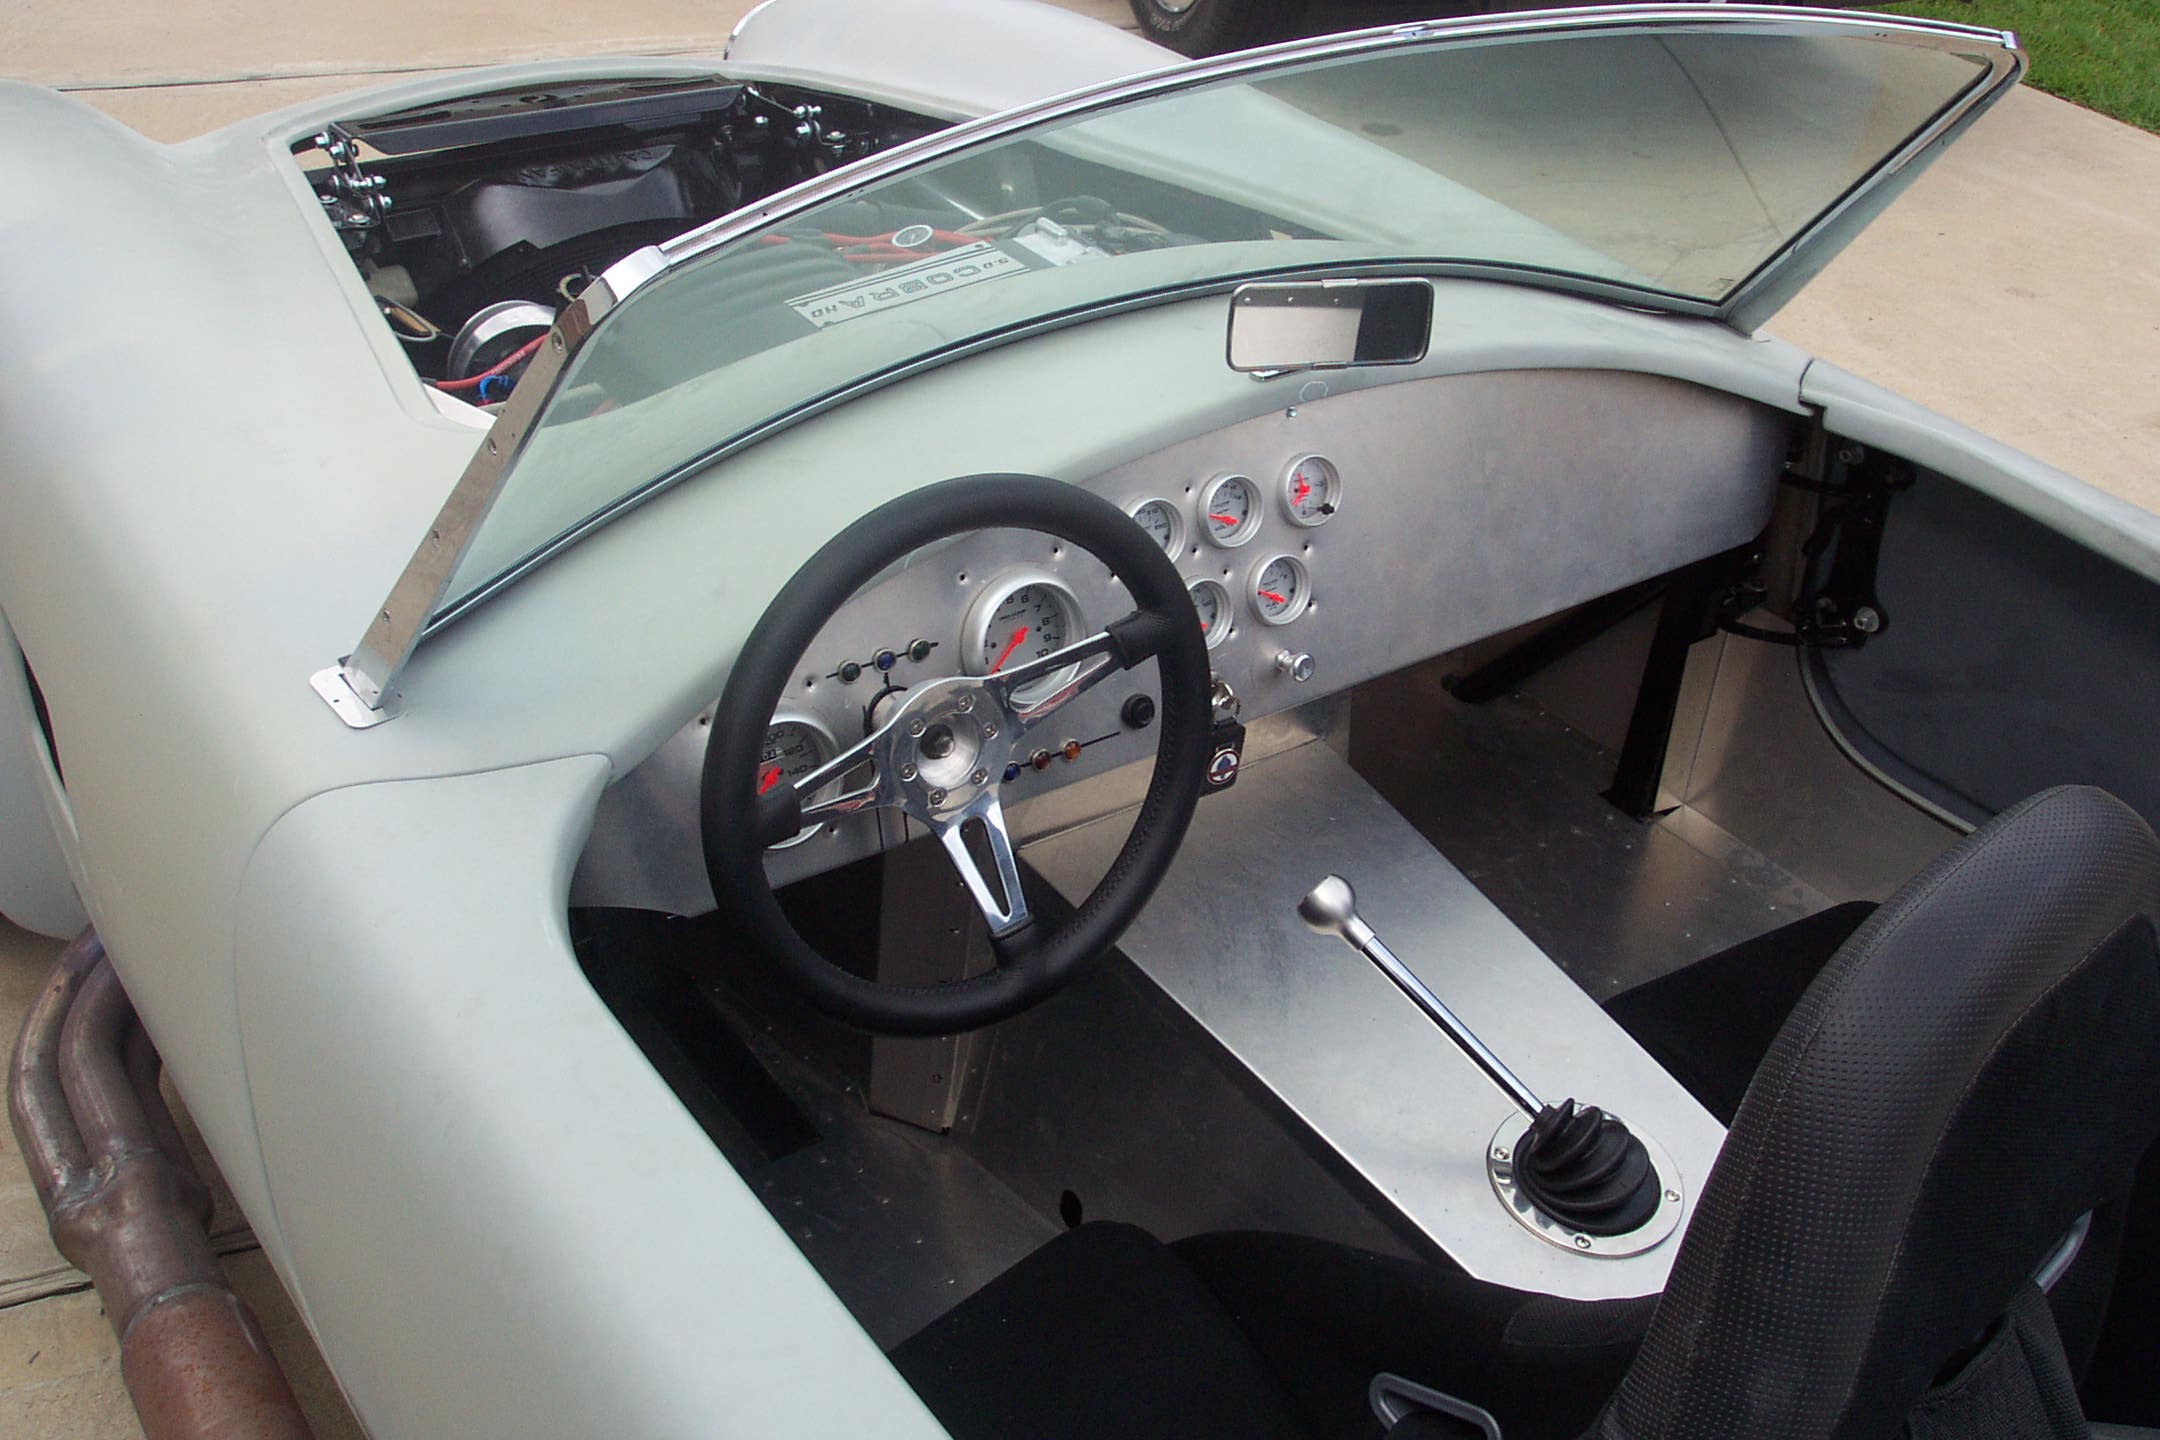
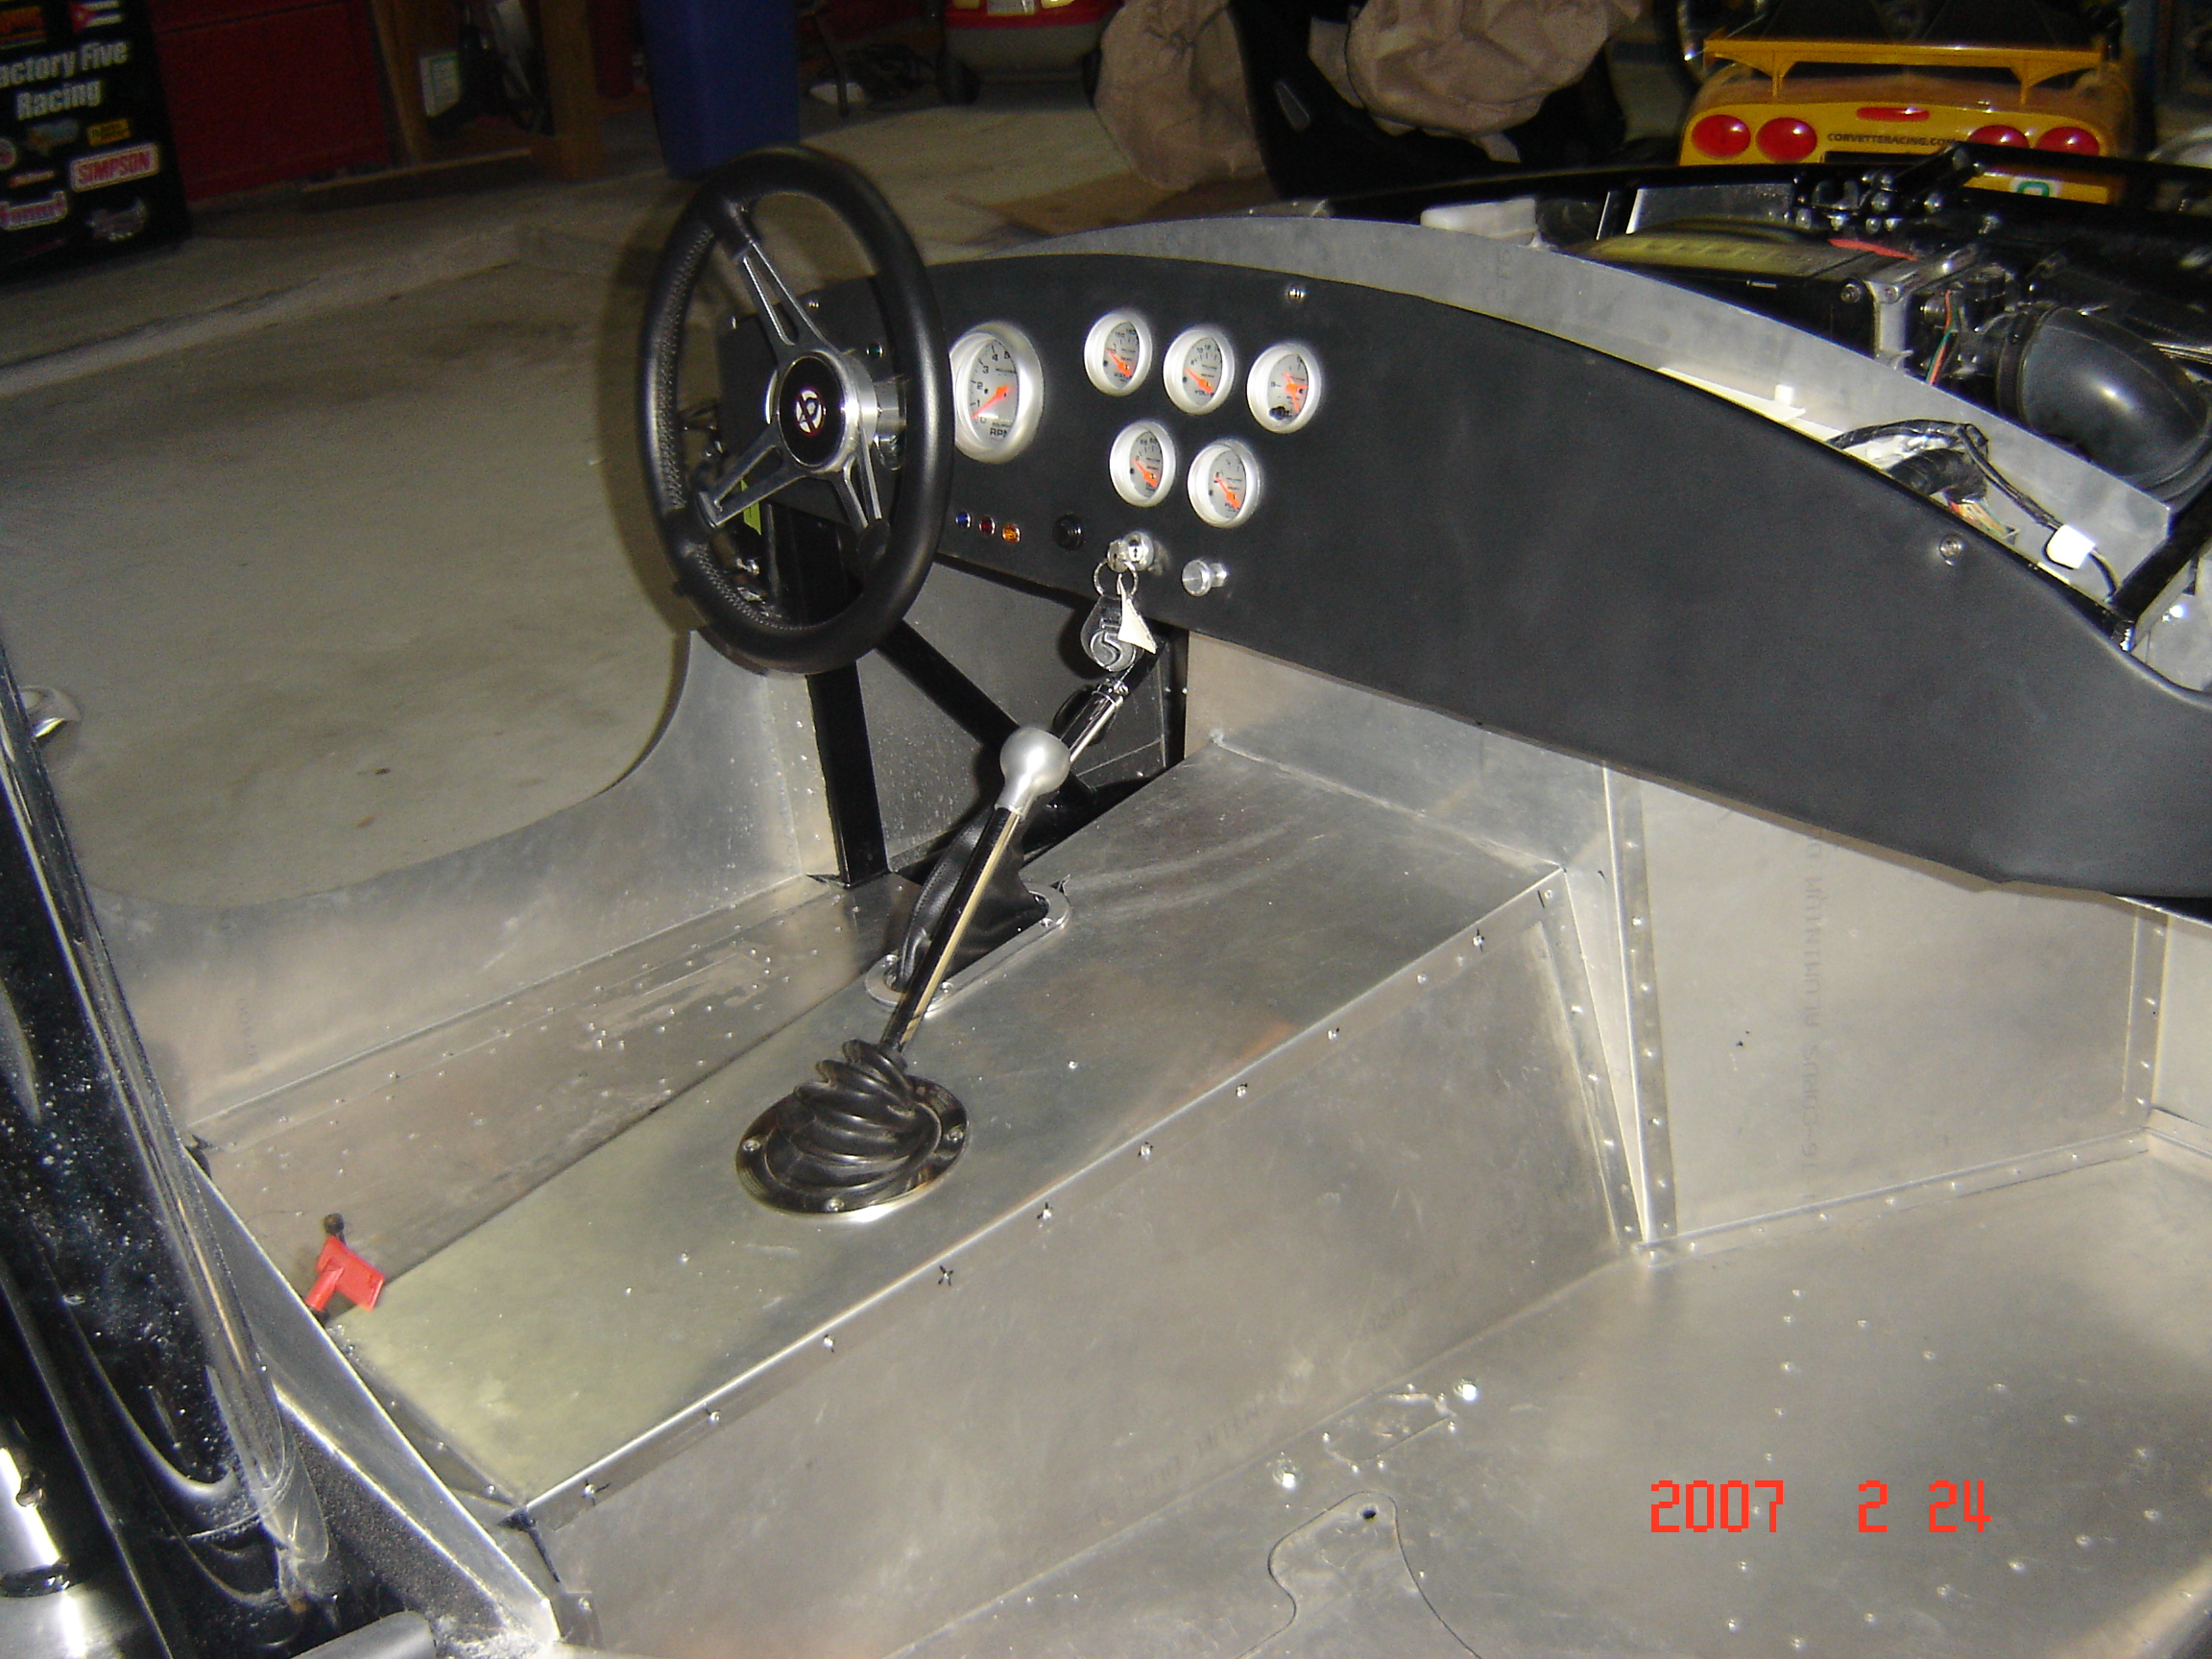
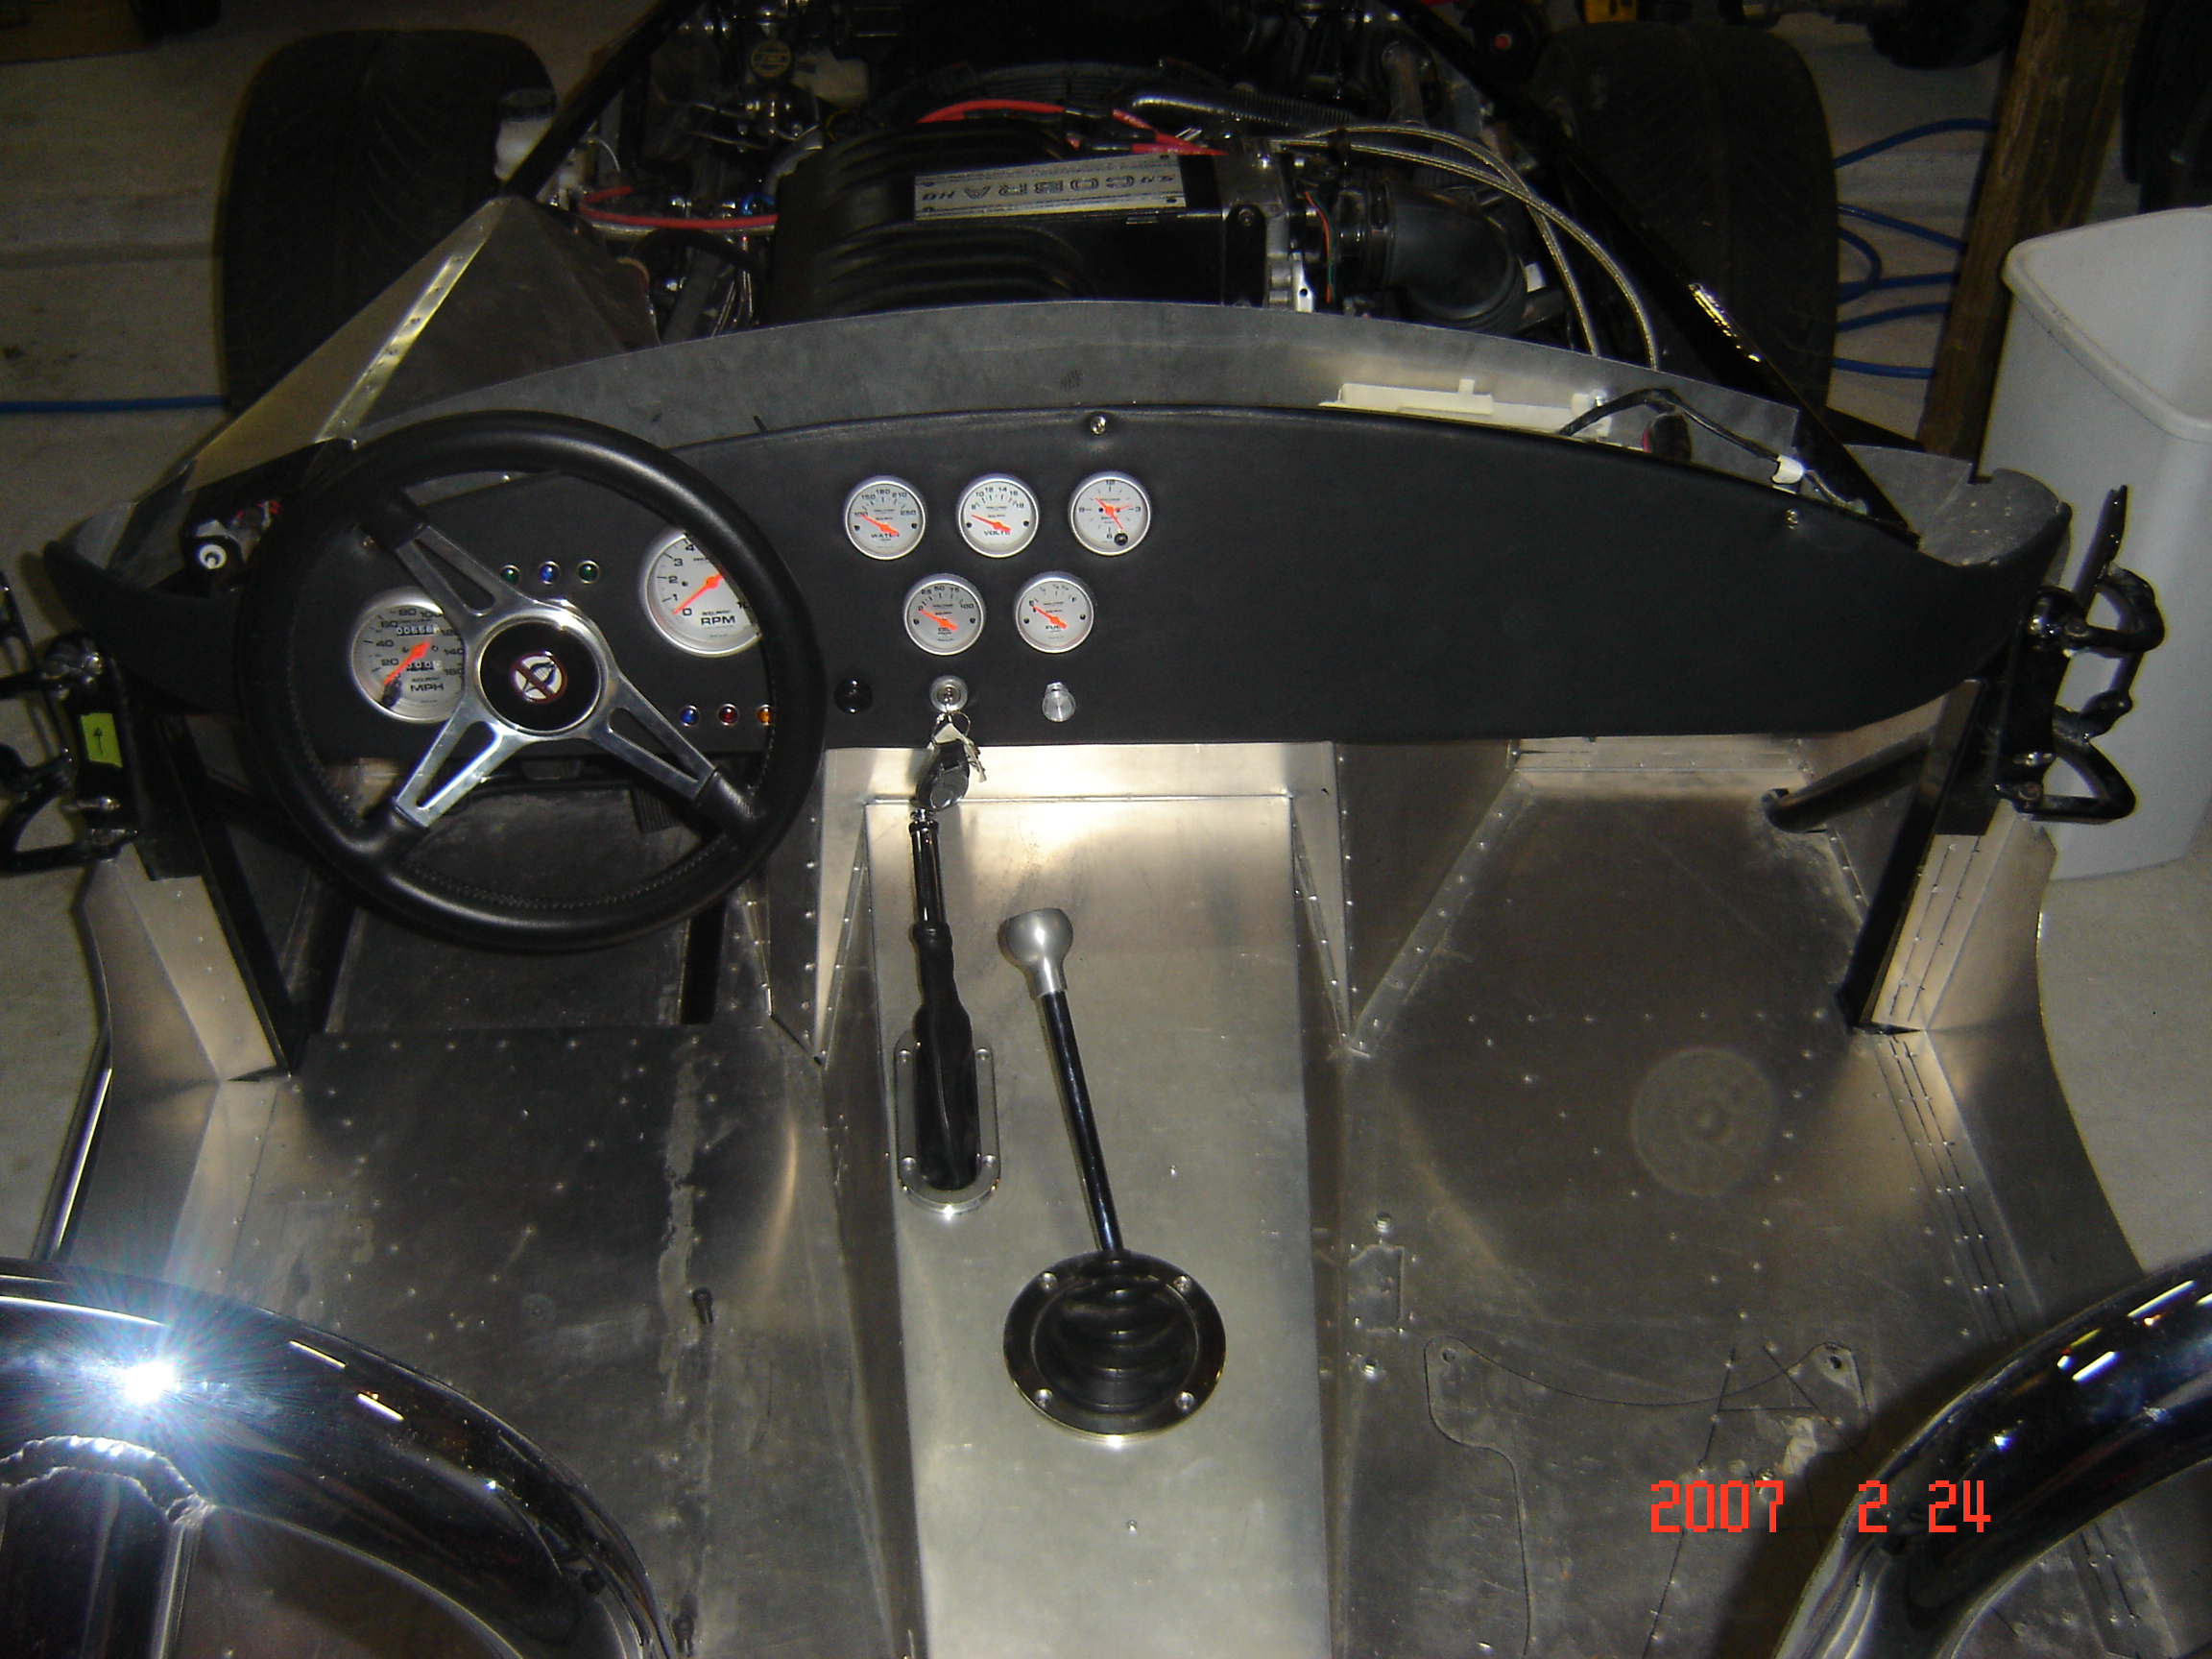
The car is now at the rolling stage, but it still needs wiring and plumbing. I changed out the factory rag joint for a Flaming River unit. The interior is starting to take shape.
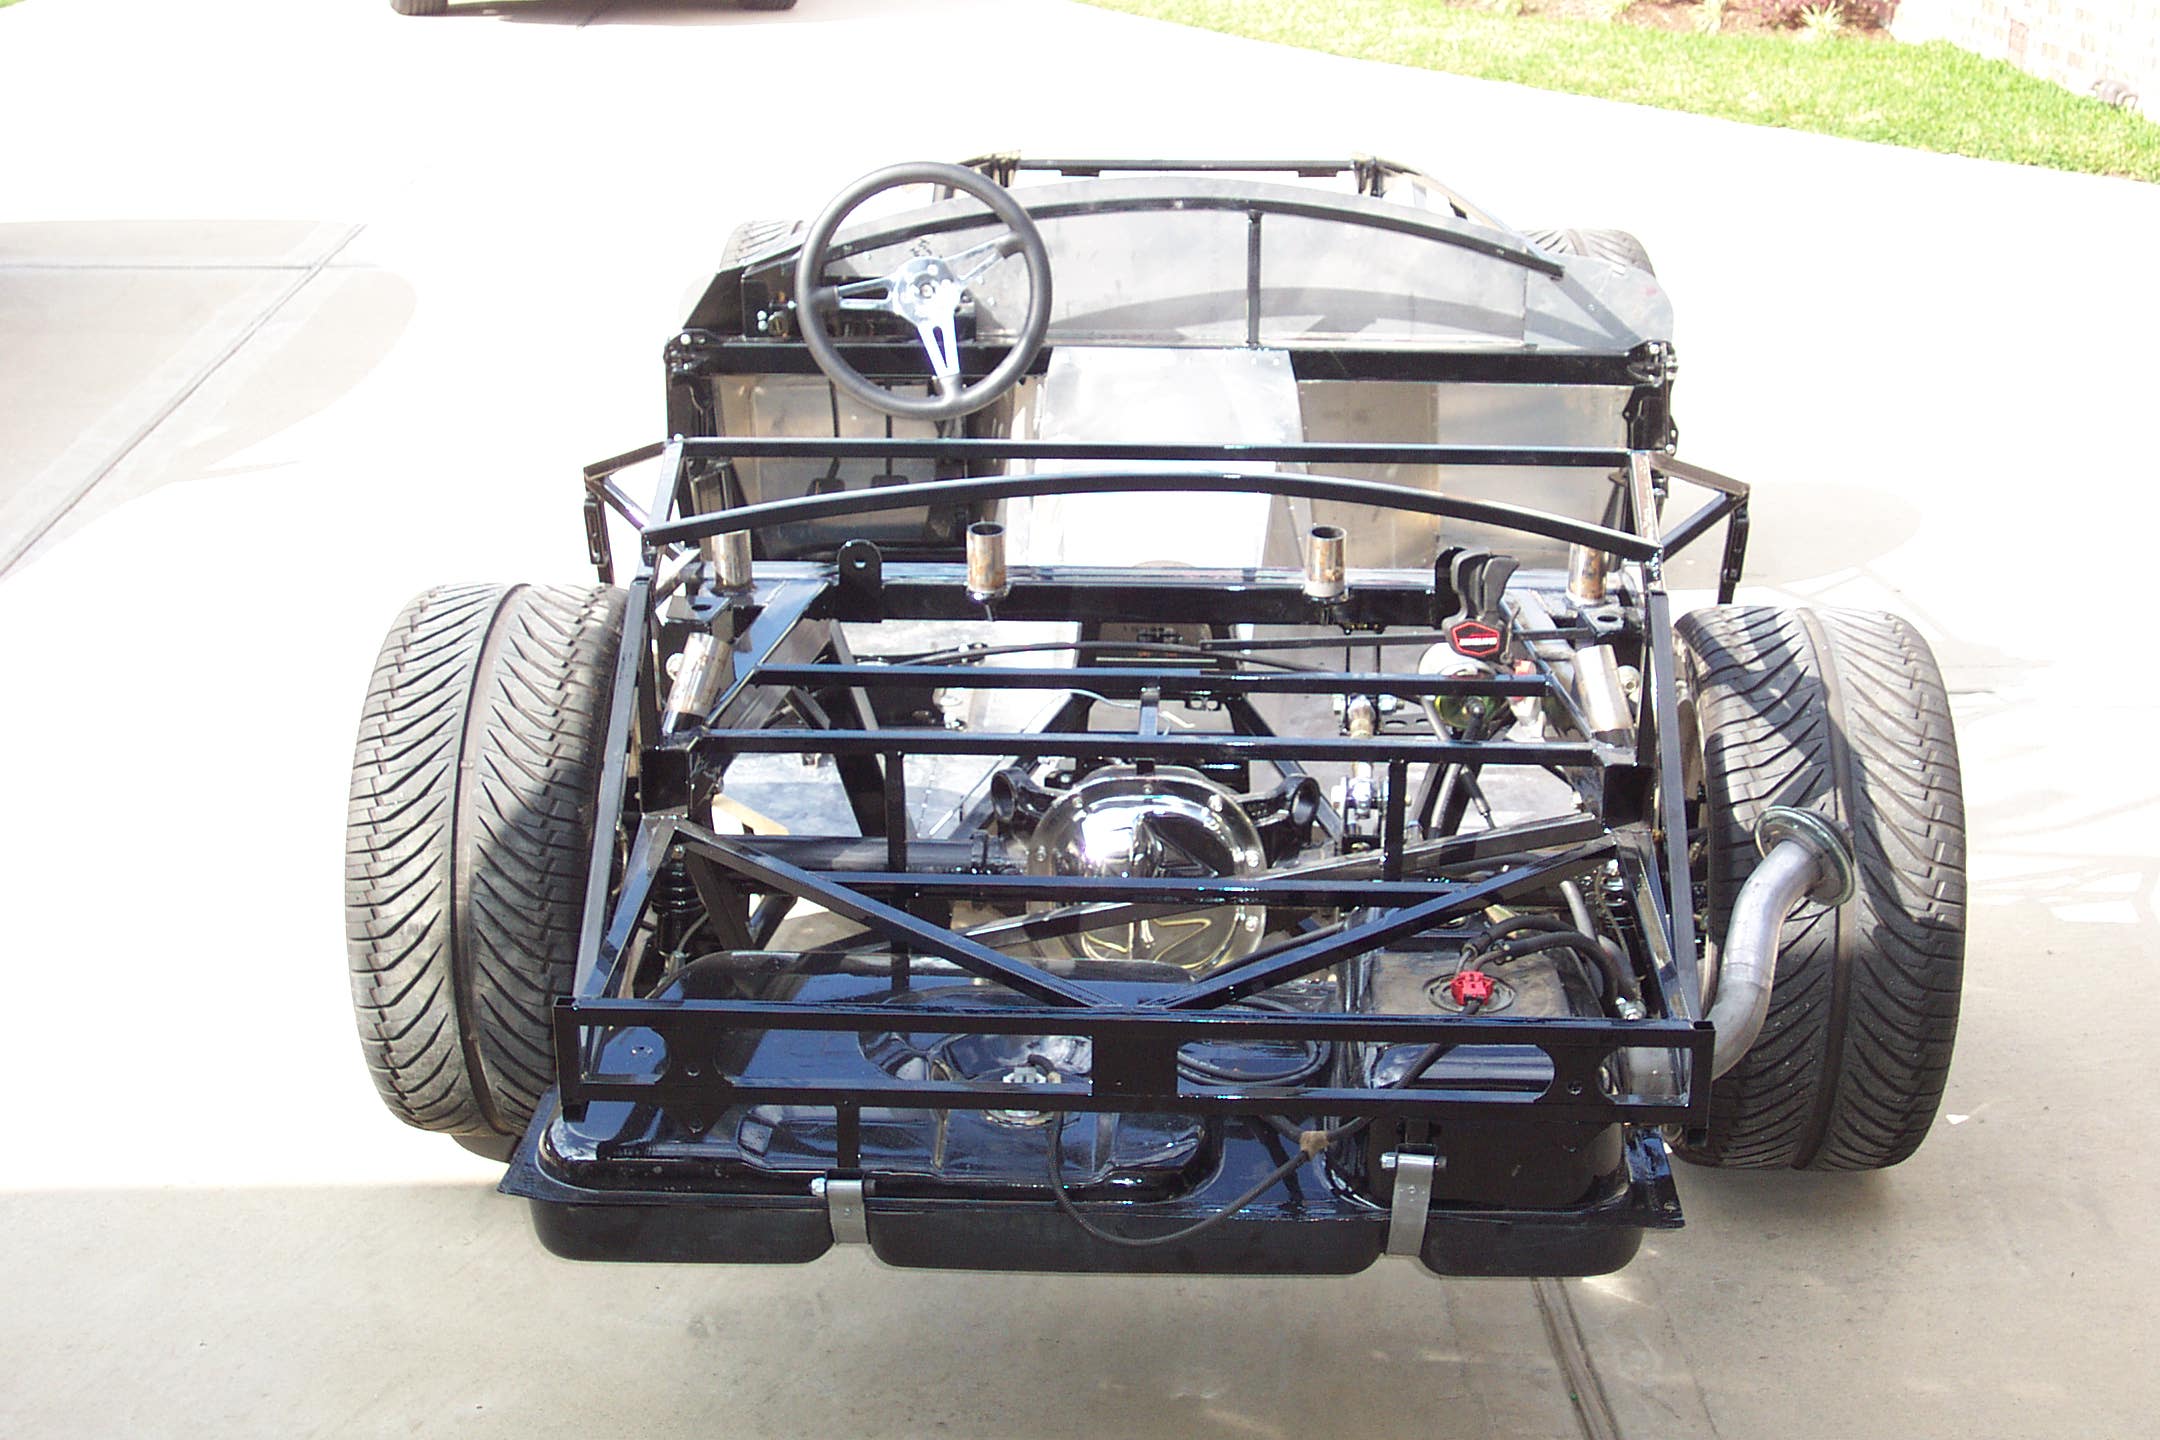
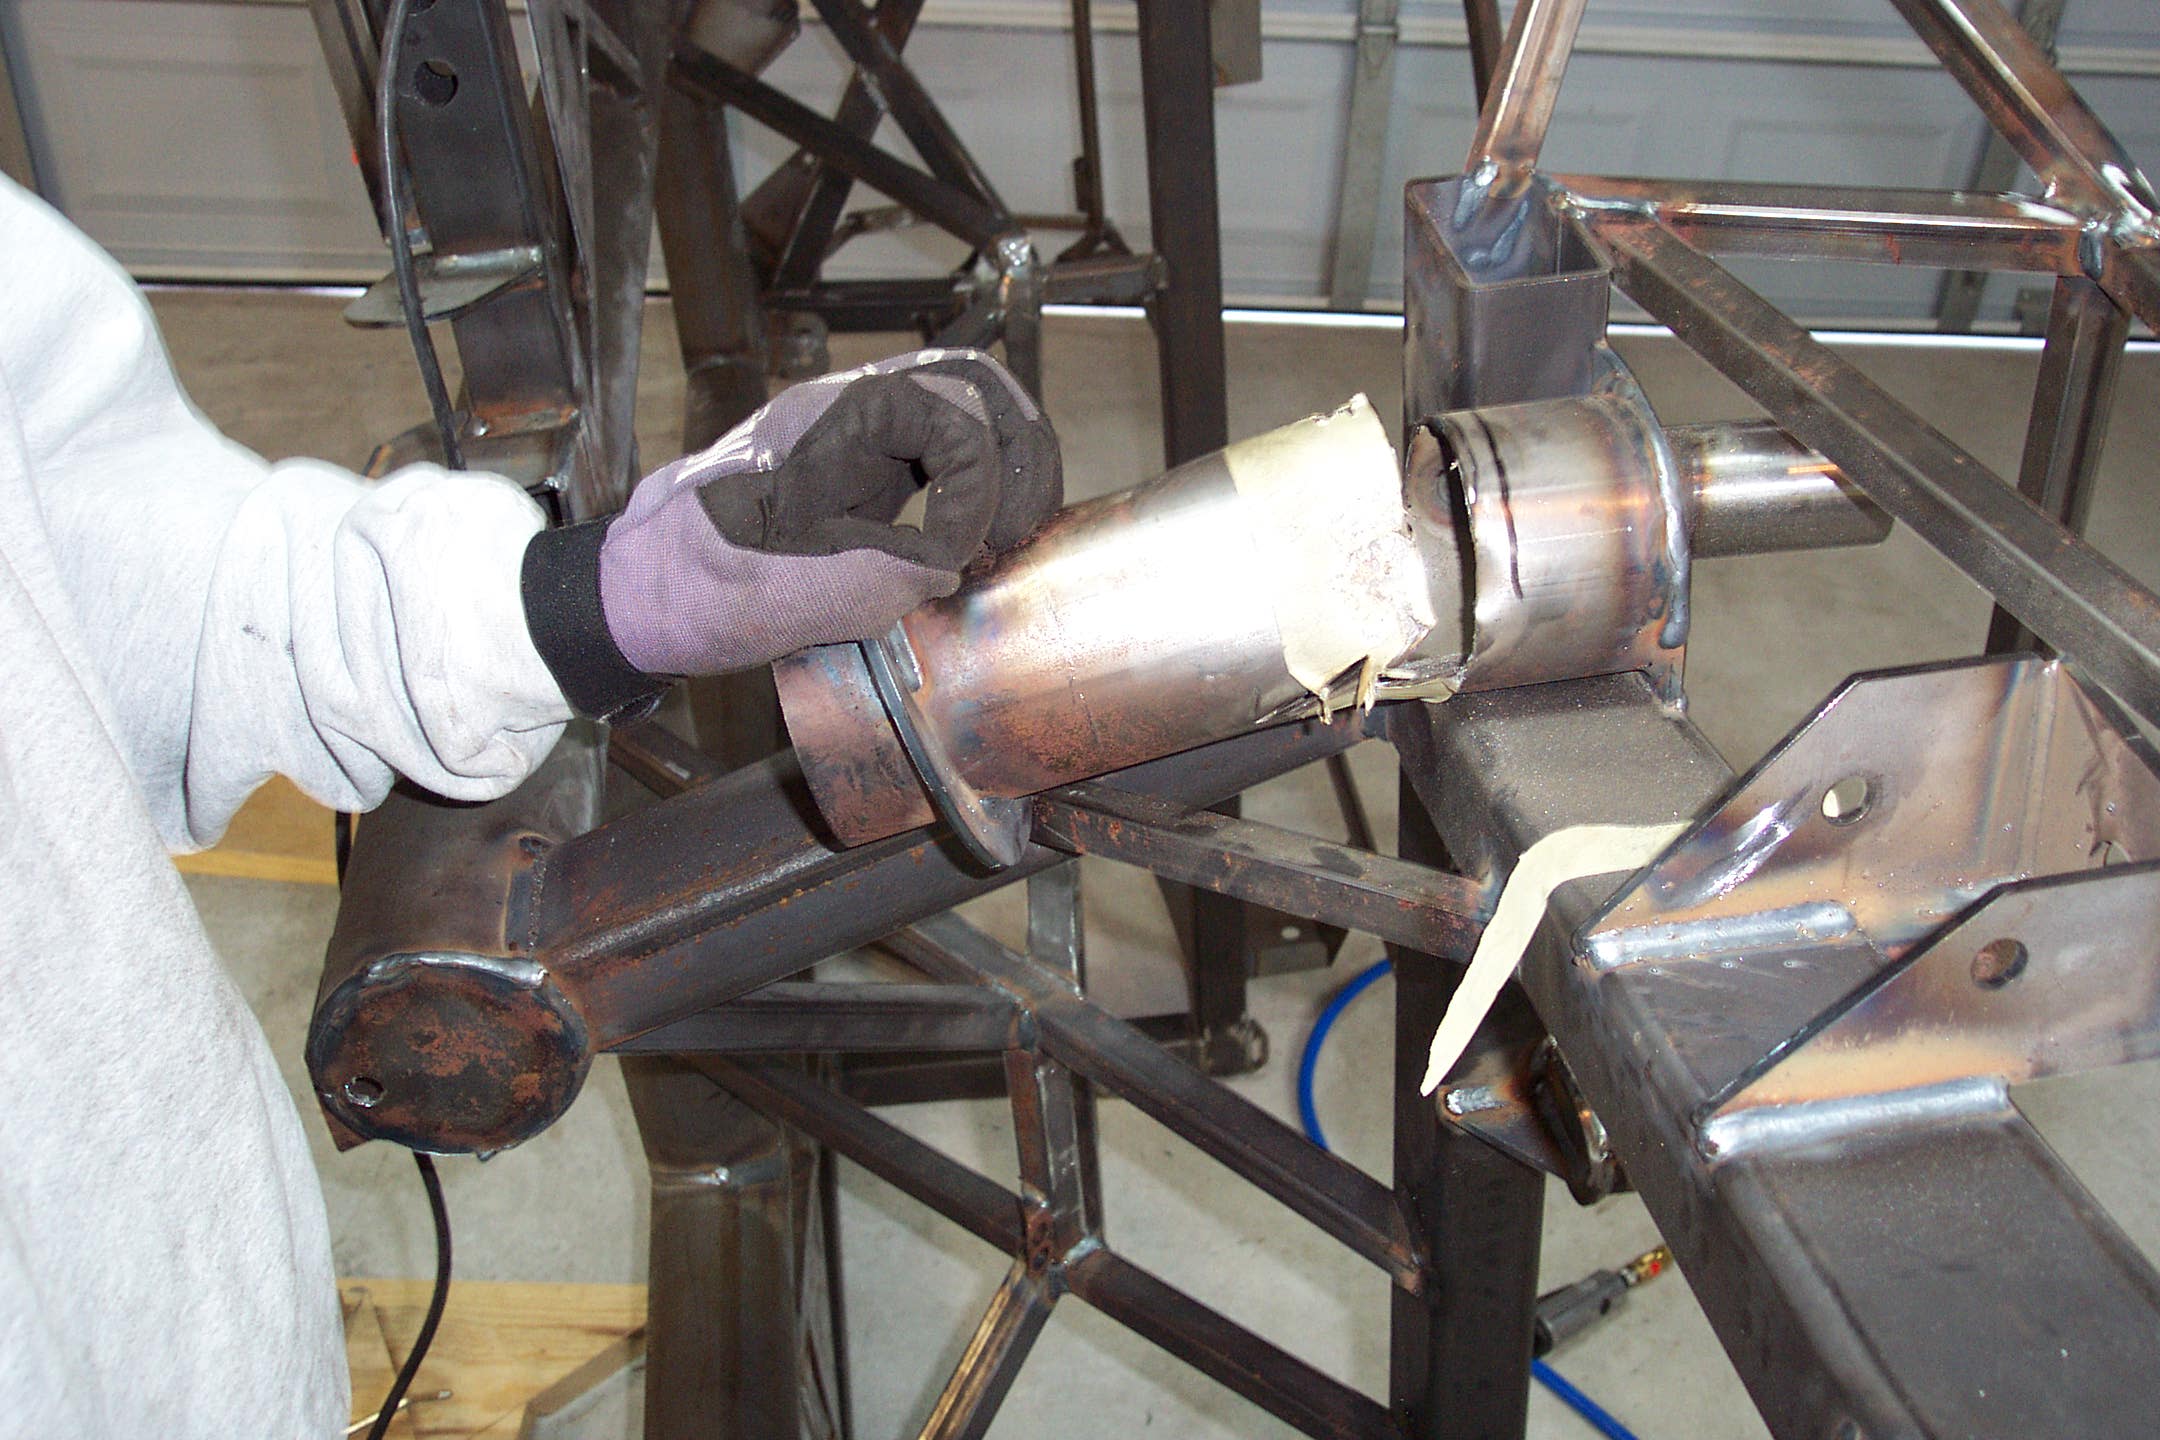
Power Brakes & Emergency Brake
Some of the most extensive modifications to this car will be to the brake system. I will use power brakes, rear discs, five lug rotors and the emergency brake will be on the drivers side.
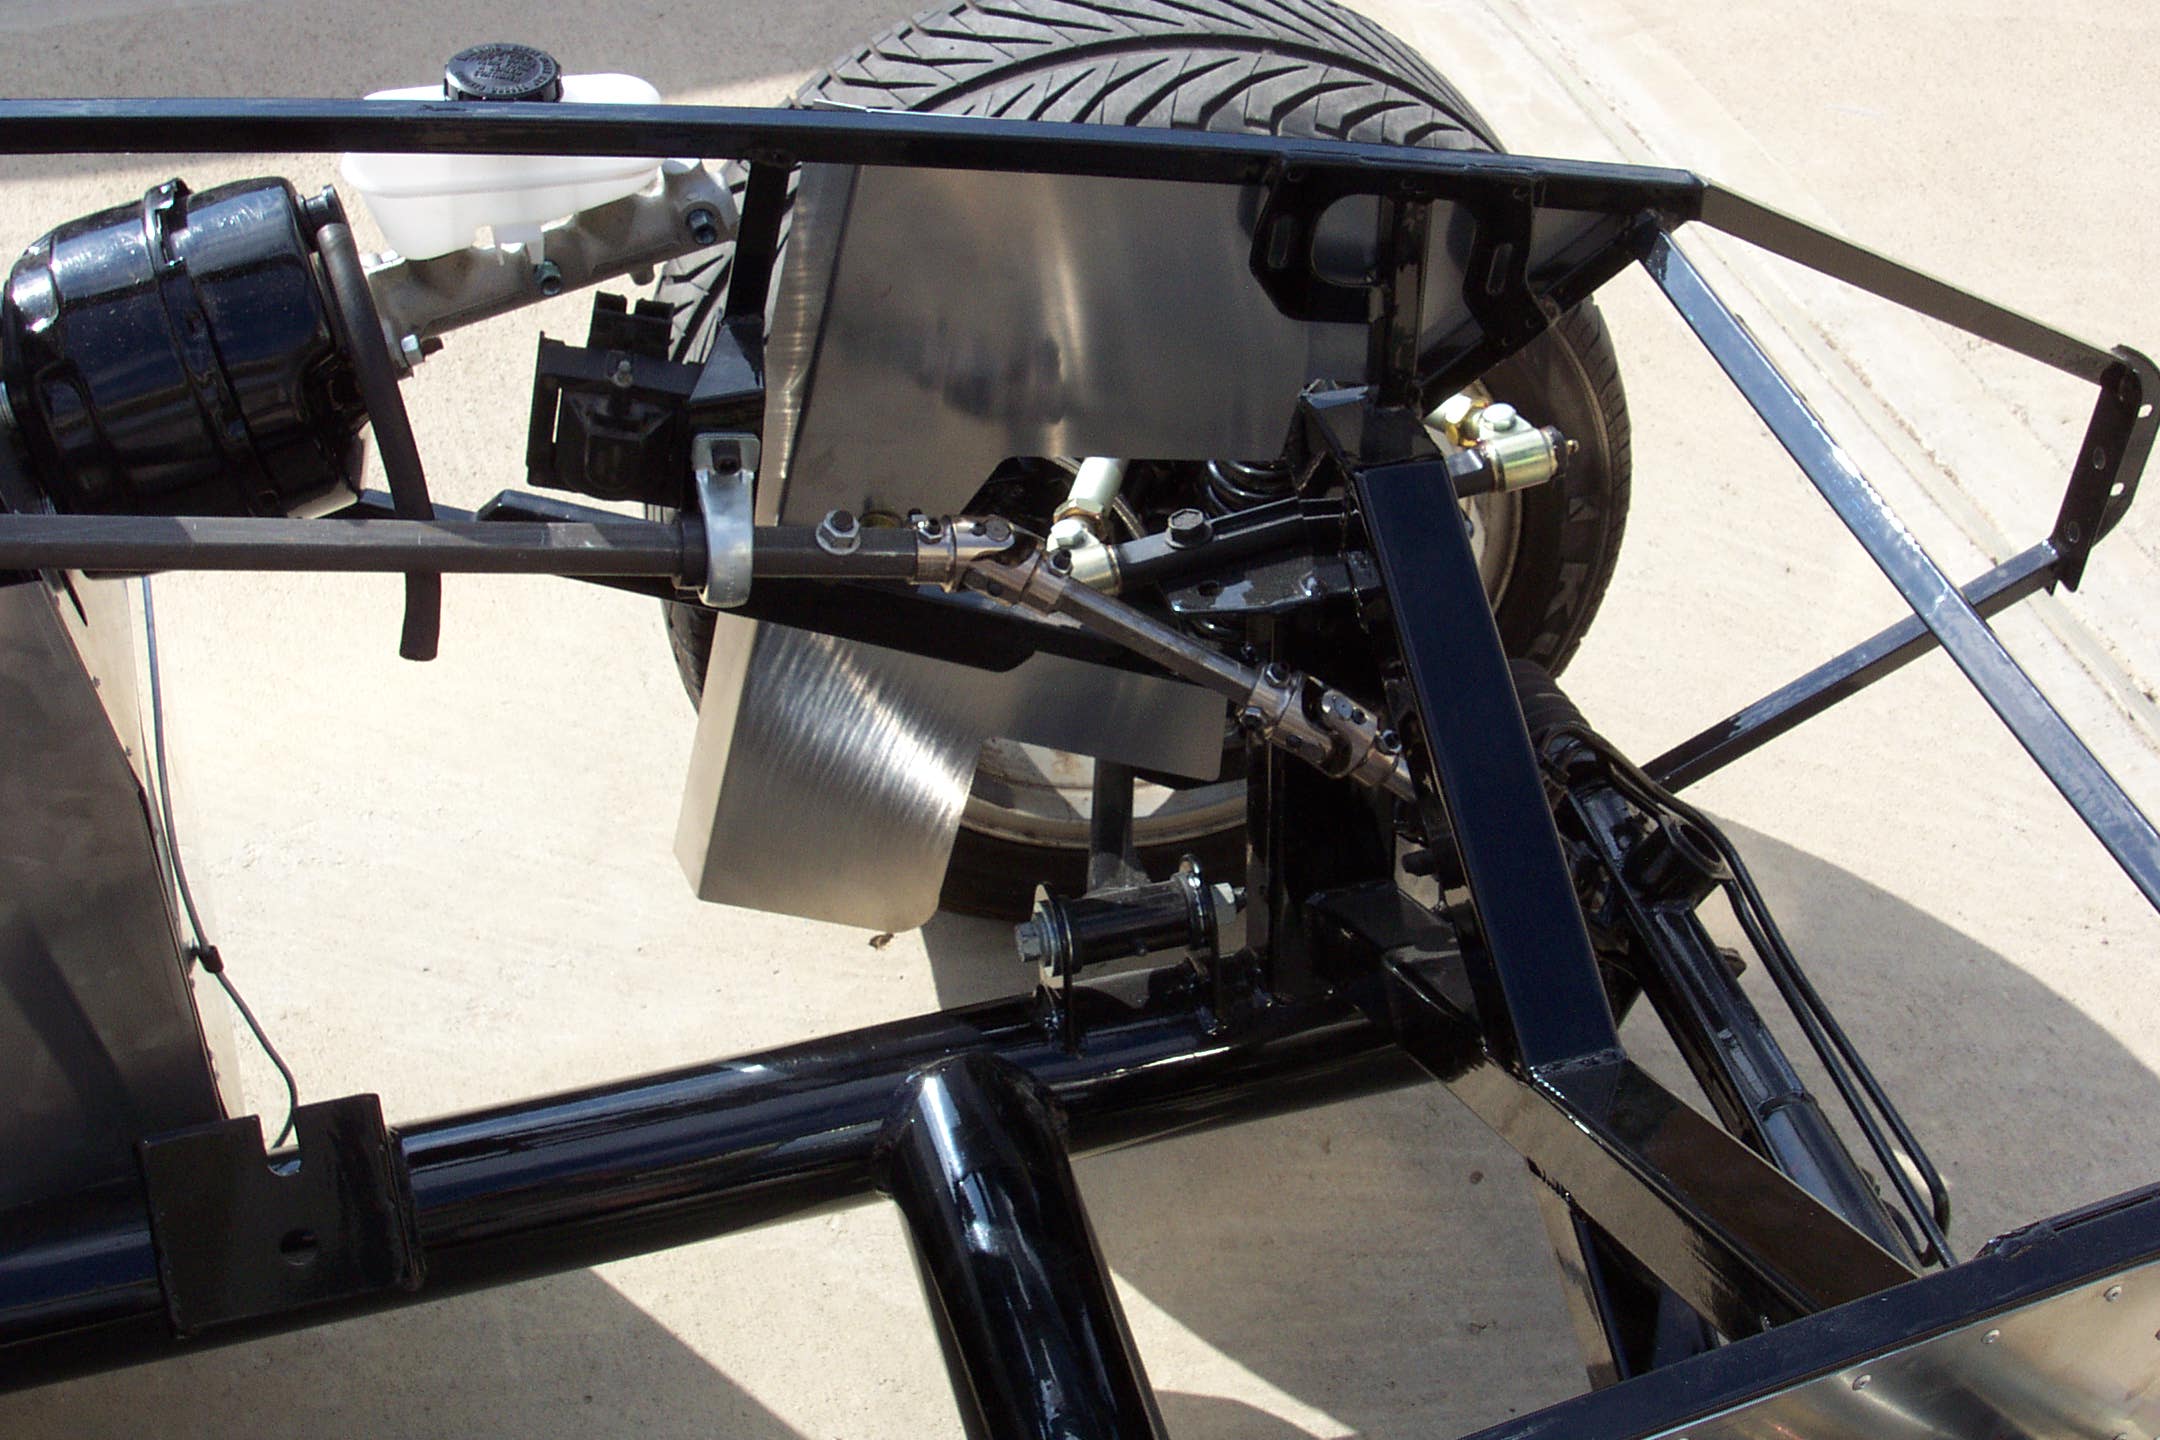
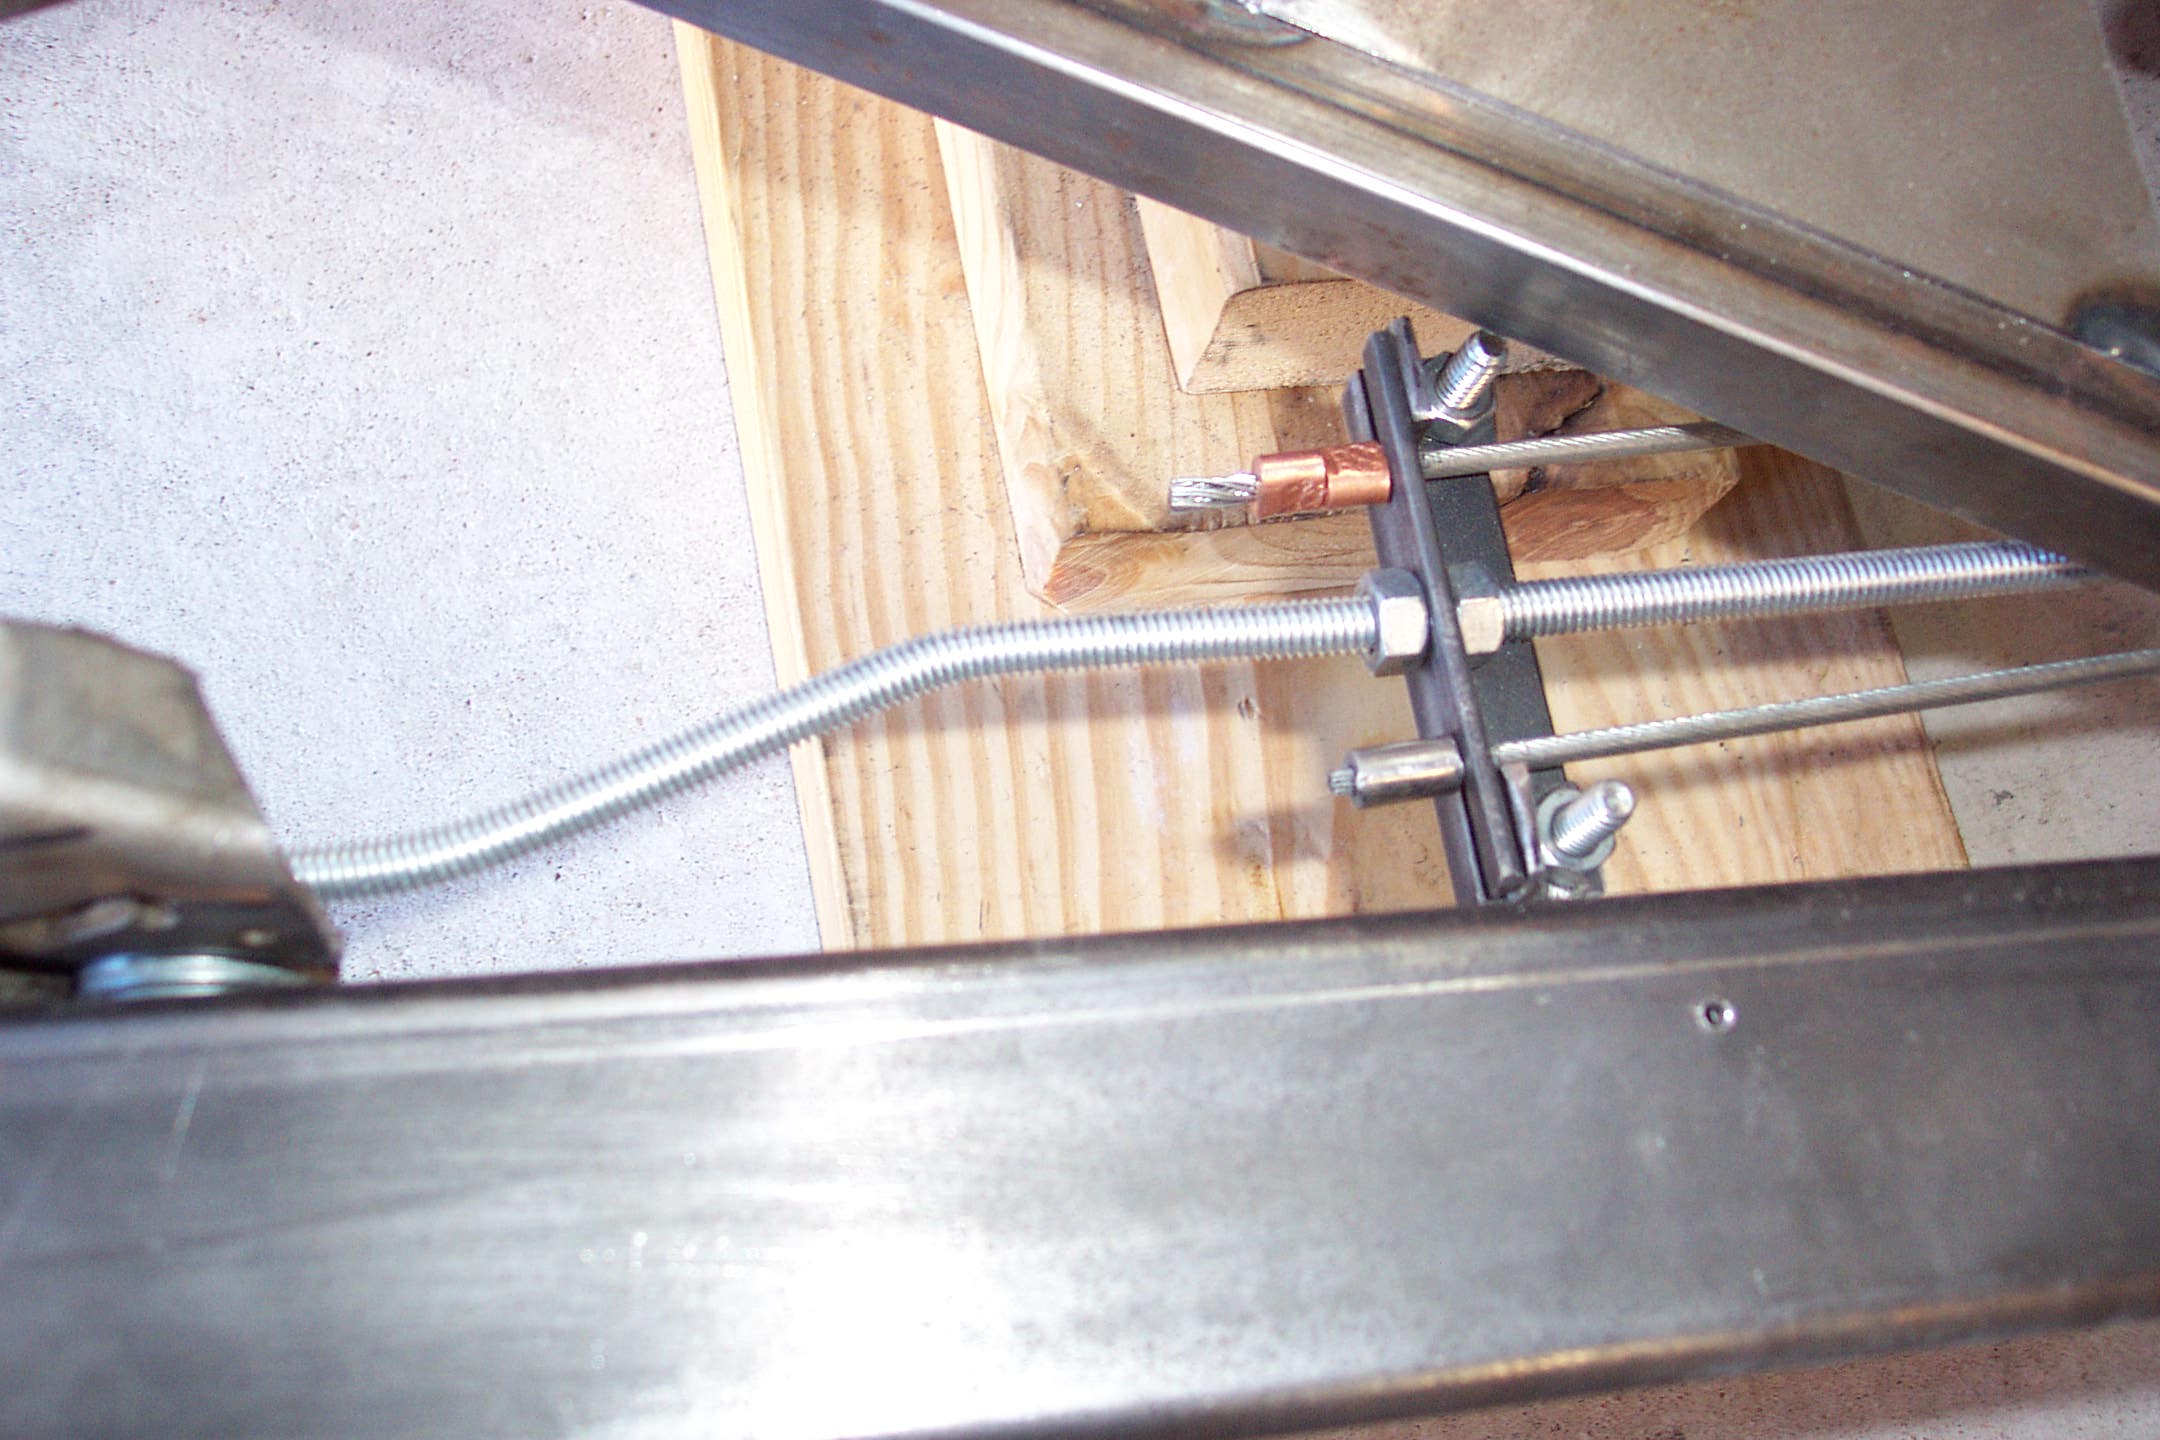
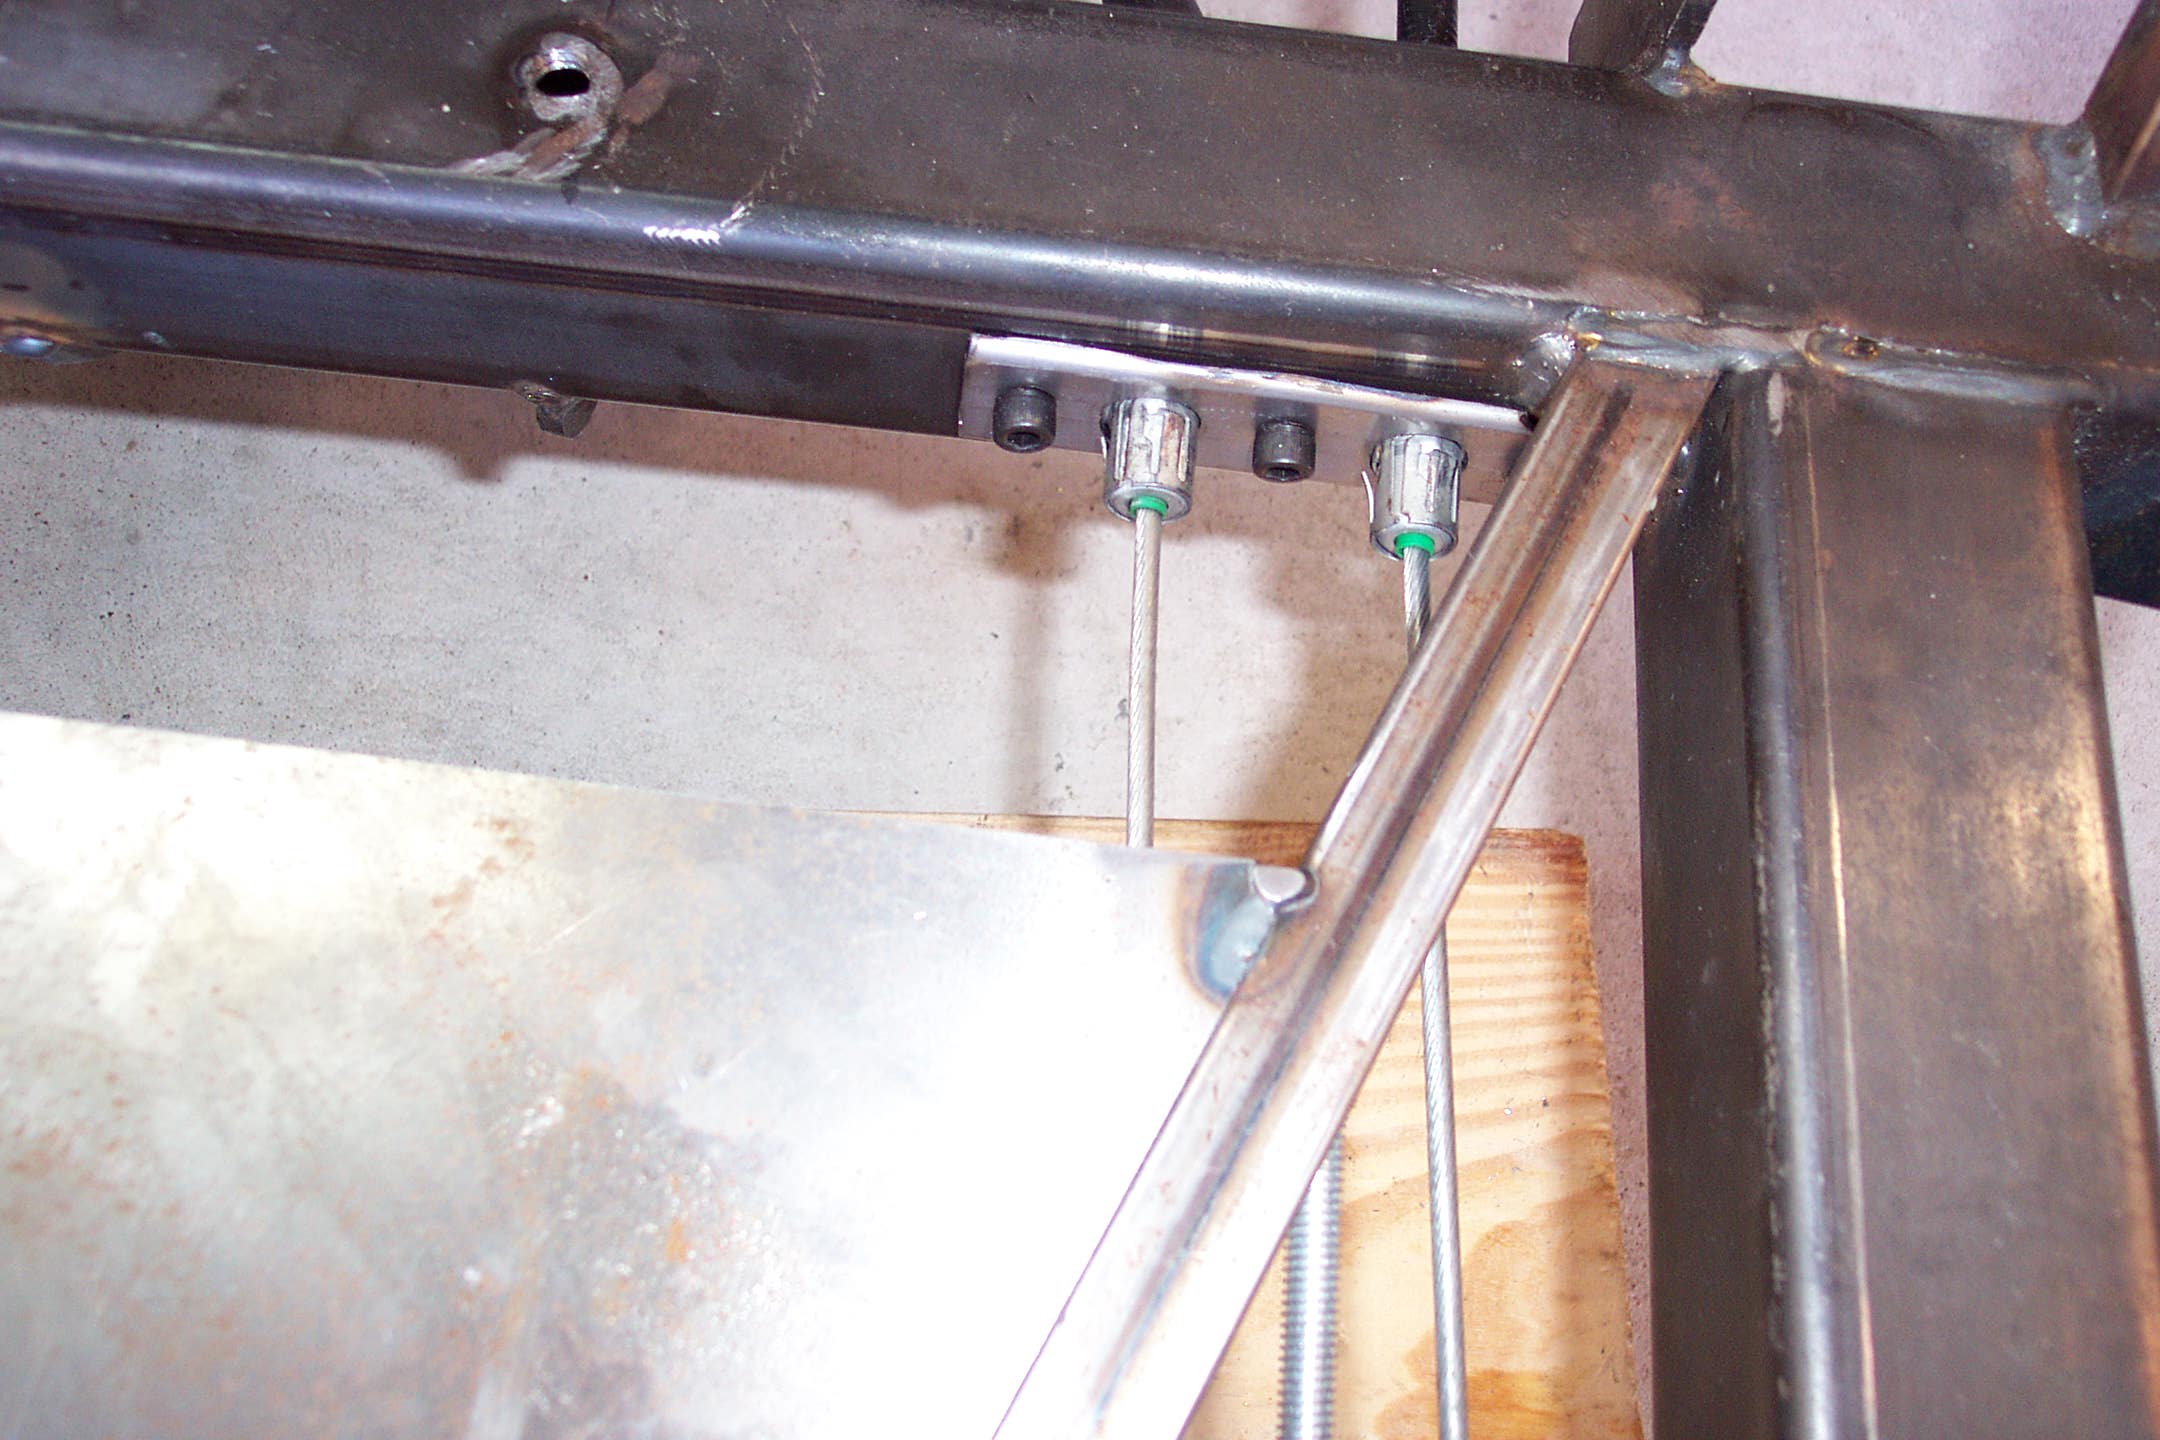
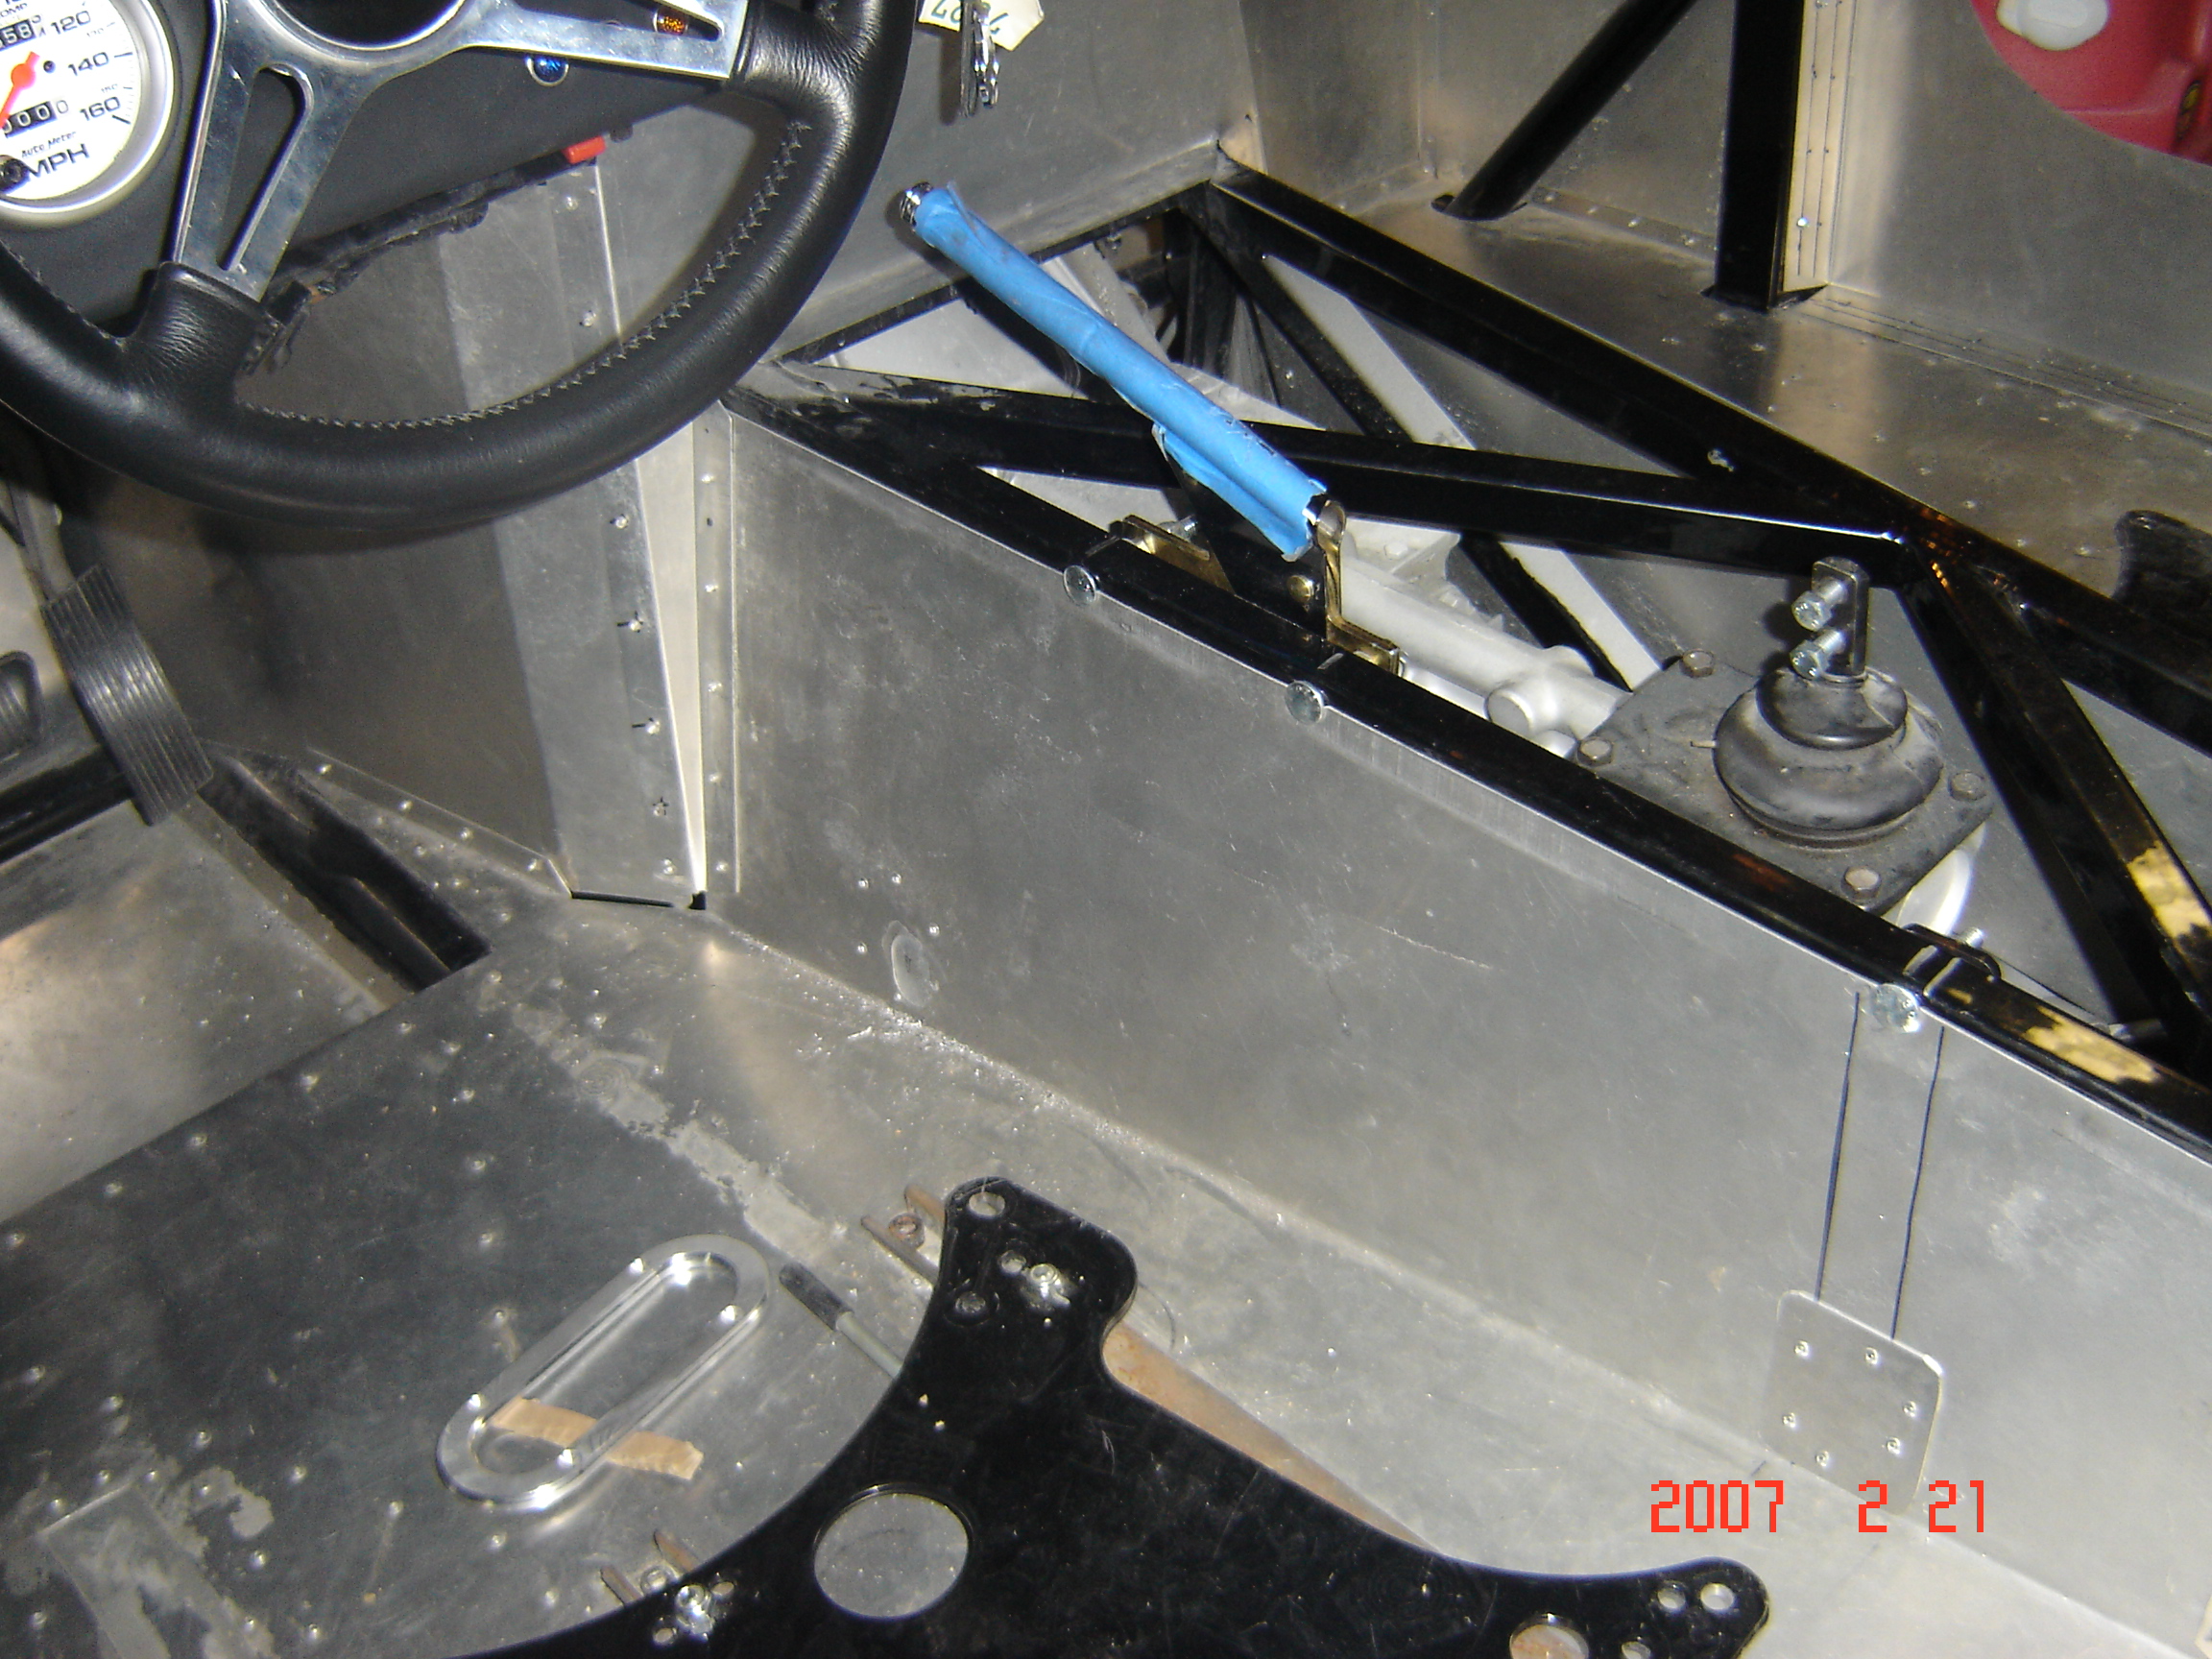
In order to fit the brake booster, part of the frame had to be cut and relocated. The 3/4″ tubing has been braced with a piece of tubing underneath. In the finished car you won’t even see it.
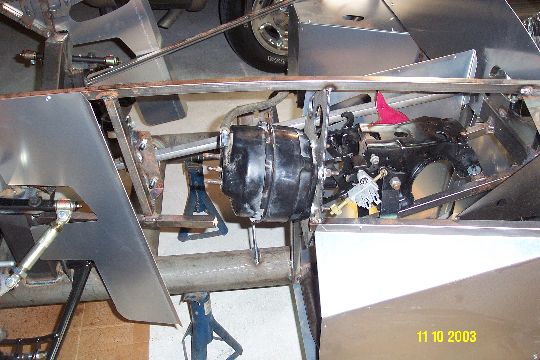
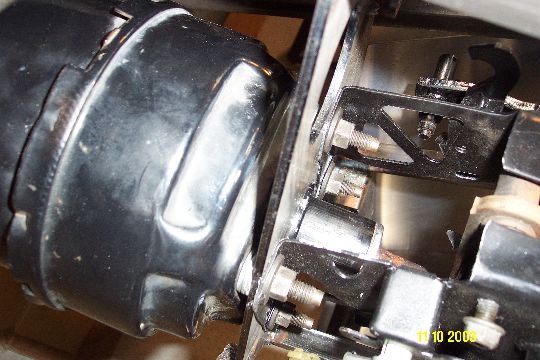
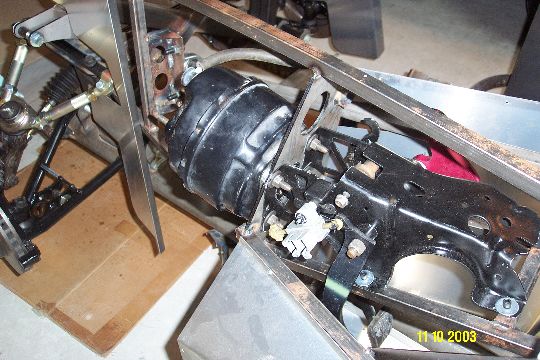
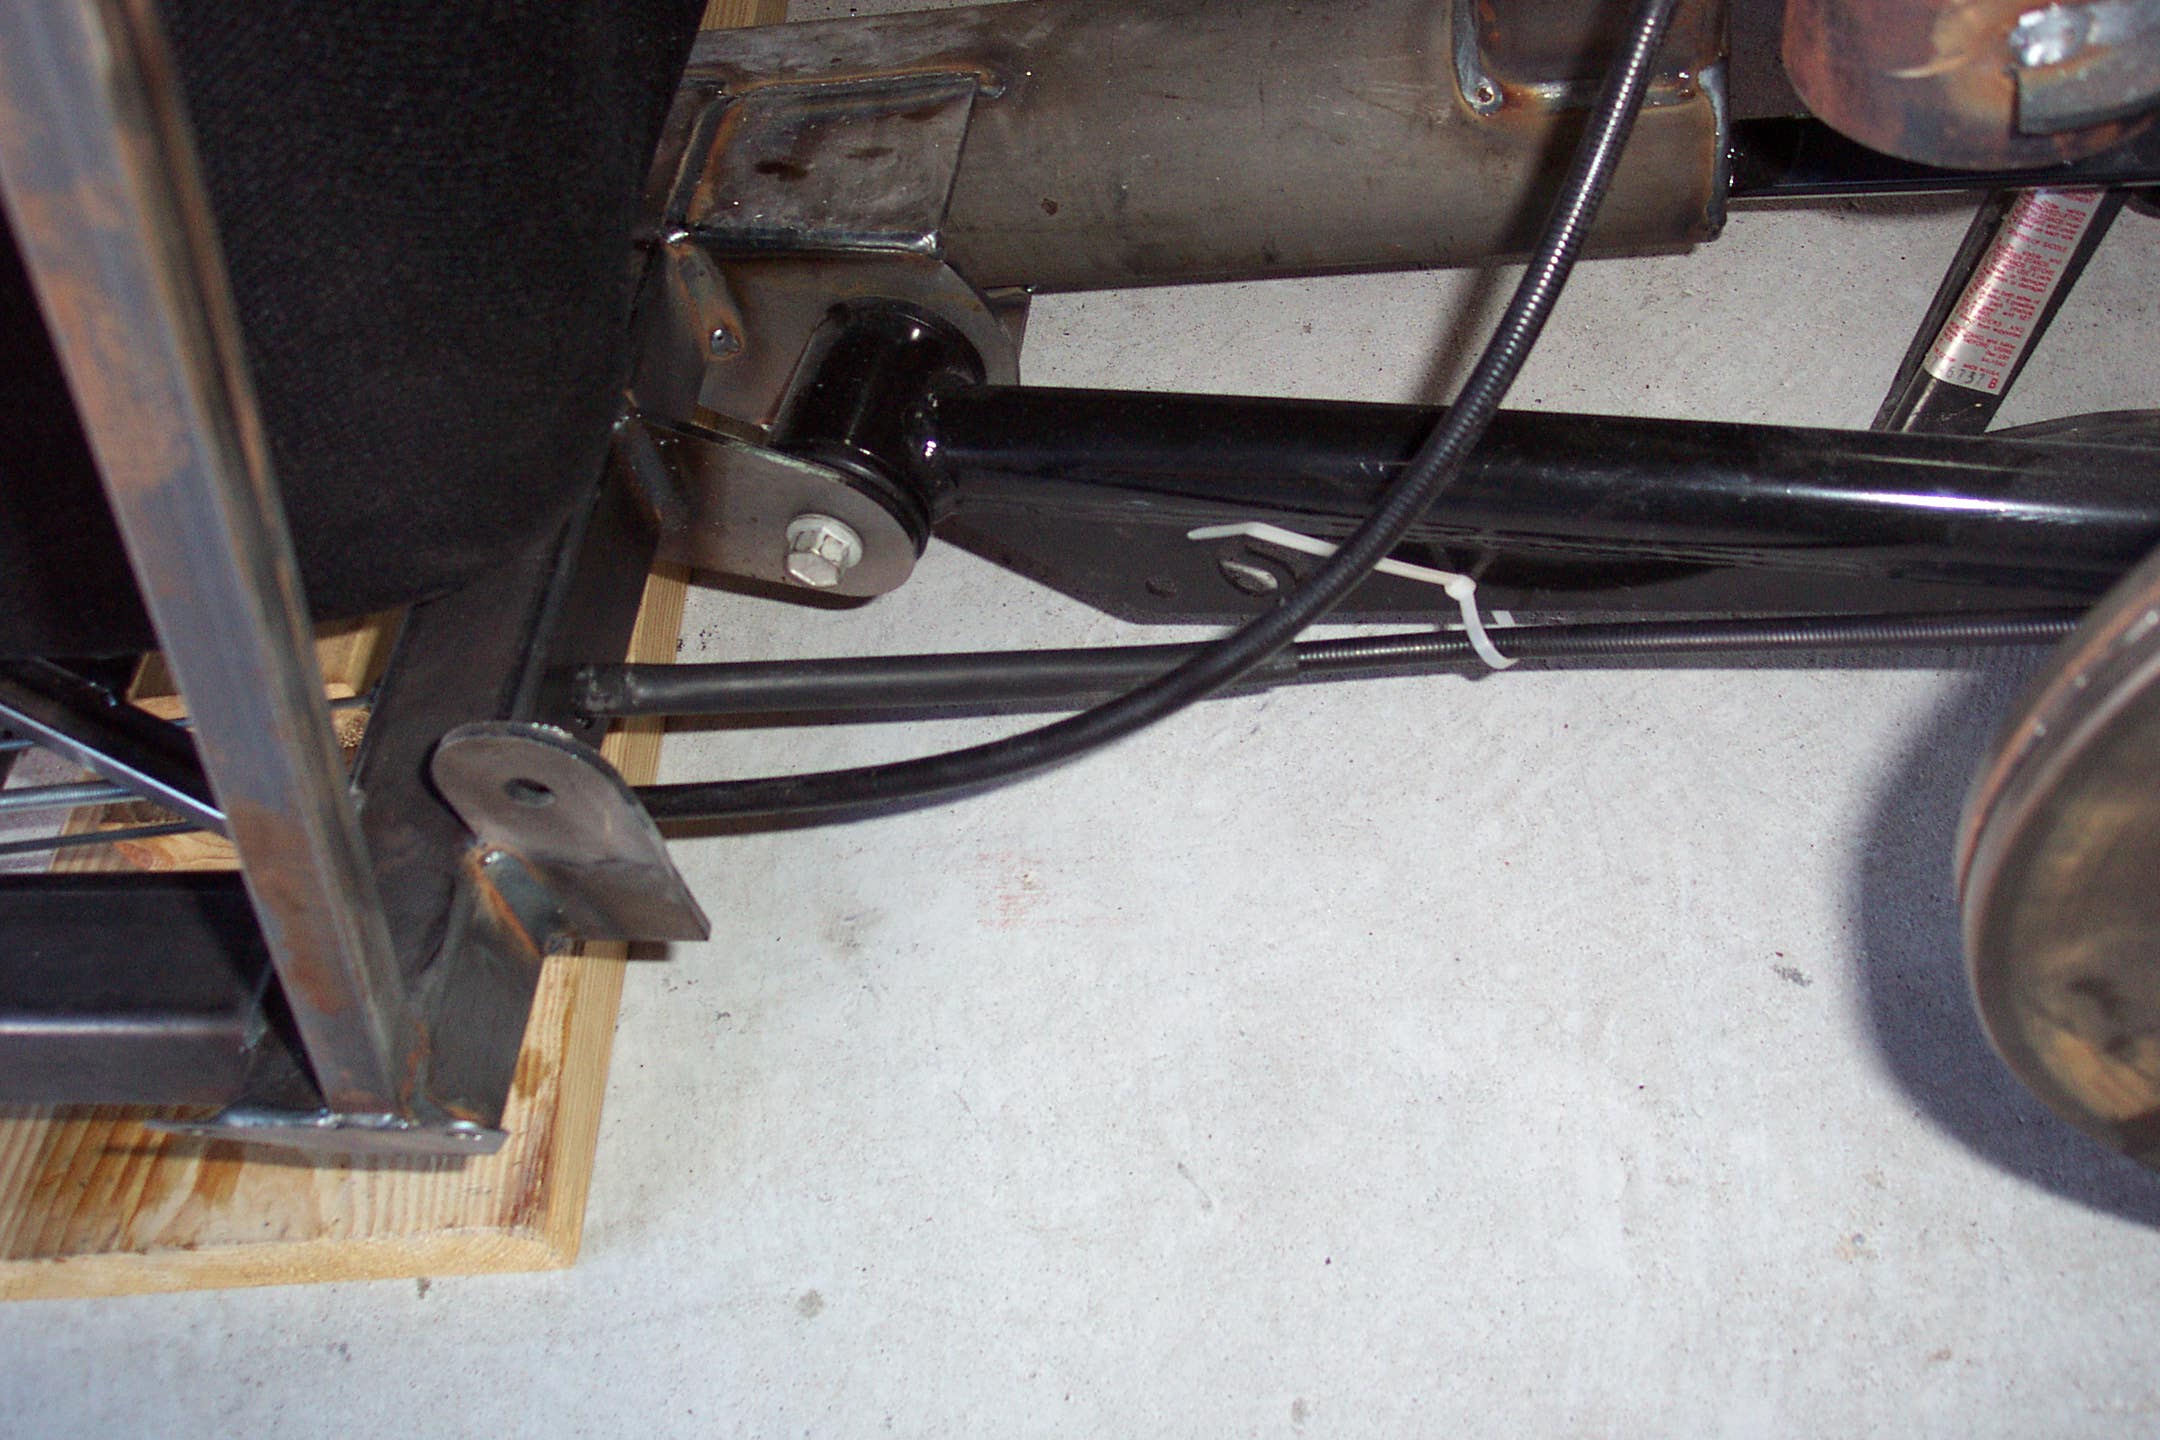
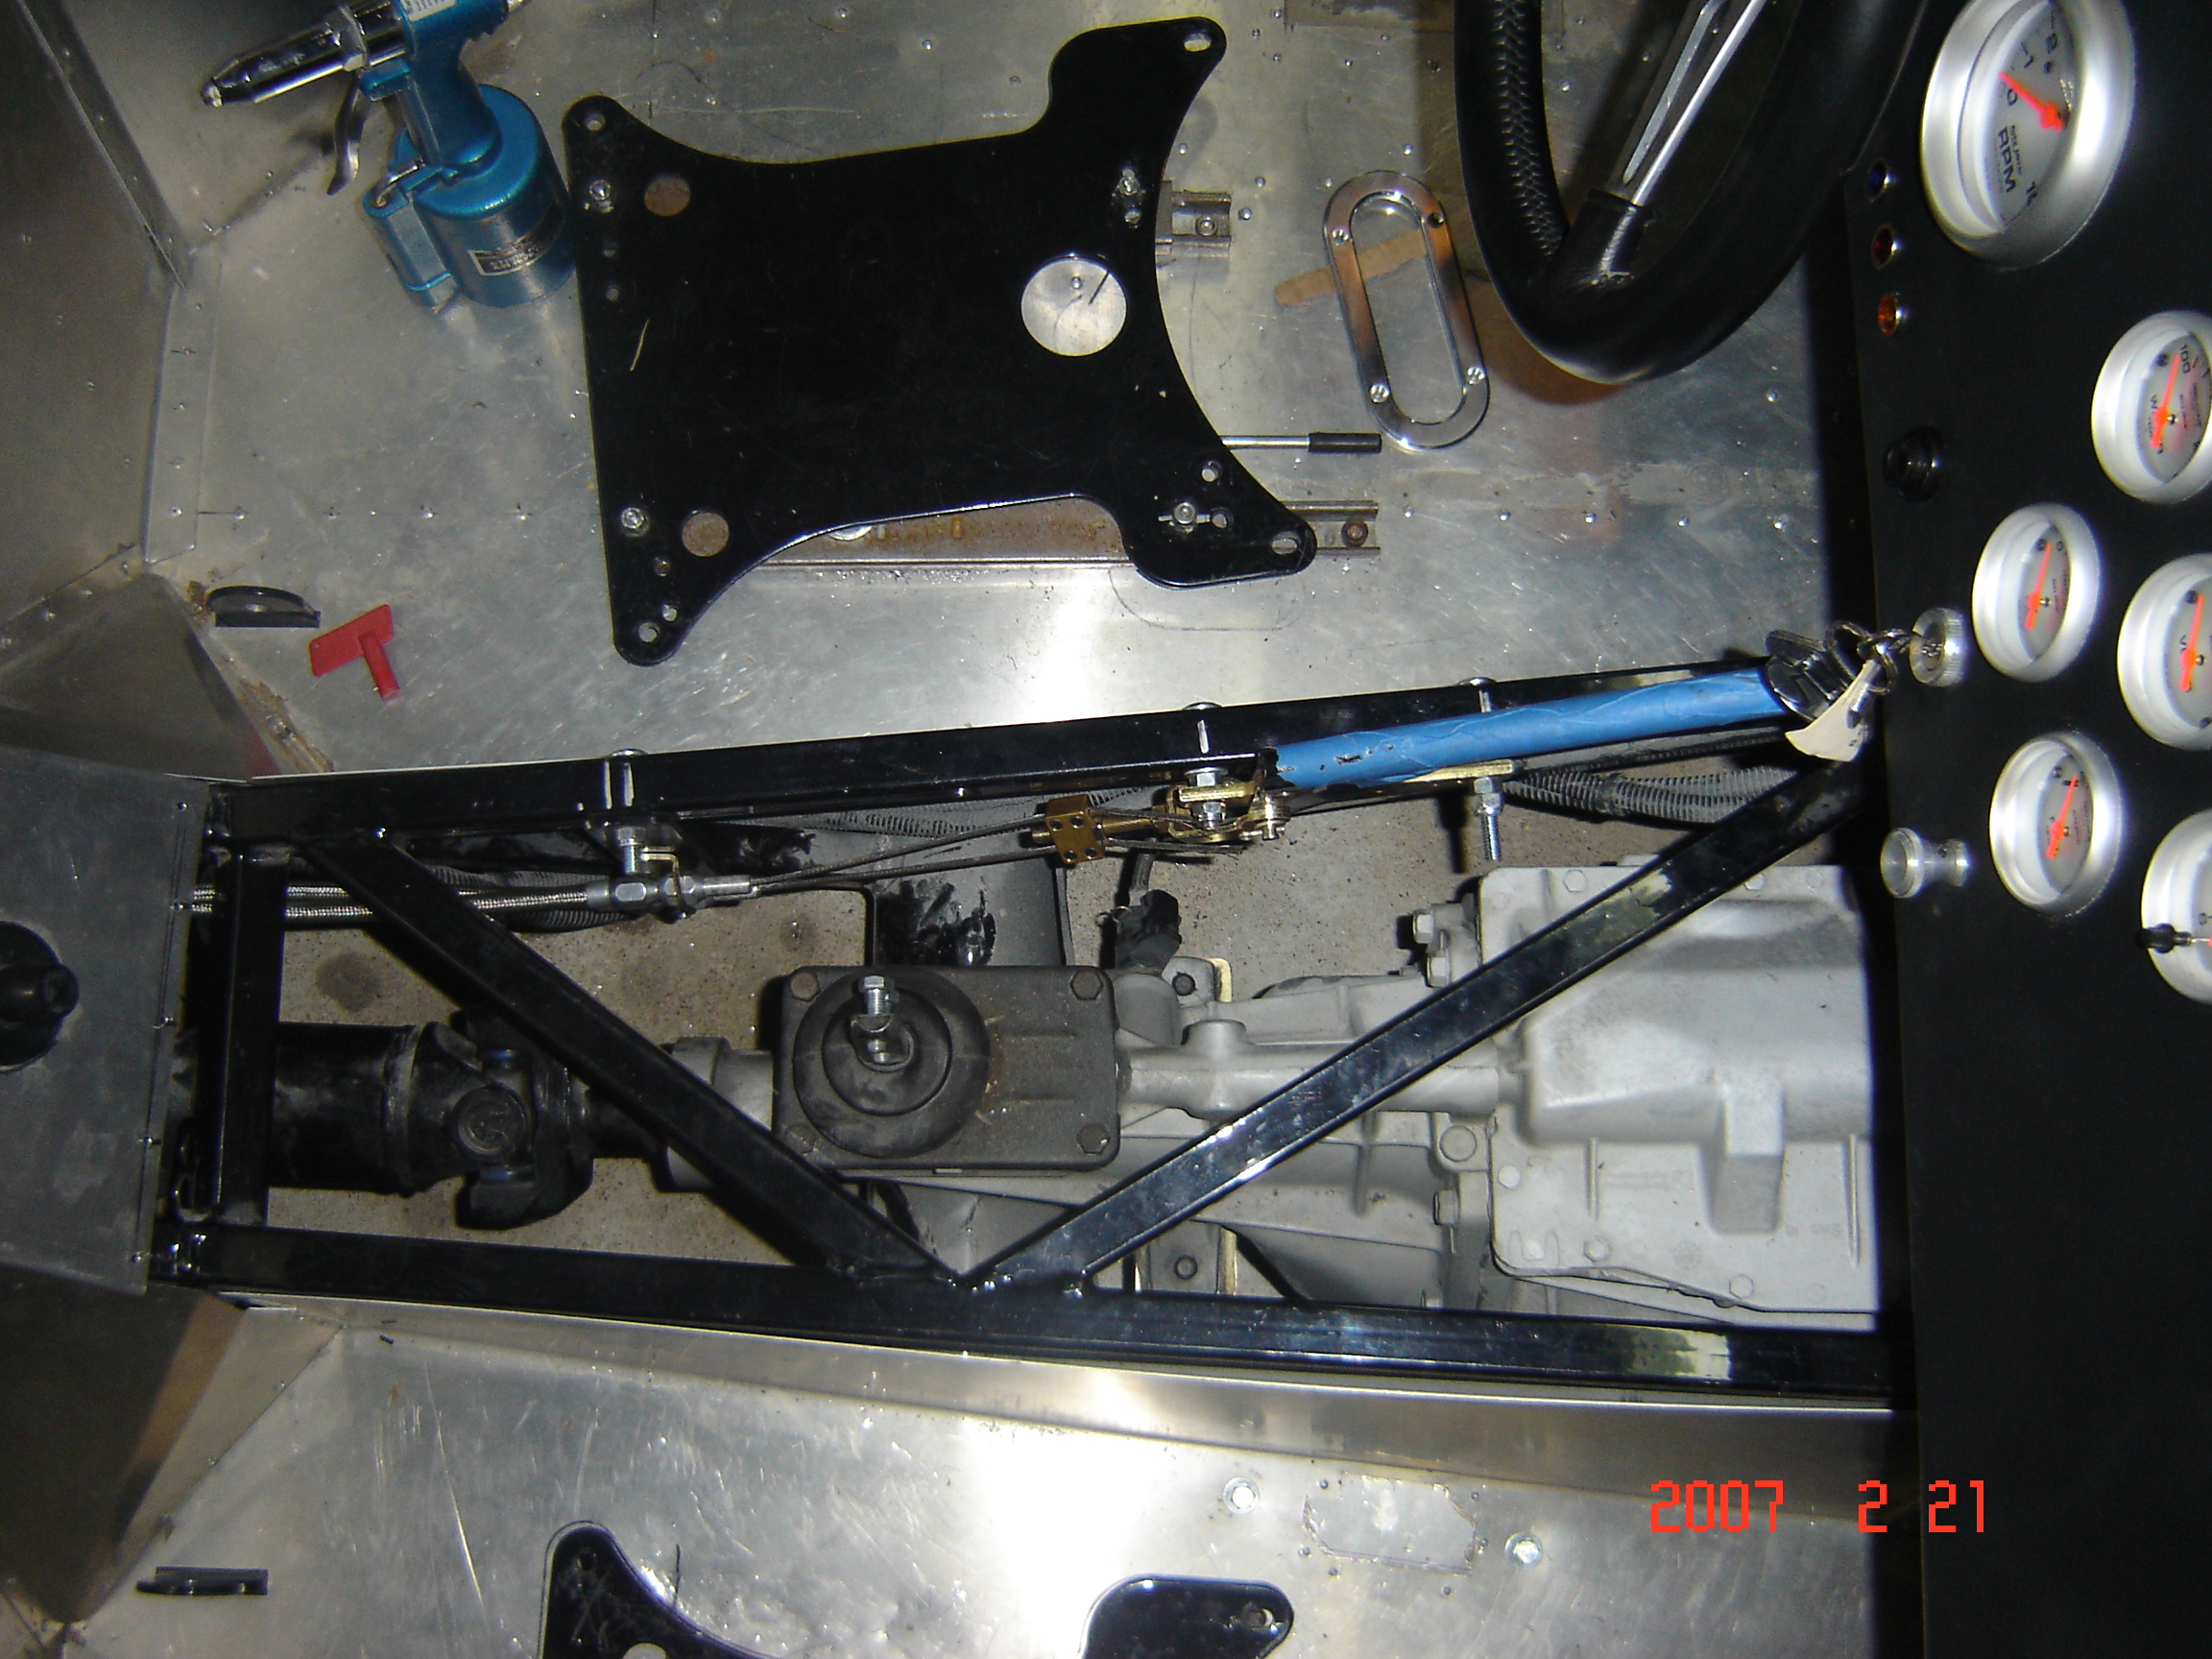
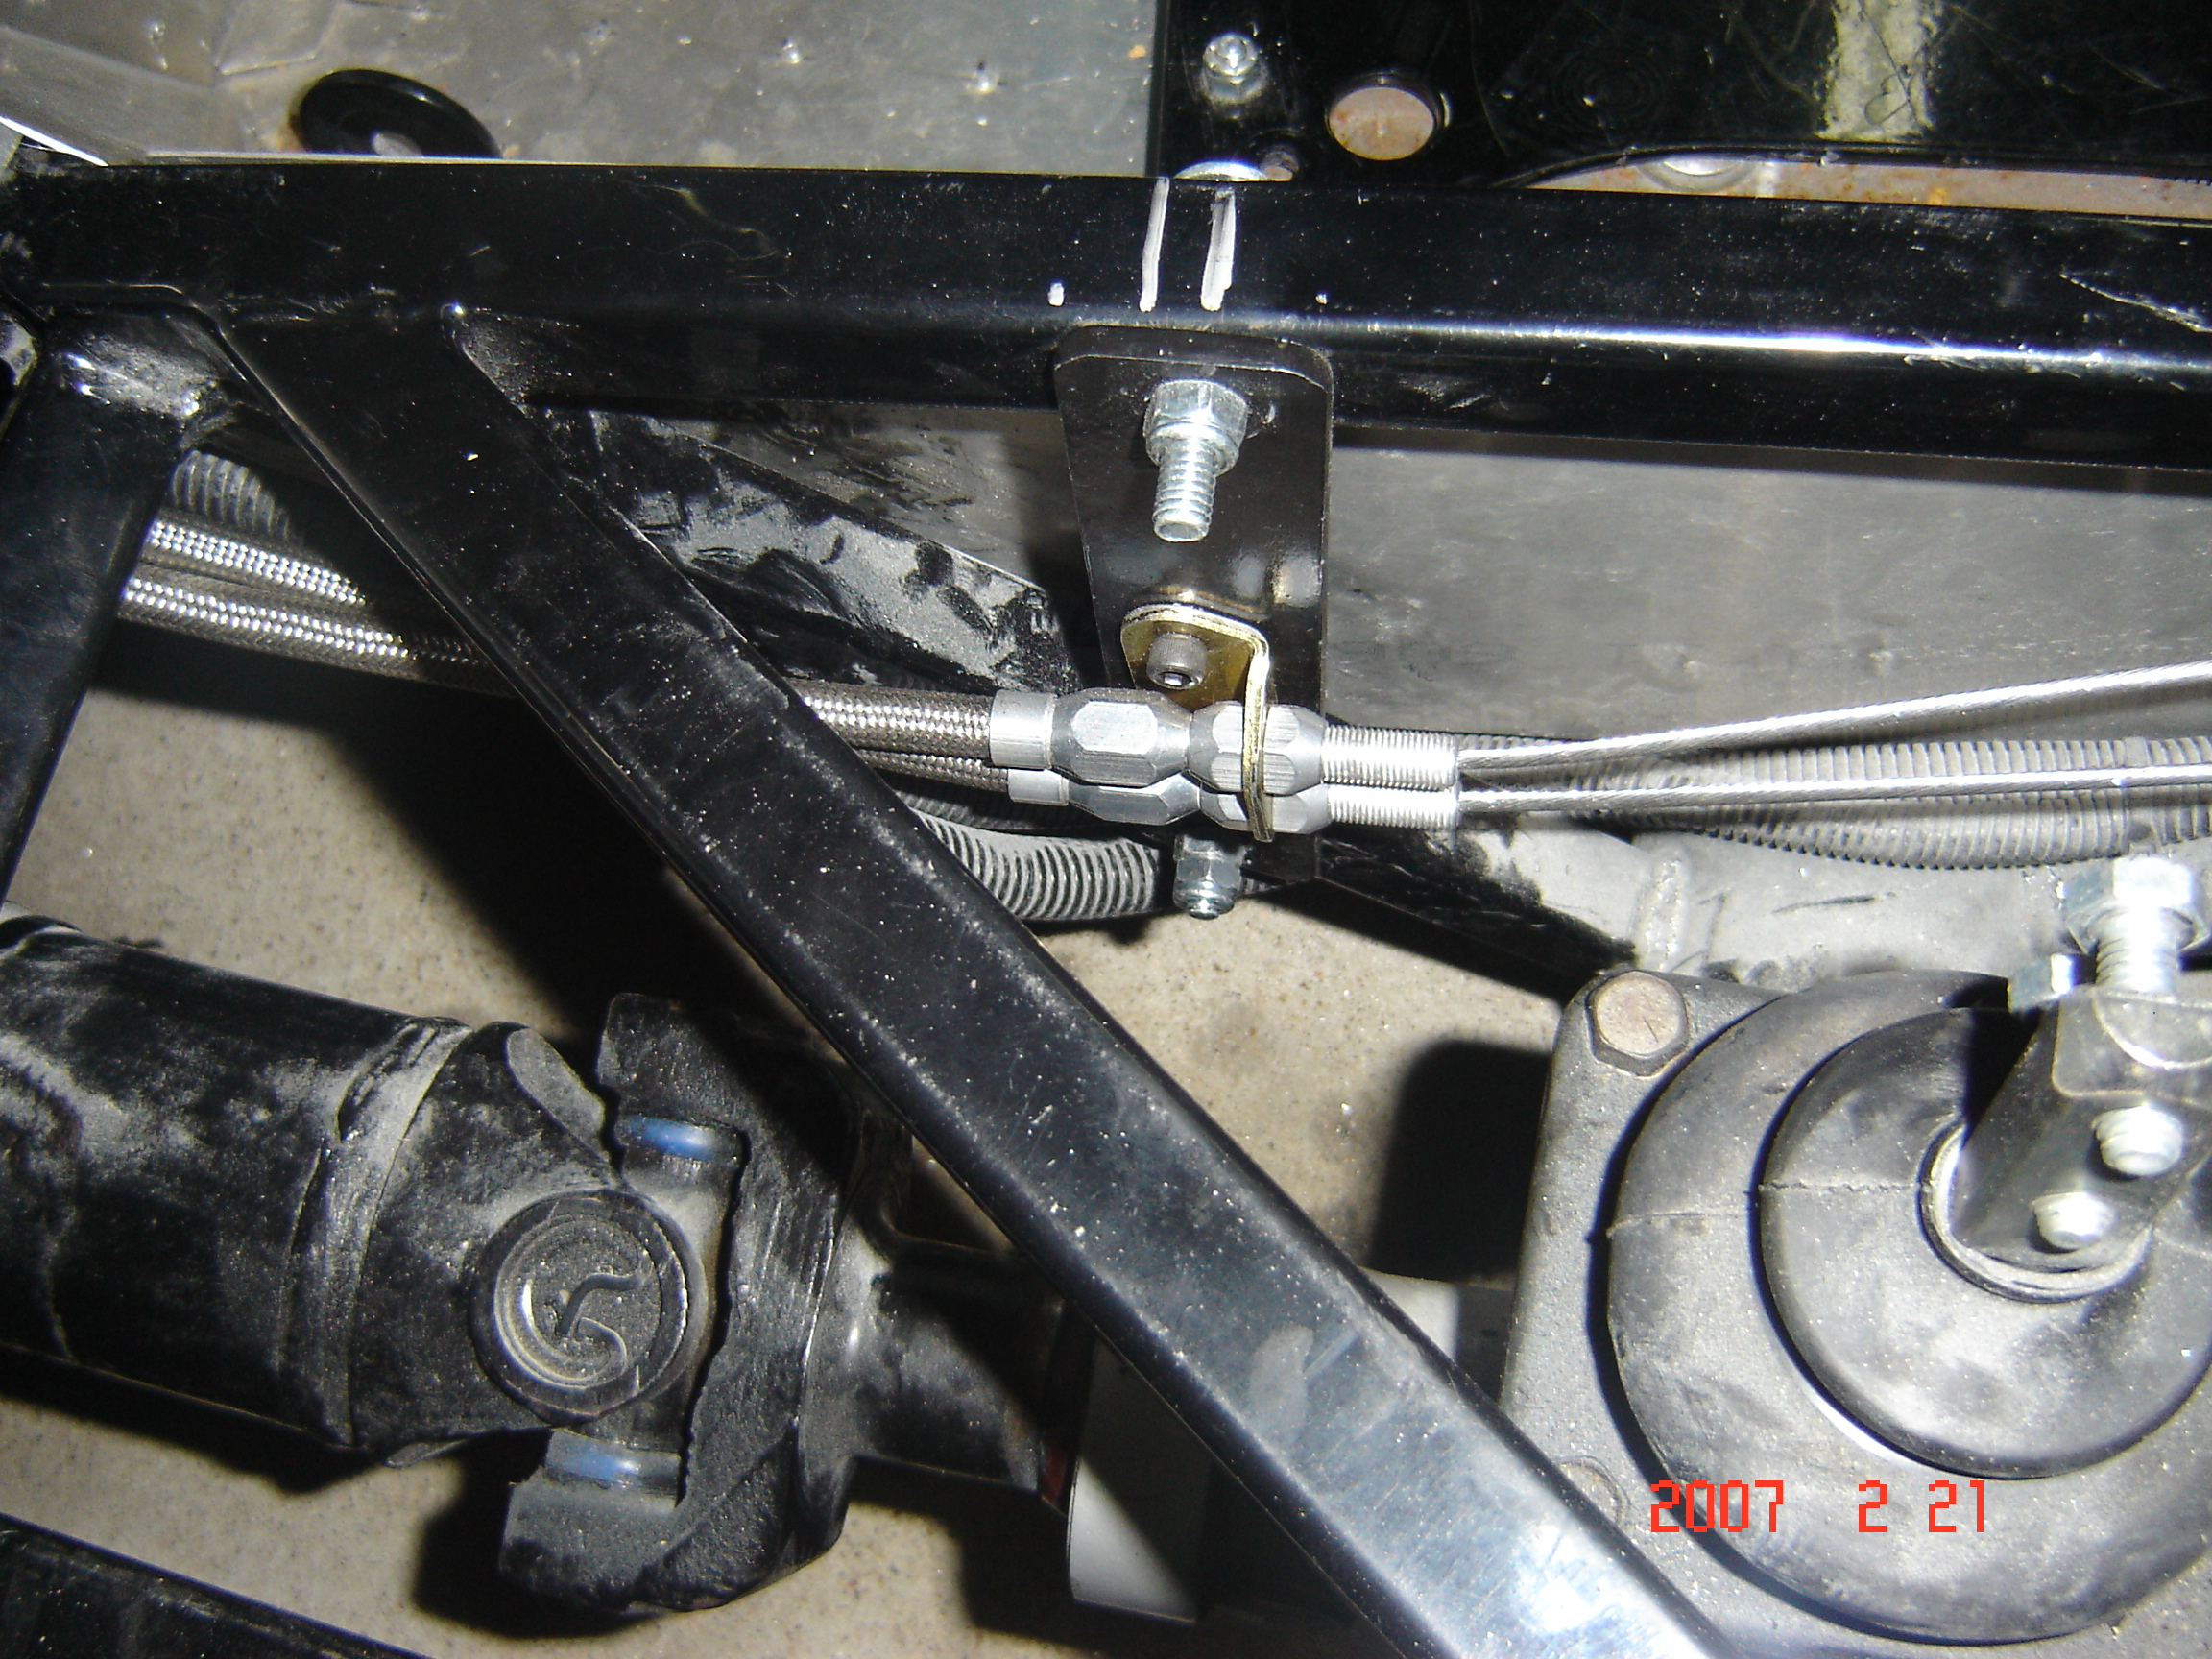
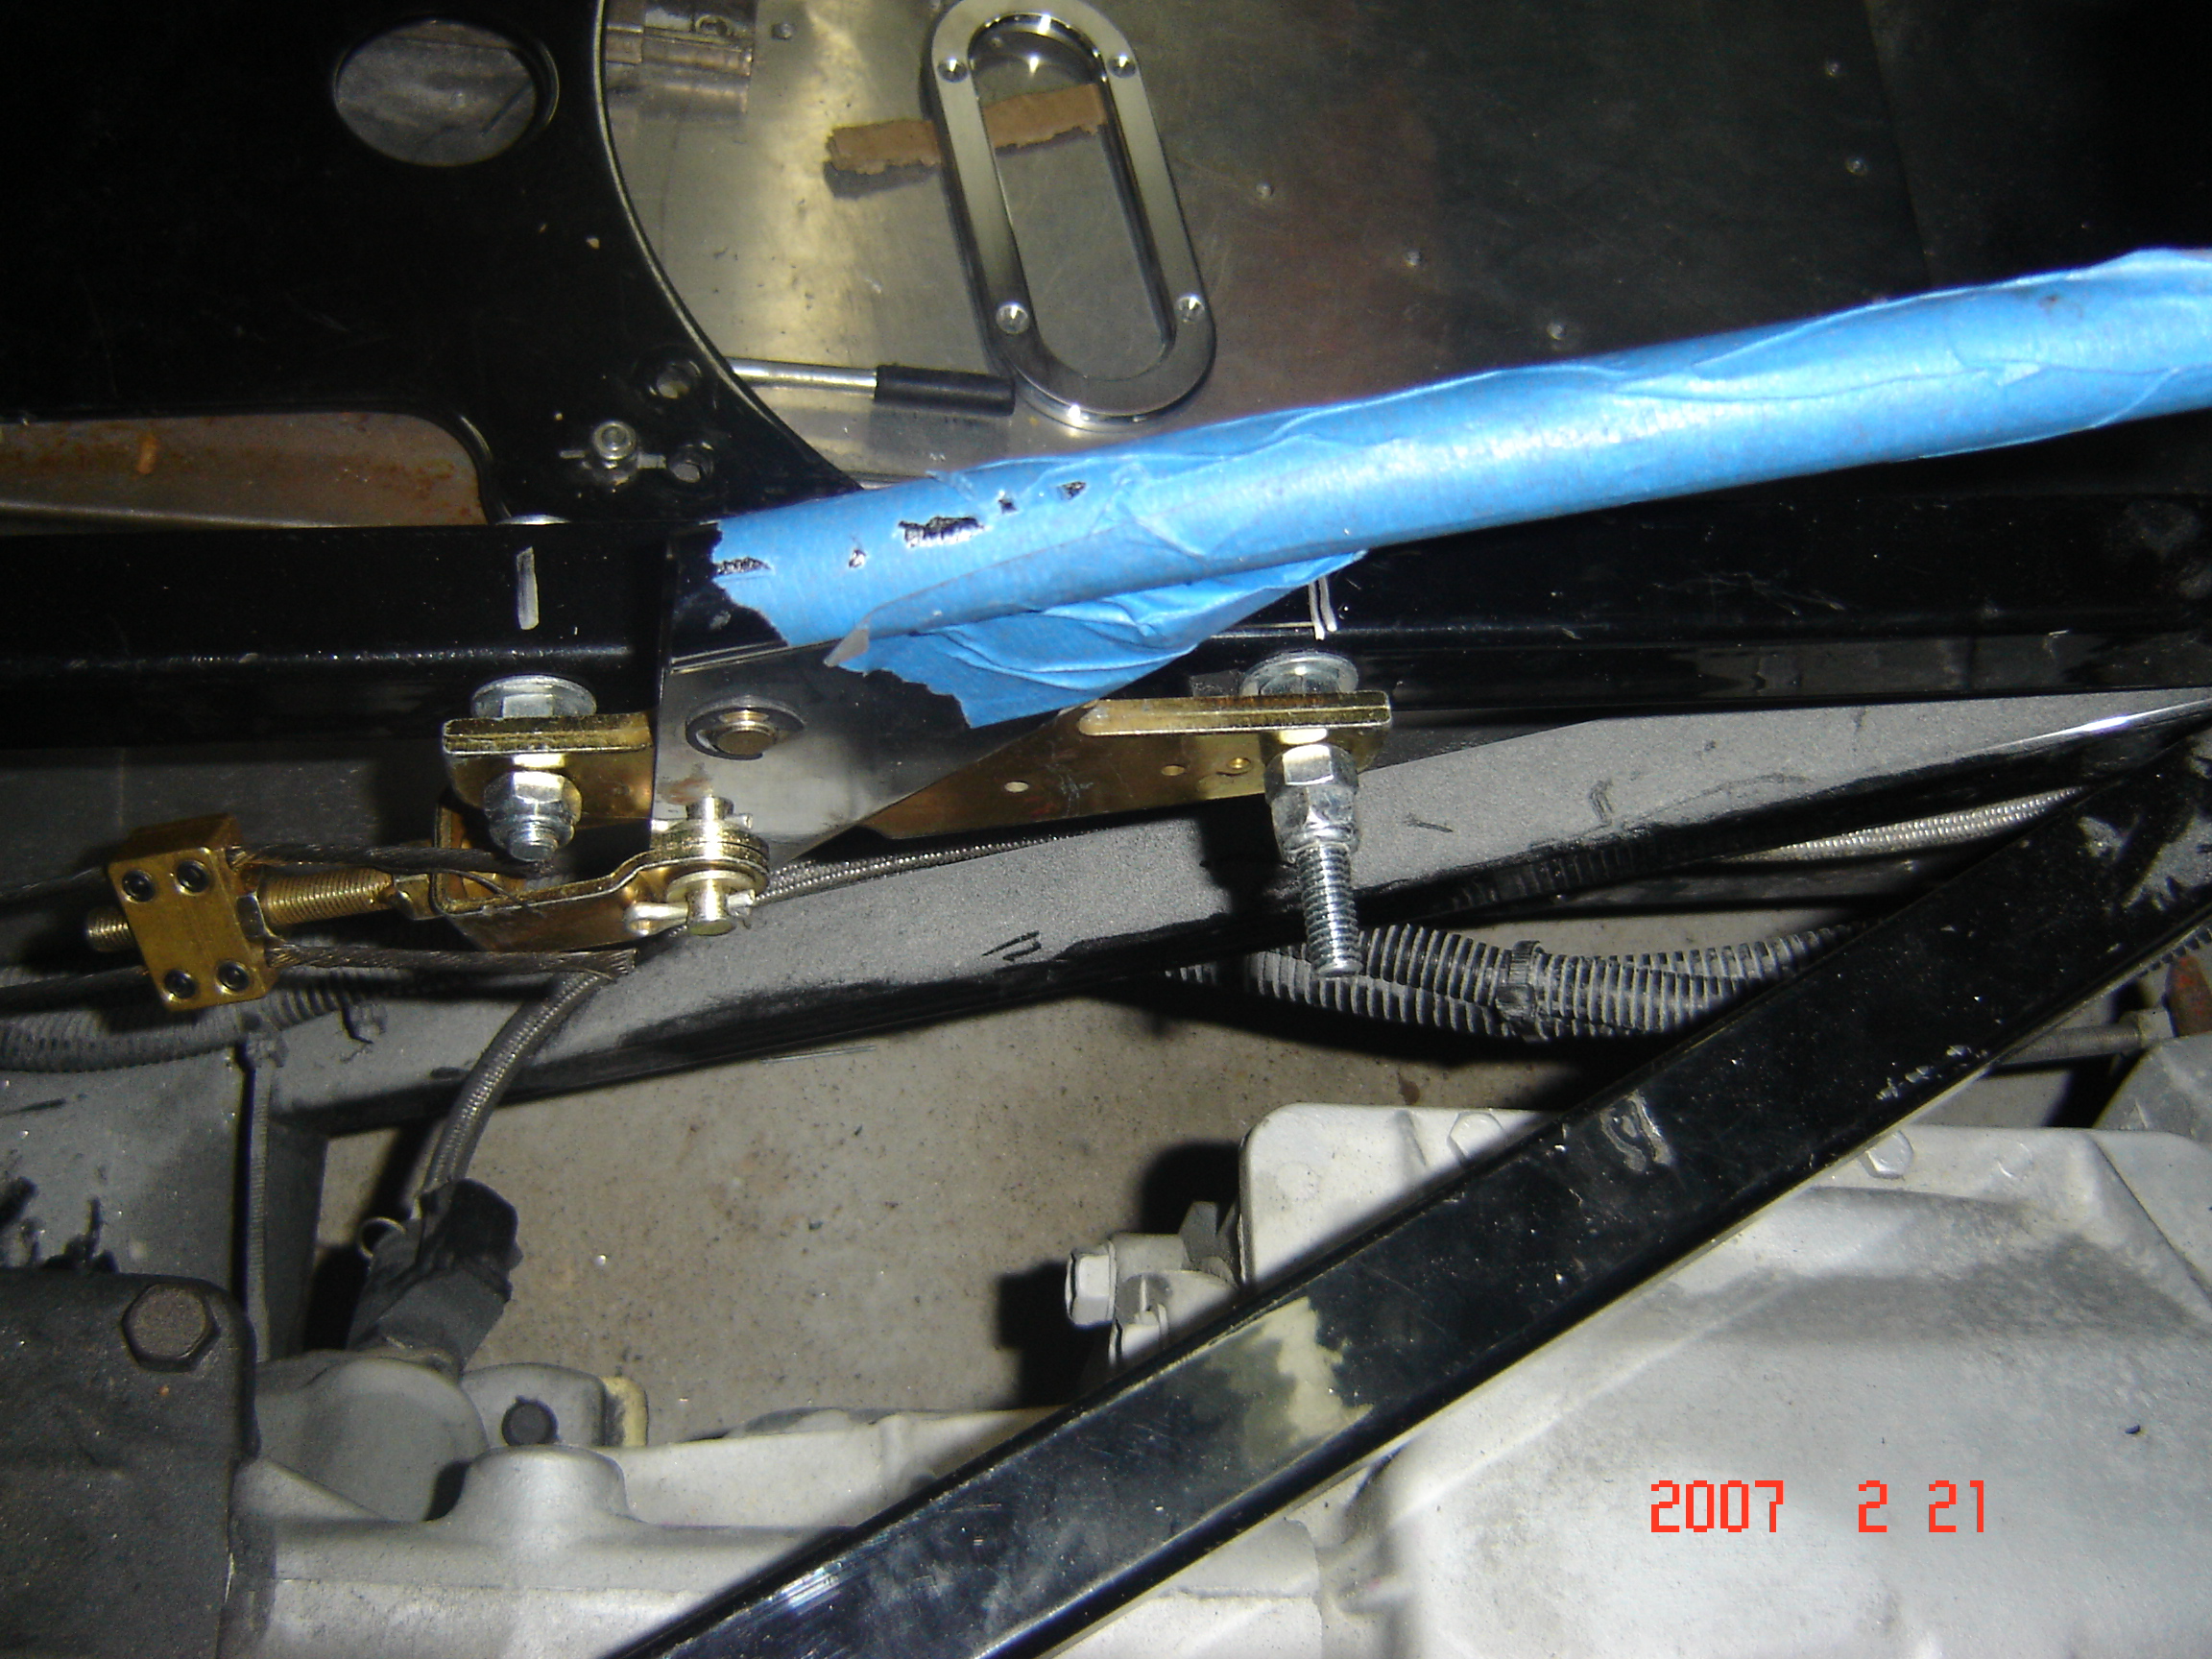
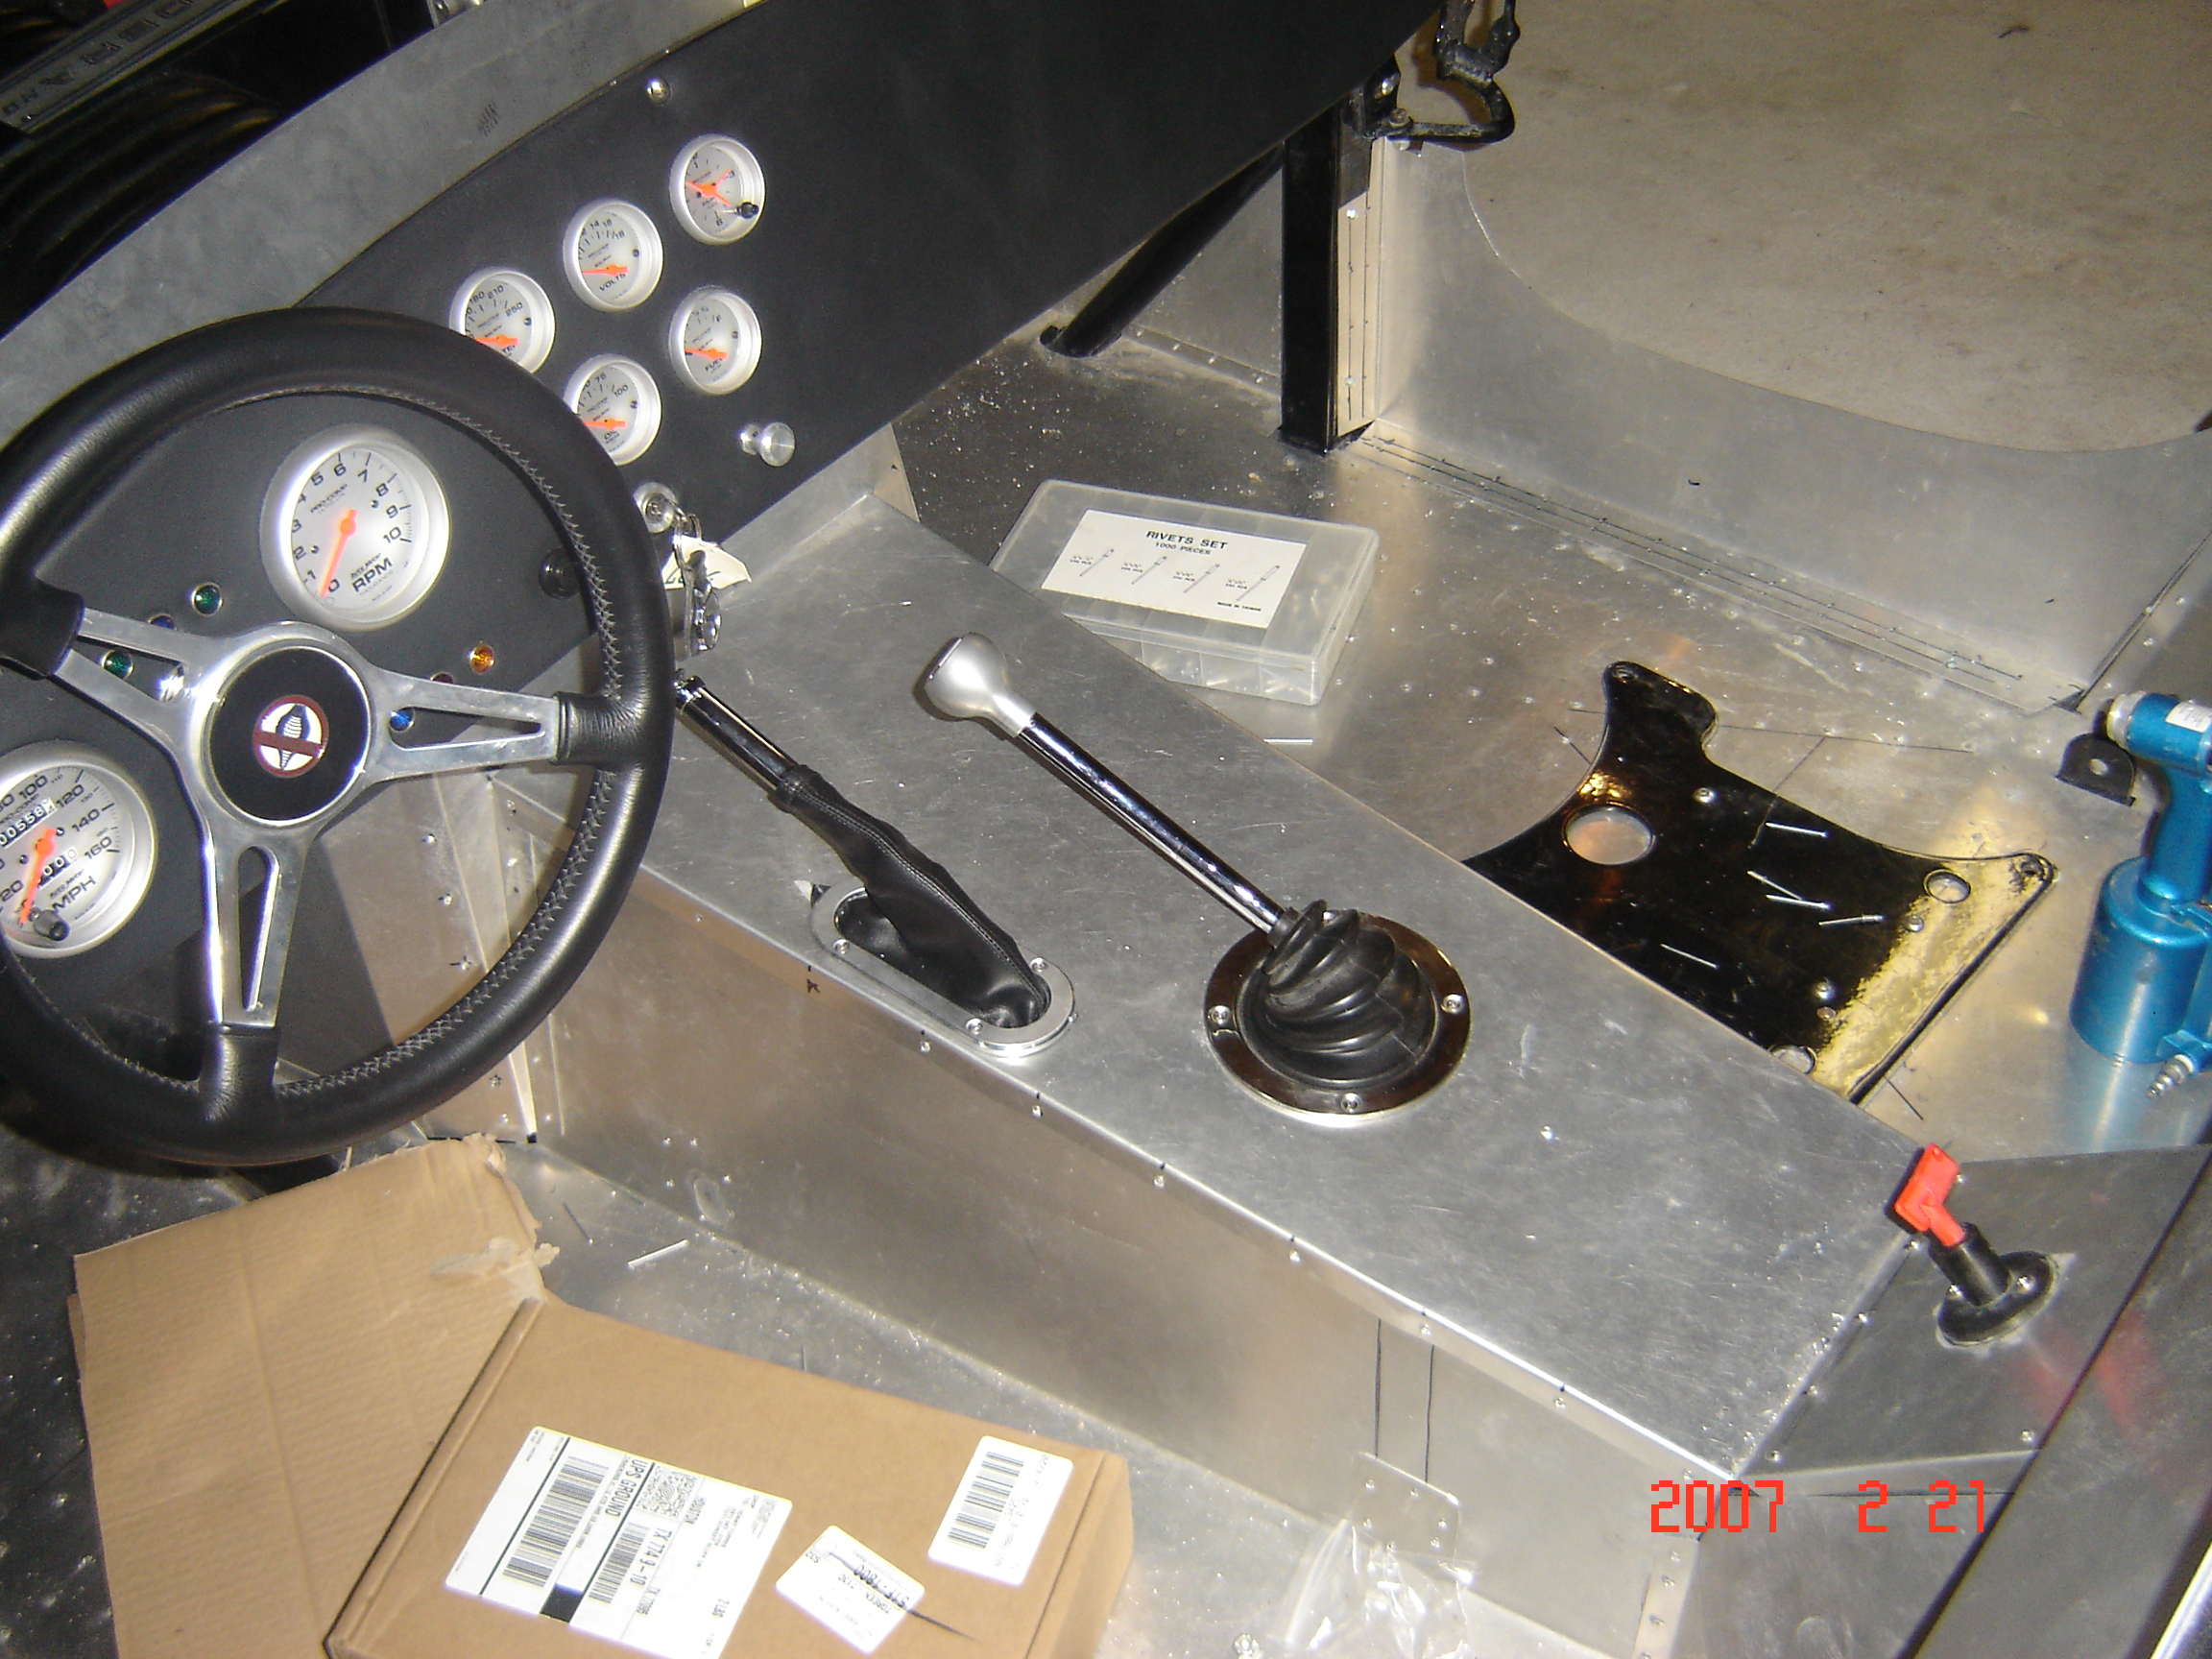
With the wide frame tubing at the door sill the Fiero emergency brake handle is a tight fit. In order to make this work I had to fabricate brackets and modify brake cables. After it was completed, it worked pretty well. With this installation, you end up with one very short cable and one long one for the passenger side. Don’t worry the tie wrap holding the cable will be “upgraded”.
Turns out the original emergency brake handle design was not the best. We decided to try something different.
To finish the interior, I had to relocate the emergency brake and seal all the hole in the floor from unused wiring and the stock location of the emergency brake.
After several attempts with the emergency brake cables, I settled on the Lokar setup. Here are some close-up pictures as to how we mounted the handle.

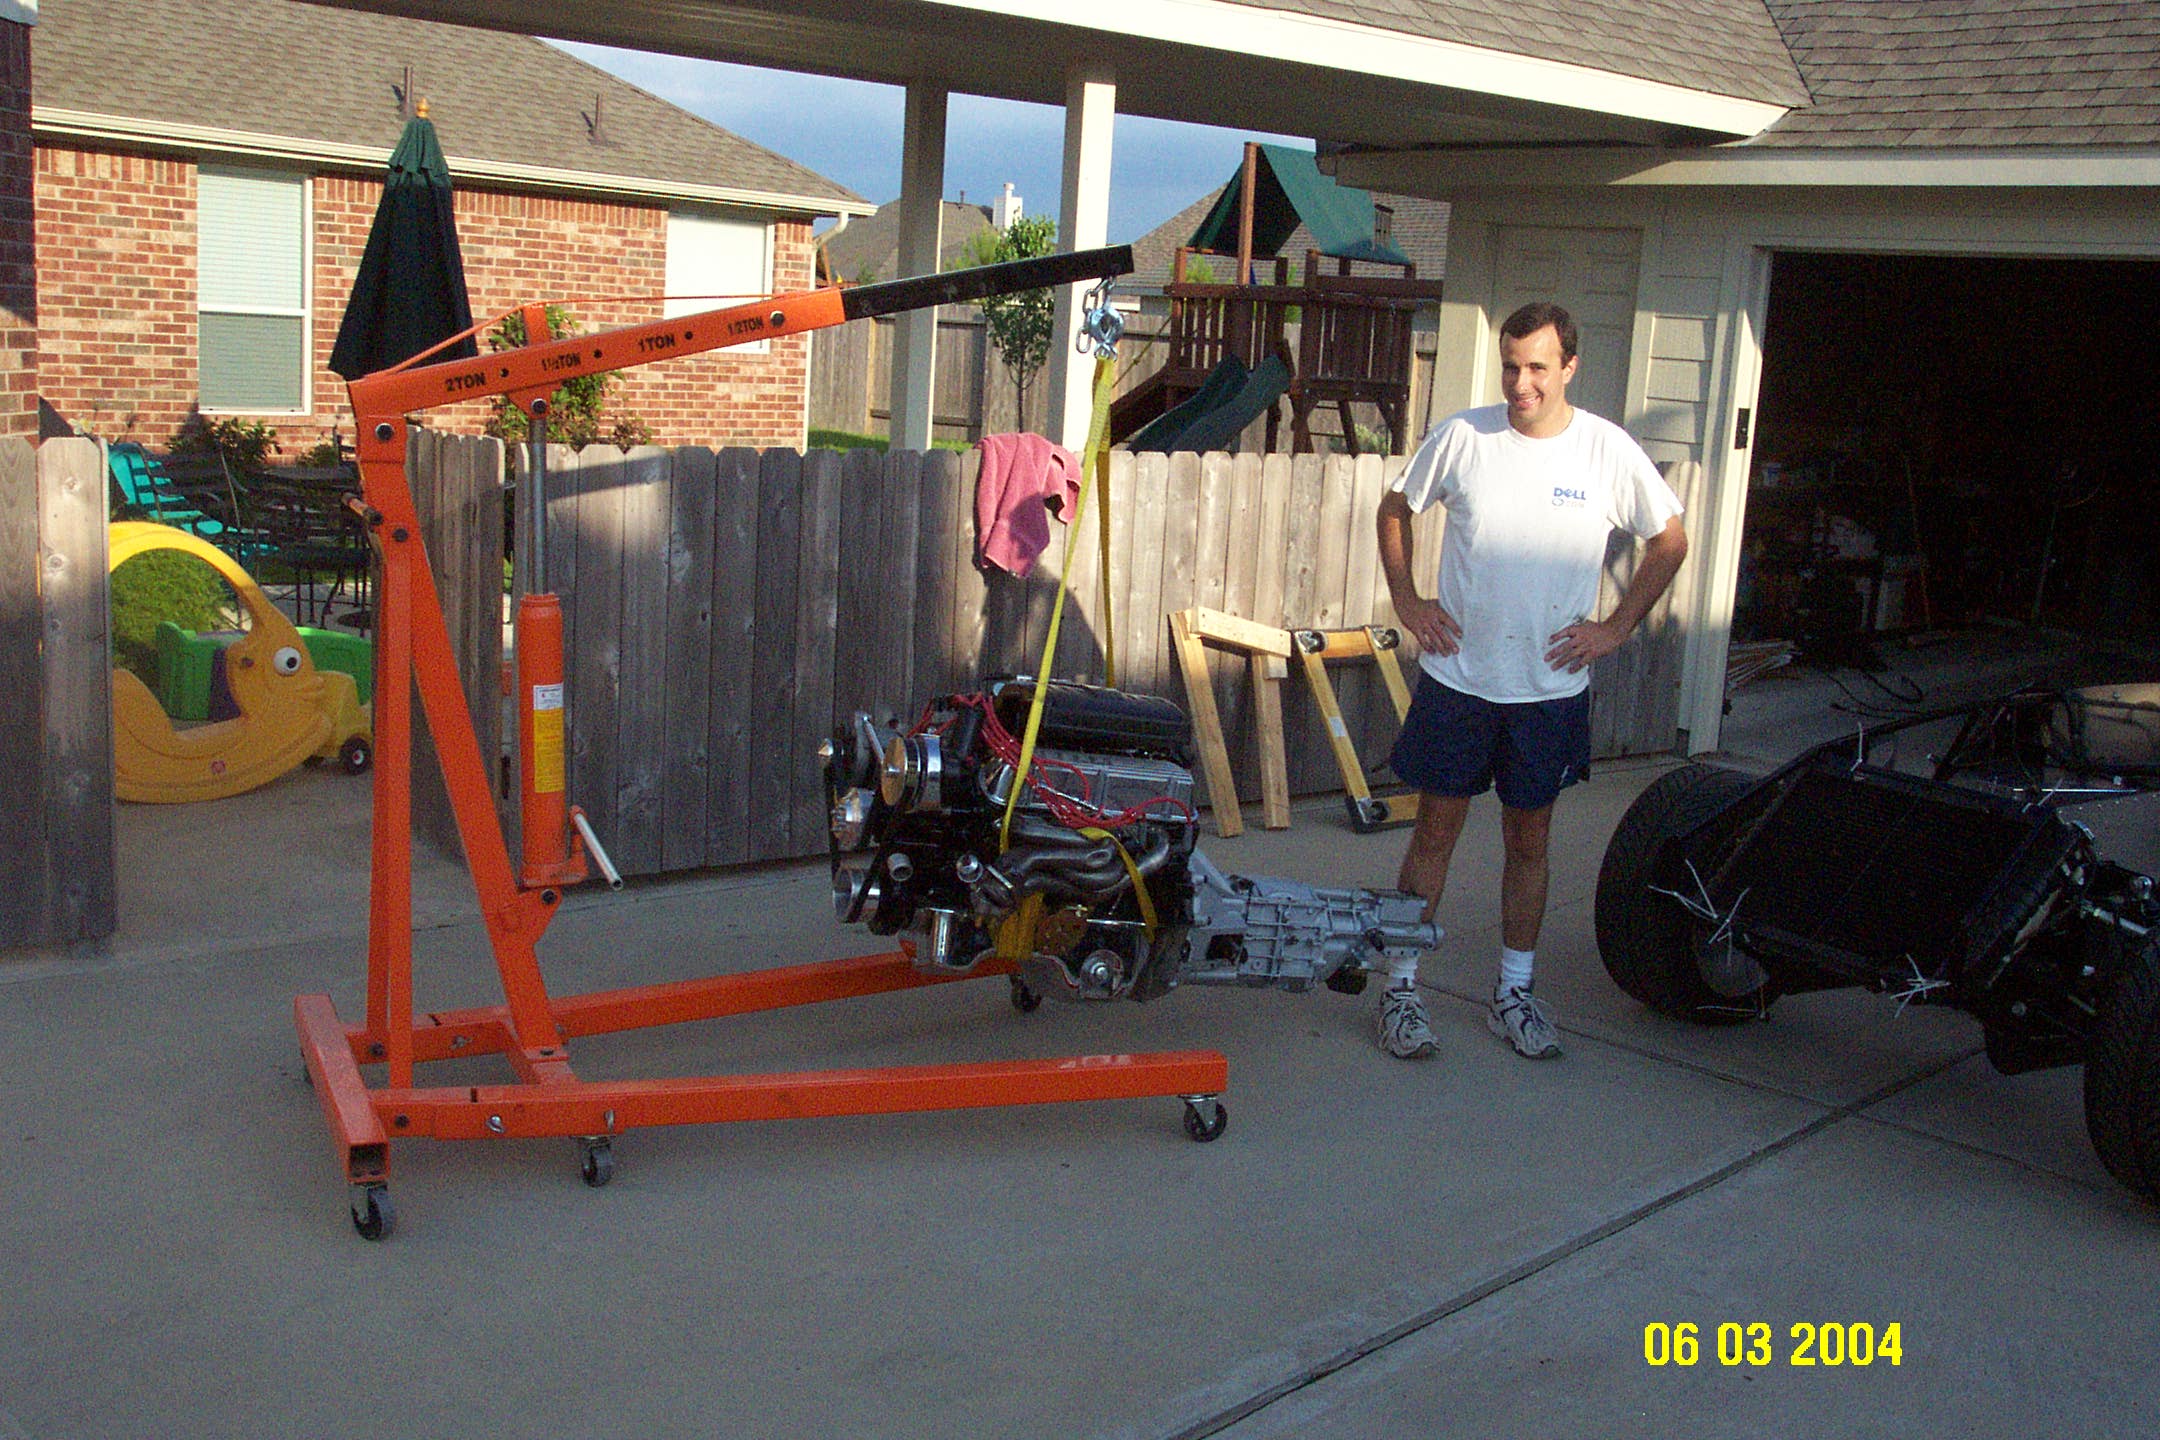
2004 Engine Installation
Here we are ready to install the engine in the chassis. Since I was not using the stock headers, I could not get the factory lift brackets back on the engine. So, I used a tow strap wrapped around the headers and under the oil pan.
The system was good enough to get the engine in the car, but we did have to pull the radiator to slide the engine in. Anyway, now that the engine is in the car, we can start hooking up all the hoses and wires.
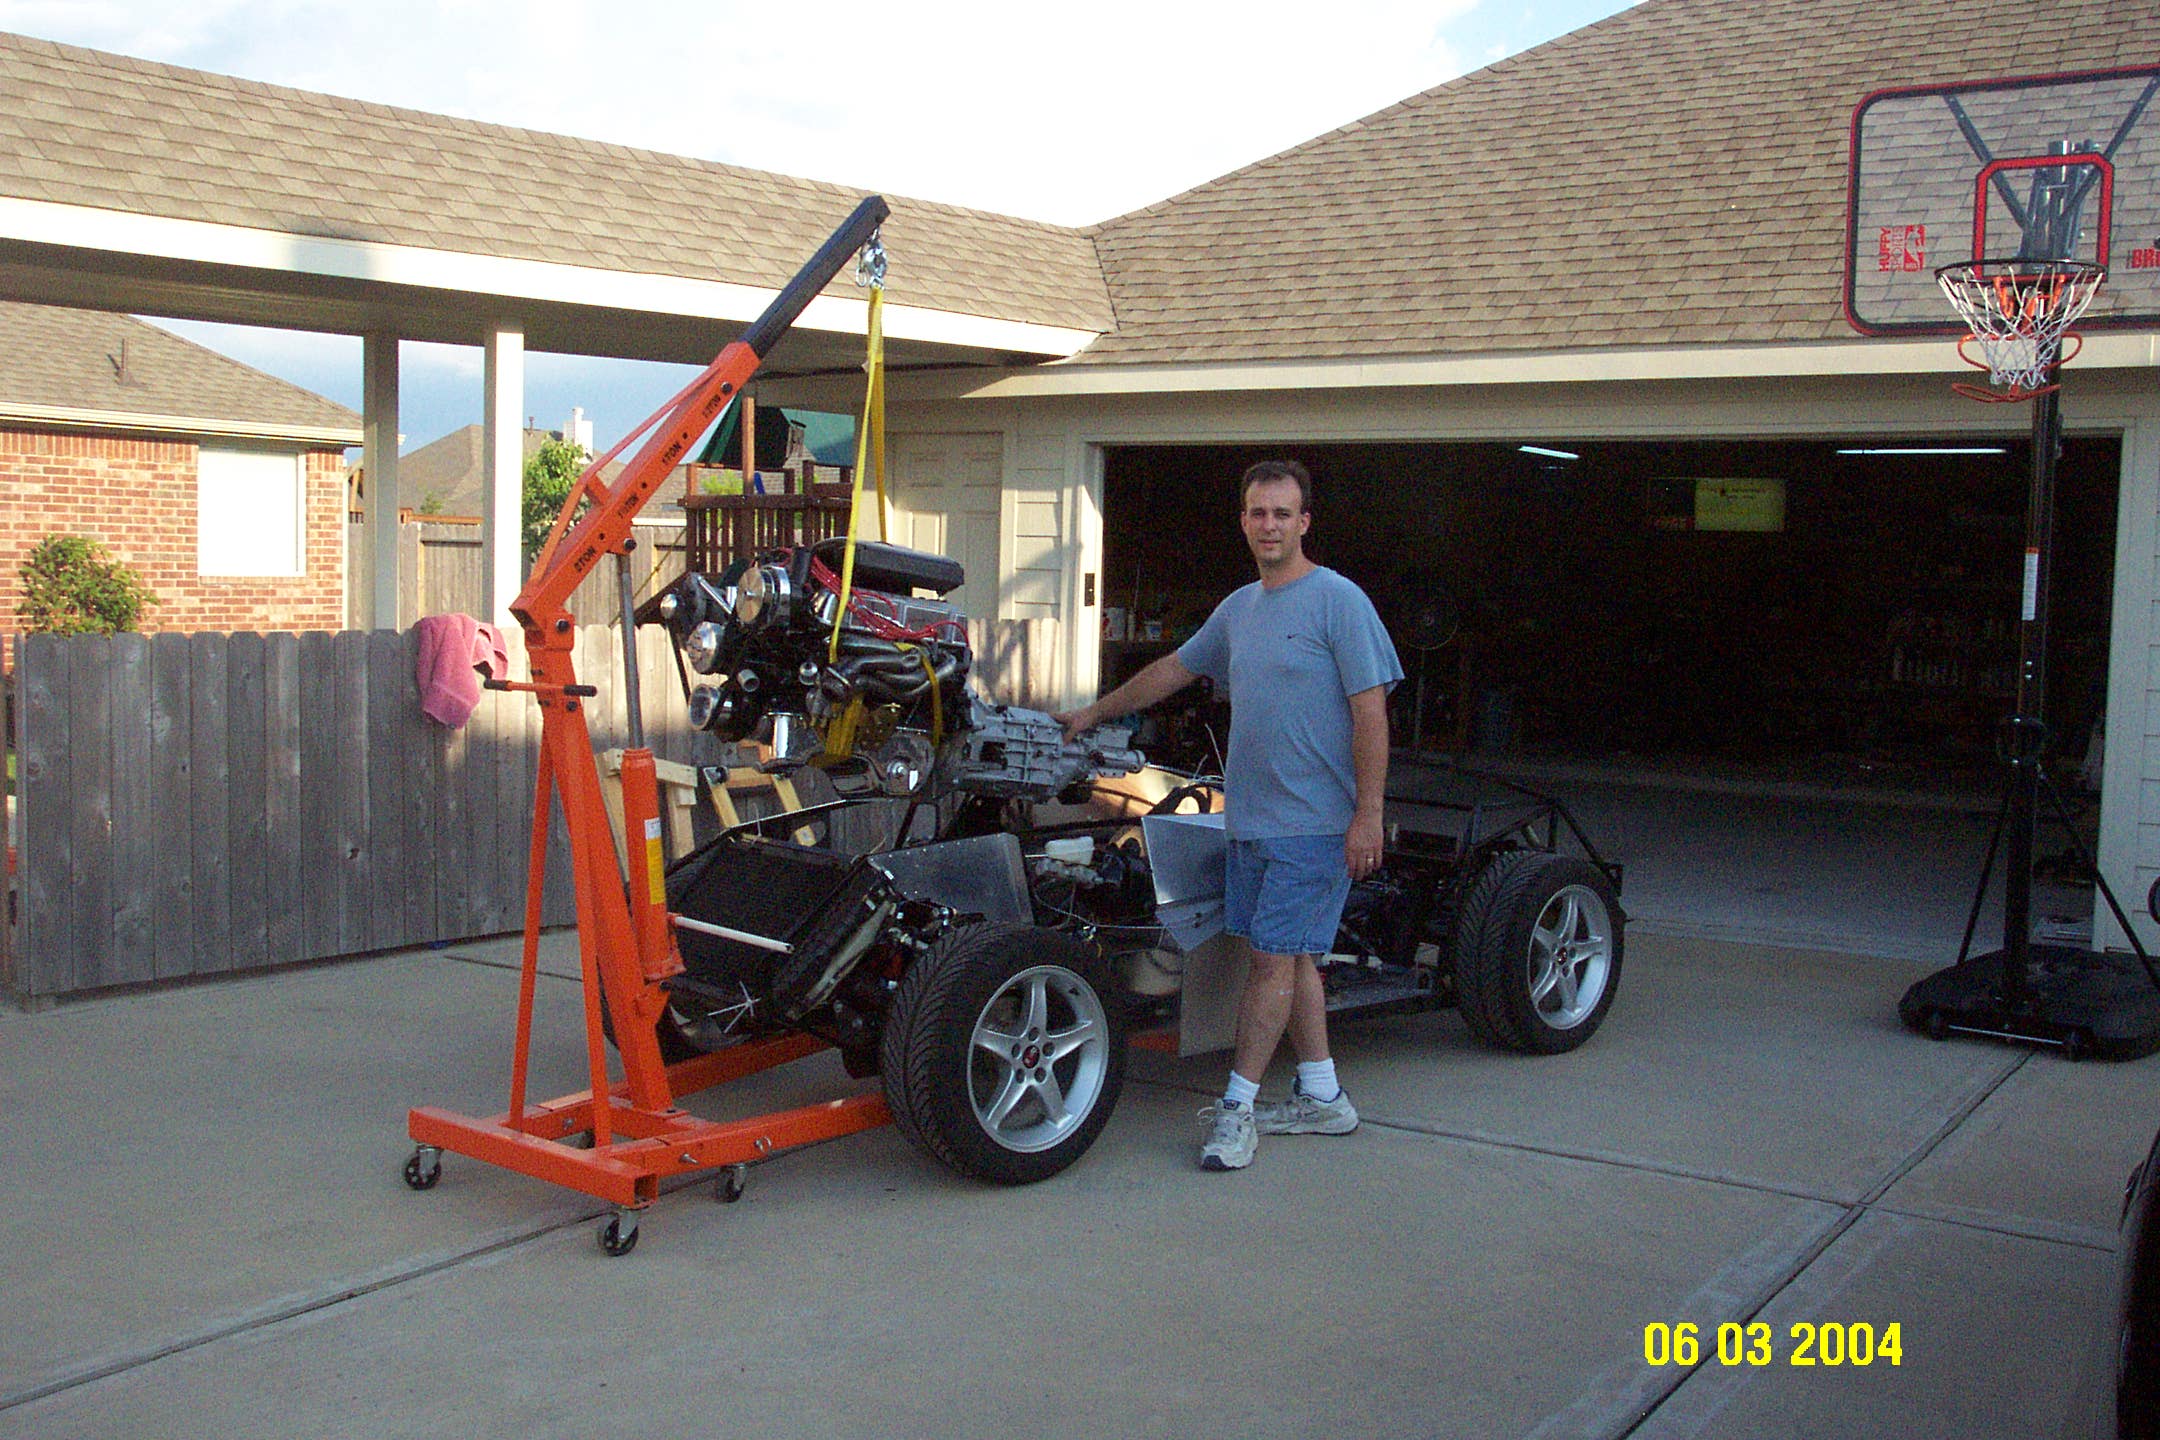
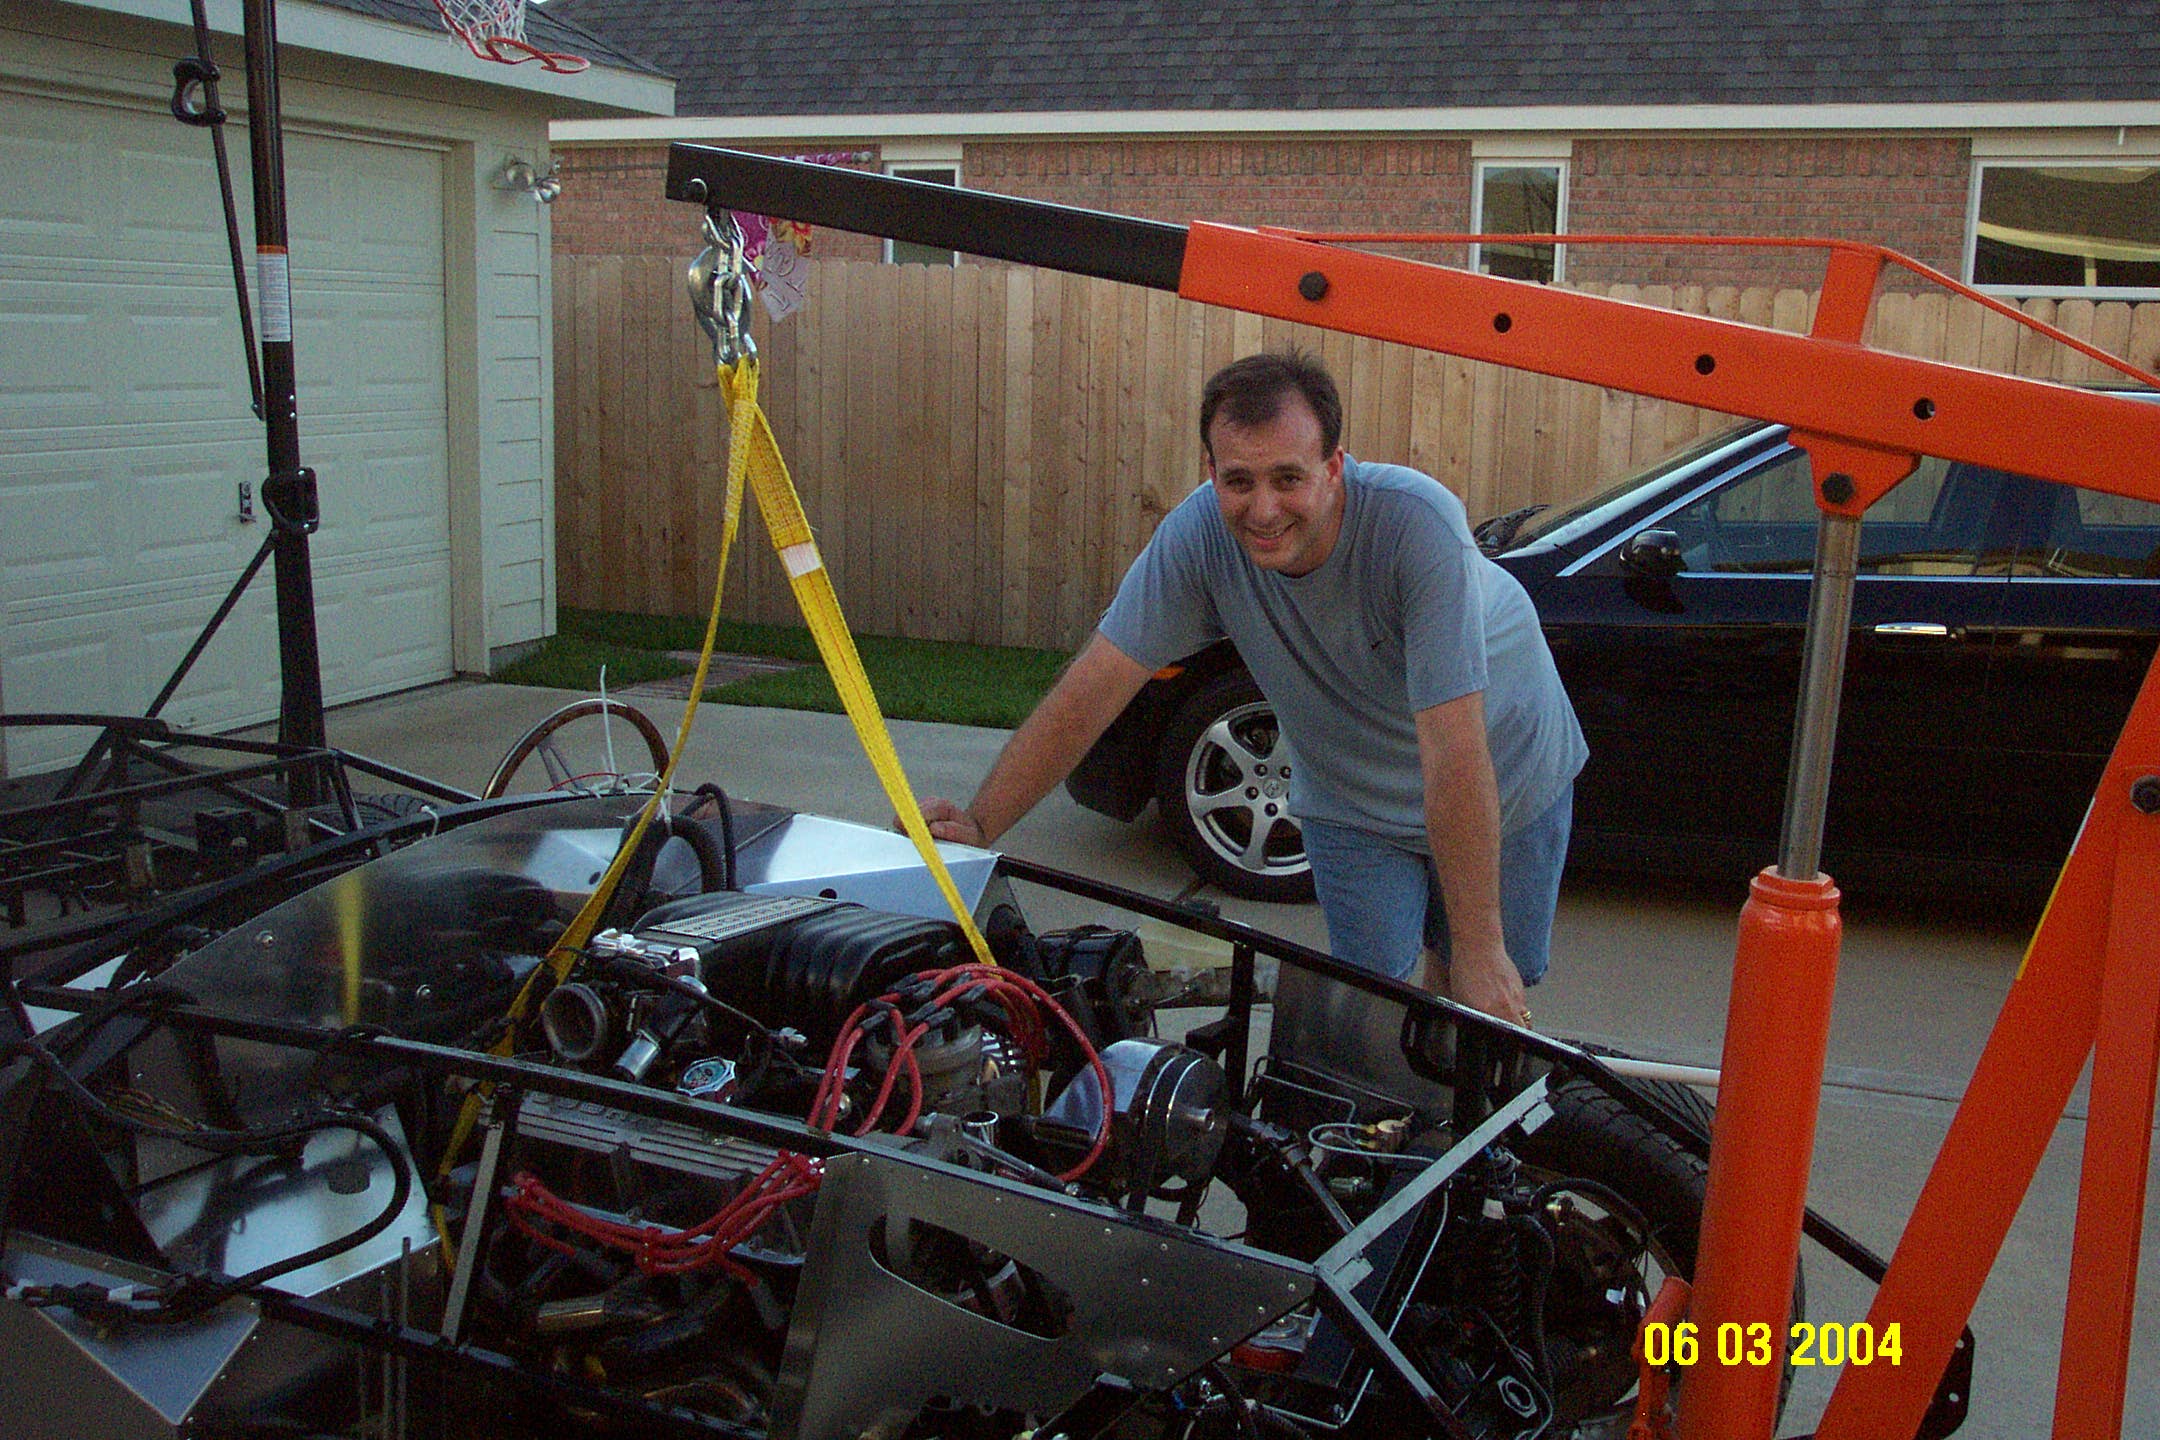
The system was good enough to get the engine in the car, but we did have to pull the radiator to slide the engine in. Anyway, now that the engine is in the car, we can start hooking up all the hoses and wires.

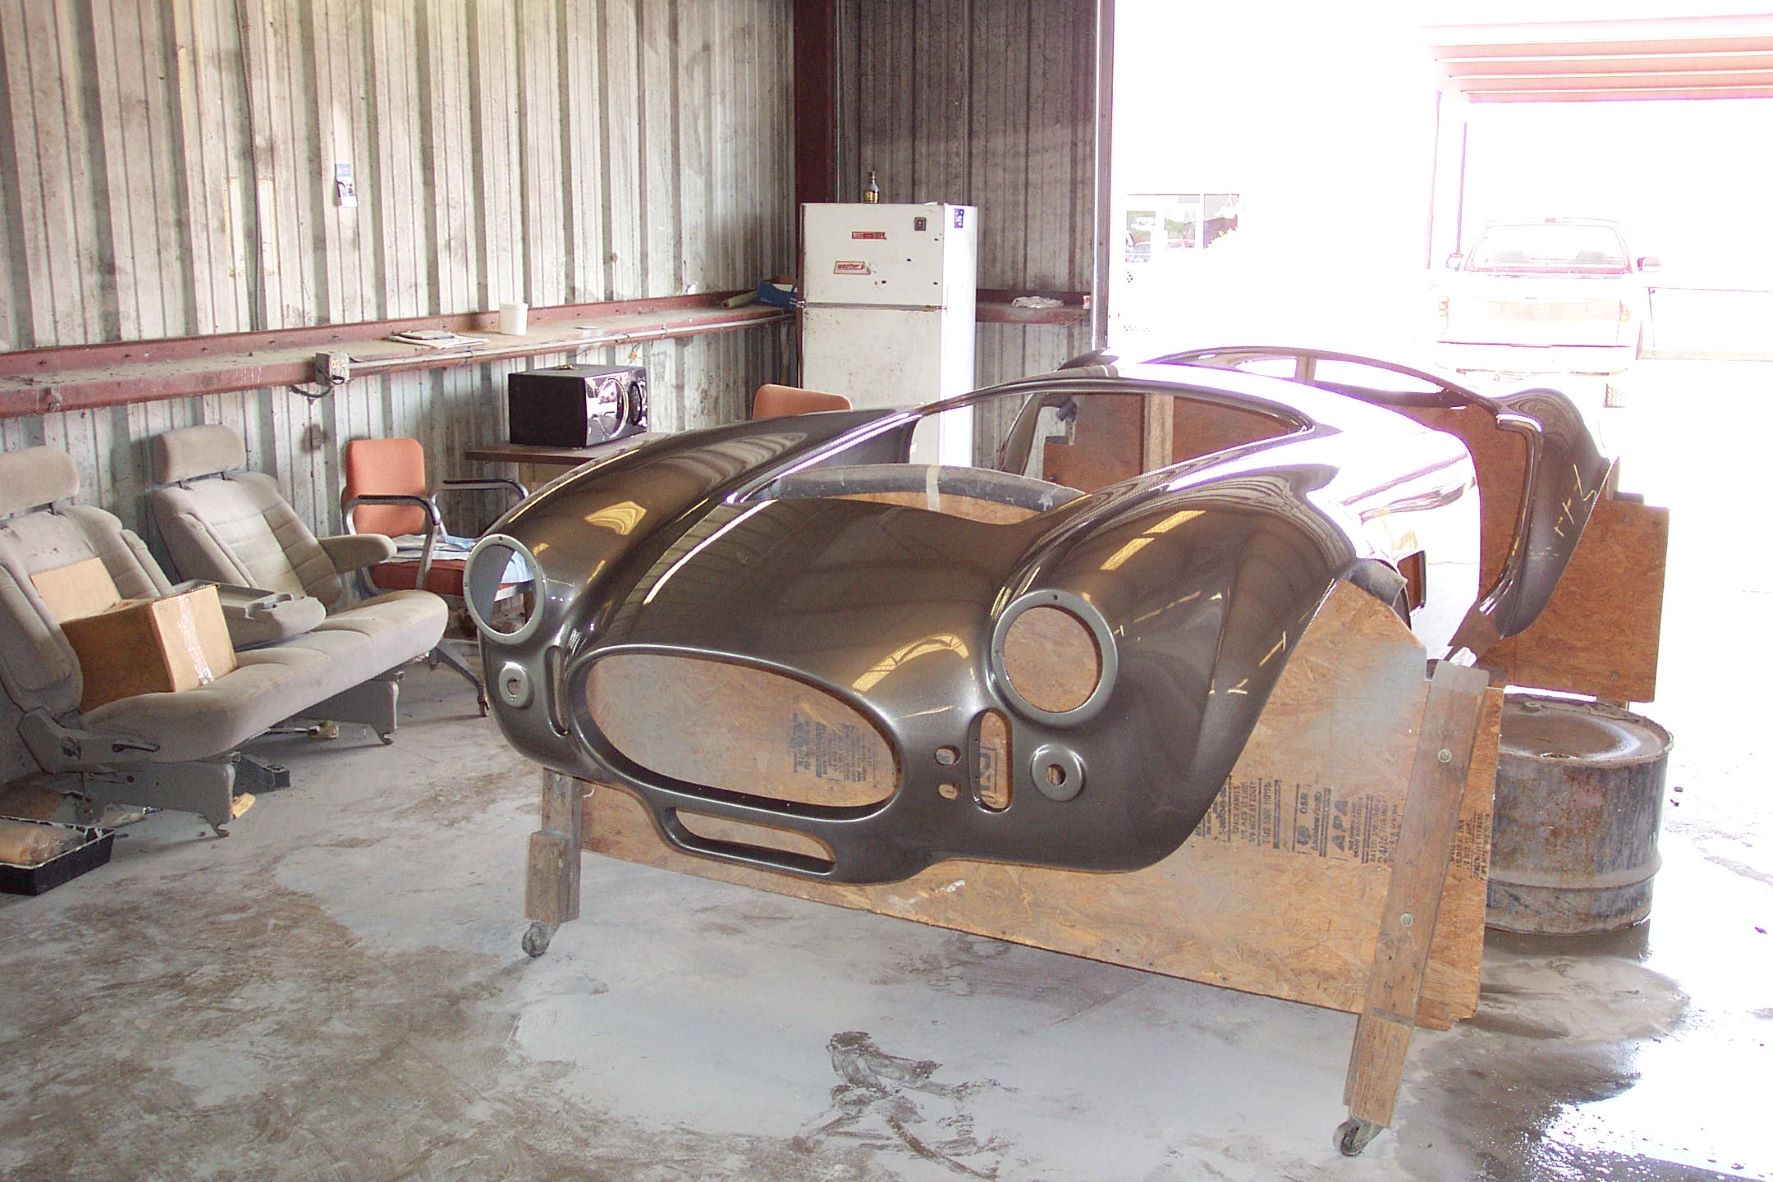
2004 Body Work
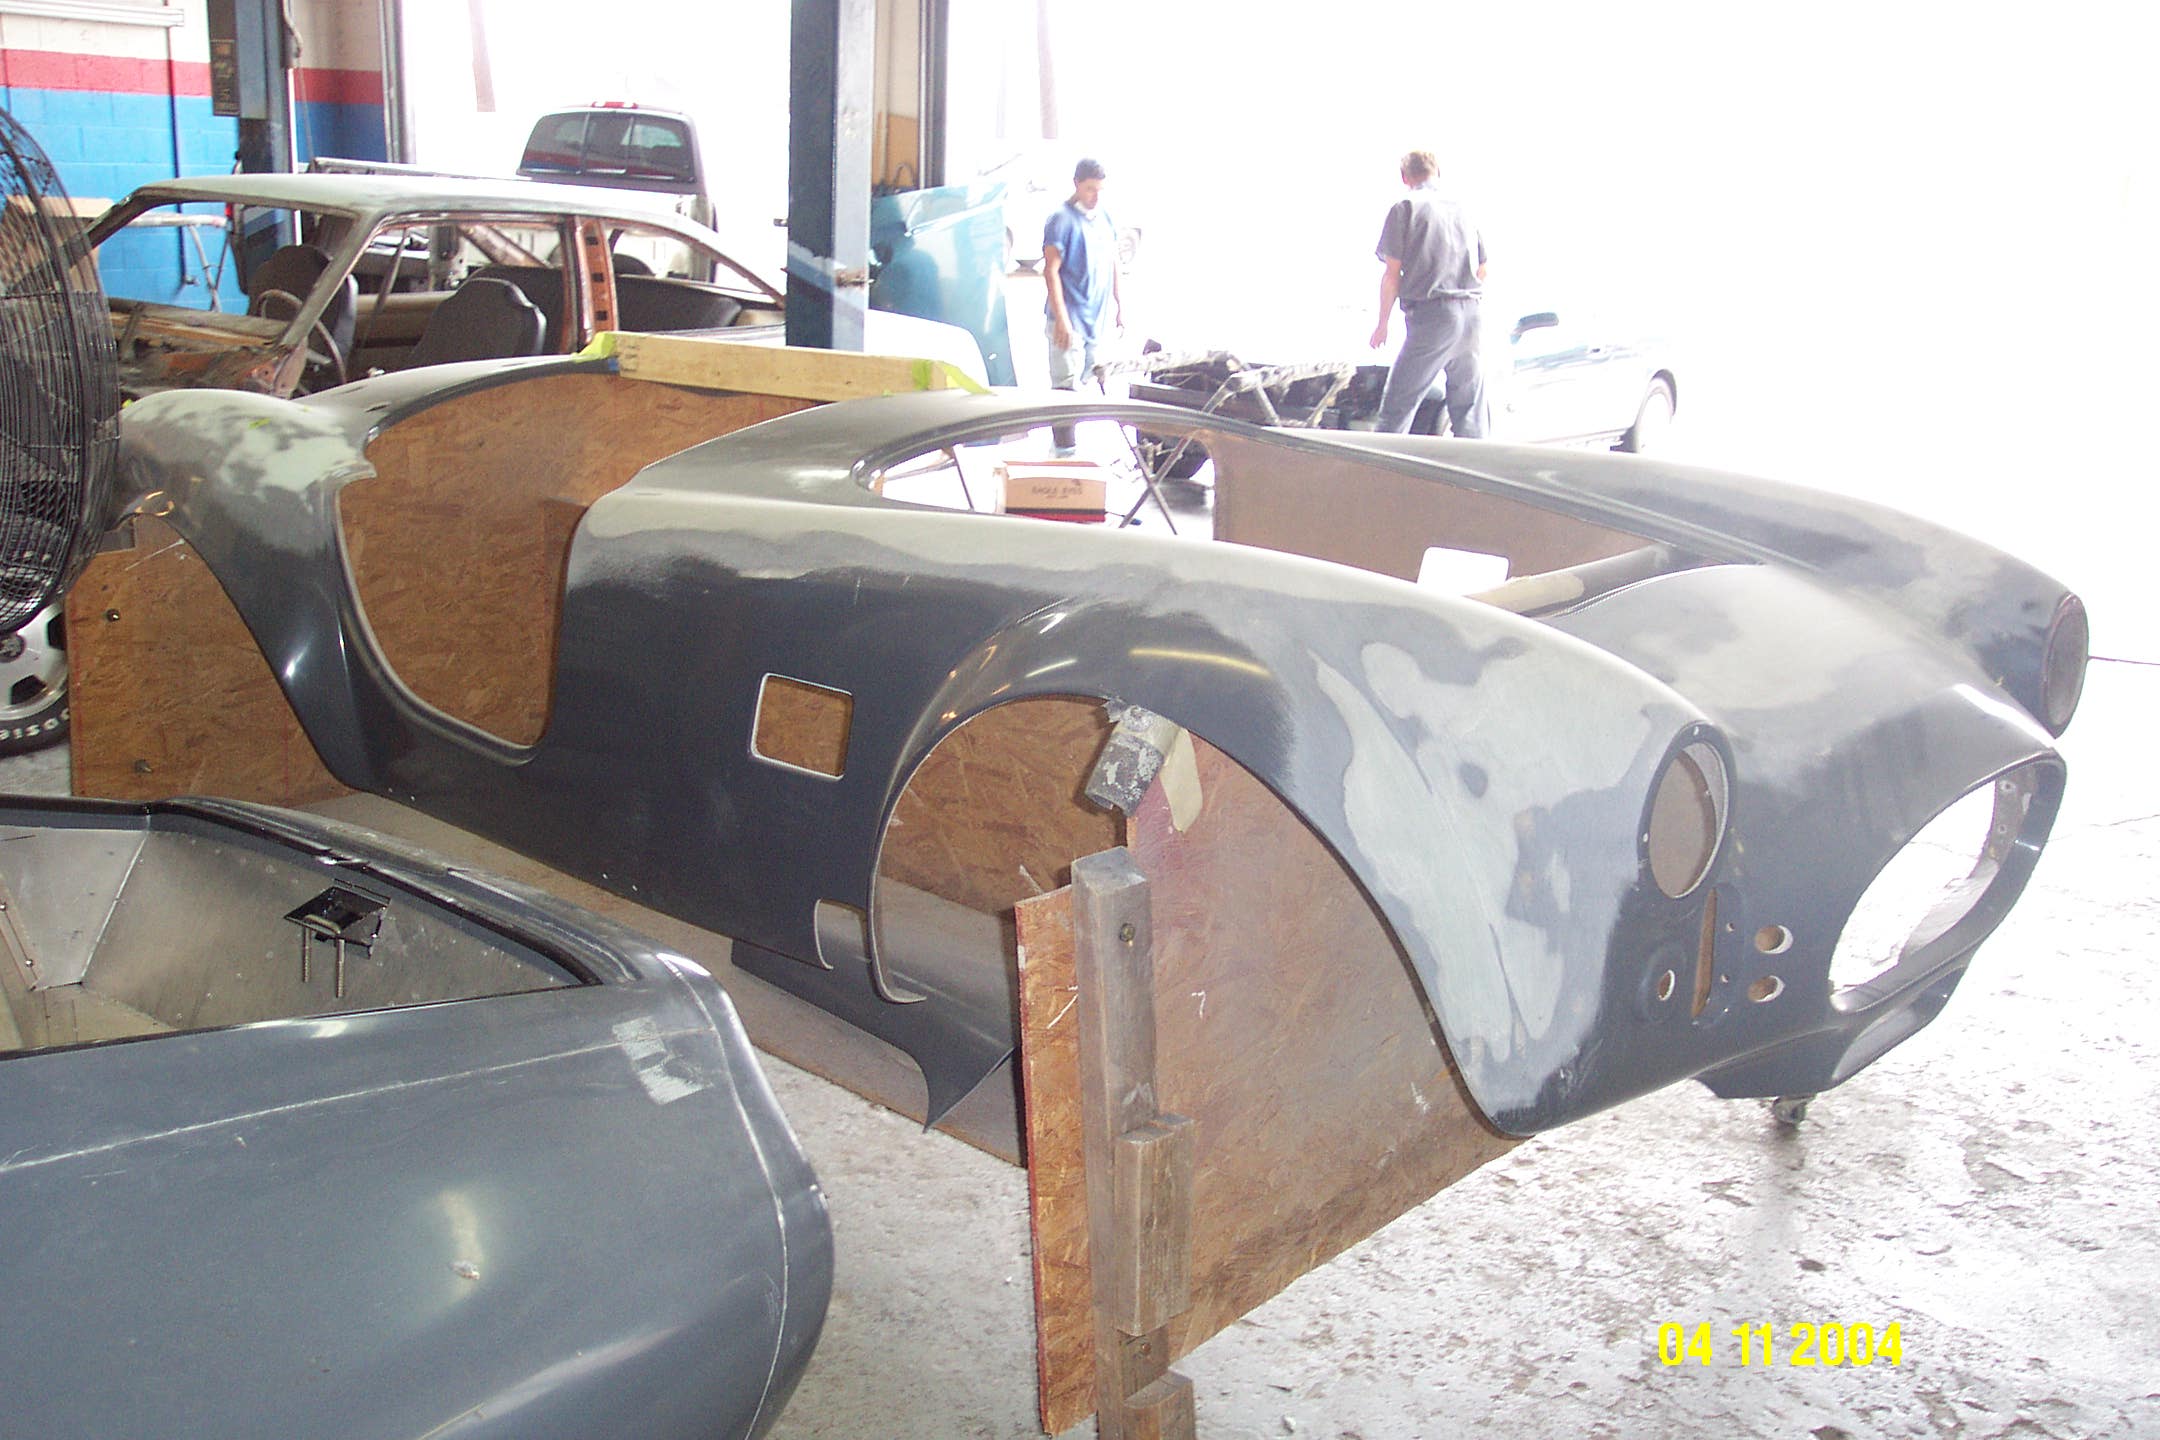
The body work and paint are being done at Alliance here in Houston. They did Damian’s car so we are pretty confident in their work. We are going to do this in two stages body preparation first and then final body work and paint as a separate operation.
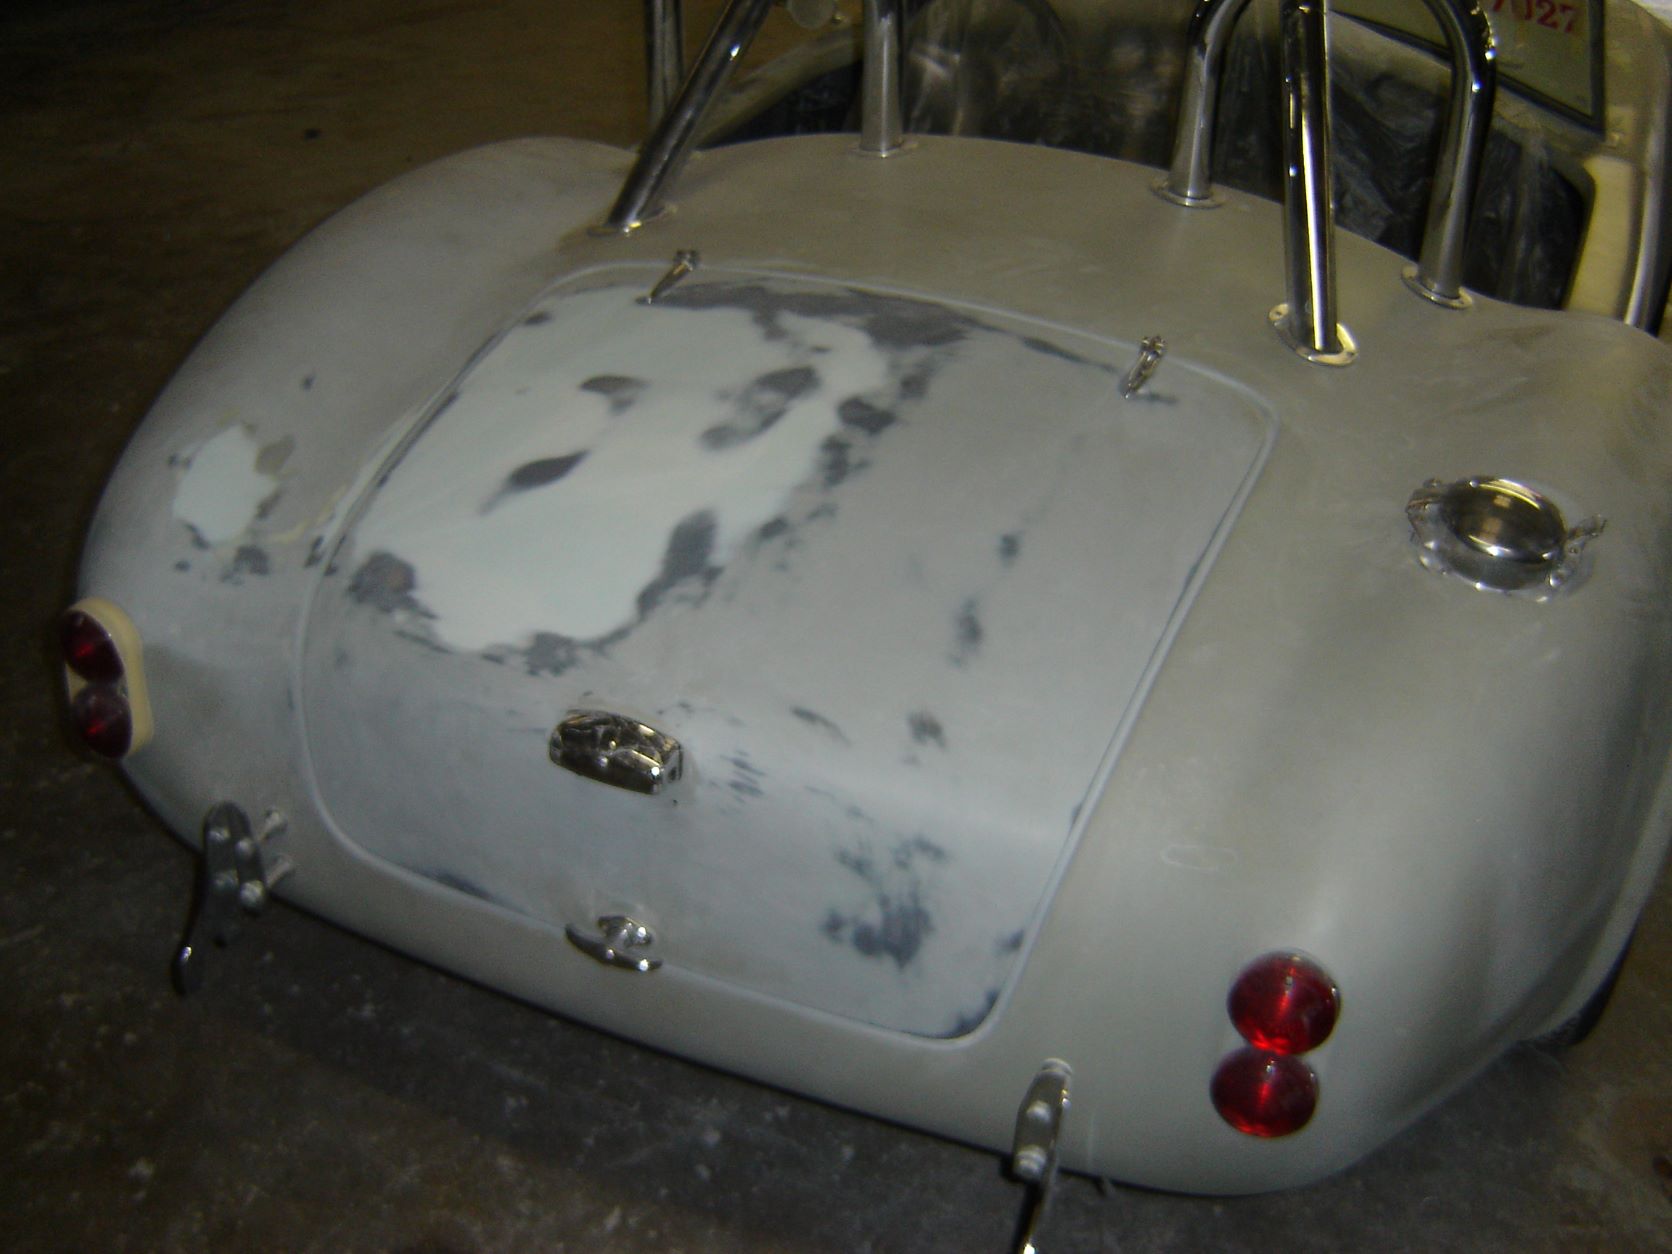
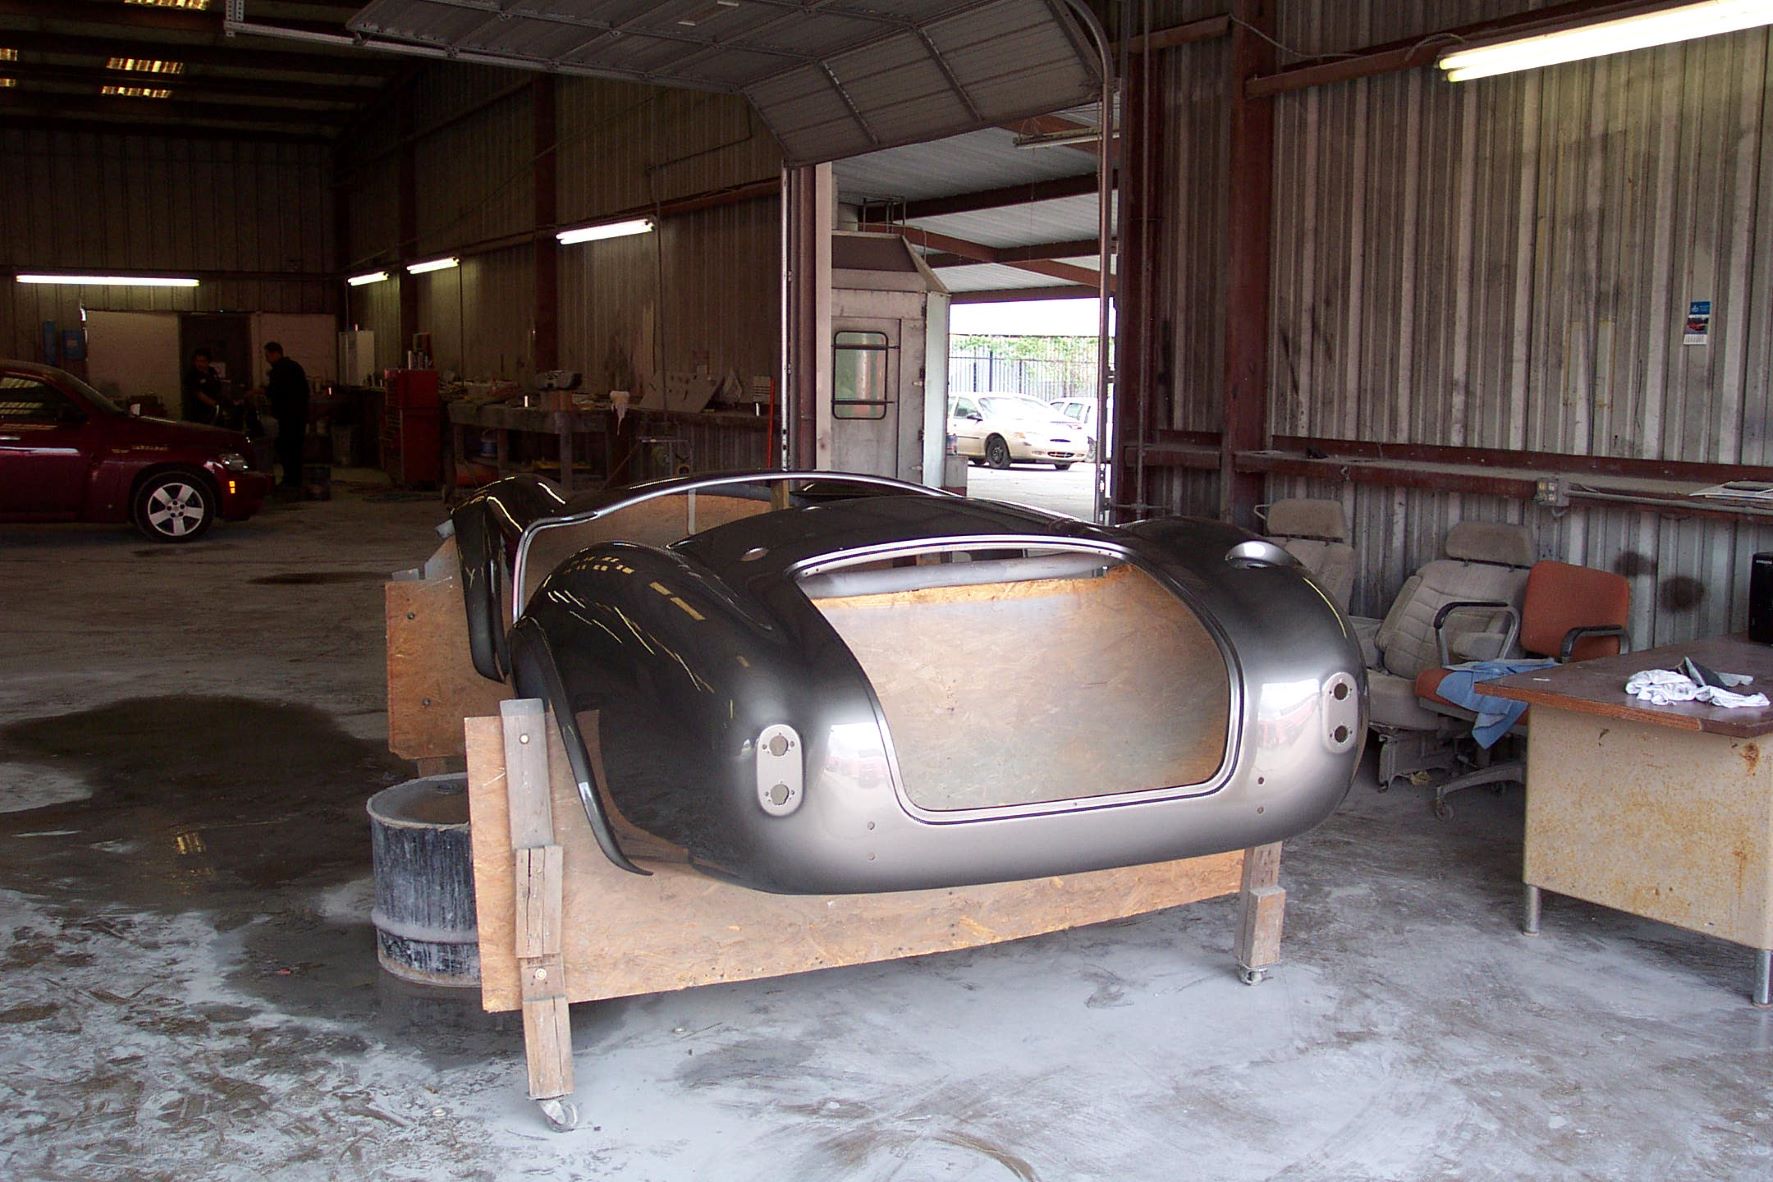
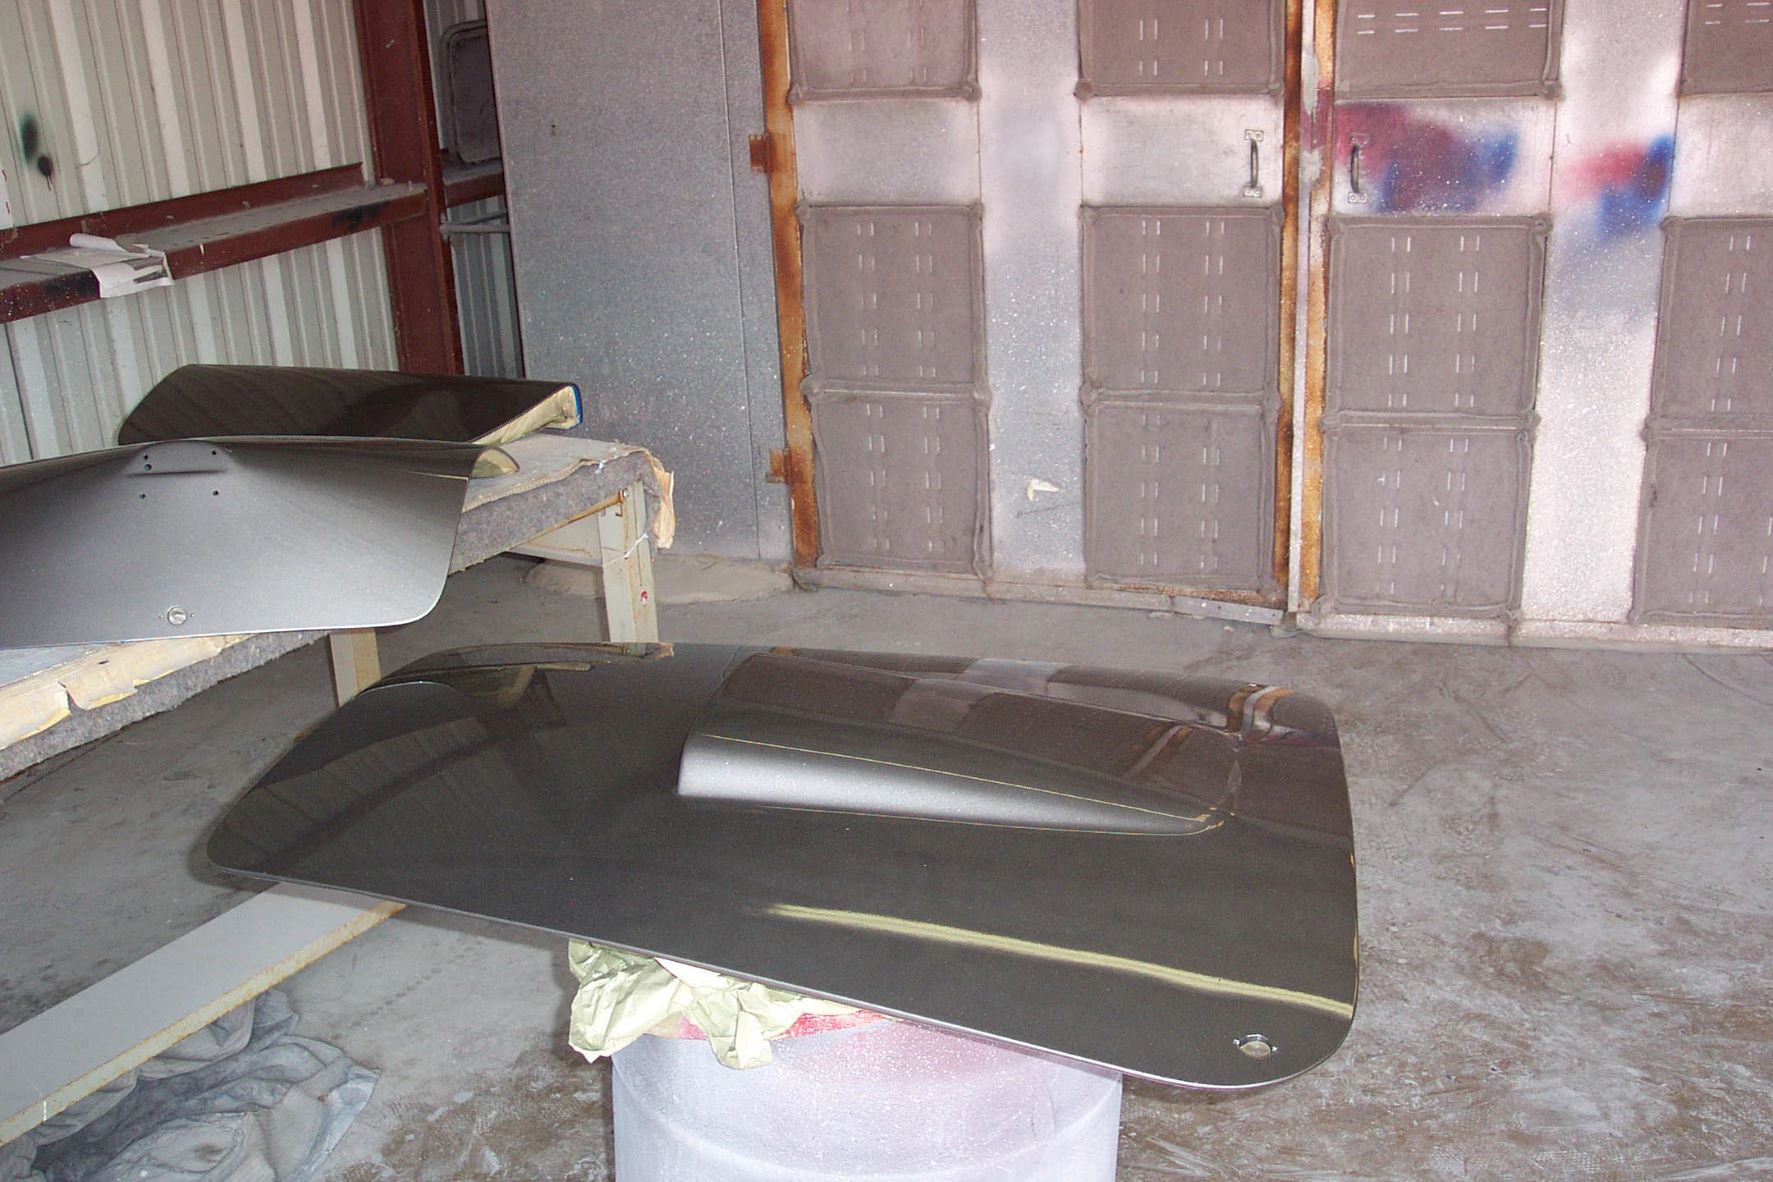
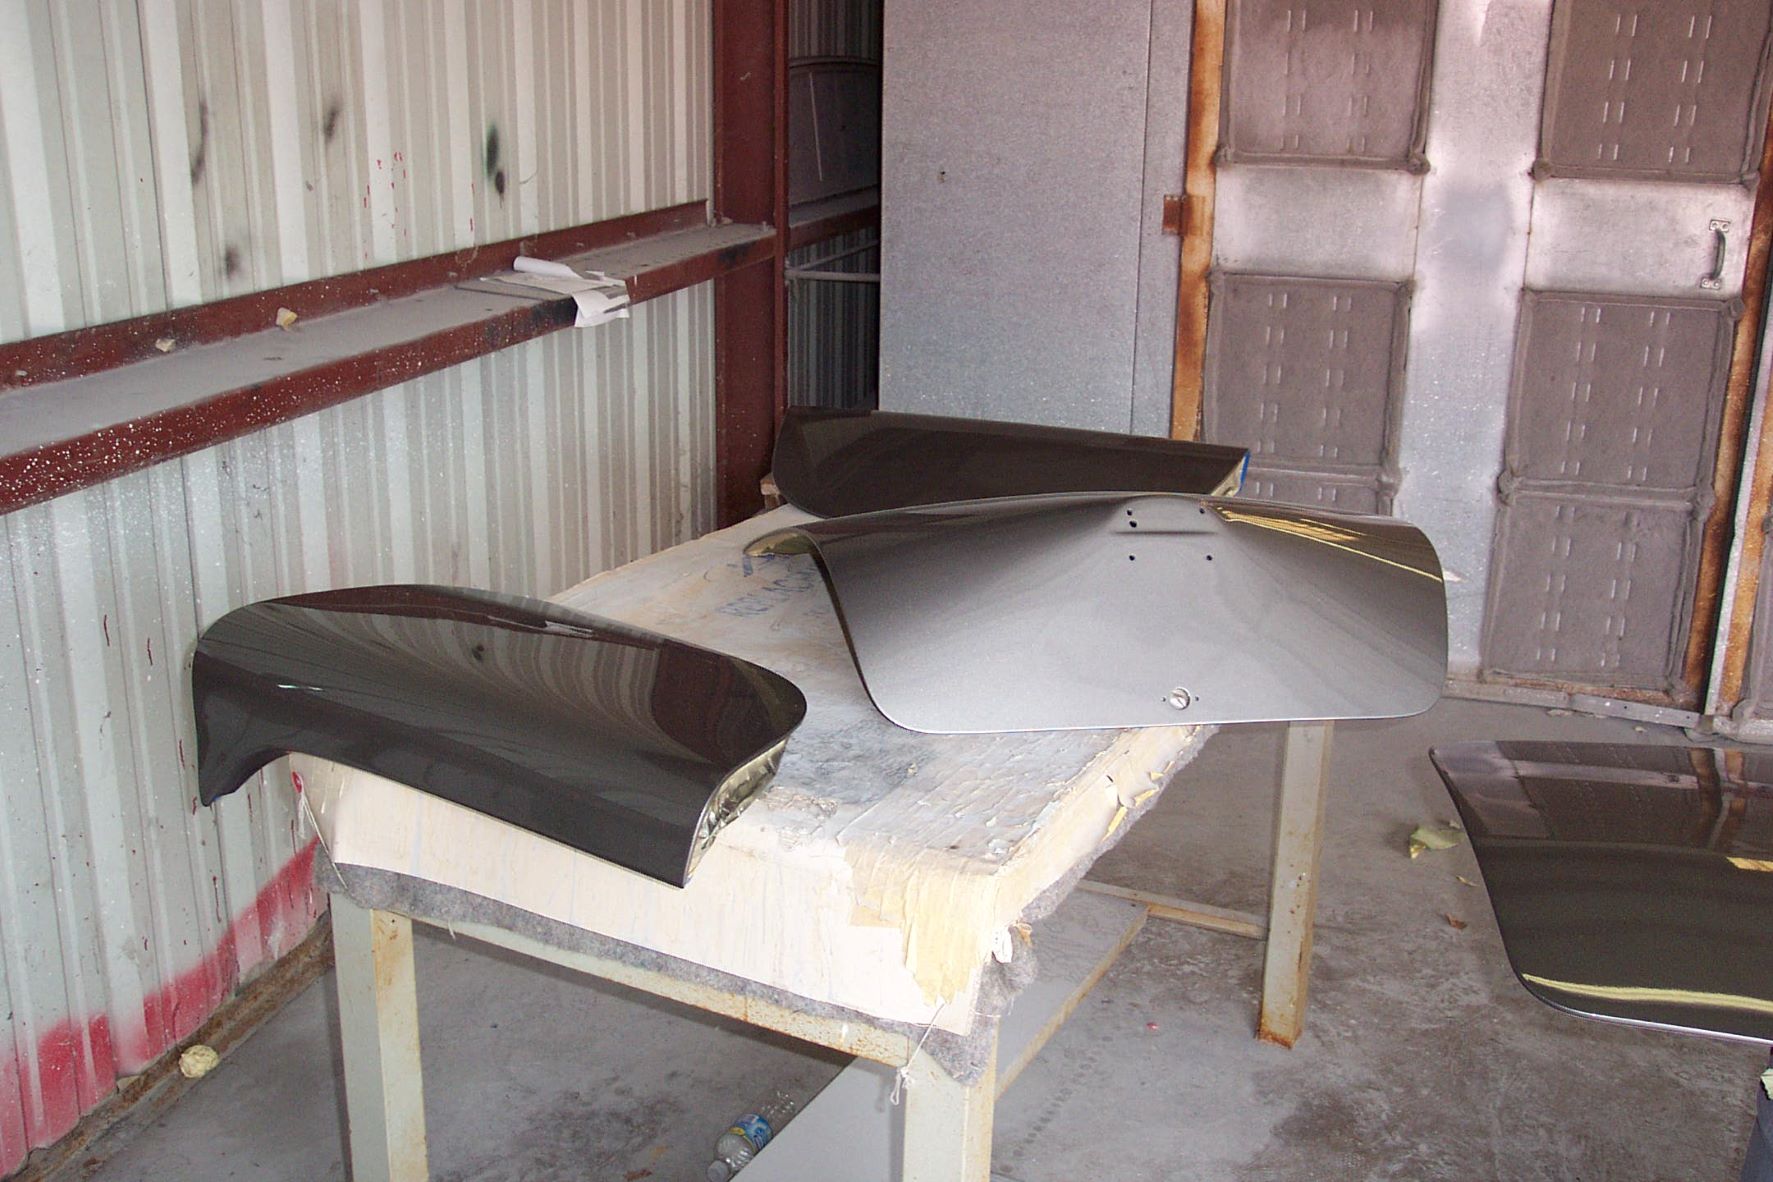
Here is the first pass at the body work. The seams are basically sanded flat and then Duraglass is used to fill the seams.
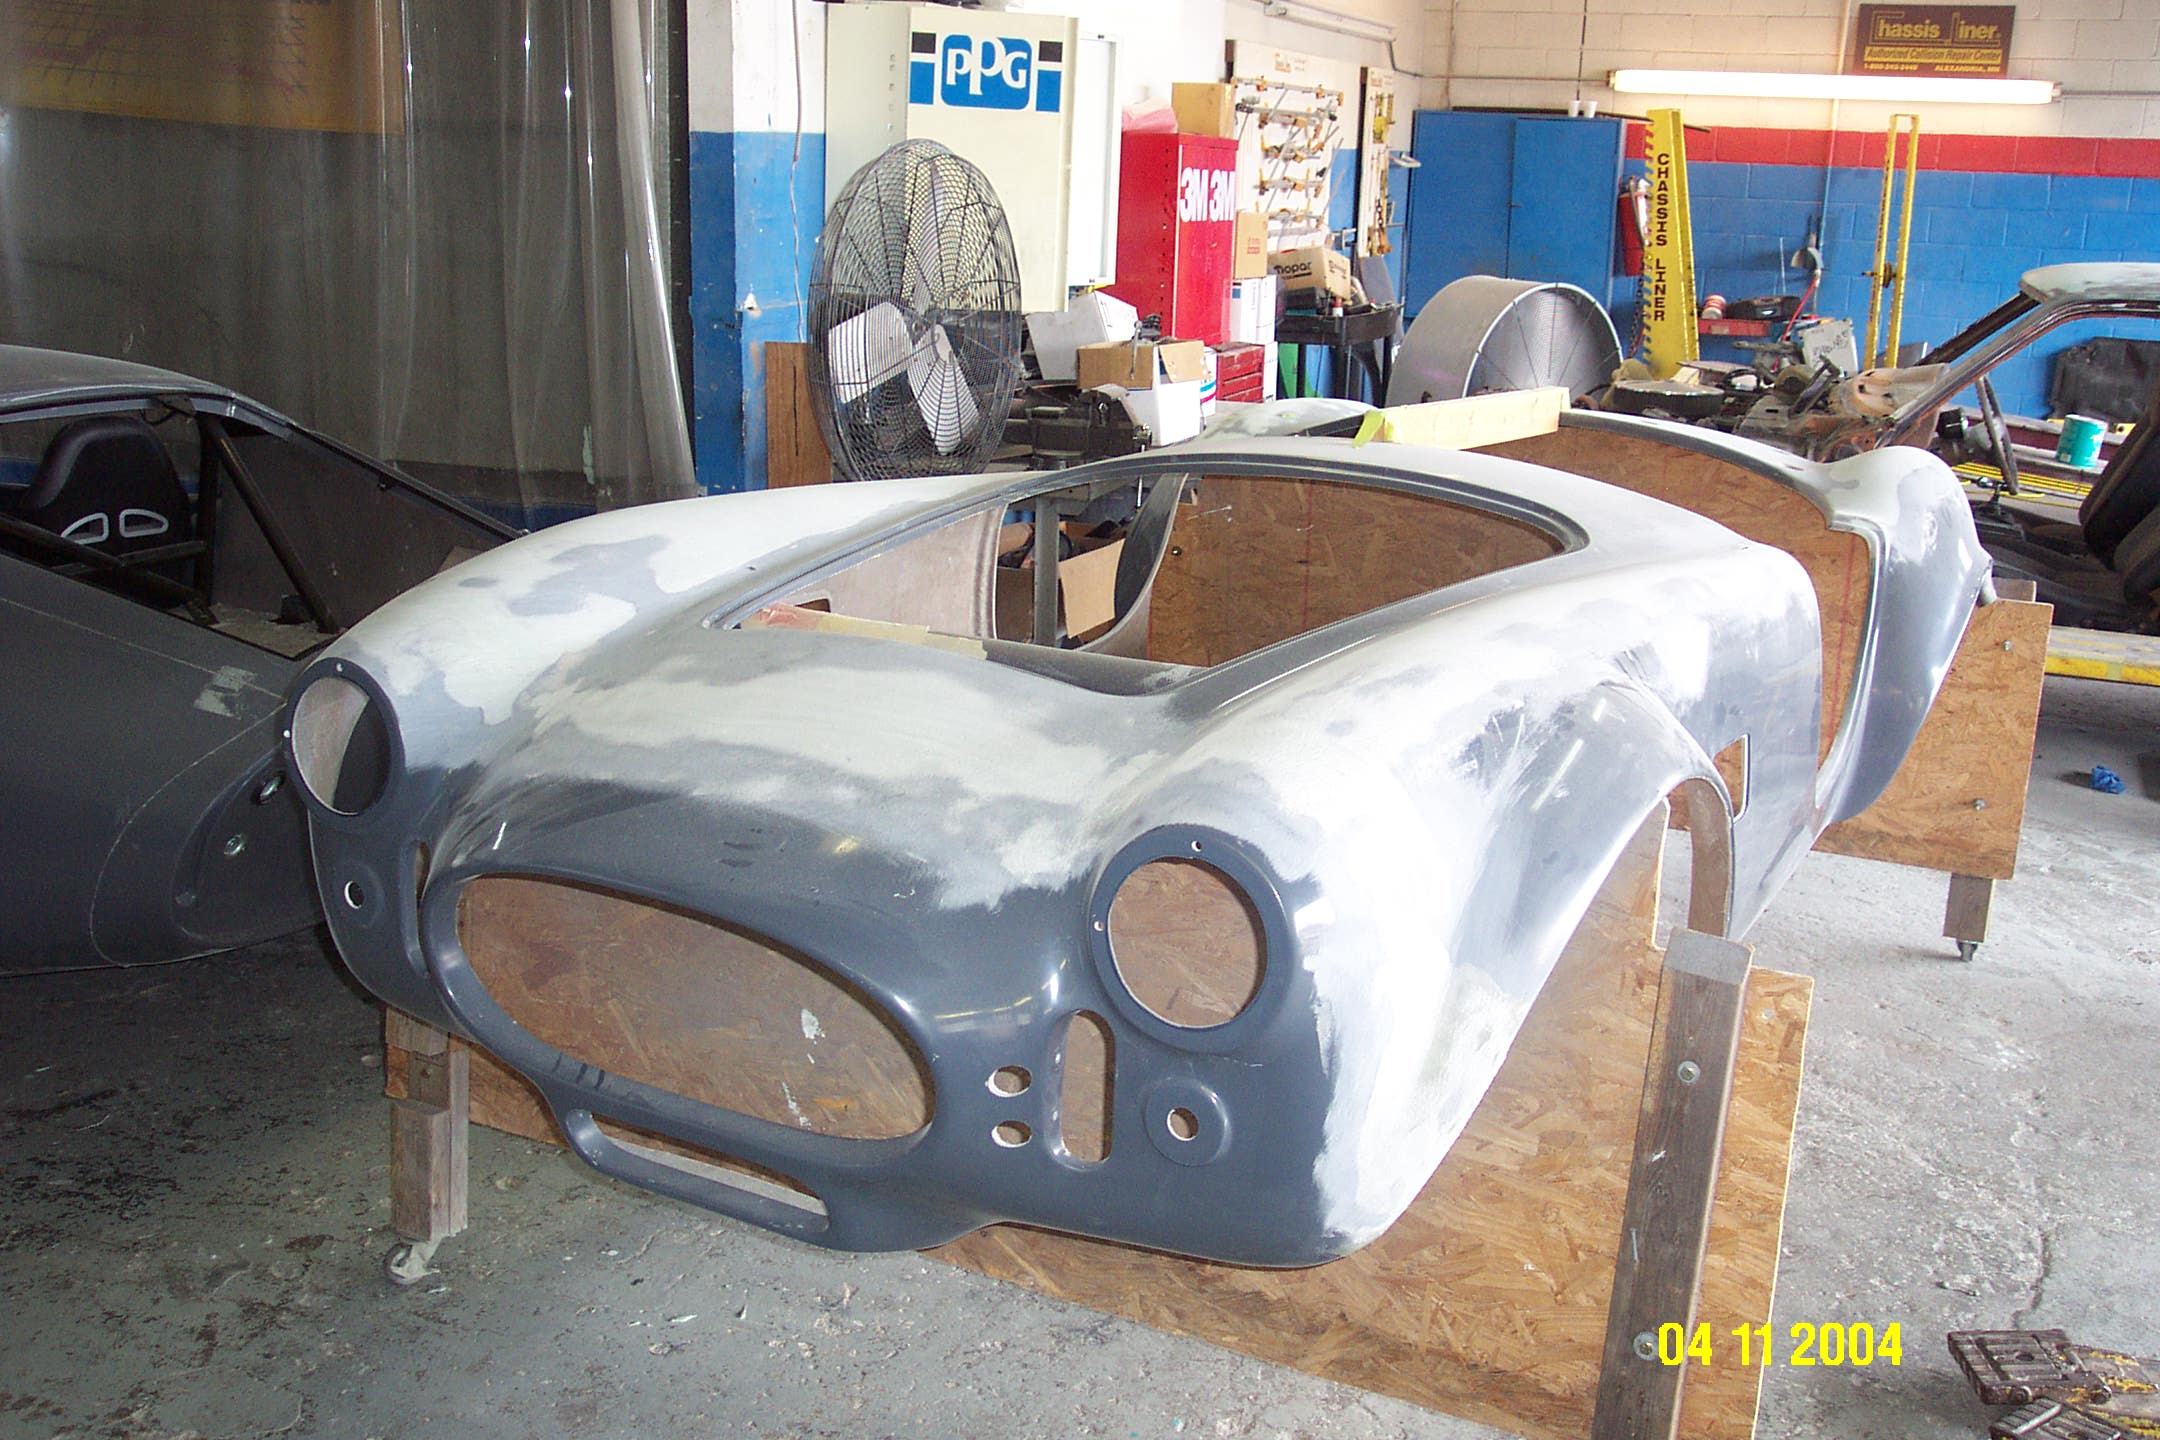
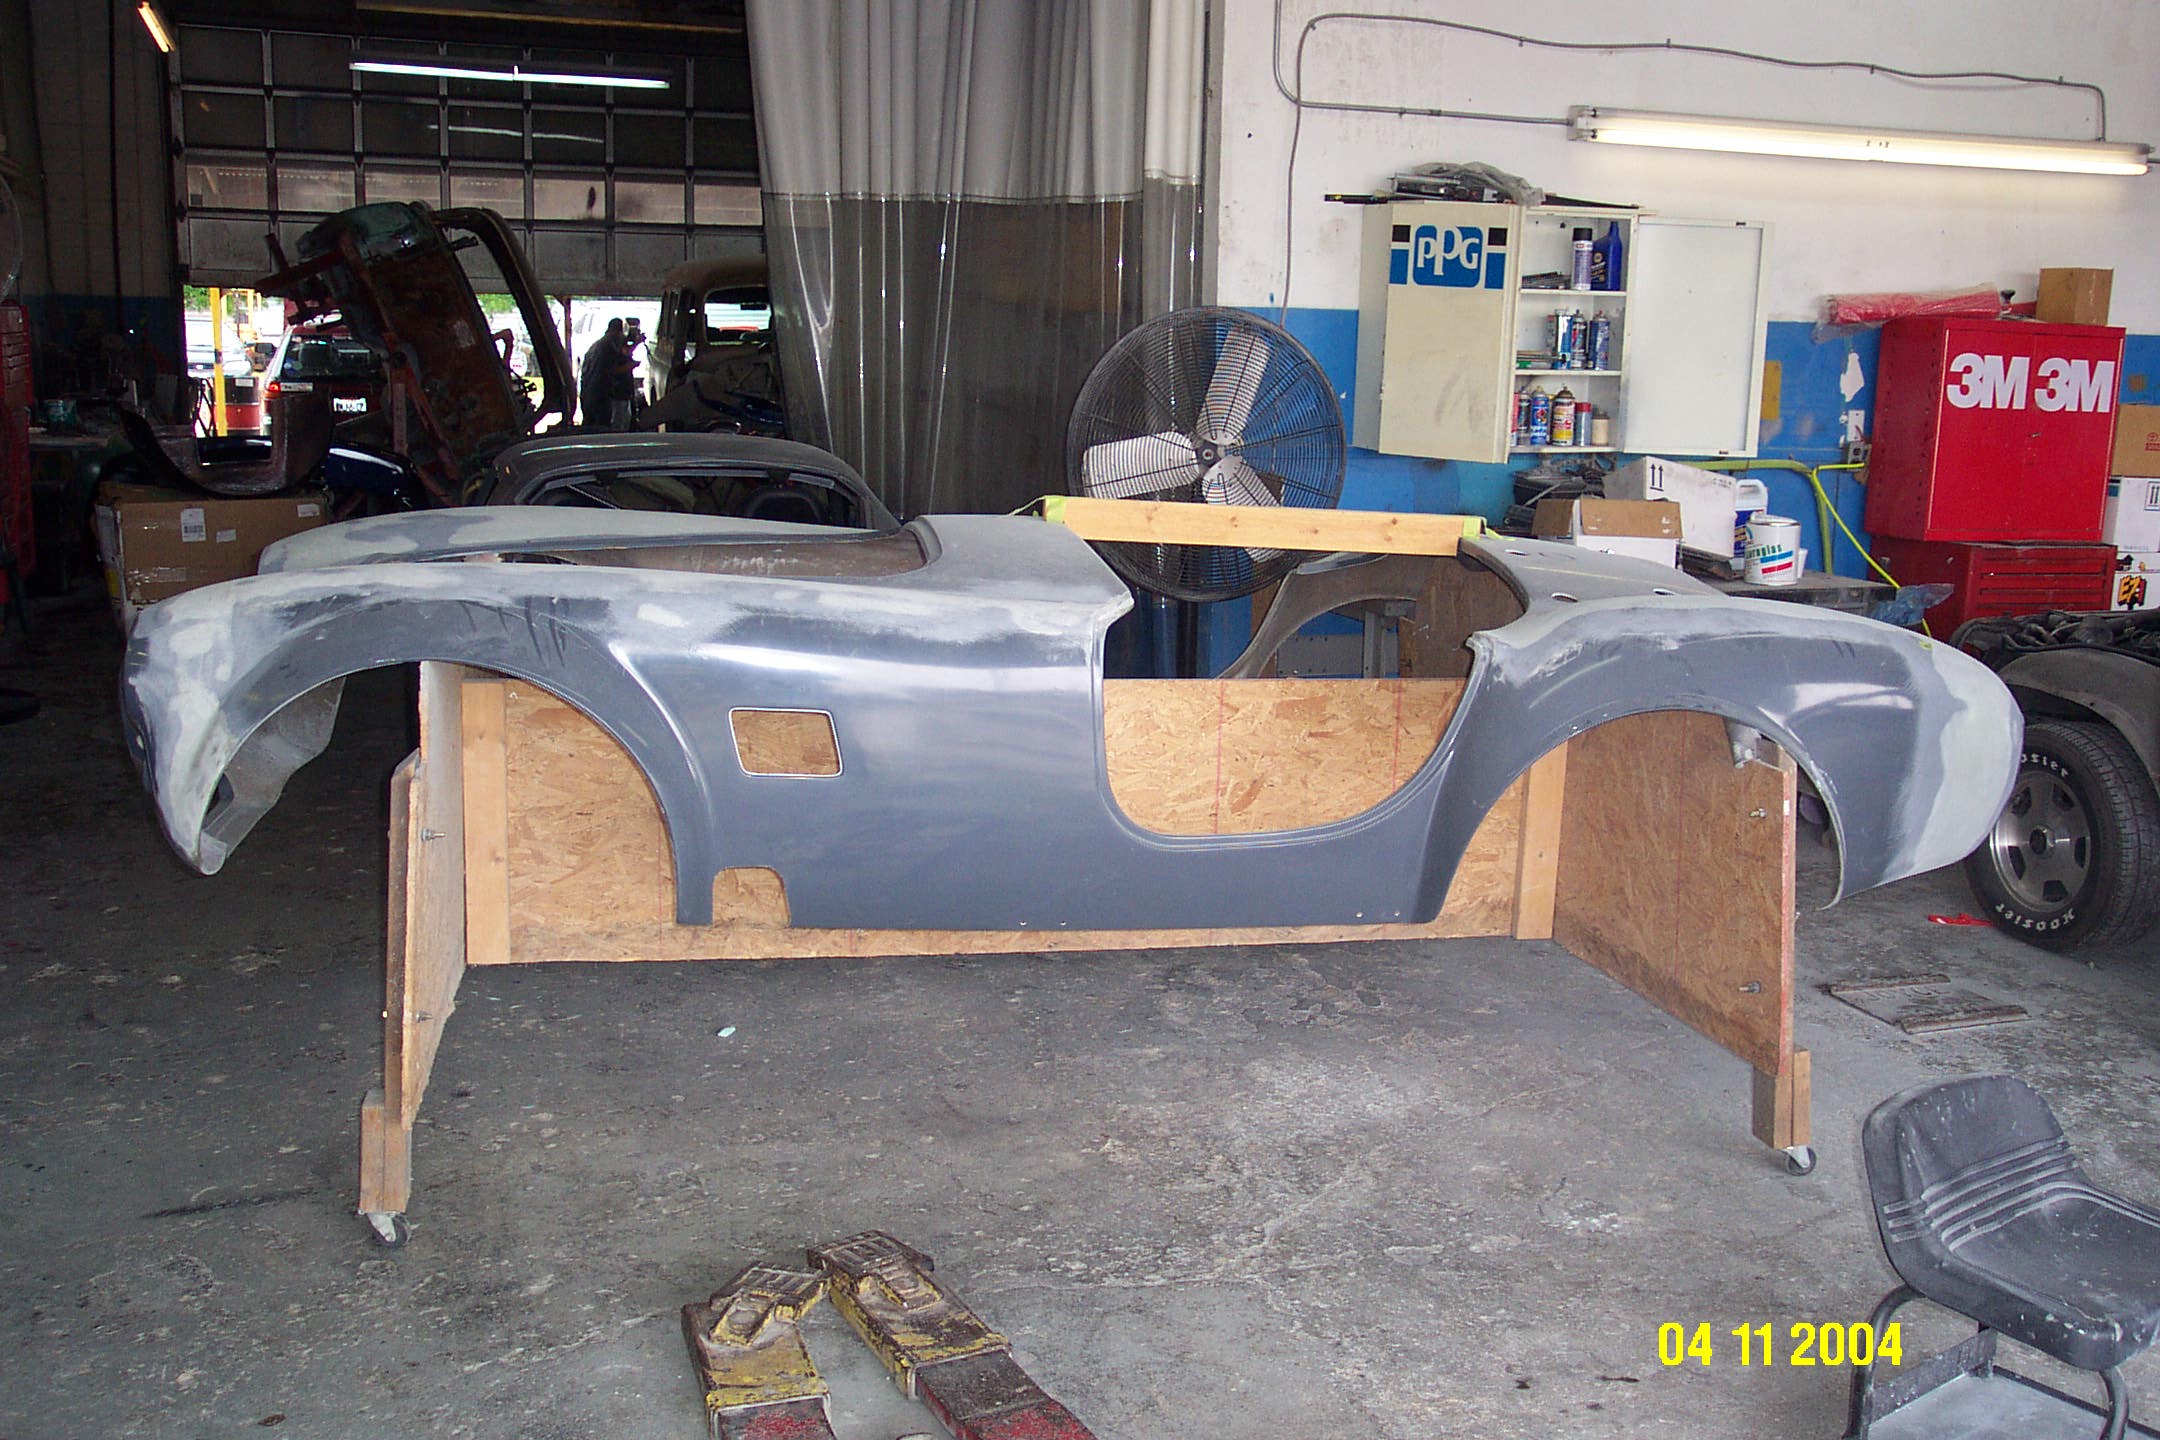
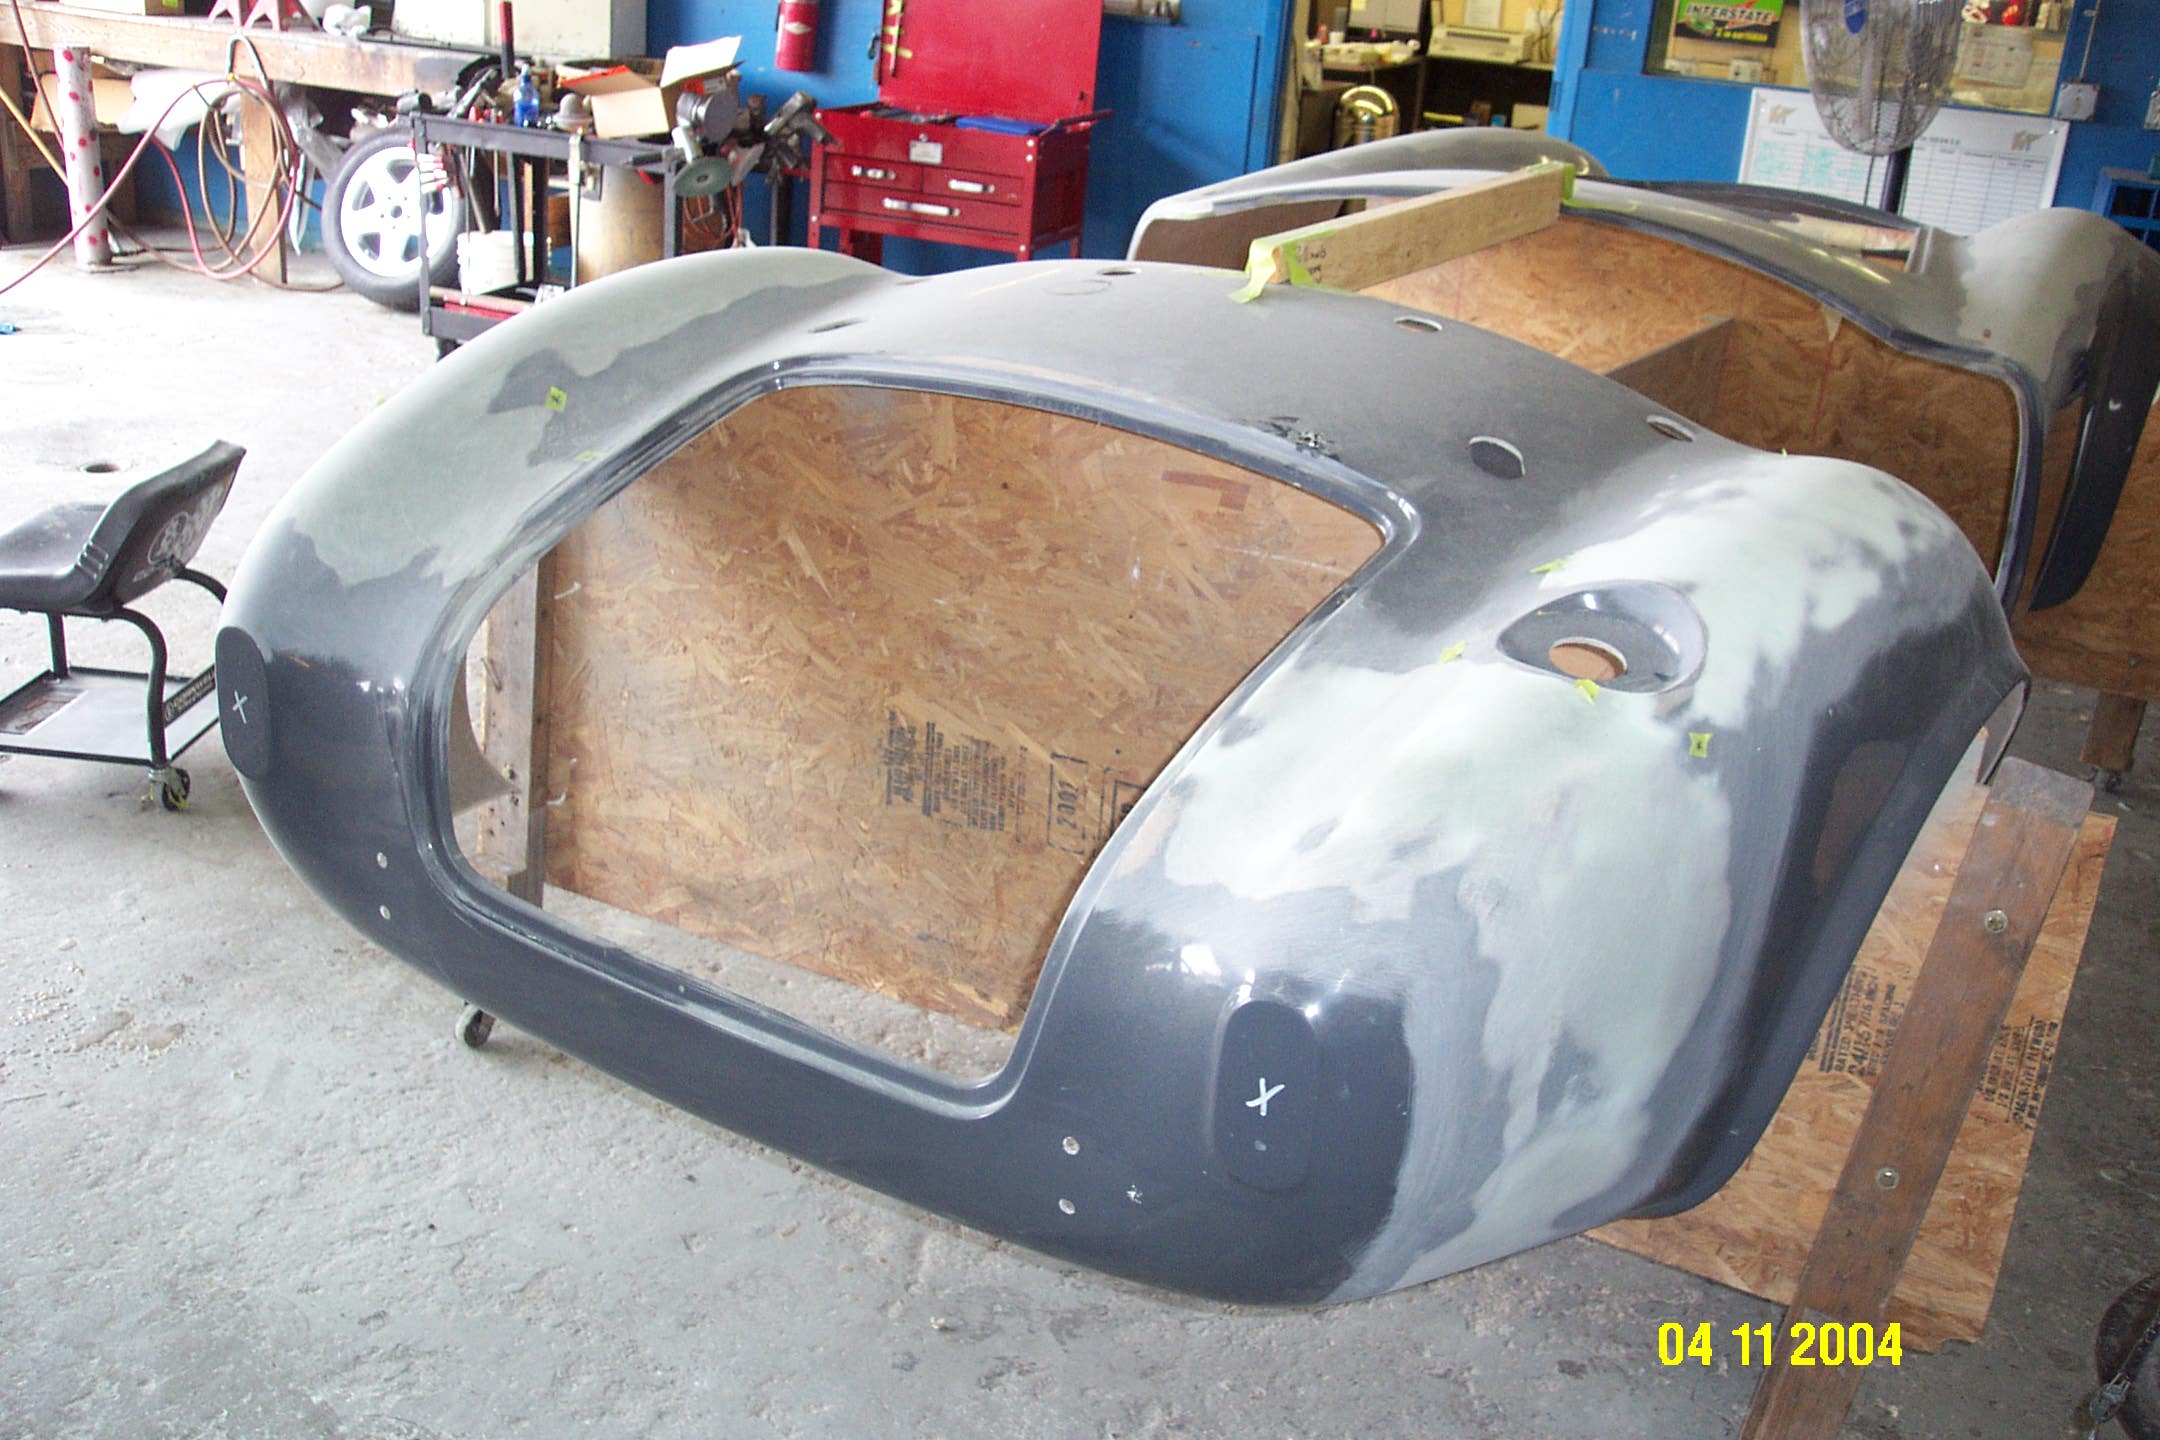
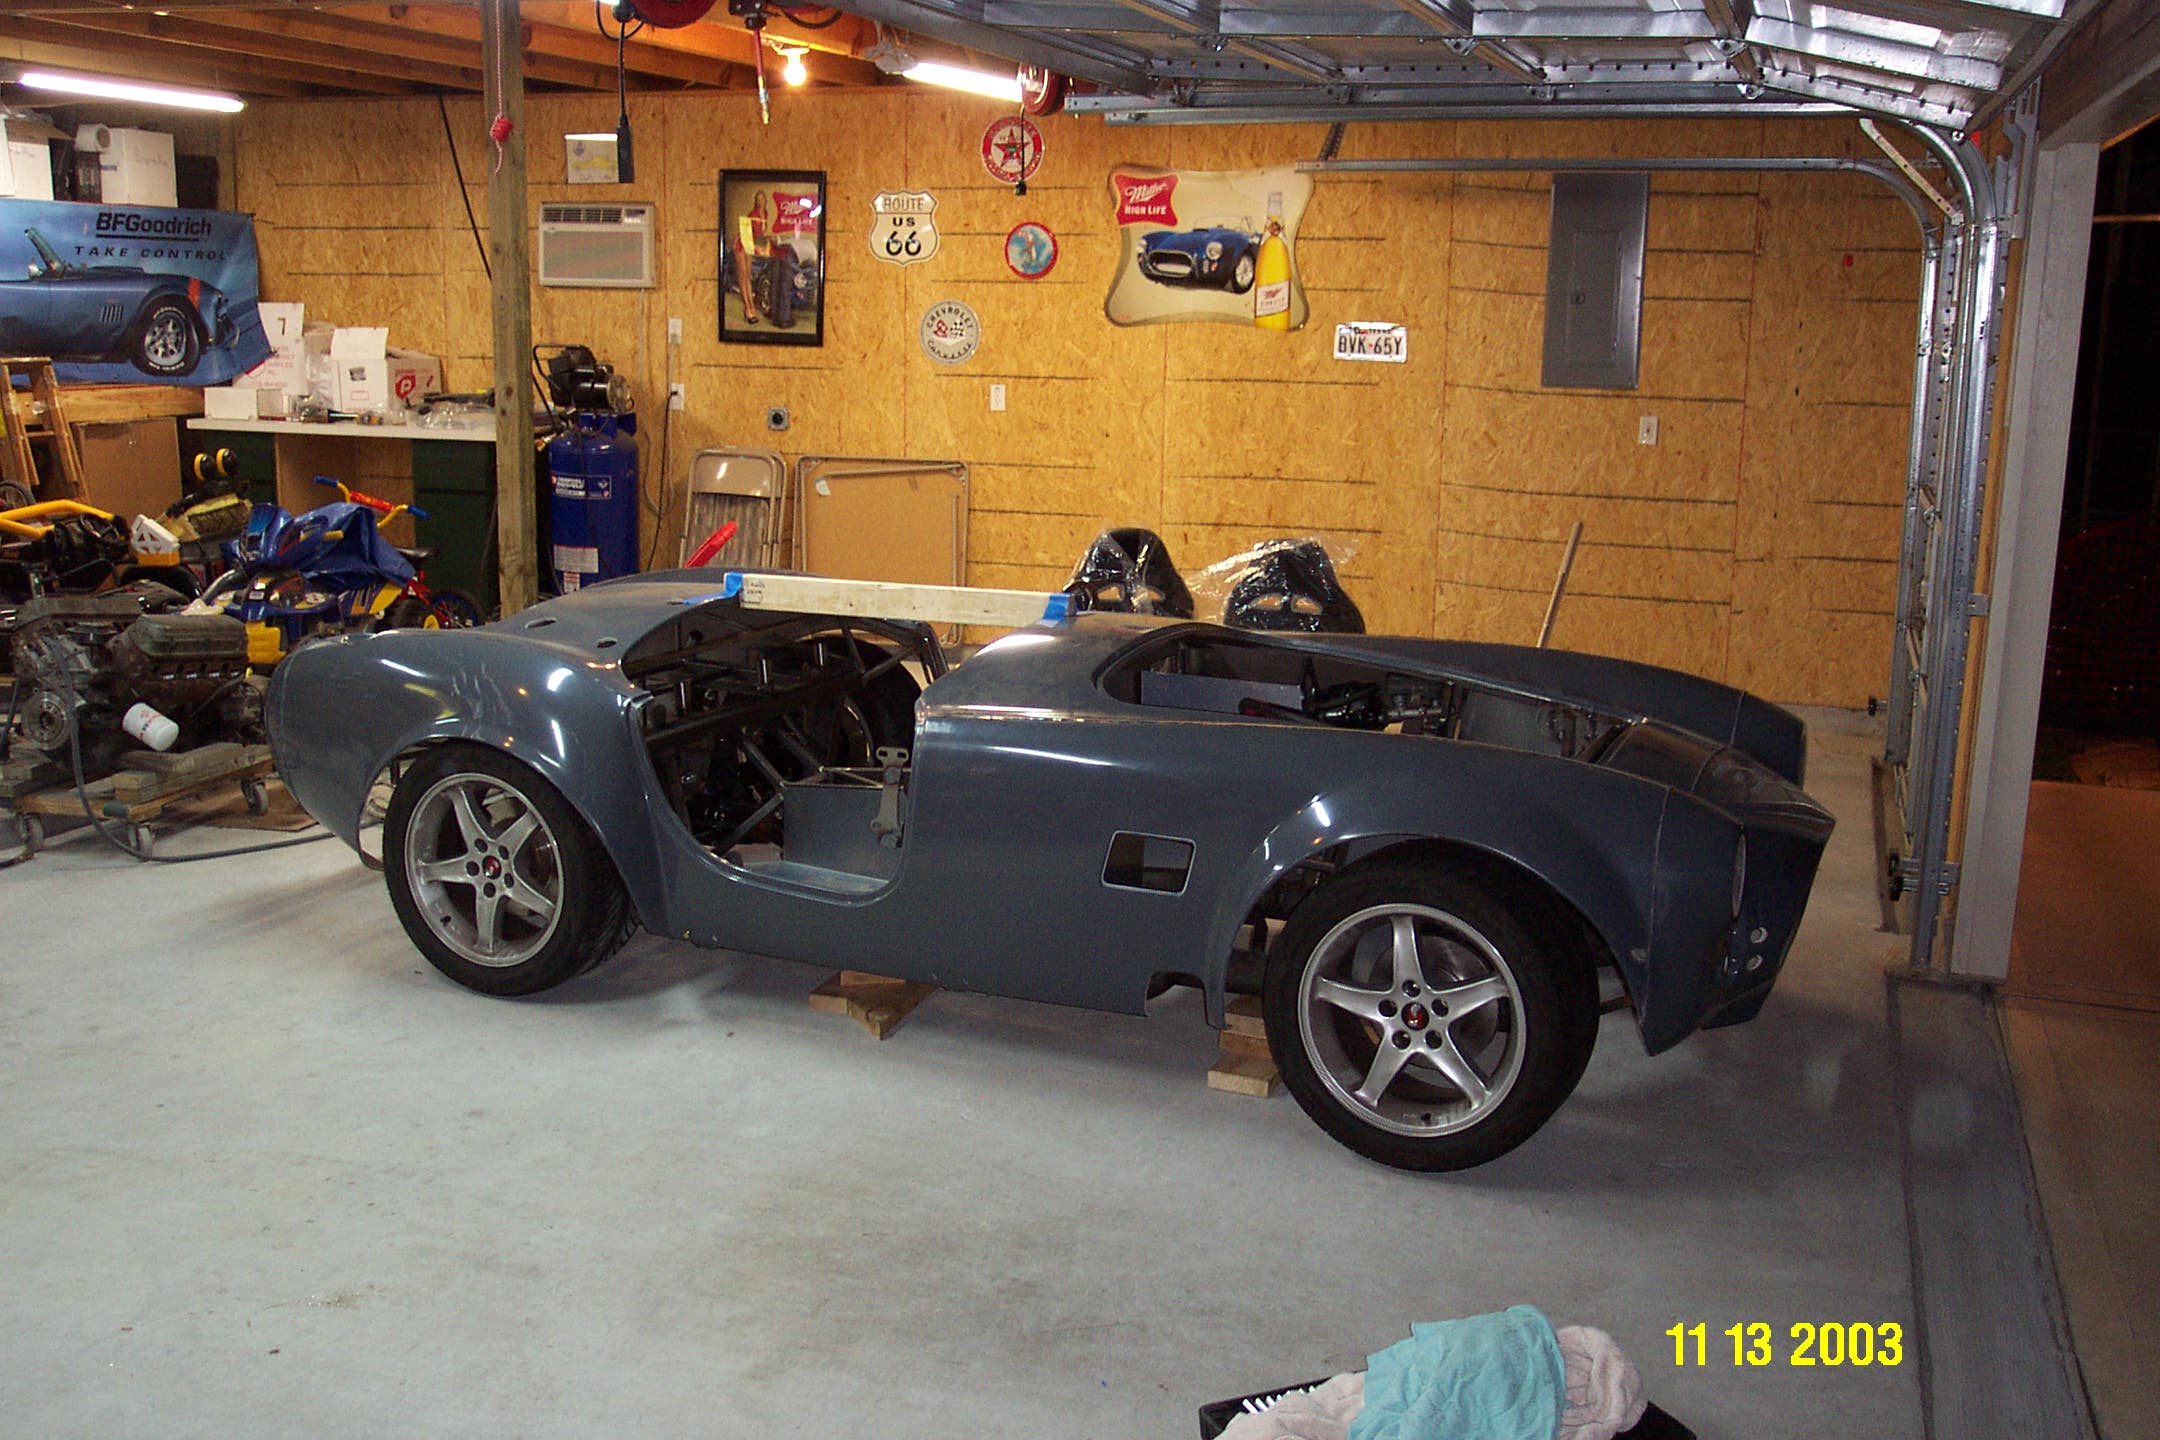
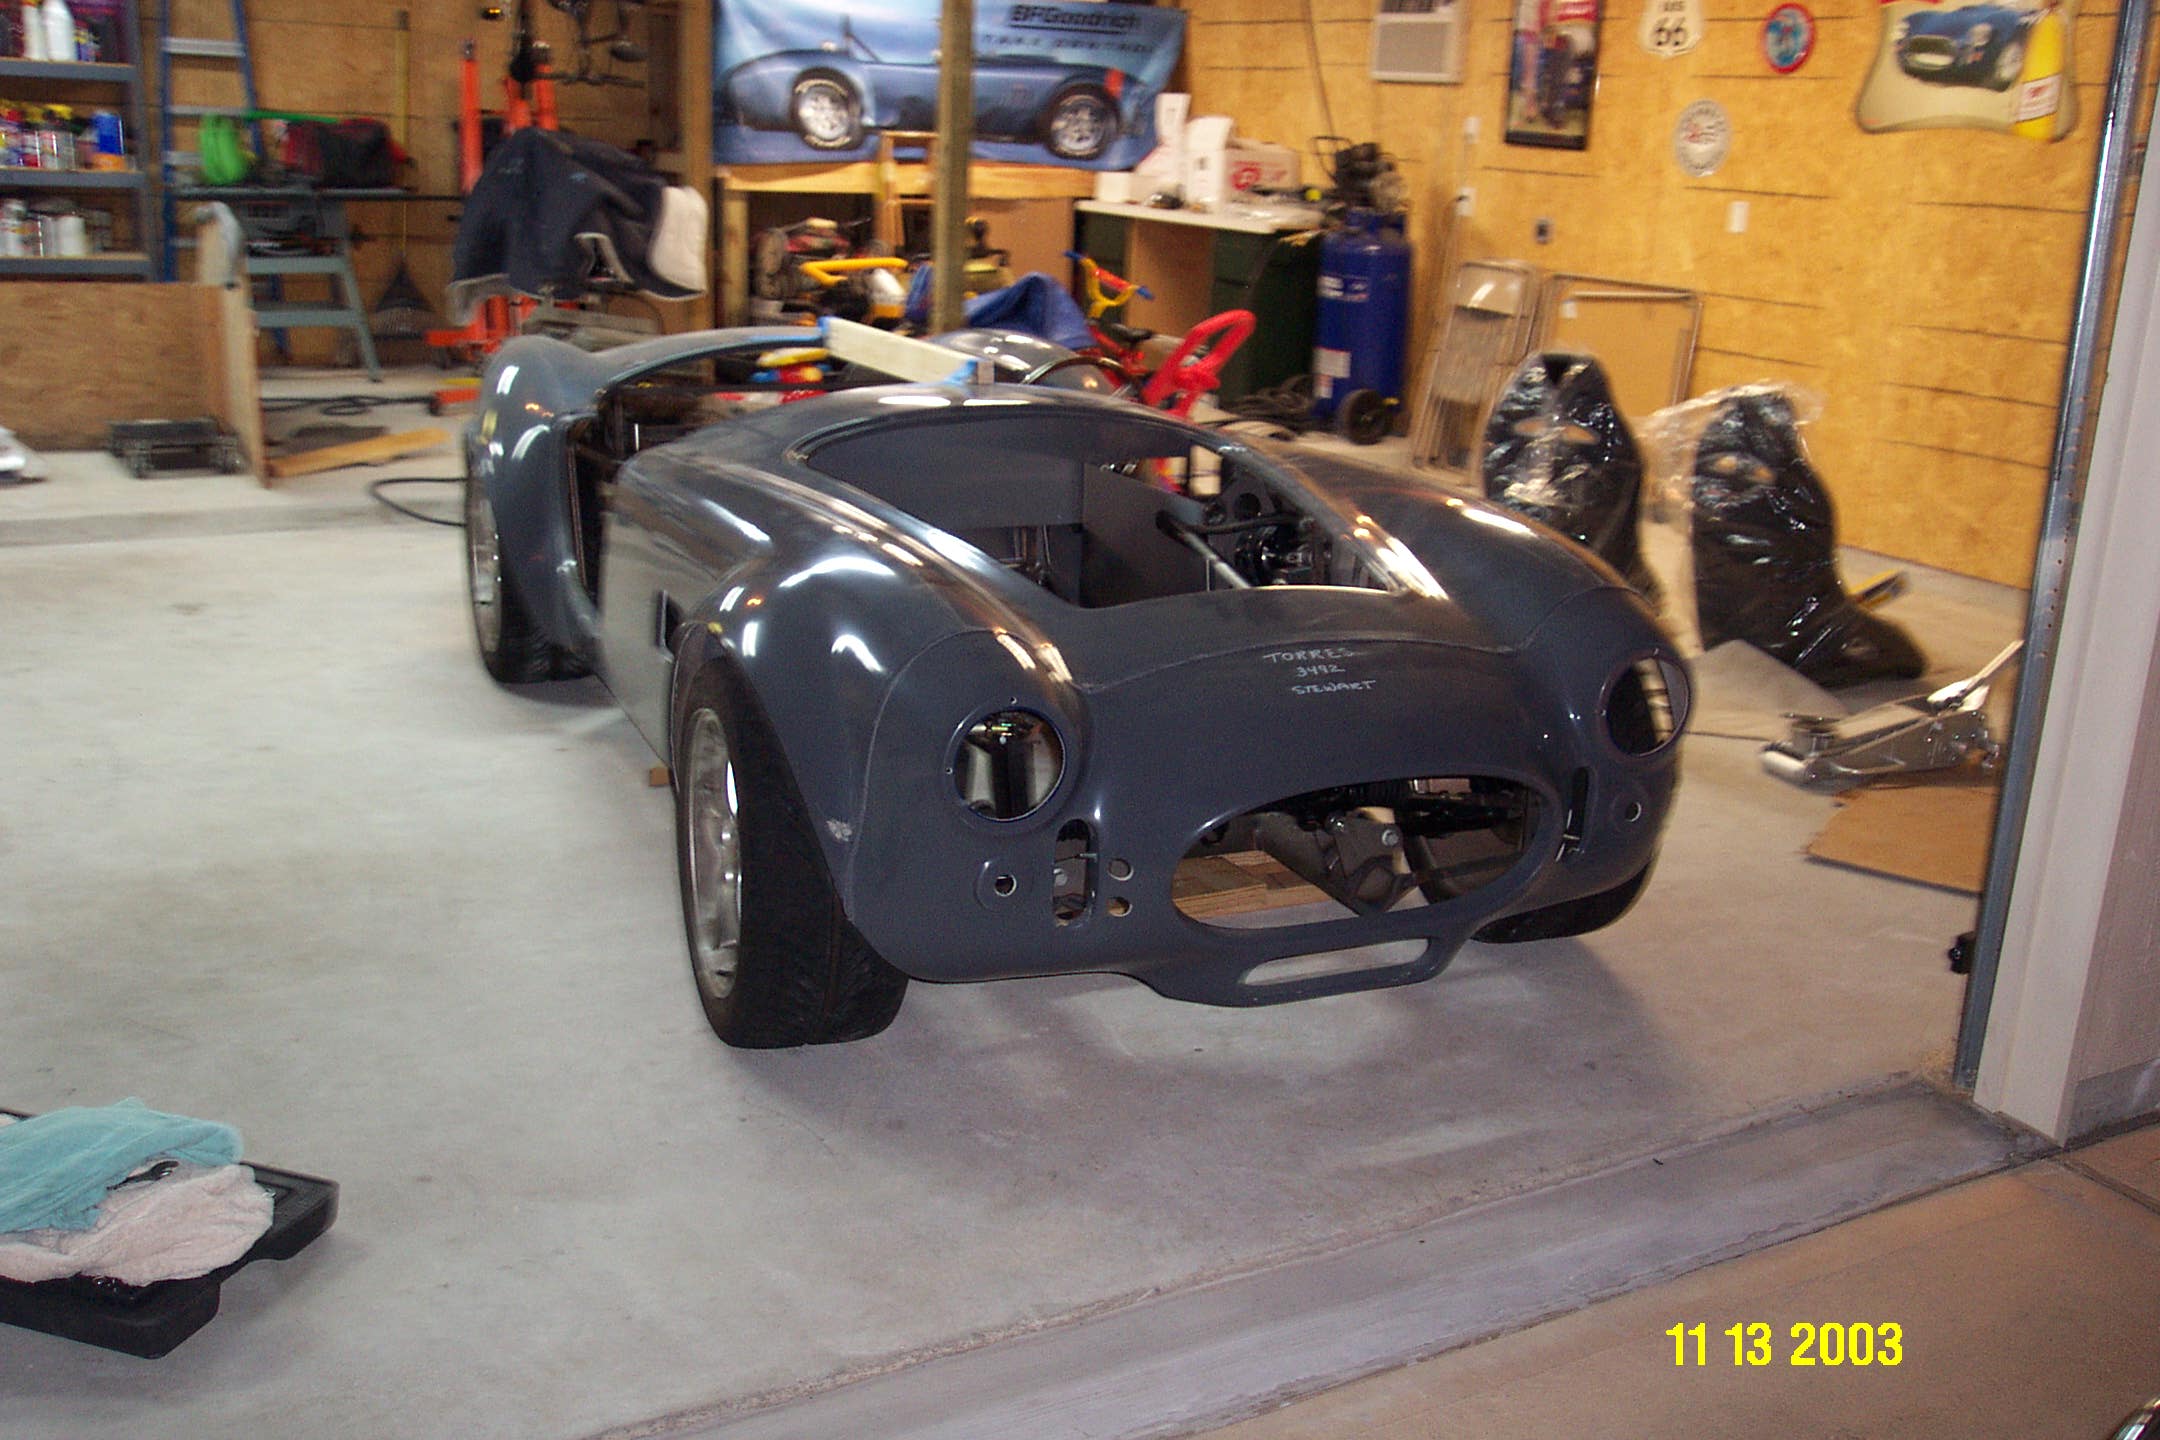
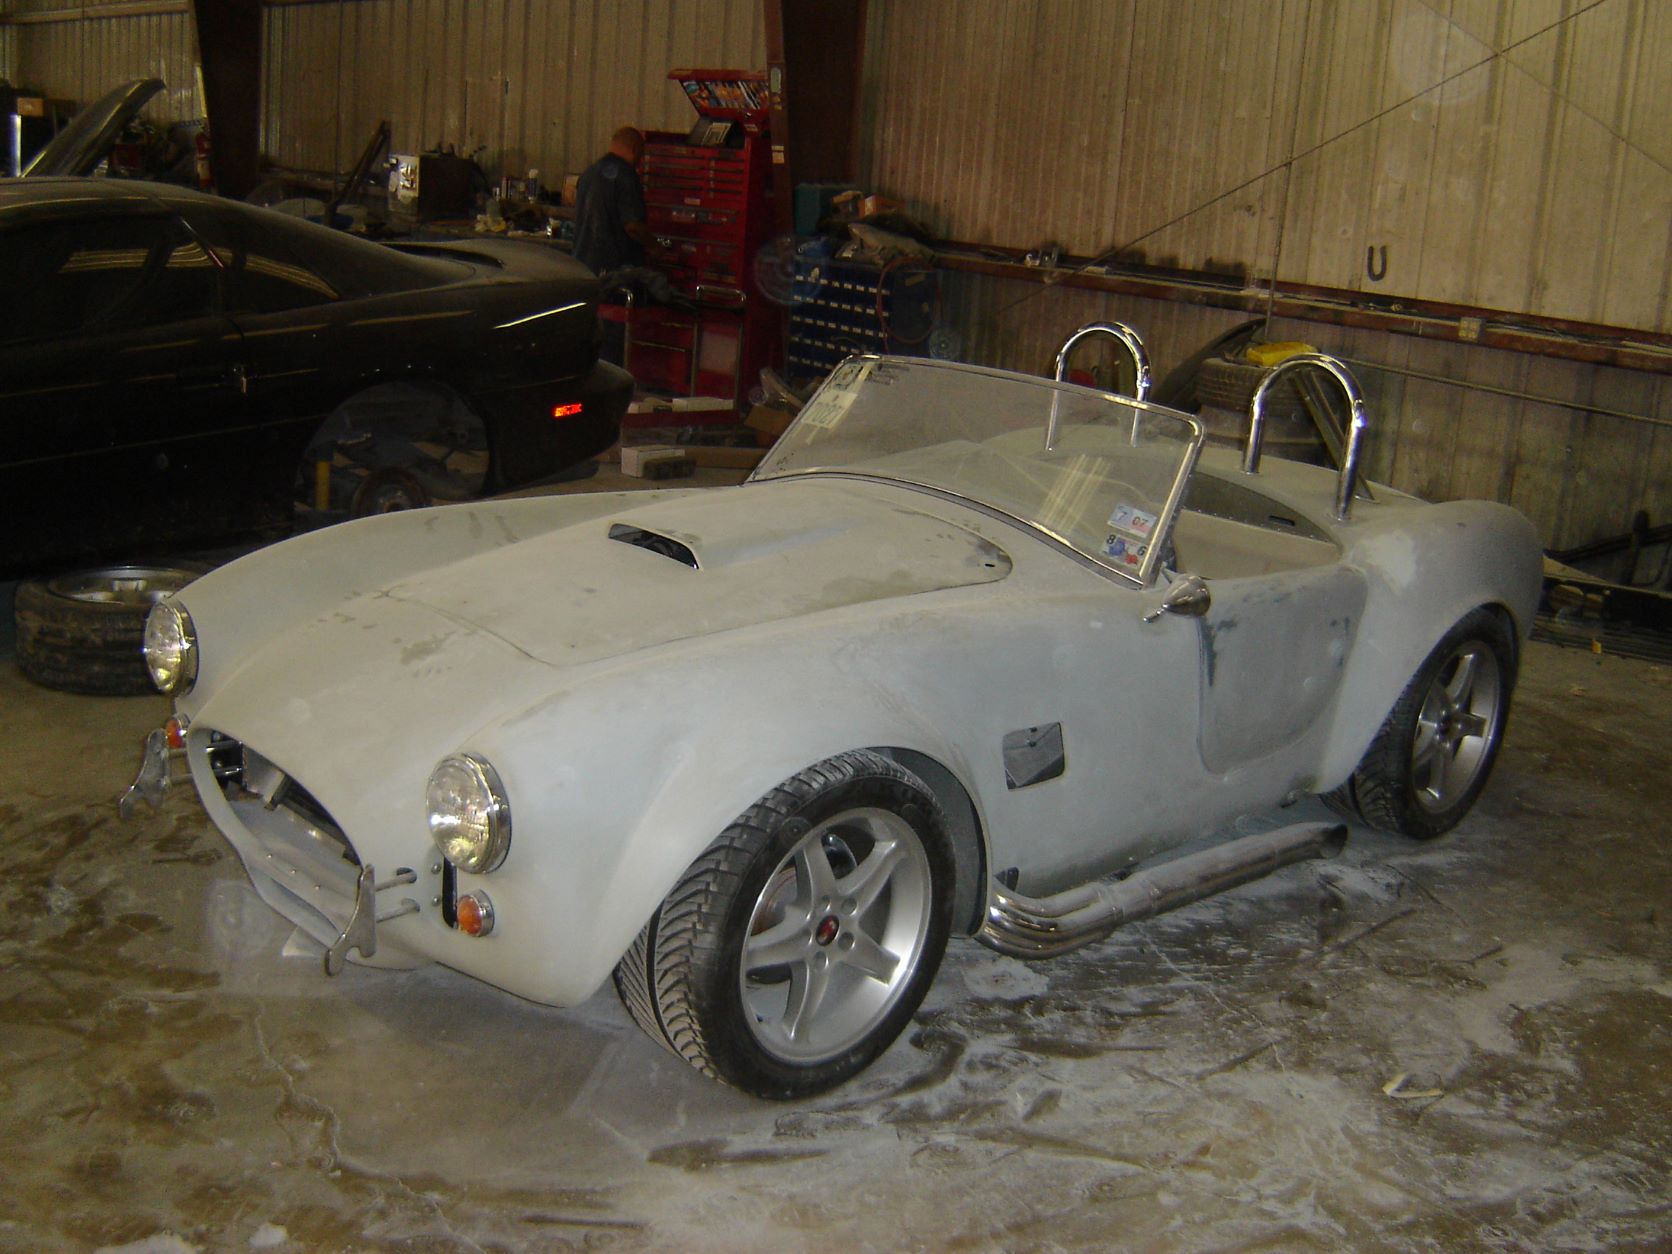
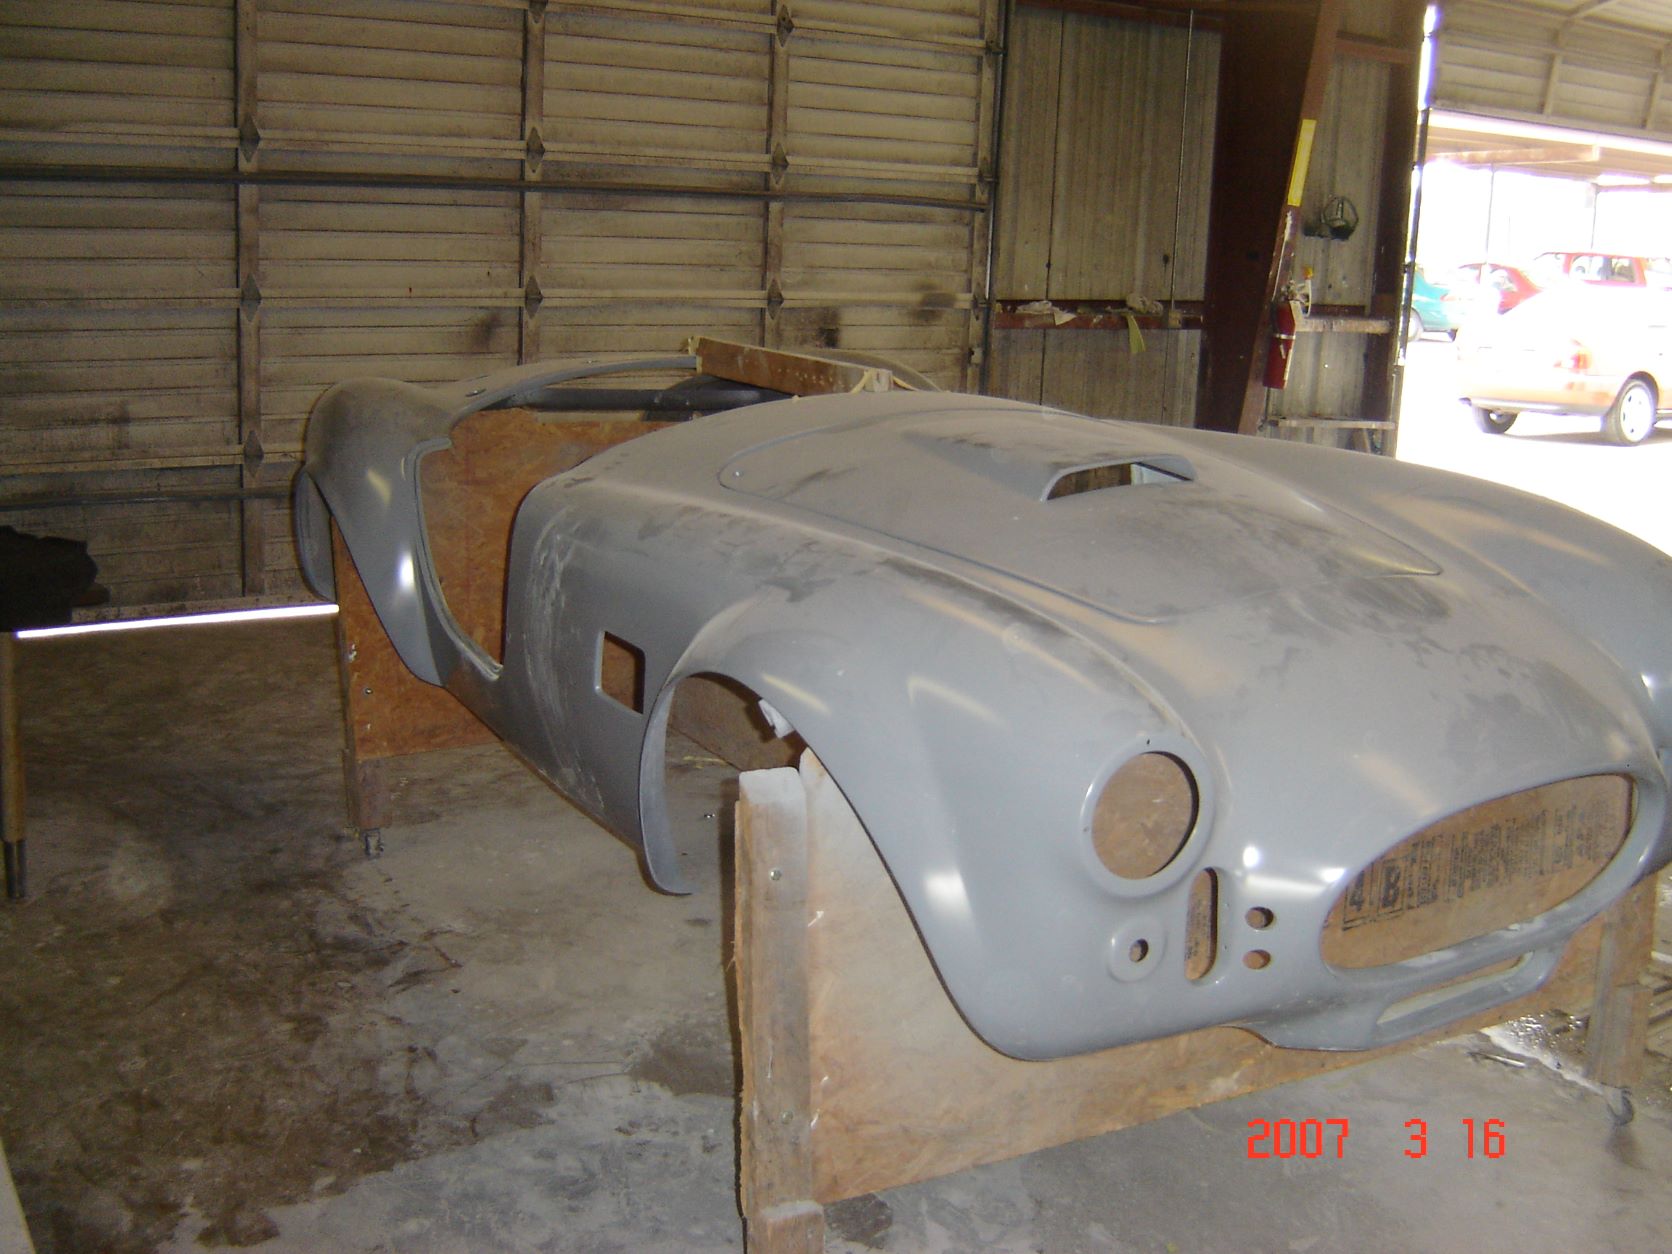
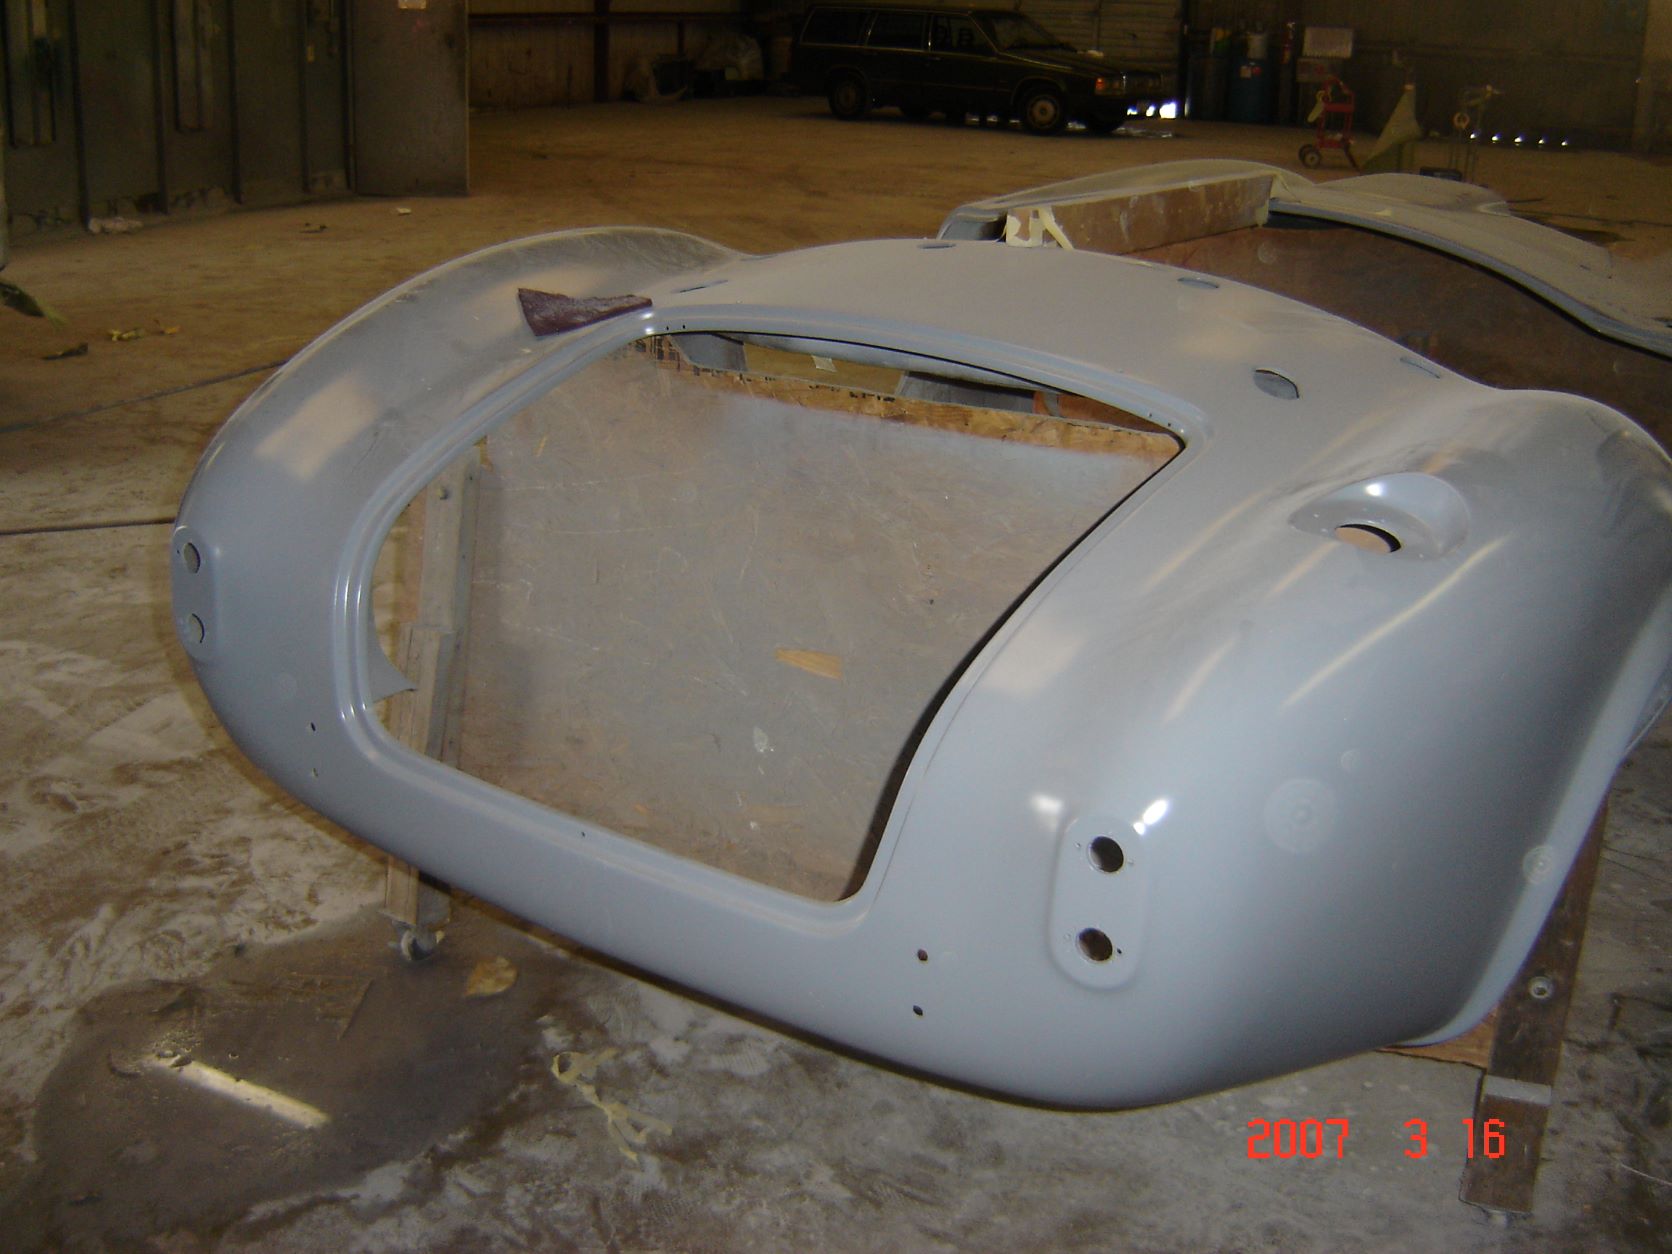
Here is the body back in the garage after the seams were completed and the first coat of primer was applied. Next in needs to be mounted on the chassis.
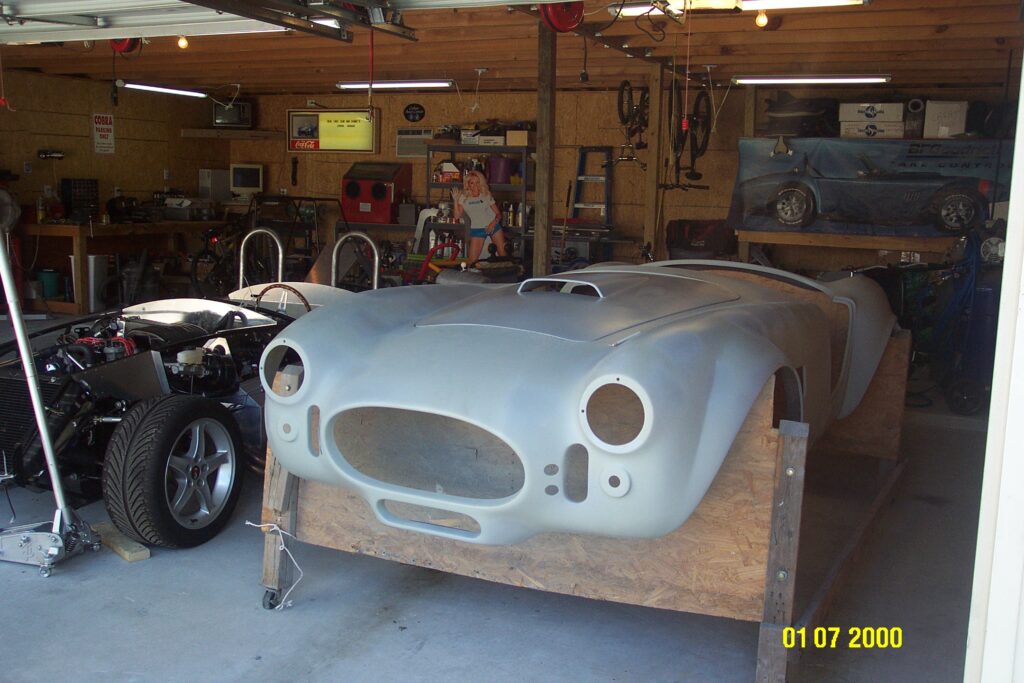
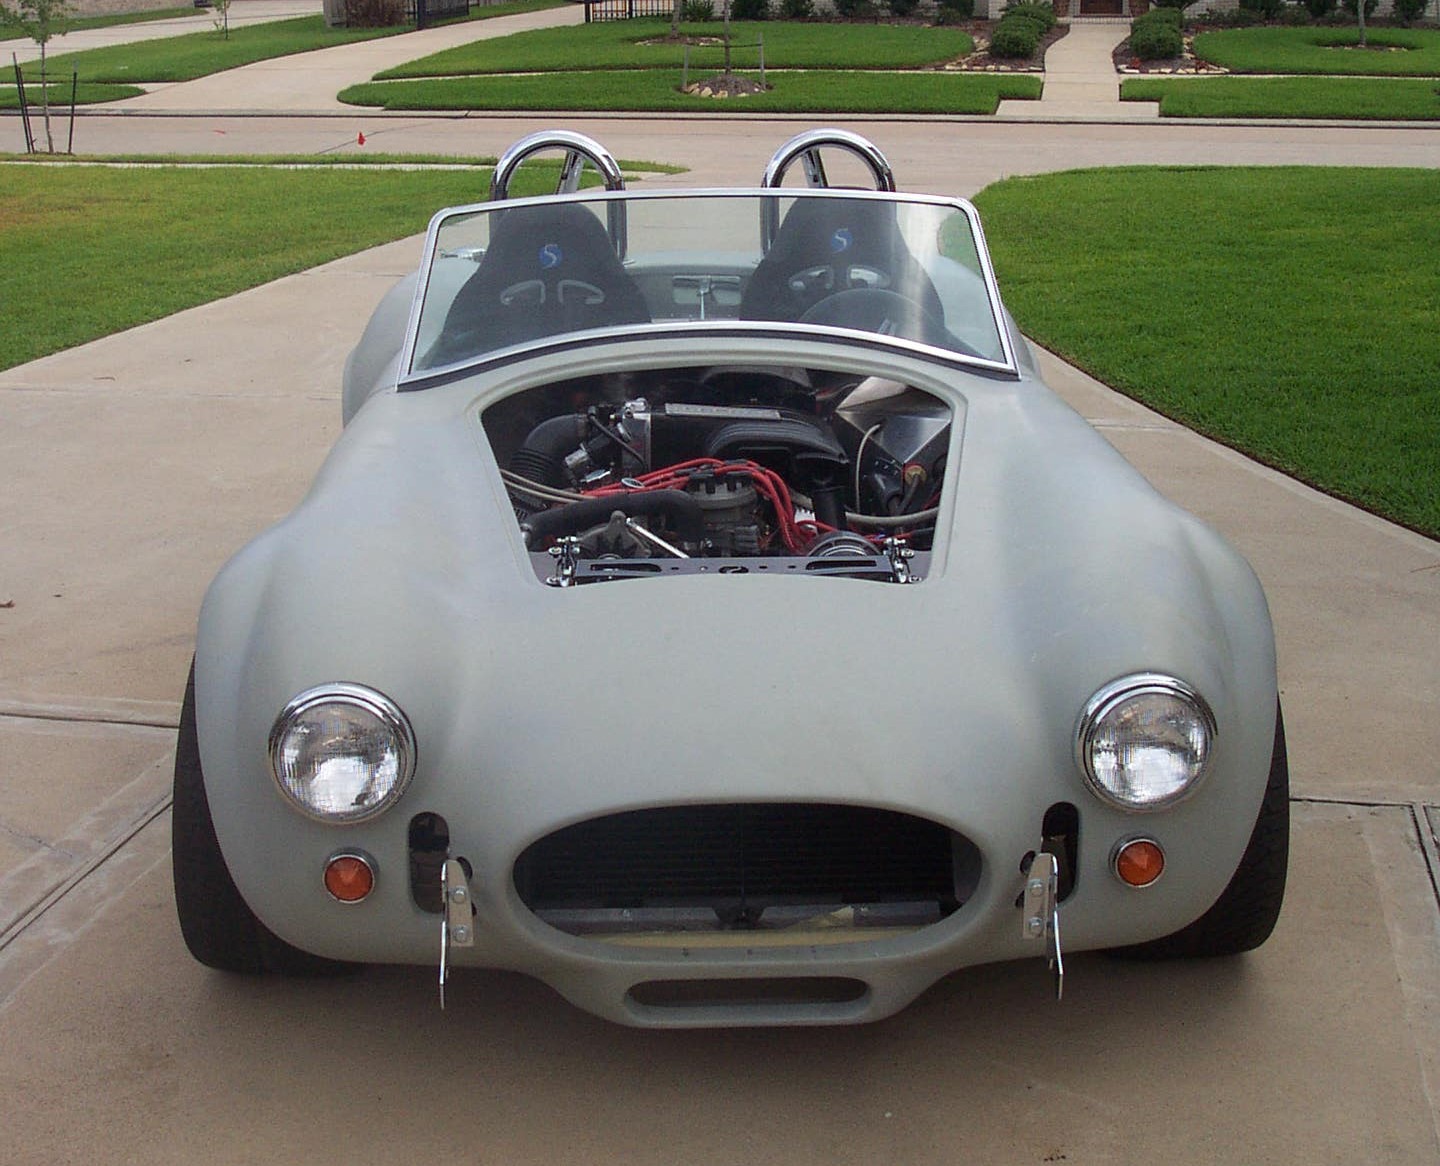
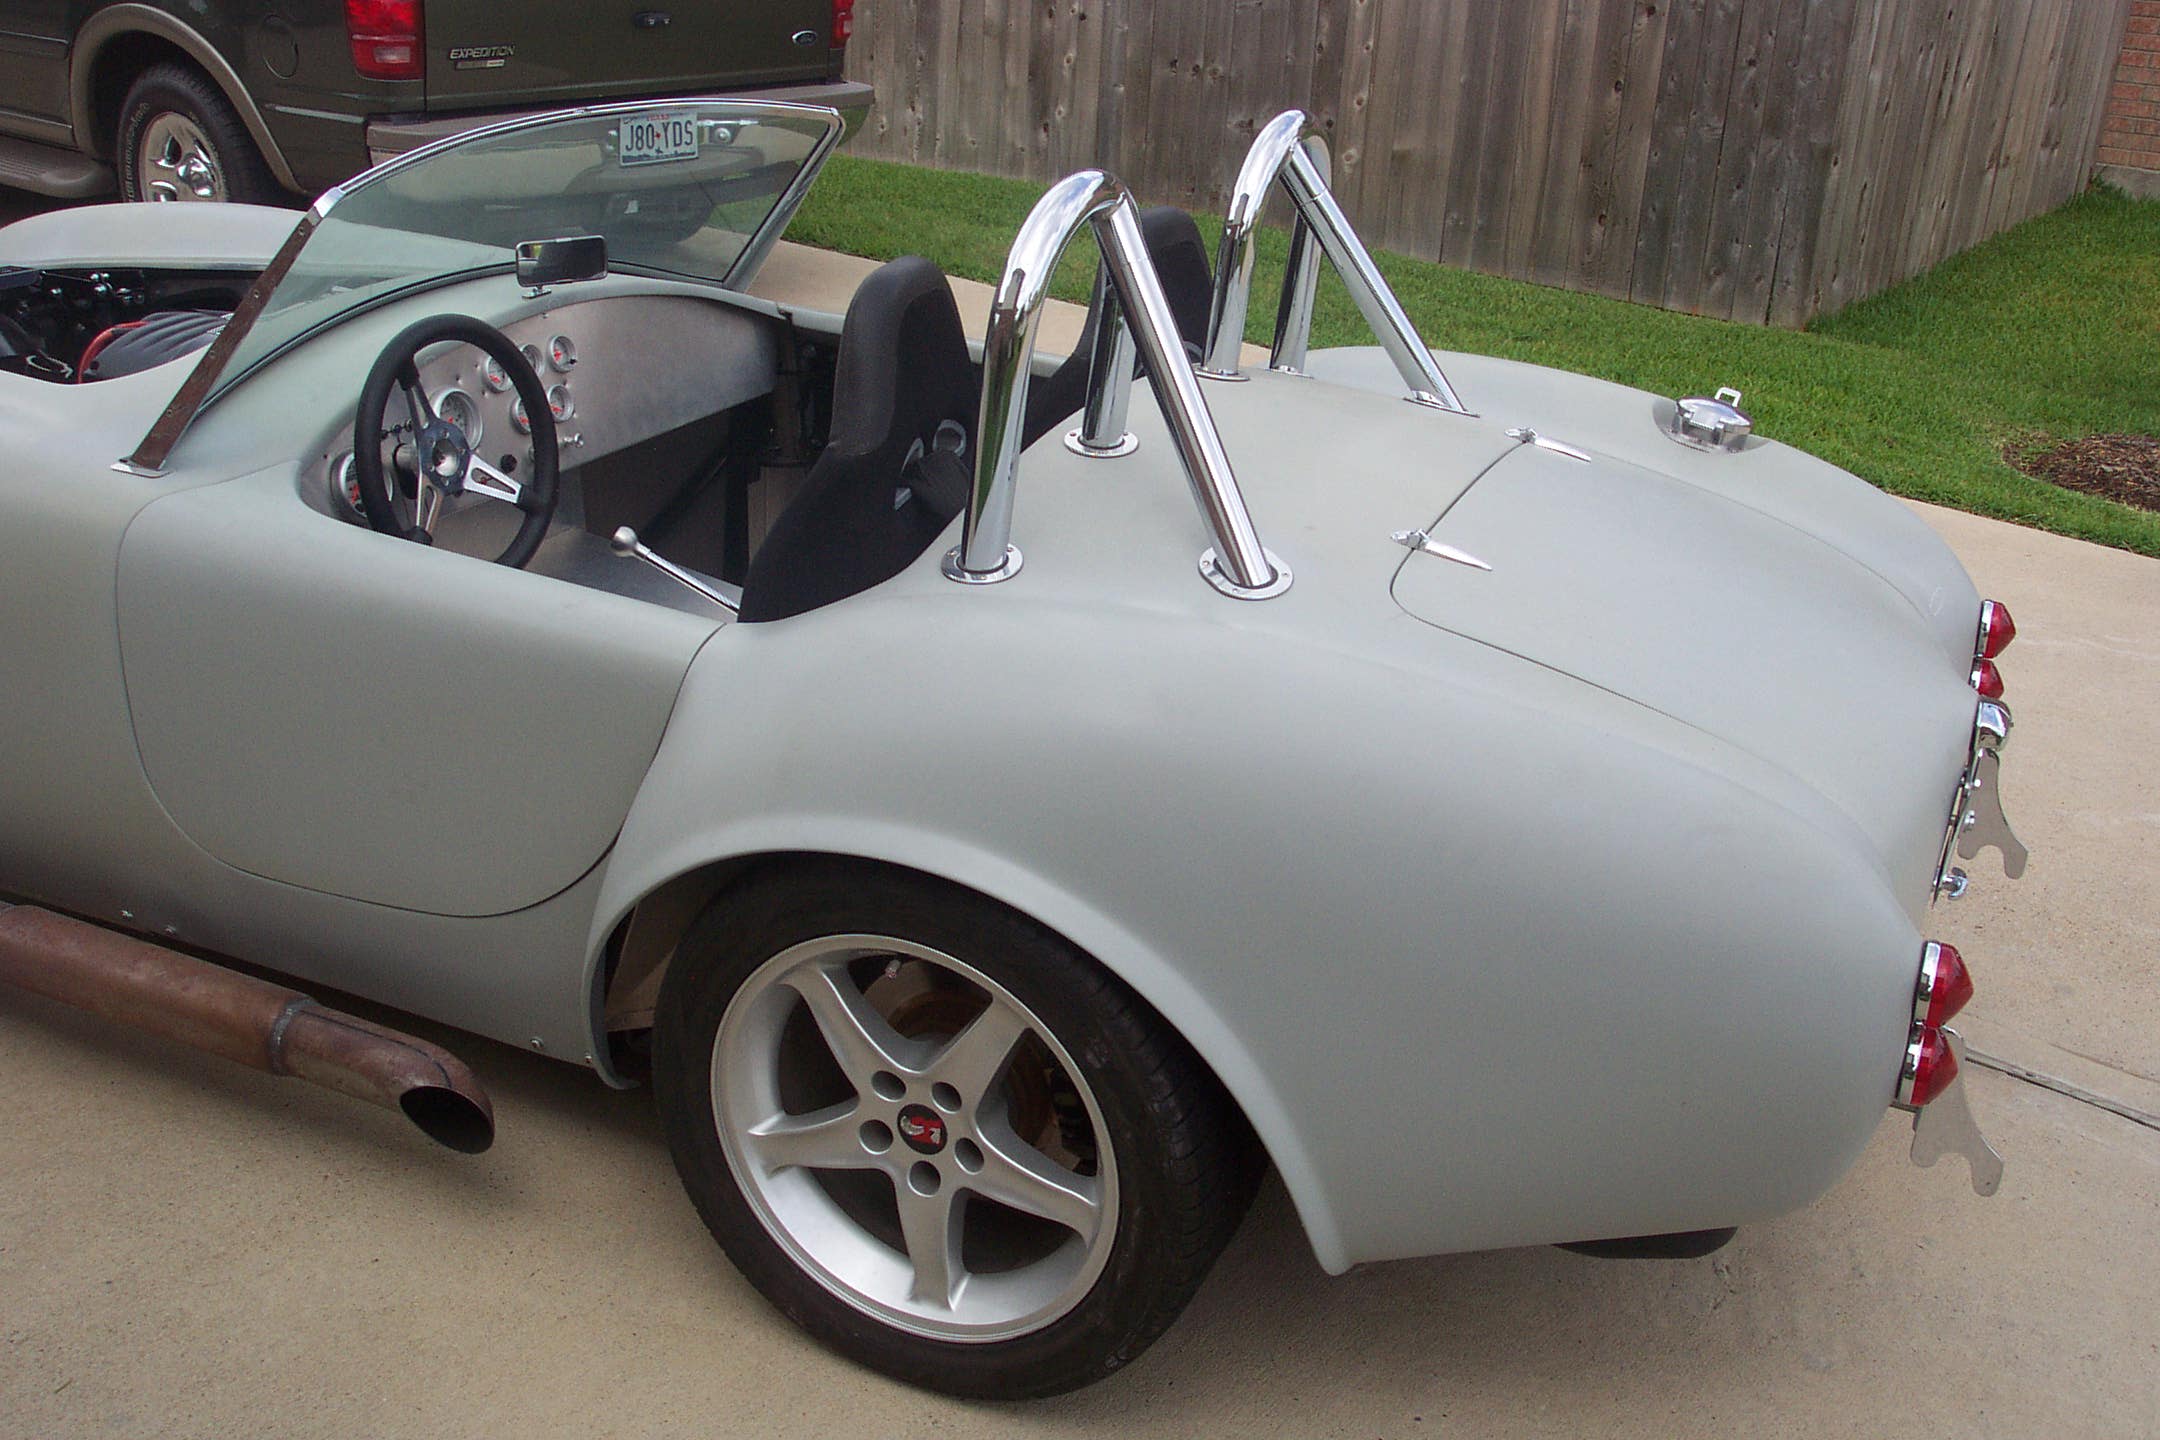
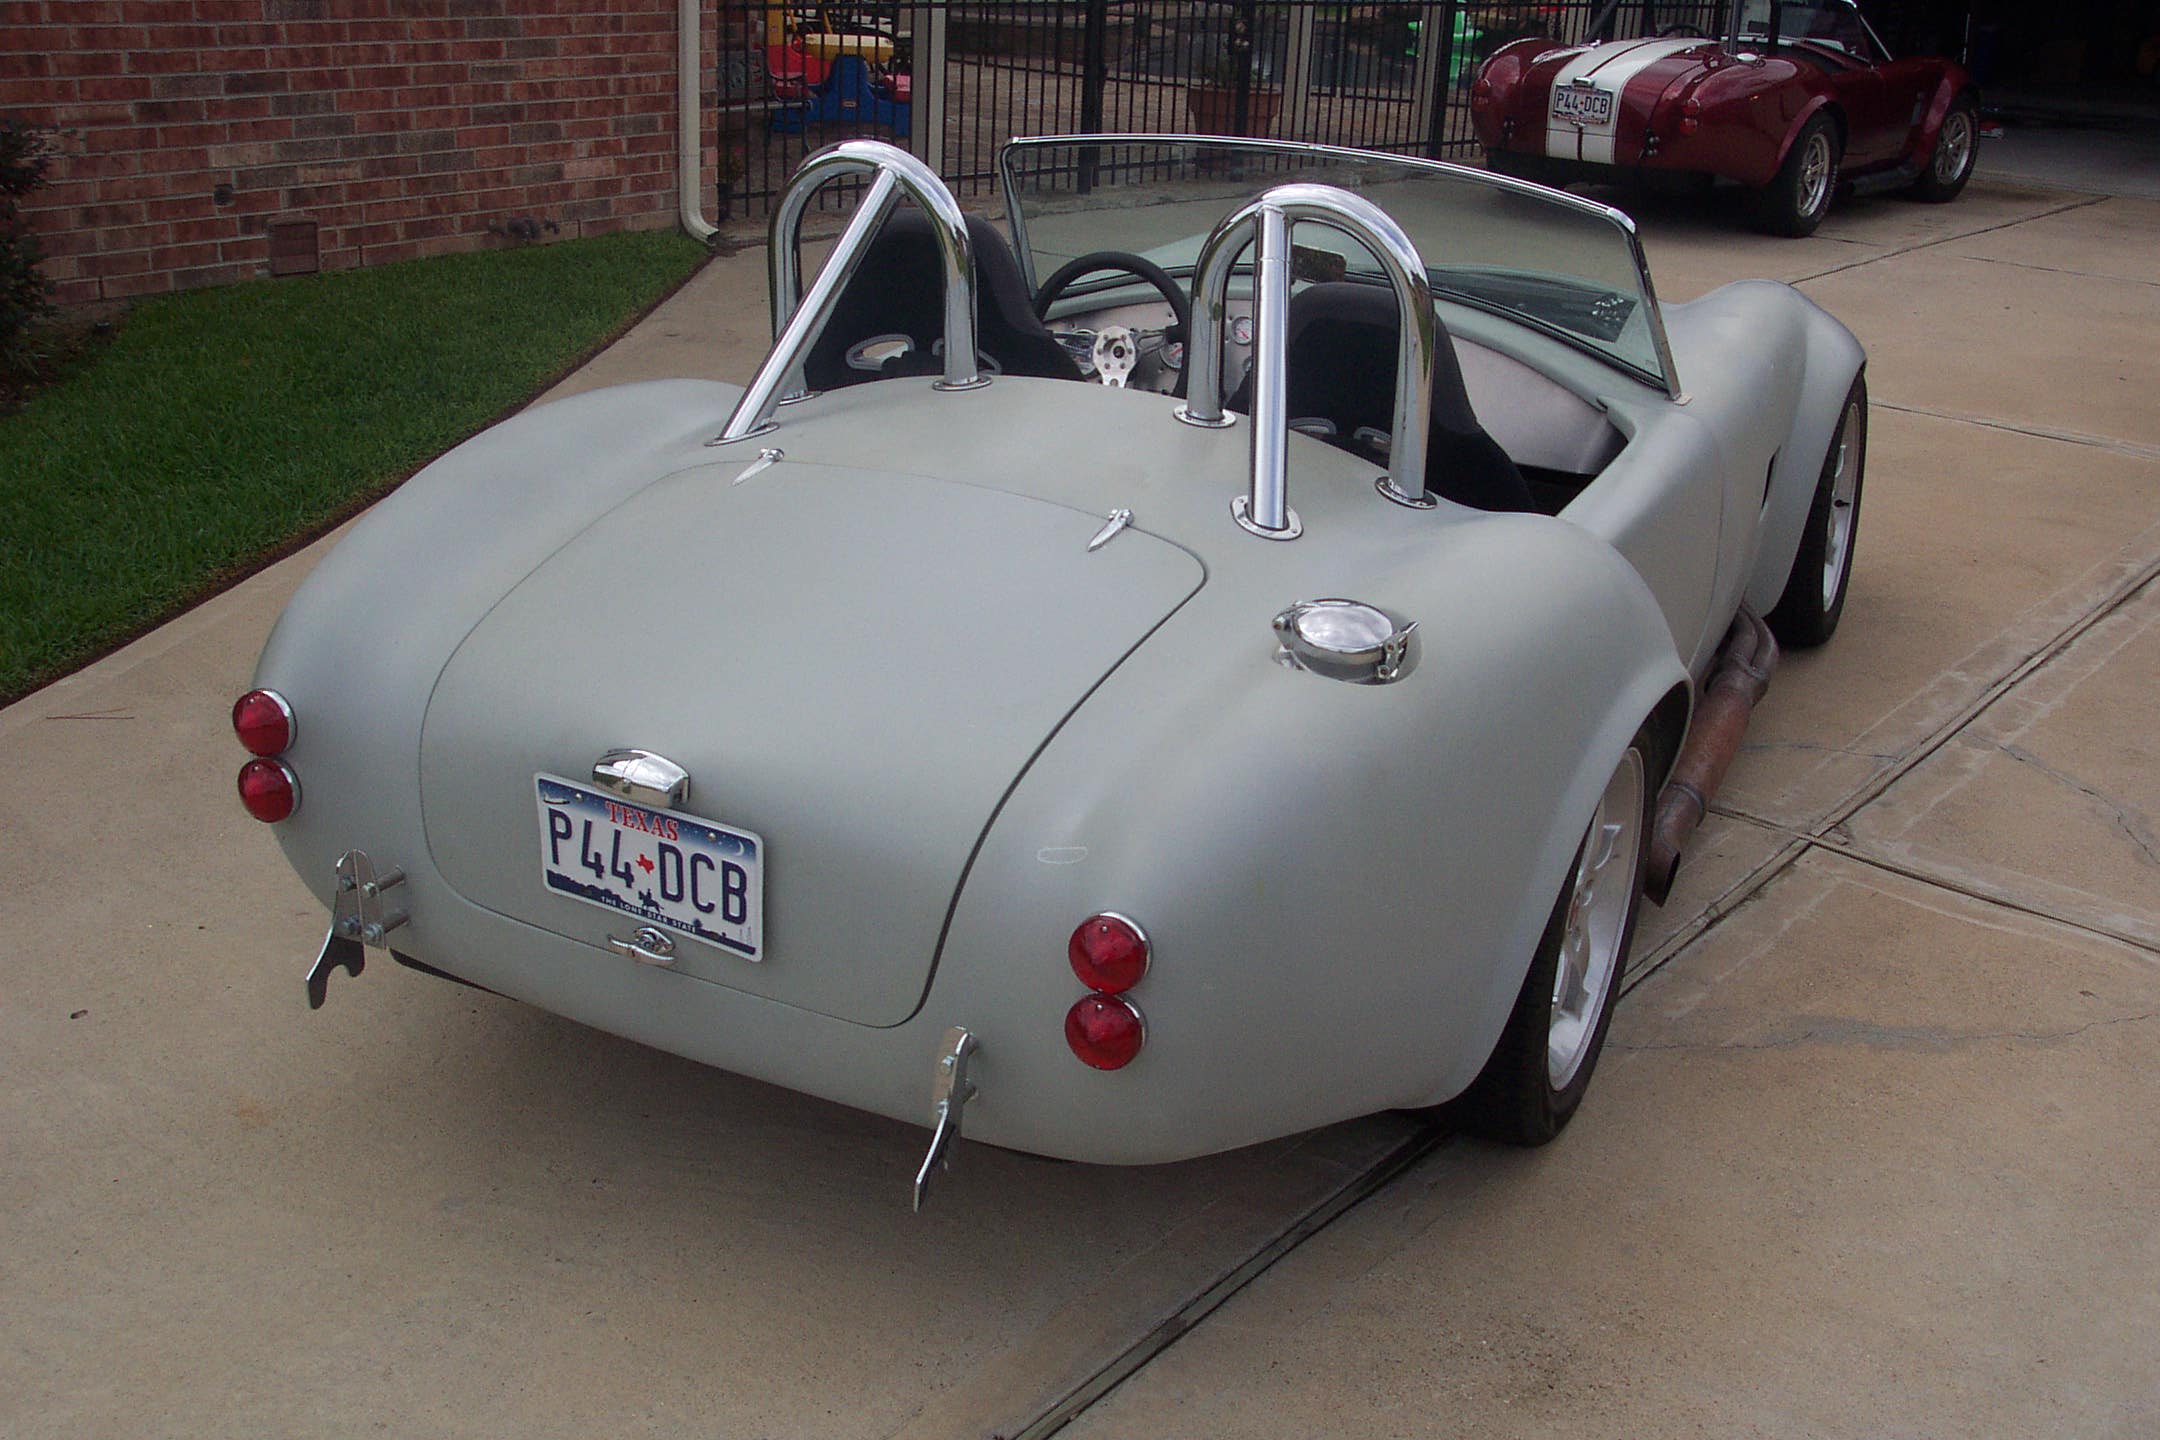
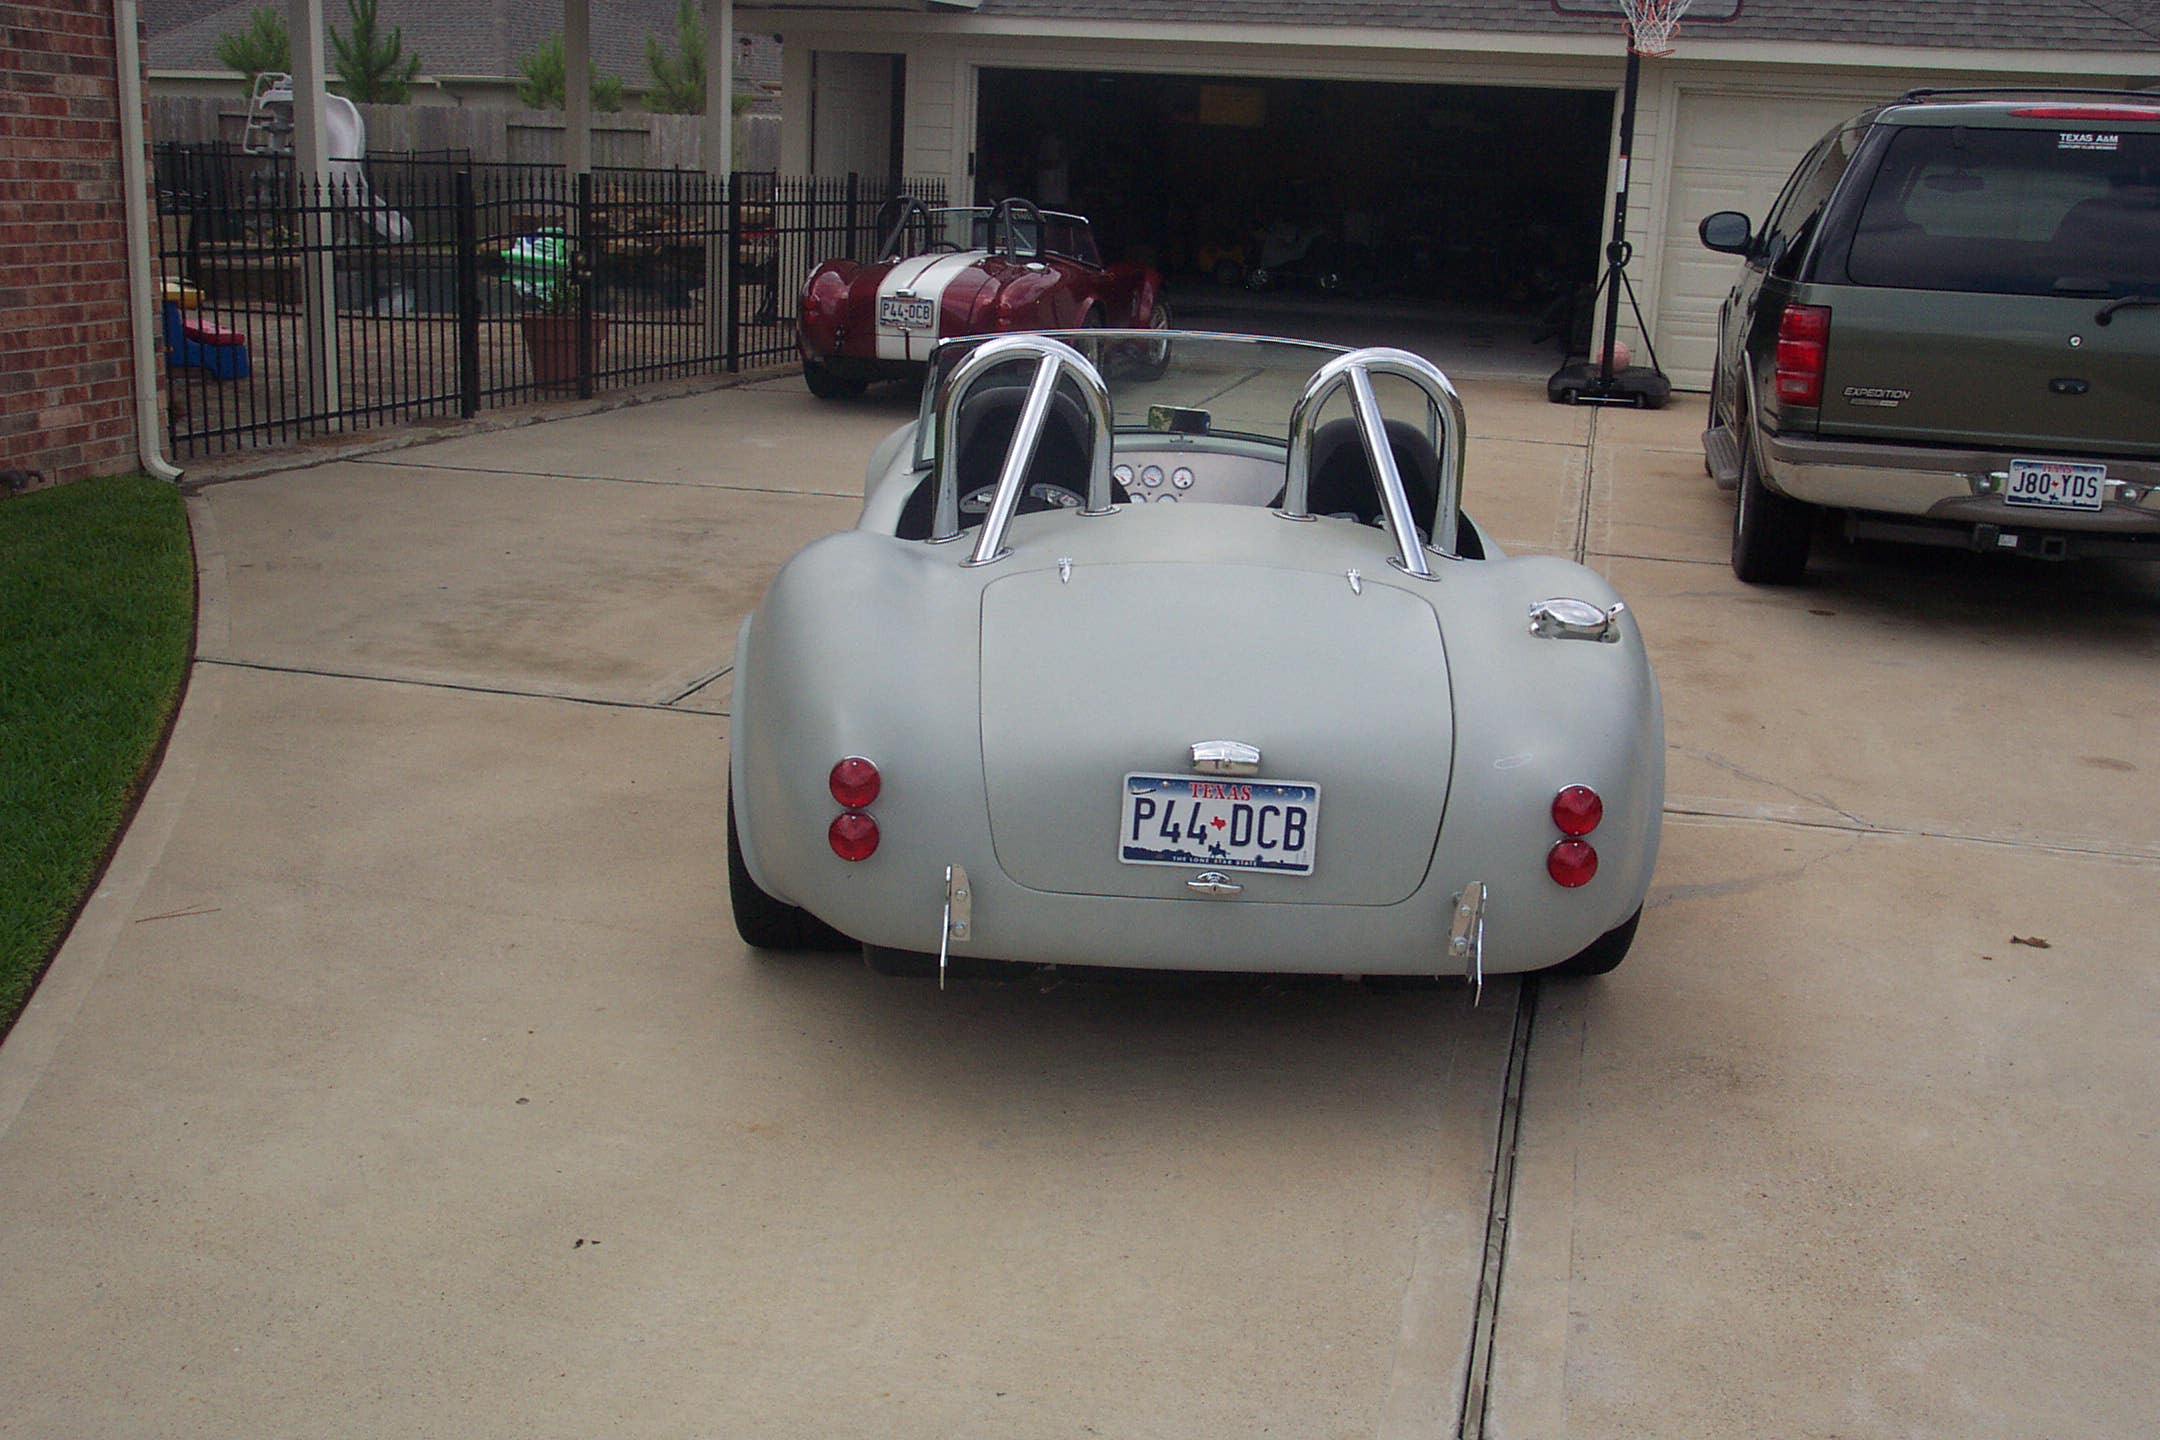
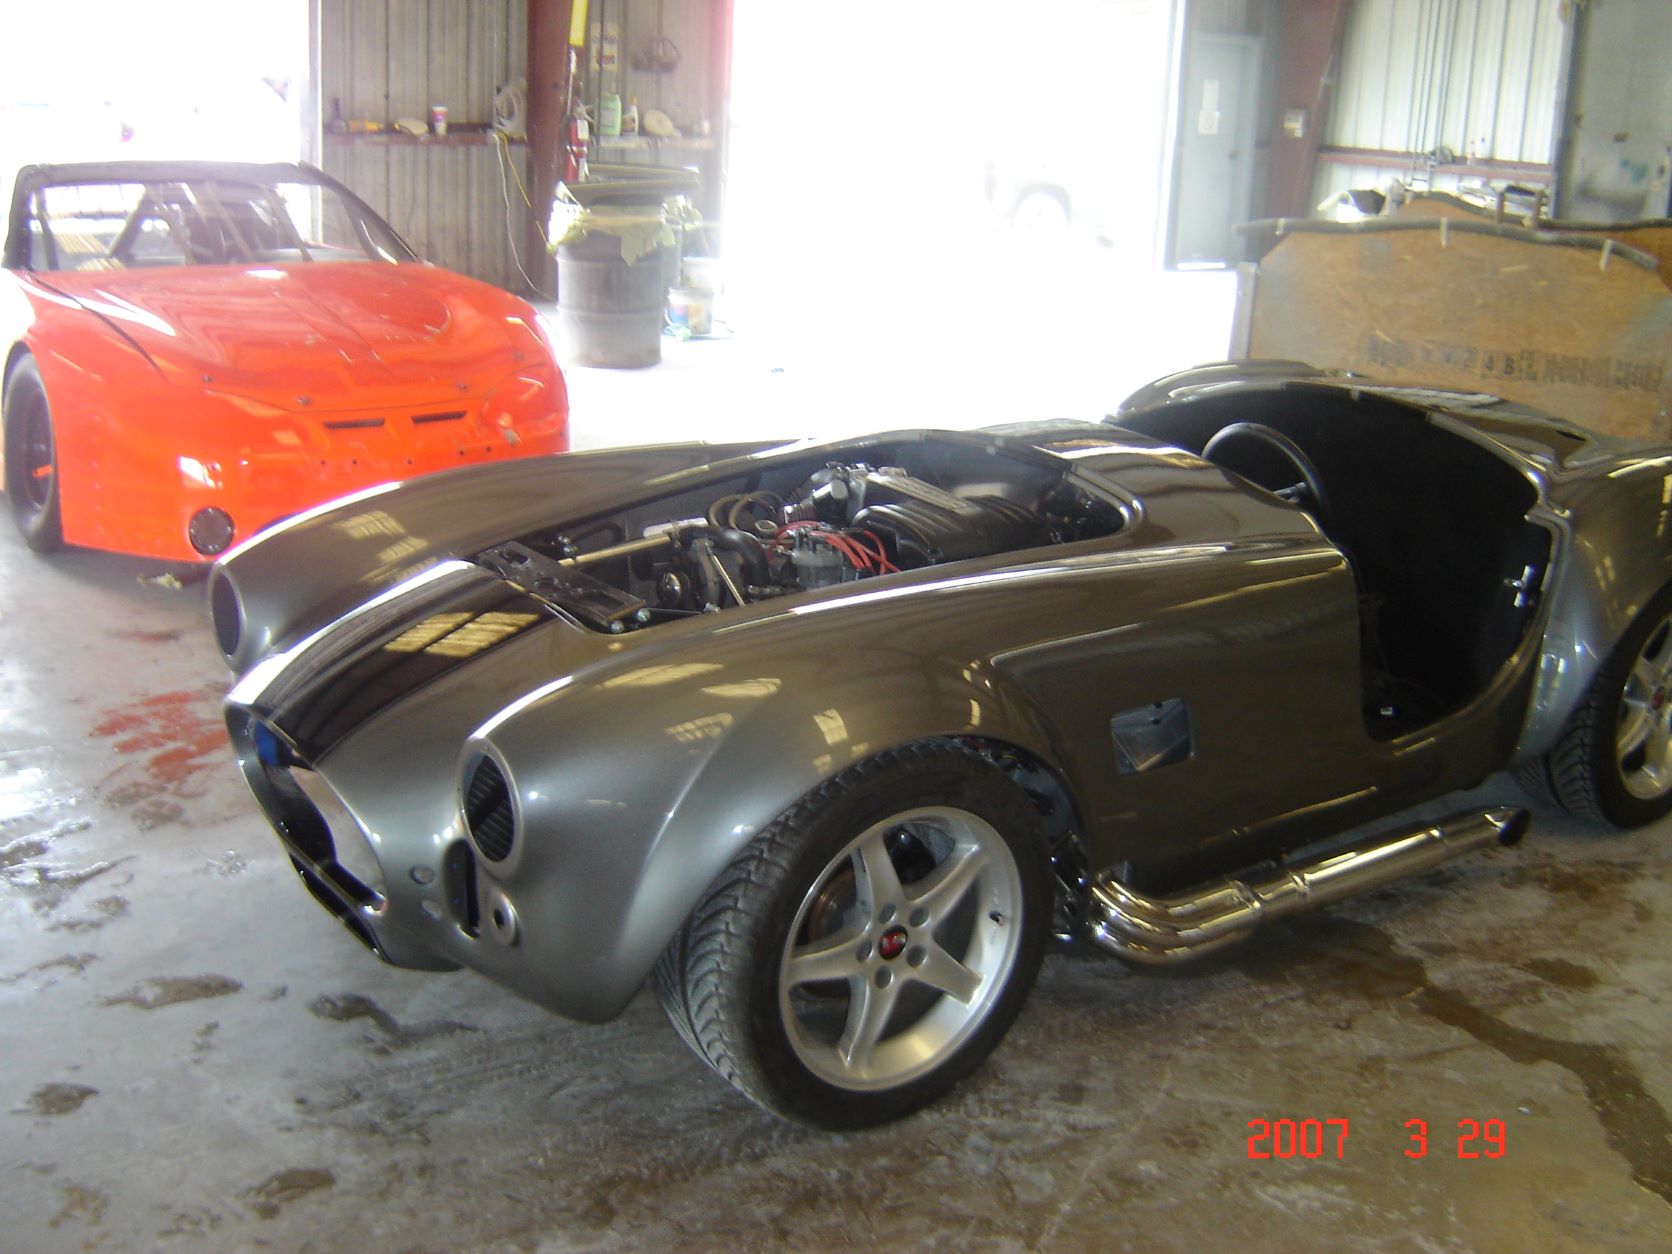
Here are some pictures with the body in primer mounted on the chassis. I will drive it like this for about 3 years until I get it painted in silver with black stripes.
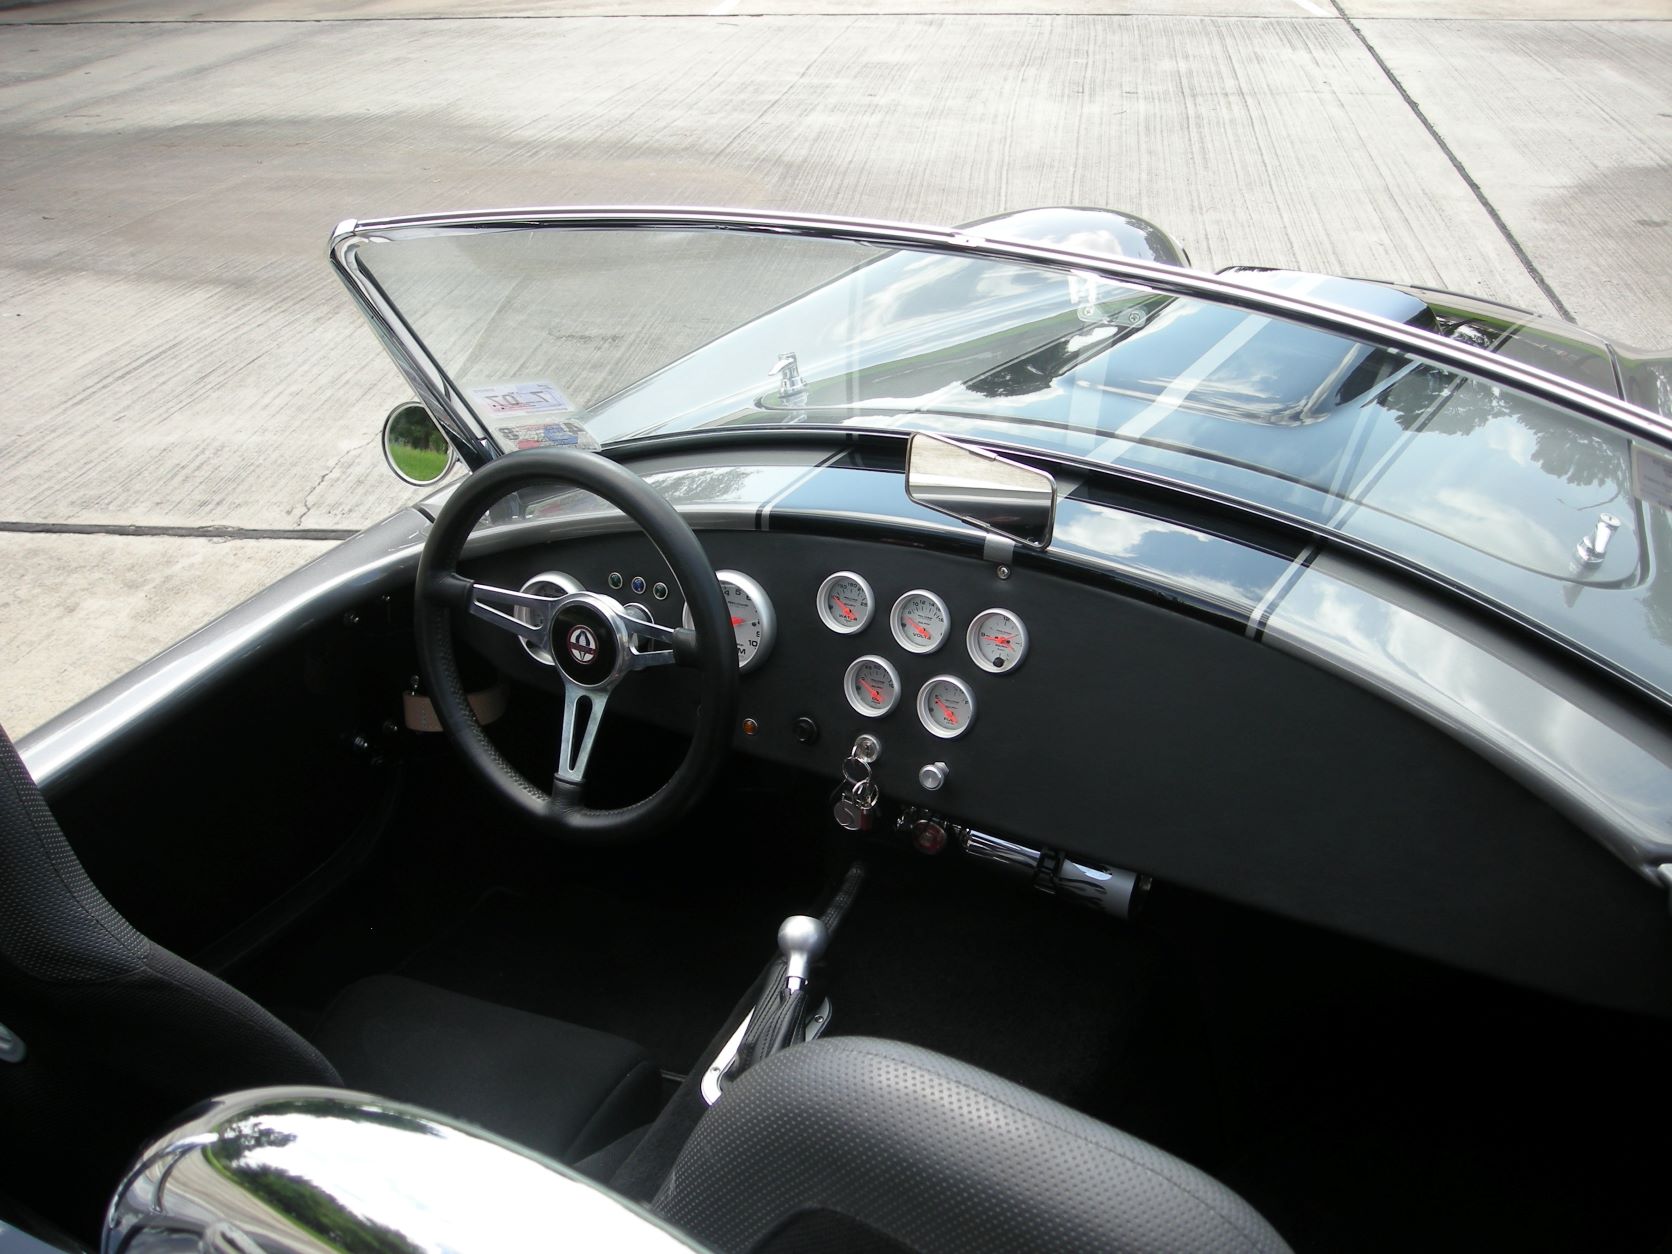
2007 Carpet & Interior
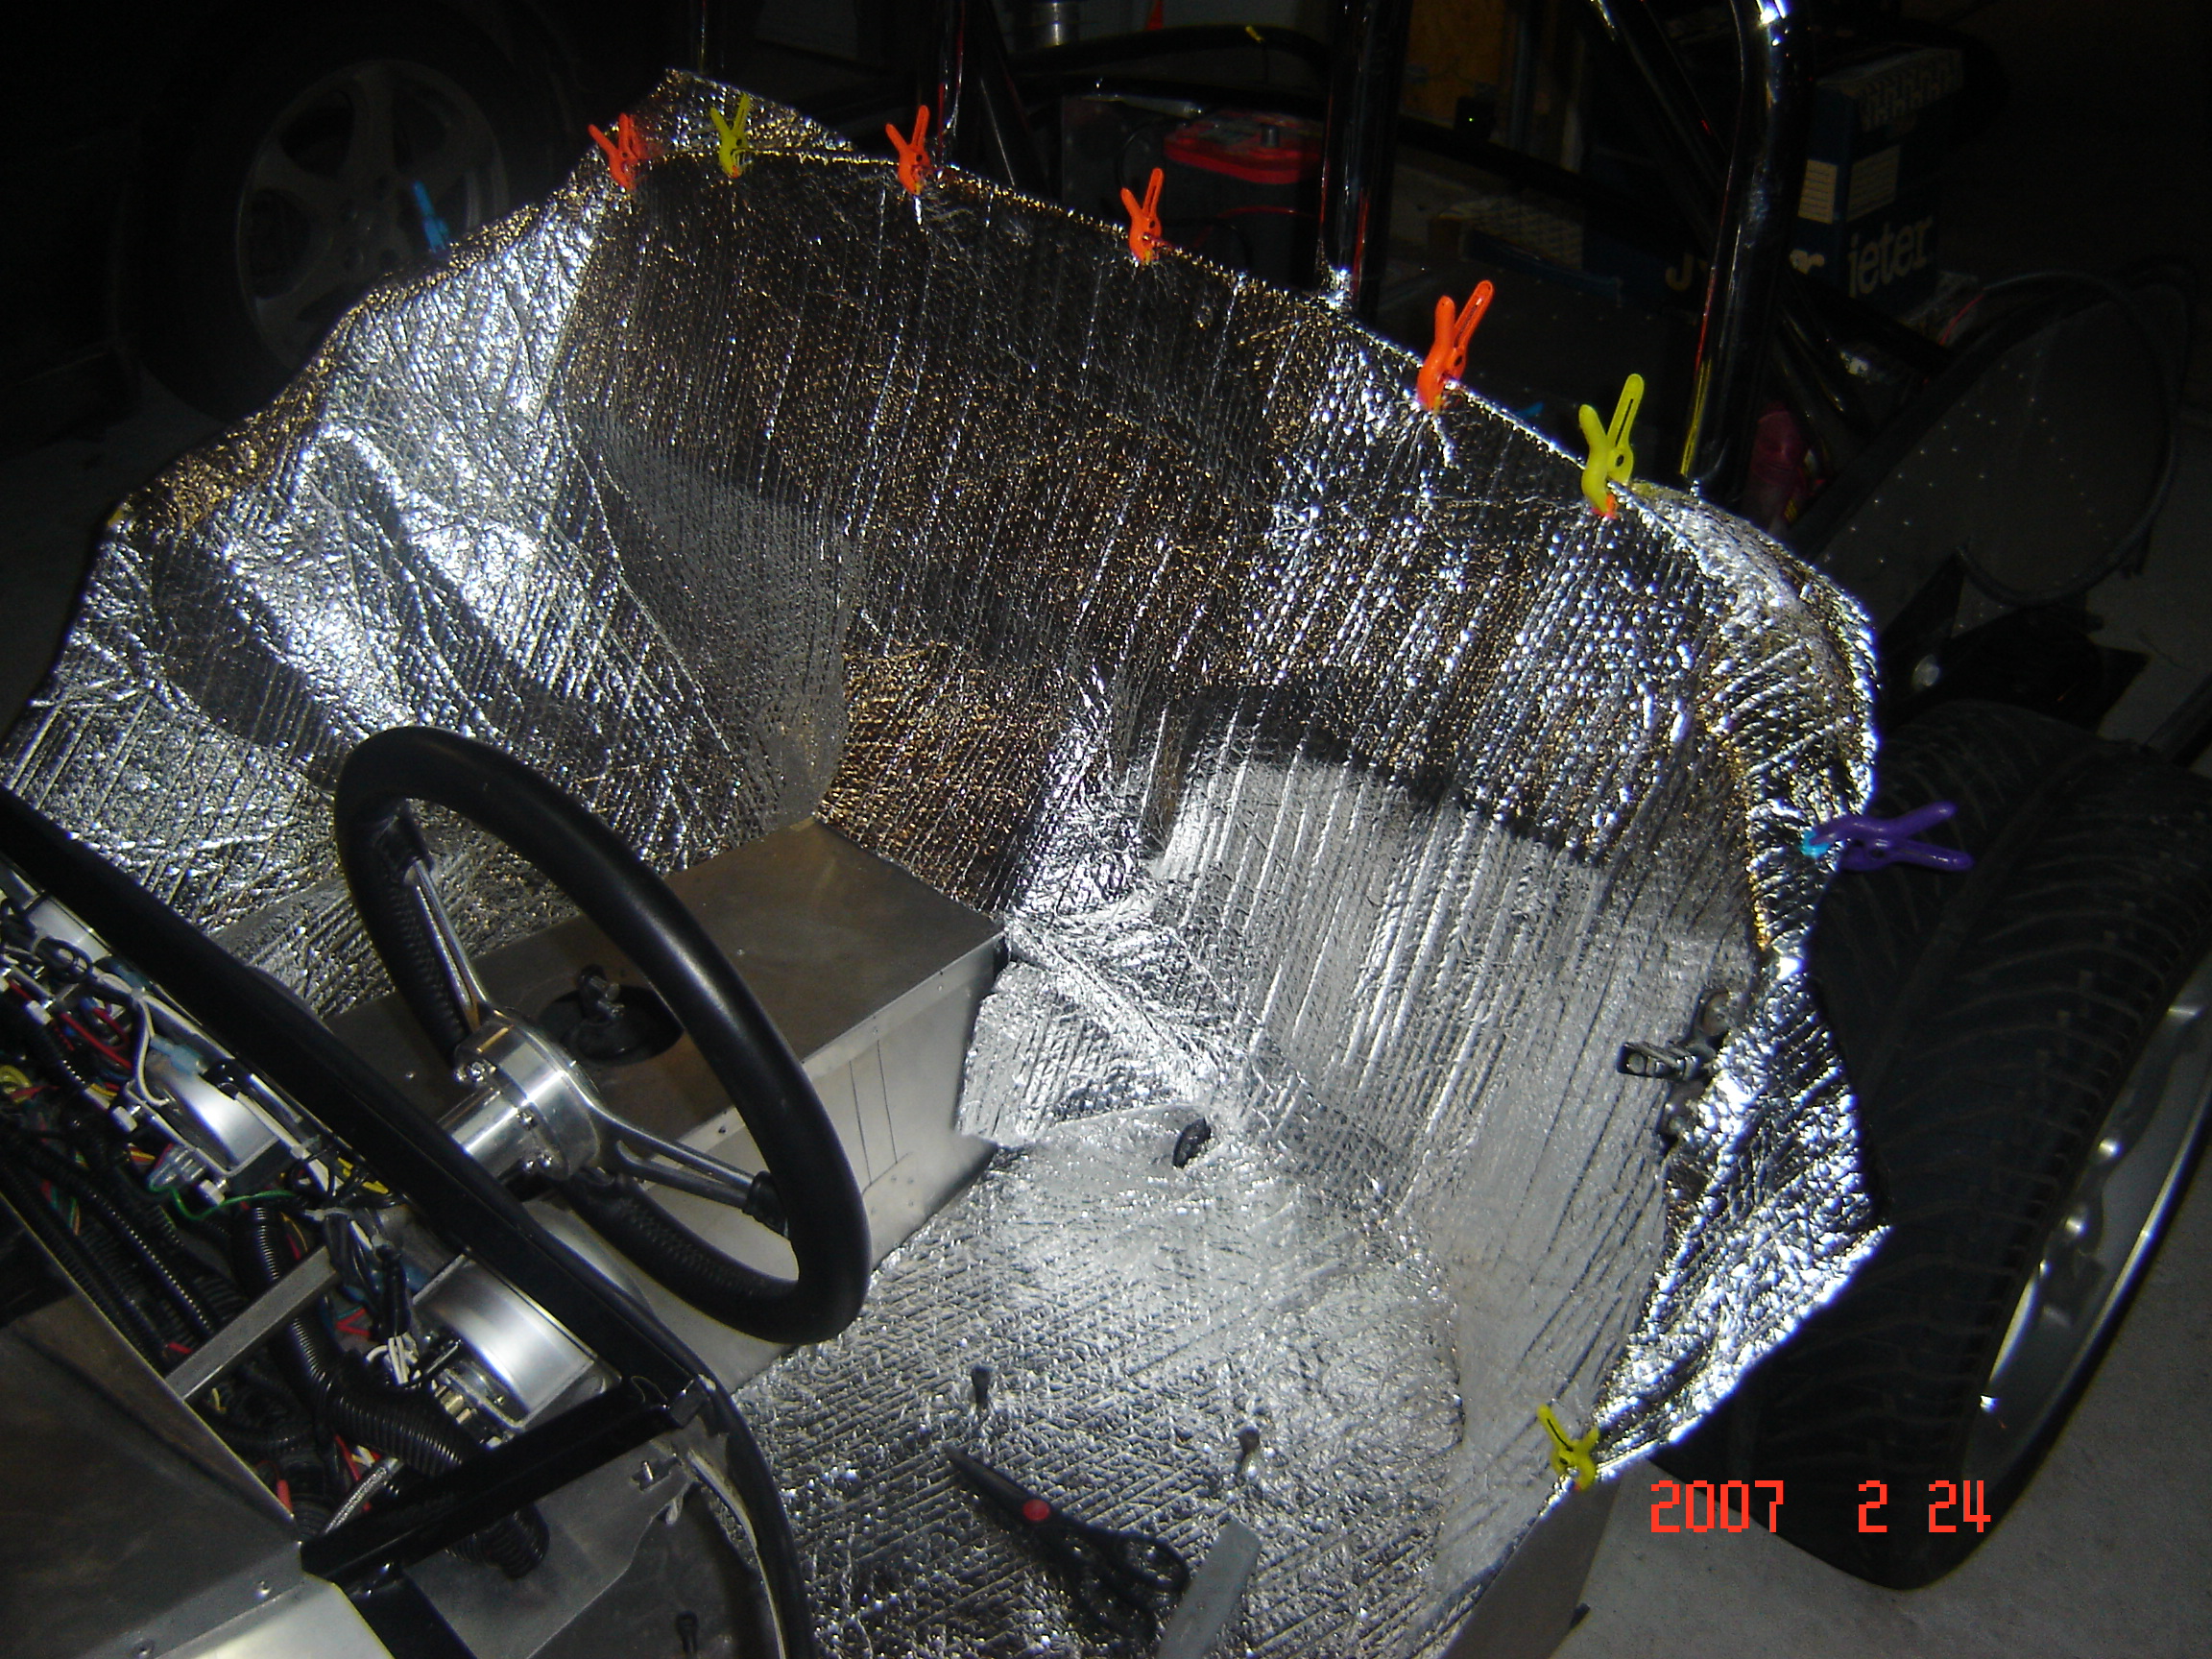
Here is the interior prior to carpet. I used water heater insulation for the interior to protect from the engine heat and provide a little padding.
Stitches did the carpet work. I junked the stuff that came from the kit. I didn’t get any pictures of the chassis after carpet, but with no body. Oops!
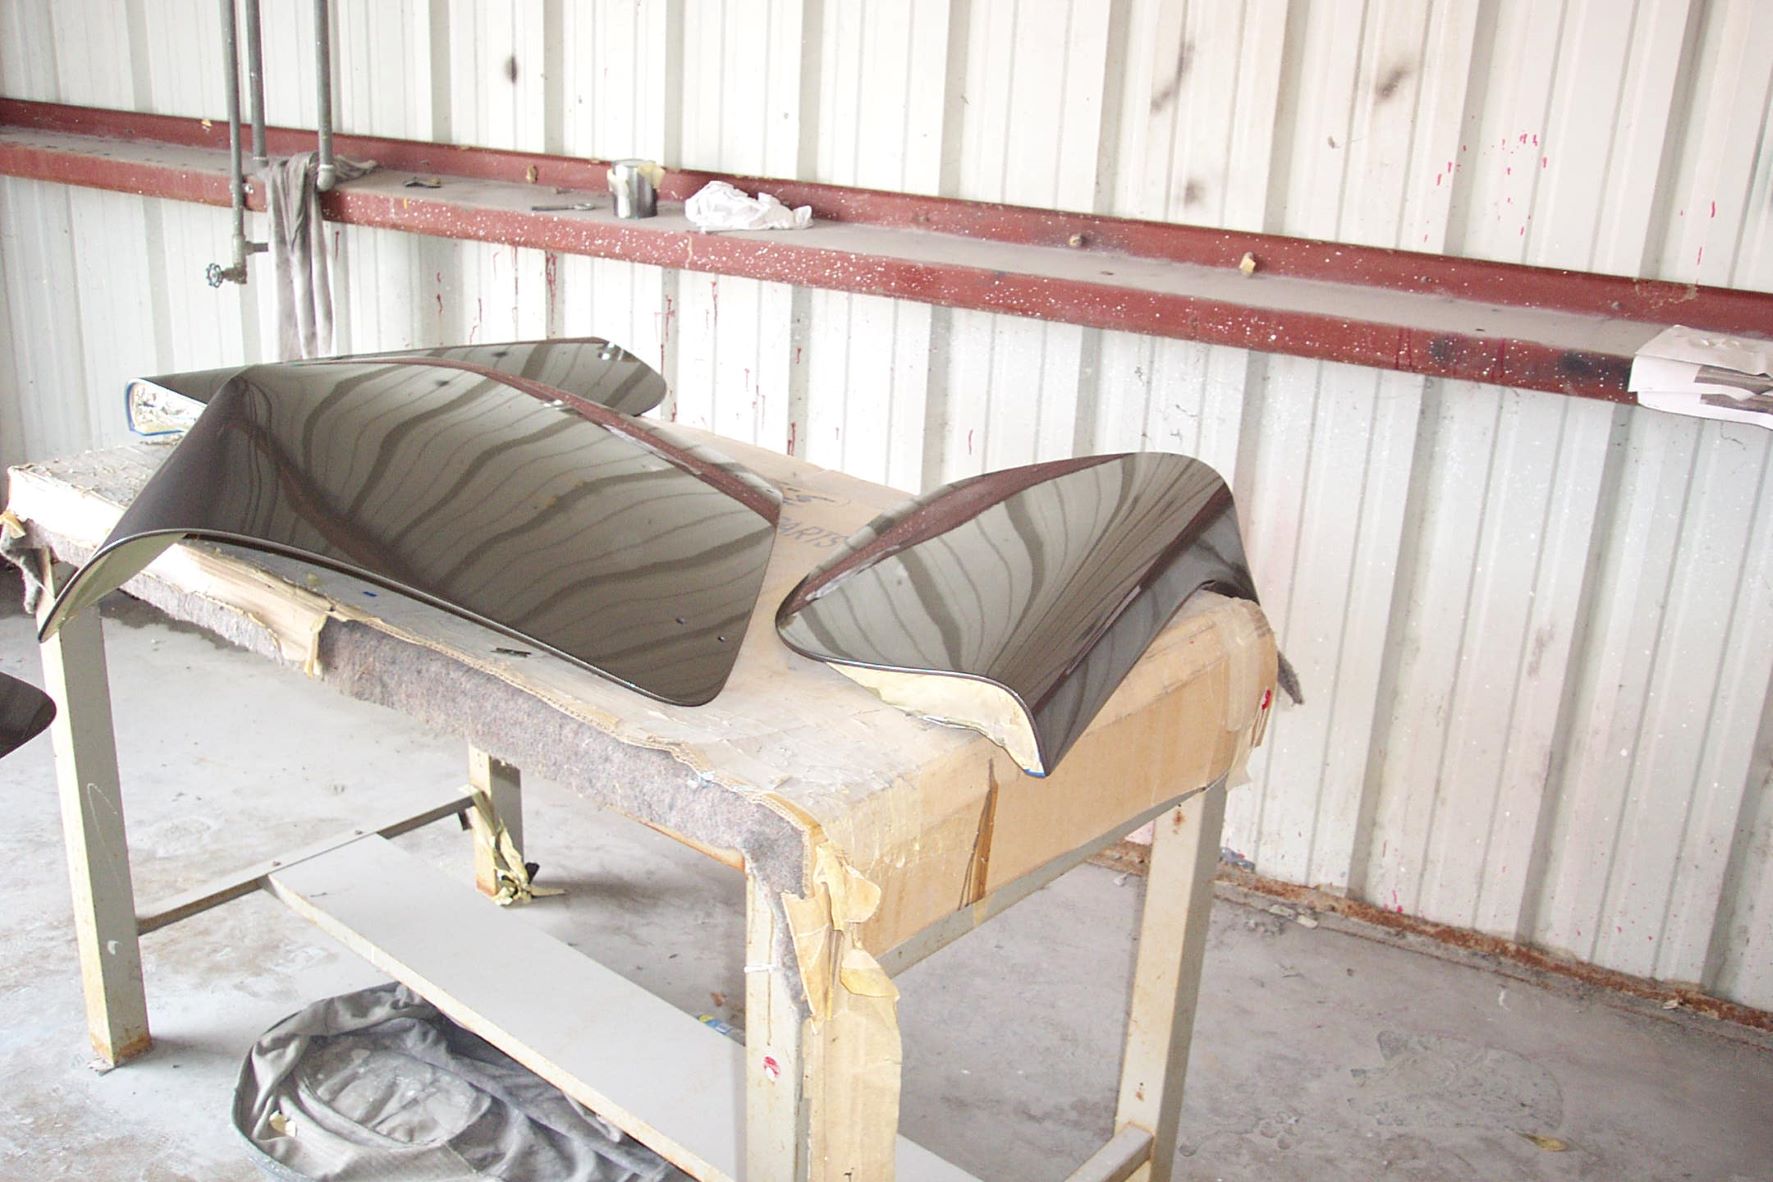
2007 Final Bodywork Paint
There was some additional bodywork done and then the car was painted with primer again to give it a good base for the new paint.
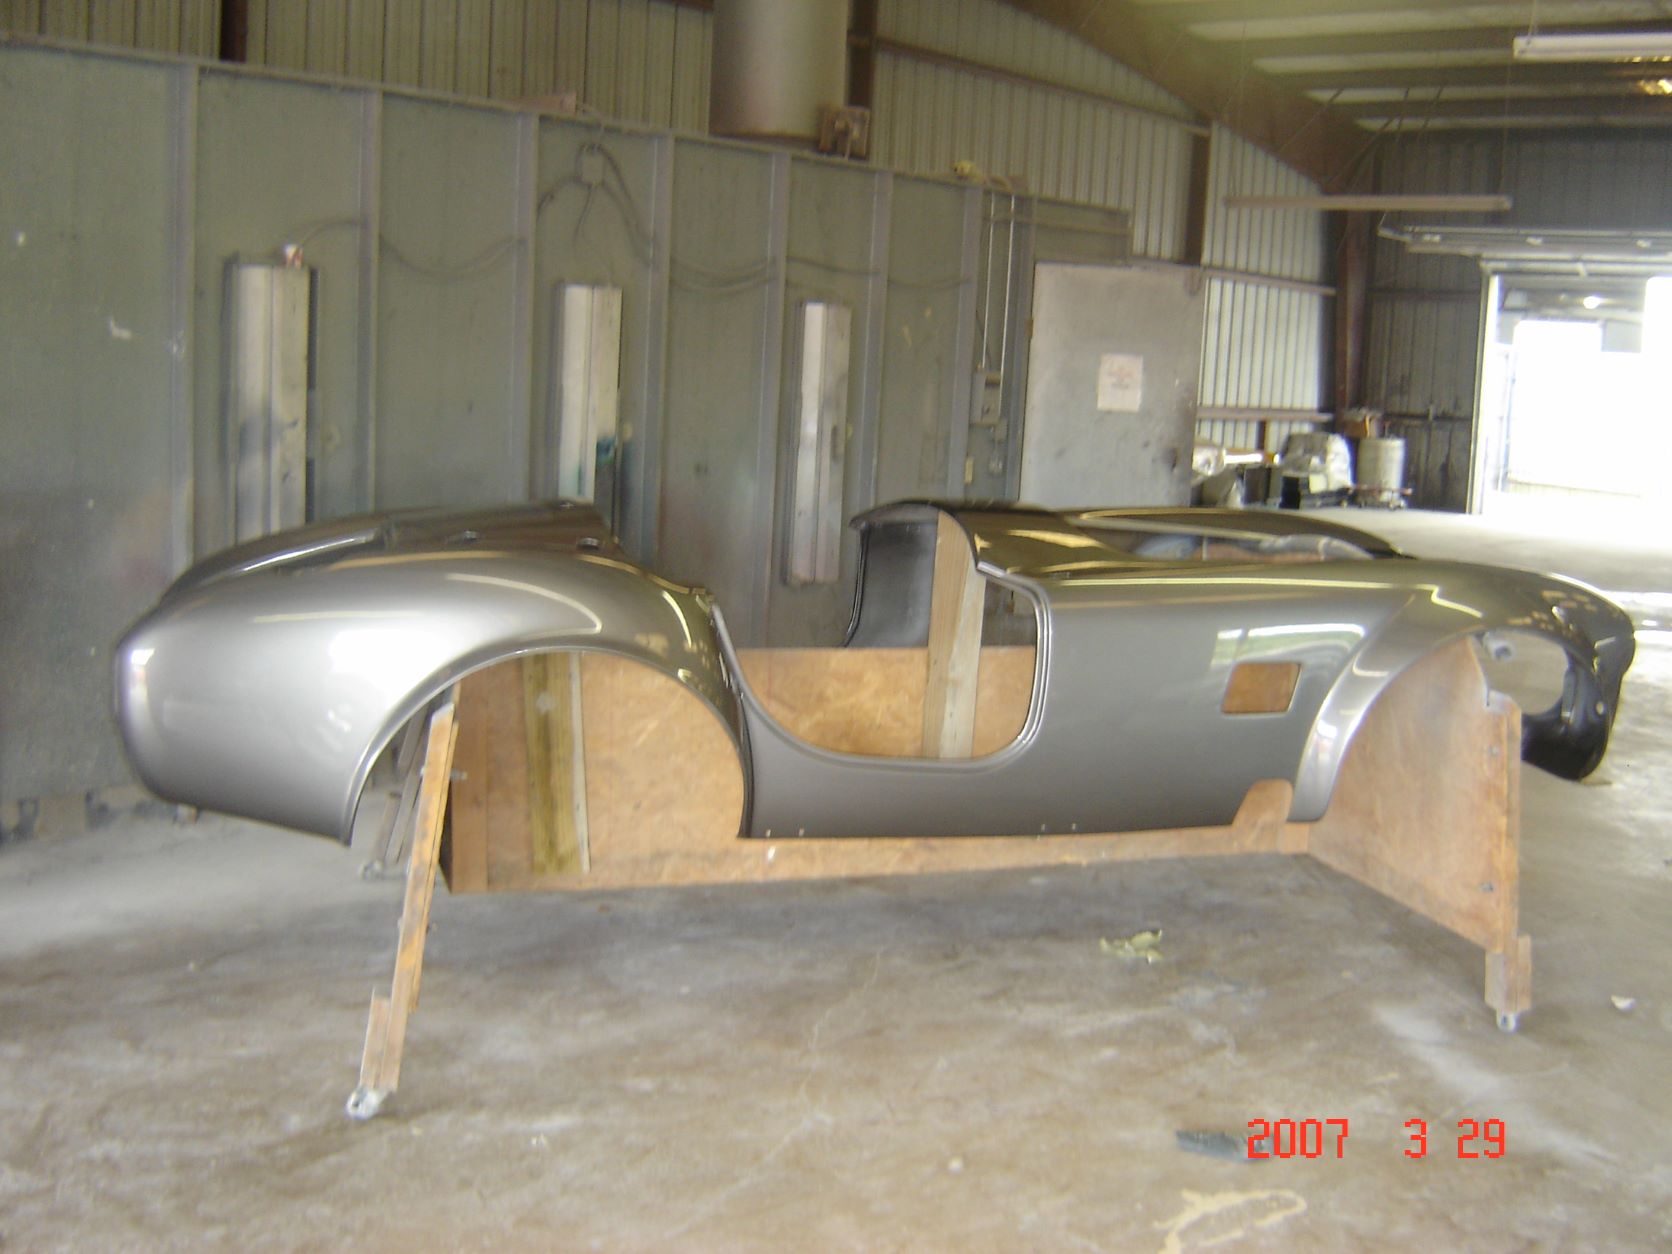
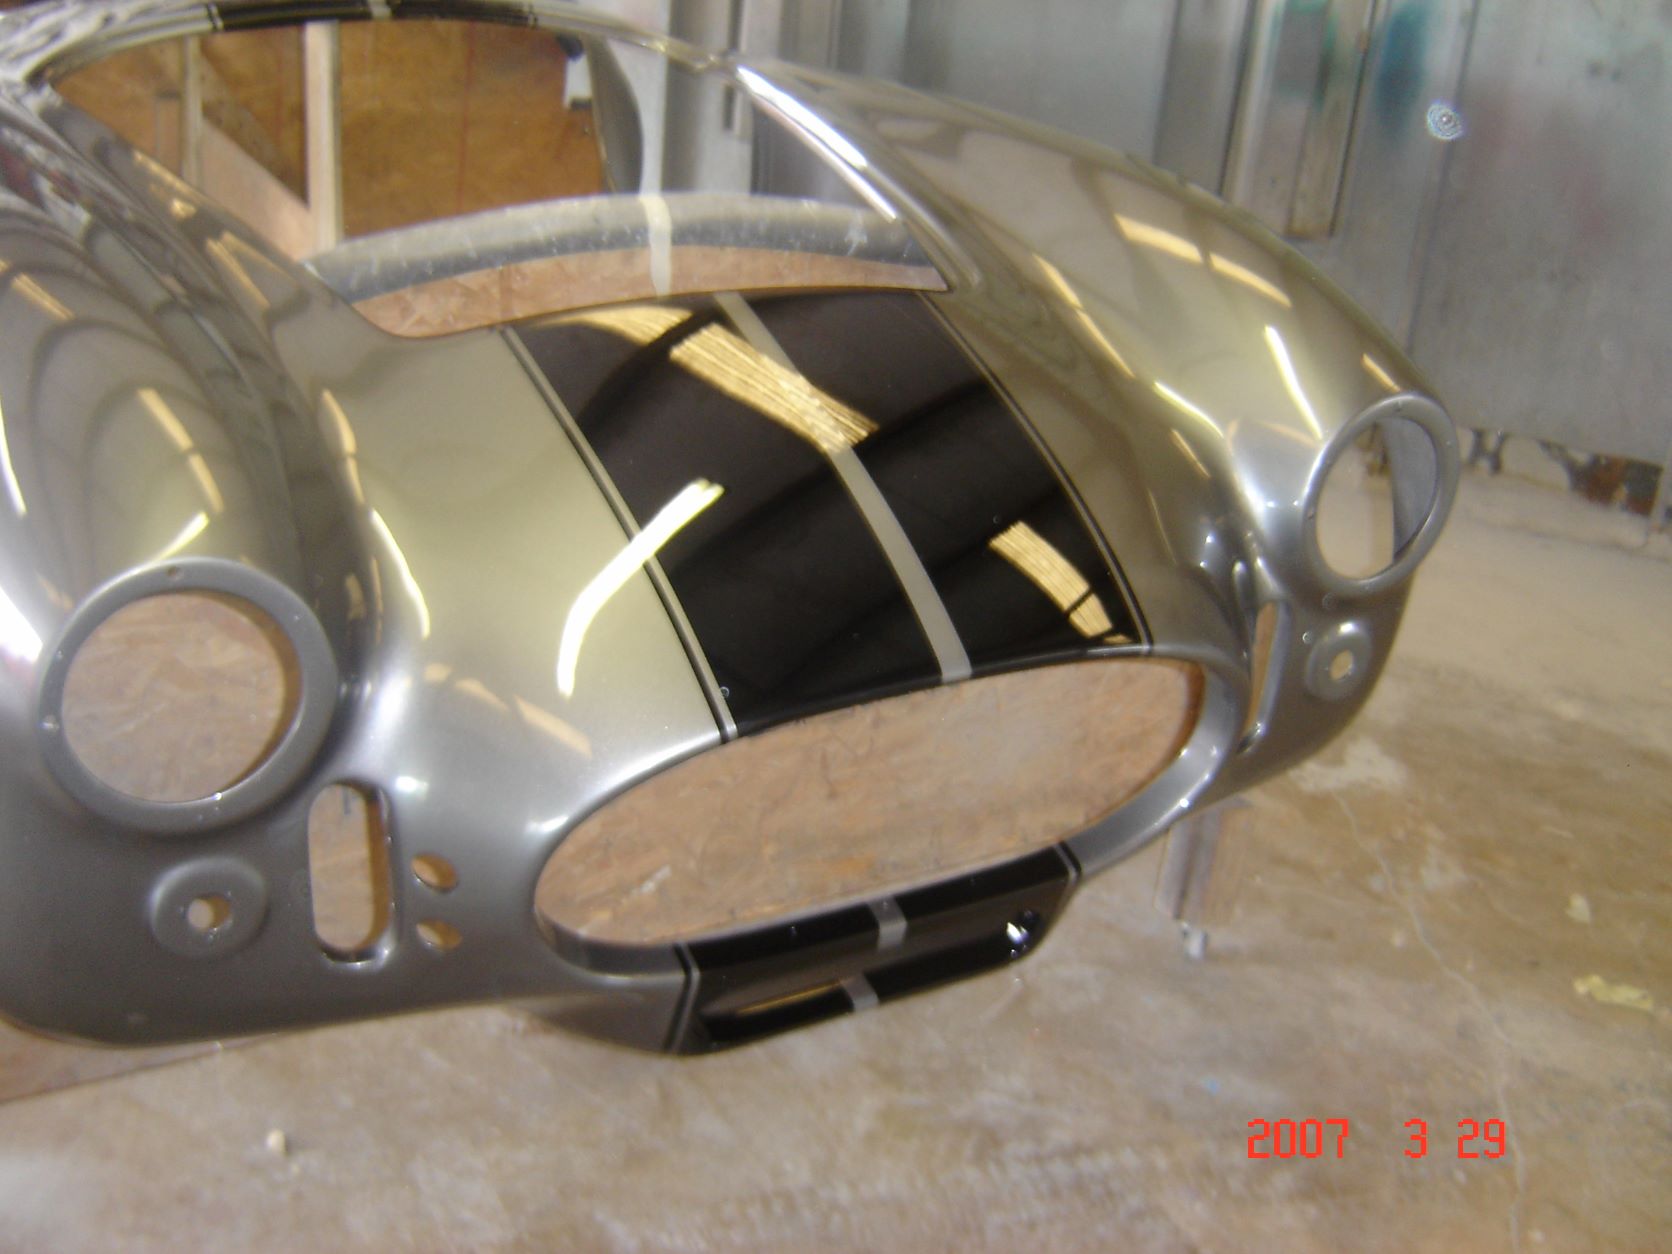
Here the body painted silver and clear coated. The black stripes will be painted next and then the entire body will be clear coated again.
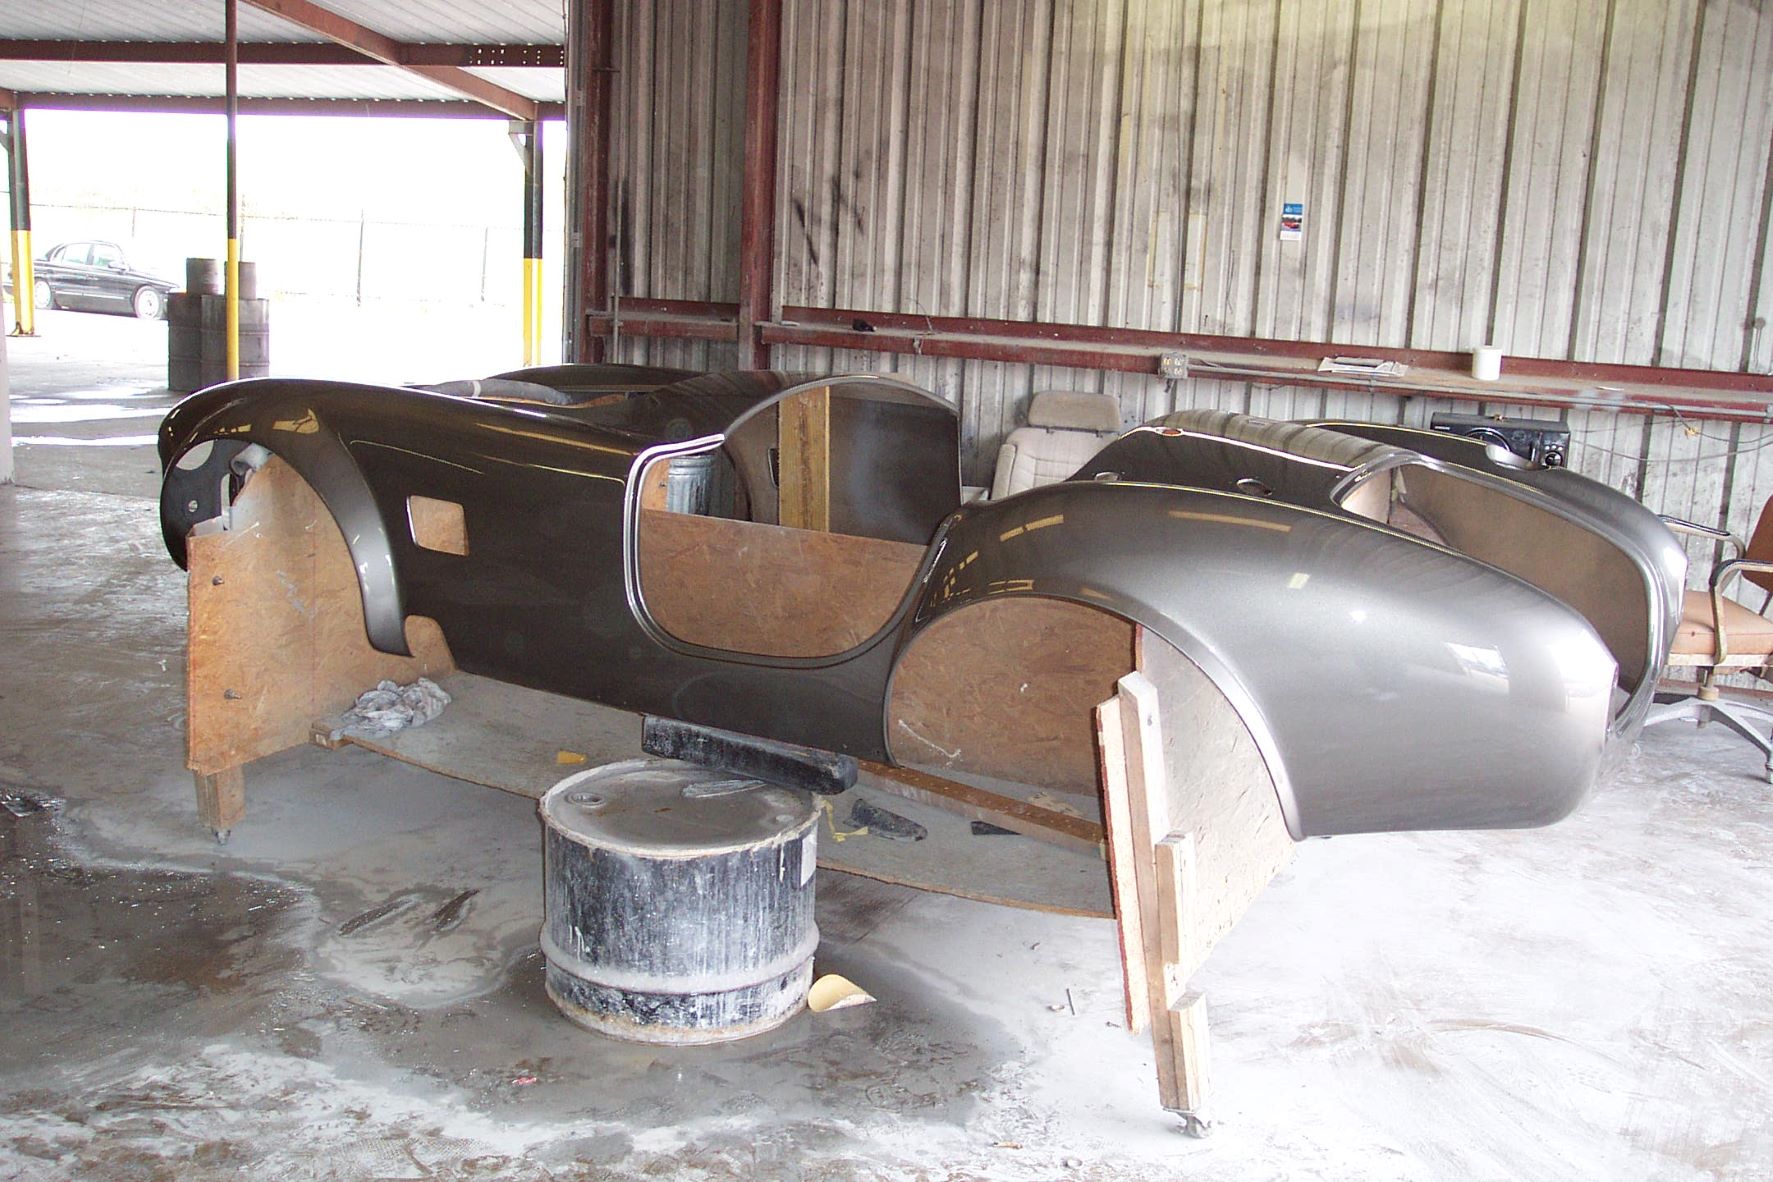
Here is the final painted body before and after rejoining it with the chassis.
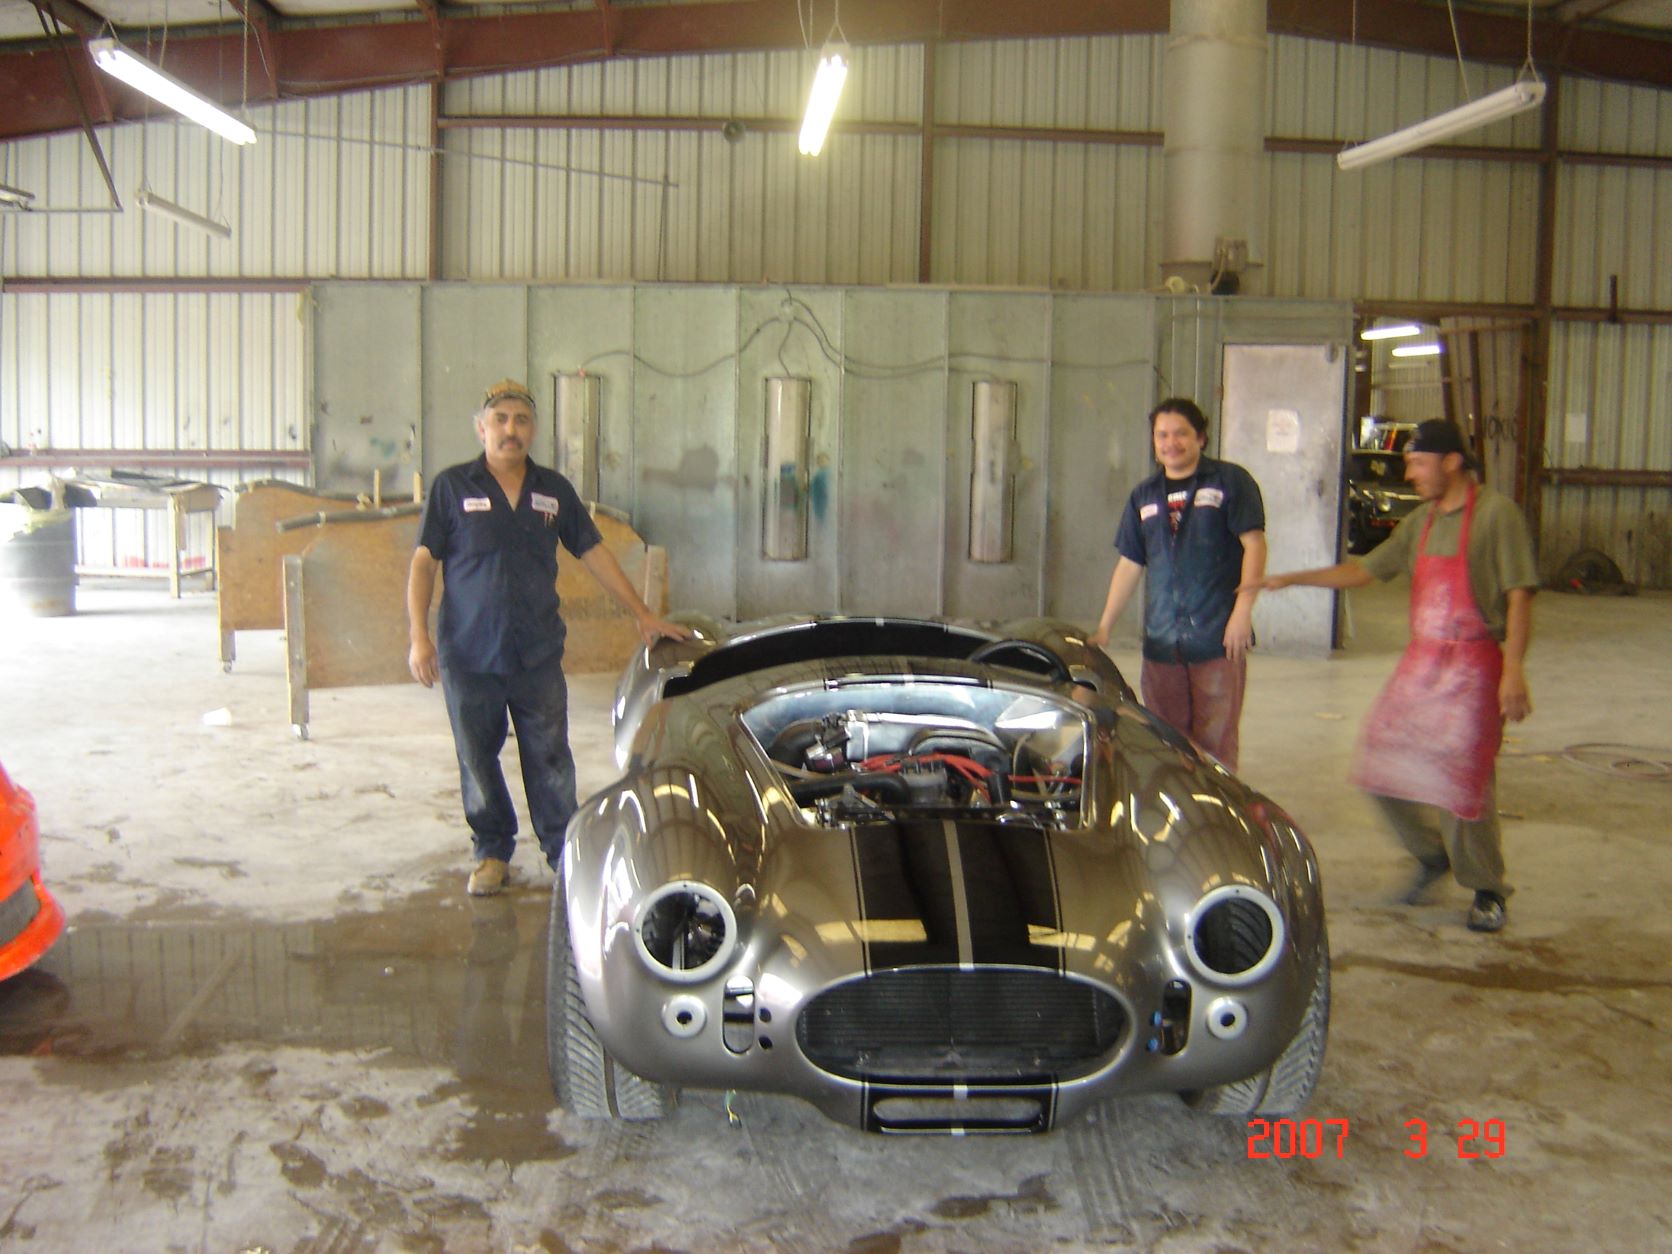
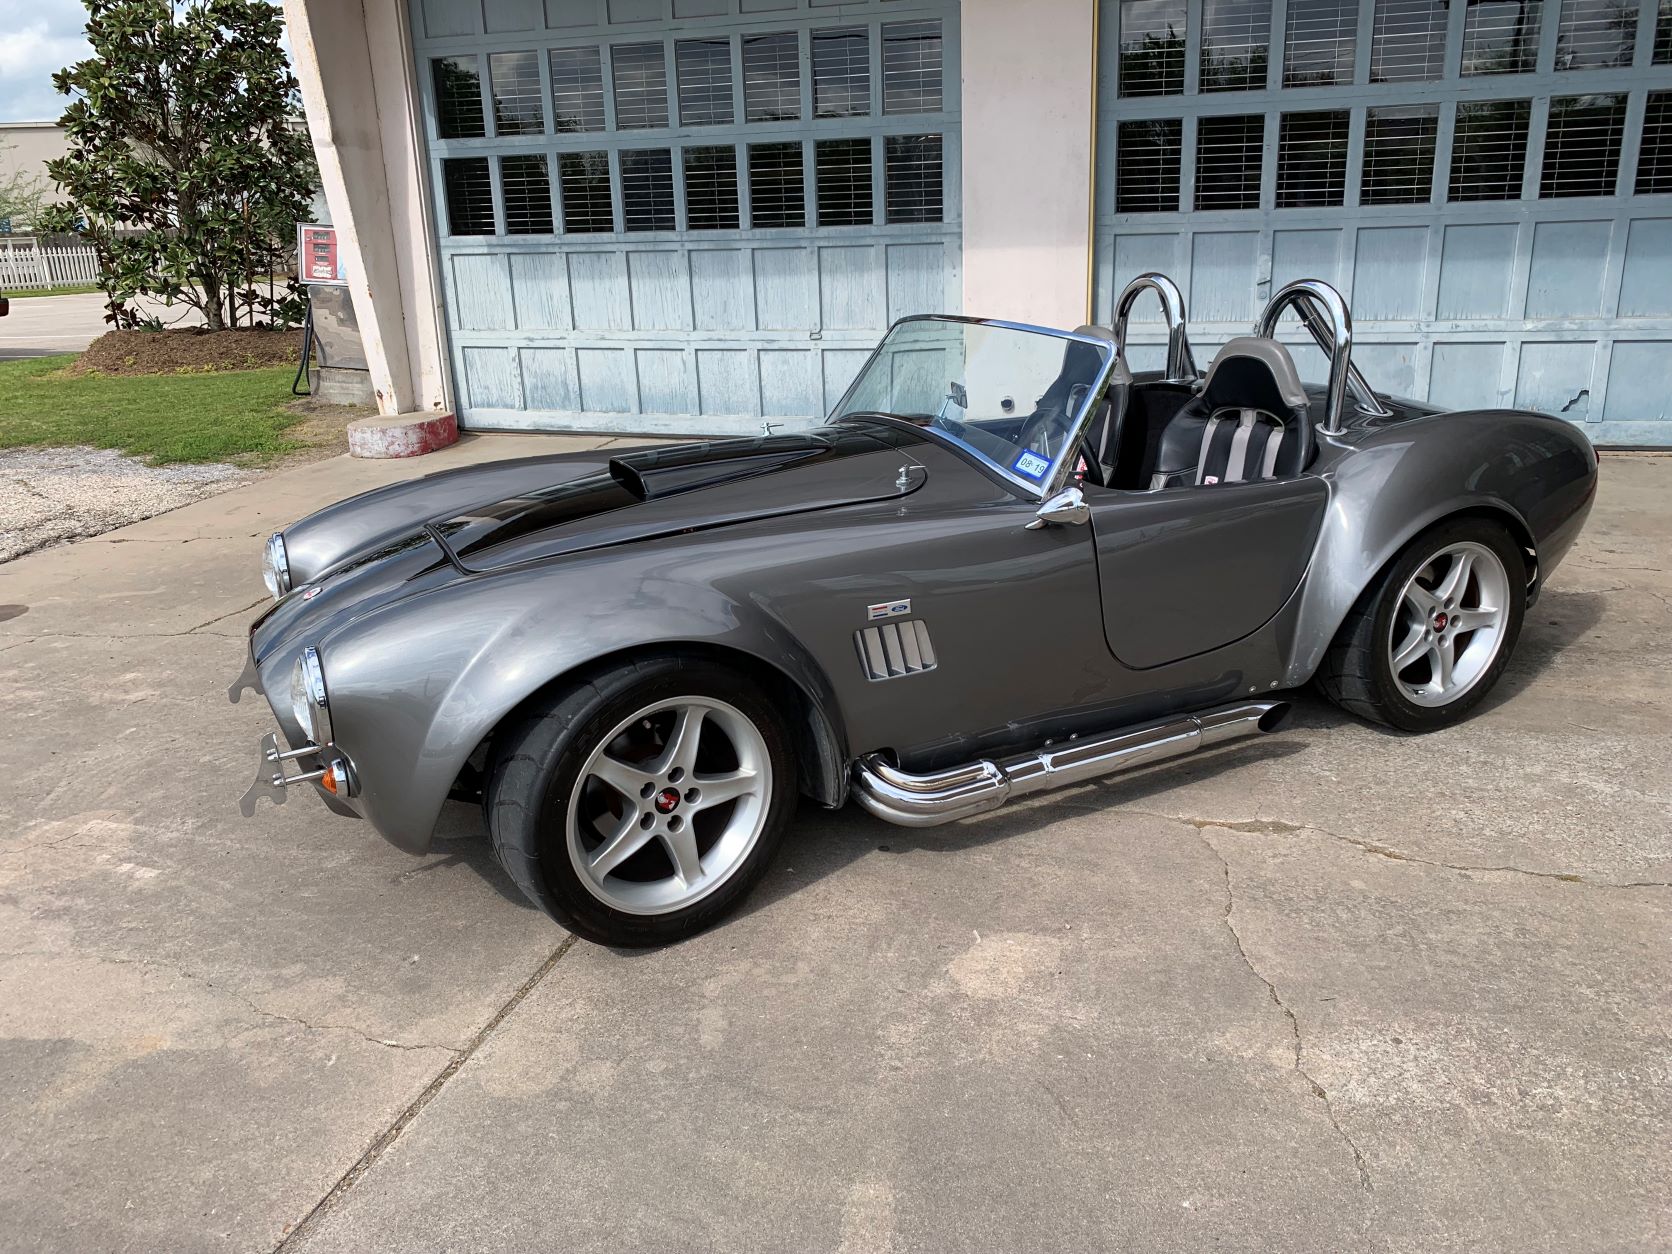
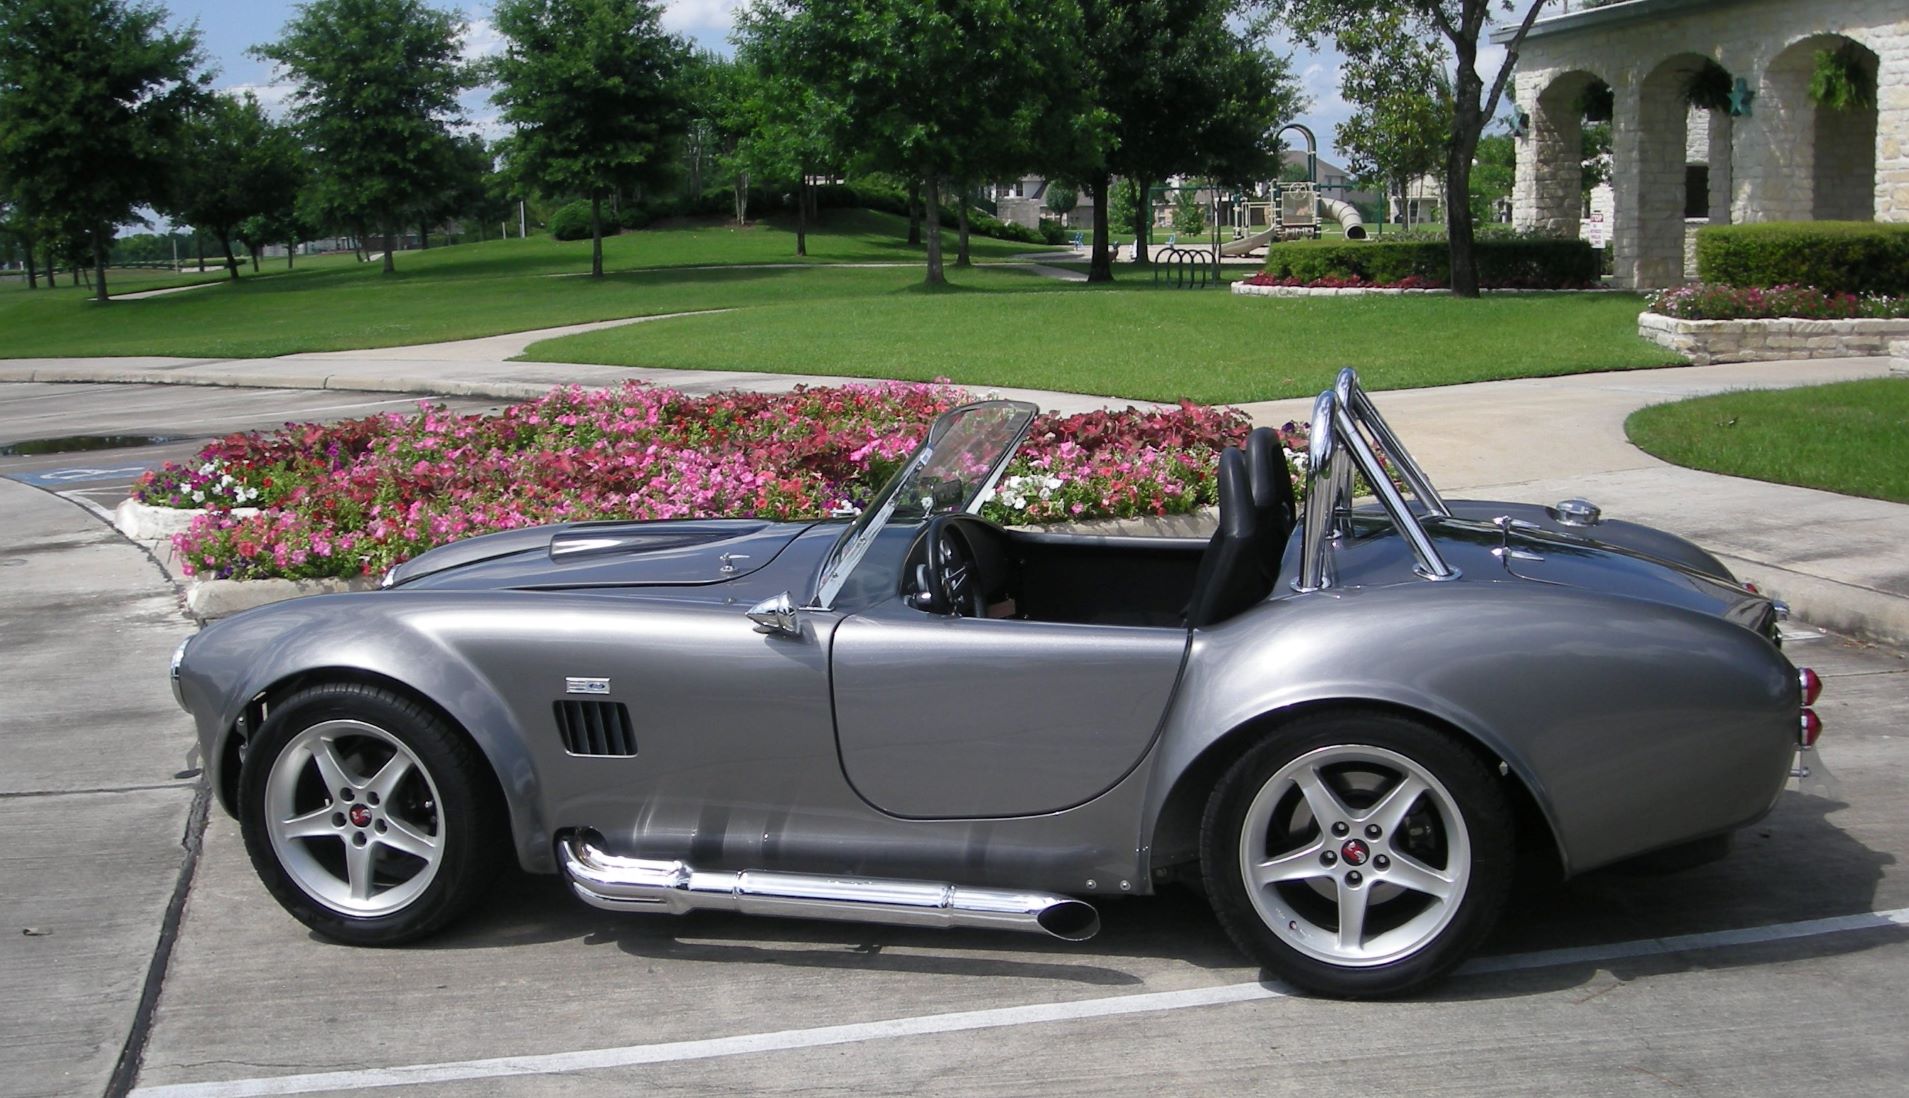
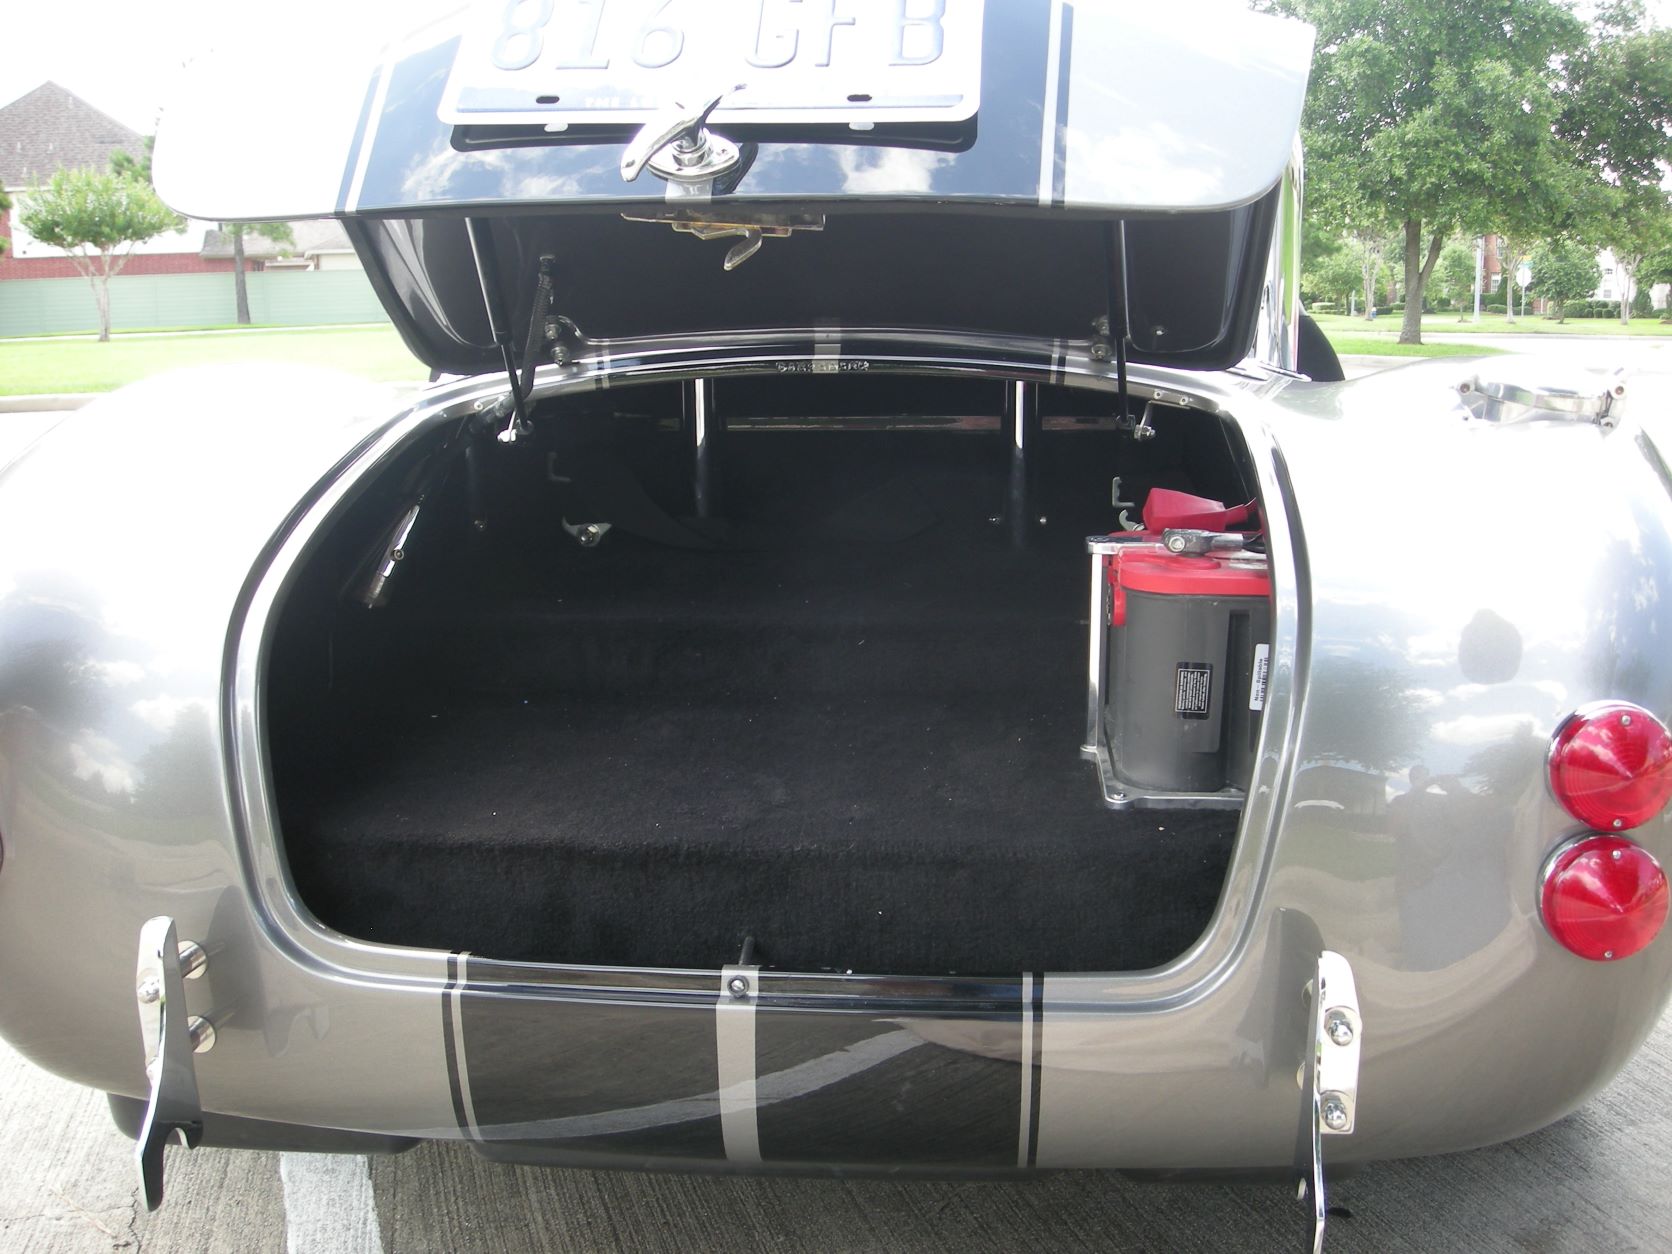
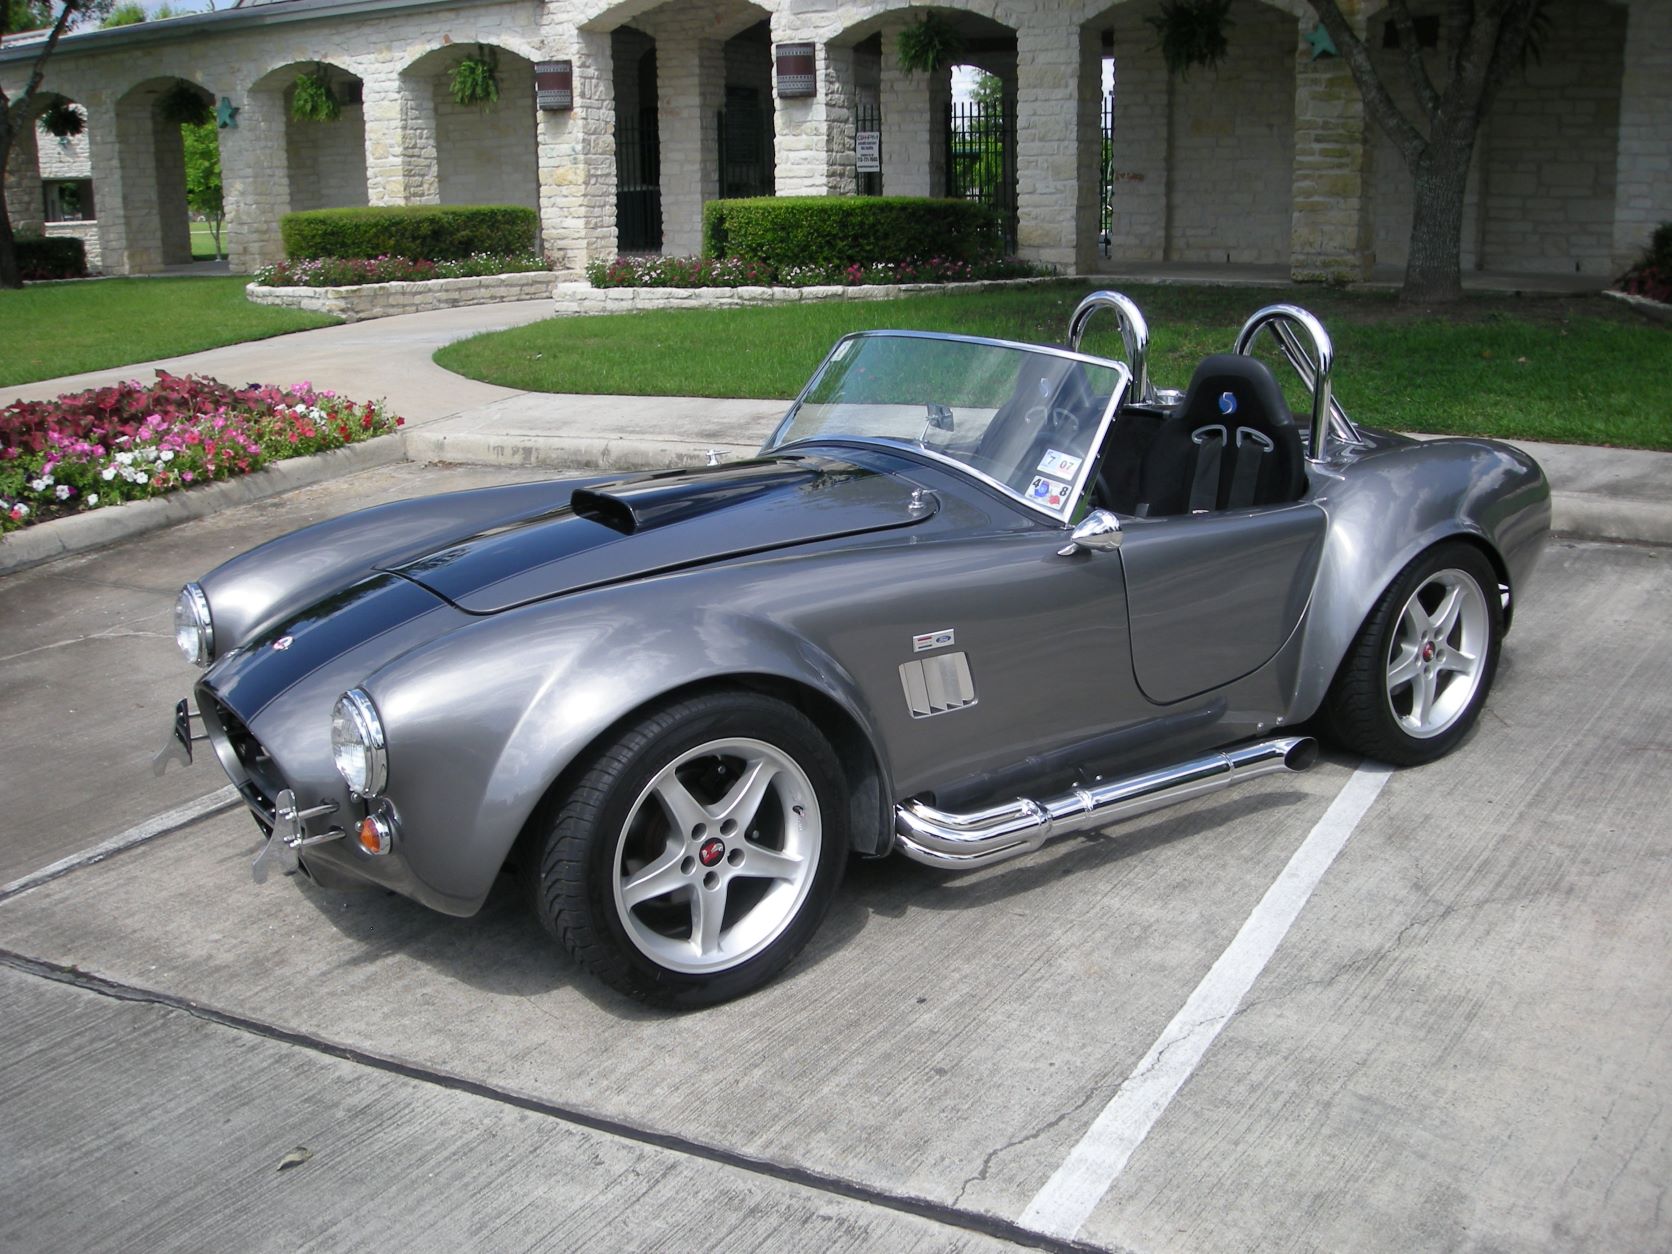
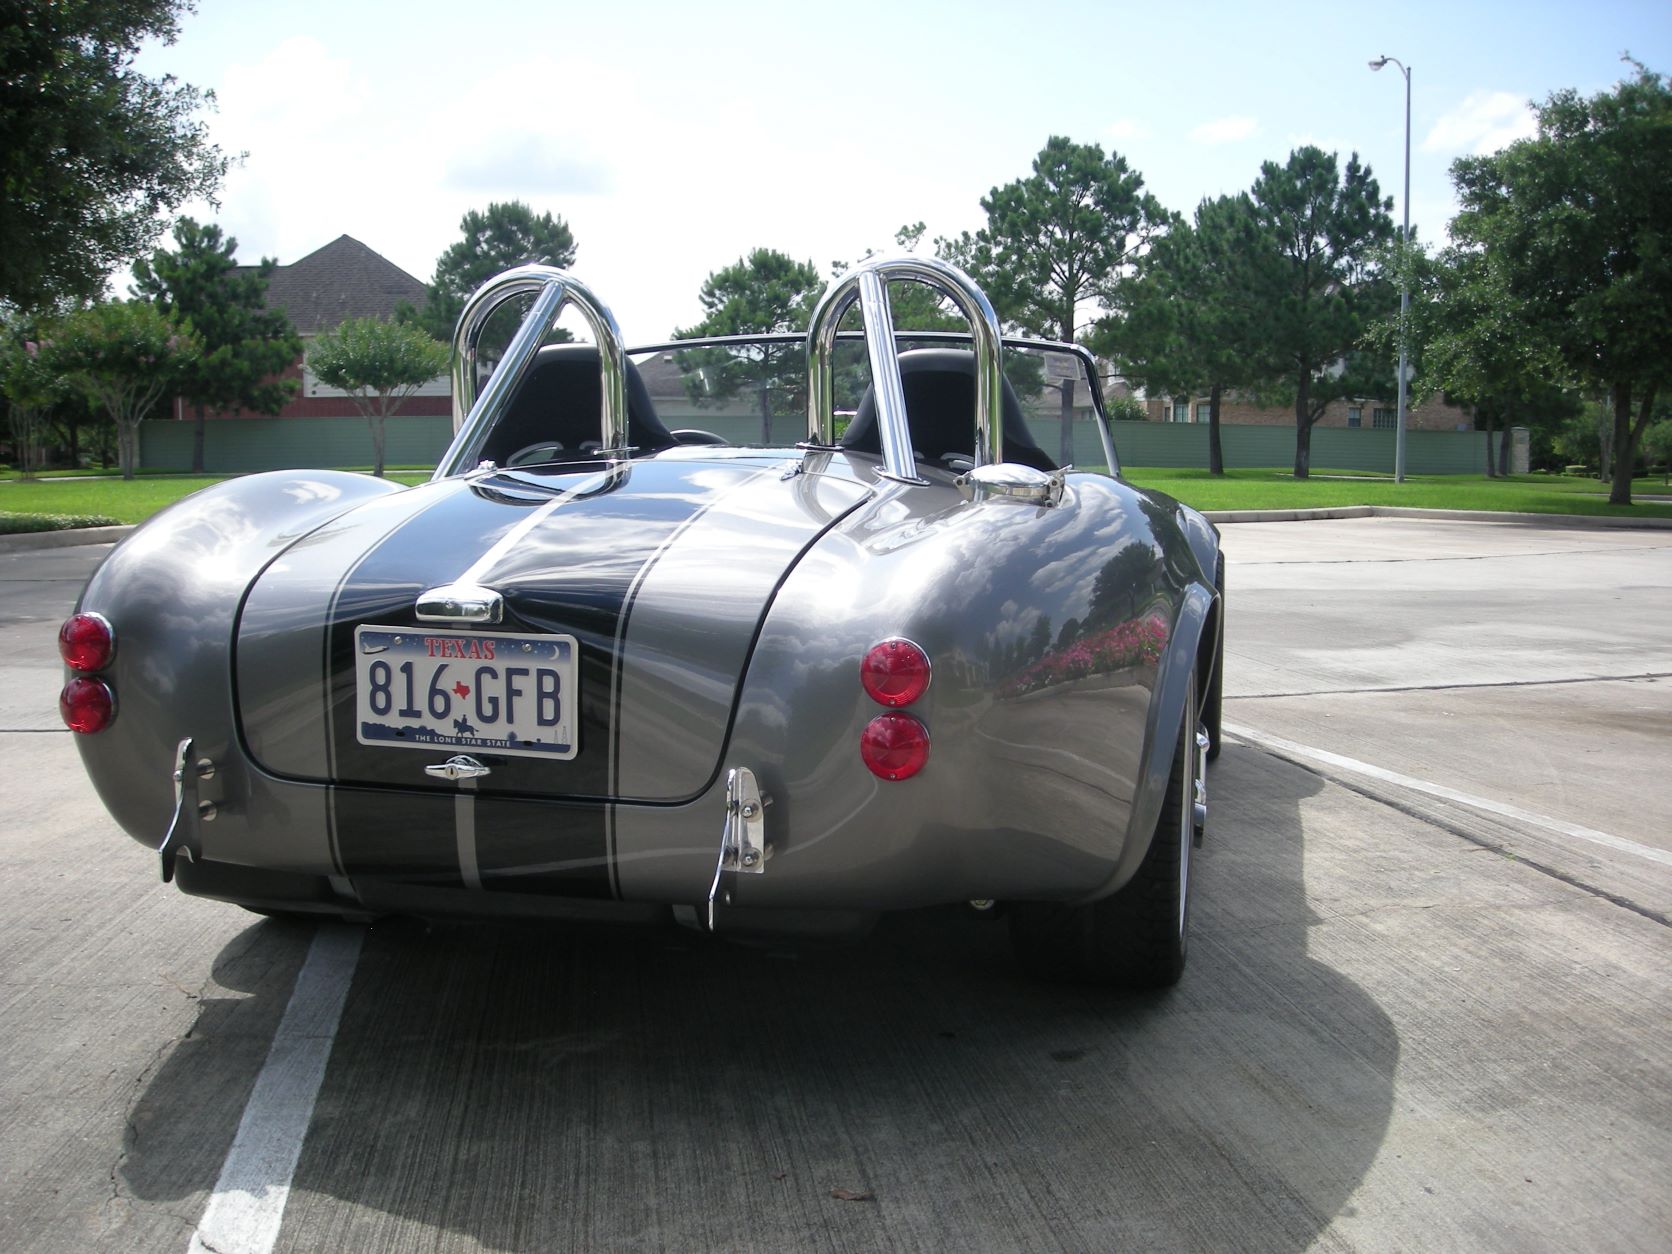
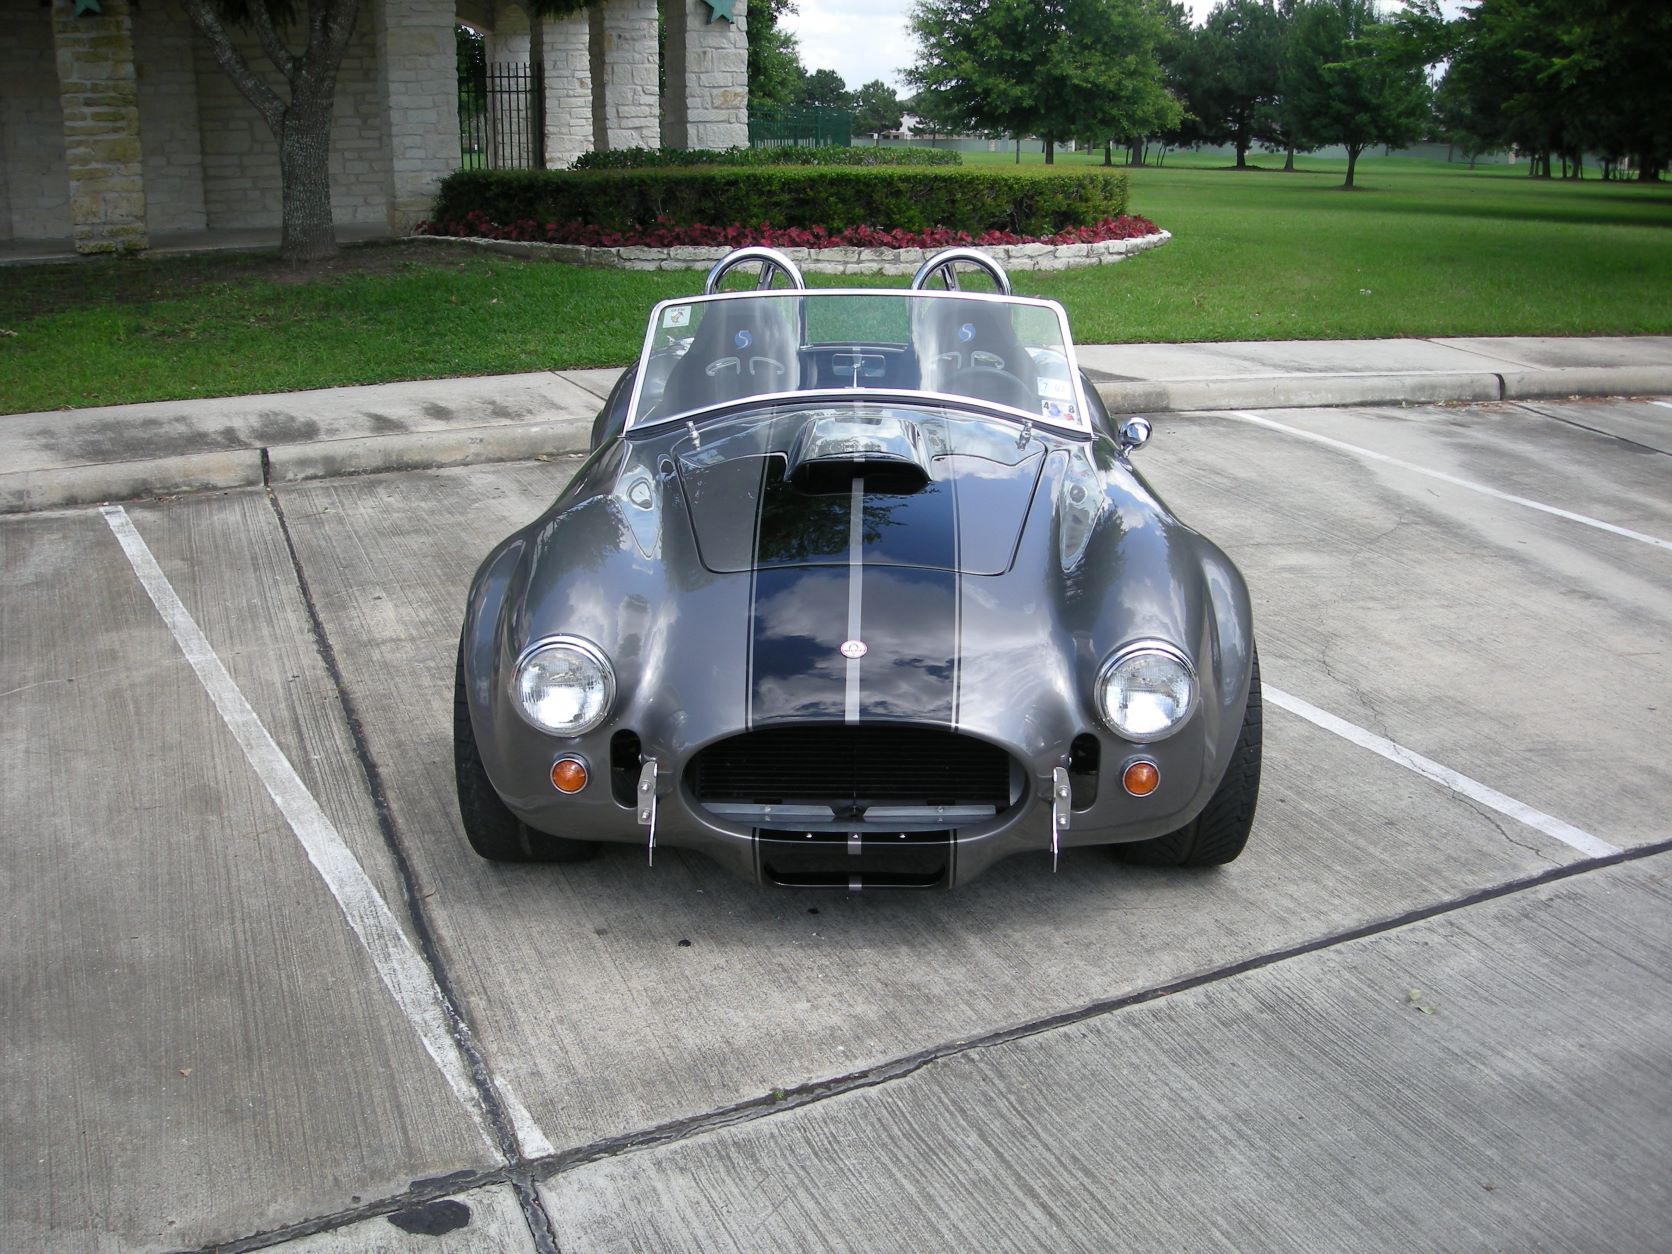
2007 Completed Car
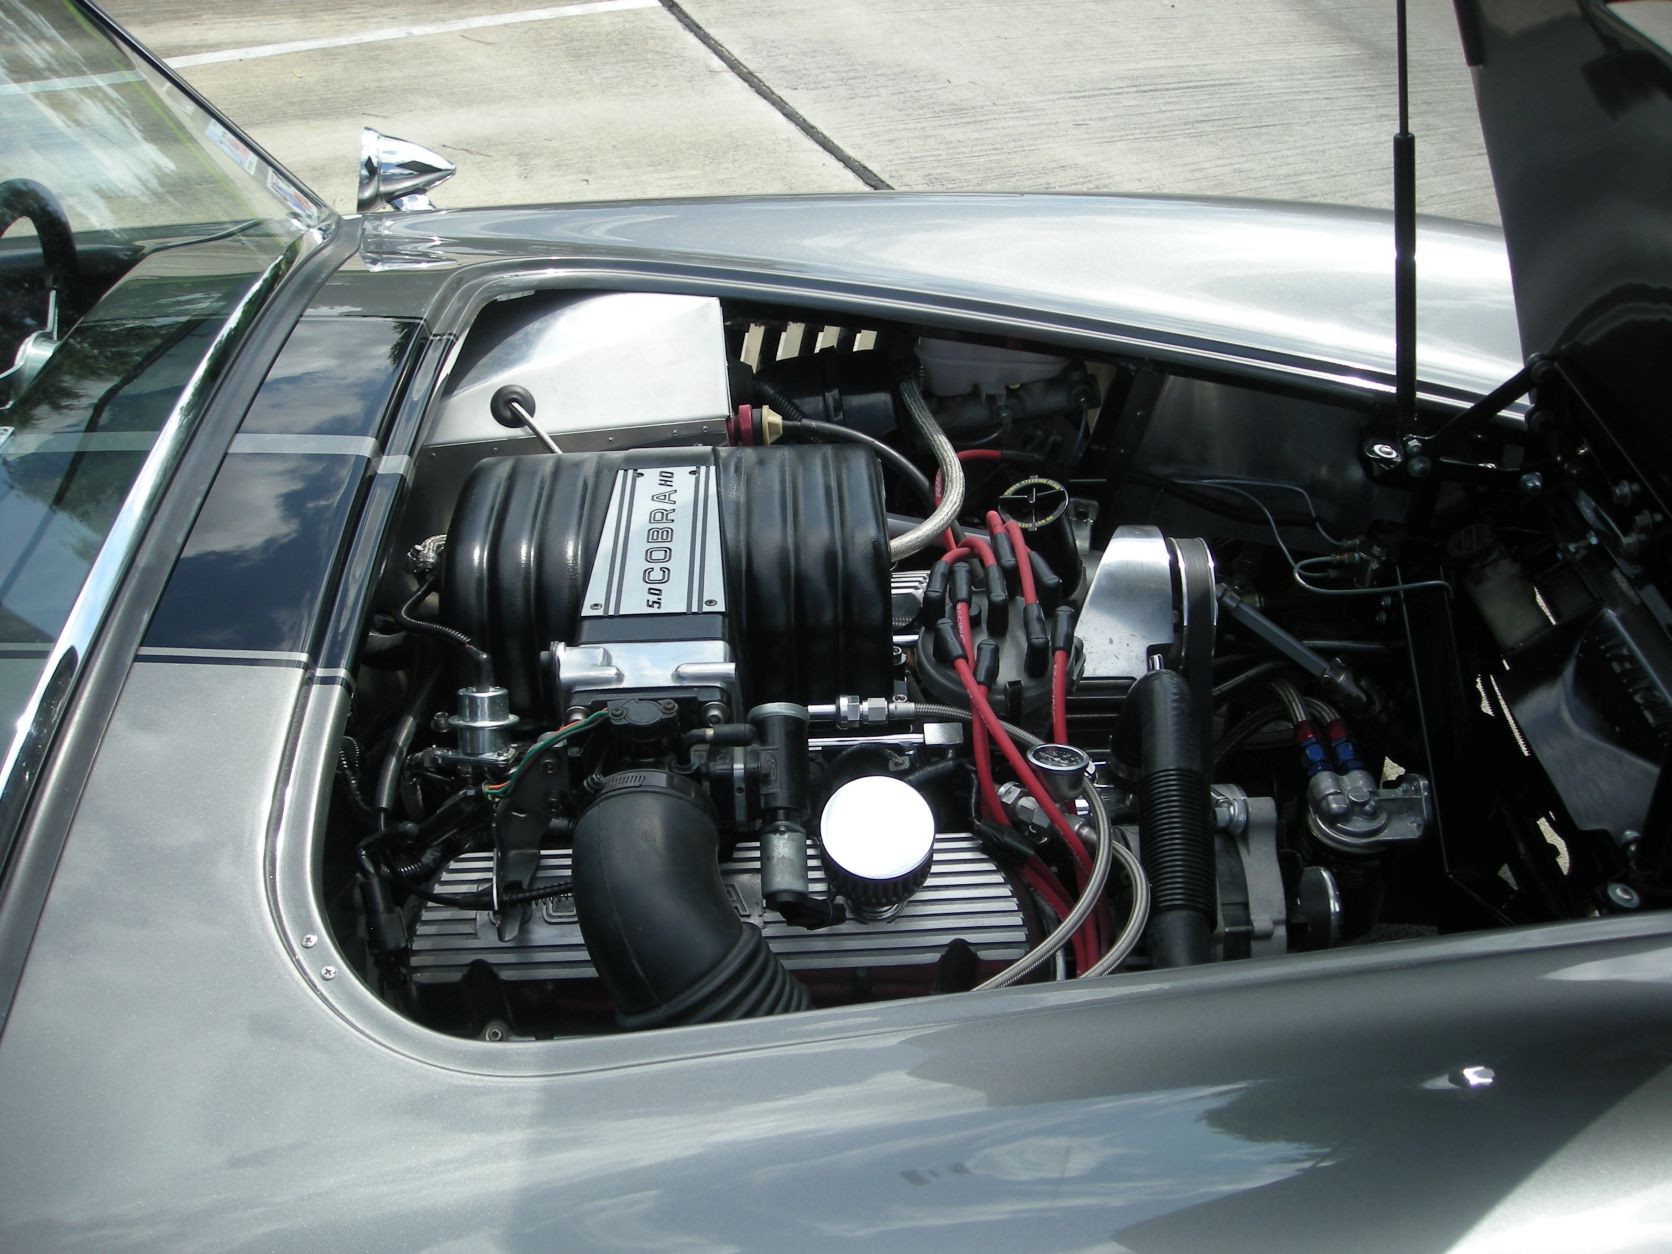
There are a few small bugs and tweaks left to do, but for now it is pretty much complete. All the work except for paint and carpet were done by my brother and me. That includes a complete engine overhaul, wiring and all mechanical assembly. The car is powered by a 5.0L small block, bored 0.030″ over, 10:1 compression, E303 cam, underdrive pulleys, shorty headers and ported stock heads. Other notable items are a powder coated frame, 3 link rear suspension and vented rear disc brakes. Time to start looking for the next project.
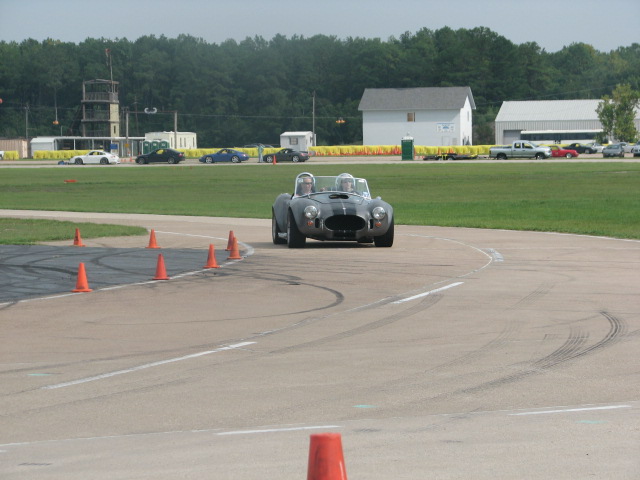
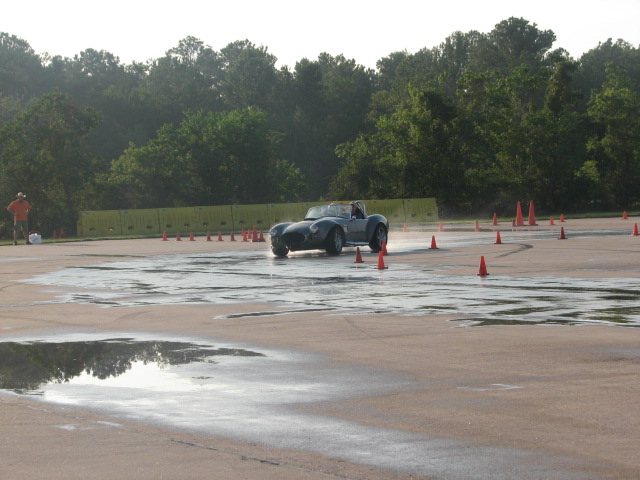
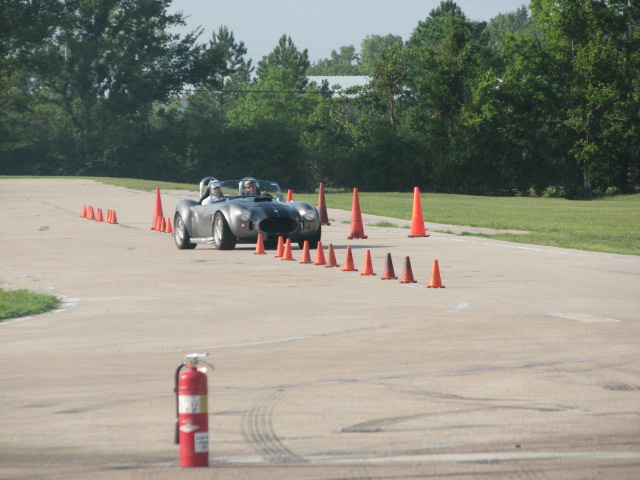
2009 Driving School
We had the opportunity to do a driver training event with the Houston Porsche club. The event was held at the Houston Police Academy driver training course. It was lots of fun and not too many cones were harmed that day.

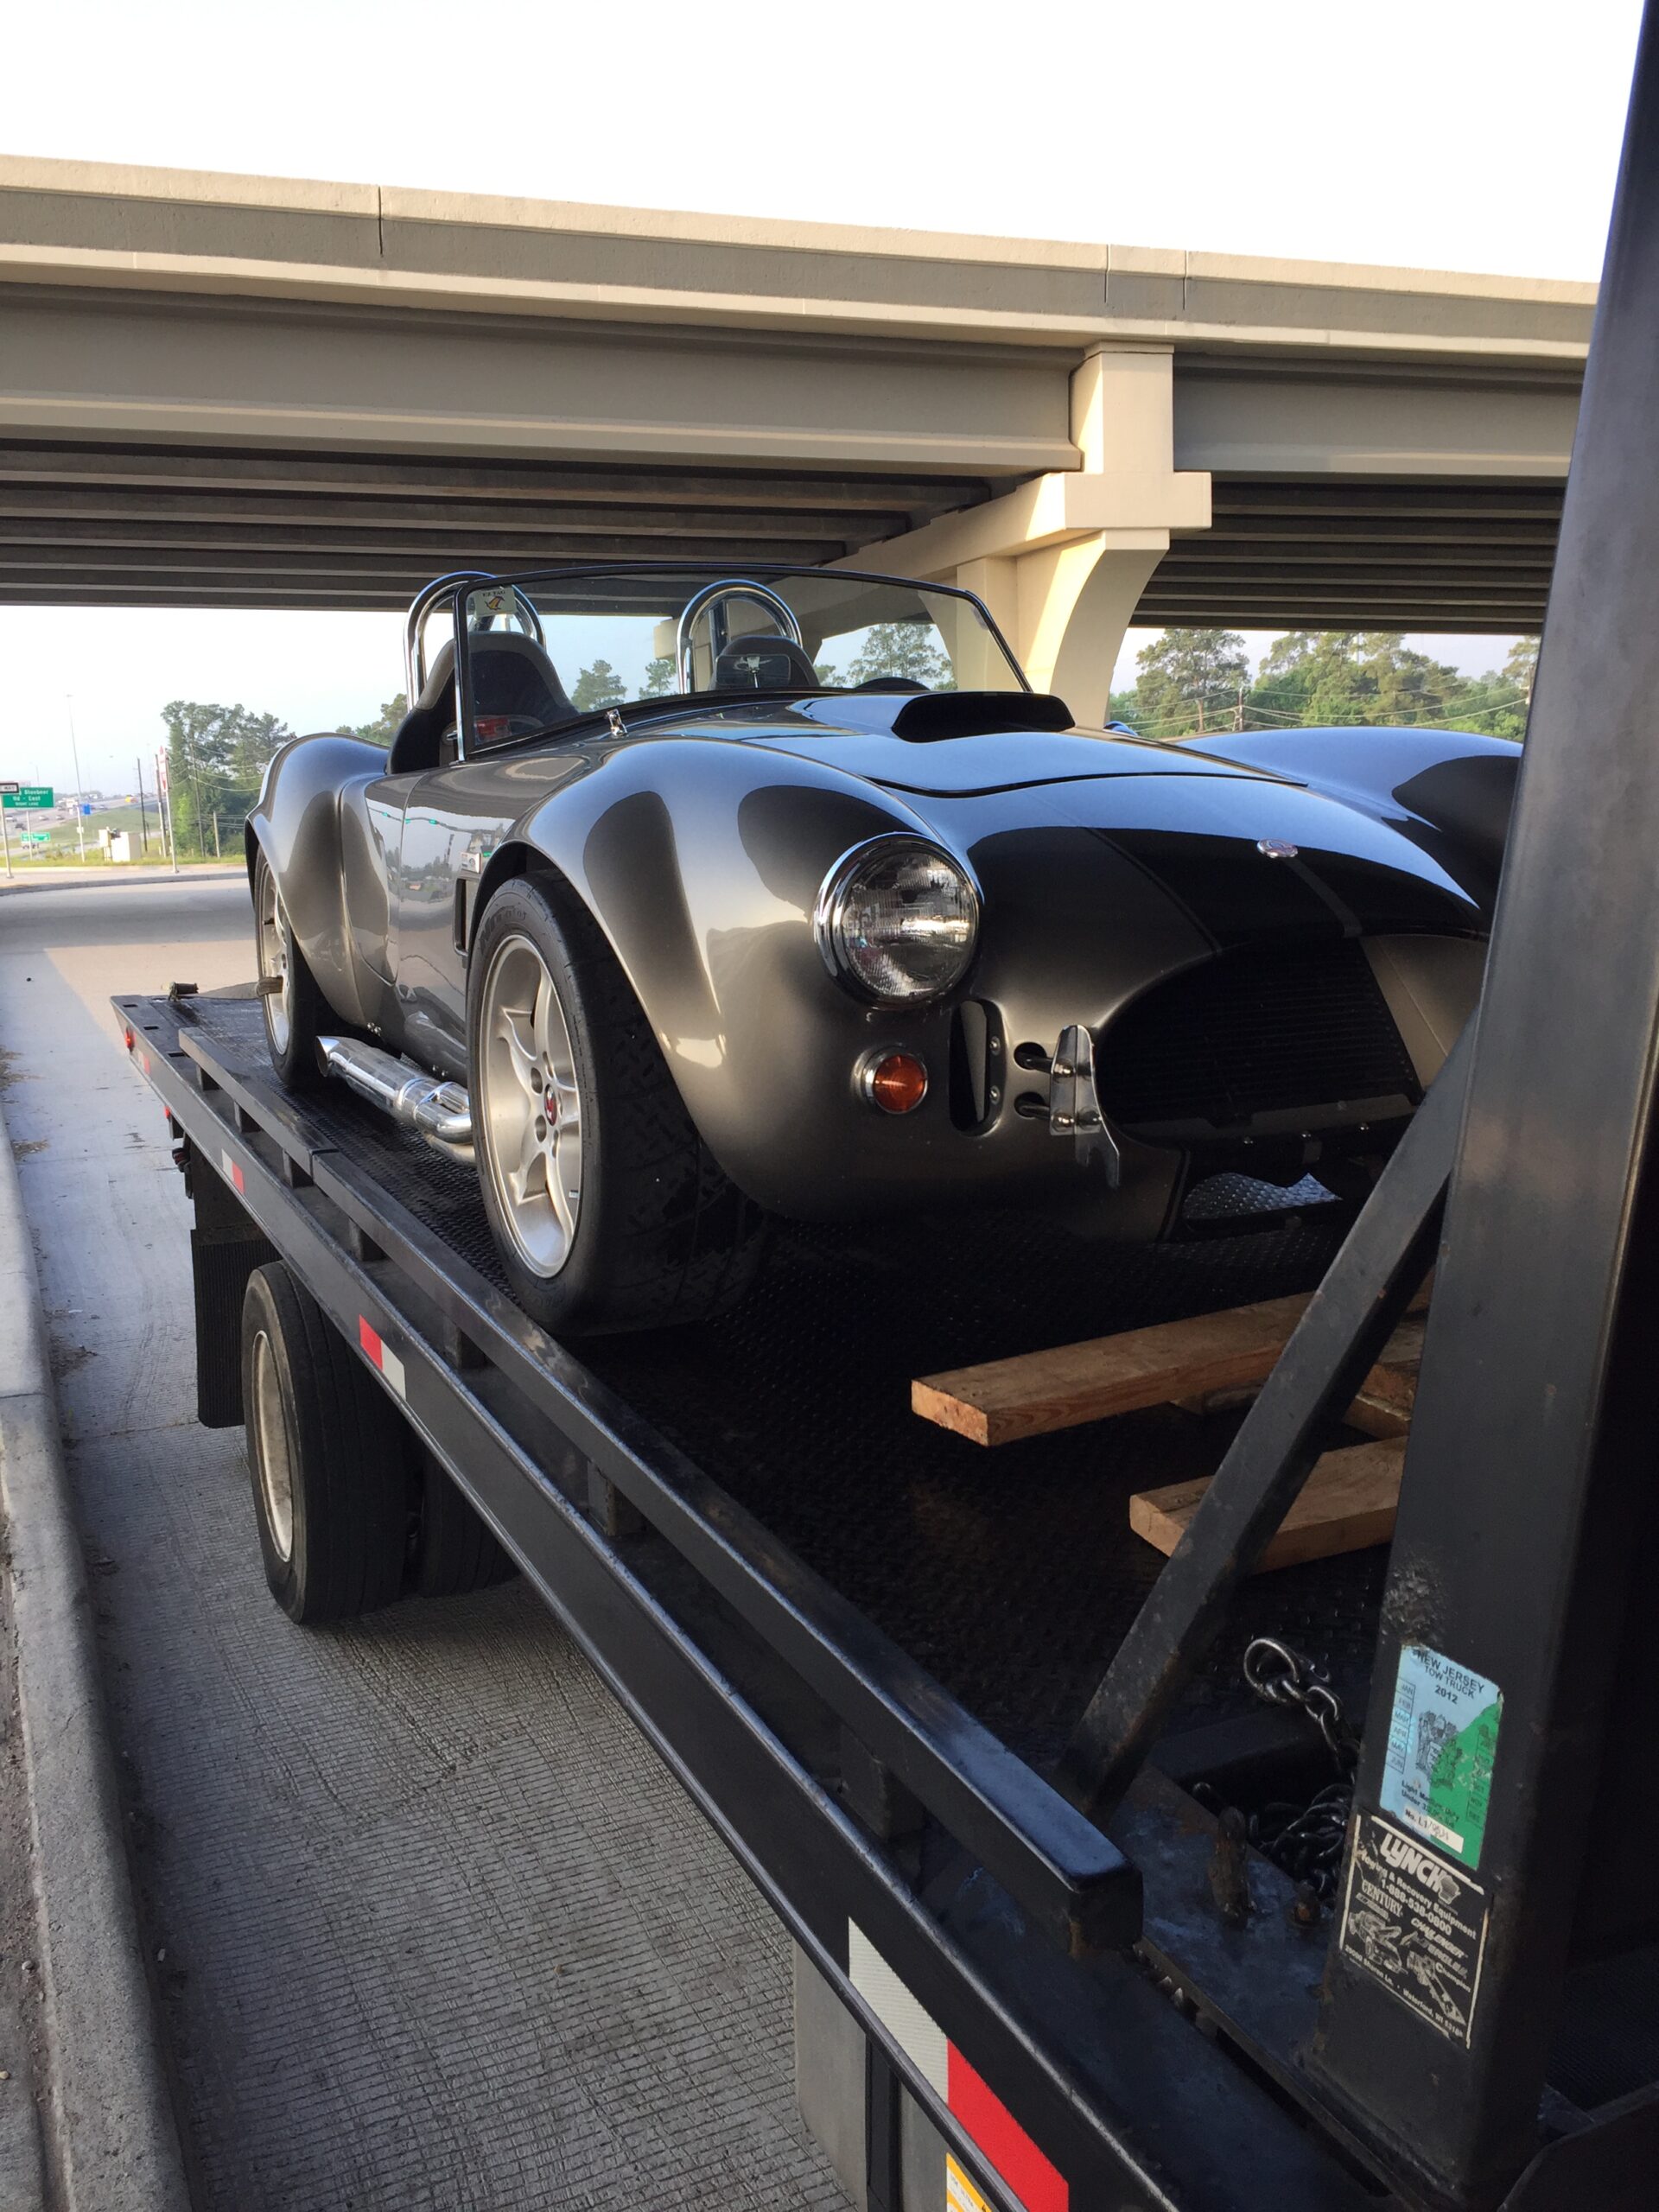
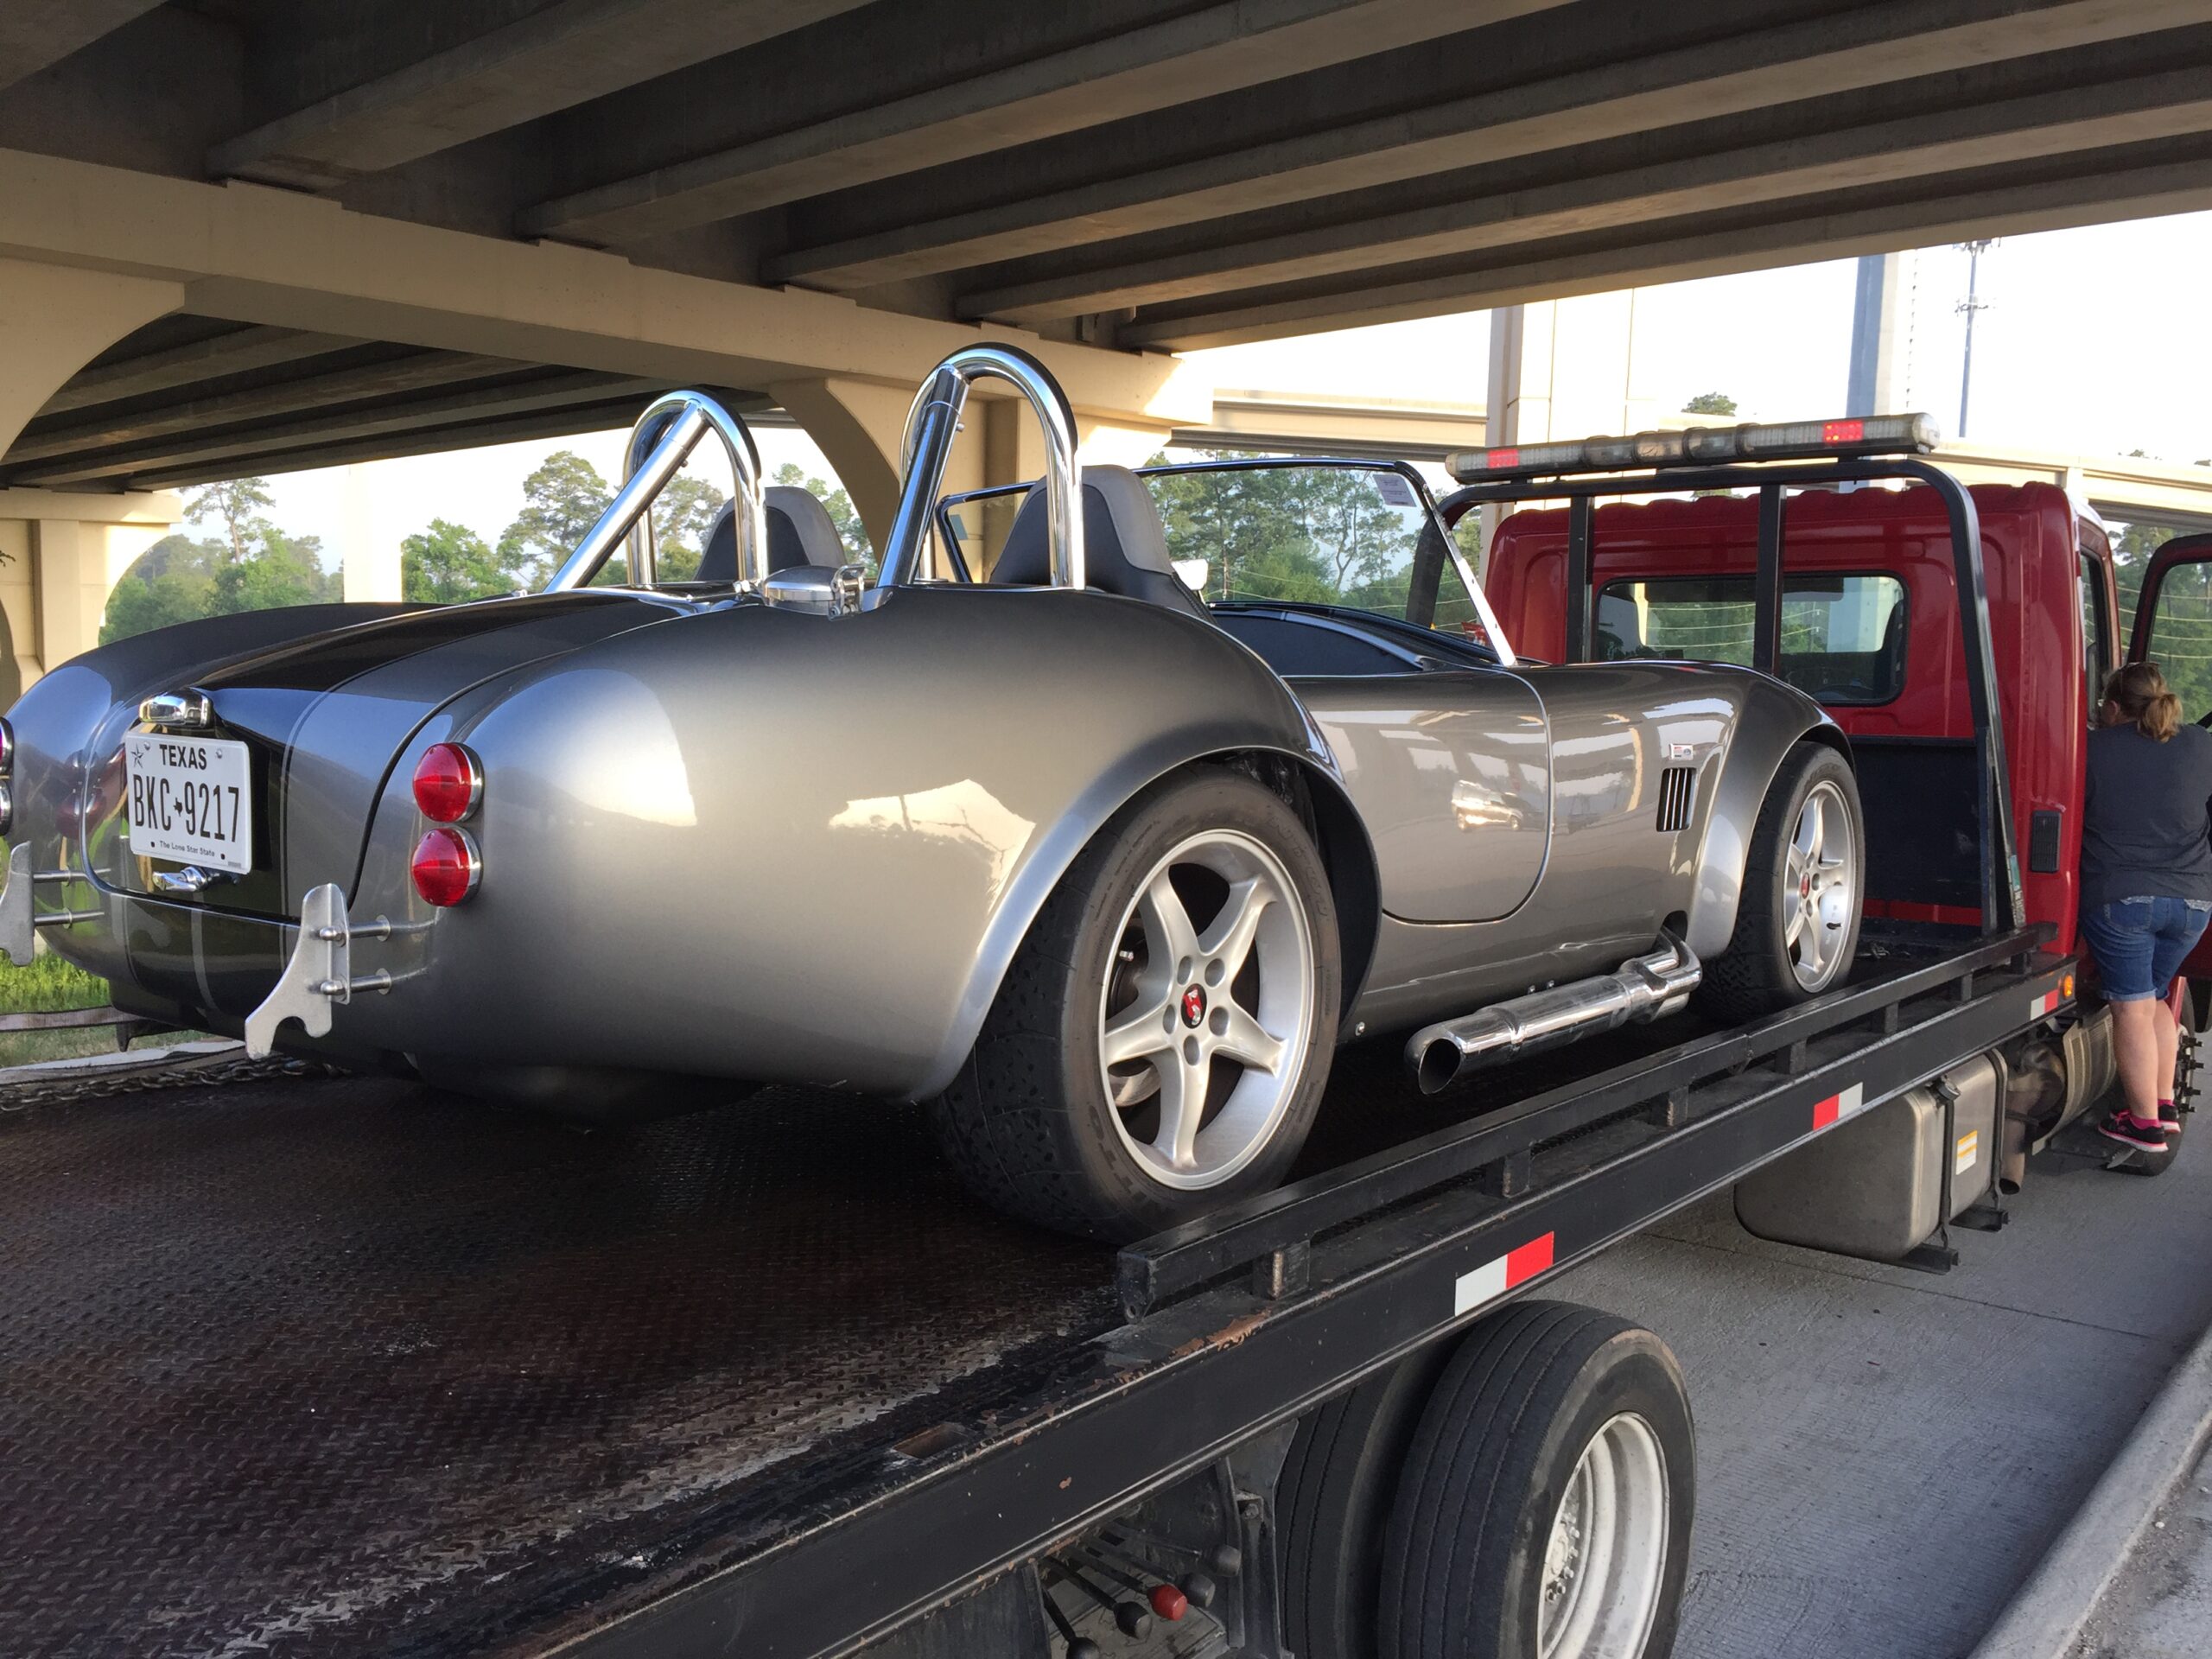
2017 Breakdown
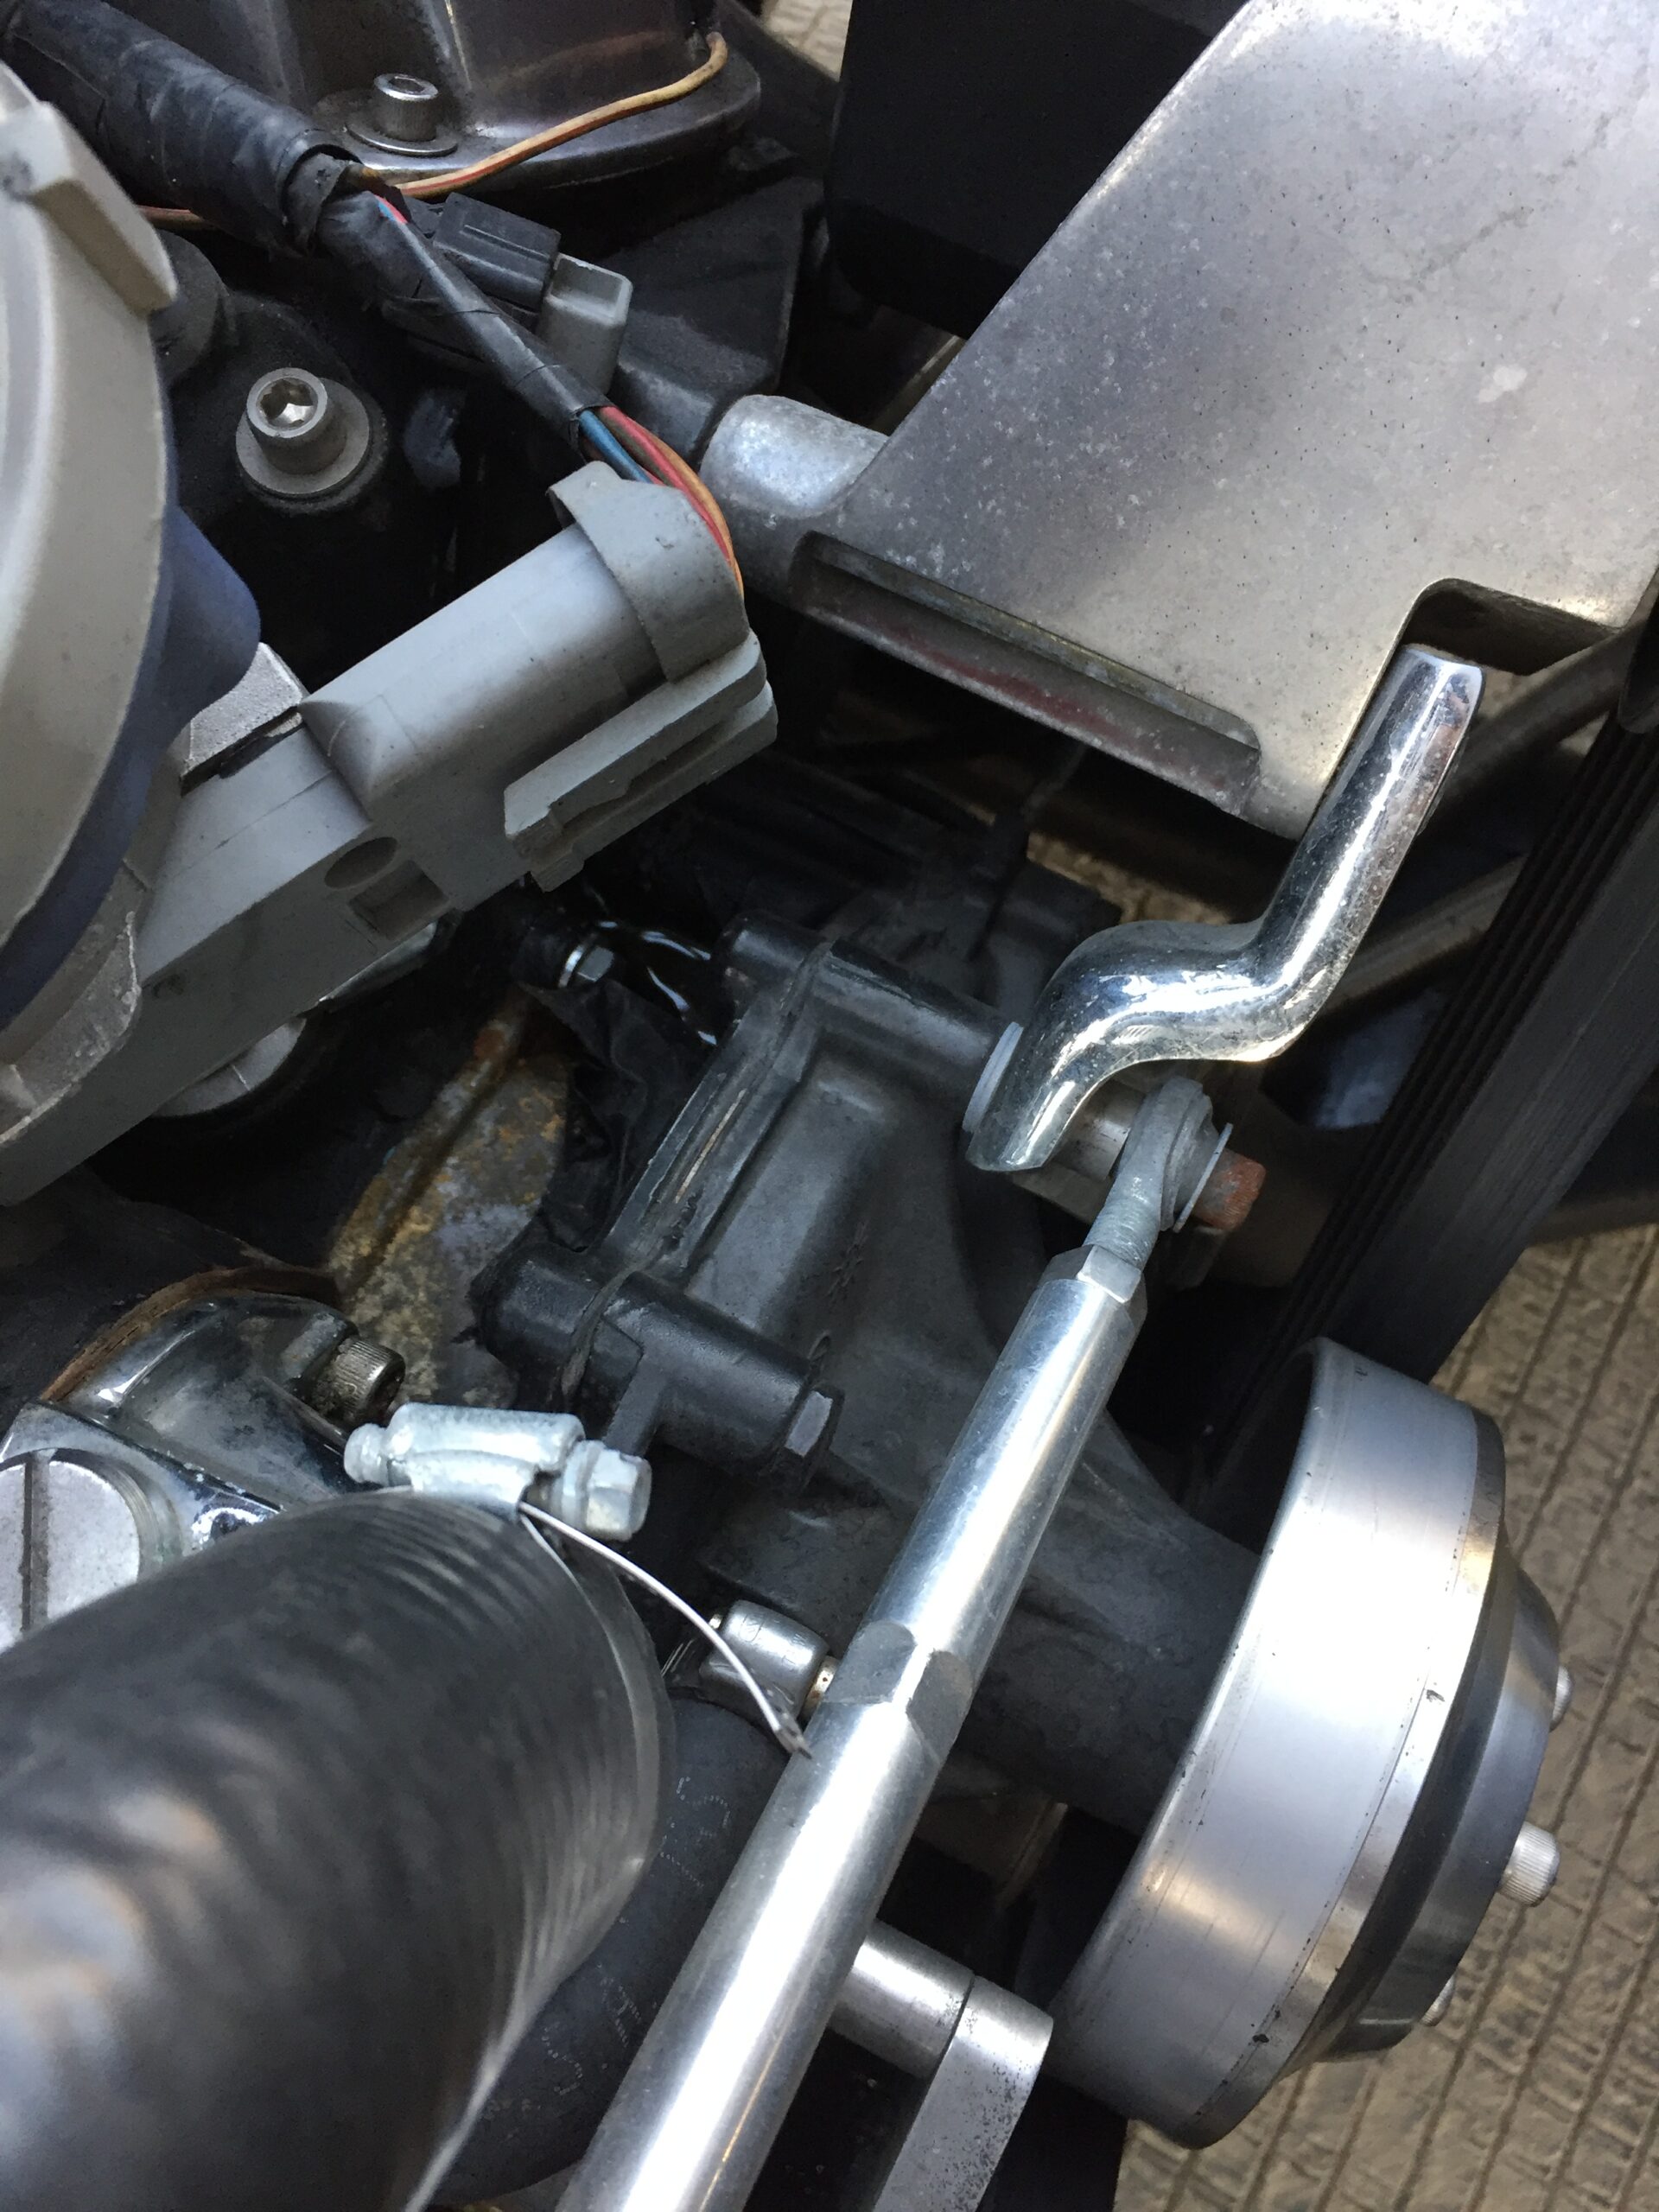
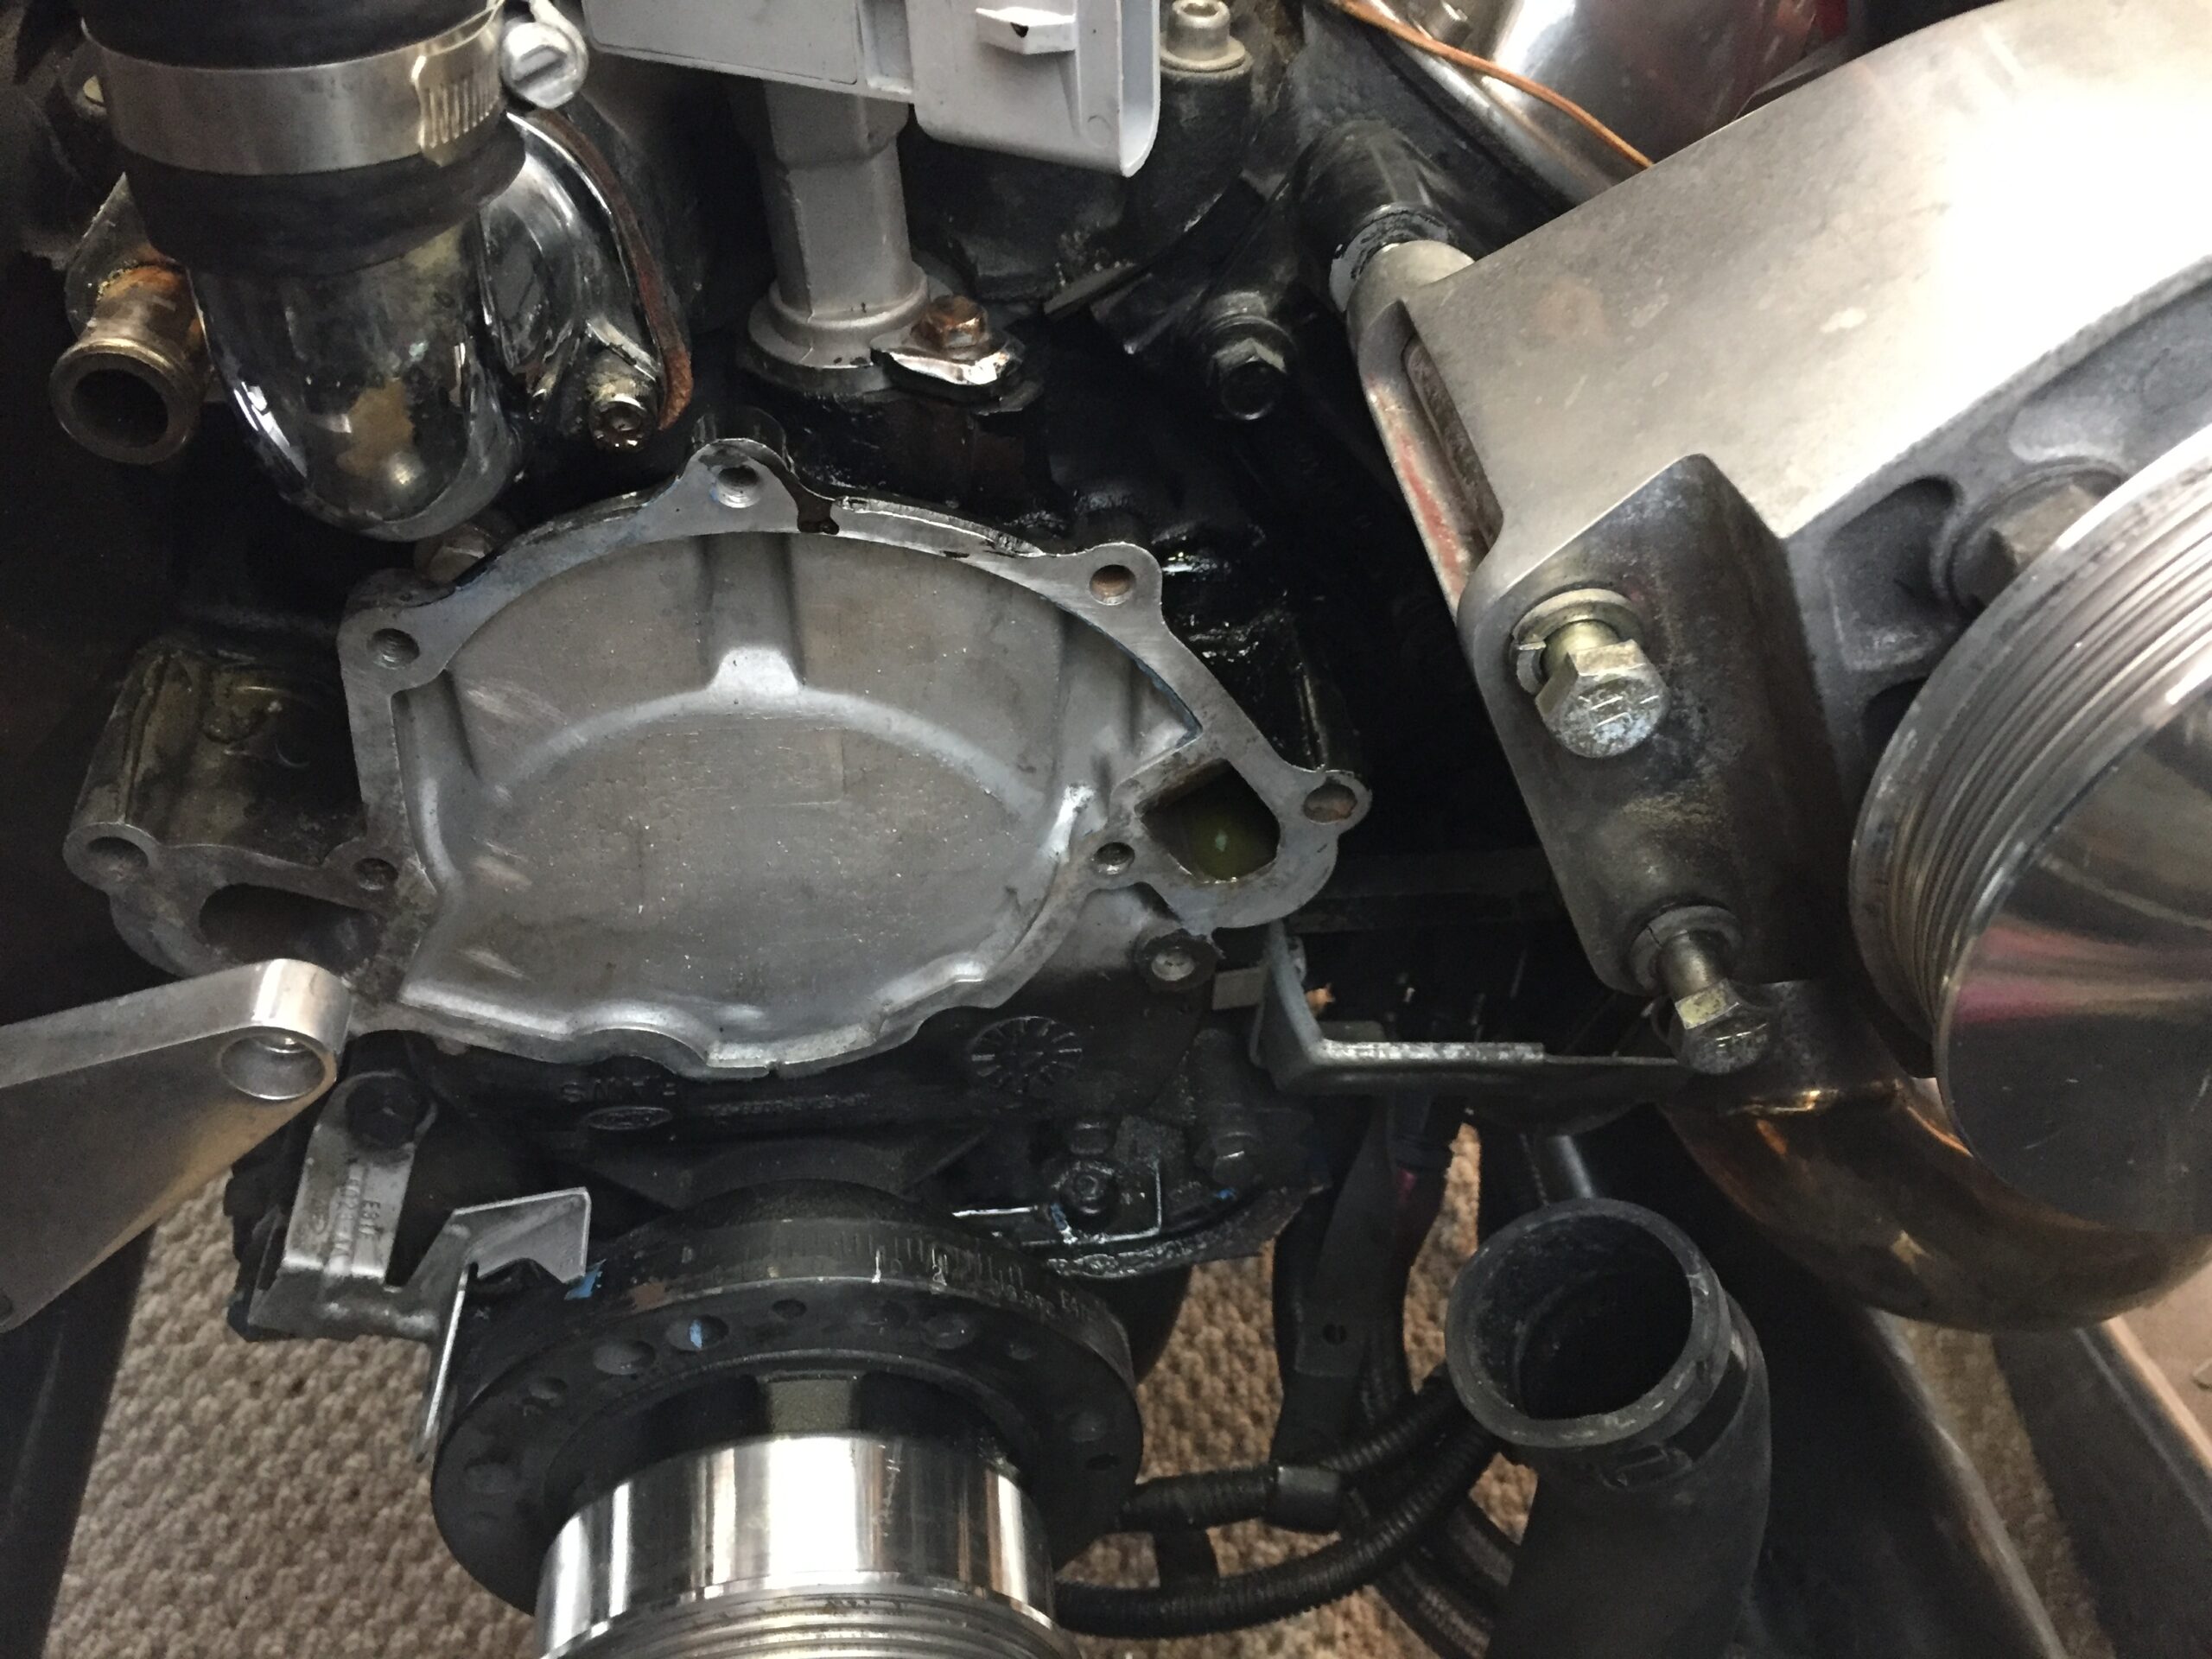
On the way to work one morning, all the coolant leaked out and the car overheated. I thought it was the water pump so I swapped it out. Turns out it was the thermostat housing that was corroded and had a pin hole leak and sprayed coolant onto the water pump.
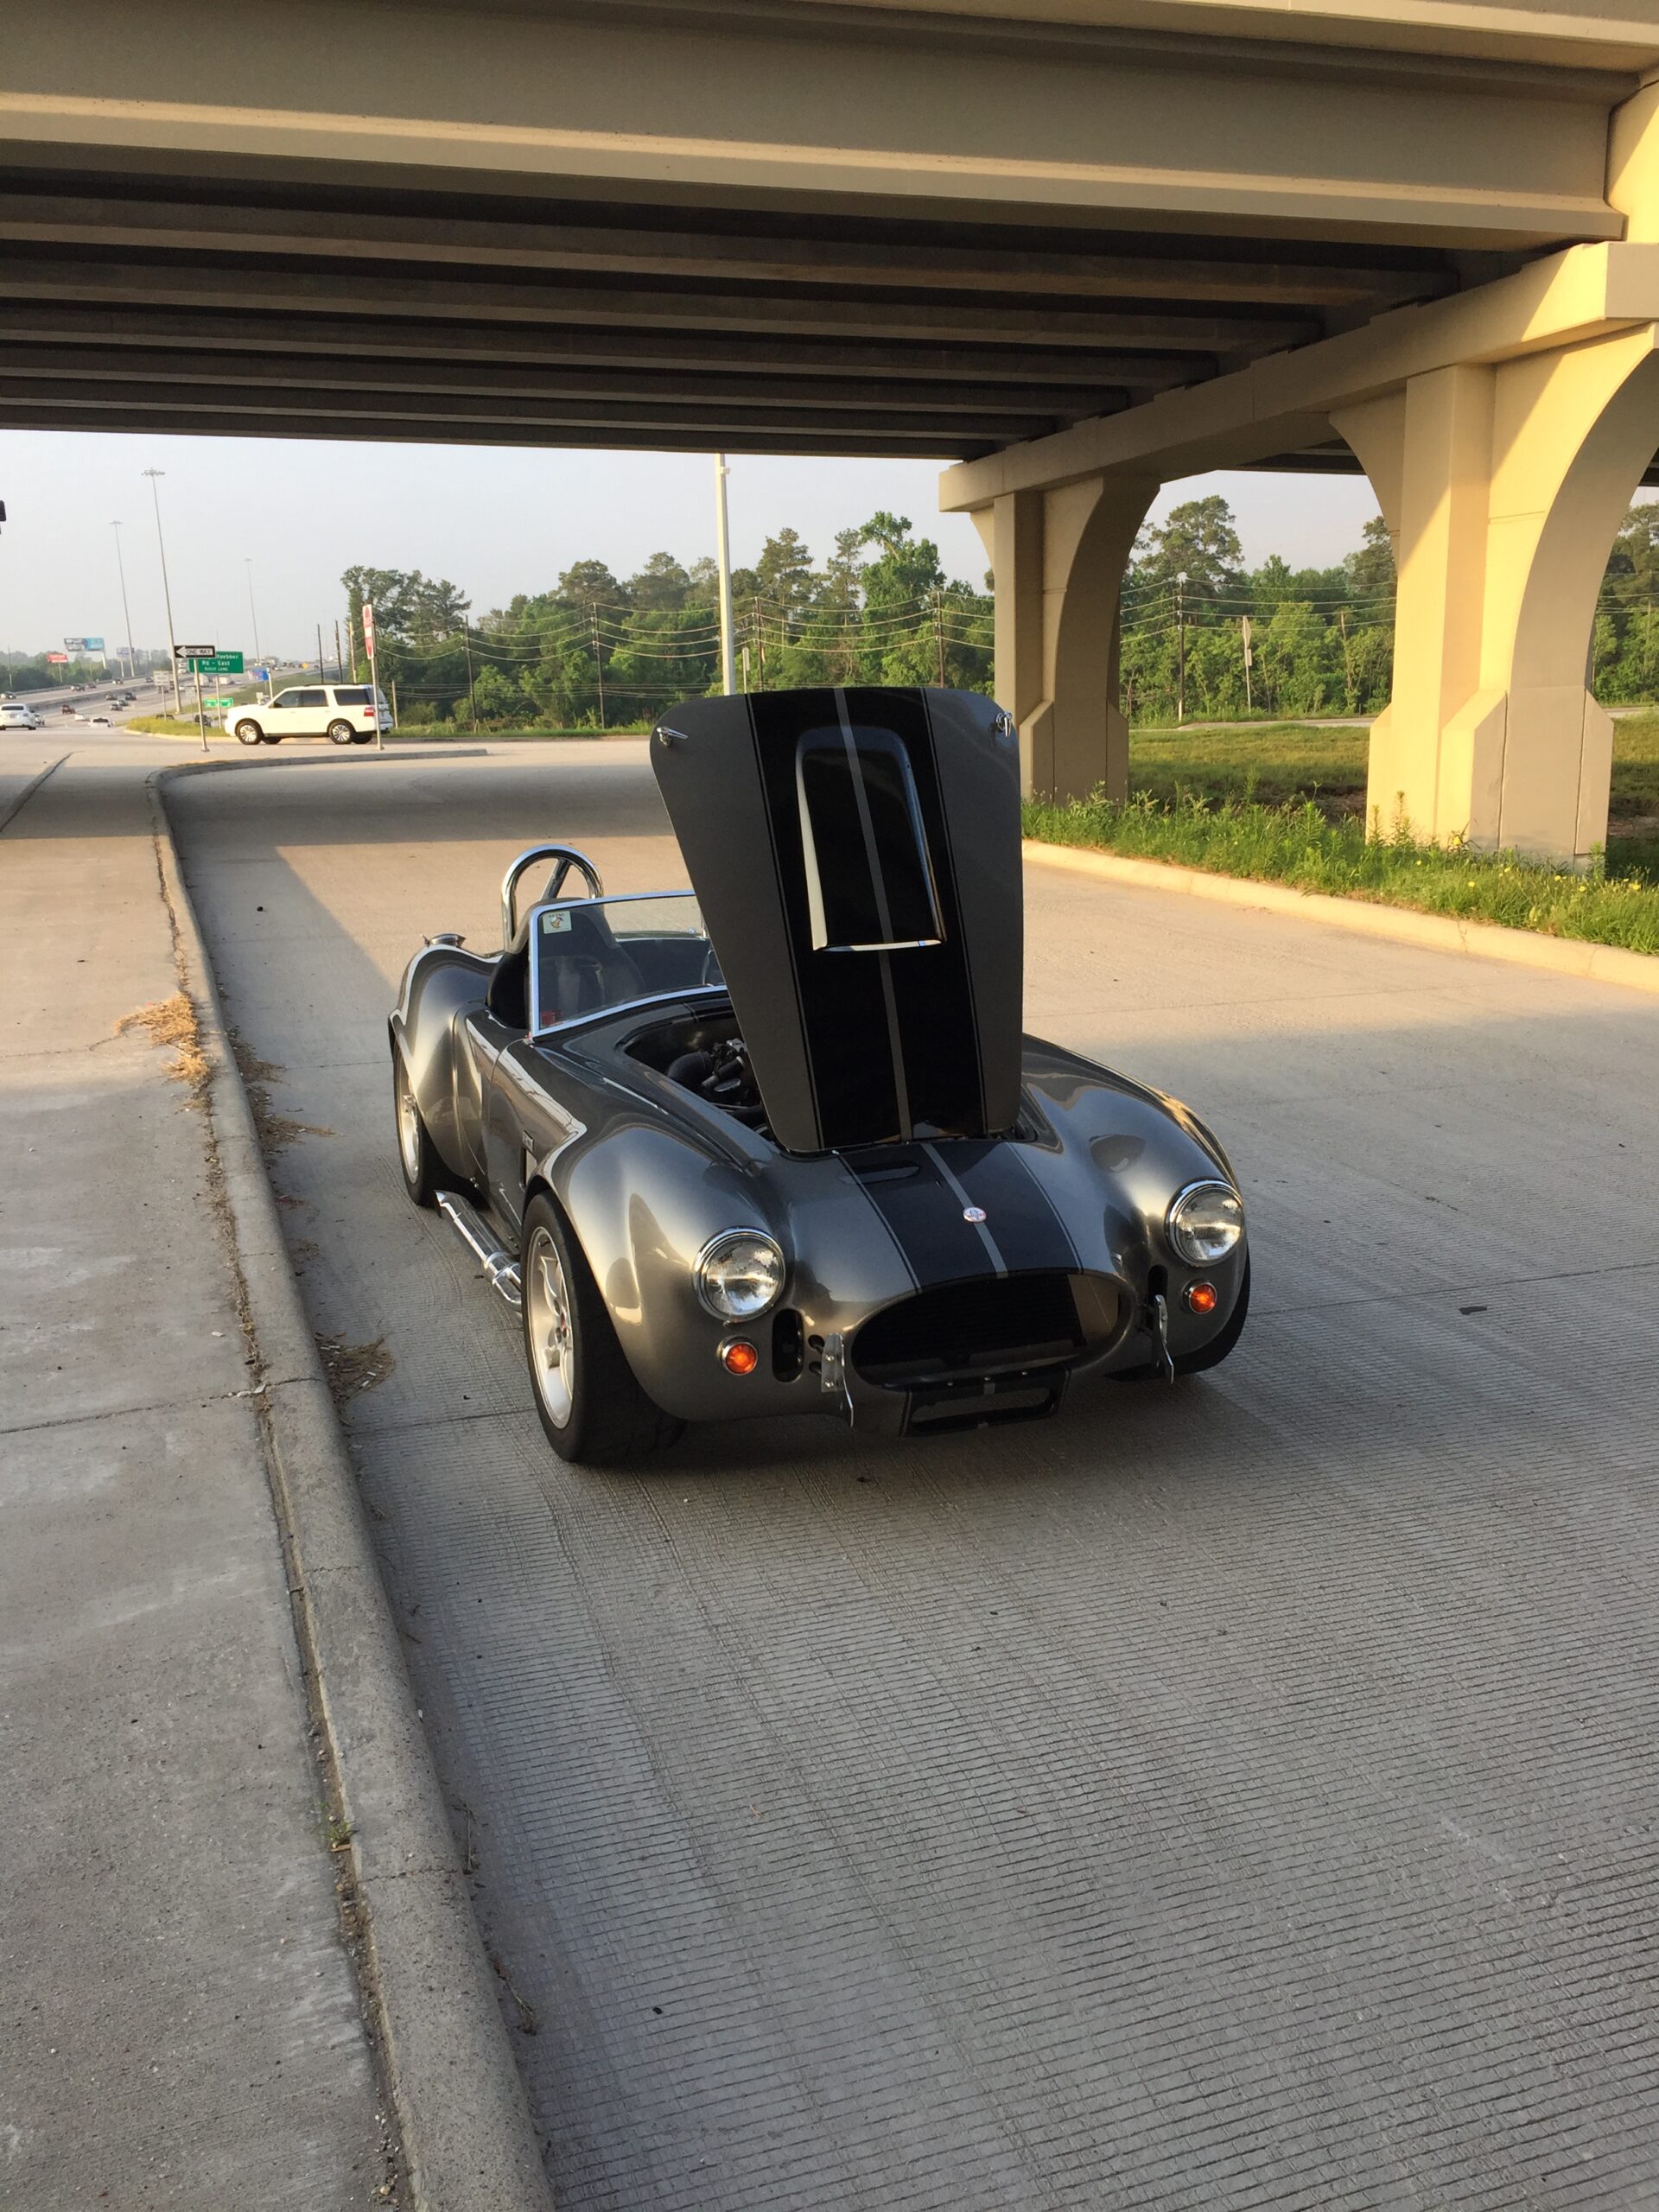
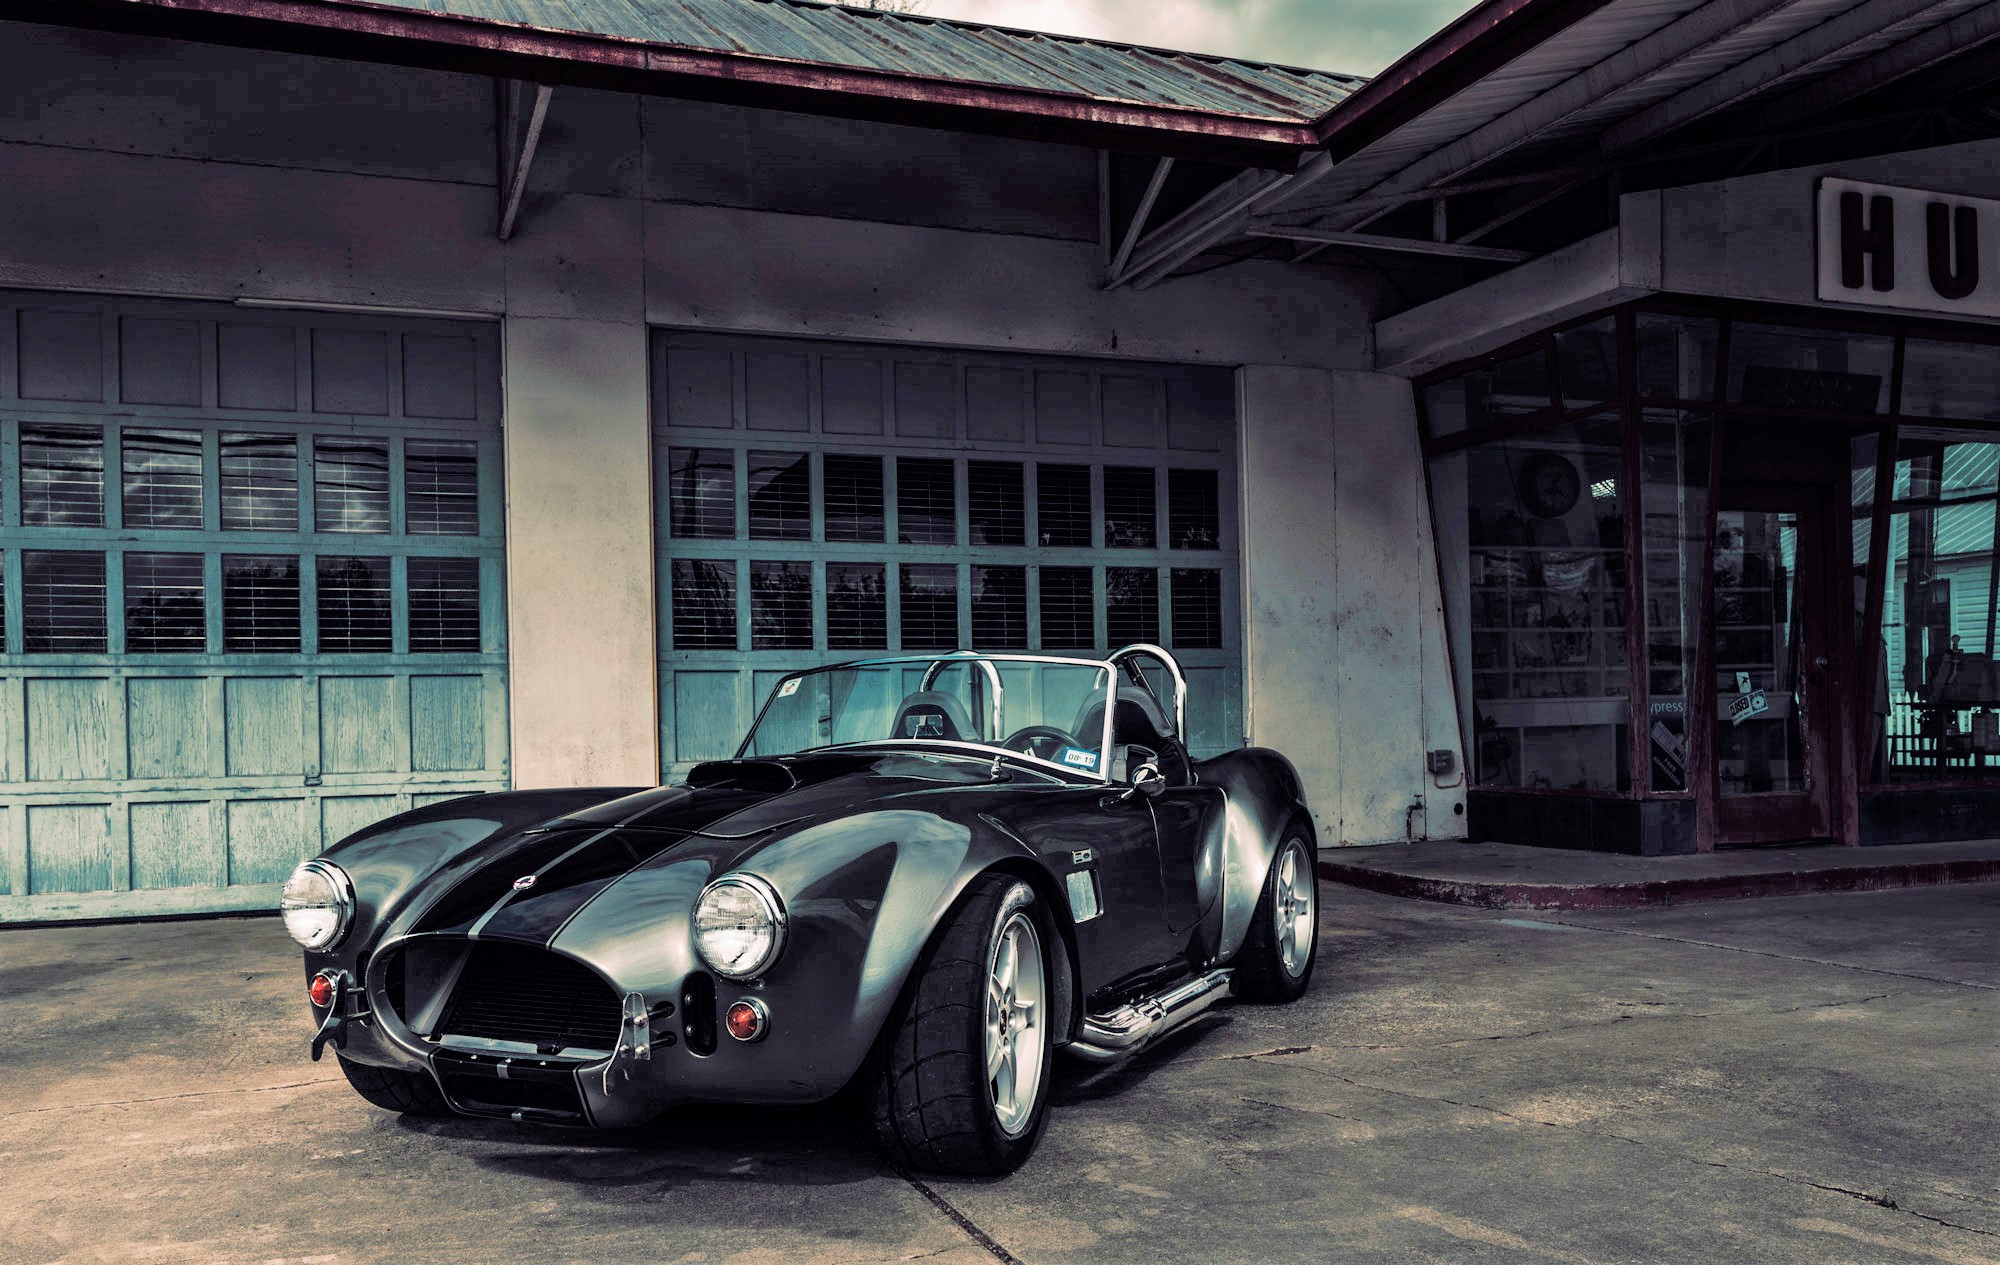
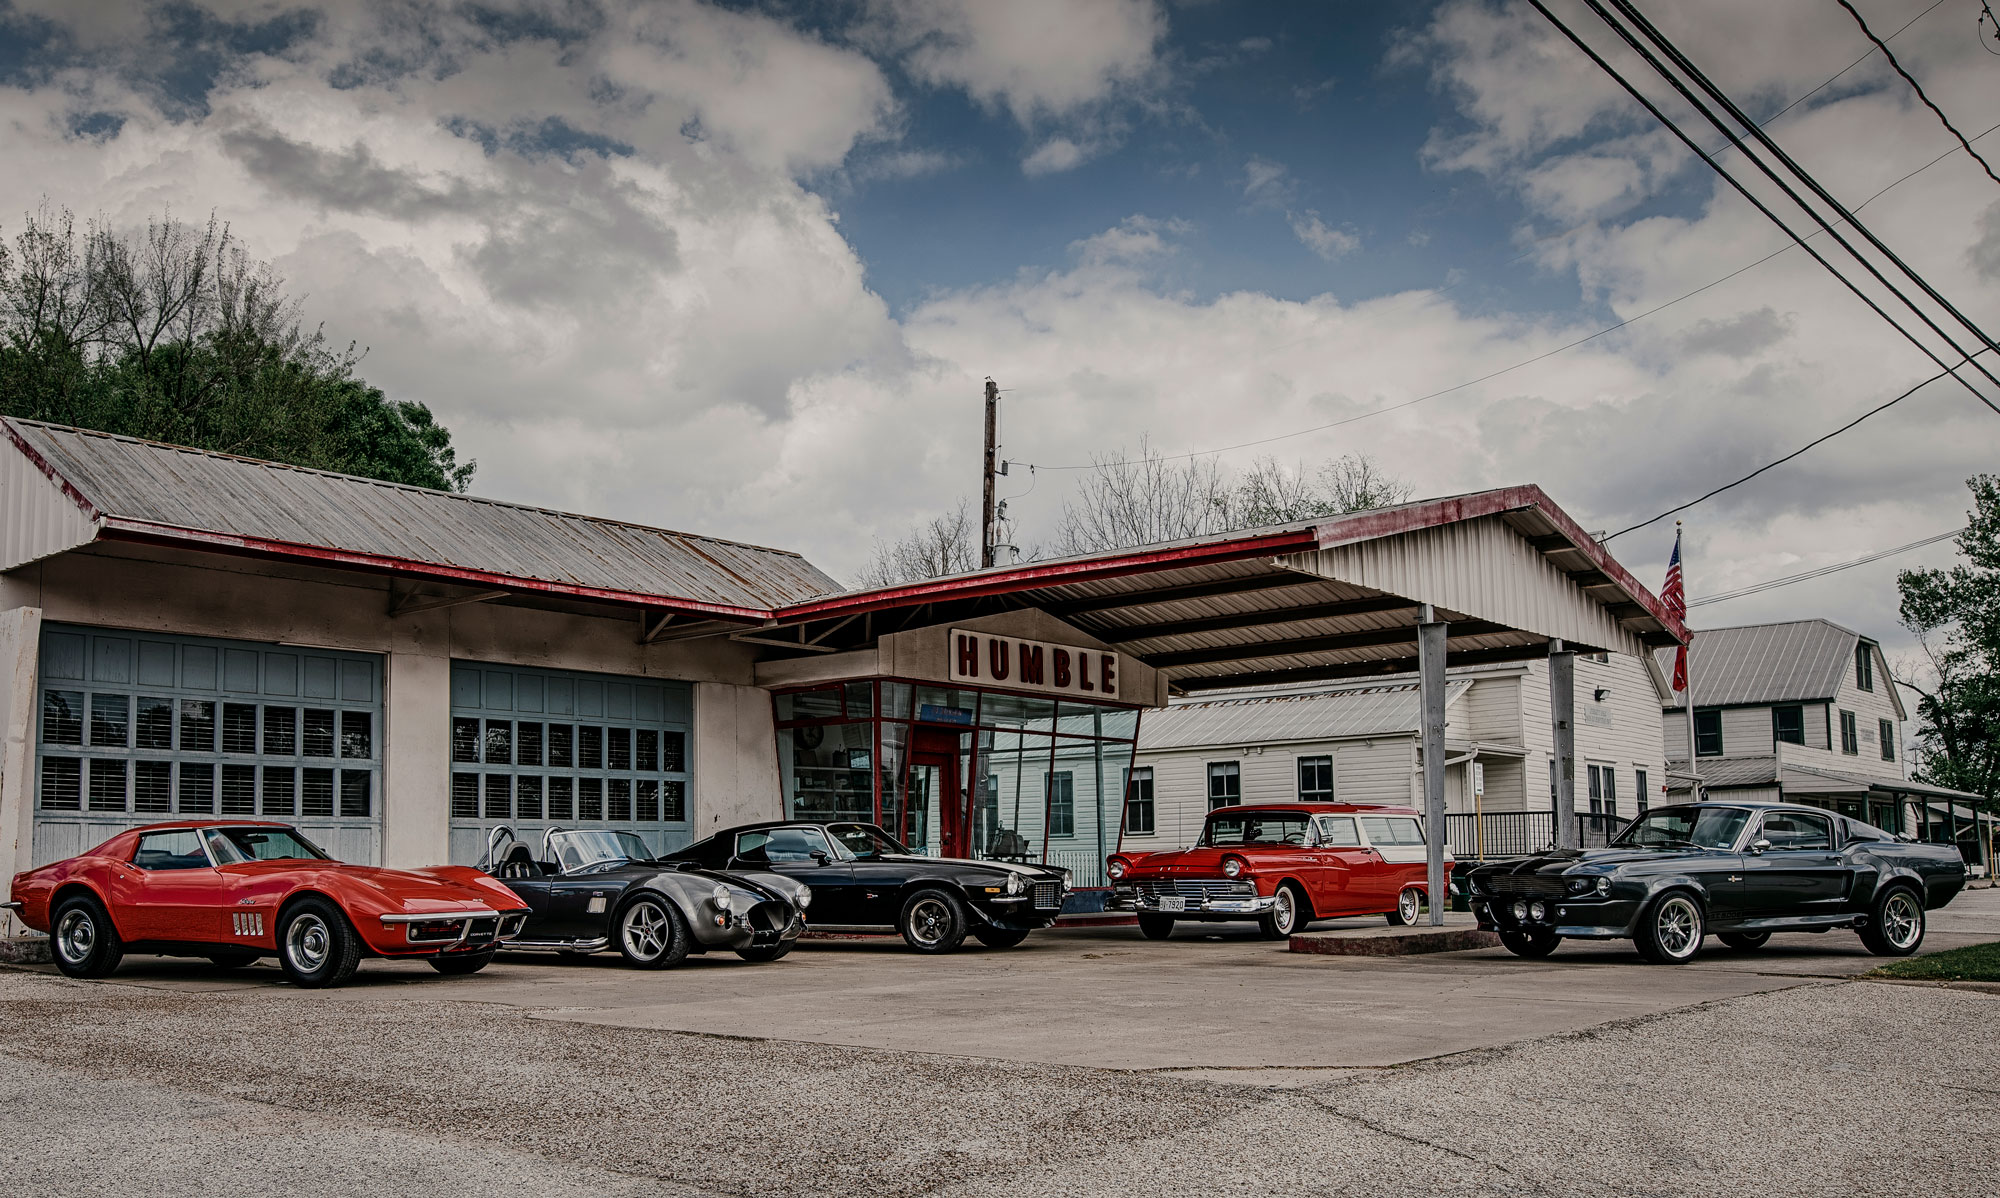
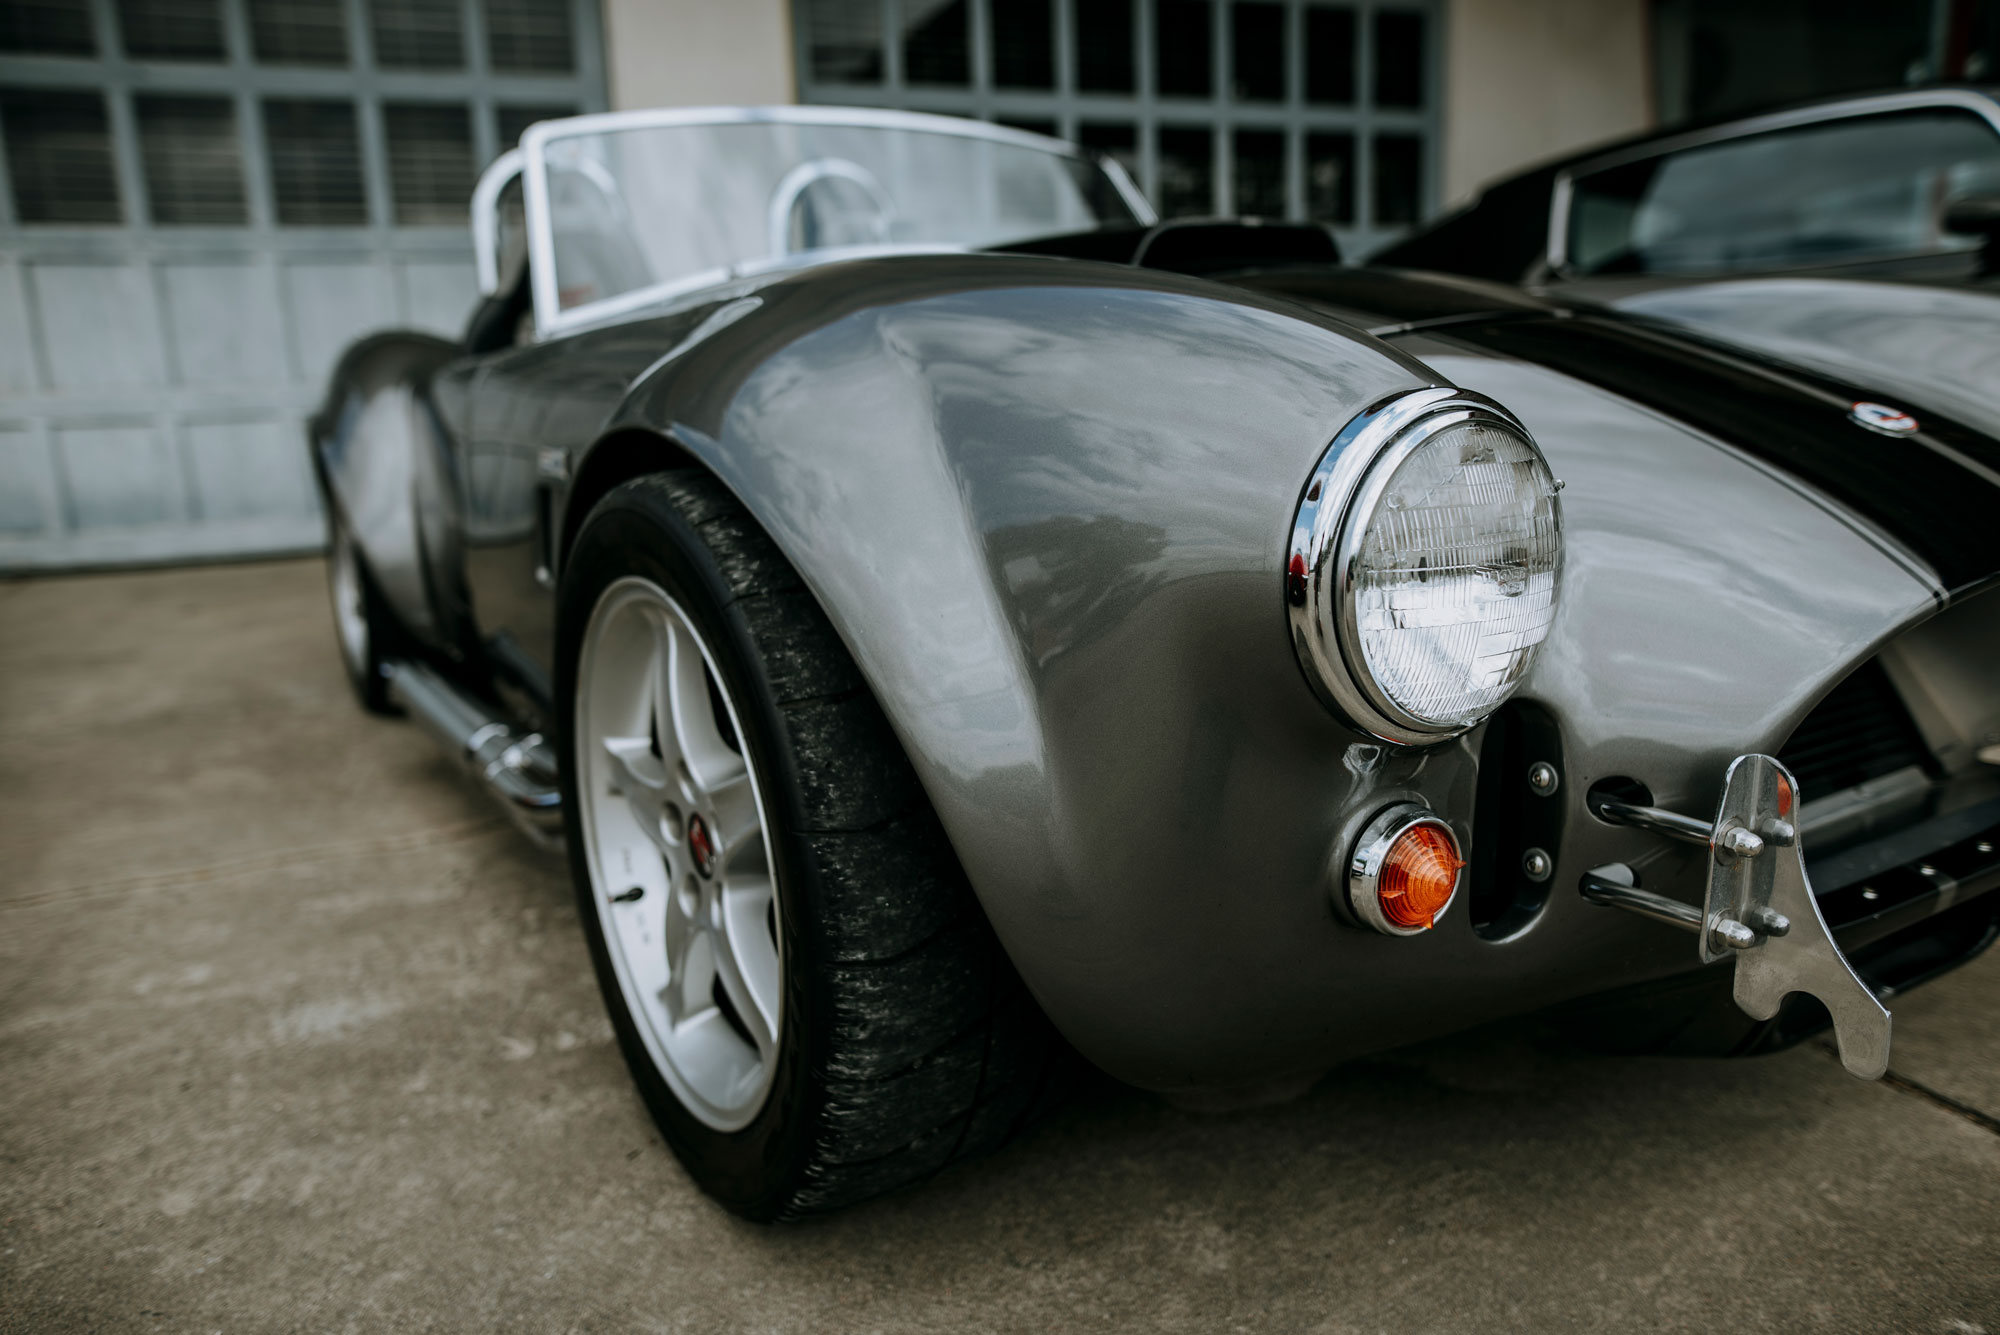
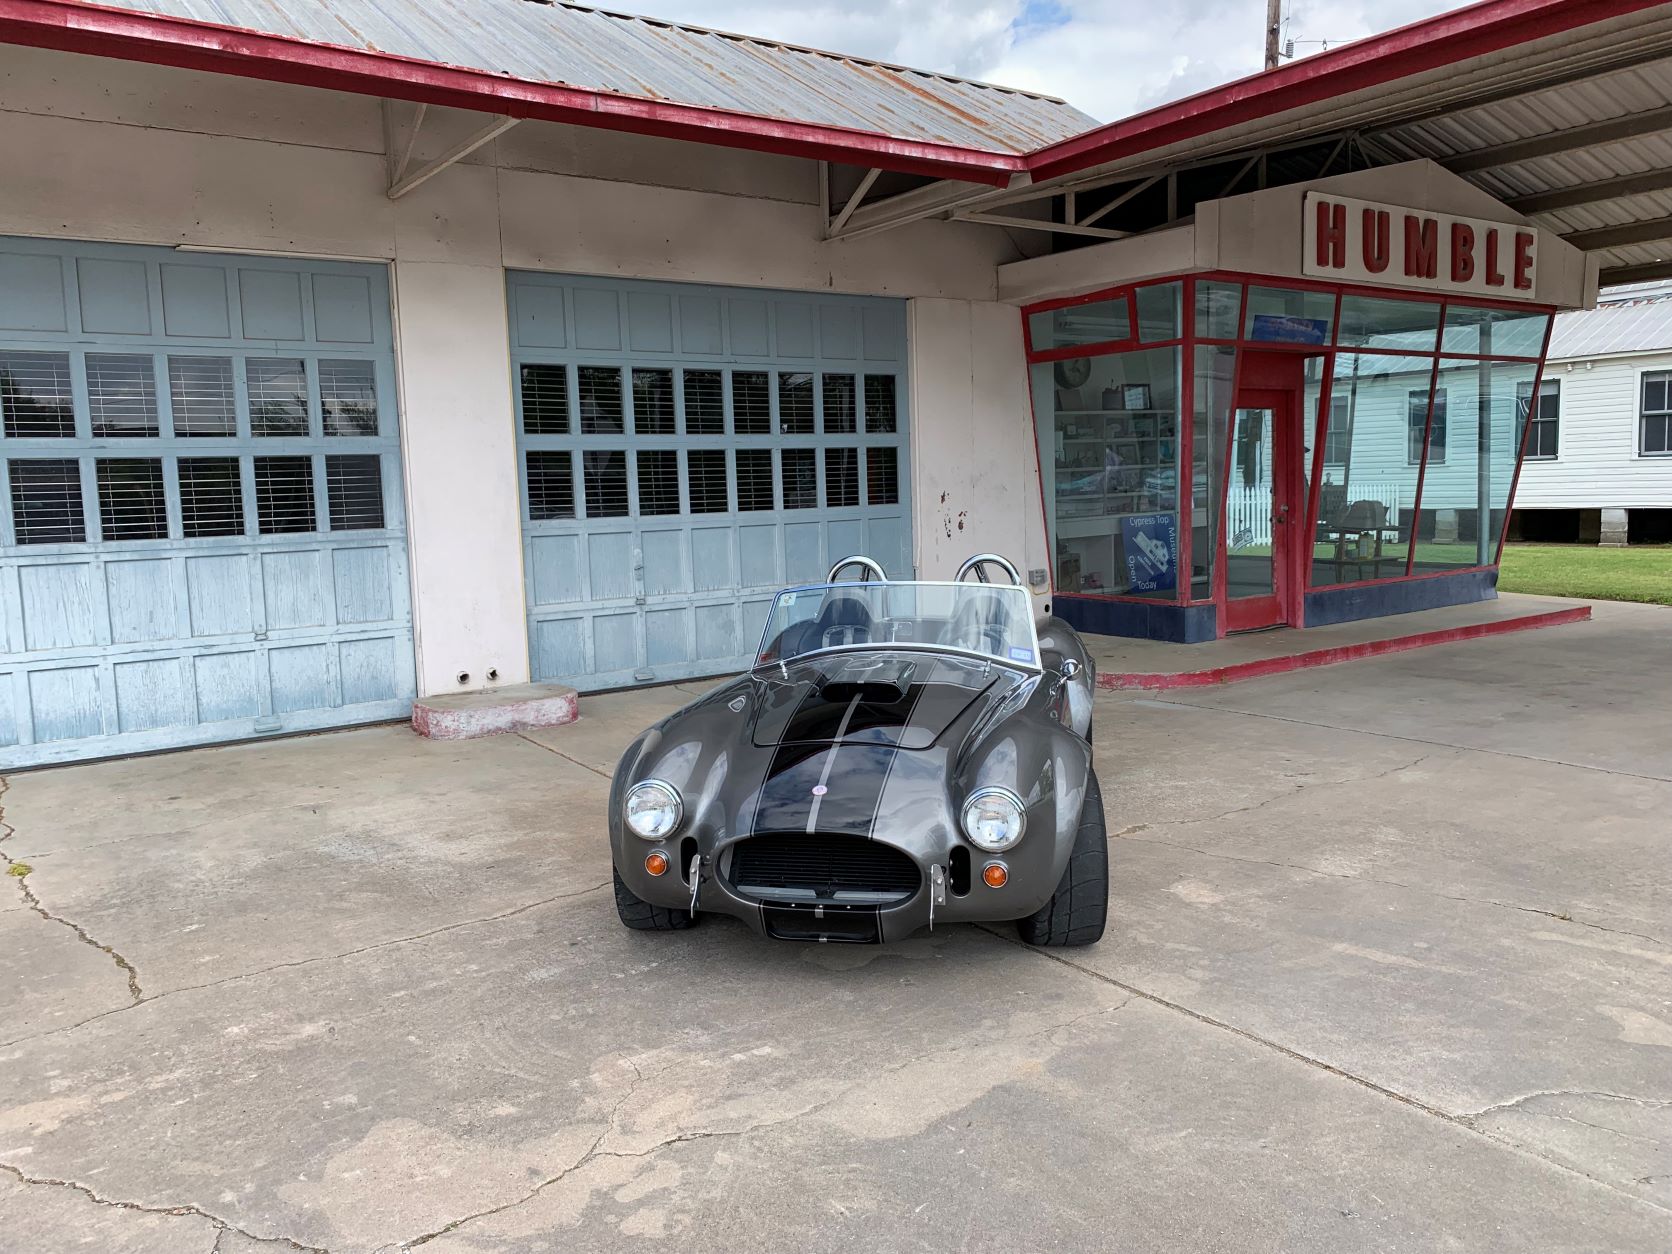
March 2019 Gas Station Photoshoot