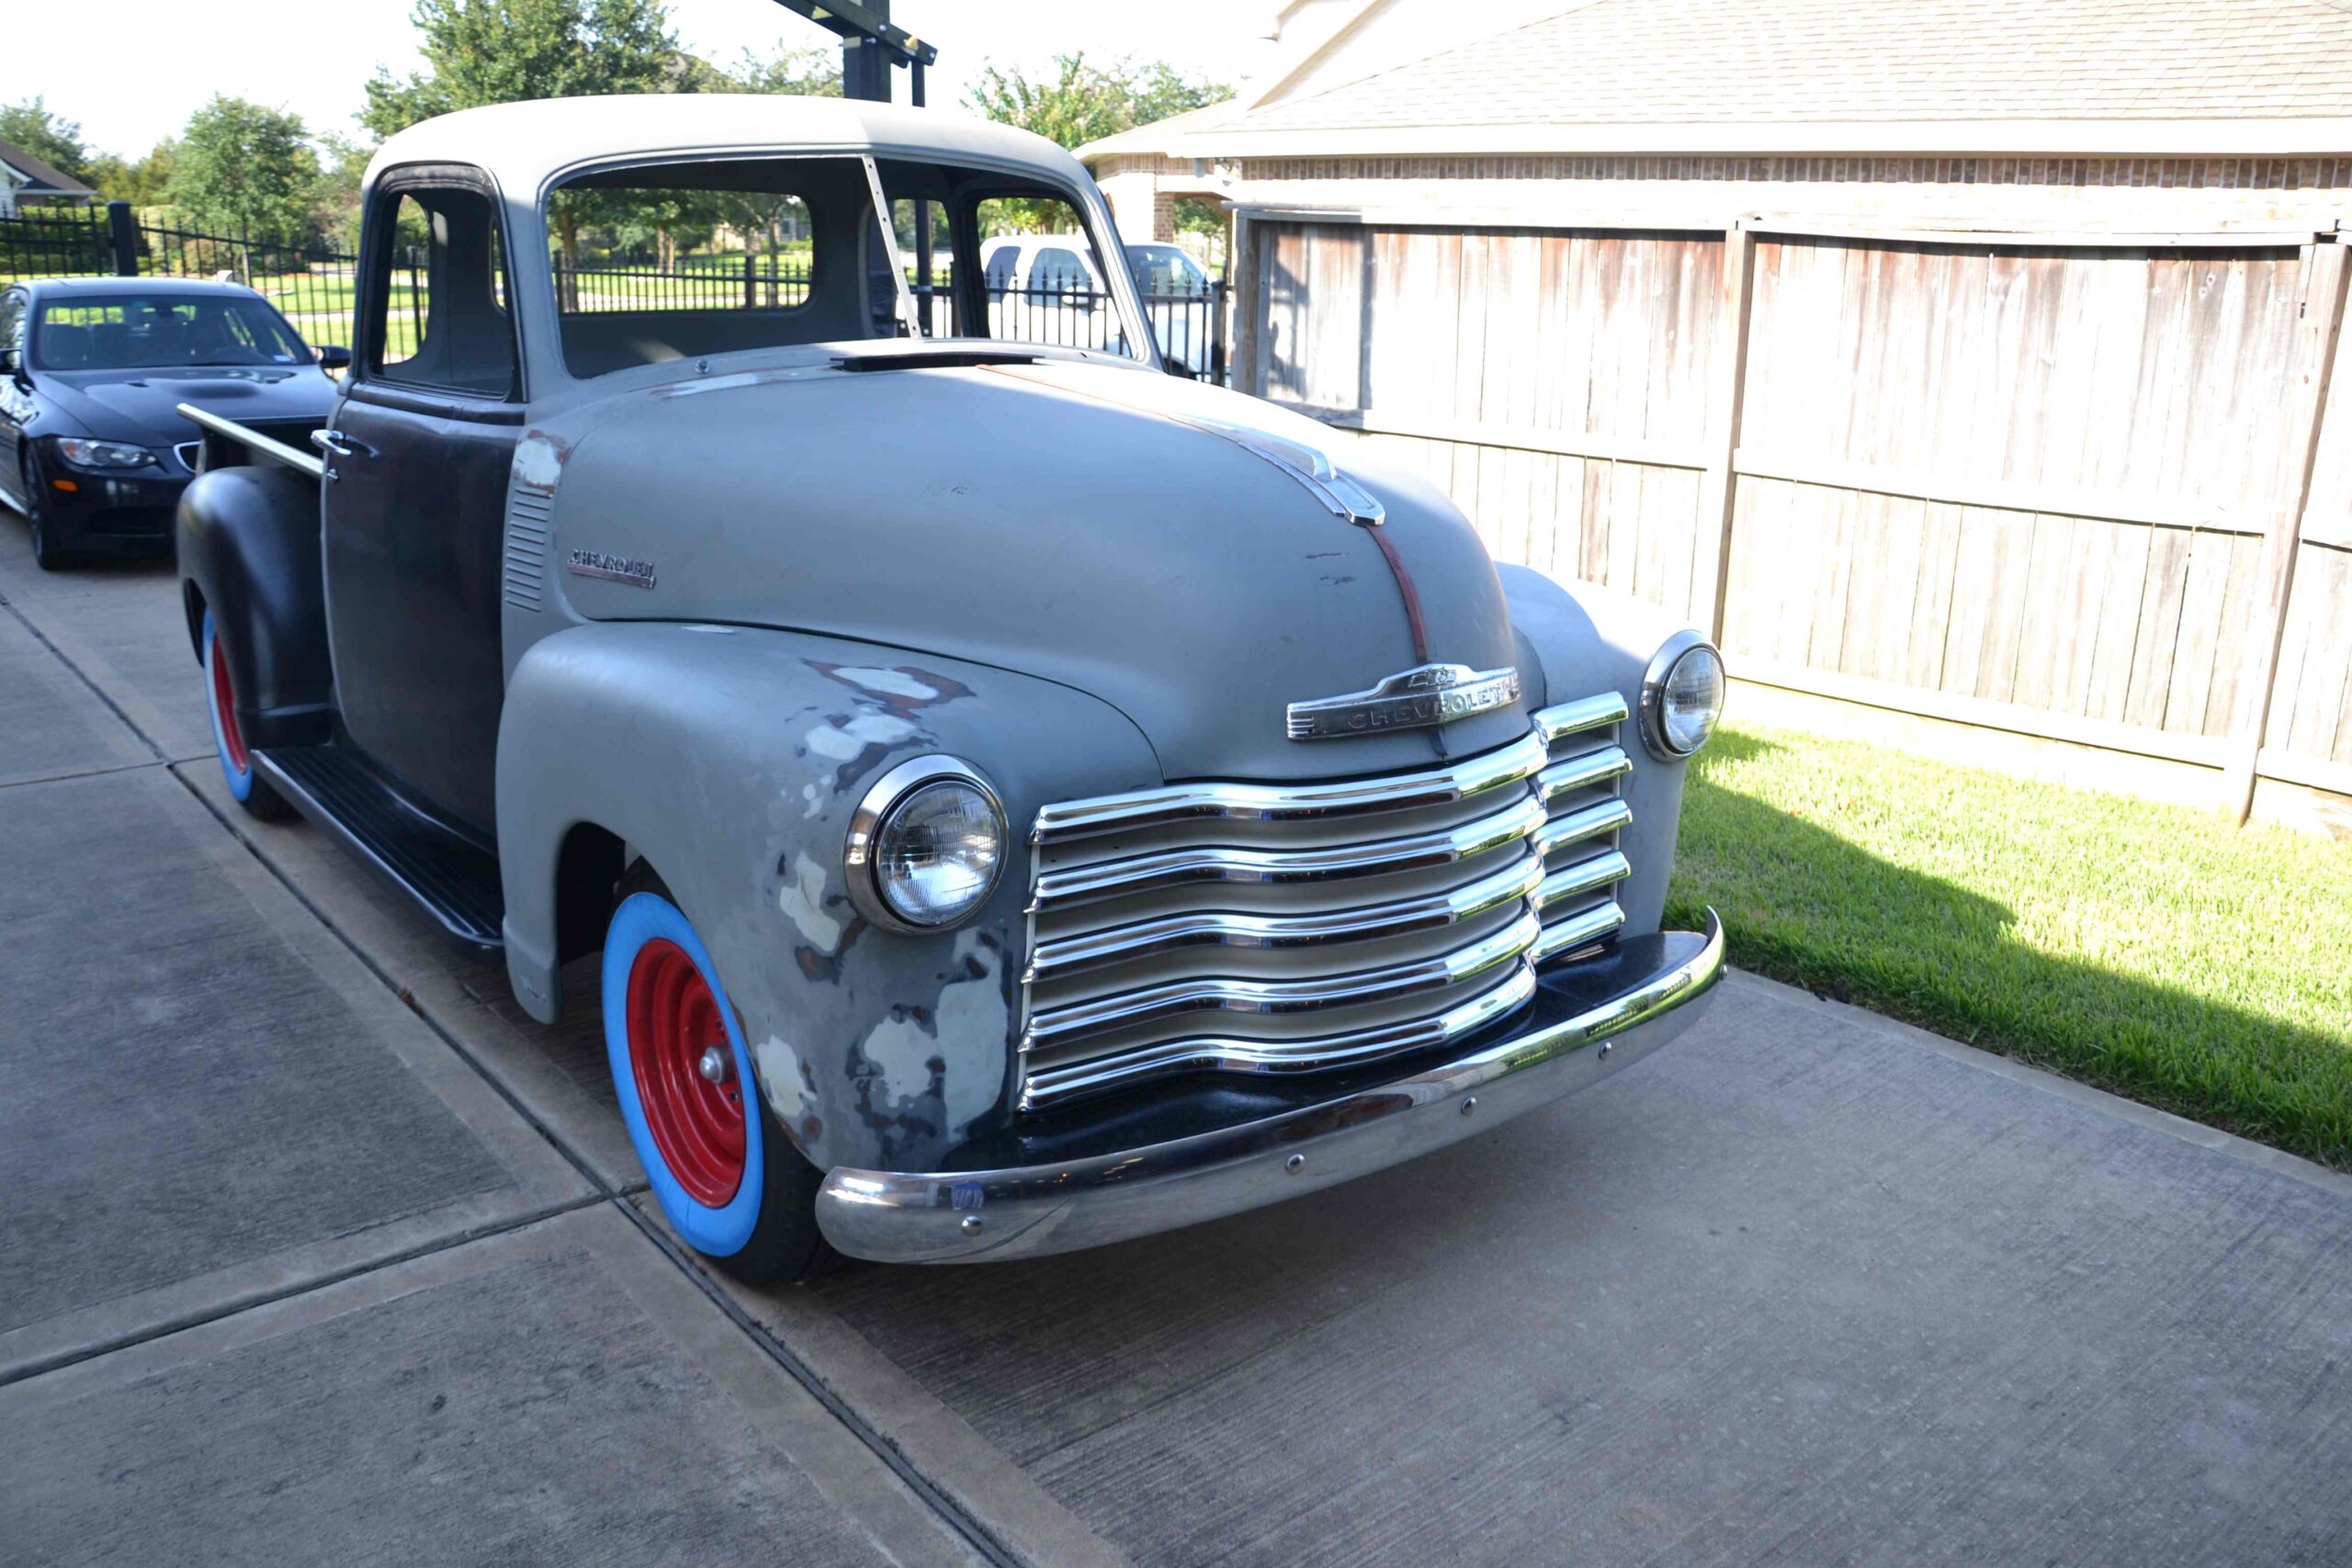
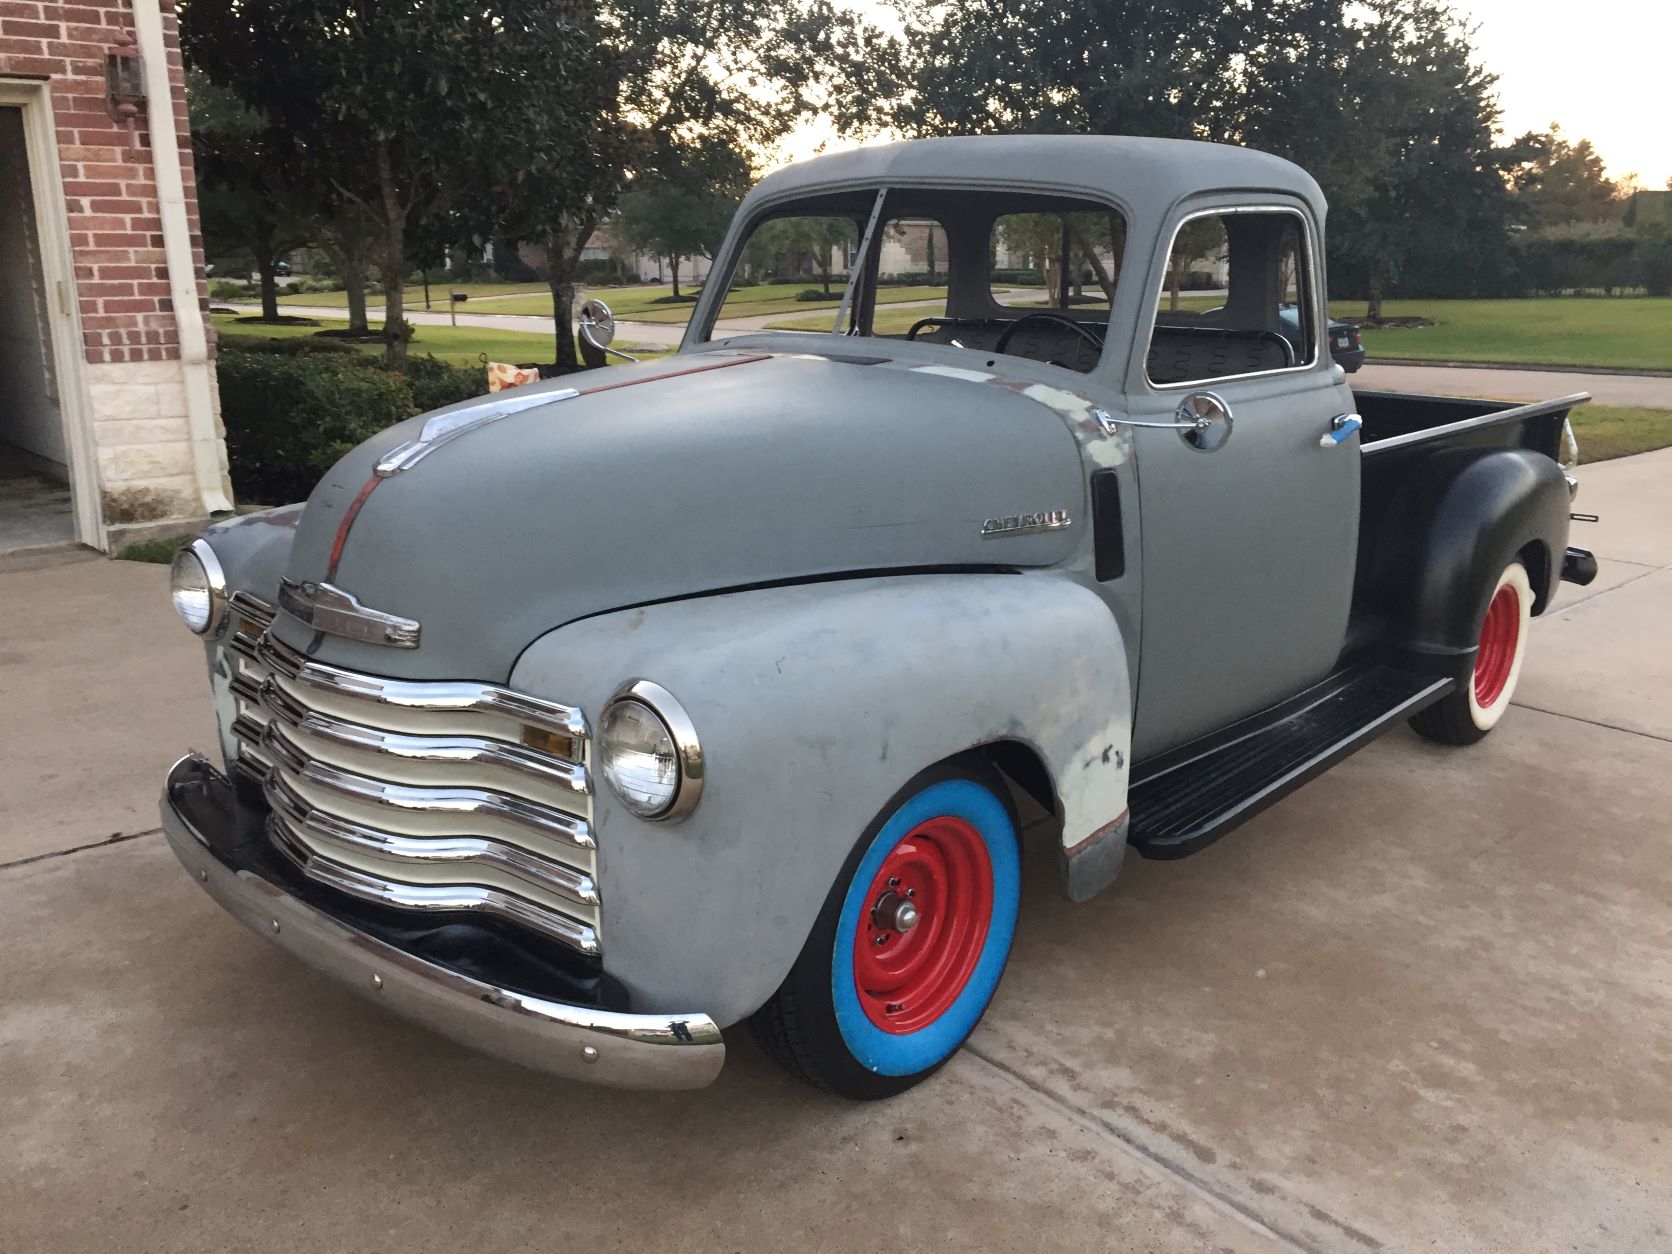
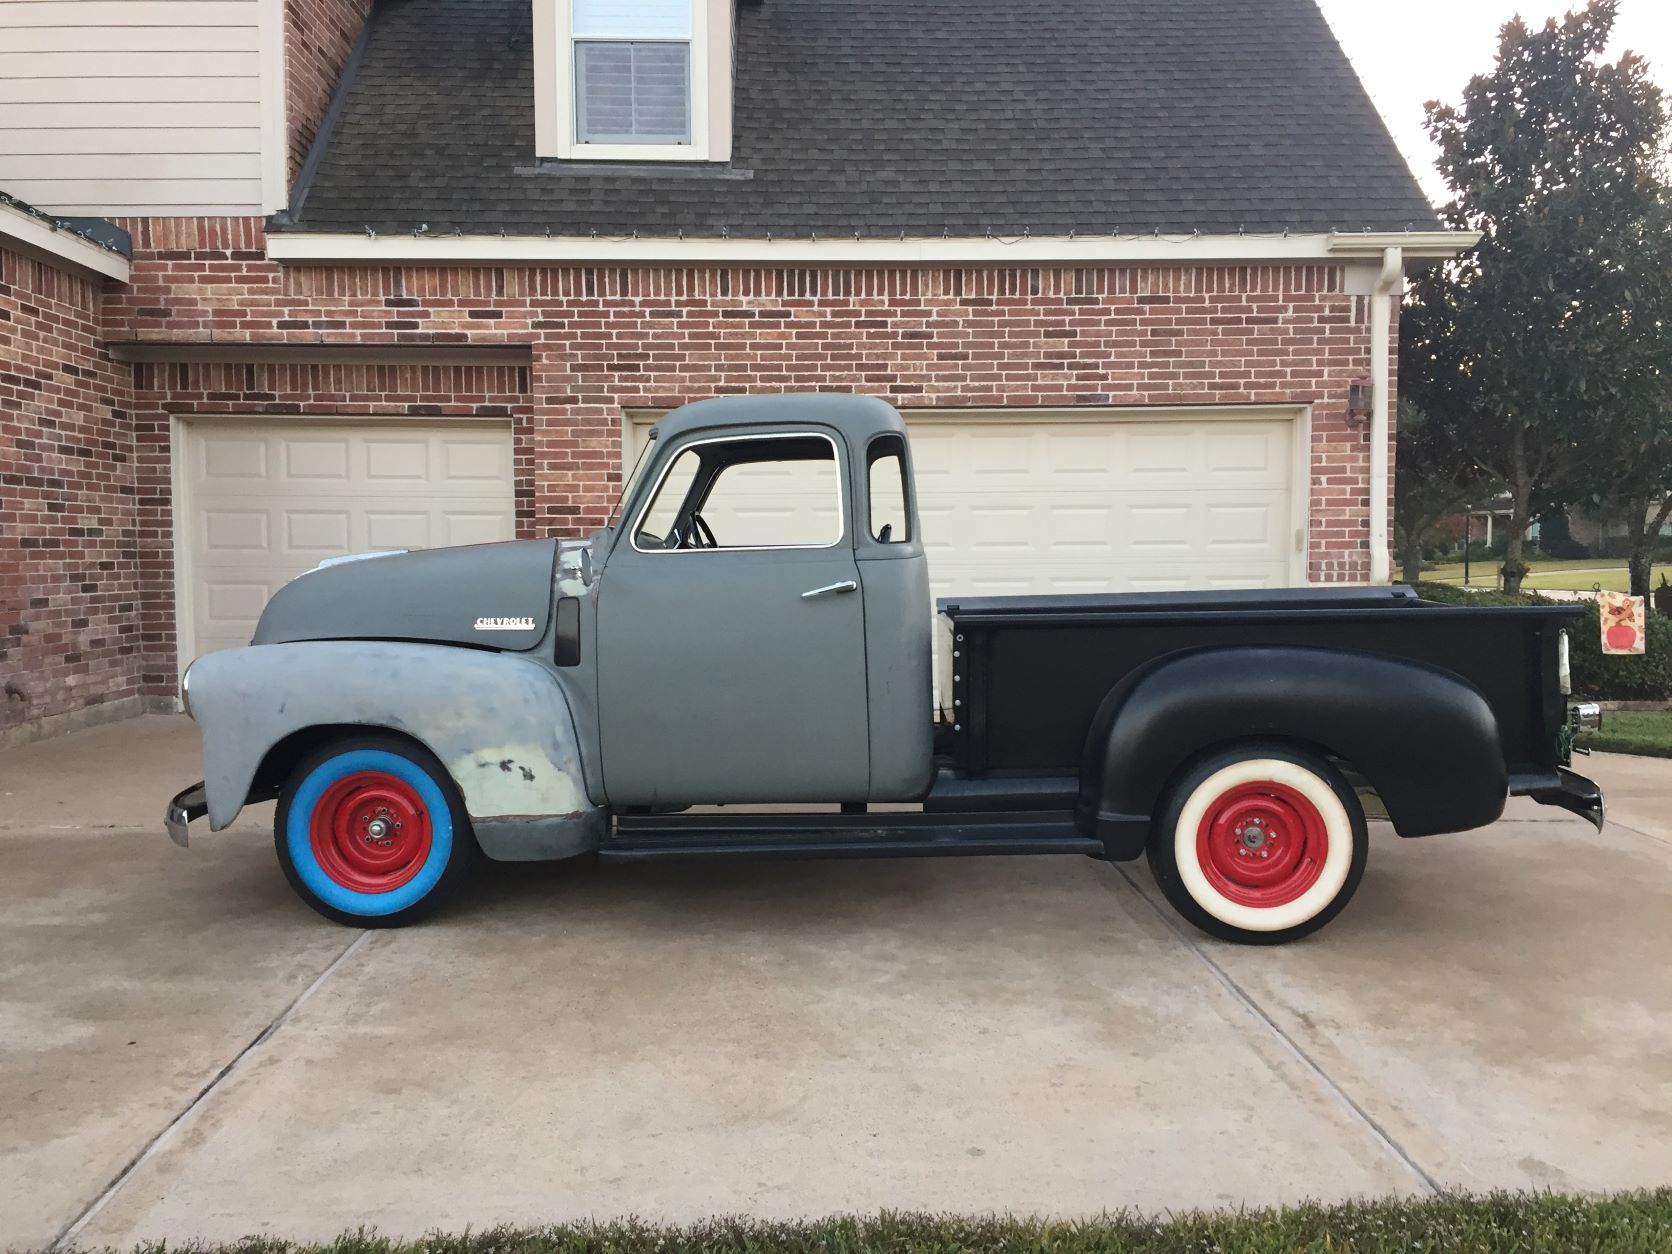
1948 Chevy Truck “Mater”
2011 Purchase
I found the truck on Ebay and negotiated a price with the owner up in Dallas. It was tricky getting the truck up onto the trailer since it wasn’t running and we didn’t have a winch. In an amazing display of Aggie engineering, we pushed the truck up to the top of a loading ramp and then lined up the trailer at the bottom. Gravity did most of the work and luckily we lined it up pretty well. About a month after towing the project truck home, the transmission went out on the Anissa’s Suburban we used to tow it. Oops! Sorry Anissa.


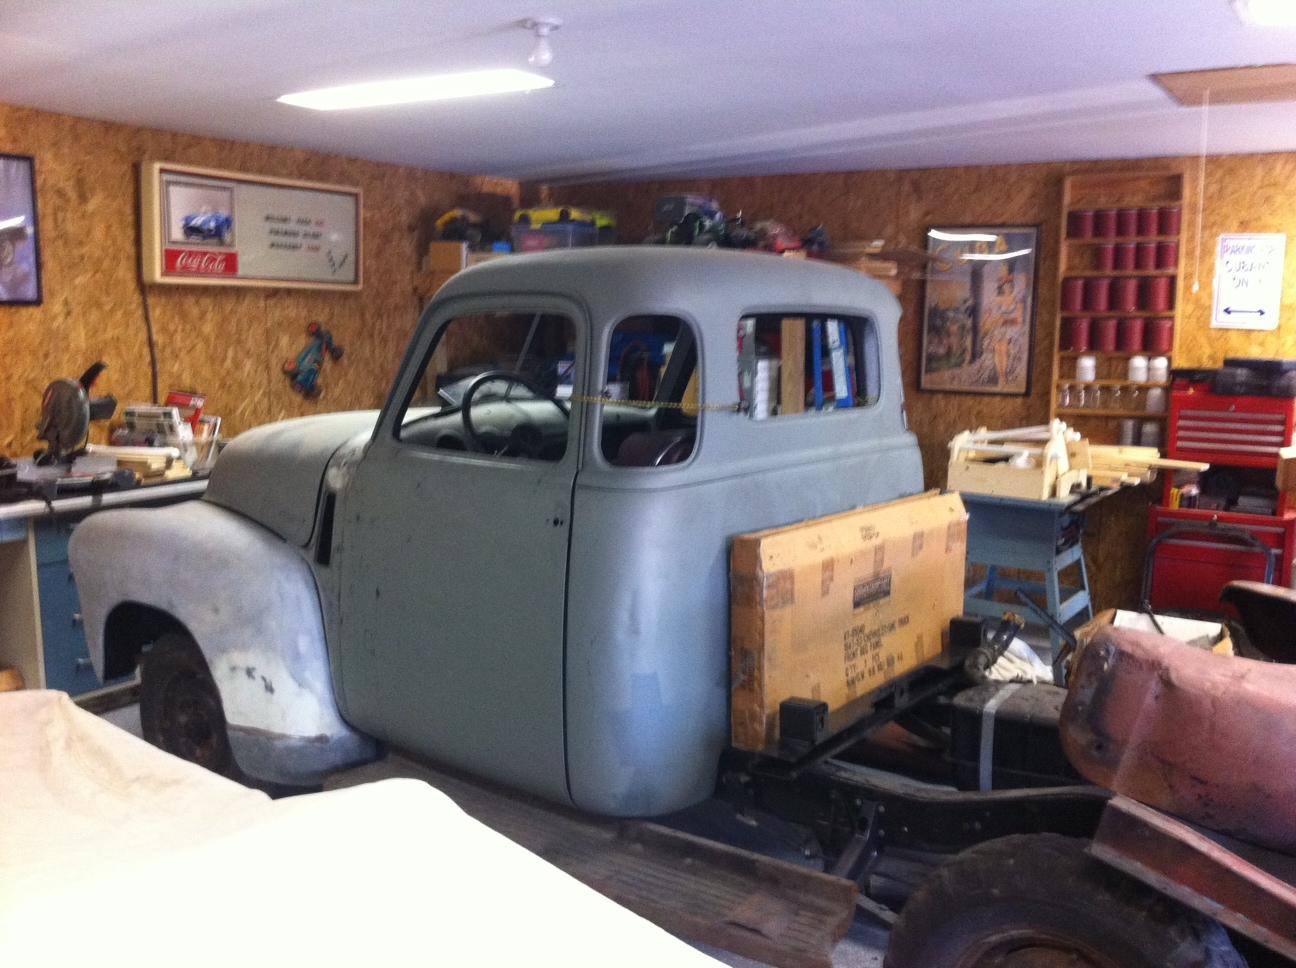
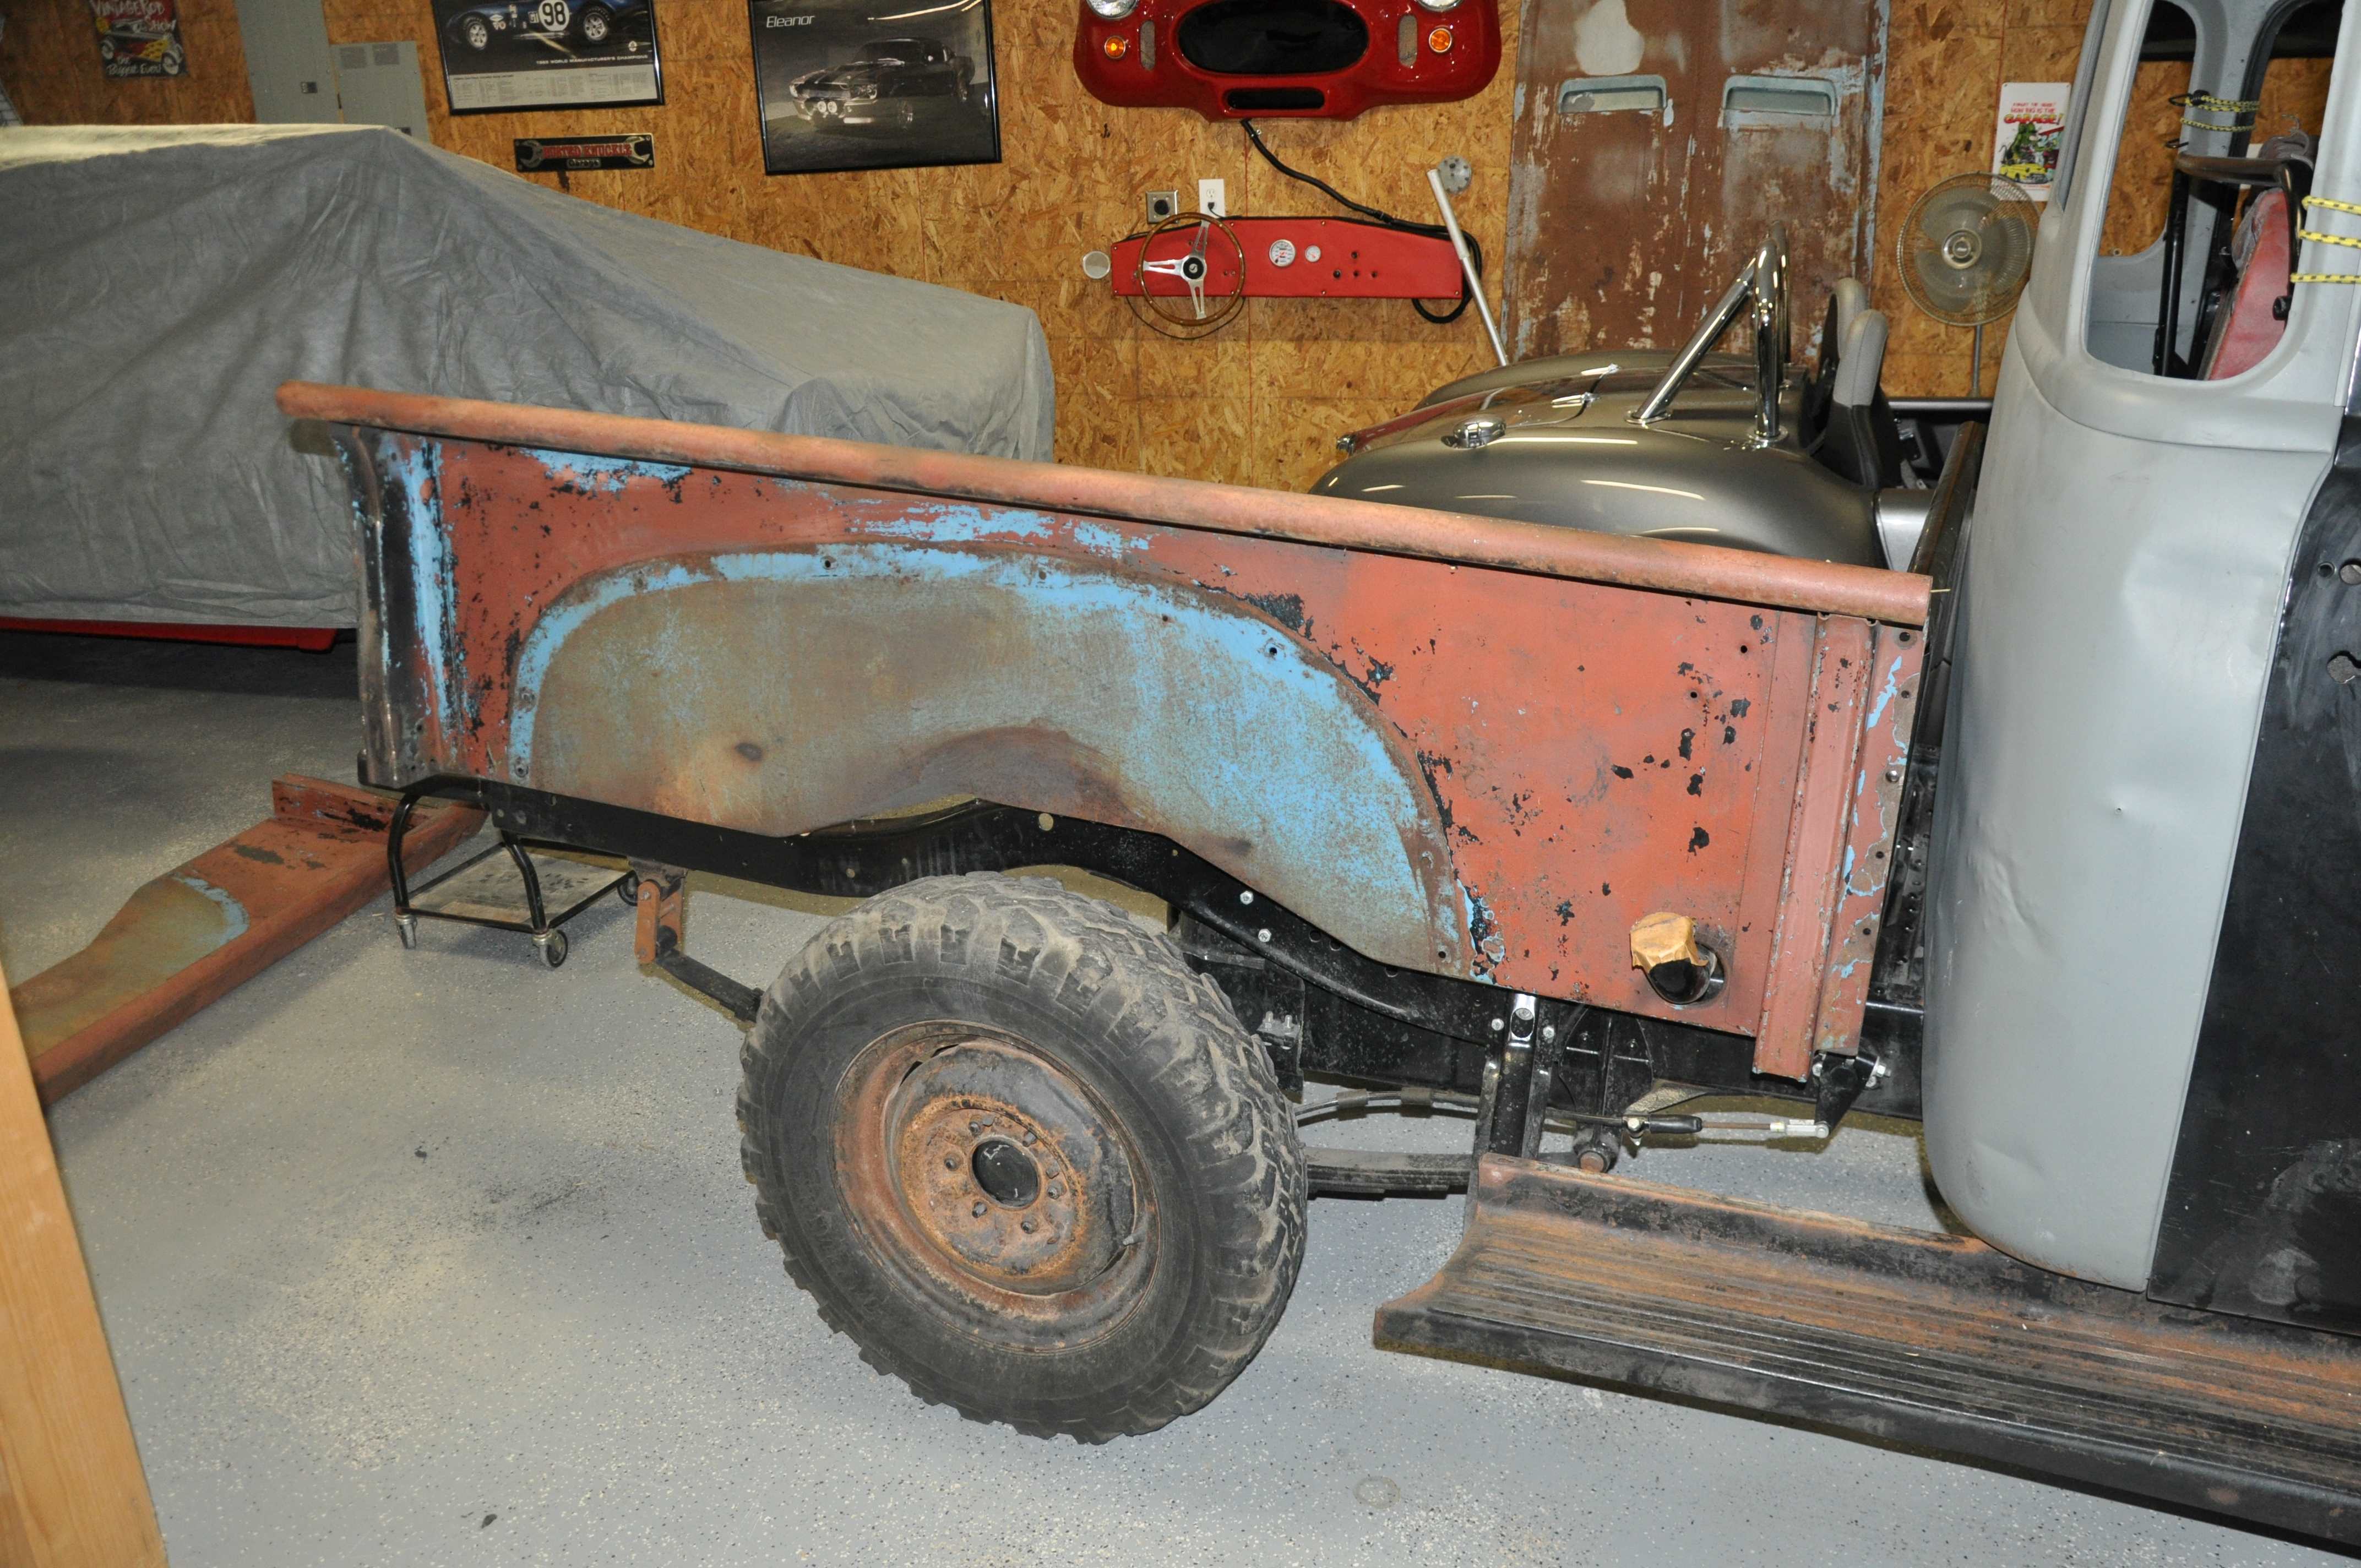
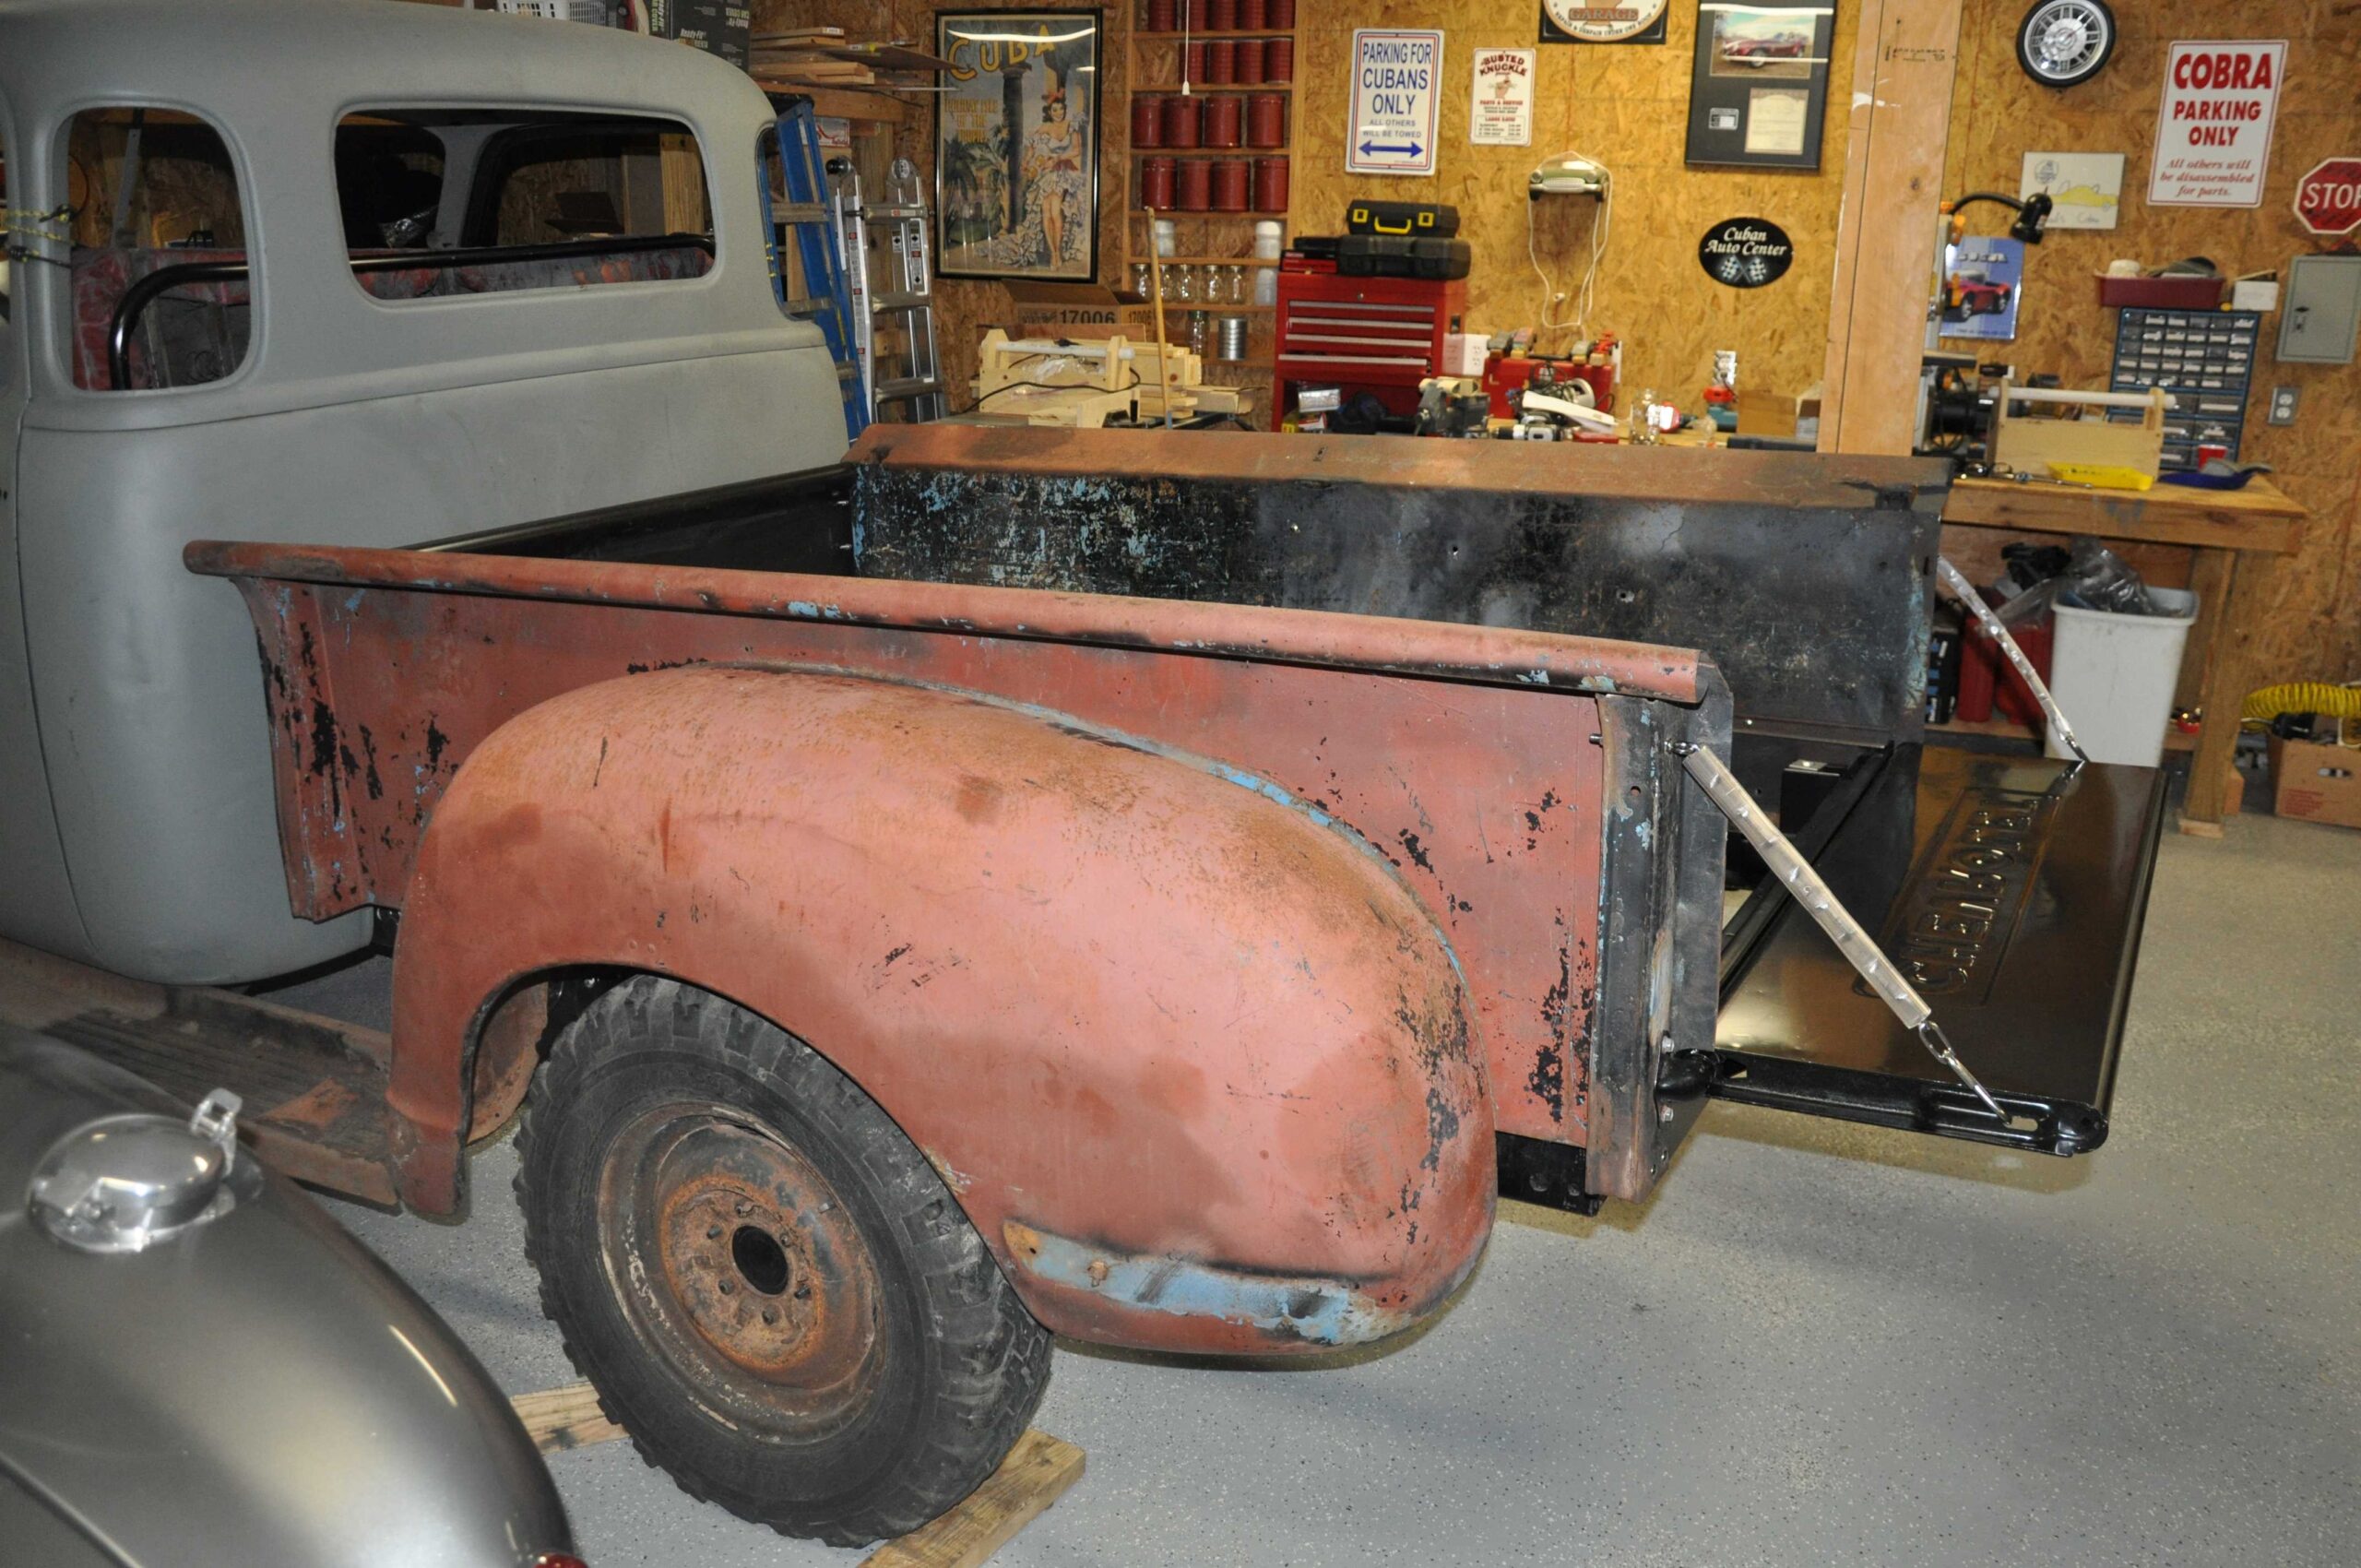
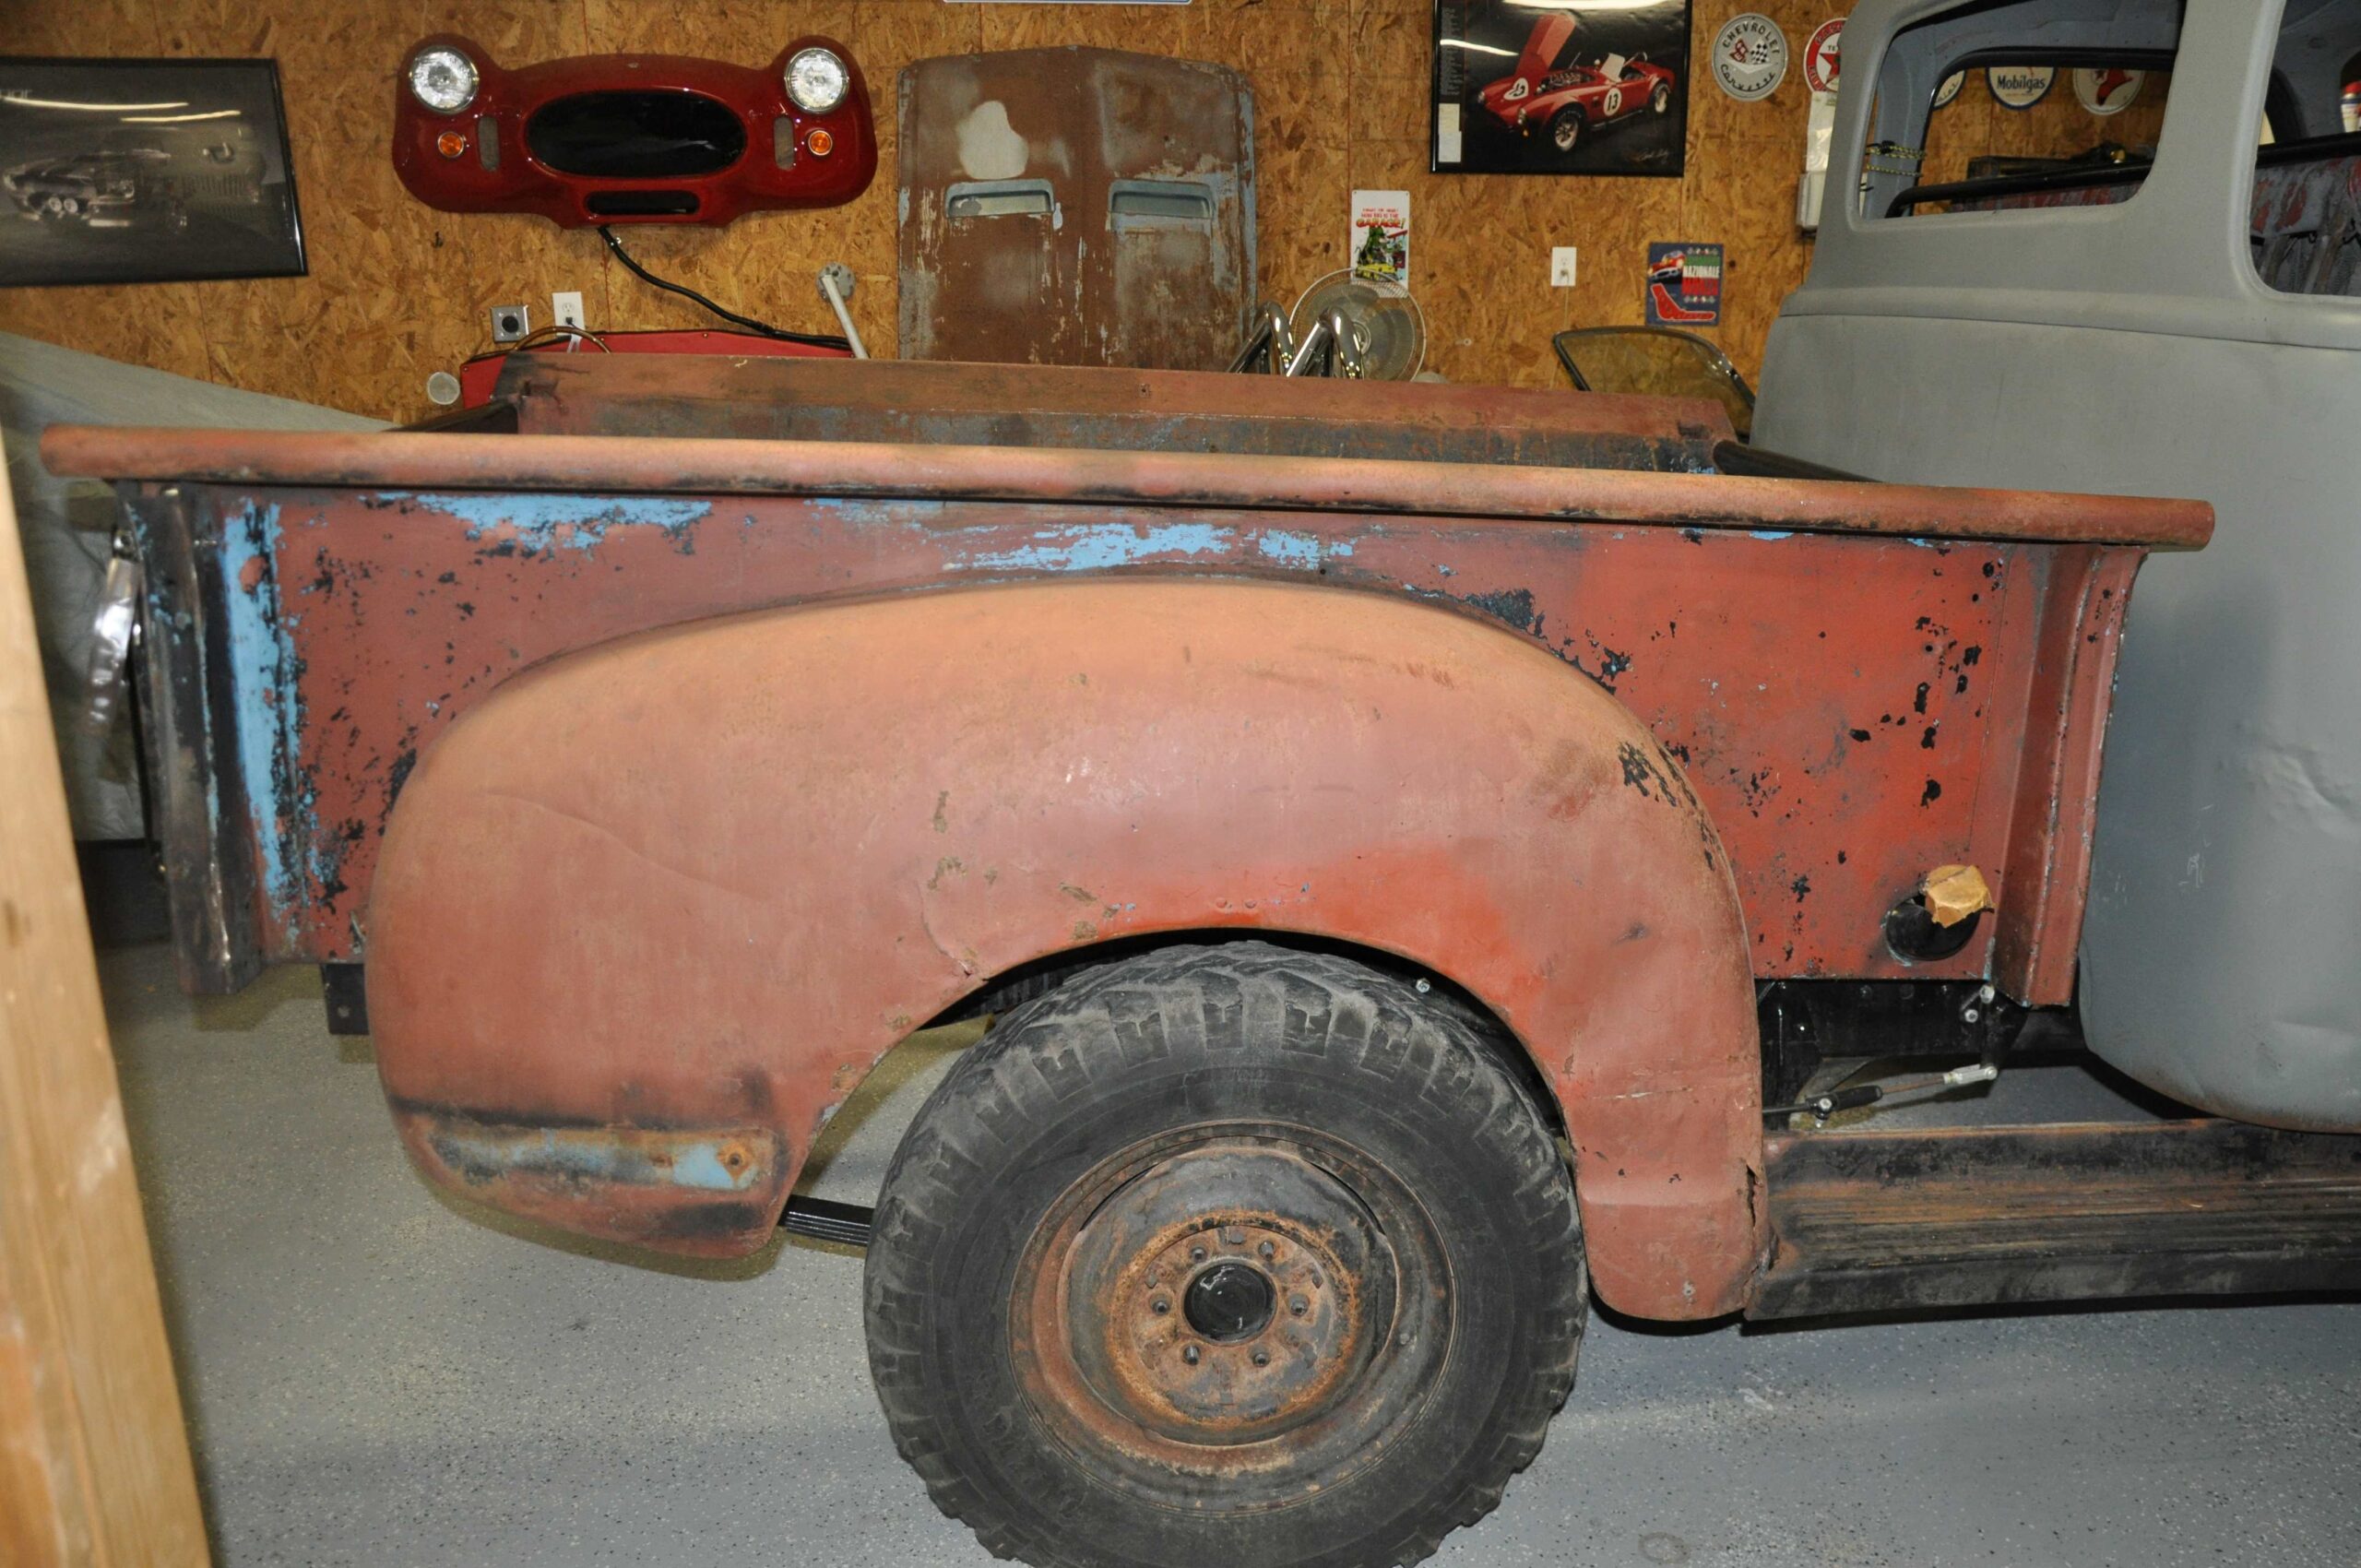
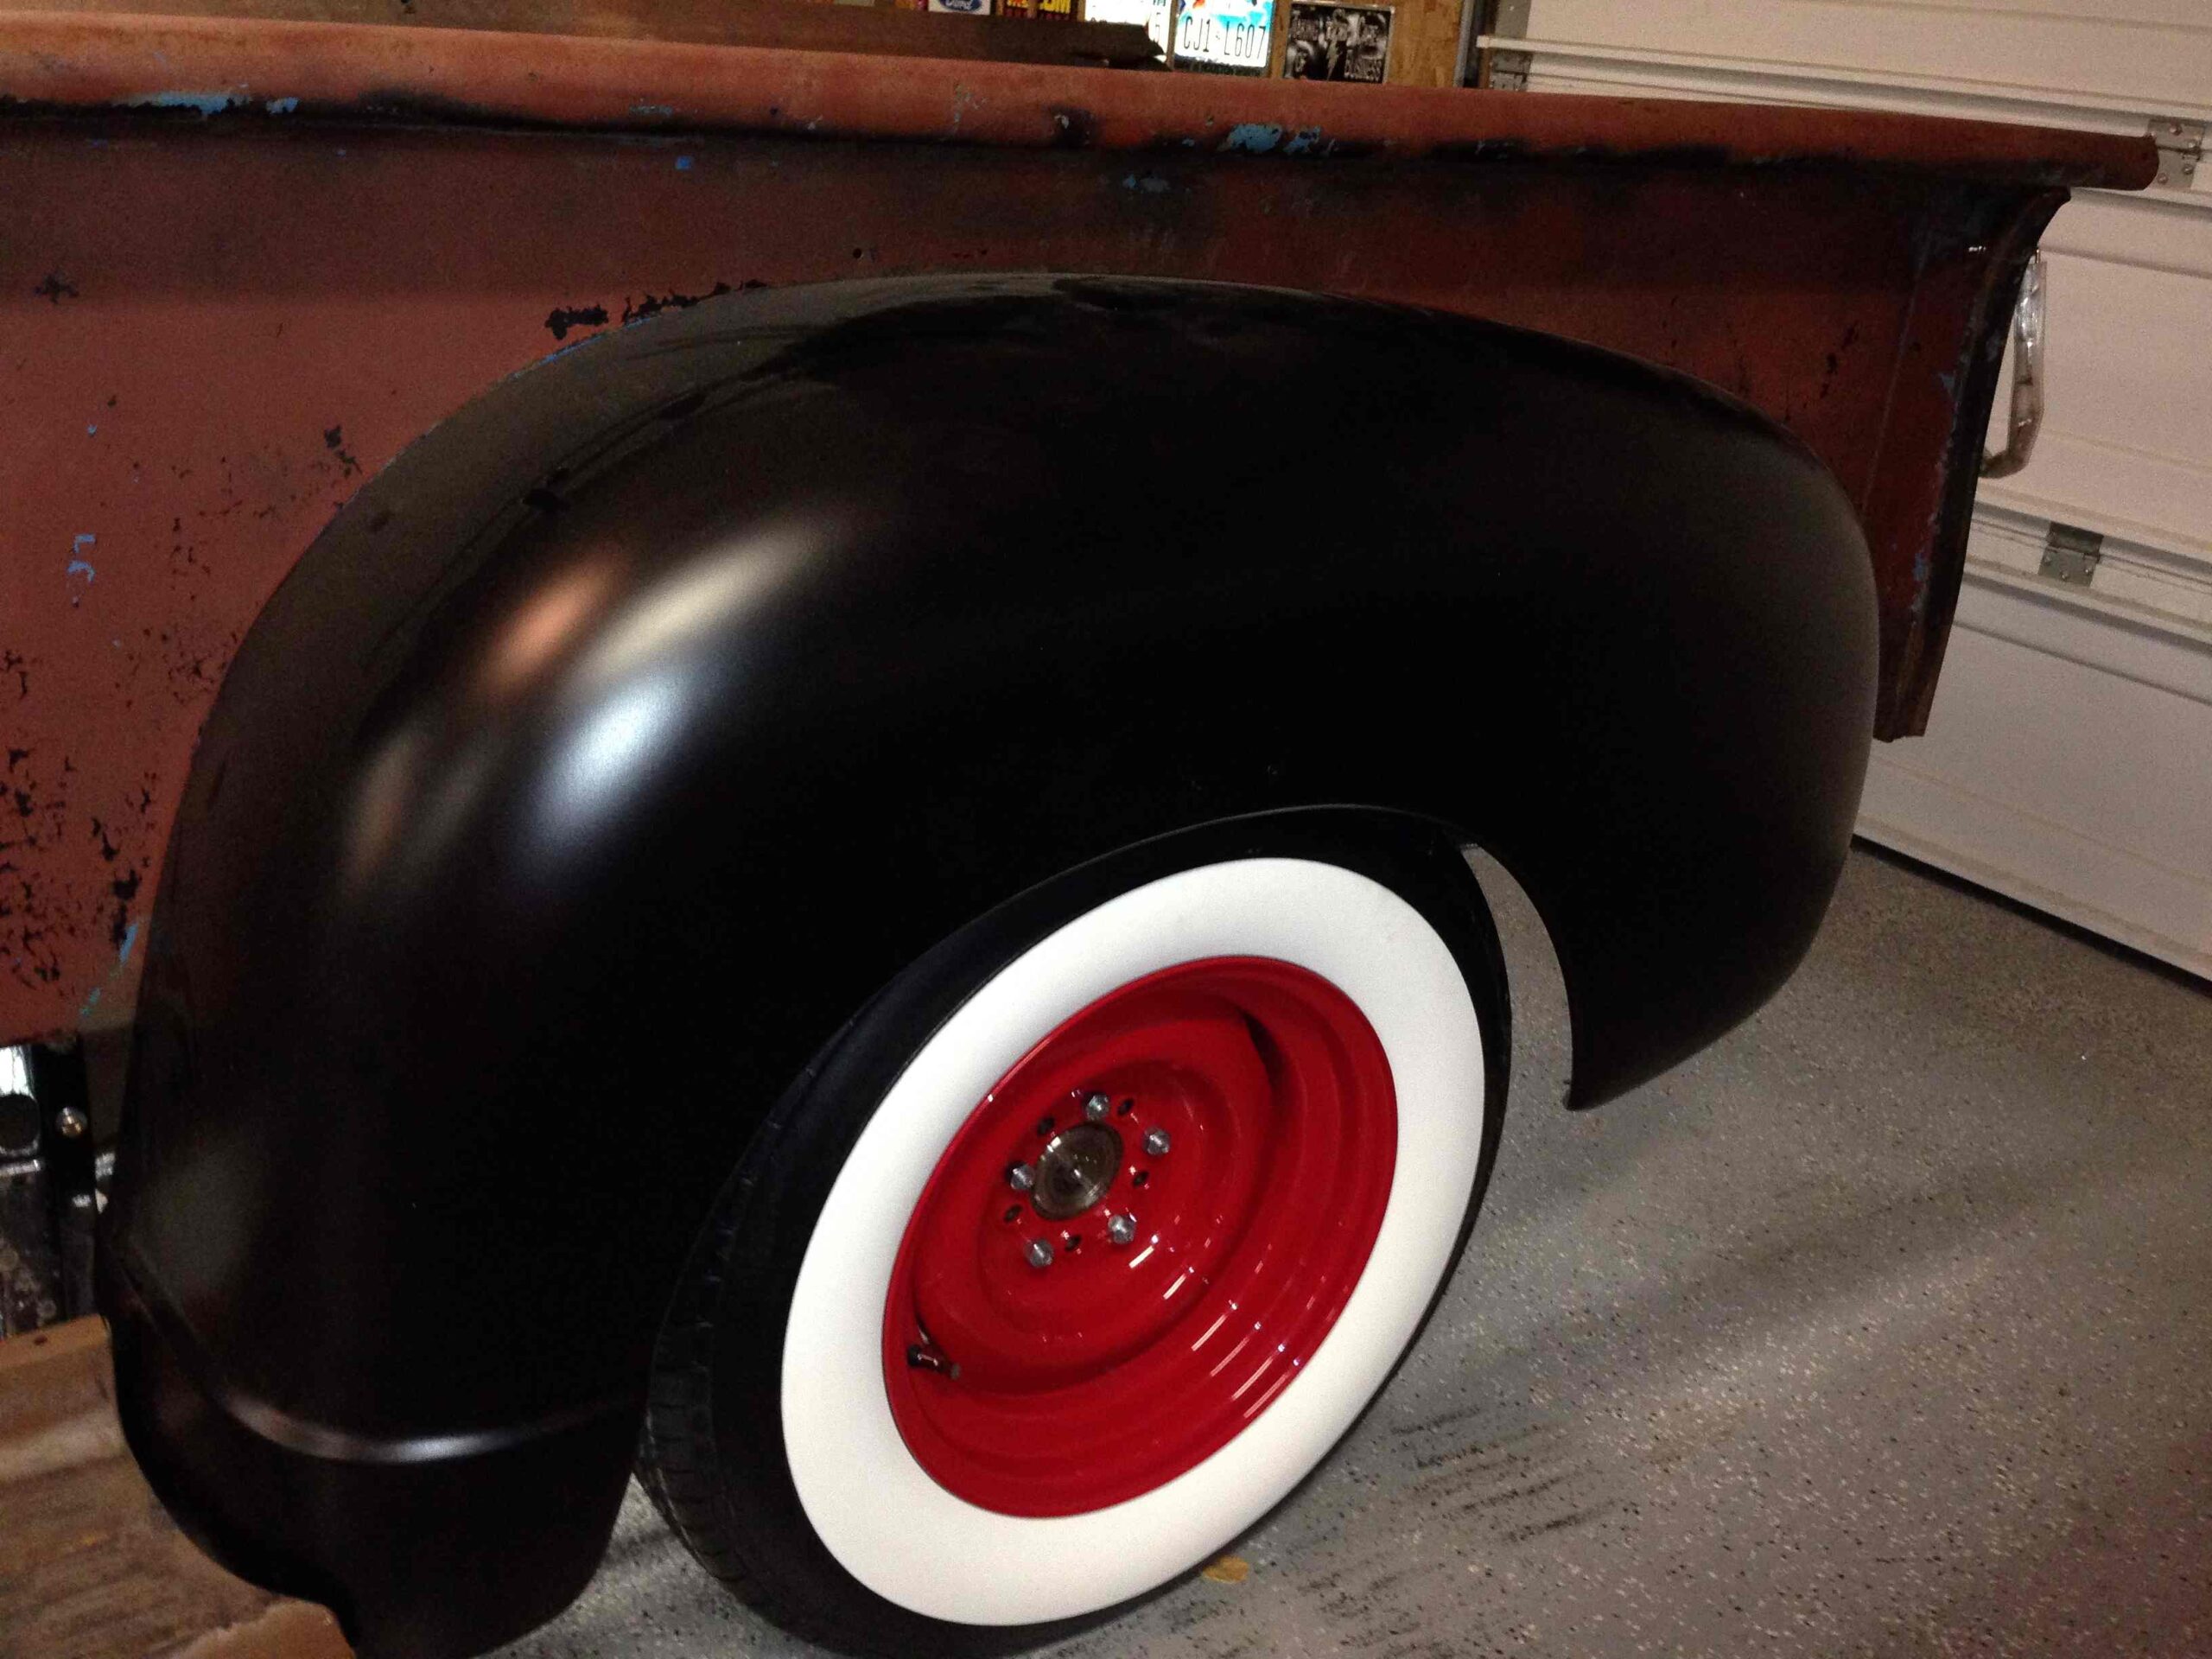
2011 Bed Preliminary Fitting
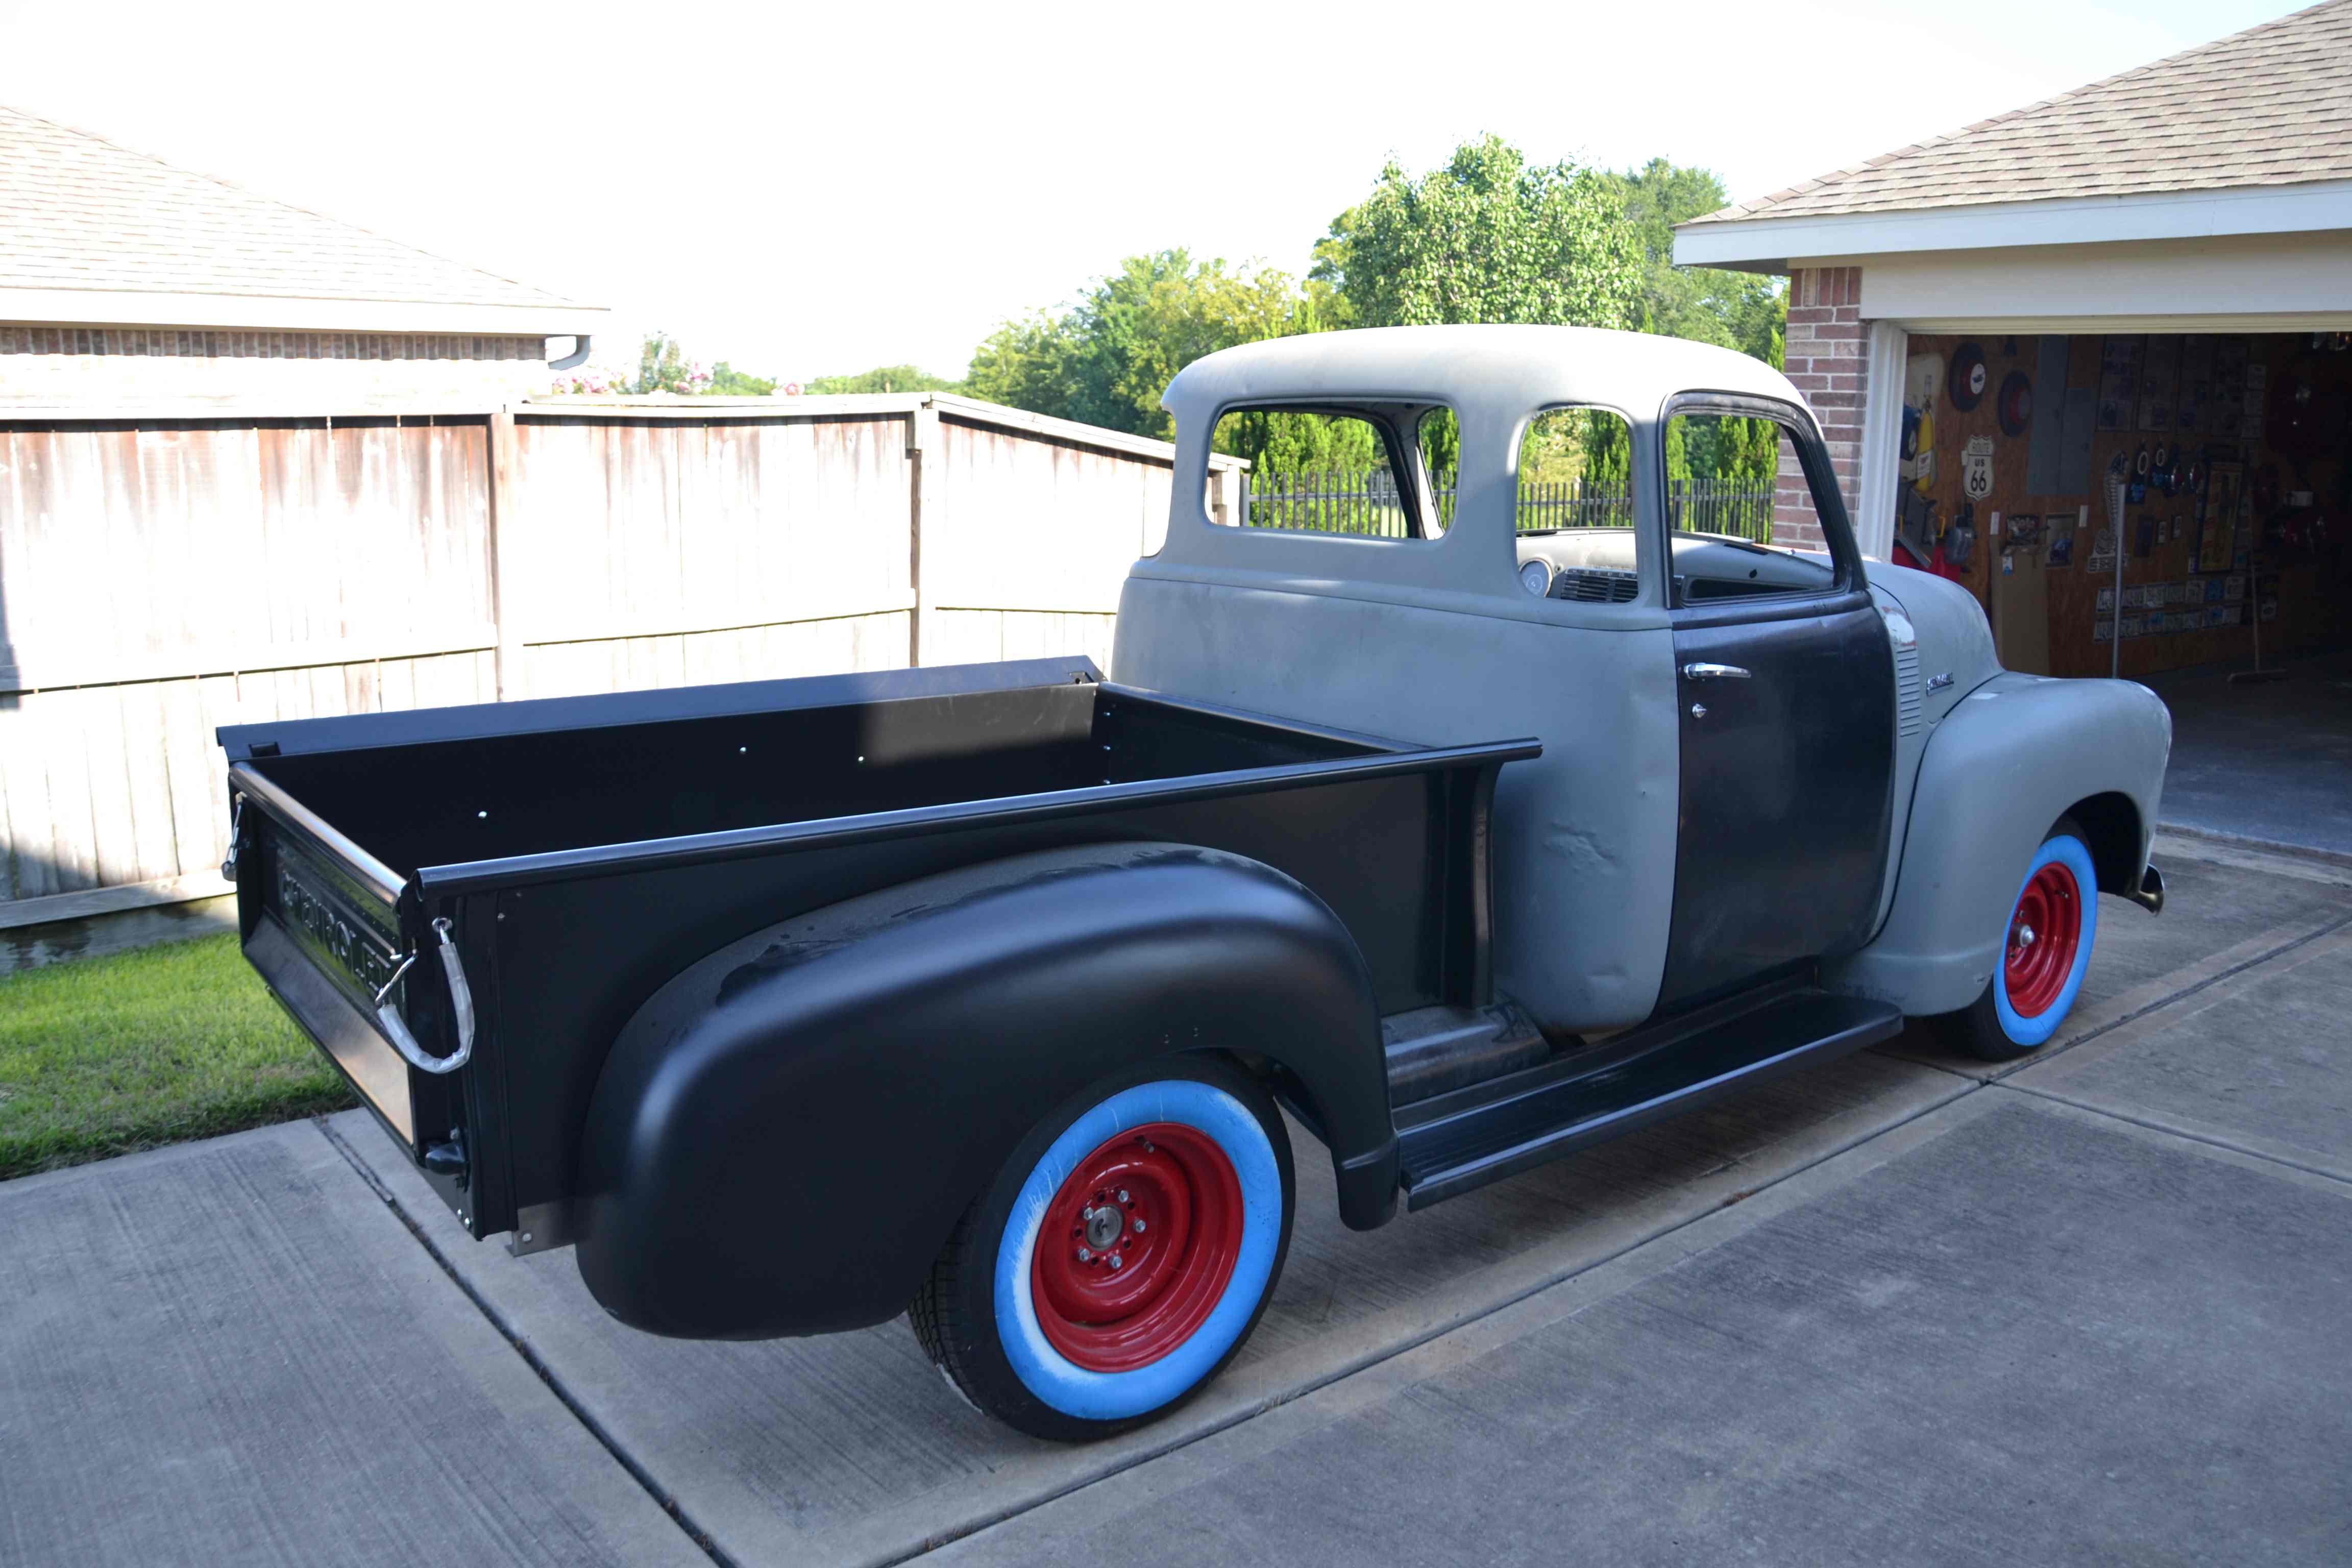
After getting the truck home, it was time to inventory the parts and try to assemble as much of it as possible. The first item, I attempted was the bed. We had both sides and both fenders. While they had a nice patina, they were not in good enough condition to use. Ultimately reproduction bed sides and fenders were purchased as well as new running boards.


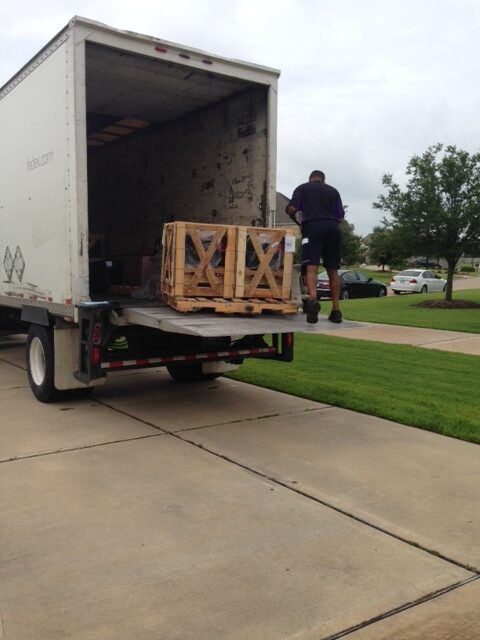
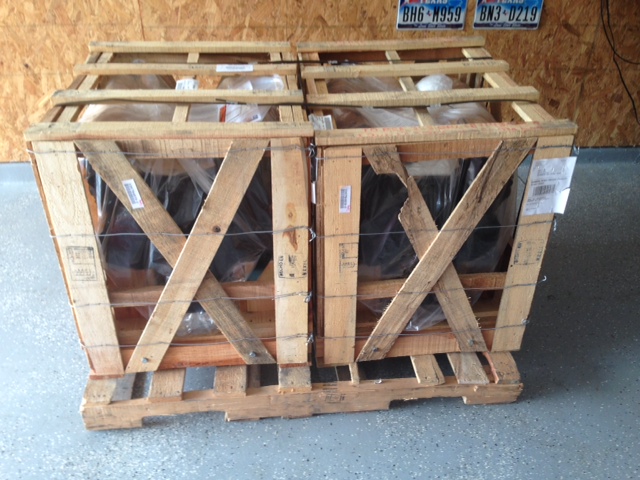
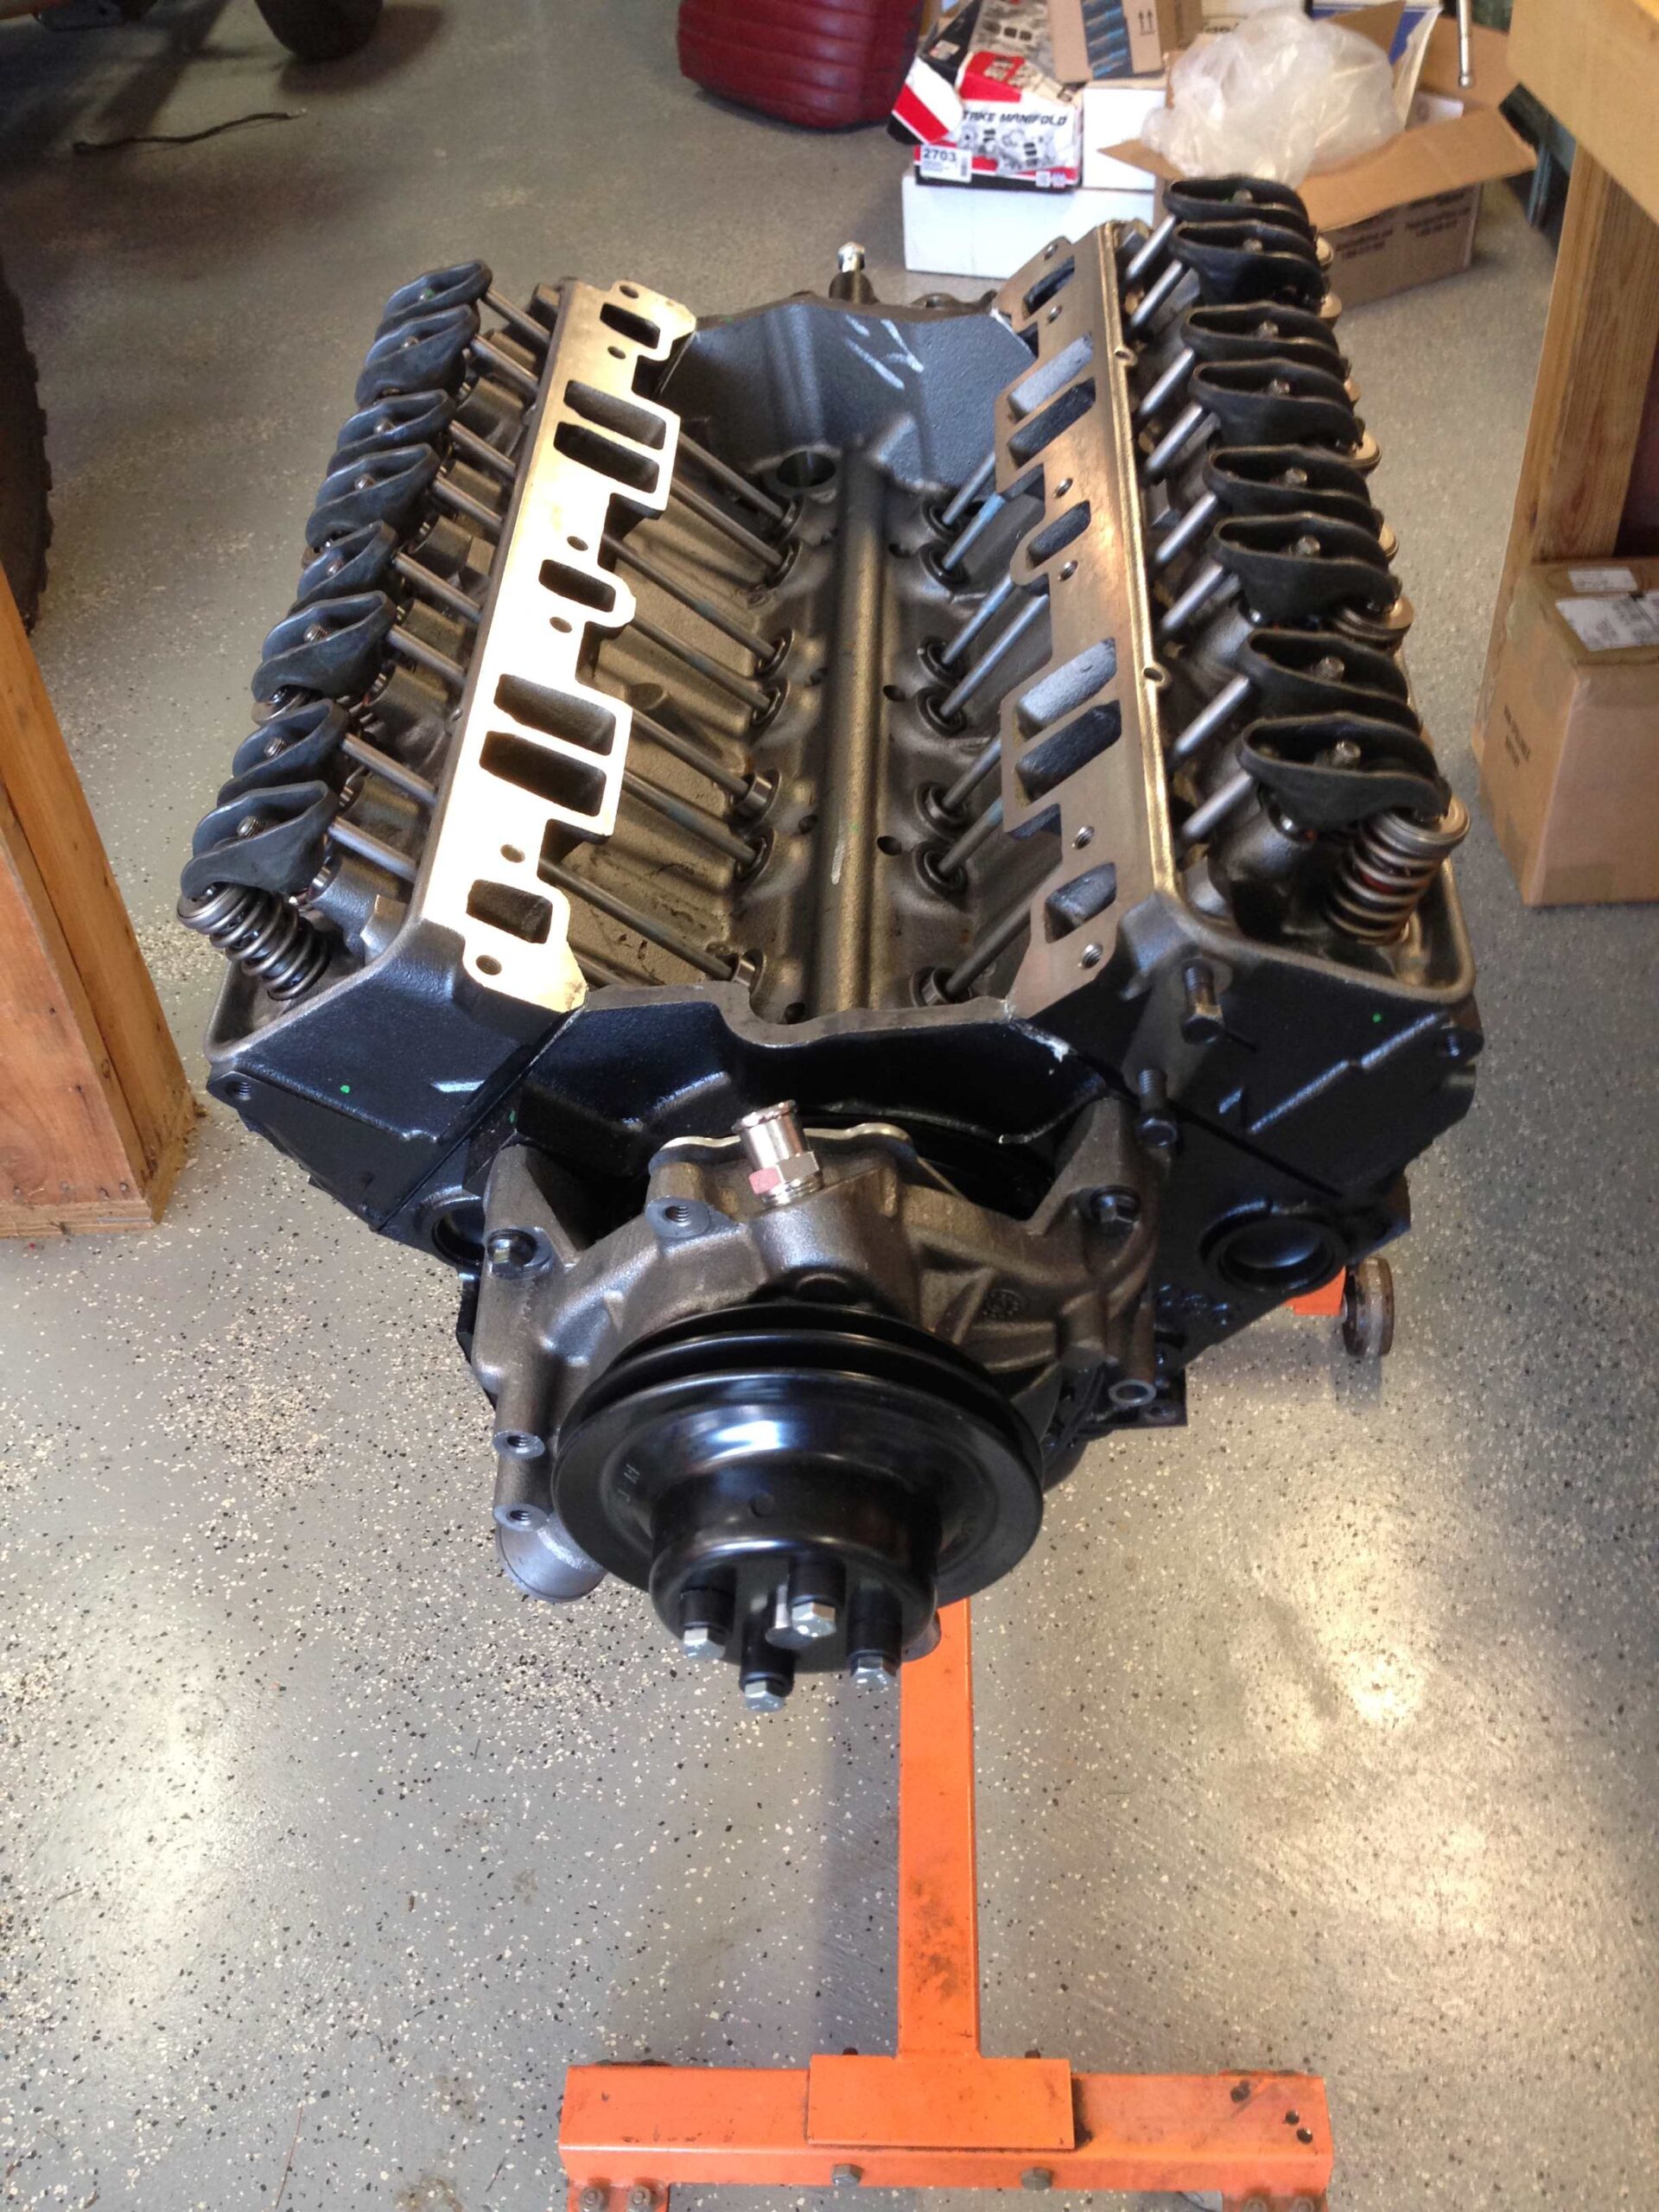
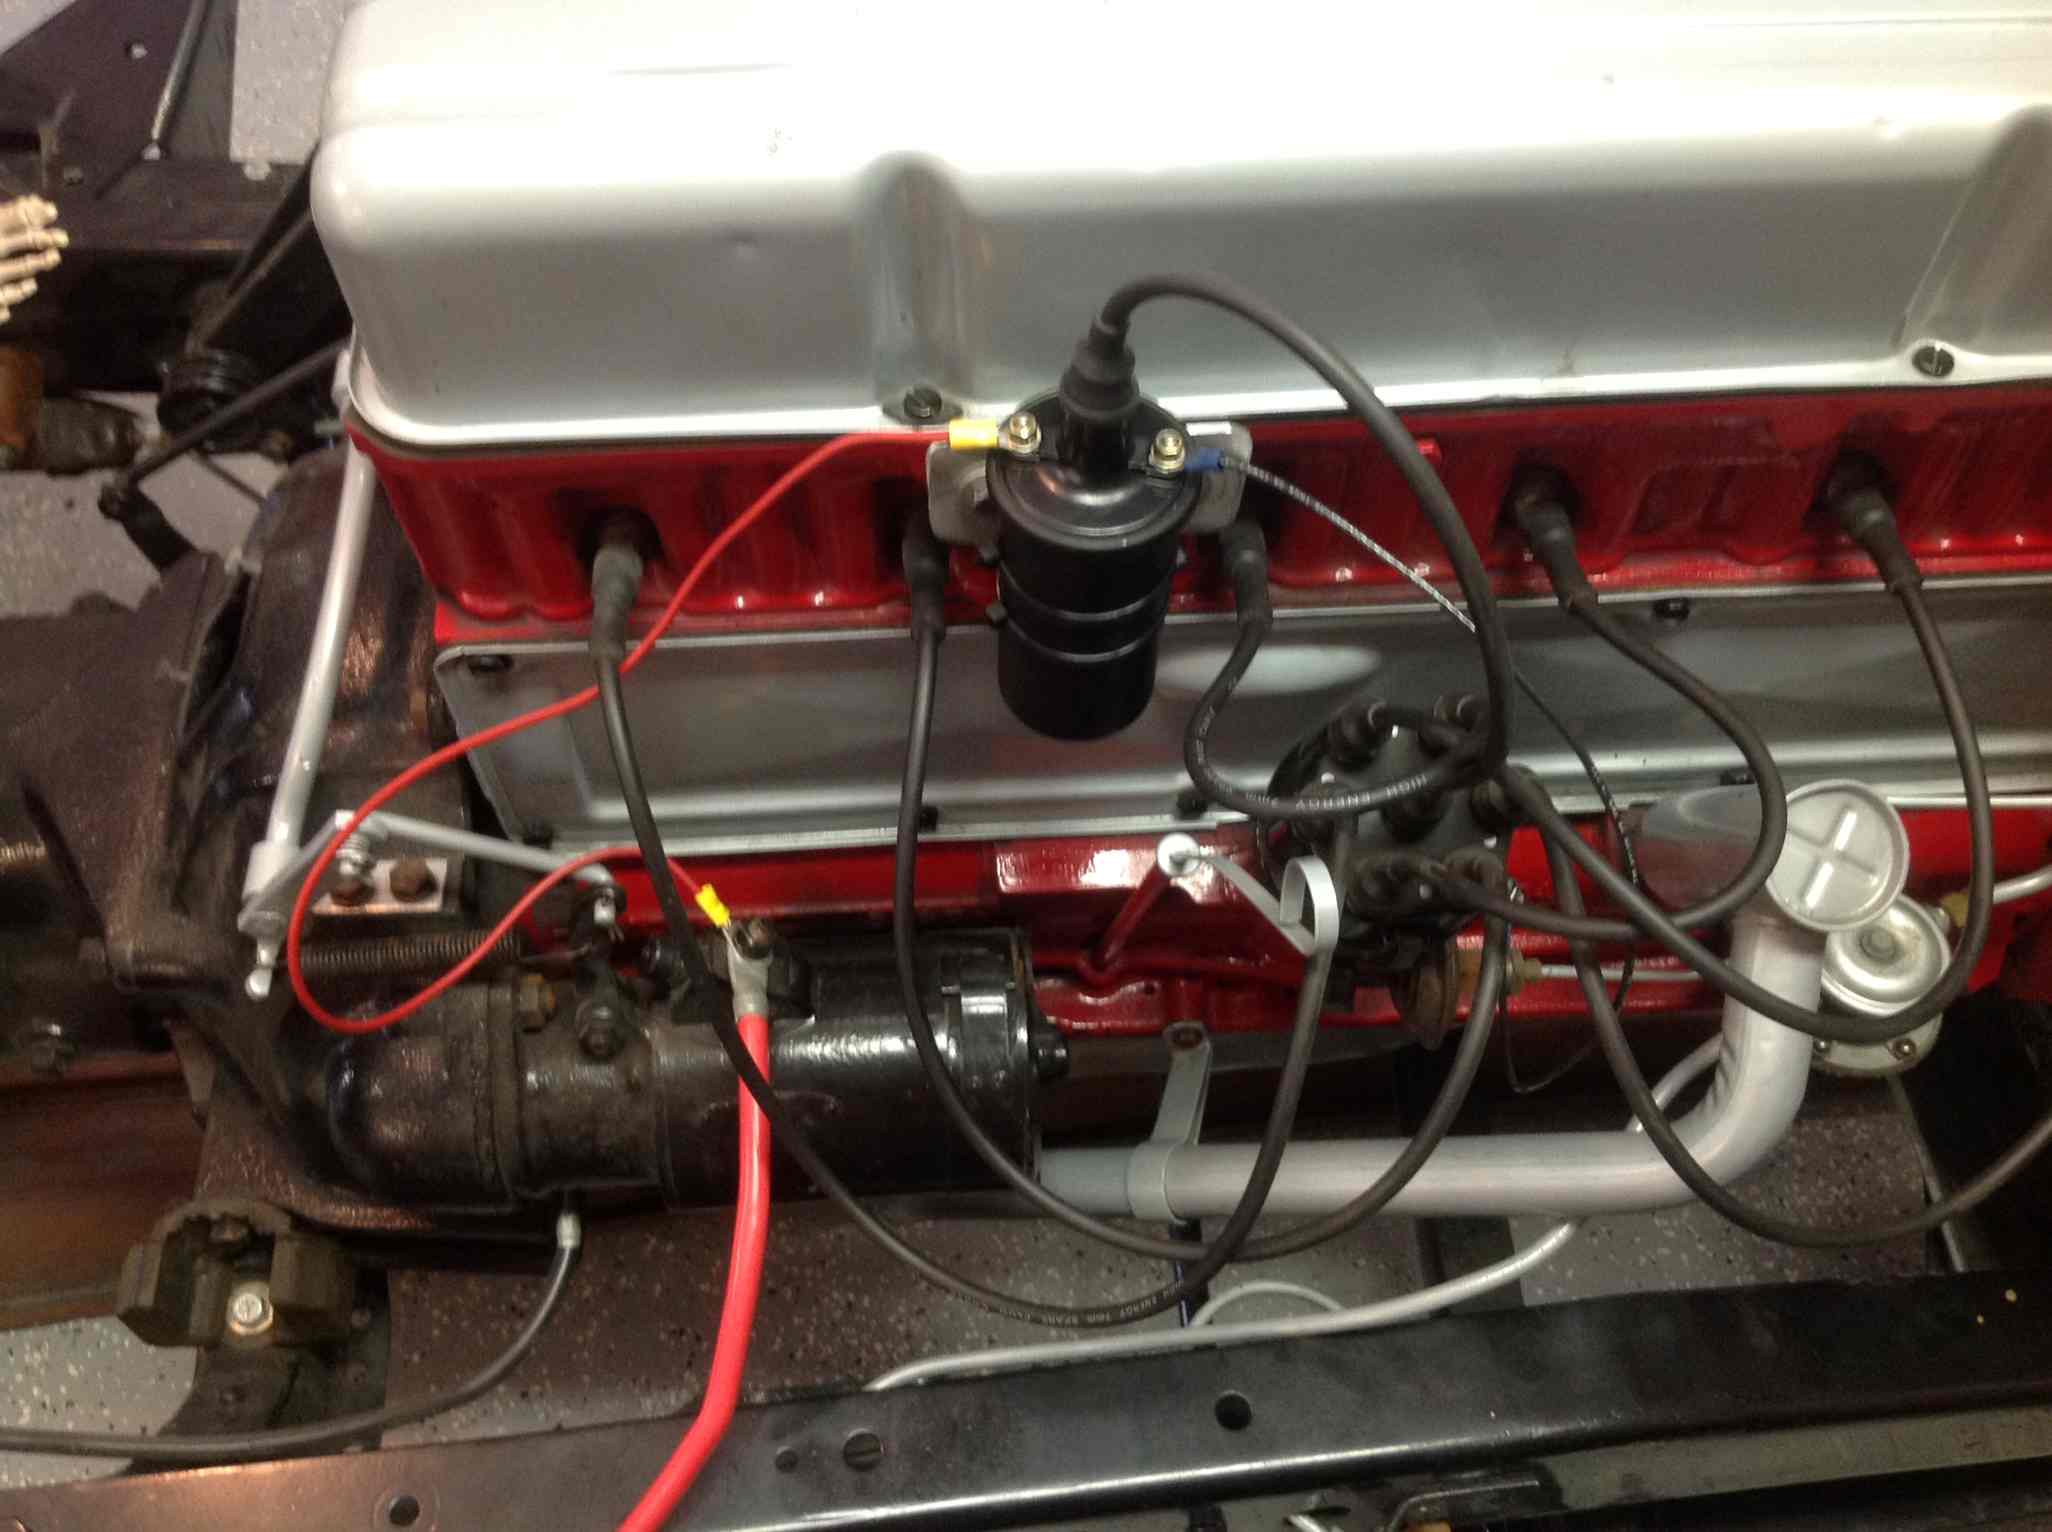
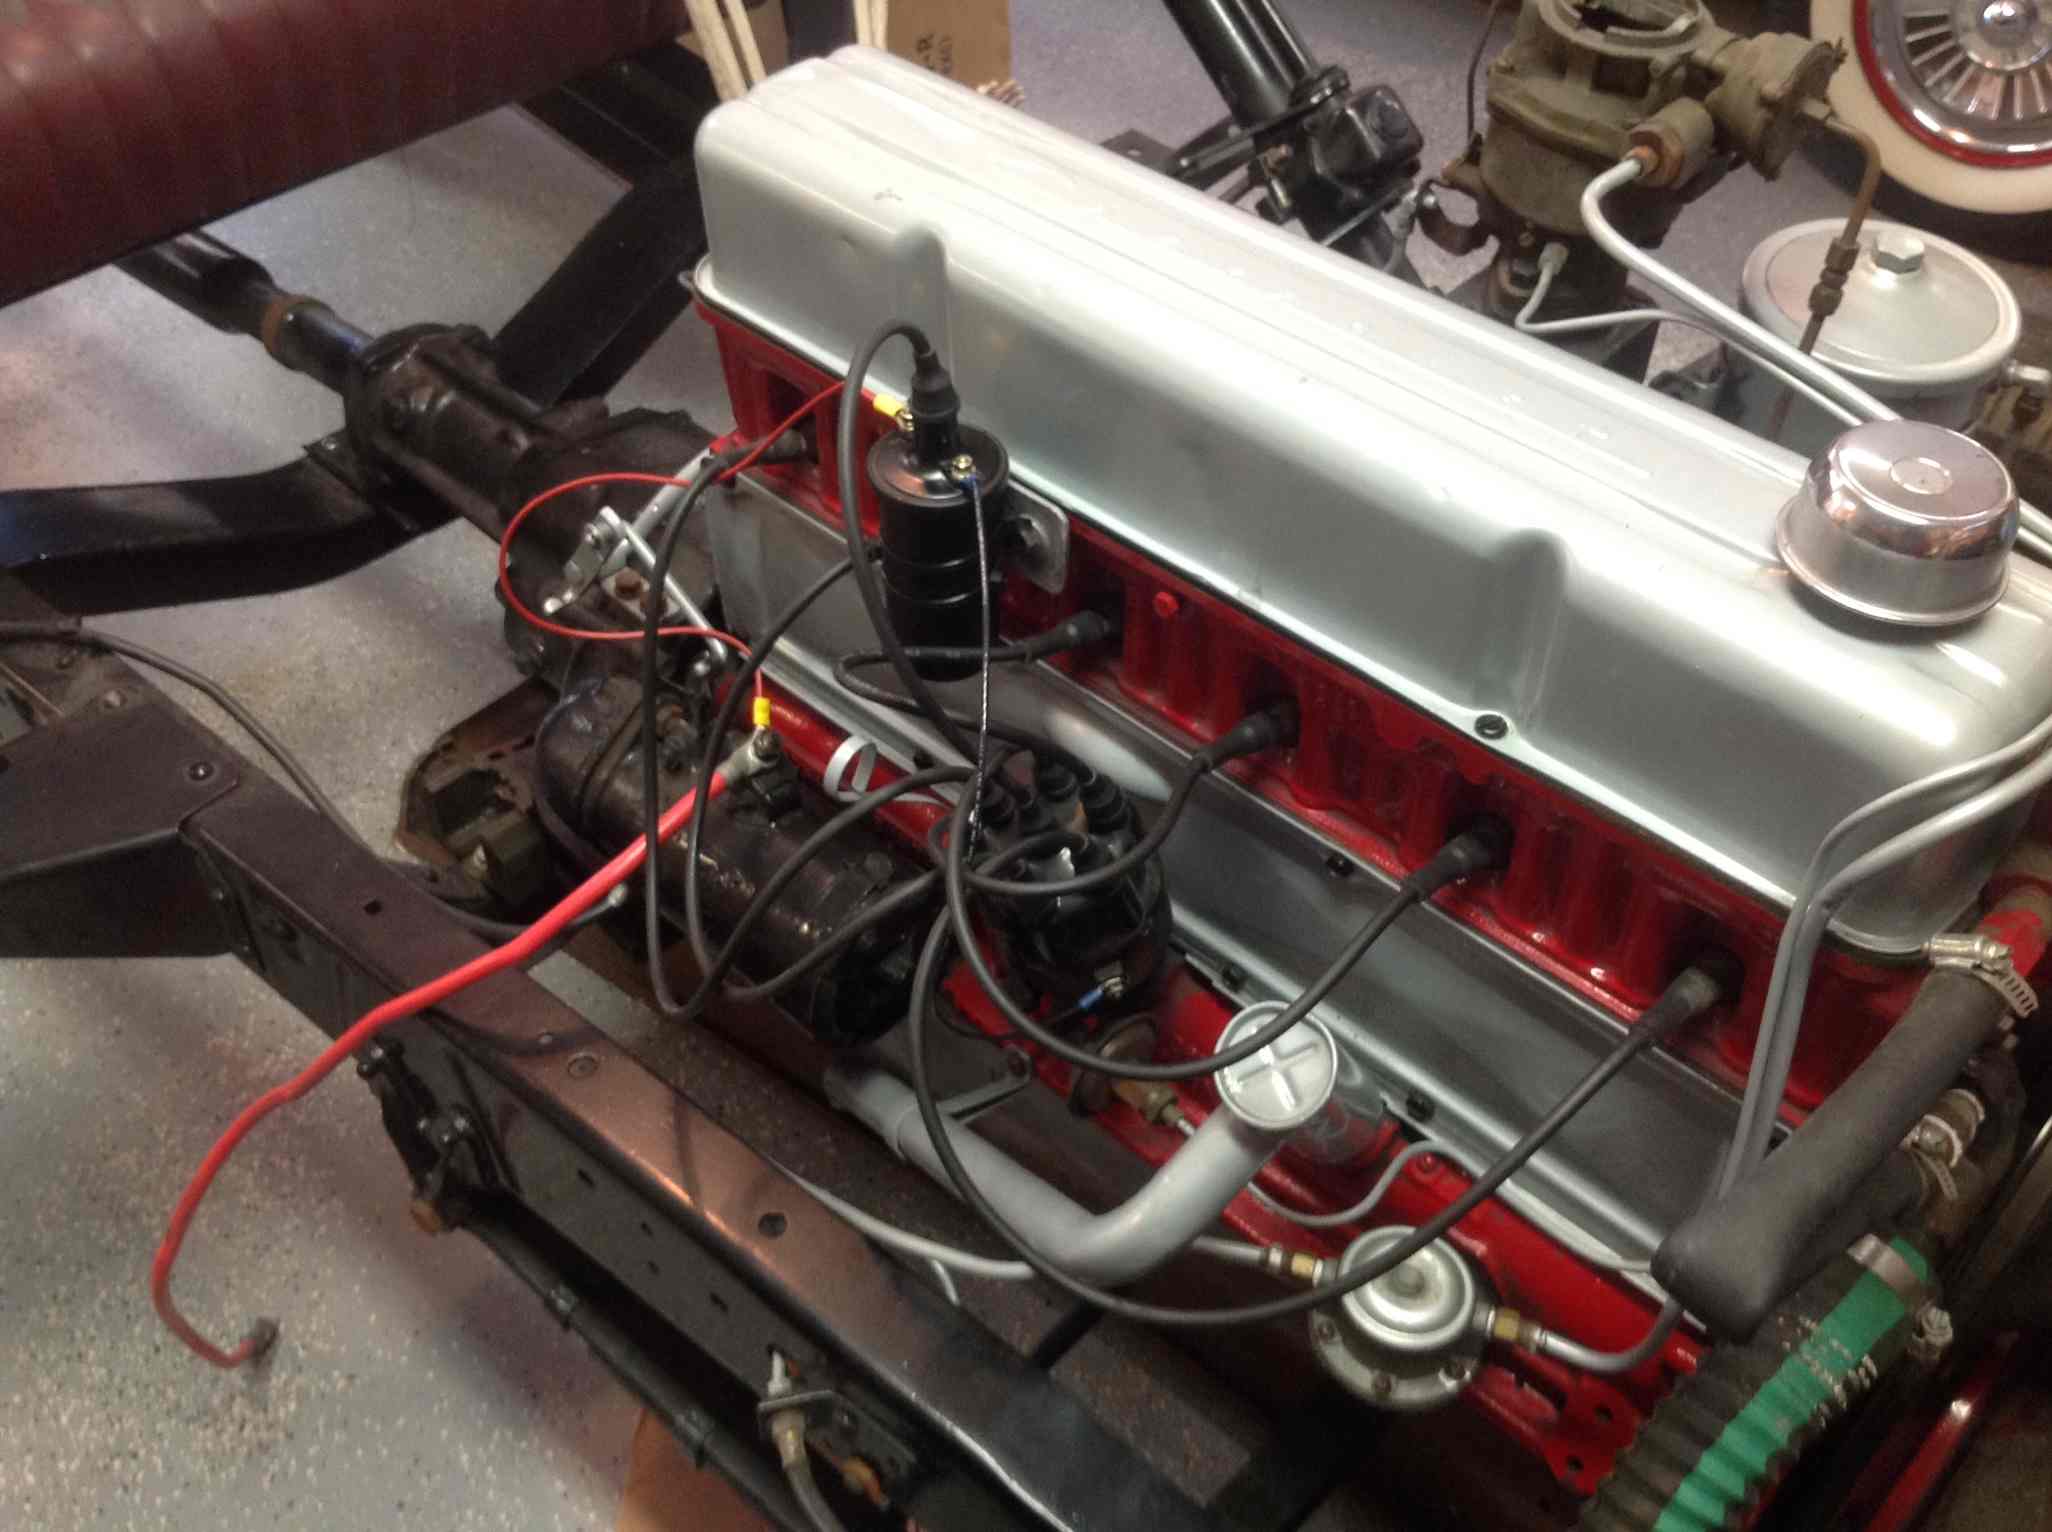
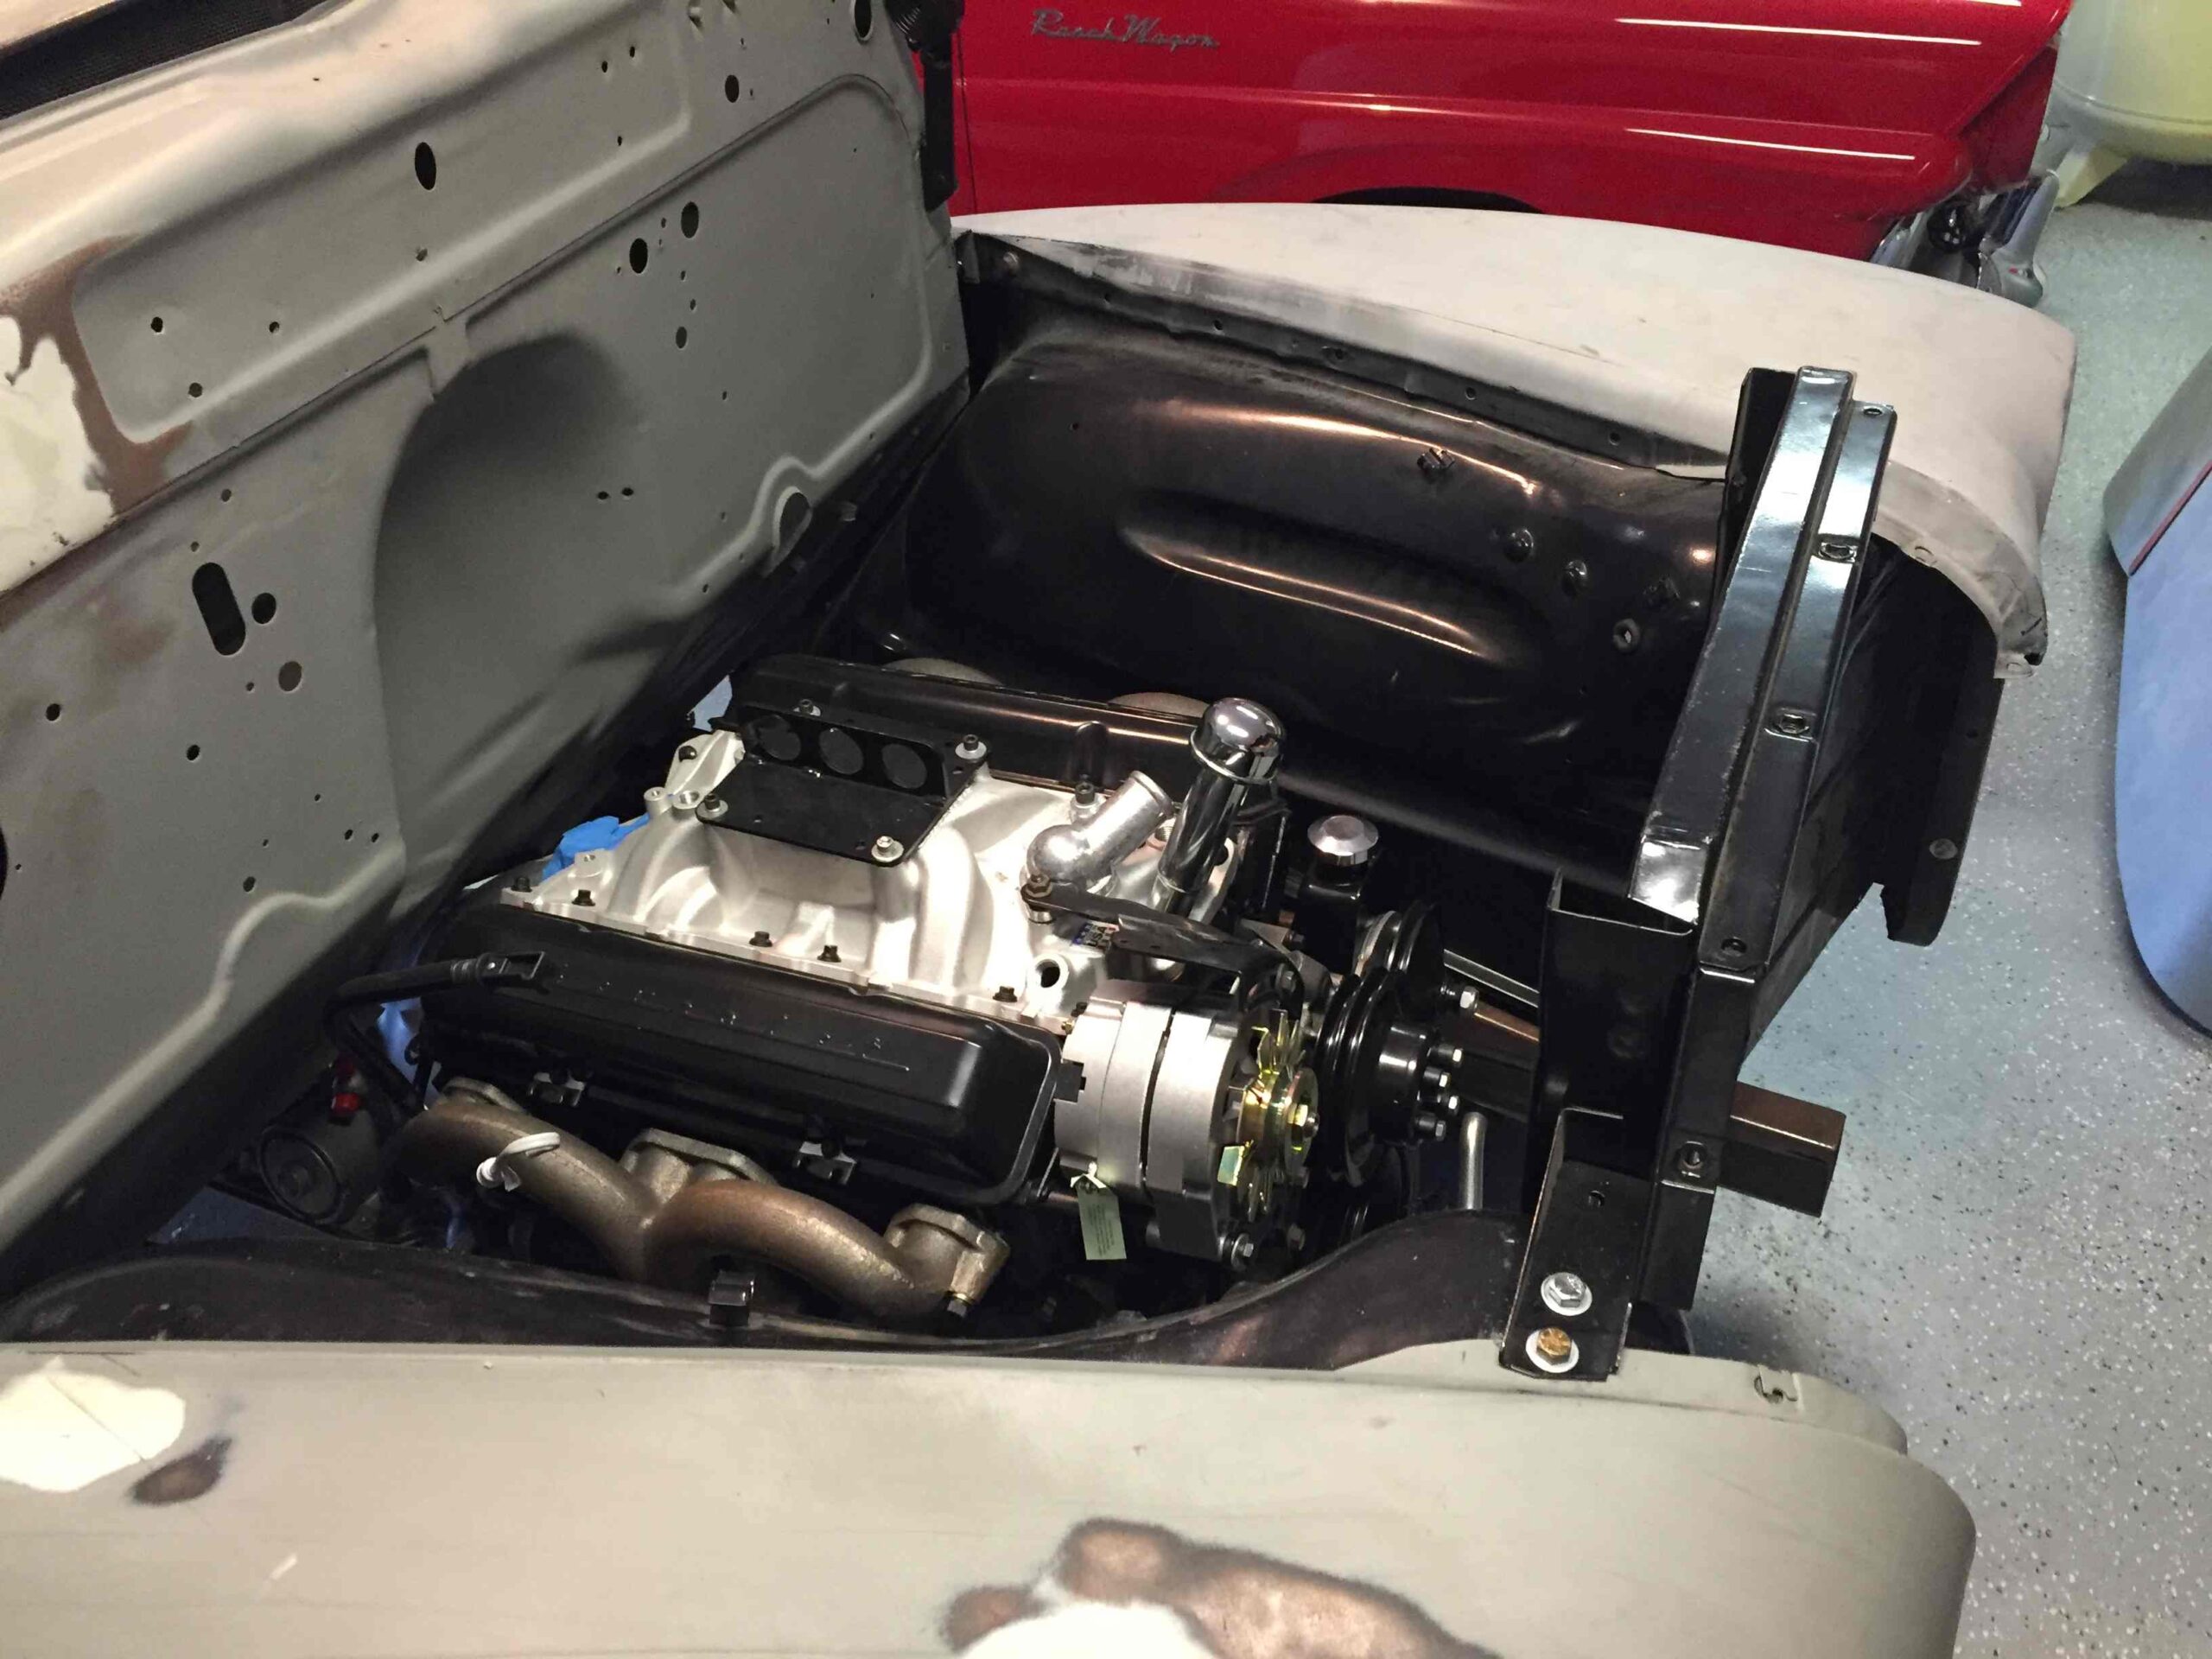
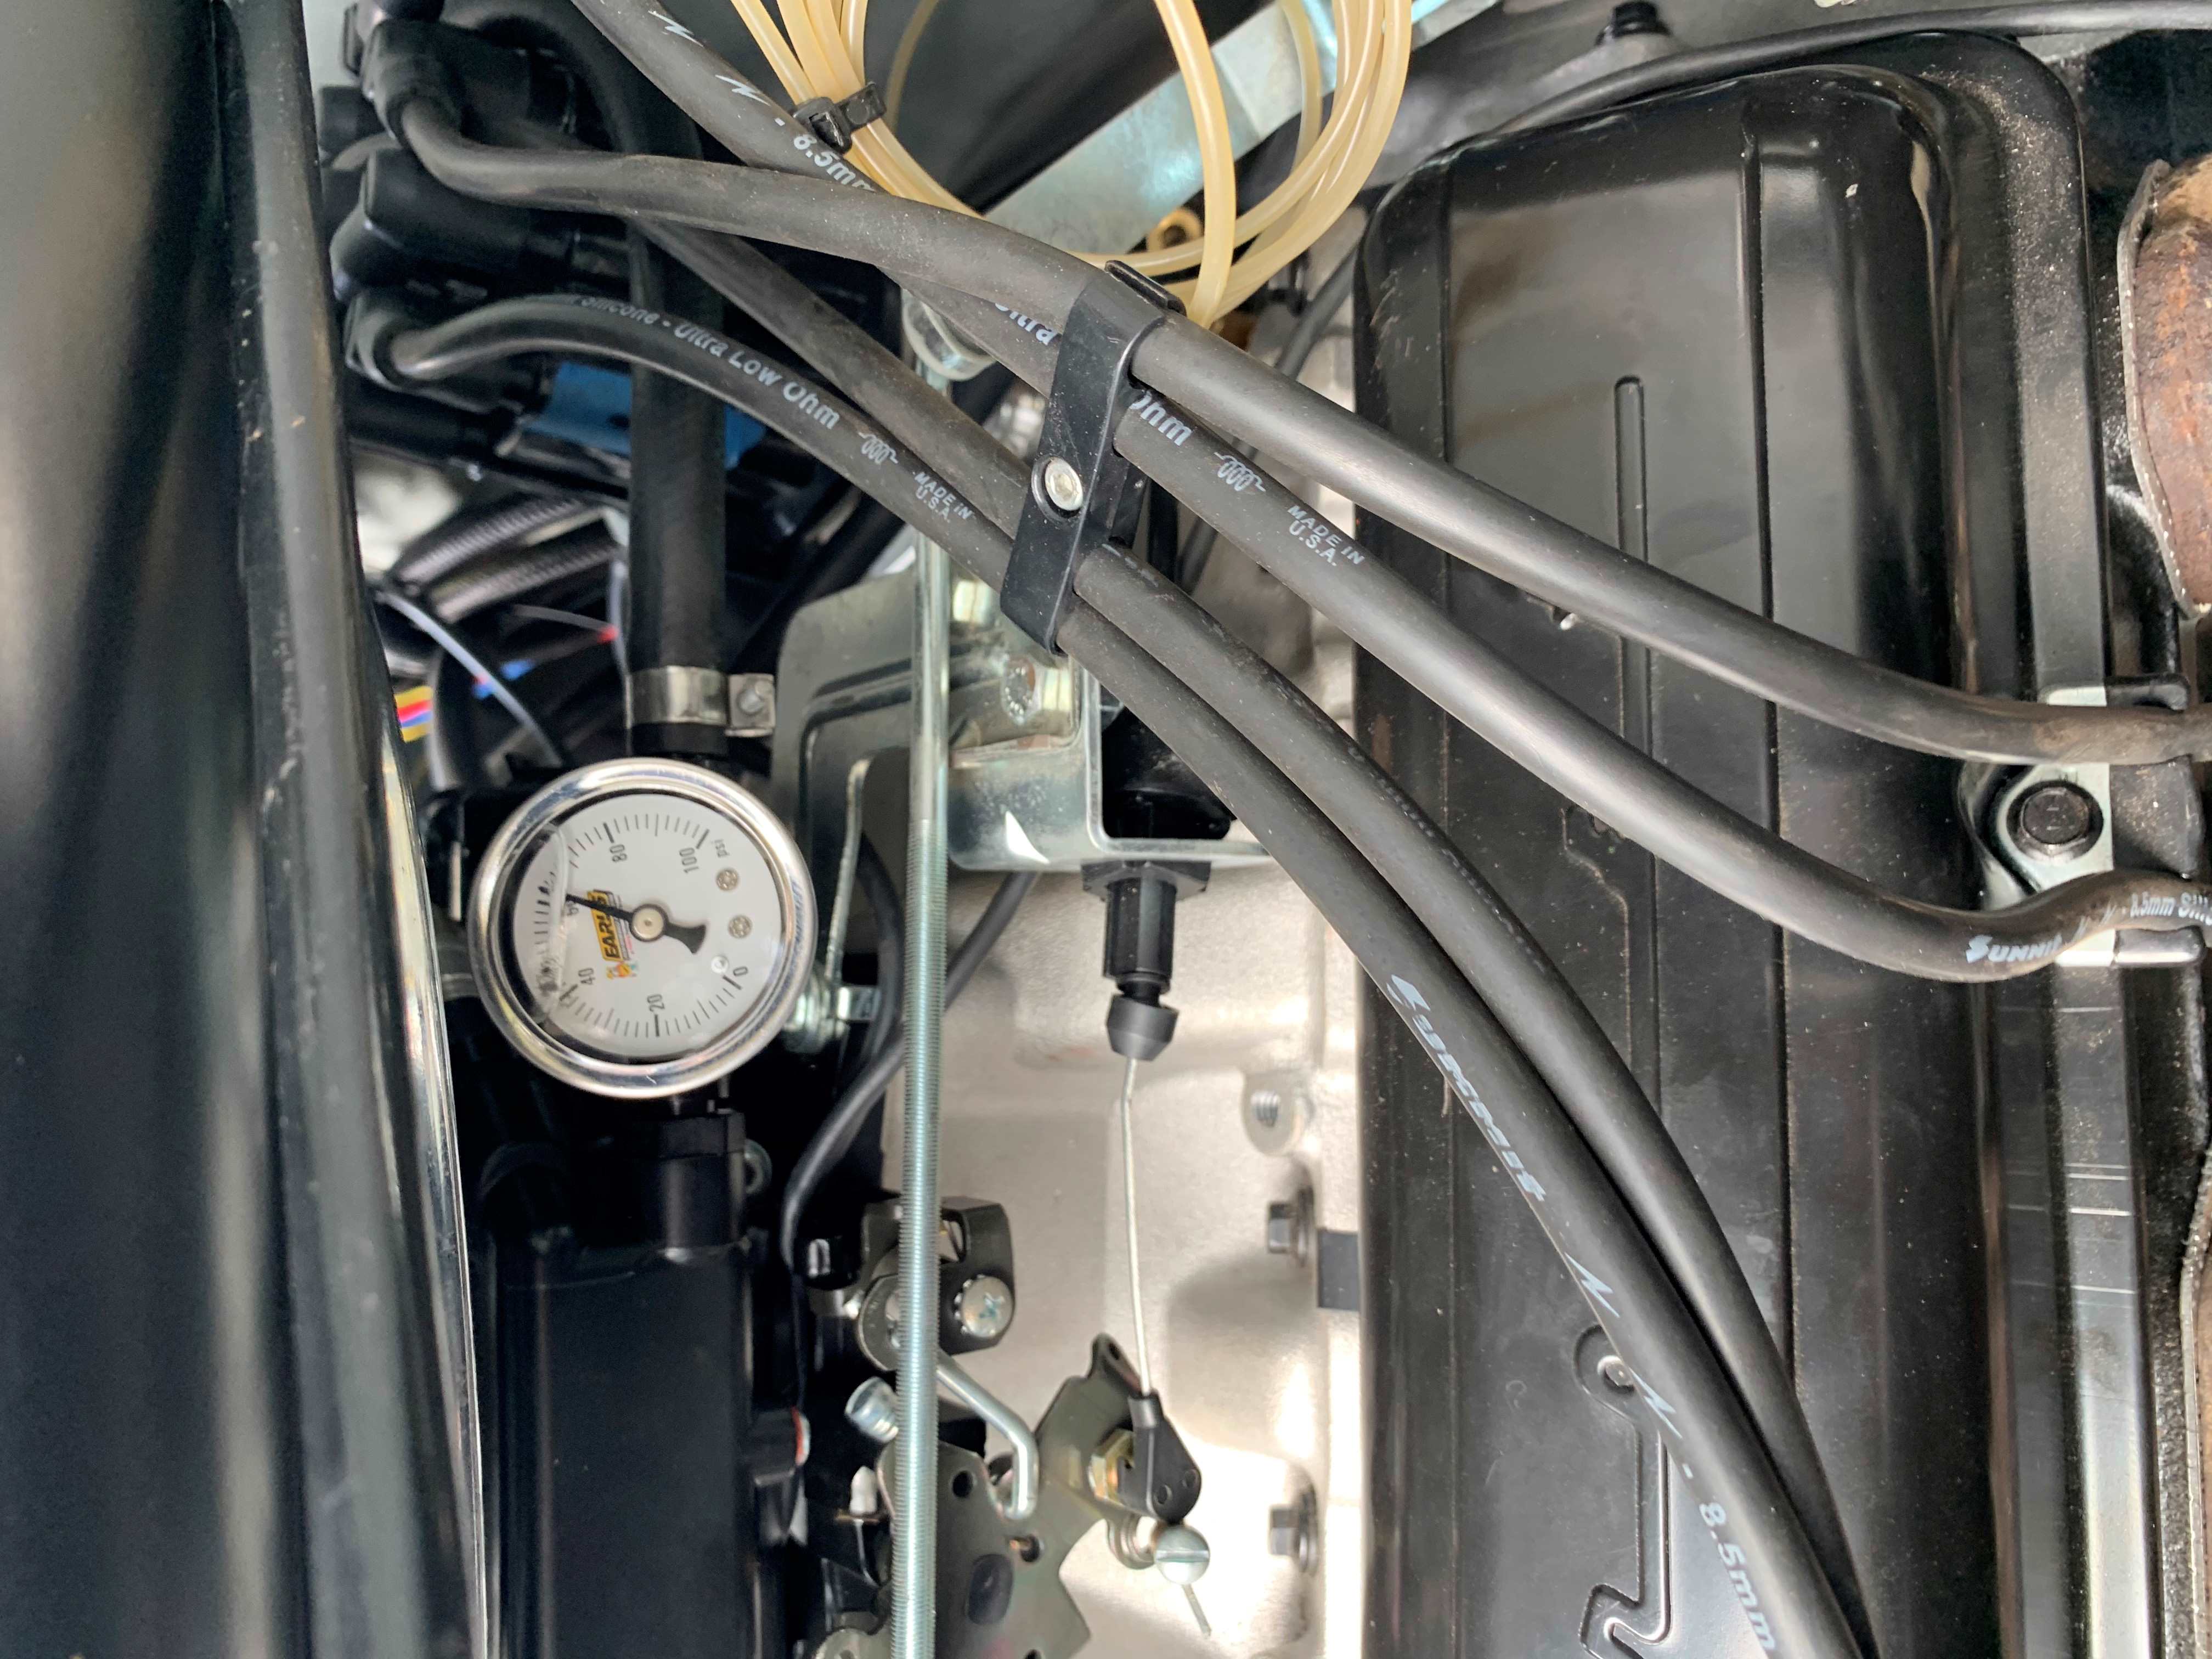
2014 Engine & Transmission
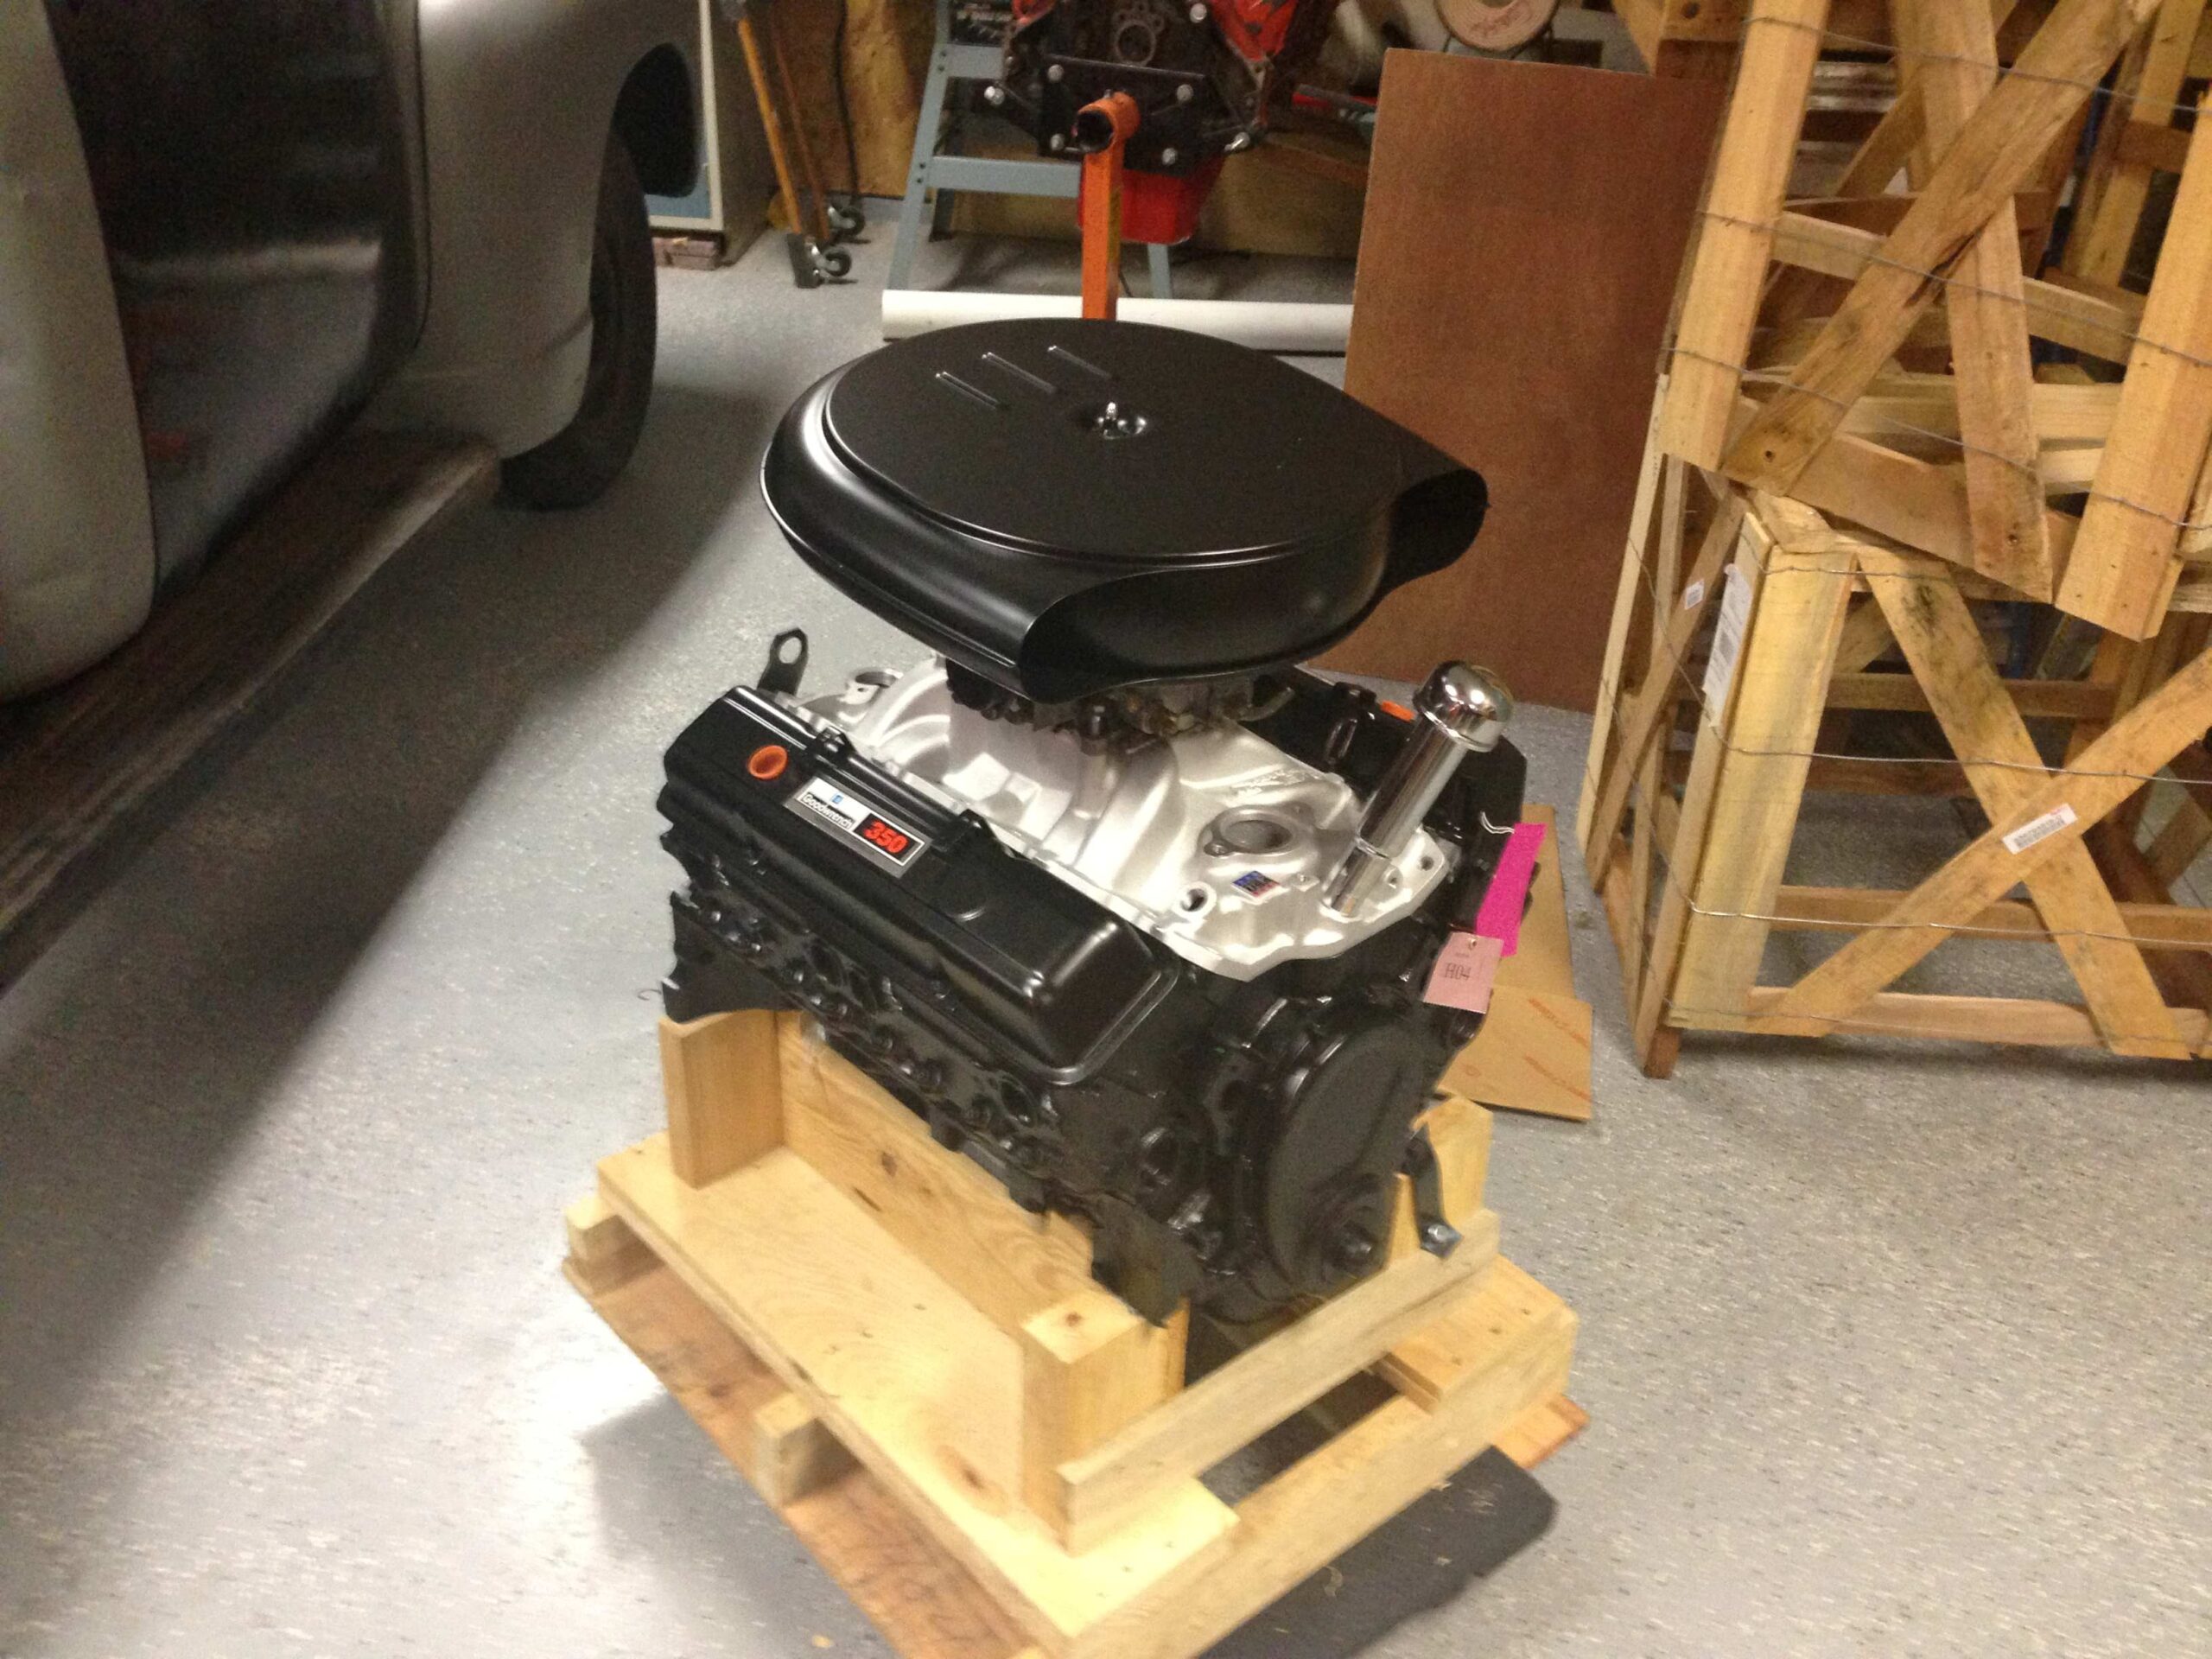
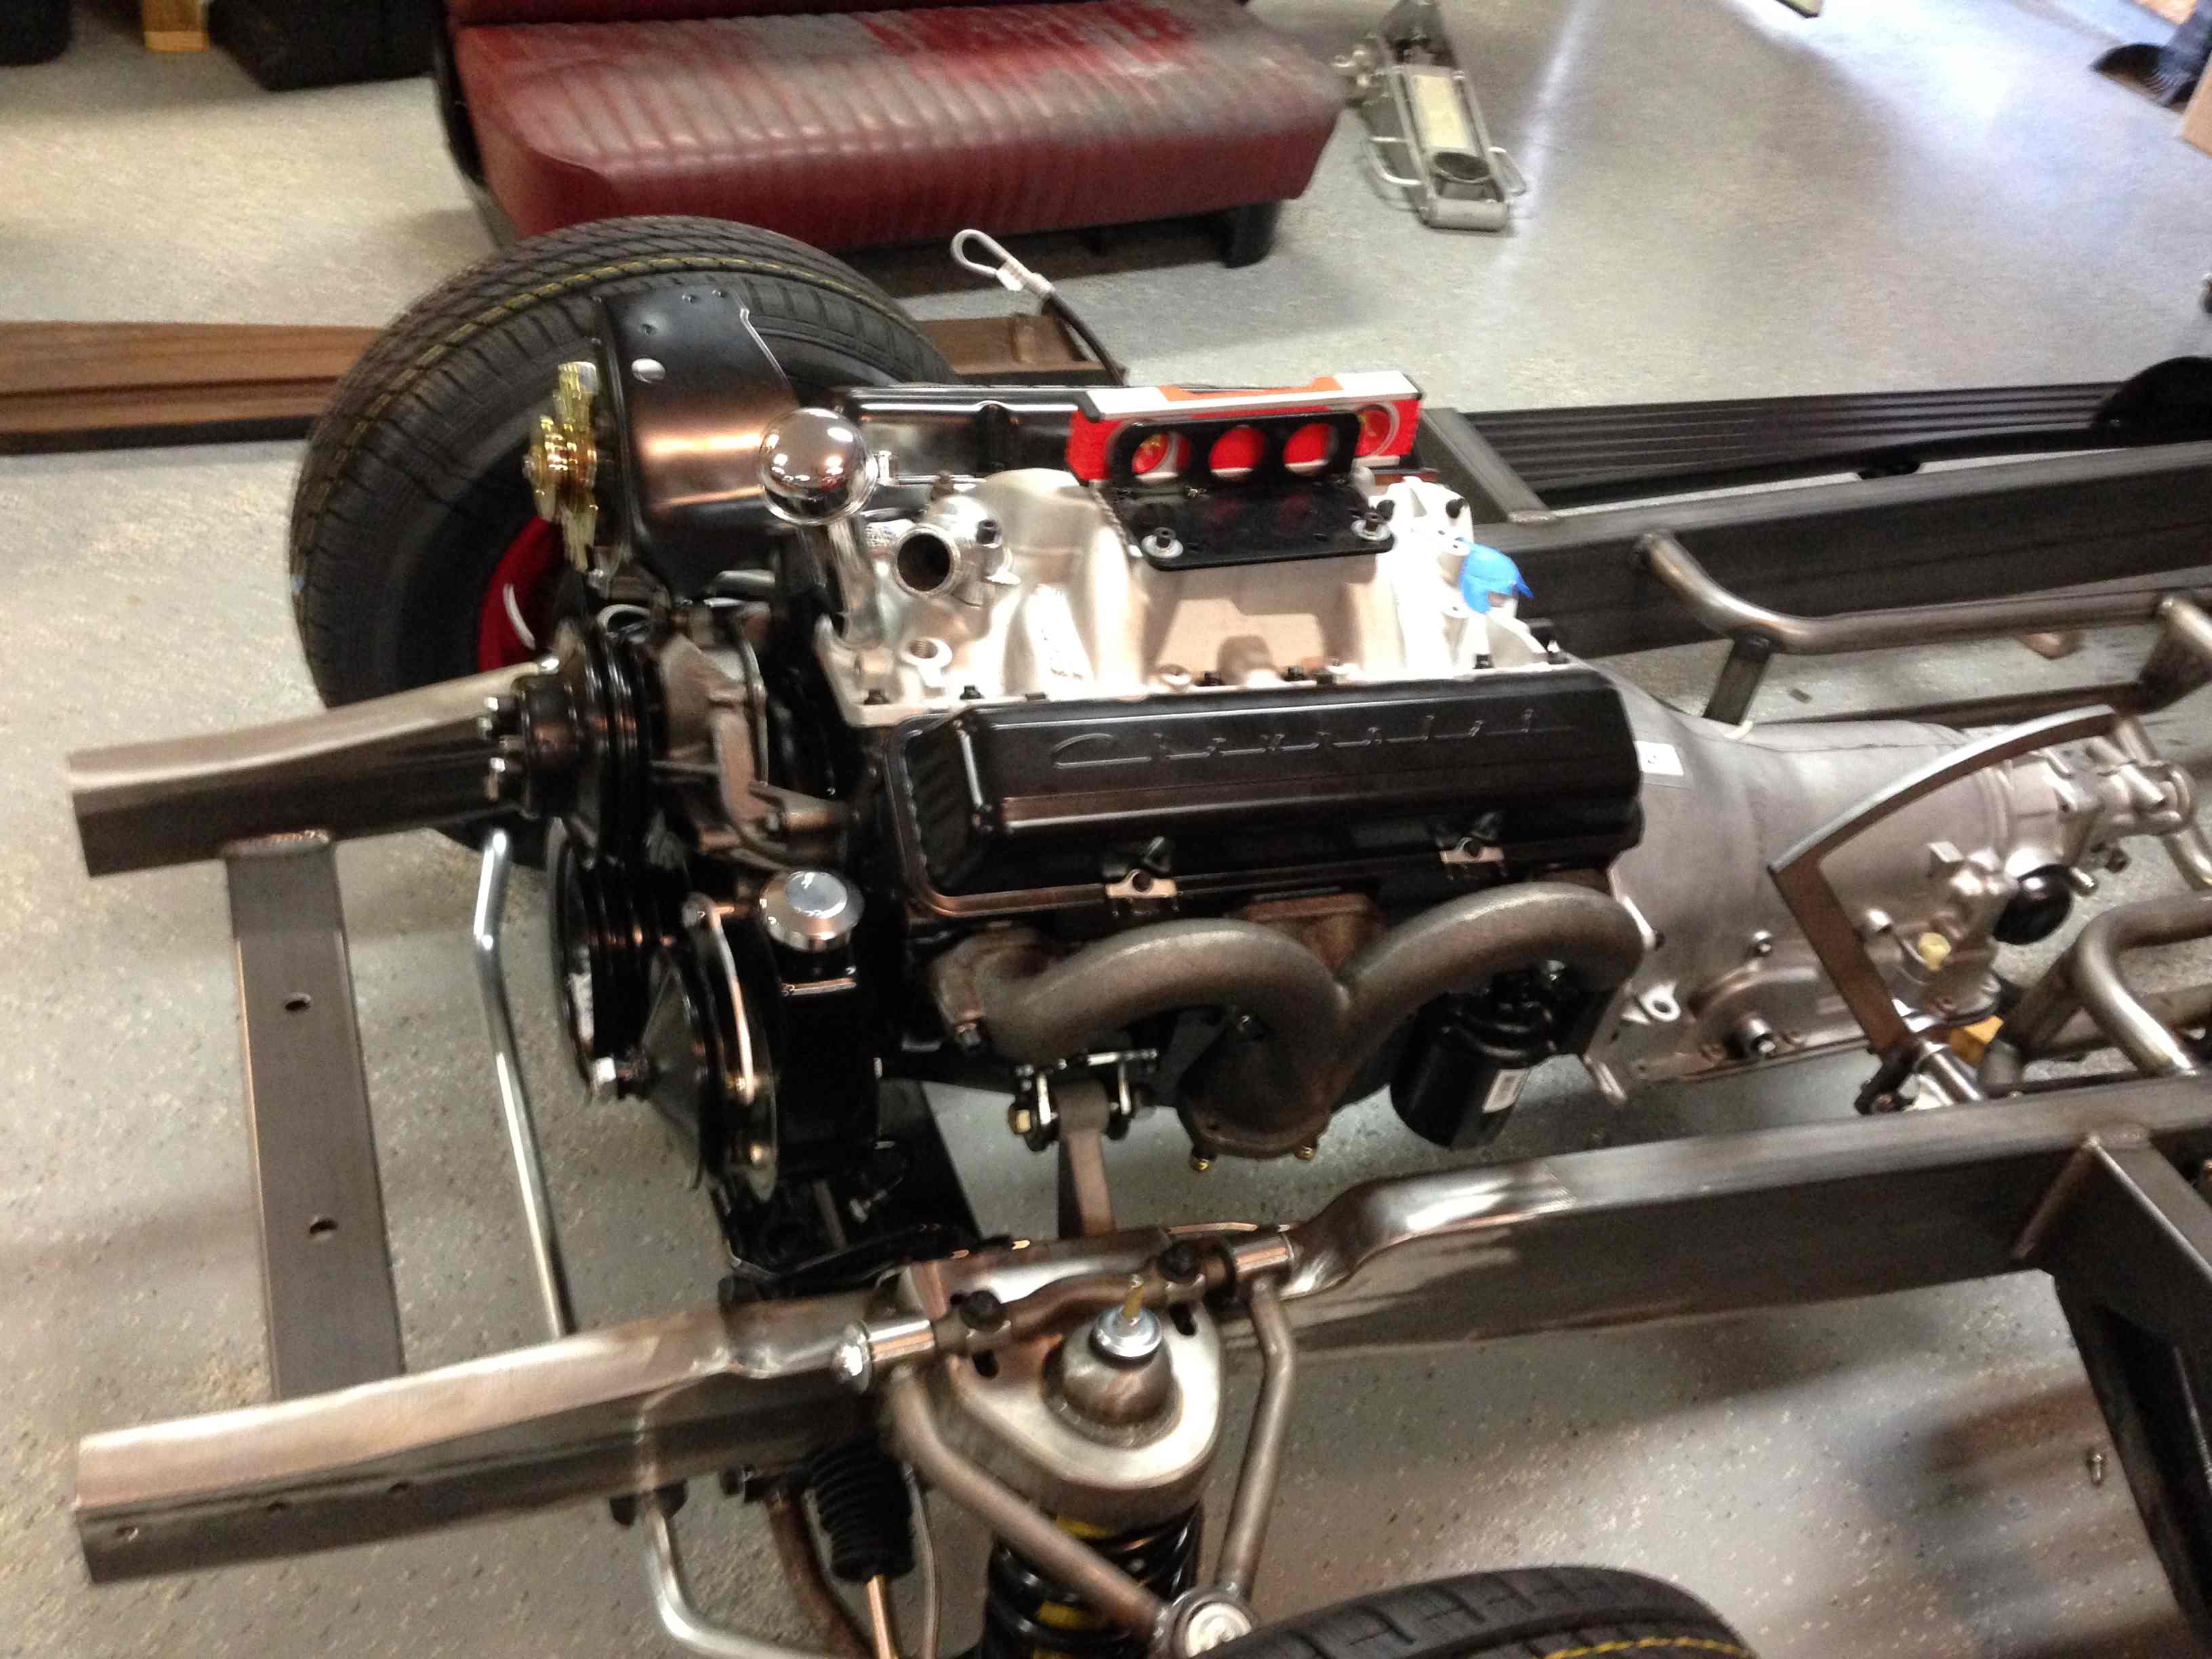
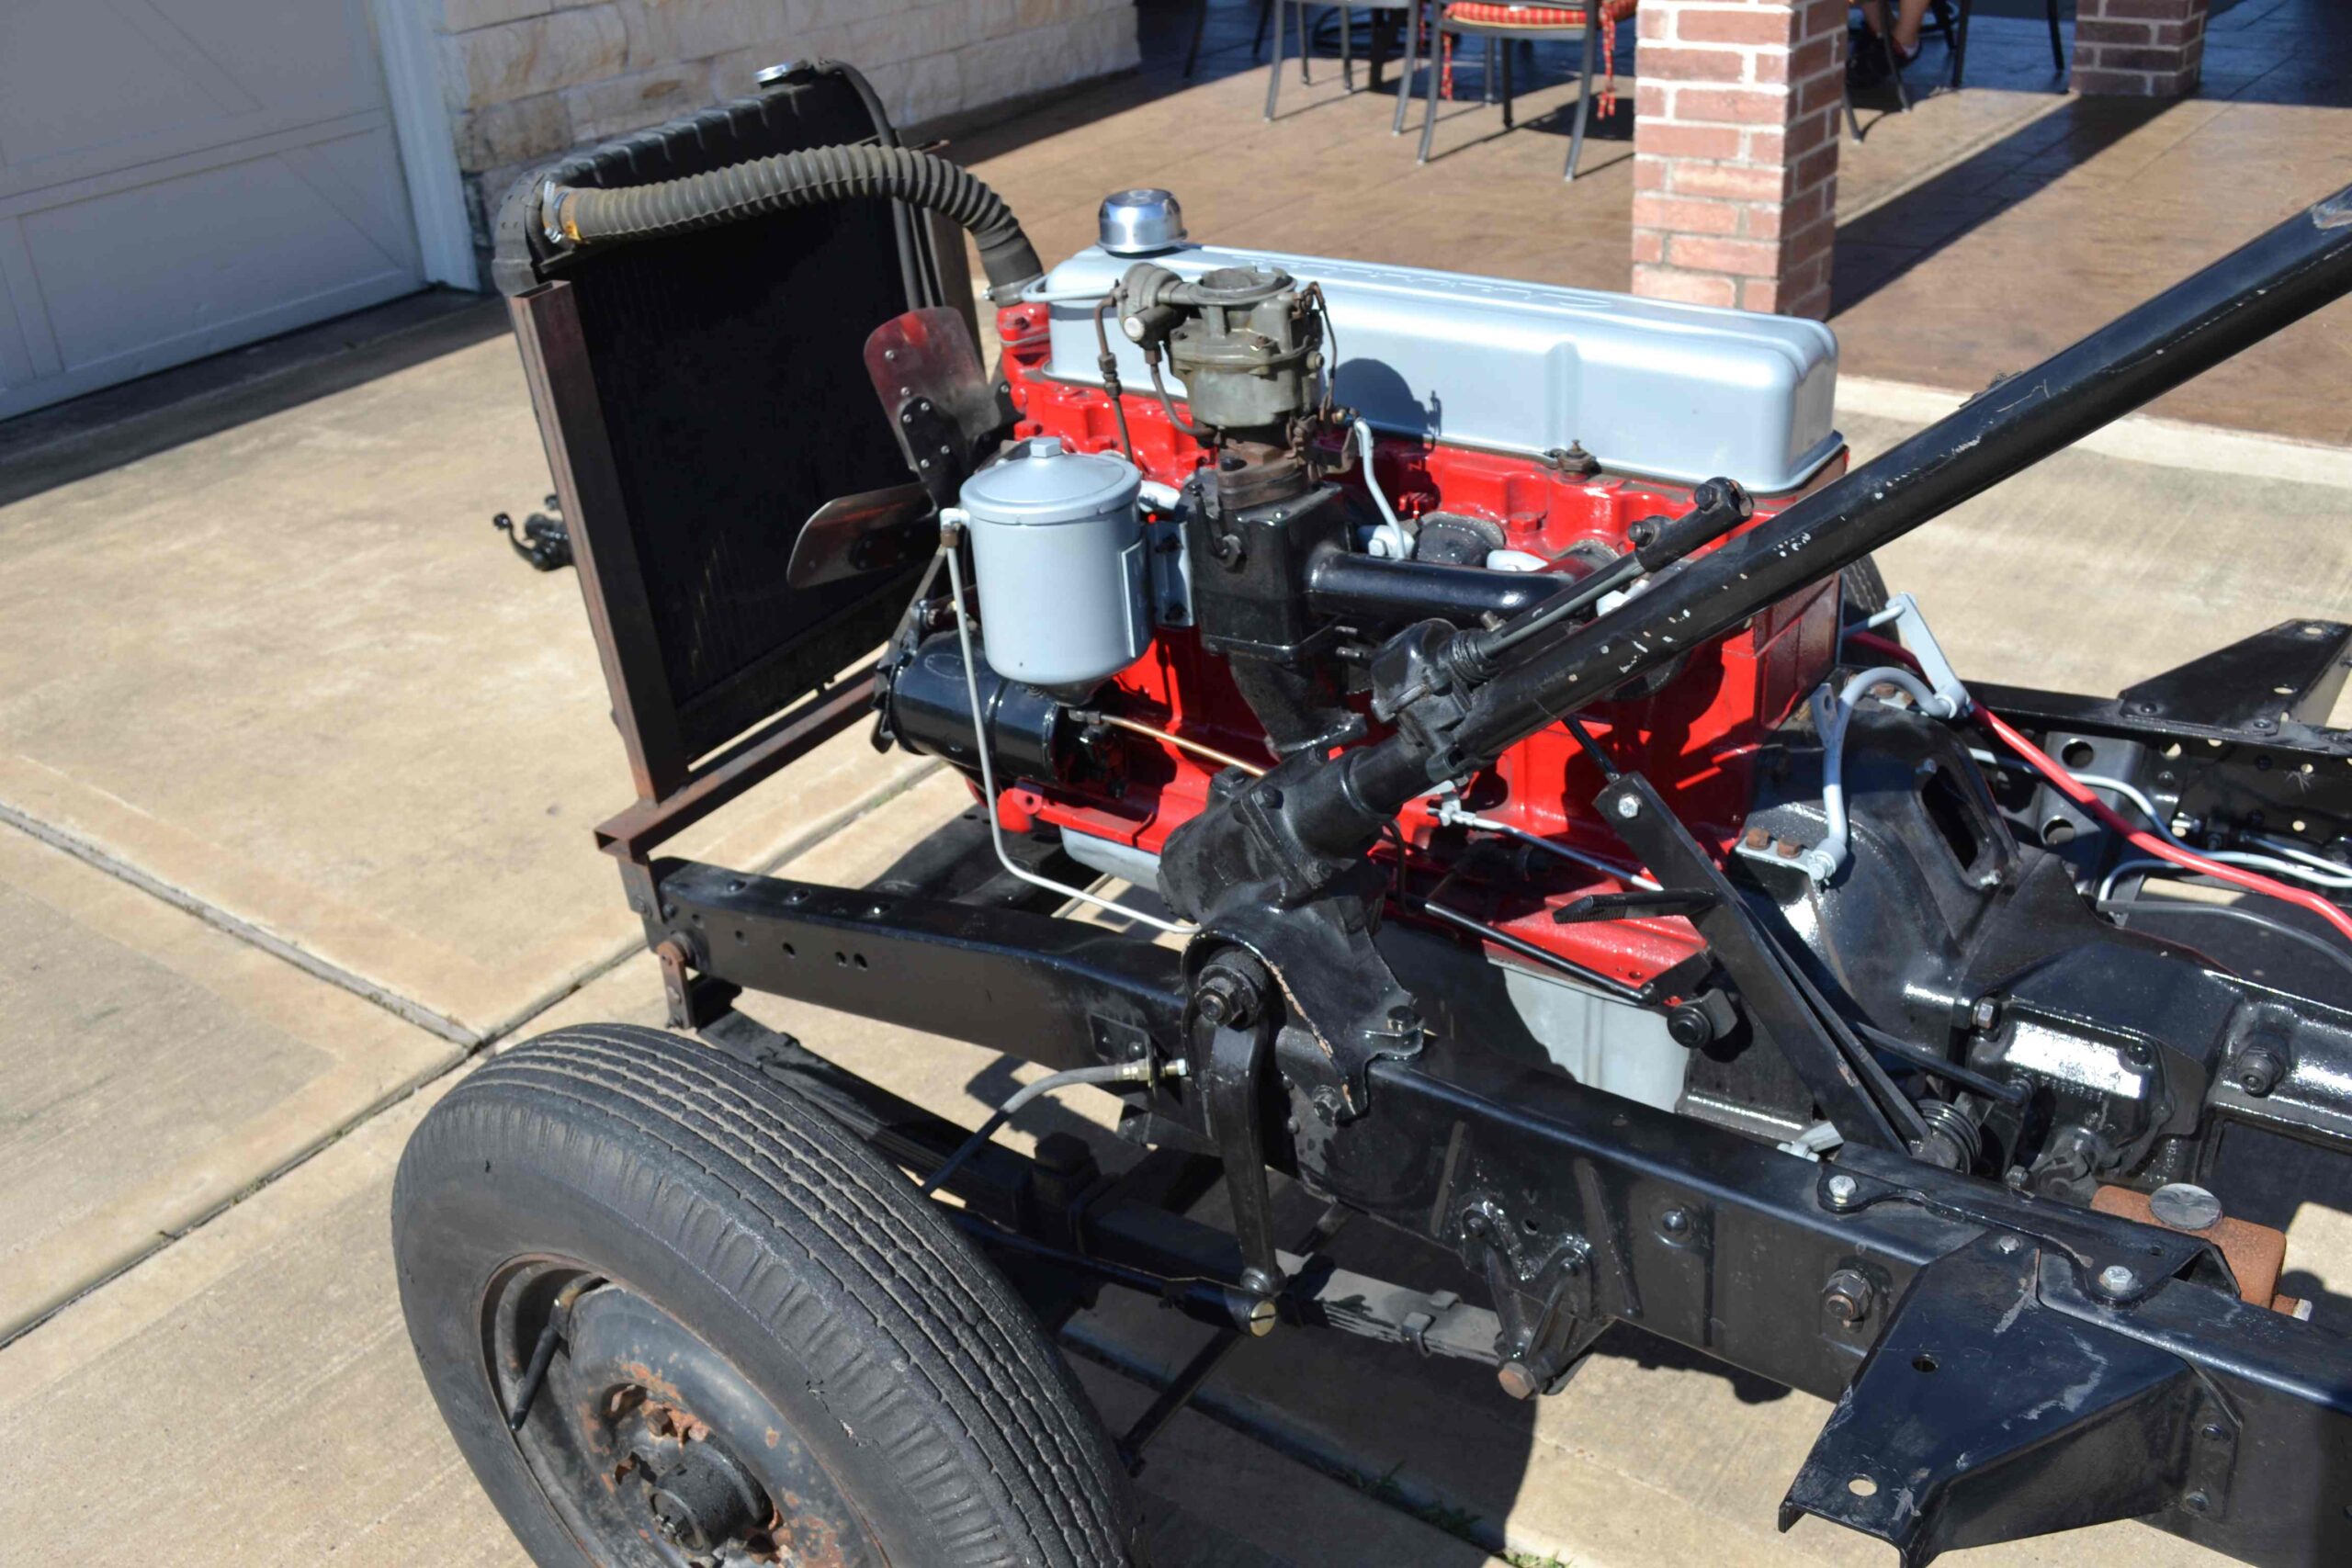
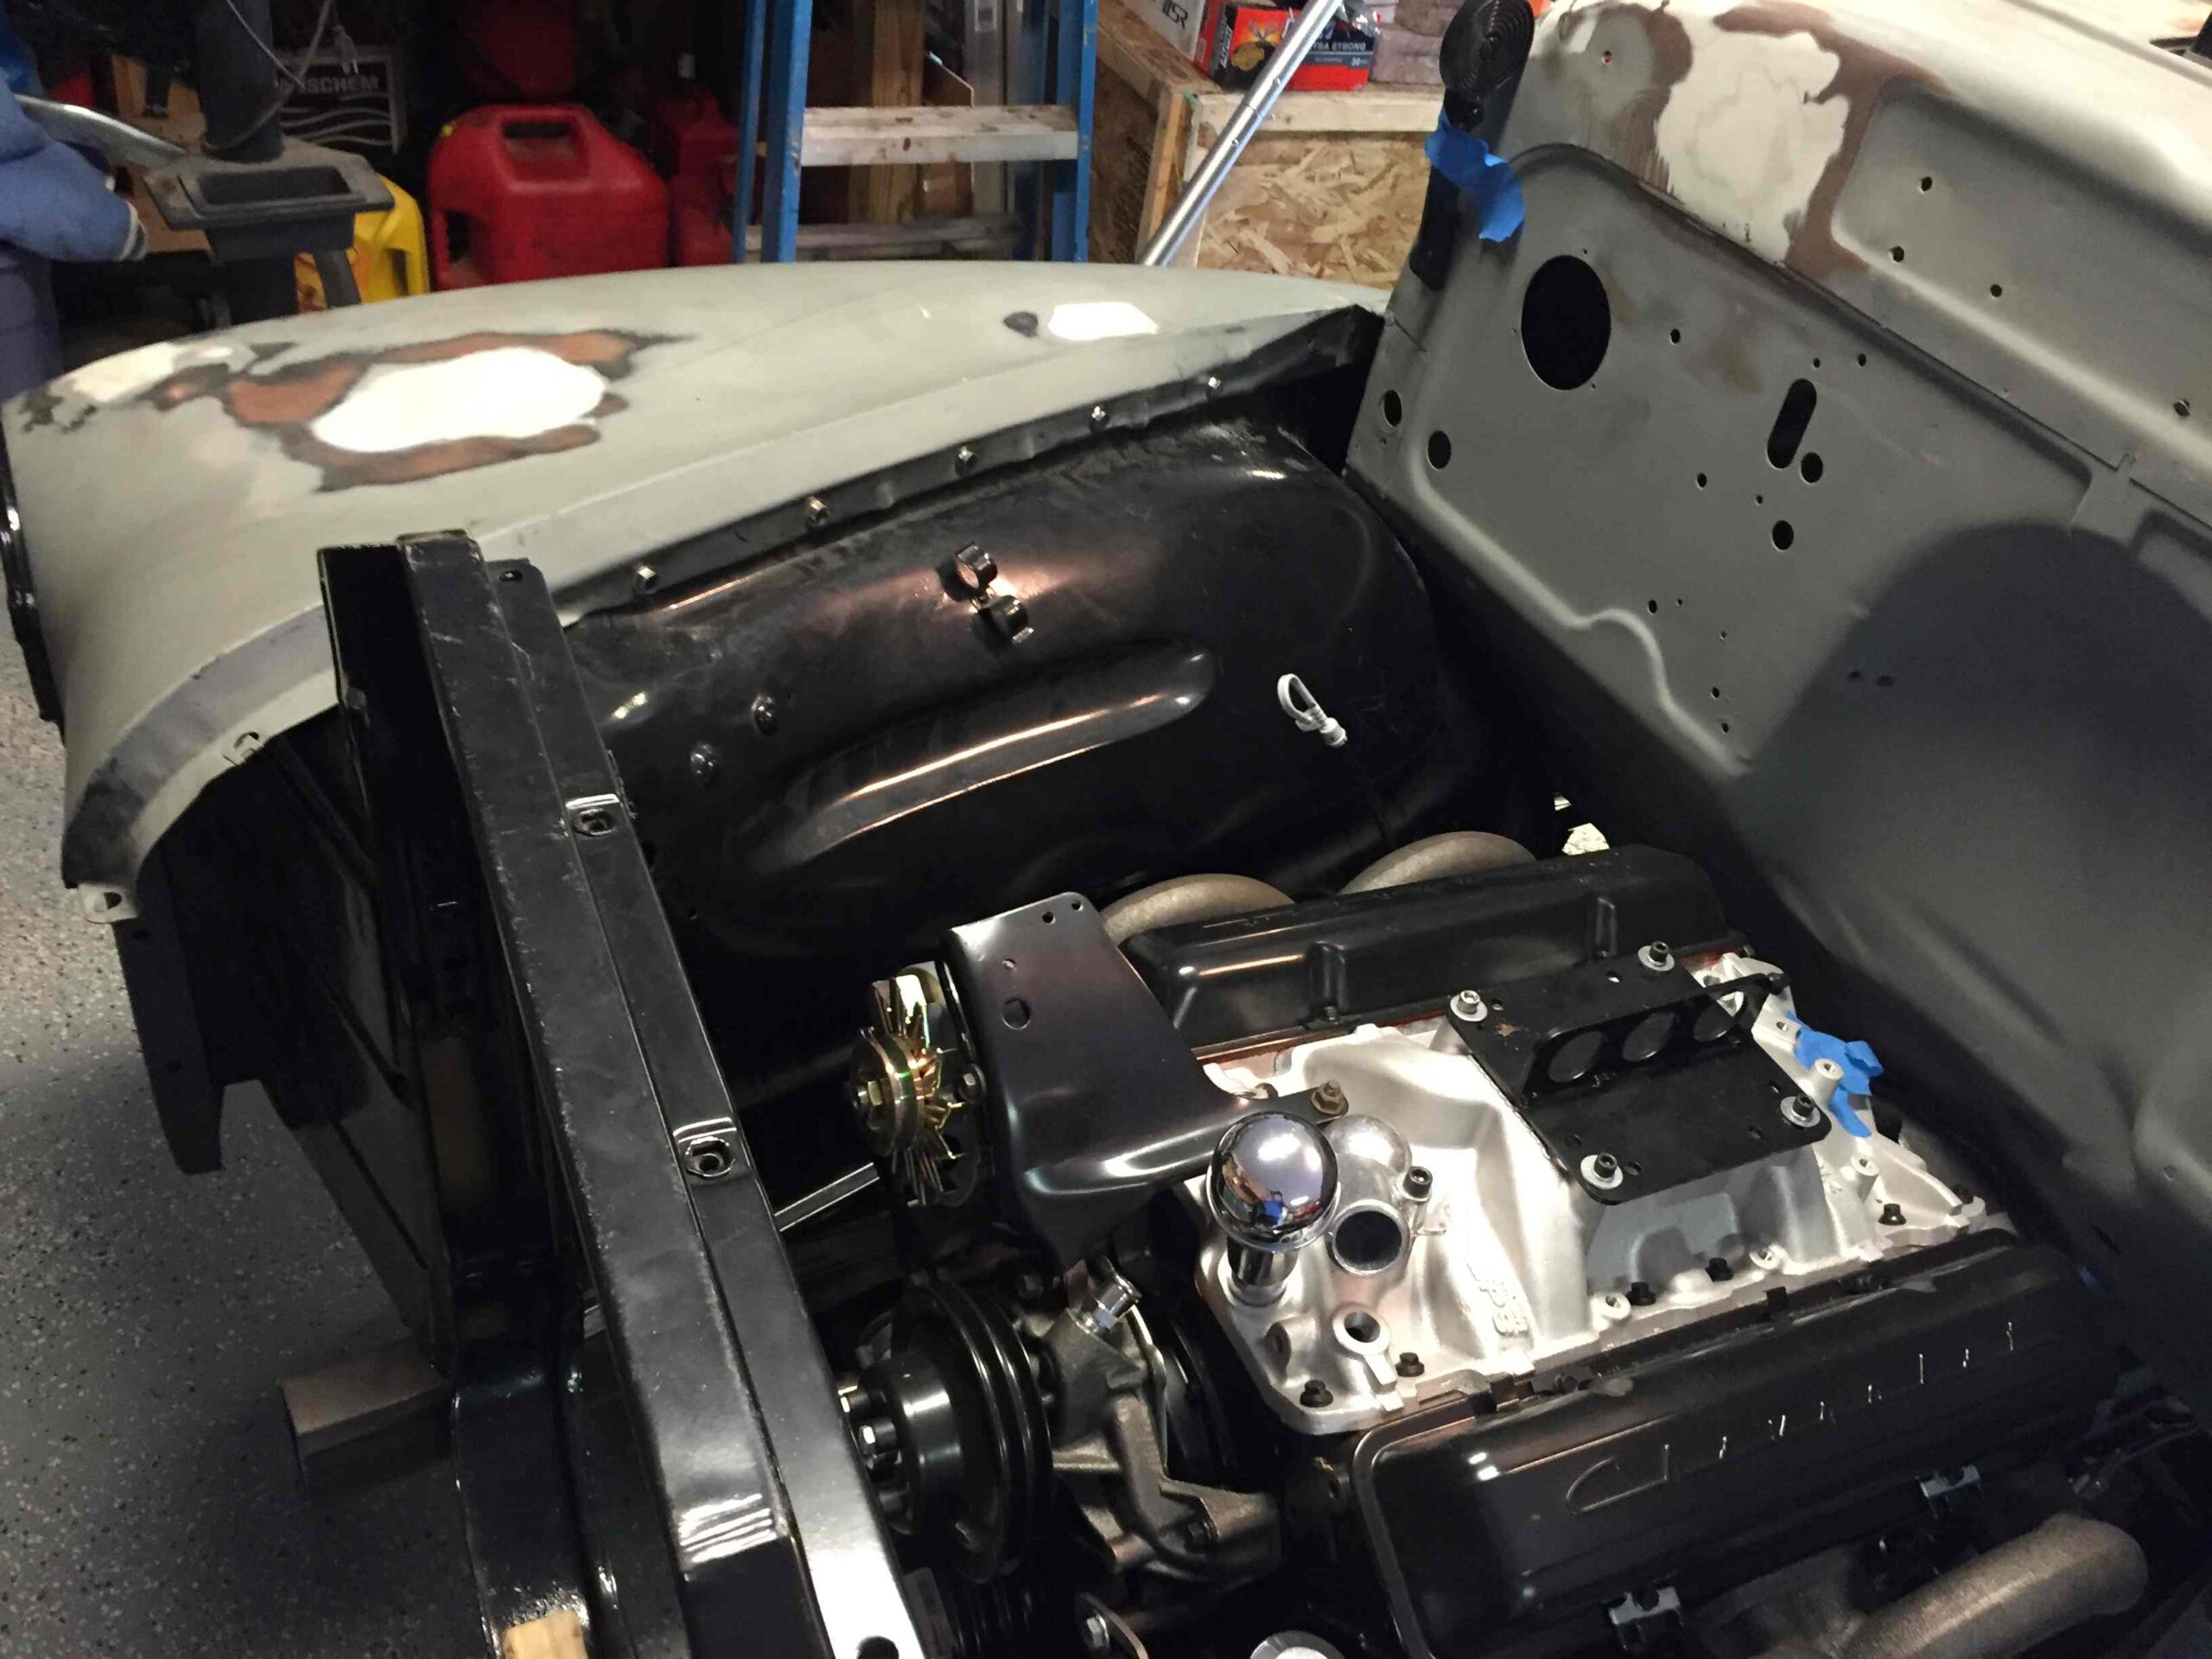
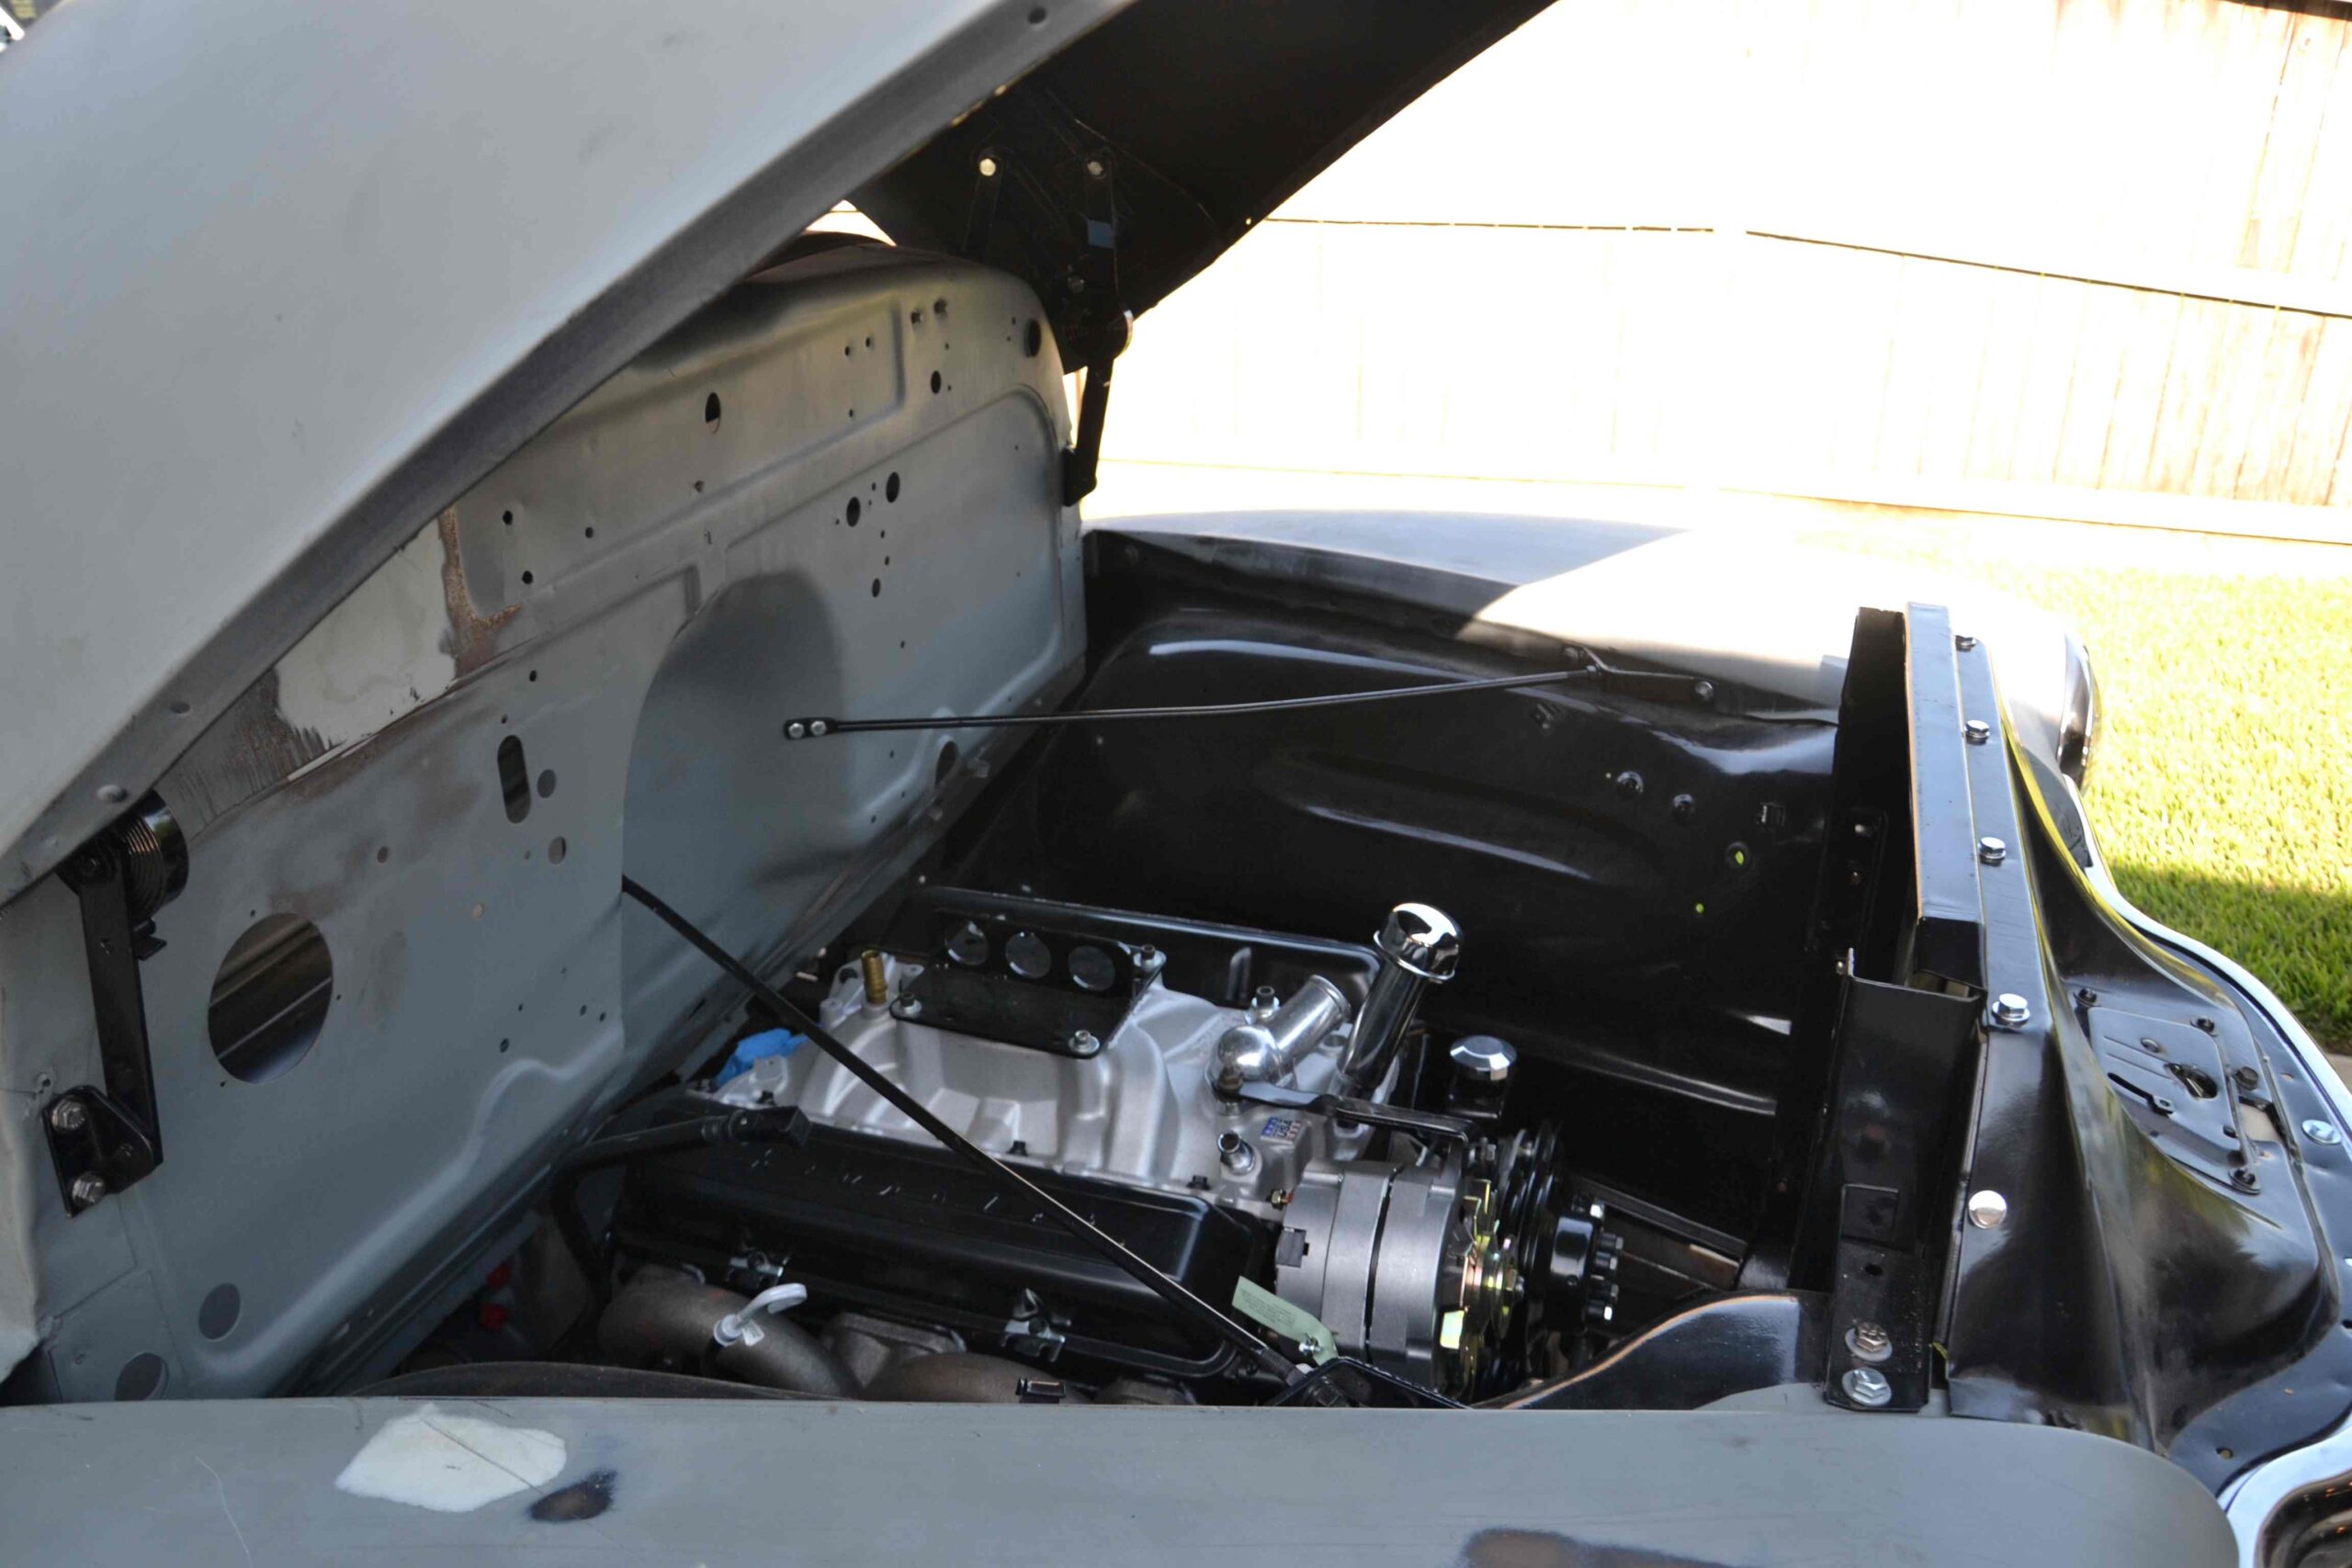
The replacement engine and transmission were delivered in 2014. I actually had 2 identical engines delivered. One was for the truck and the other was for Damian’s Corvette. The engine specifications are pretty tame at 290 horsepower. This will be more than adequate for a cruiser vehicle.
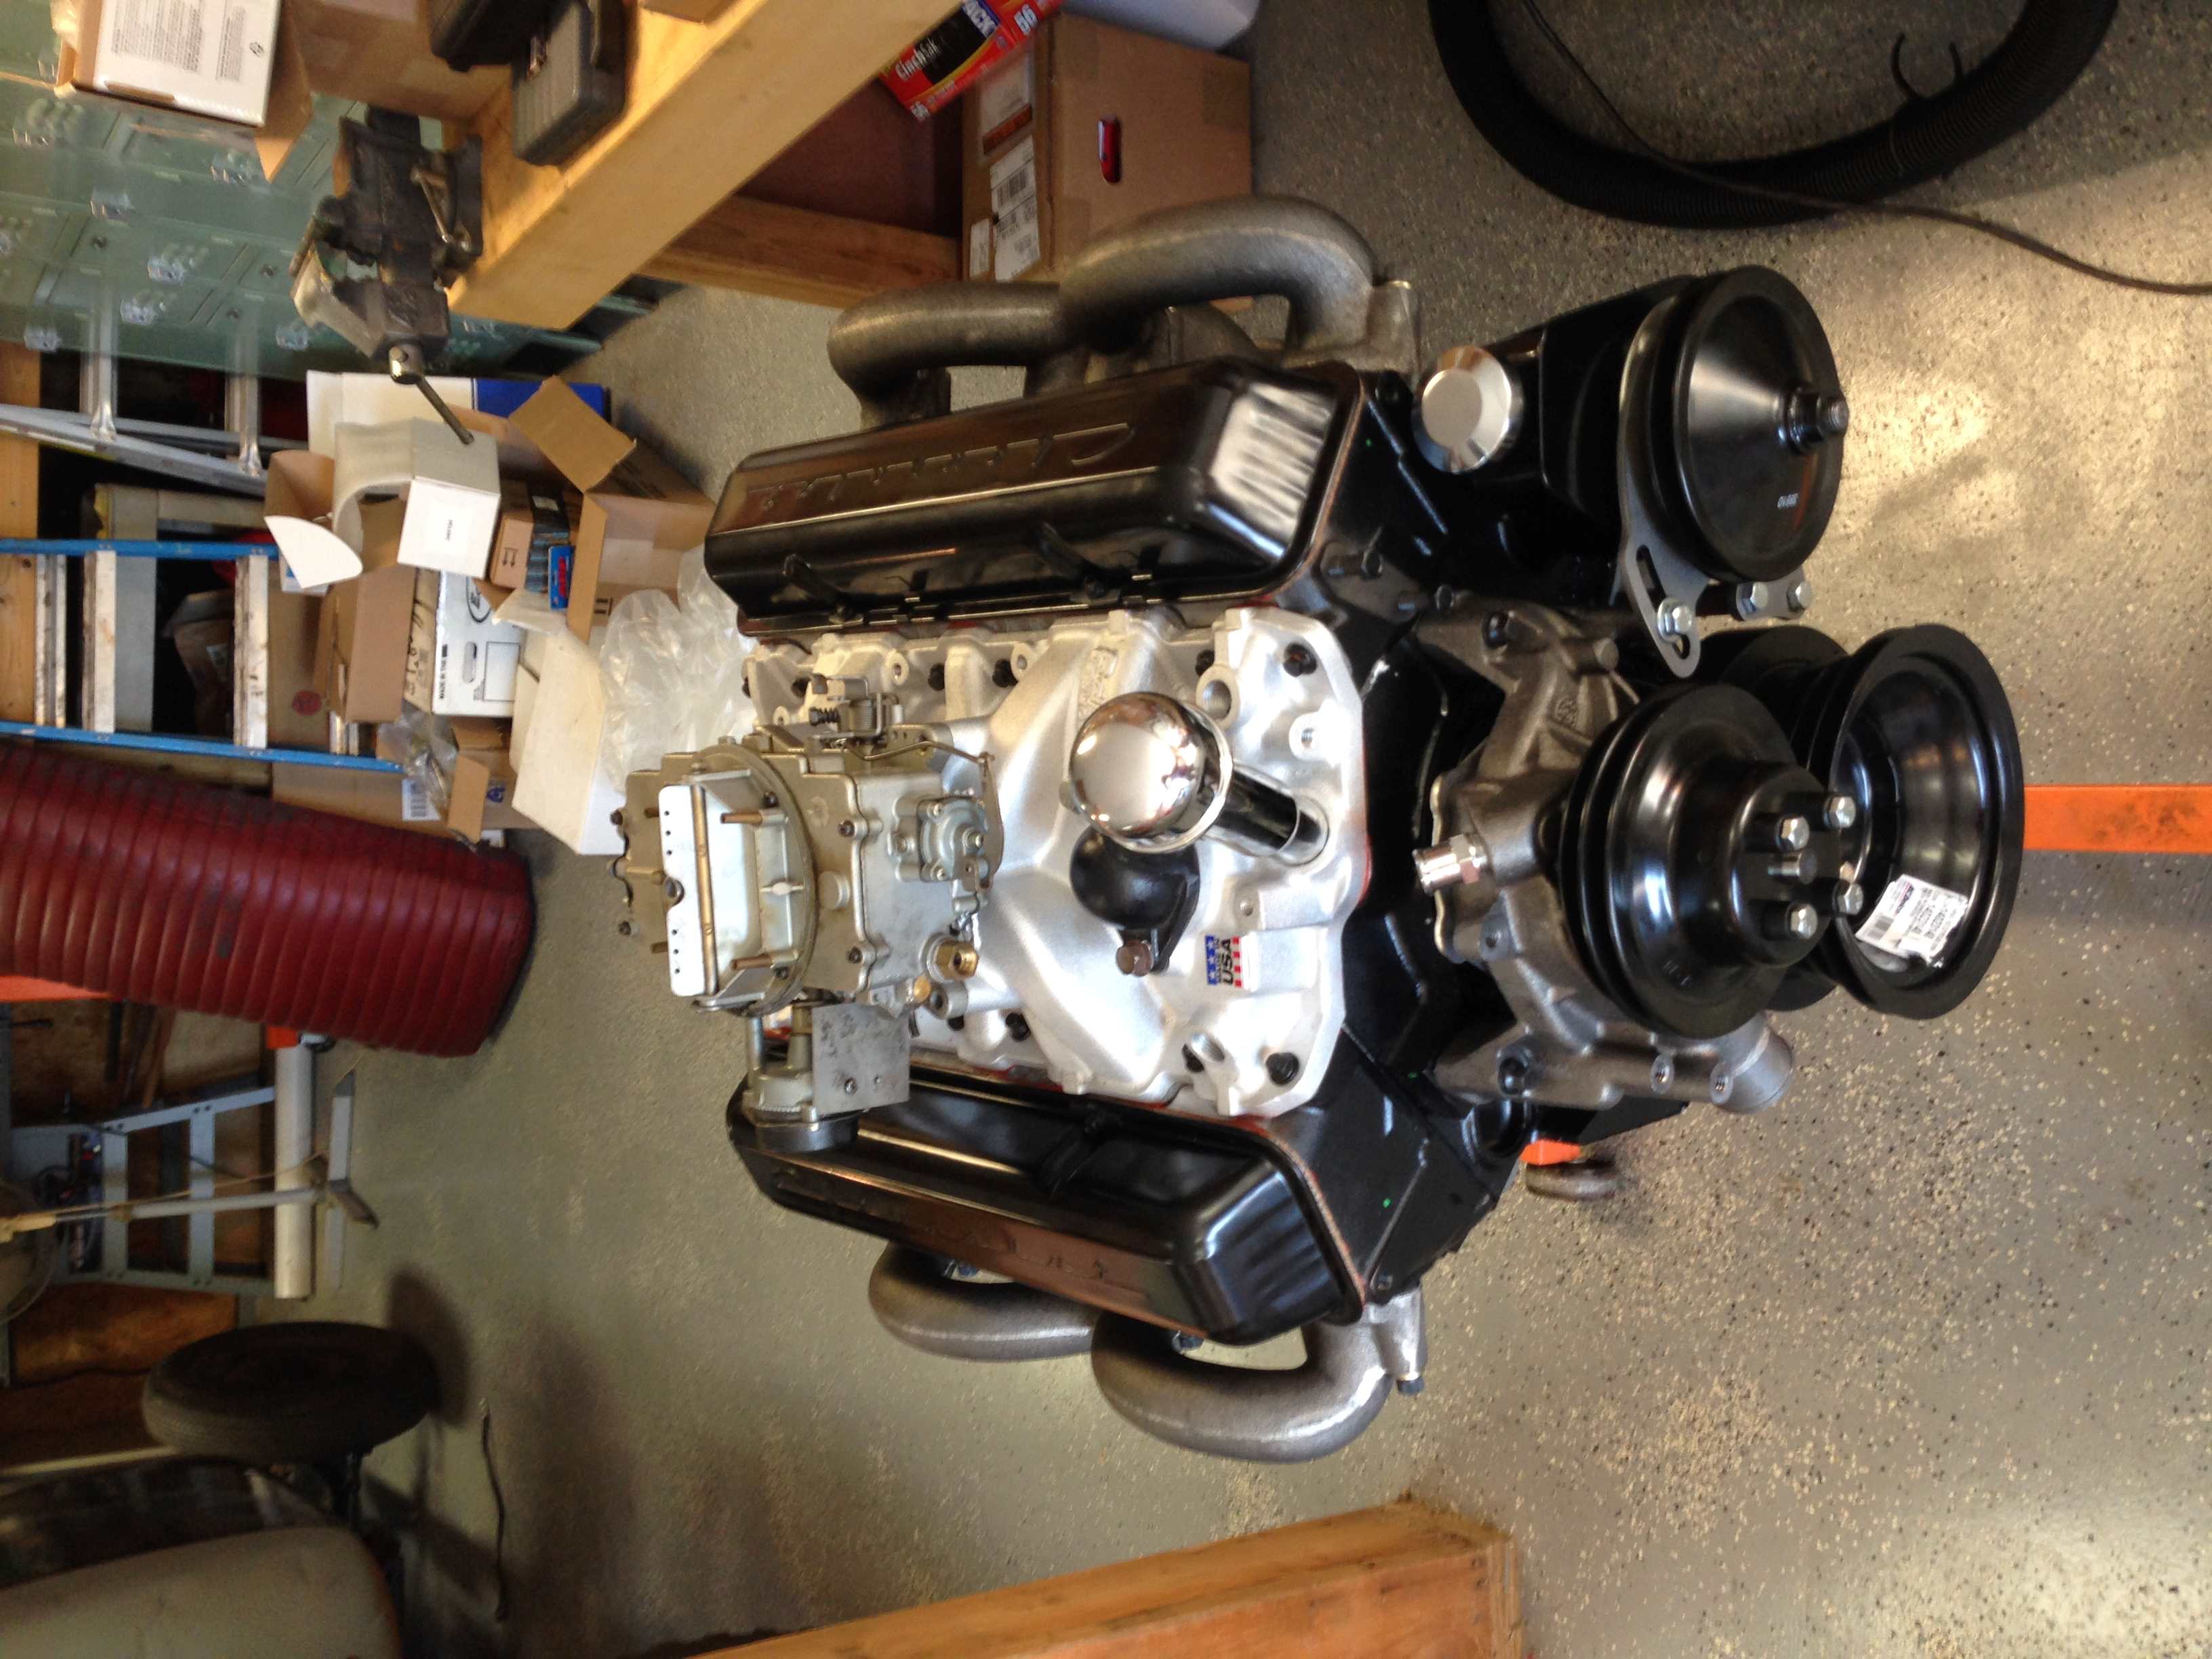
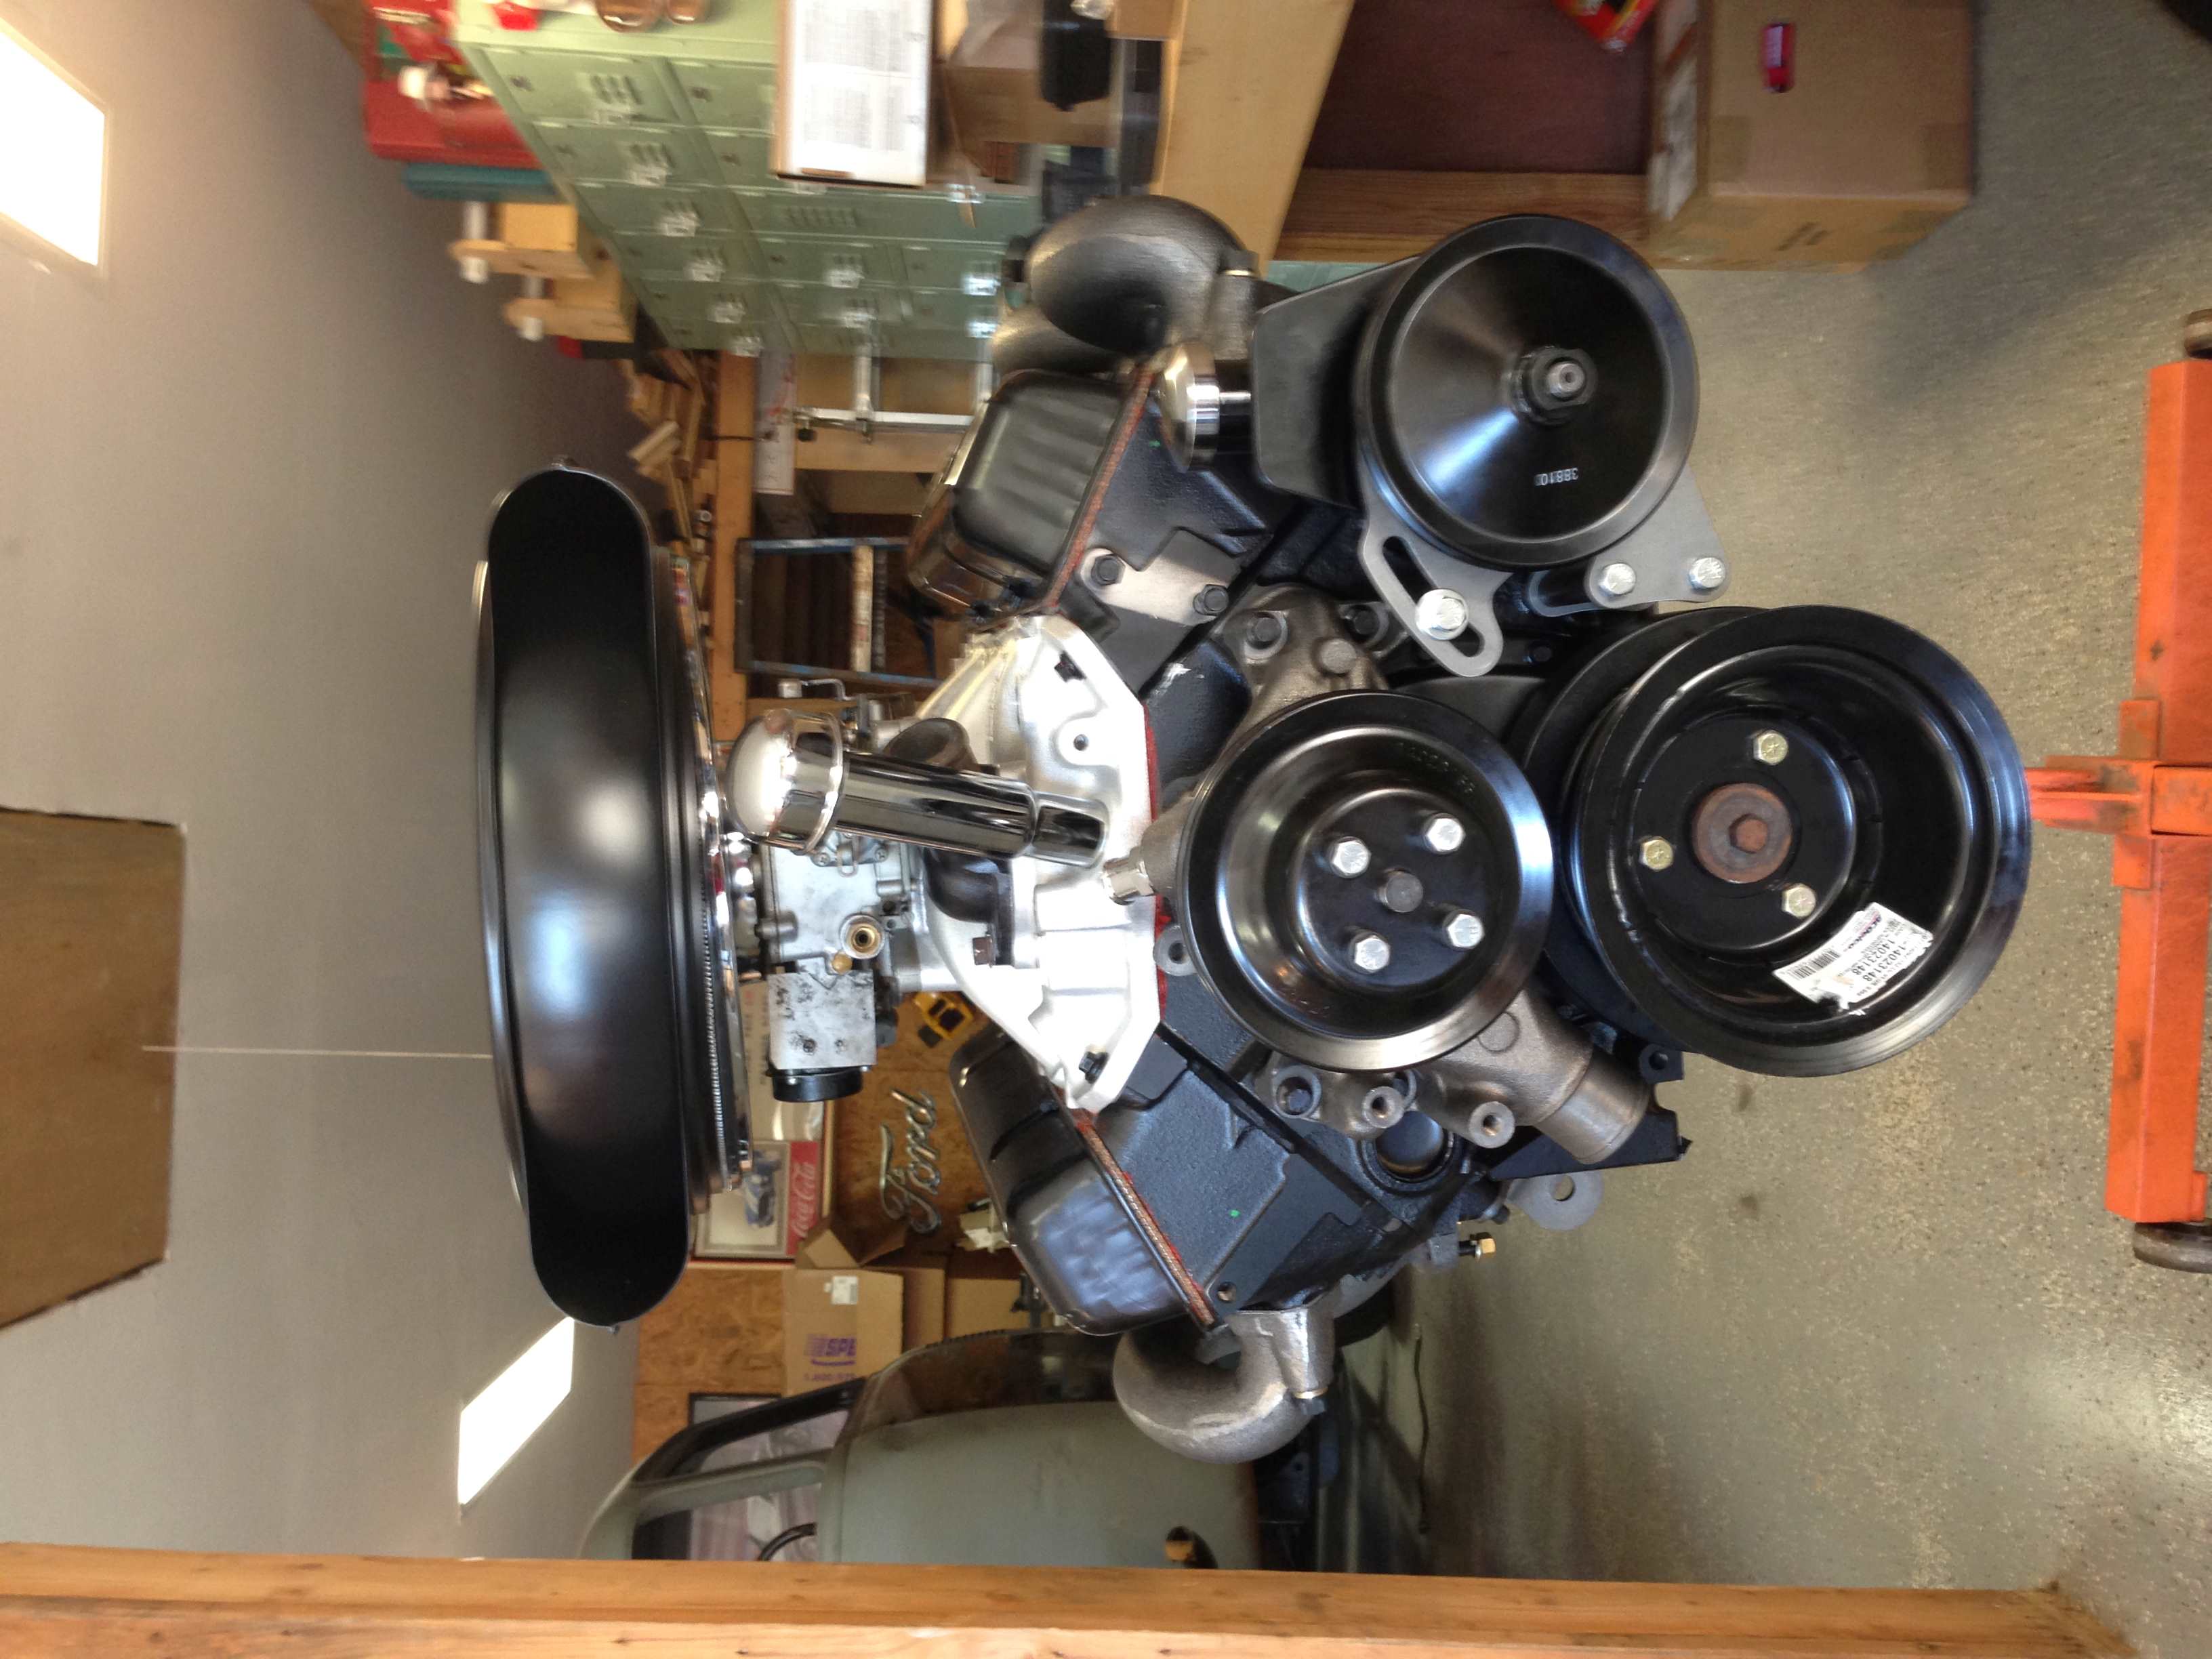
The engine was dressed up with new valve covers that were similar style, but had 50’s style to them. Also installed some ram horn style exhaust manifolds that ultimately had to be swapped out because they interfered too much with the steering.
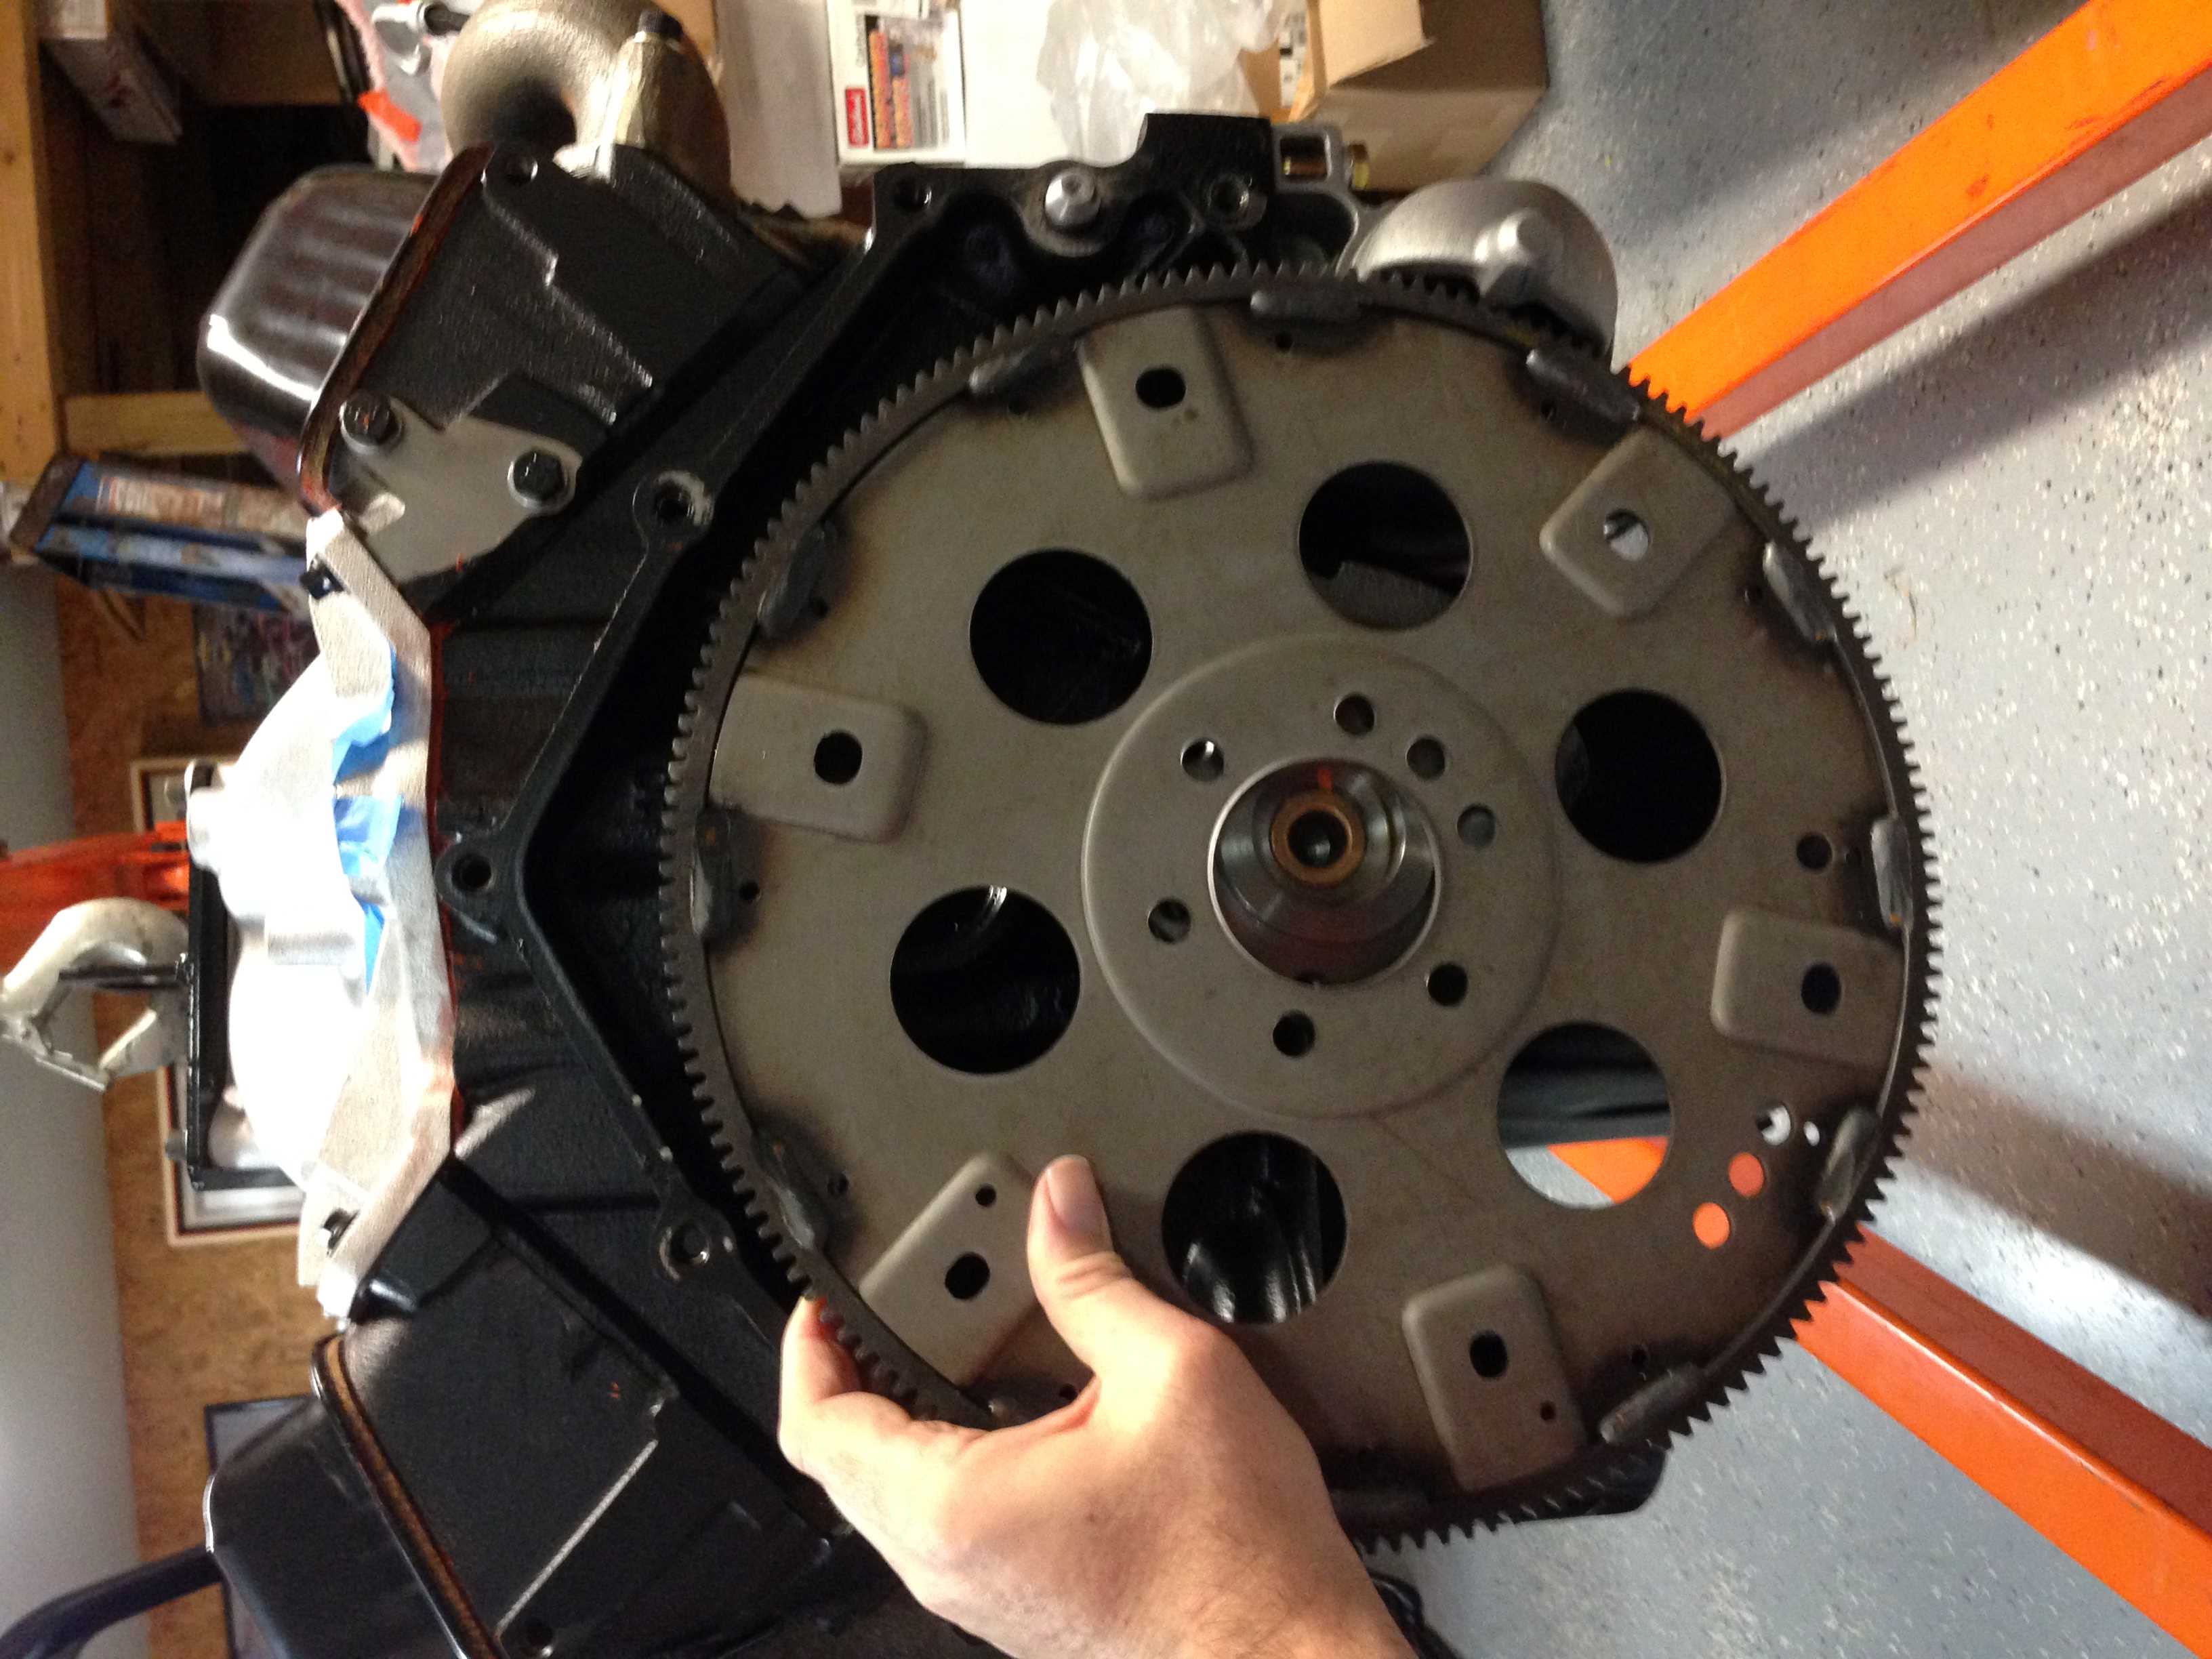
The transmission is a 700-R4 which has 4 forward gears and is an older style automatic that doesn’t require adding a computer to control the system. It does have some wiring to control the lockup torque converter. It was delivered with a flex plate that was too large form my application, but I located the correct flex plate and was able to bolt everything back together and it is ready to install in the new frame. More to come on the new frame later.
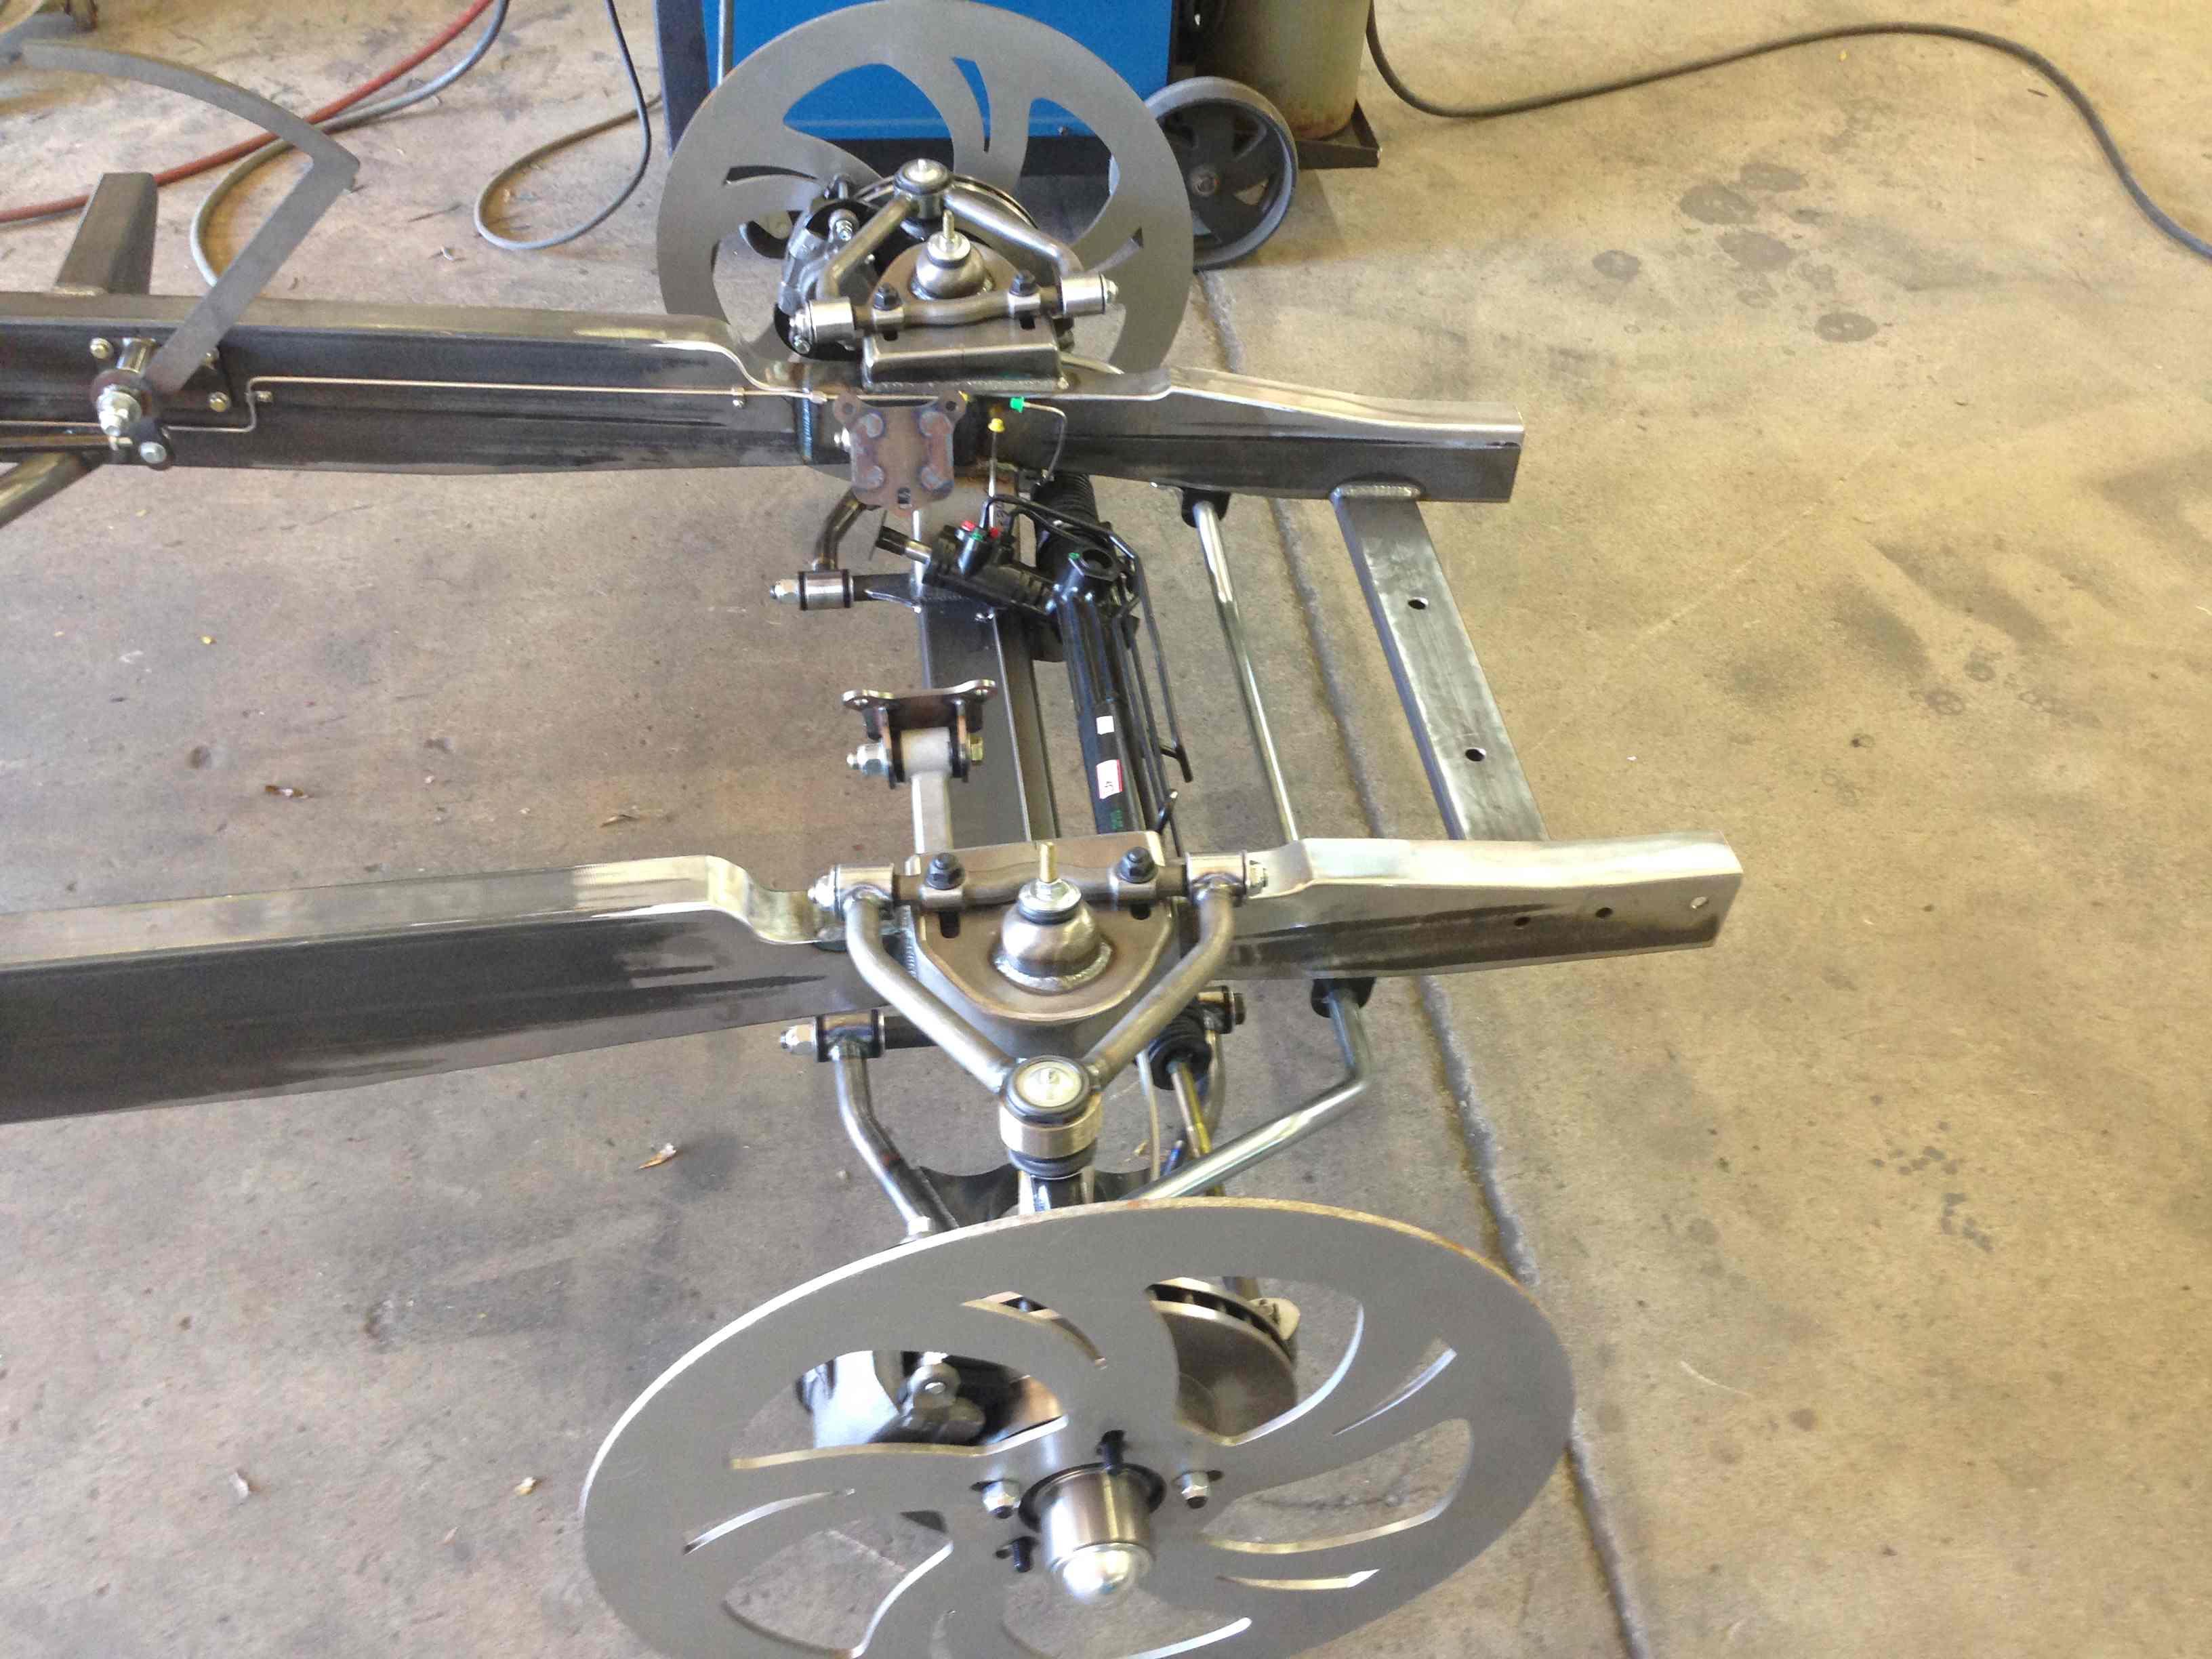
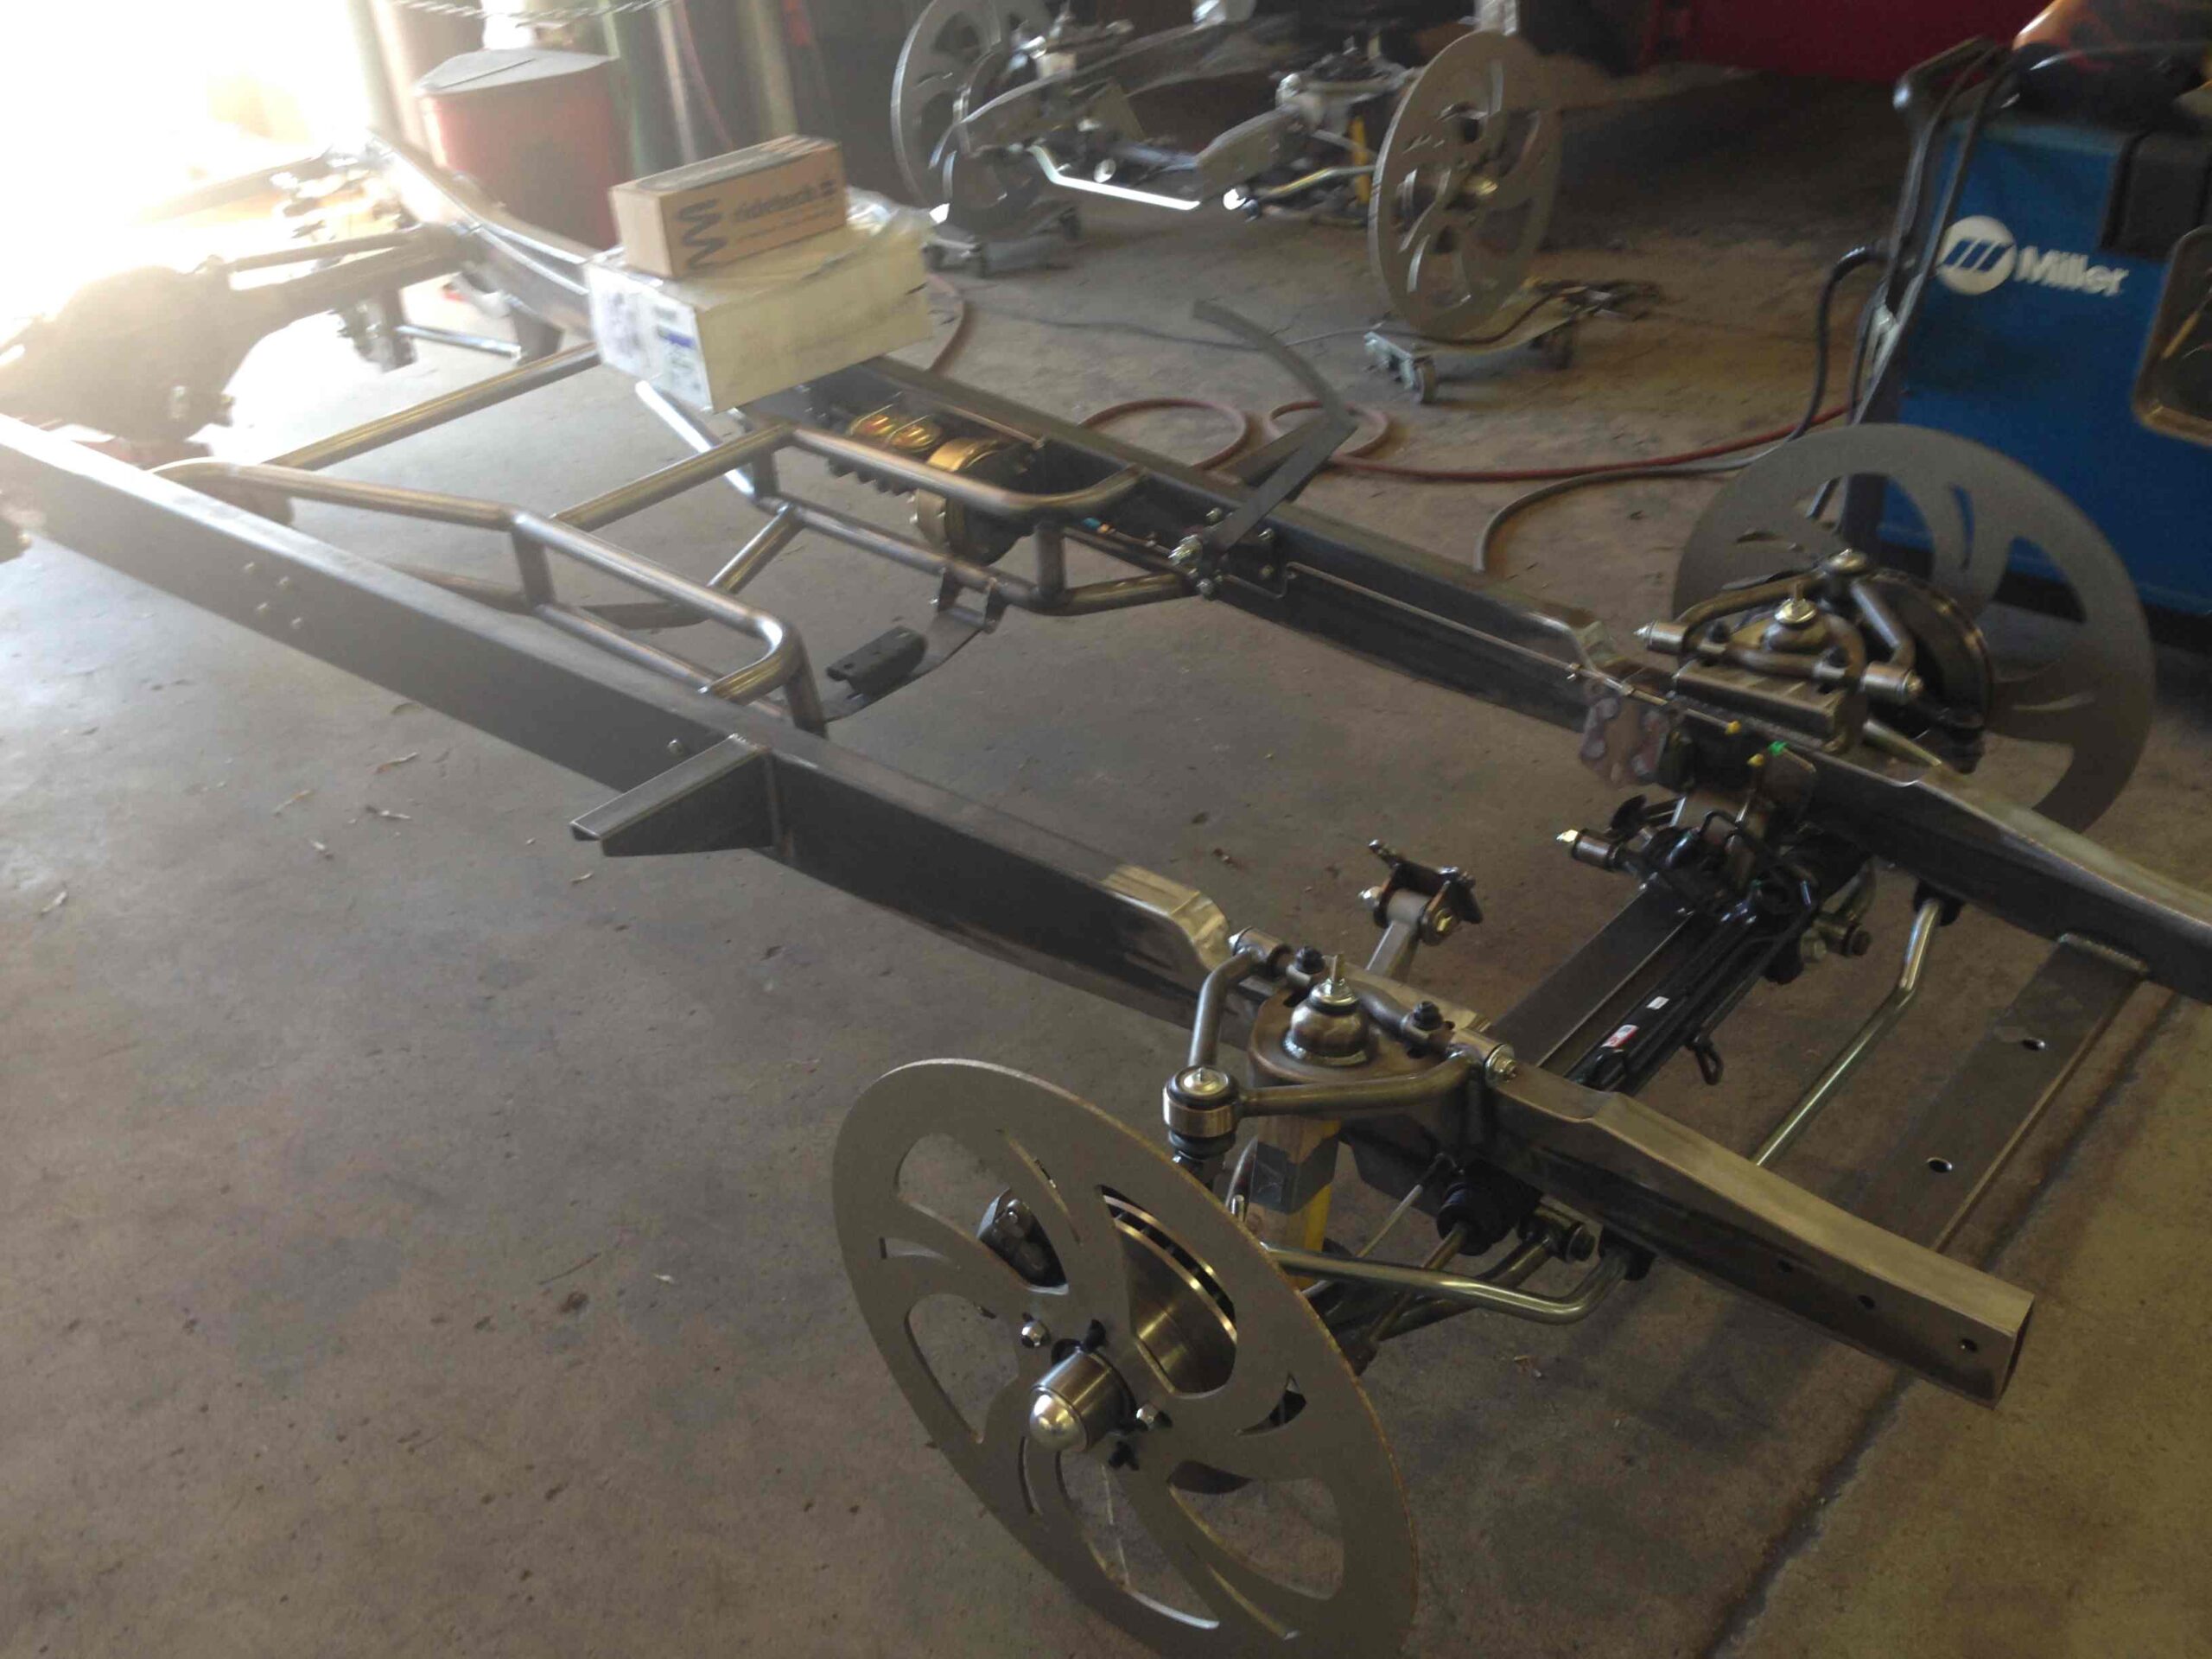
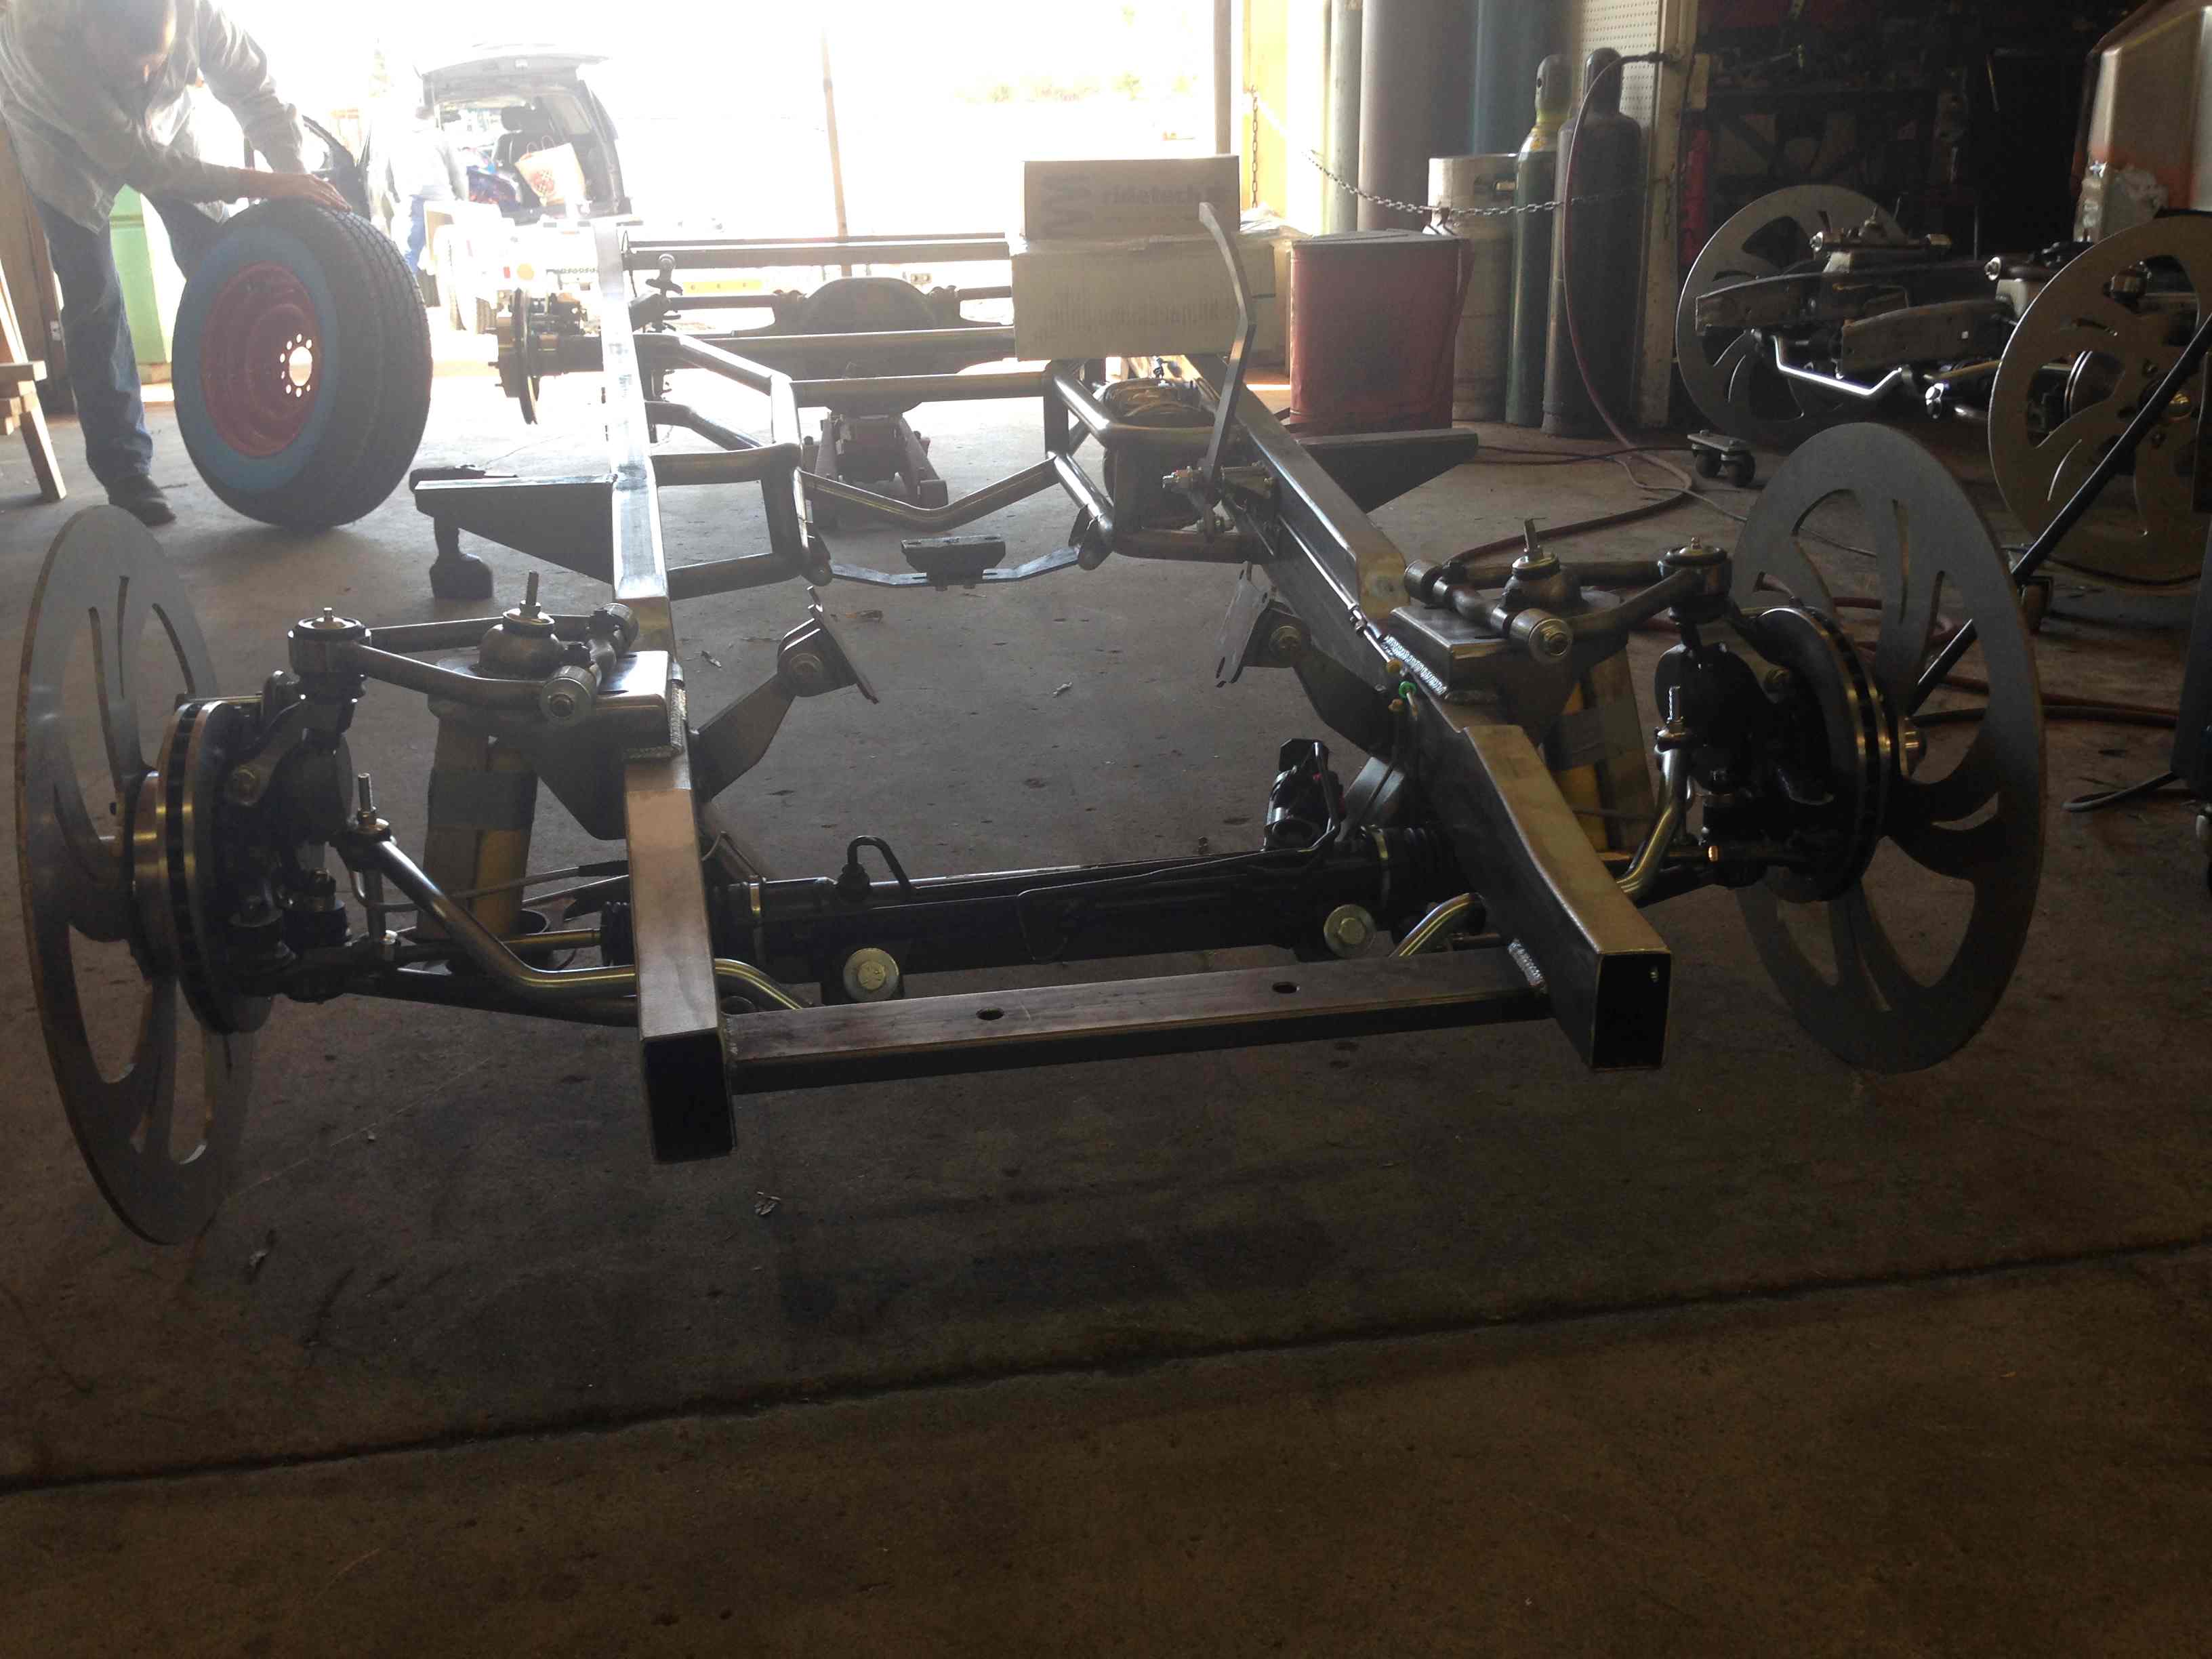
2014 Frame Road Trip
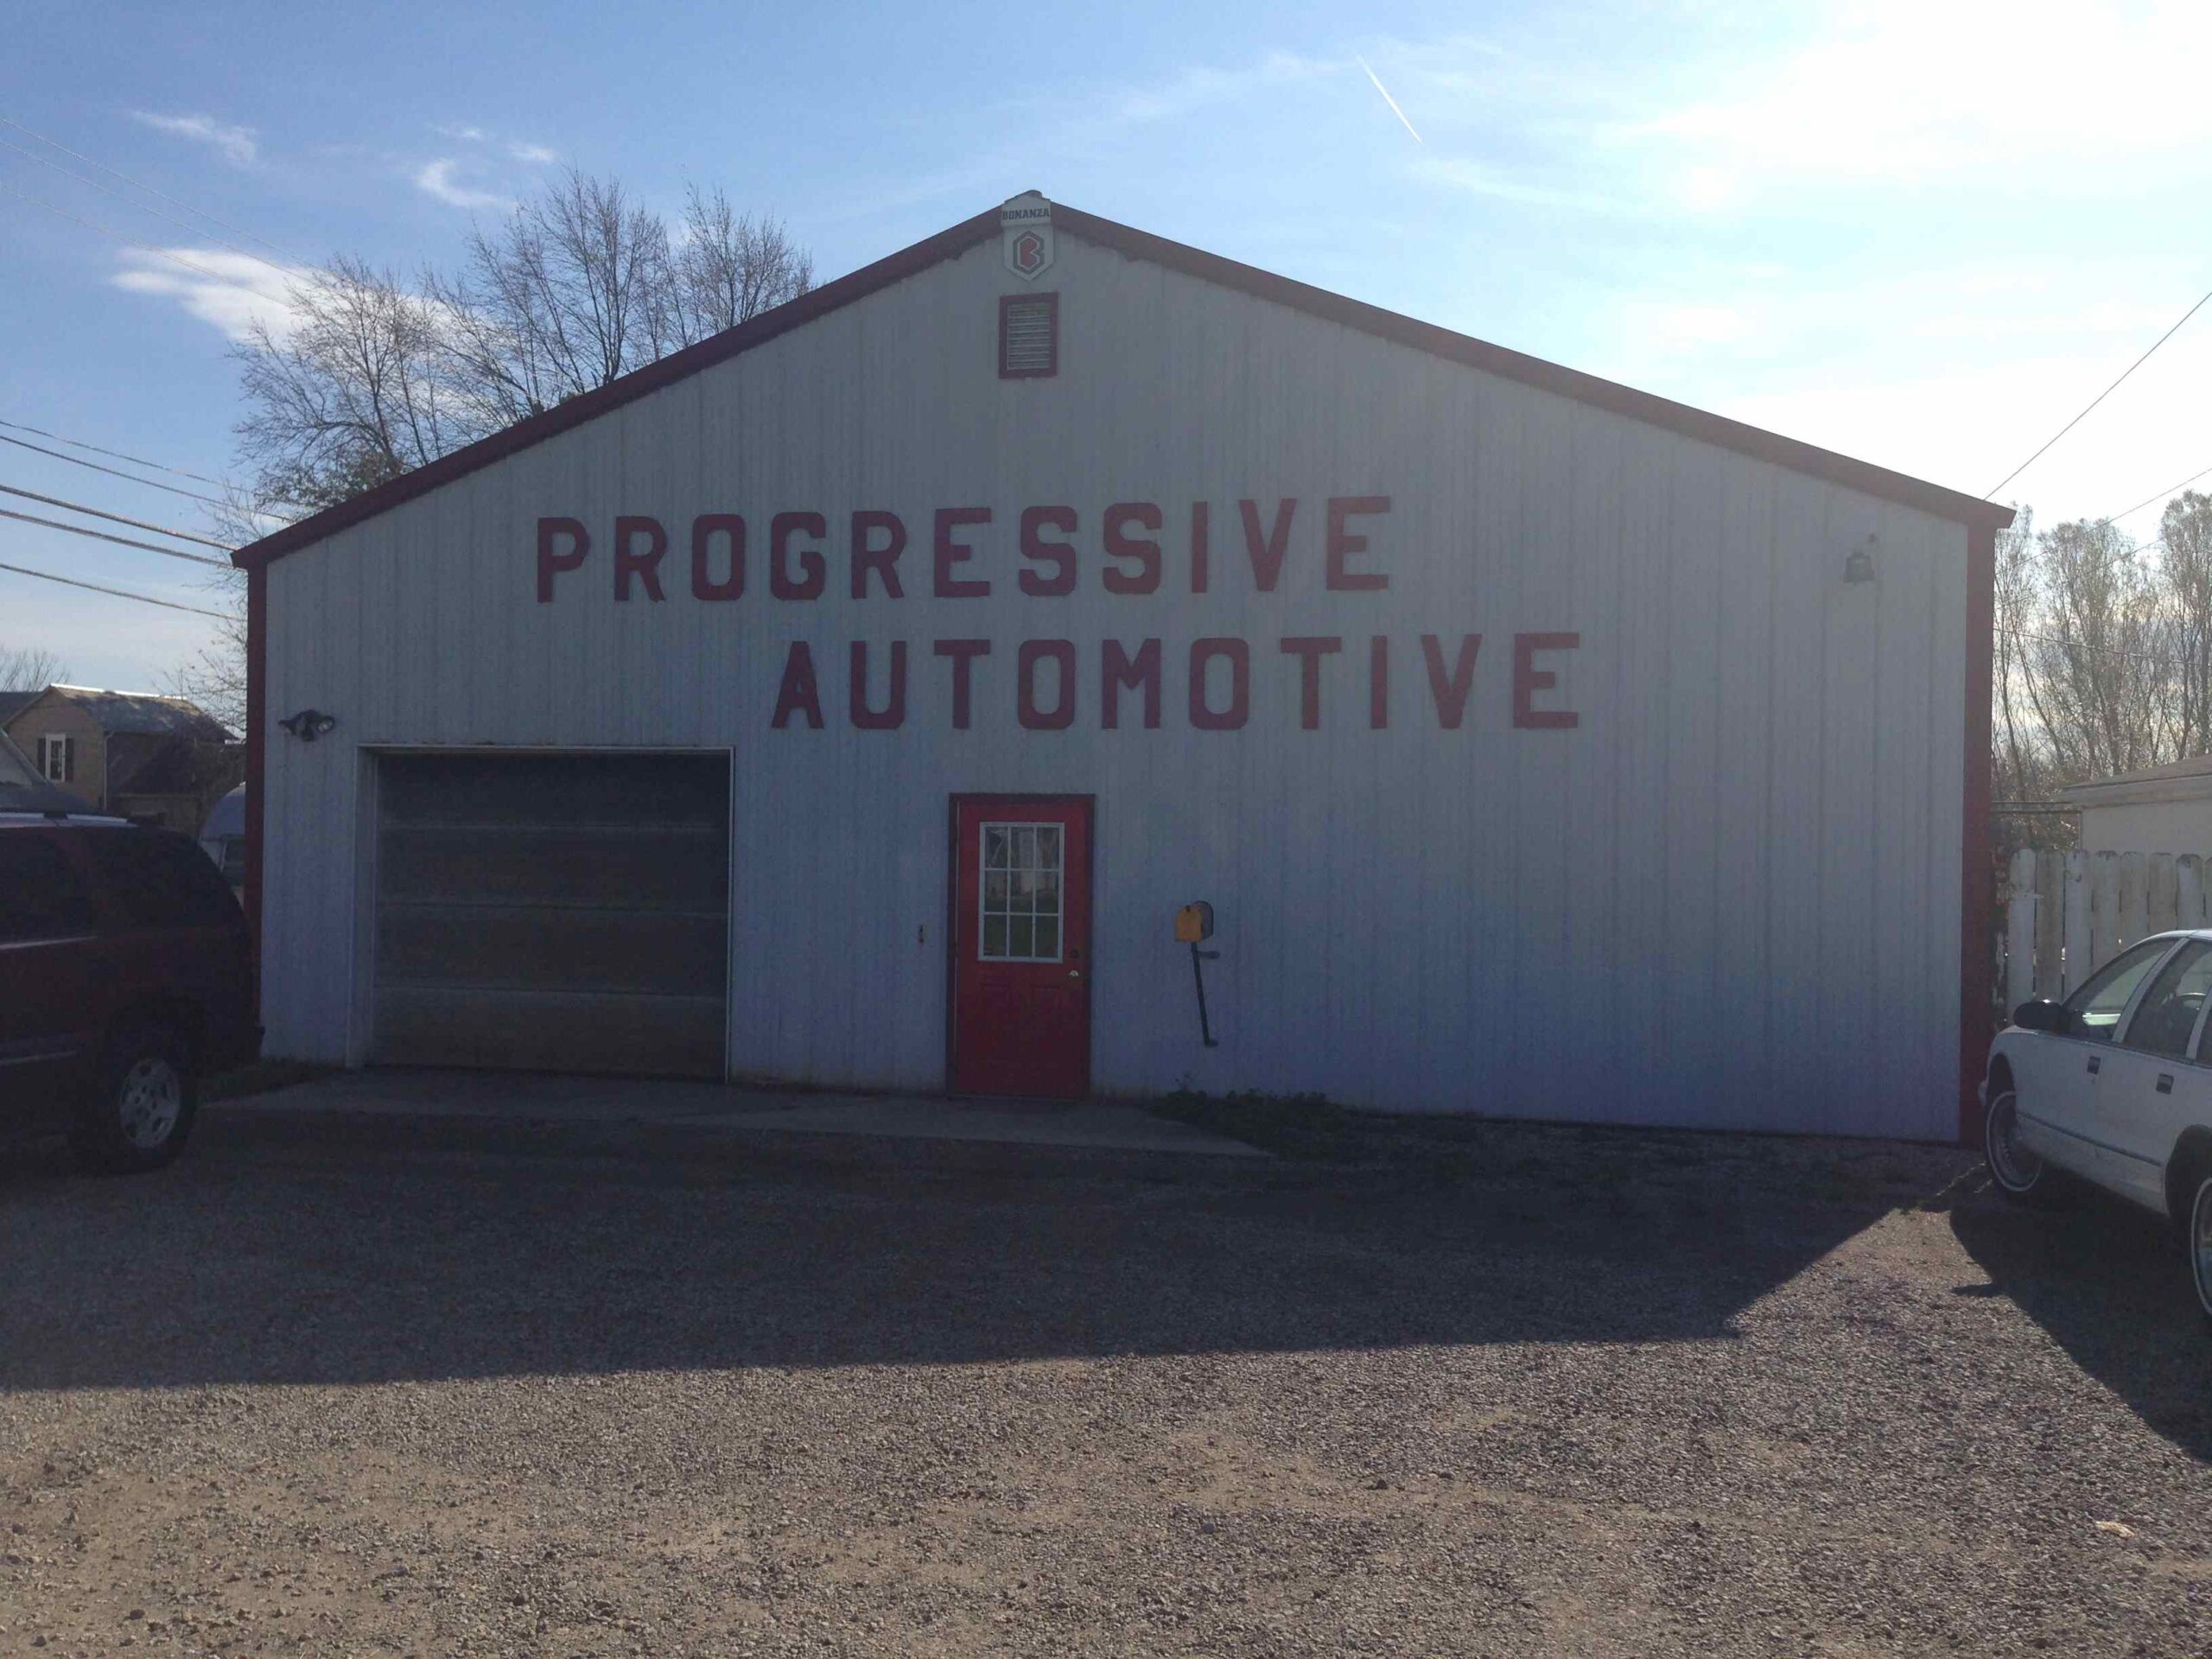
Rather than using the original frame, I decided to purchase a new frame from Progressive Automotive in Baltimore, Ohio.

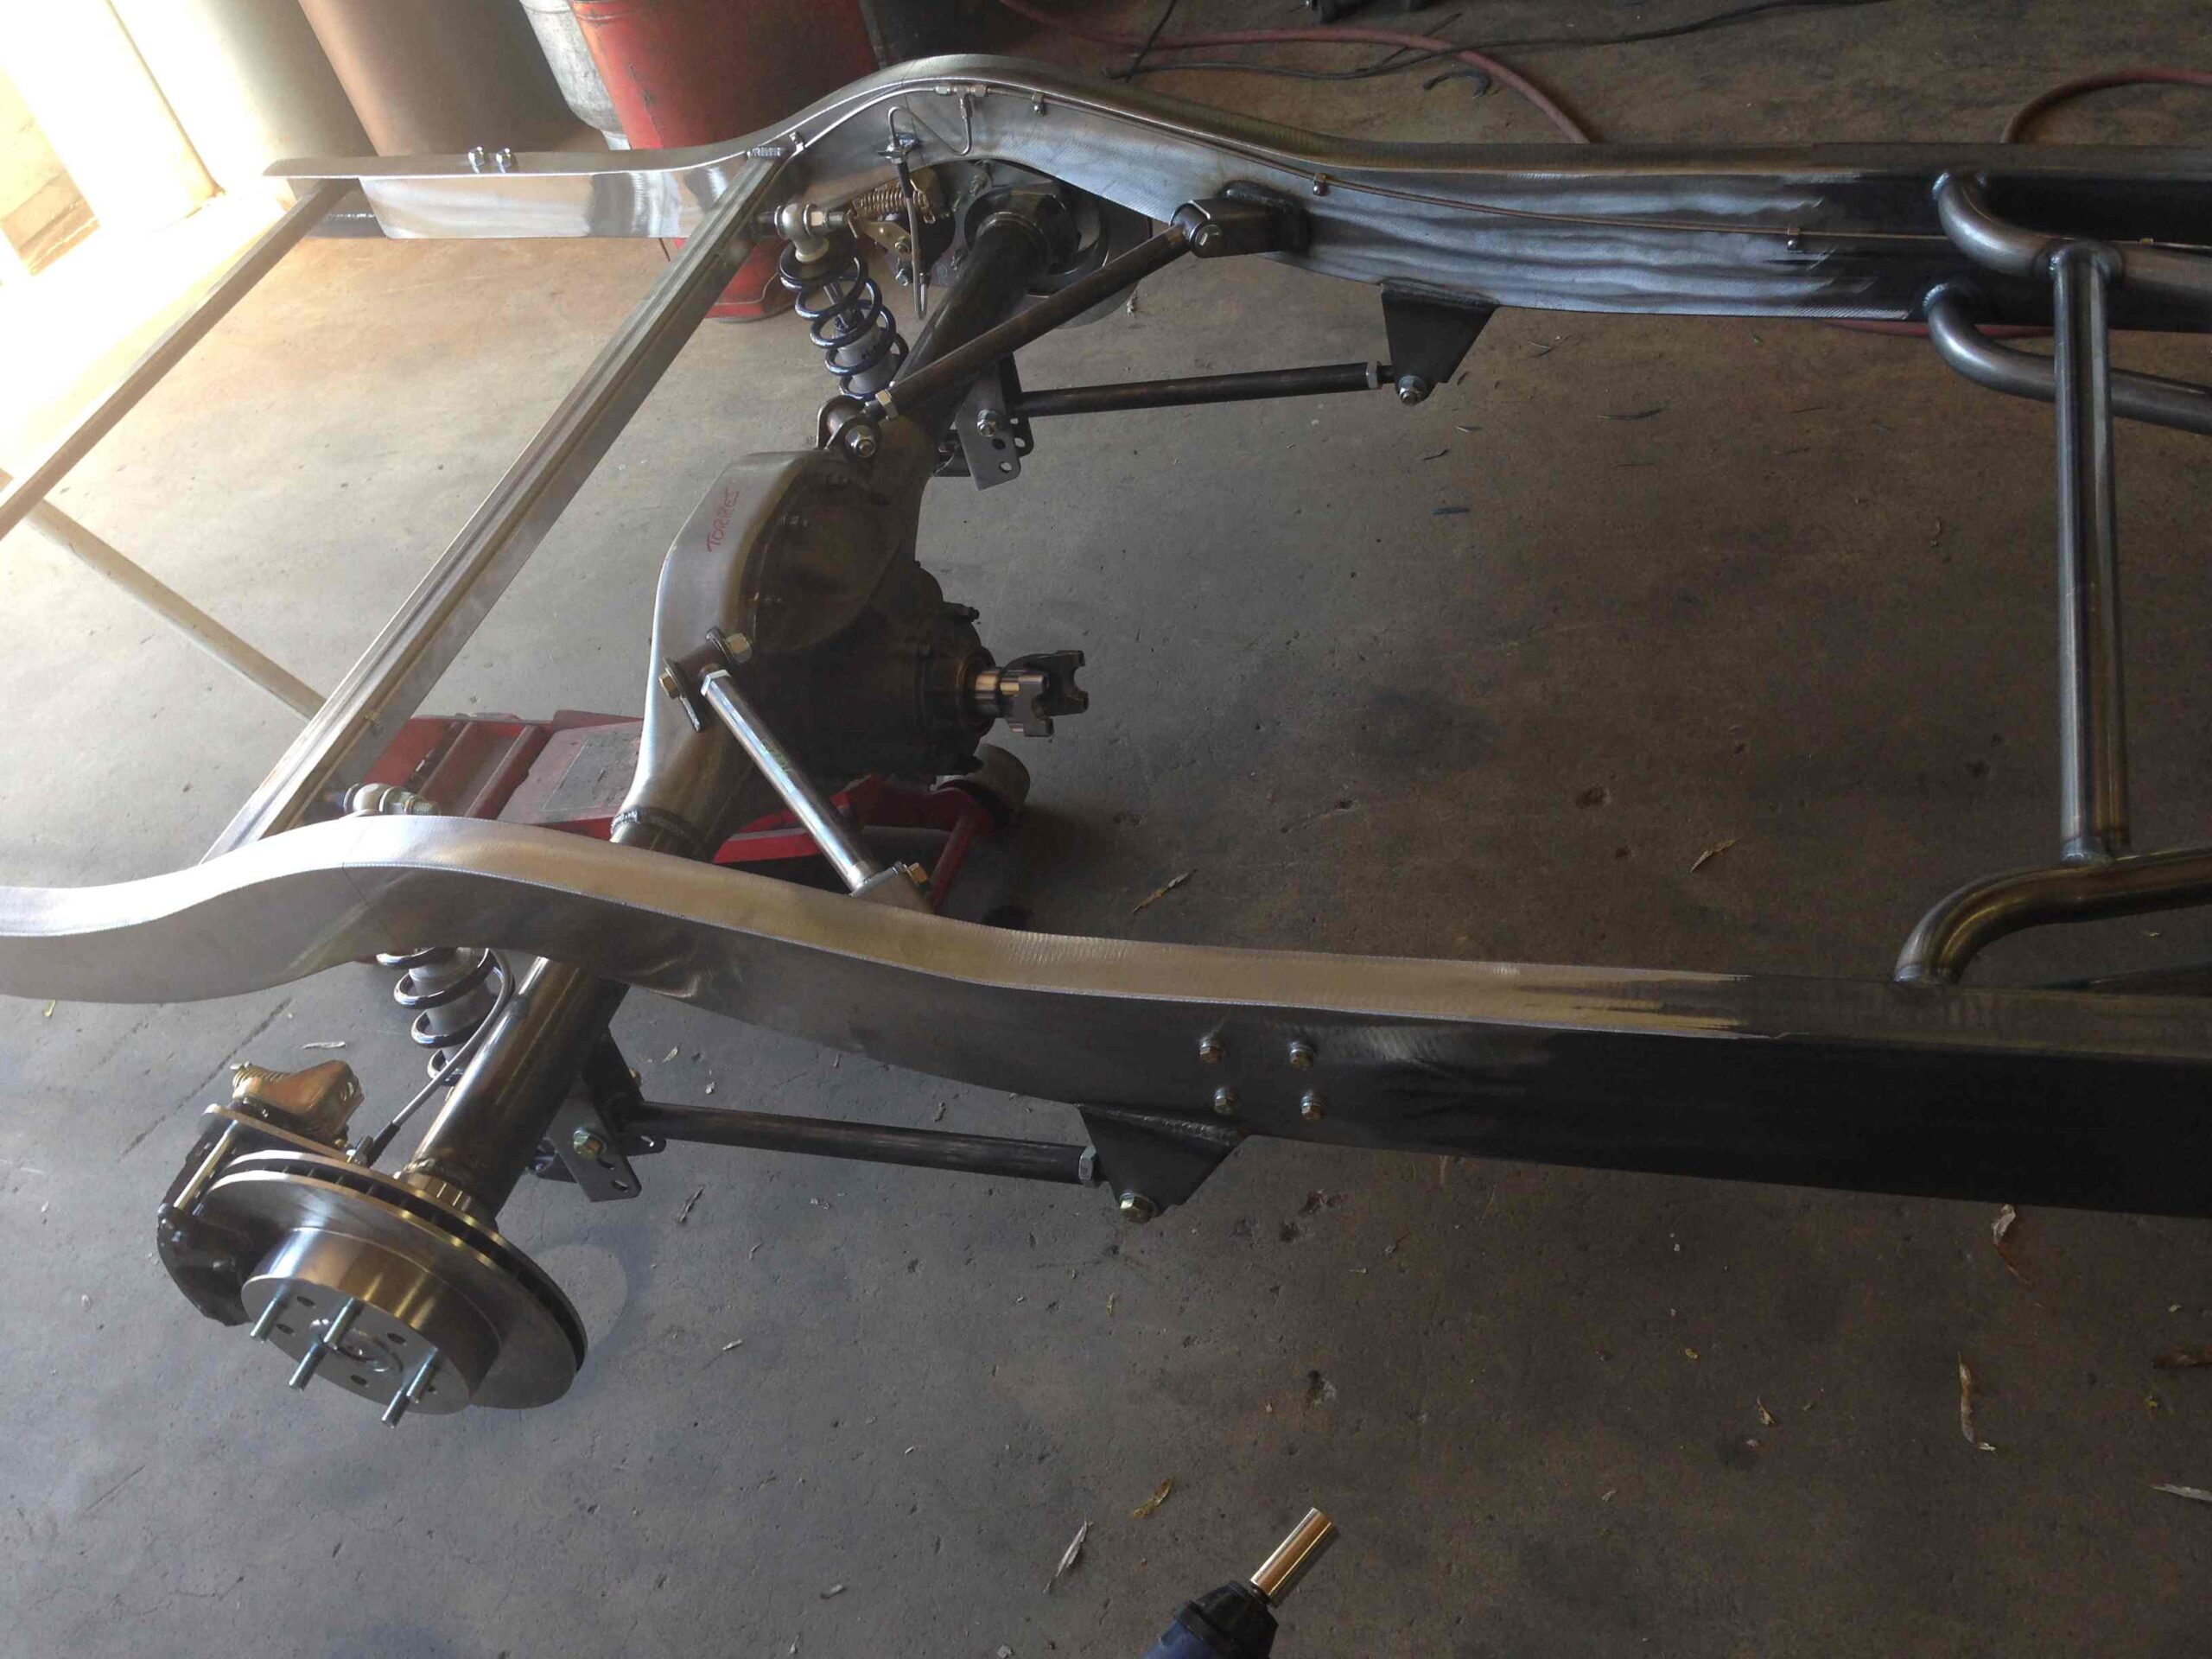
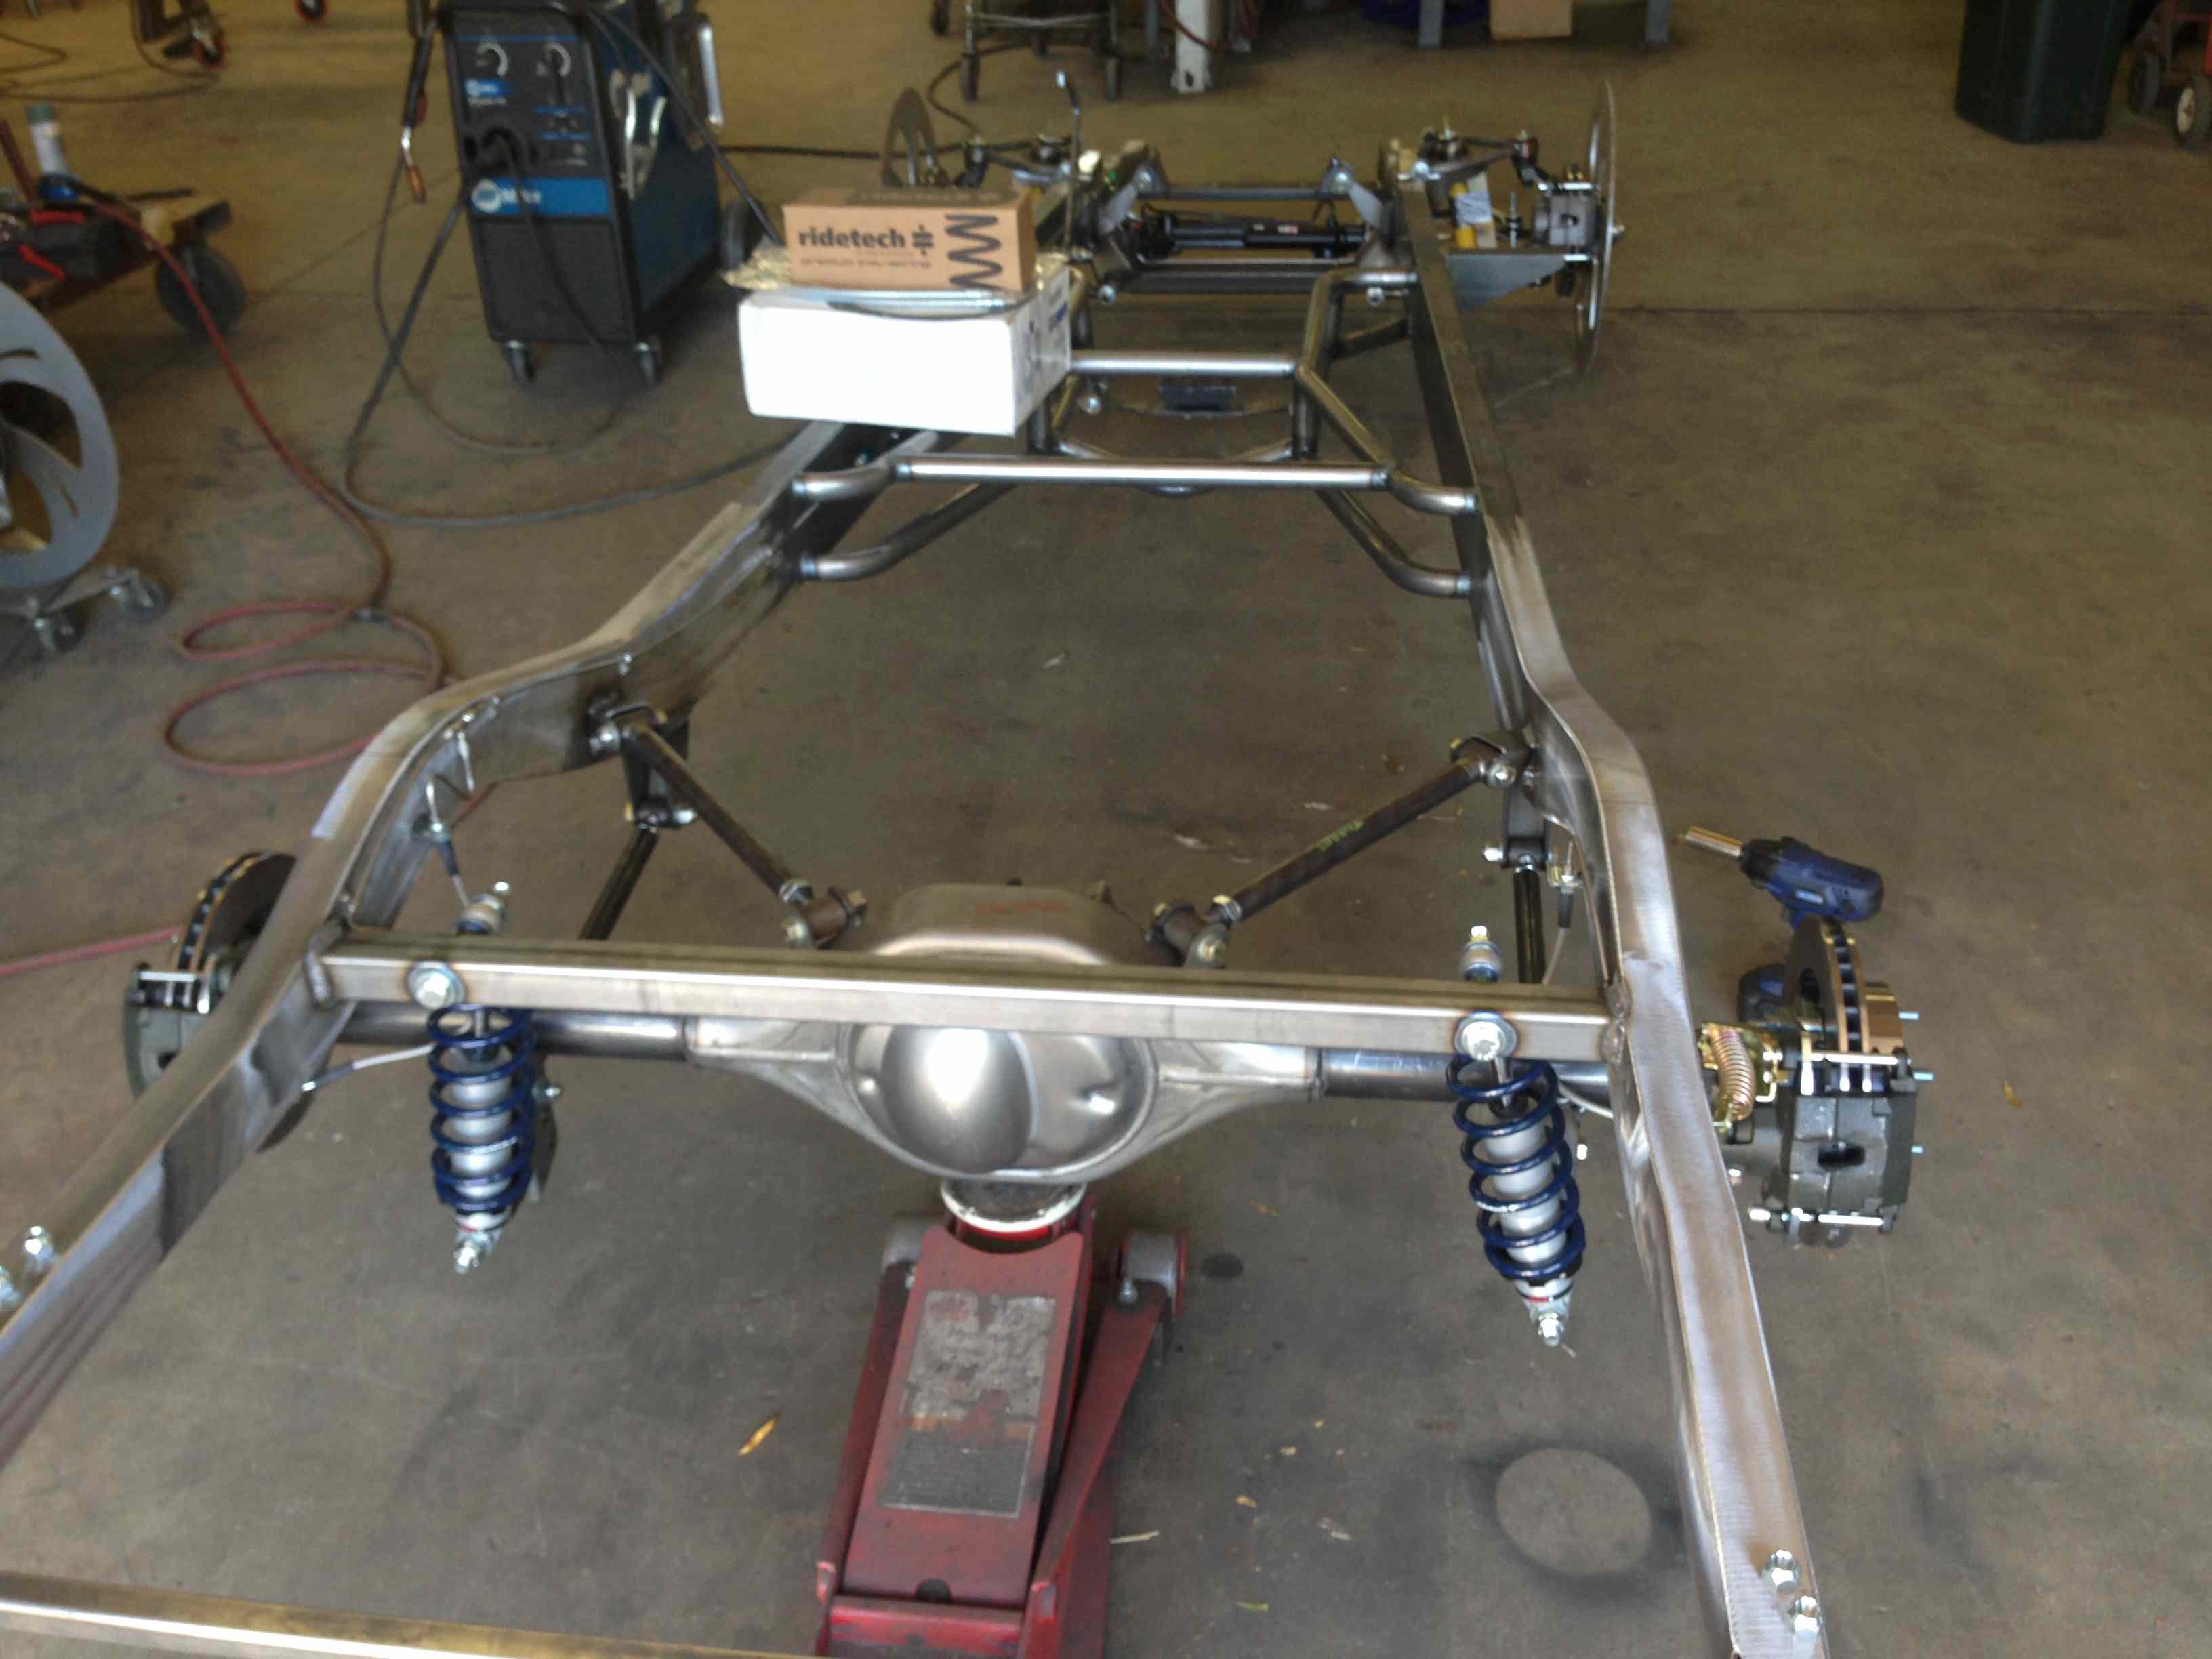


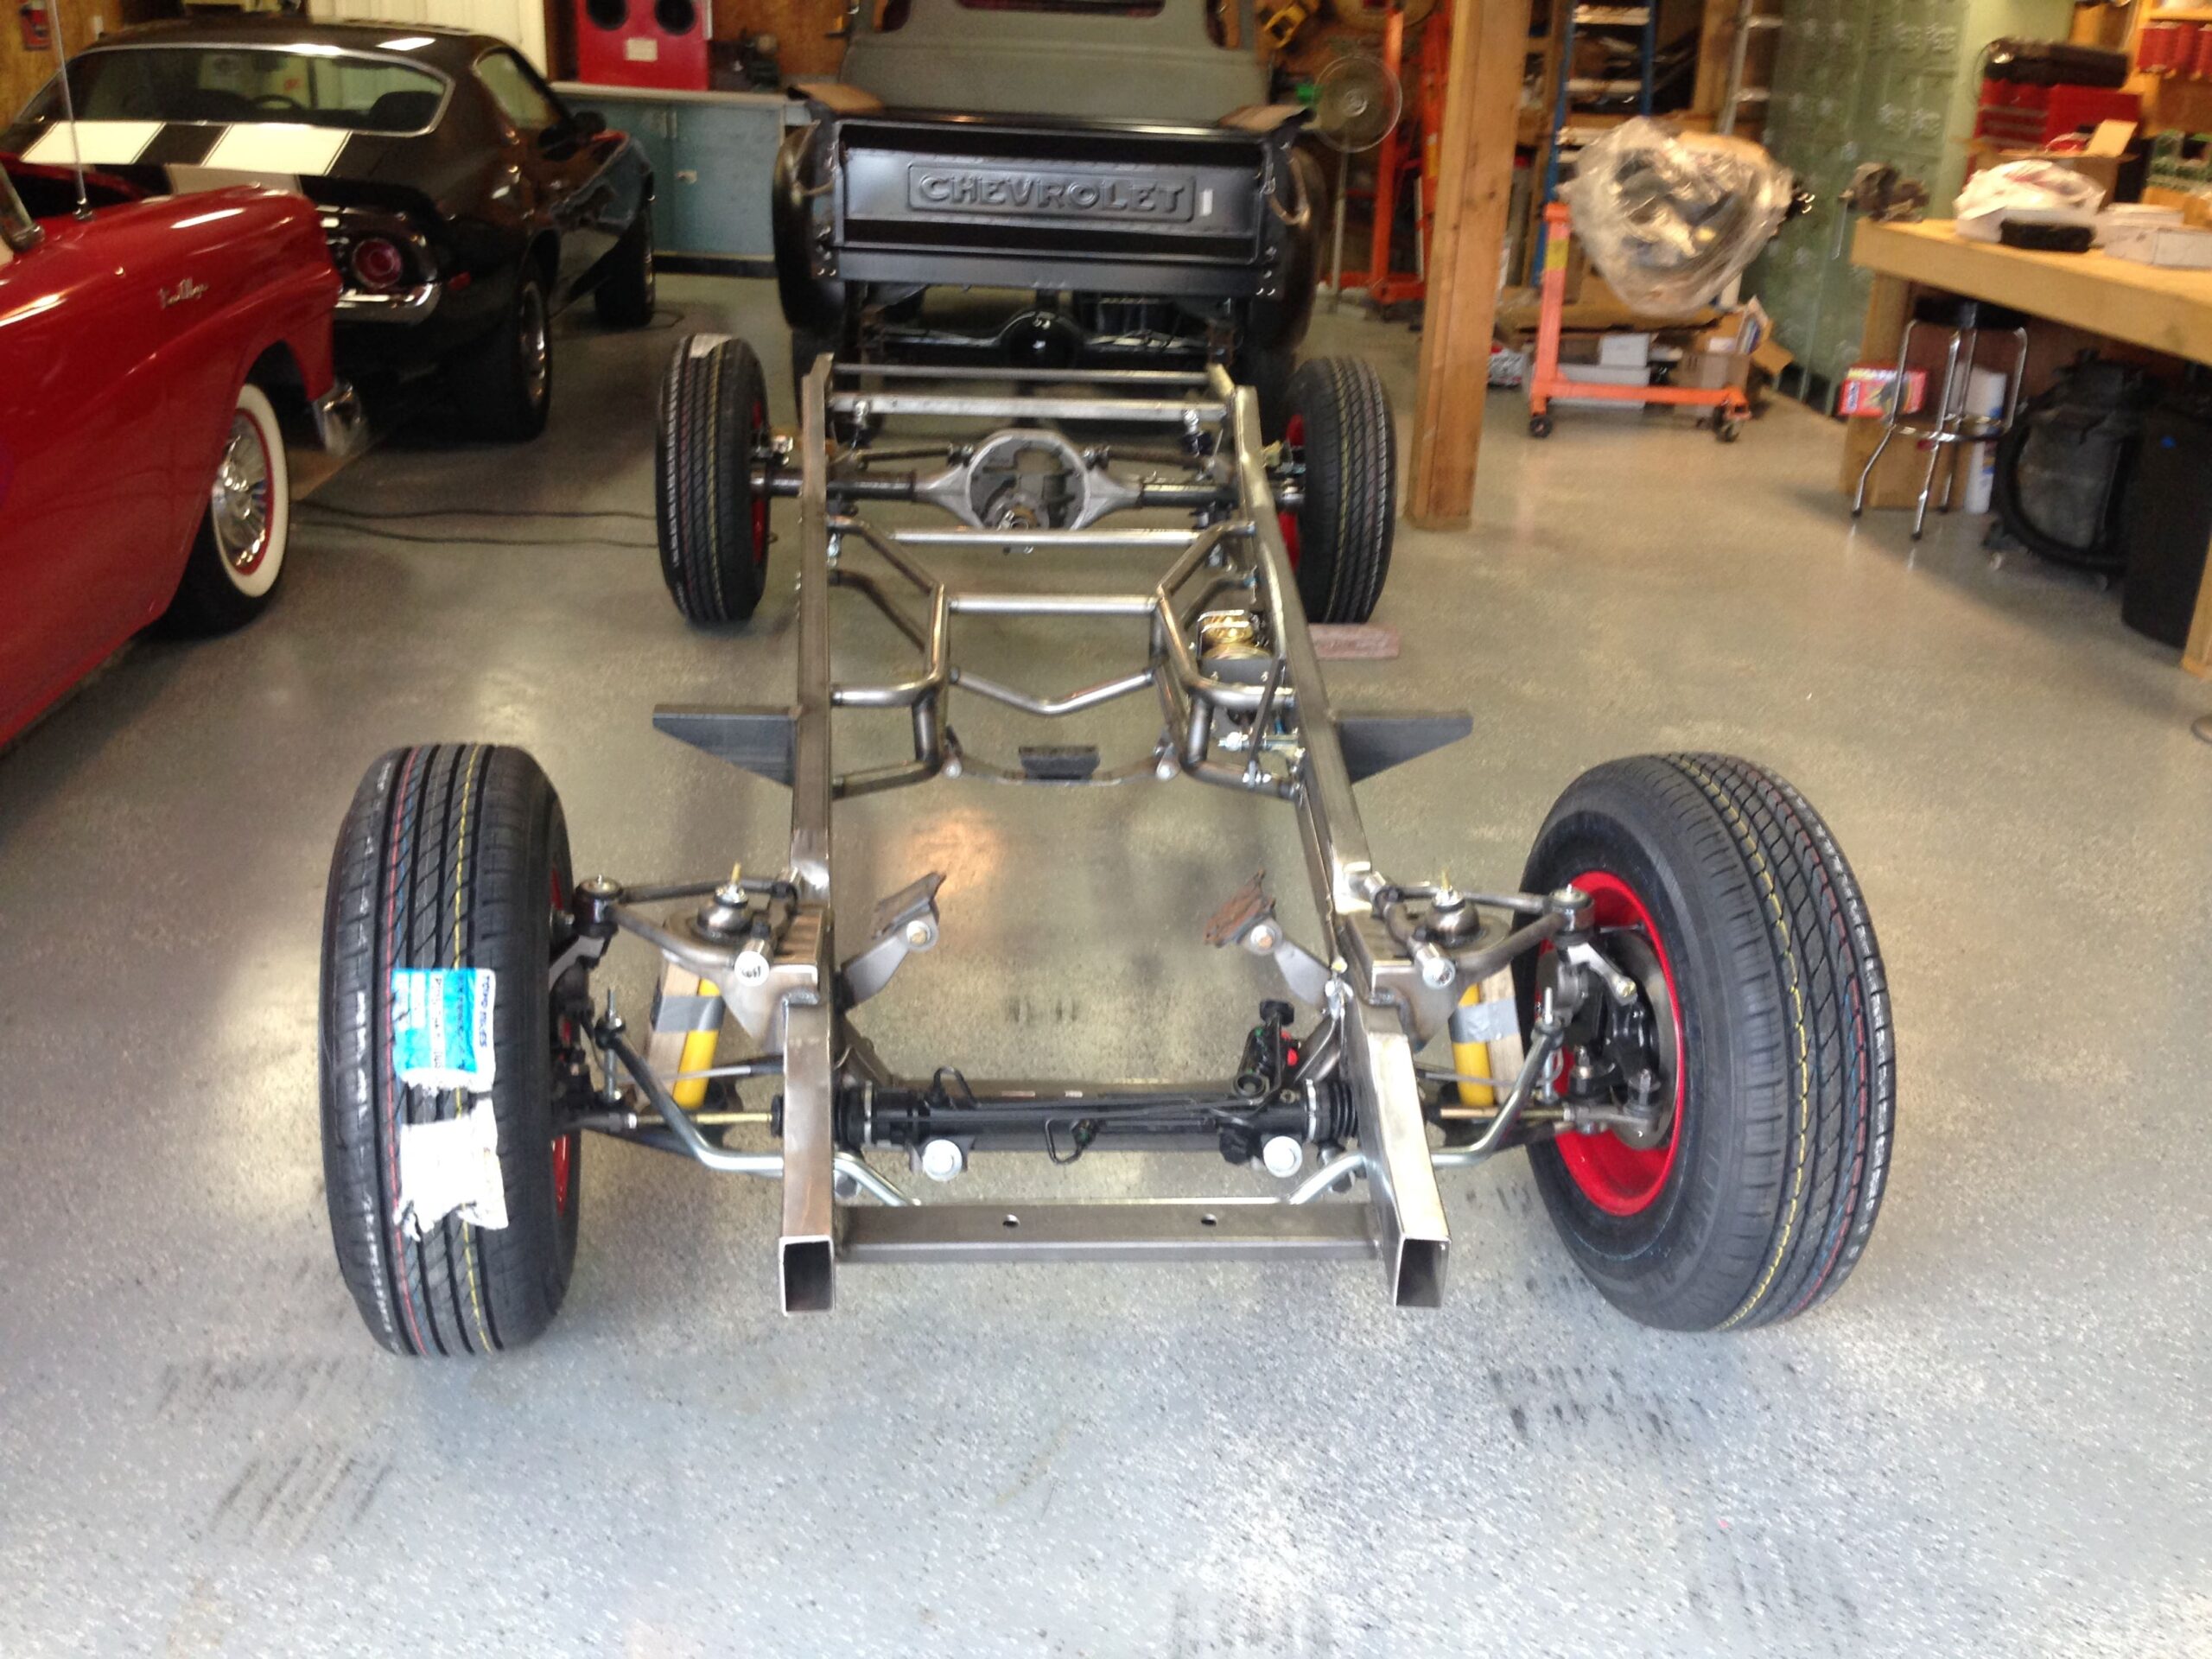

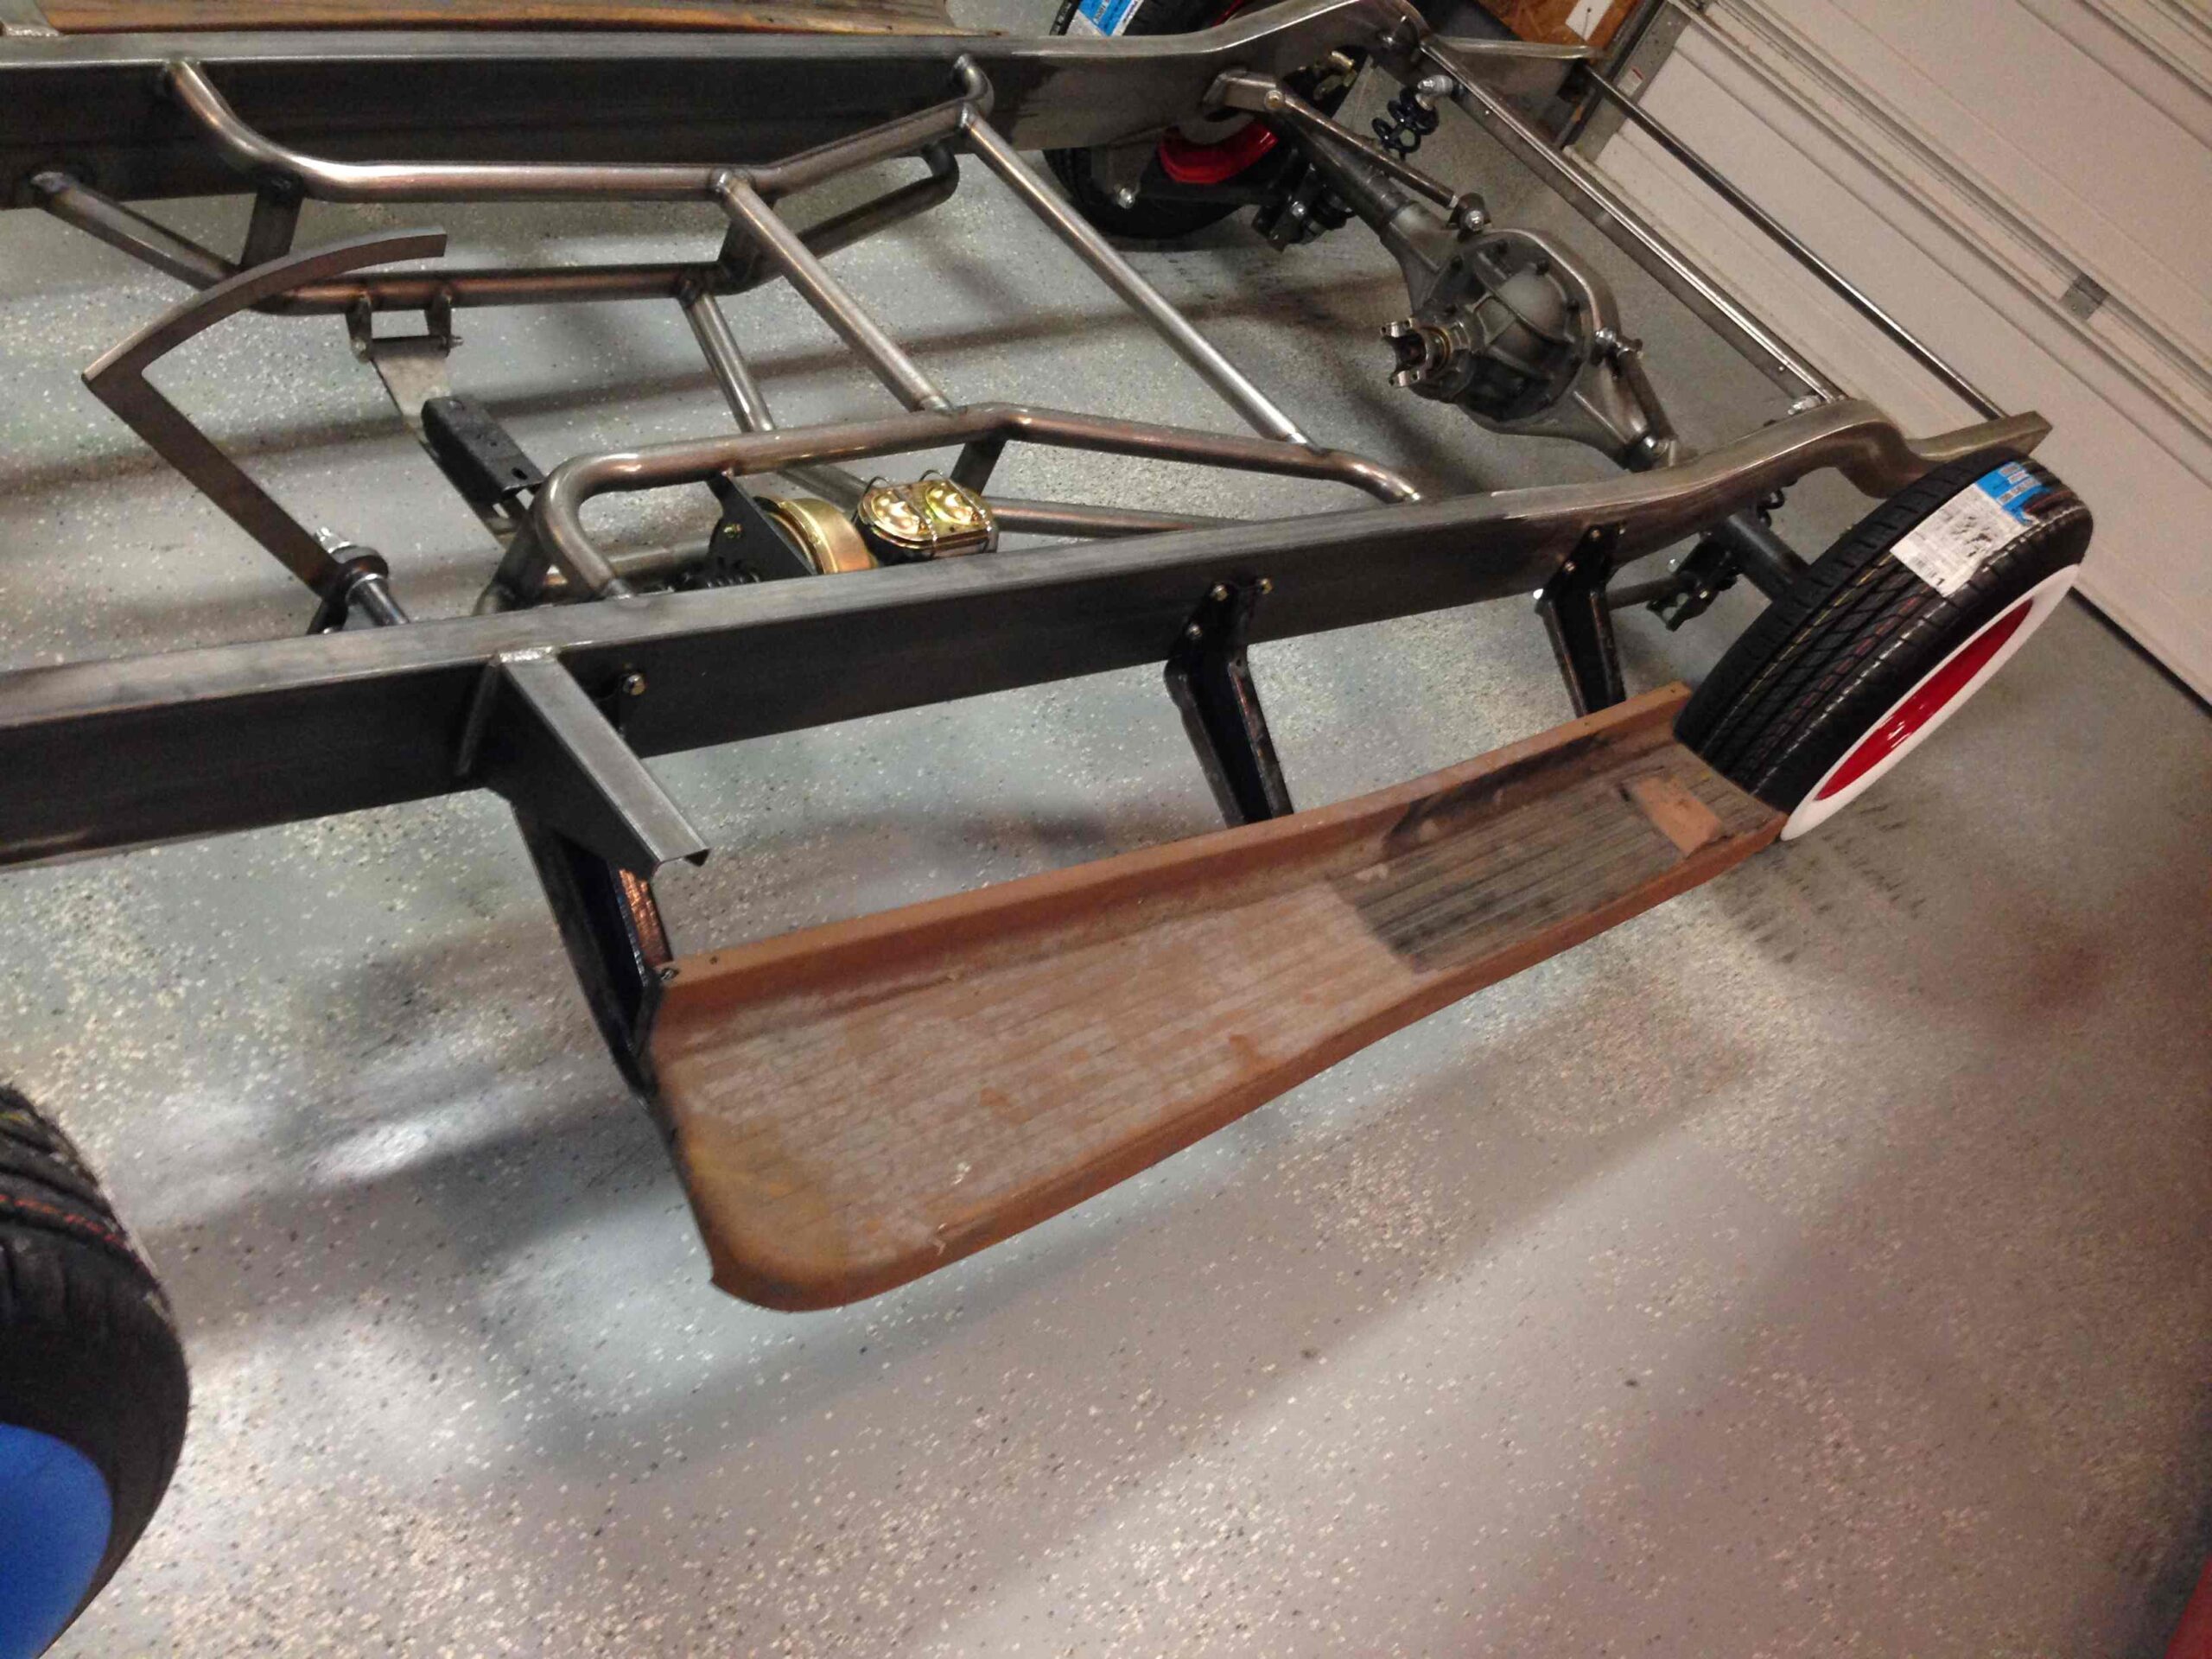
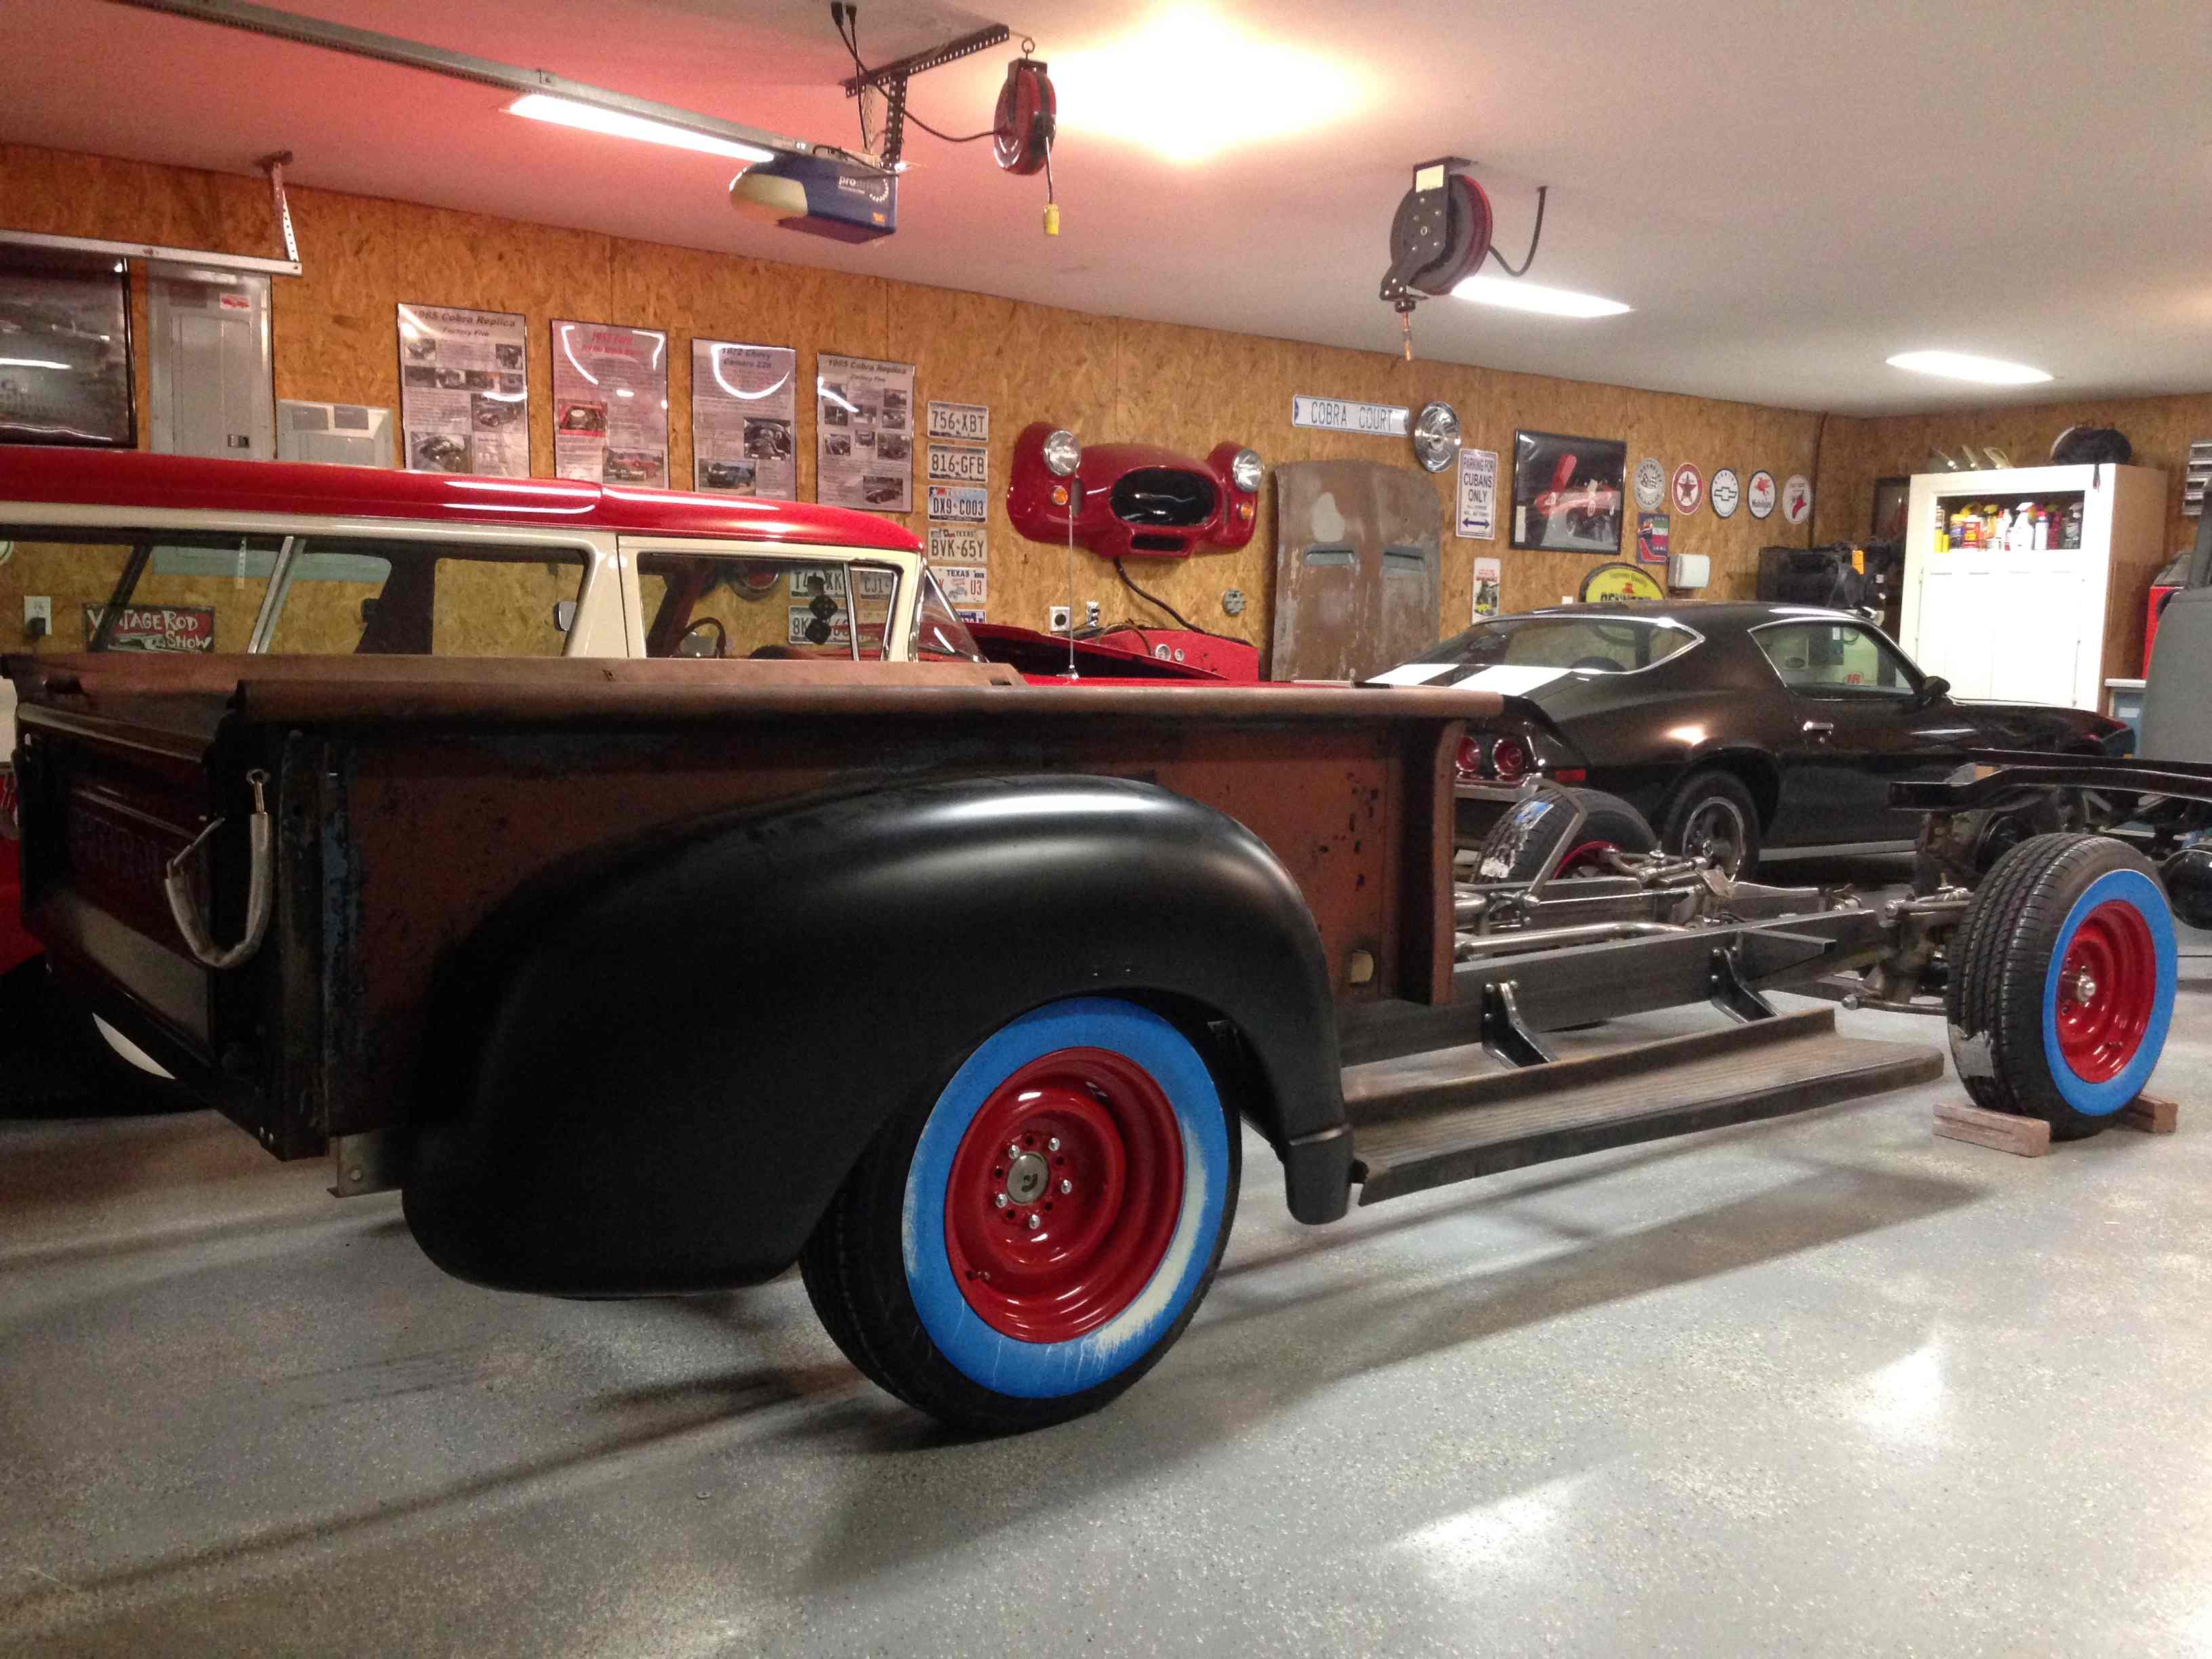
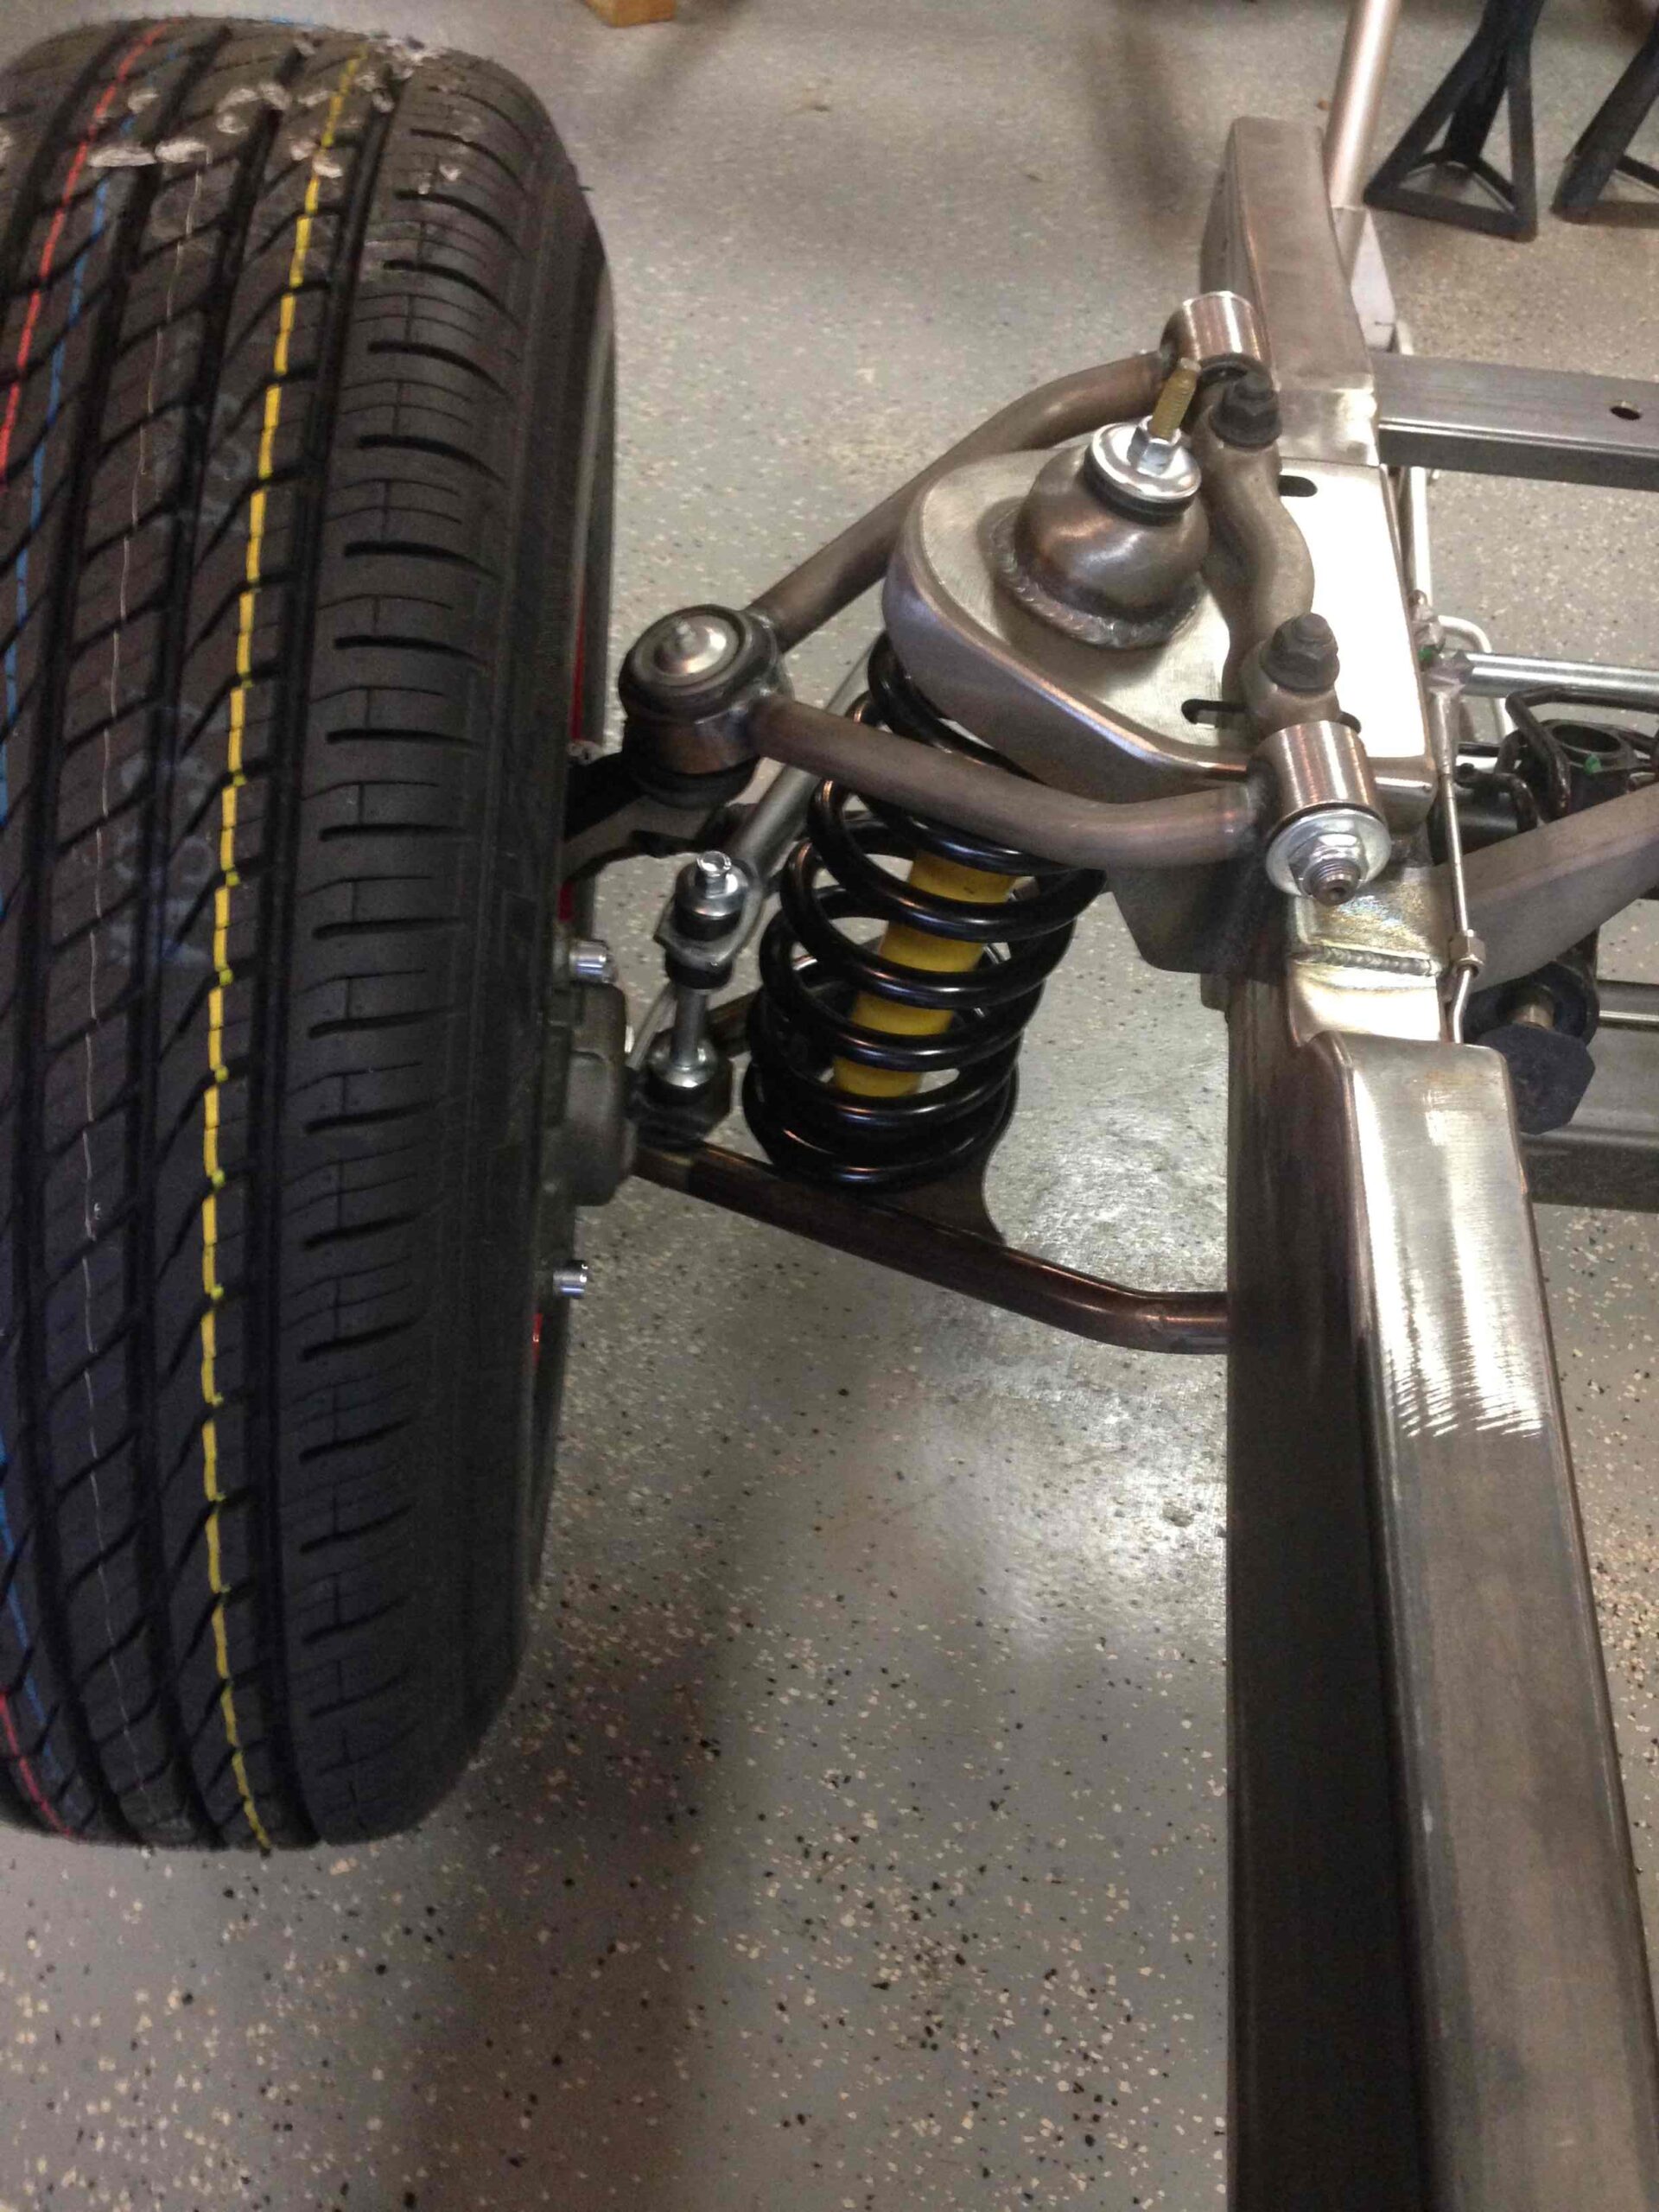
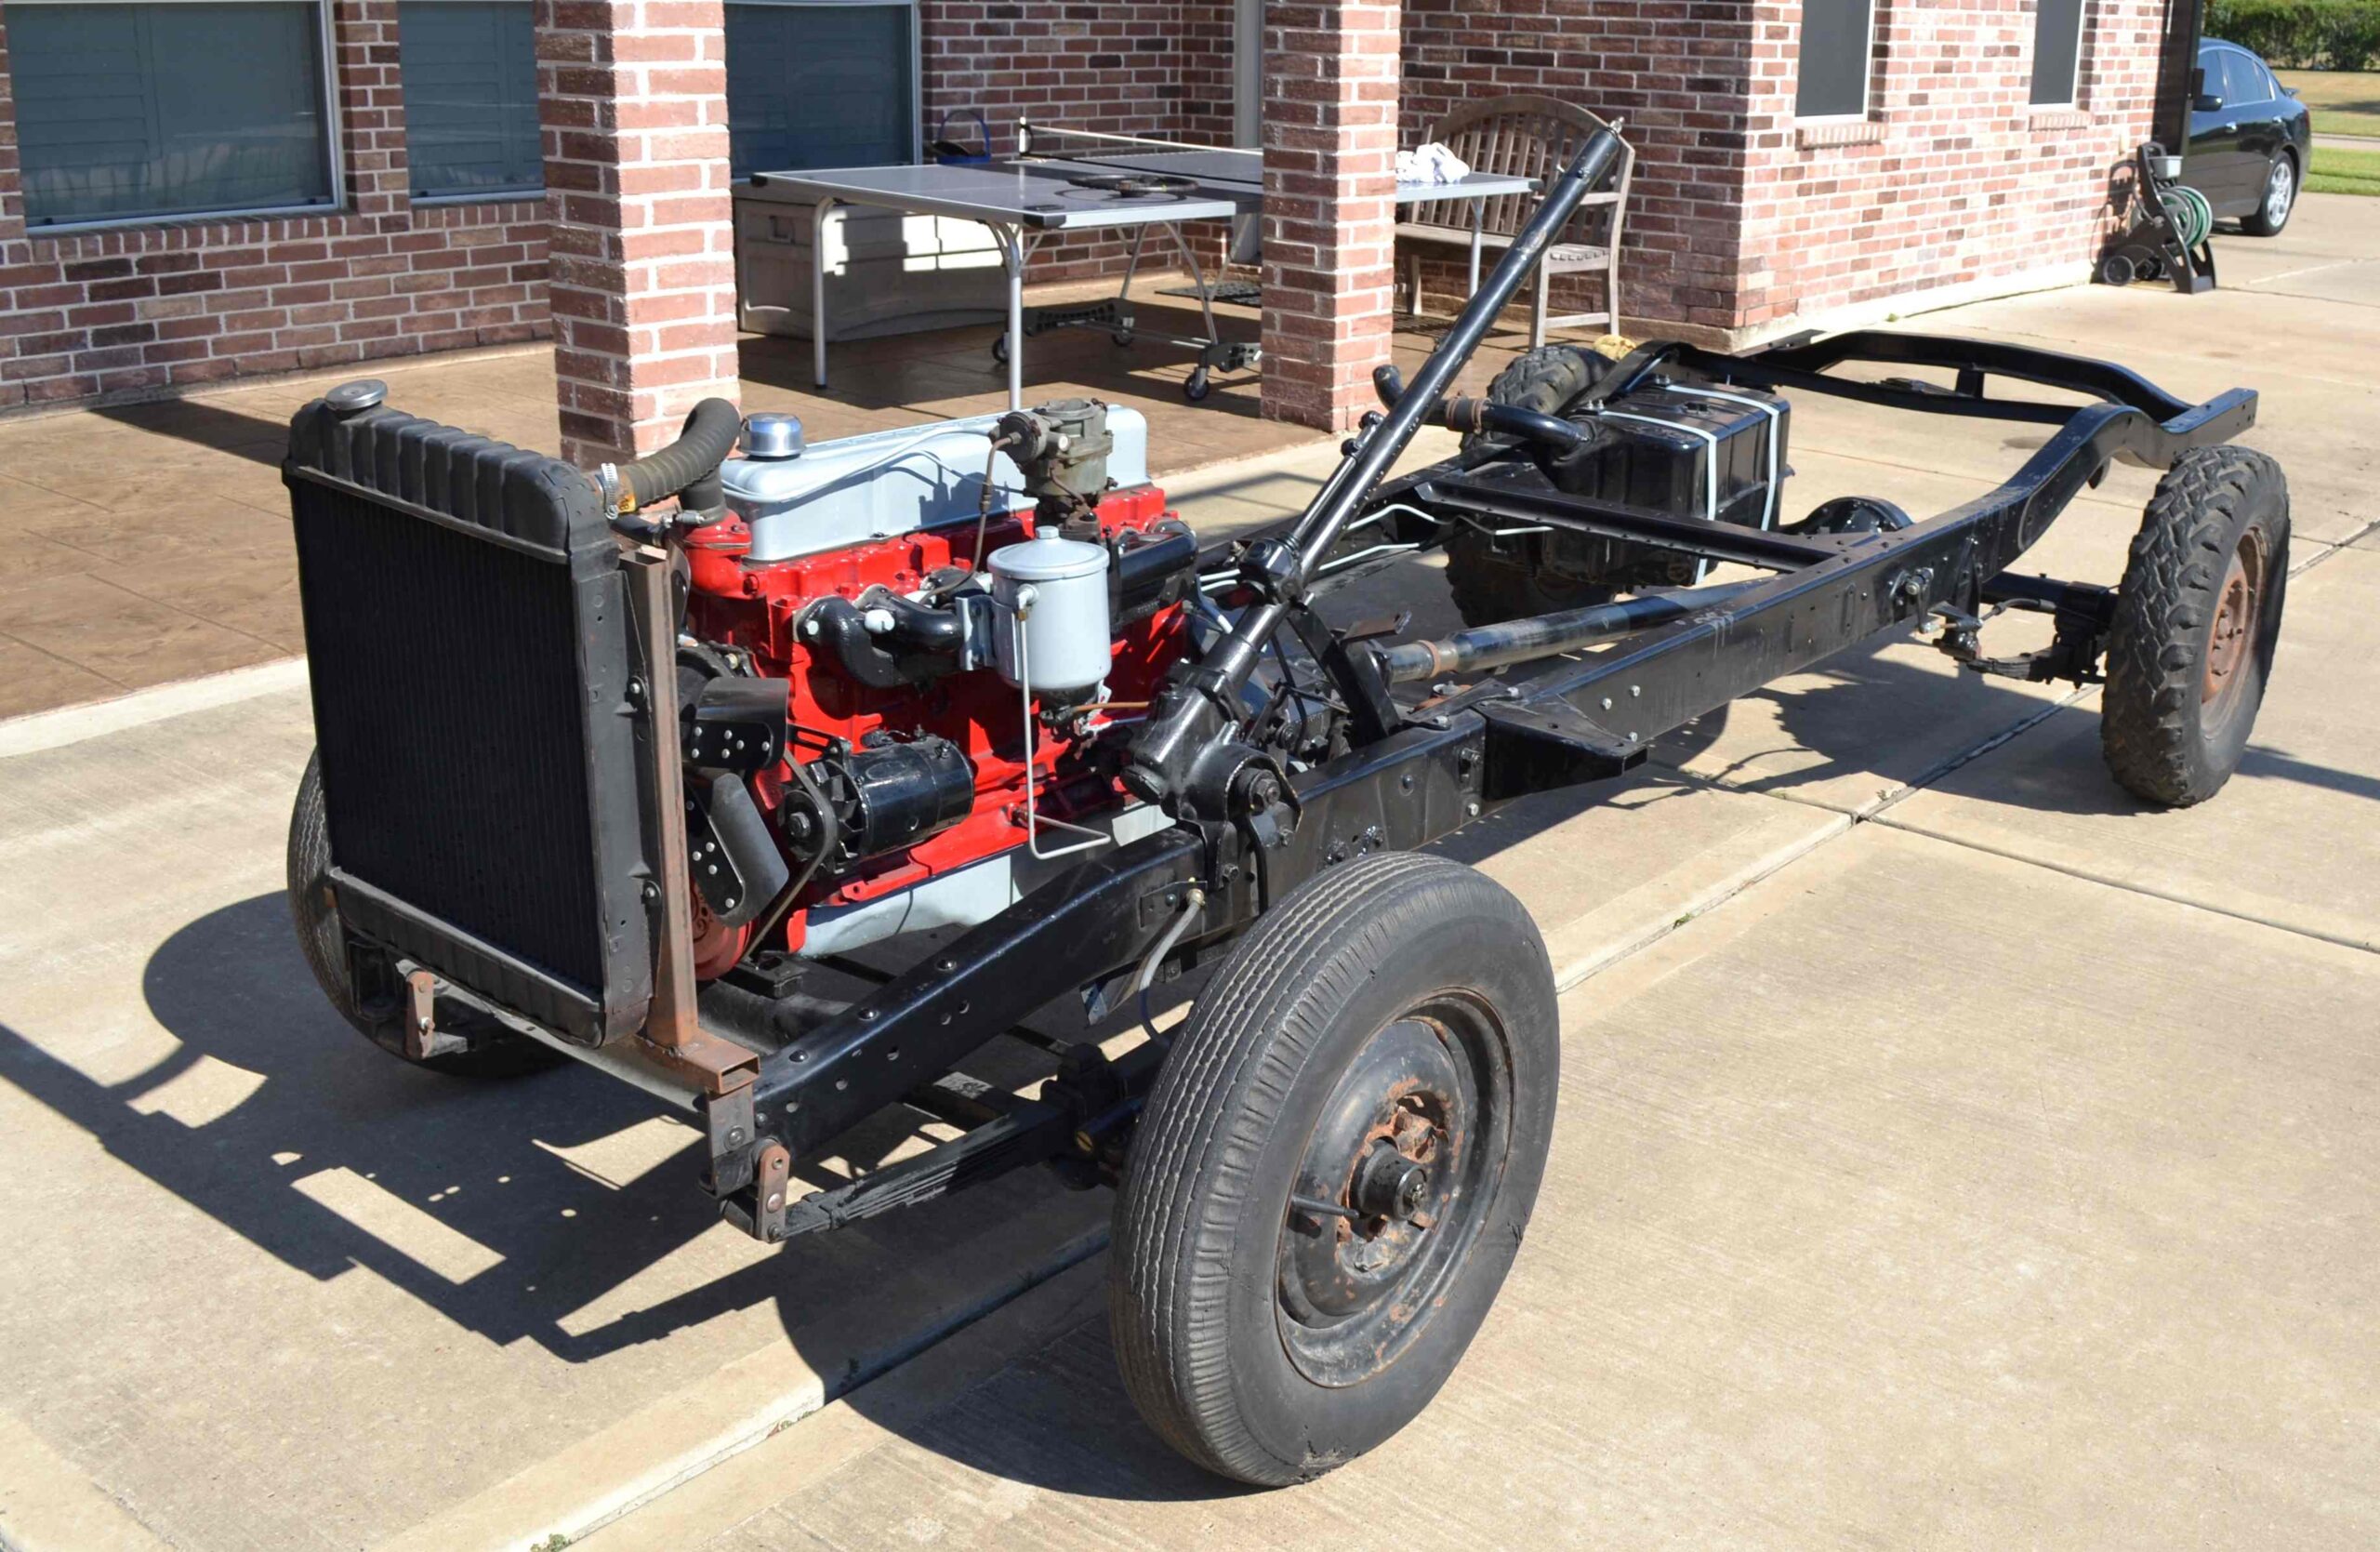
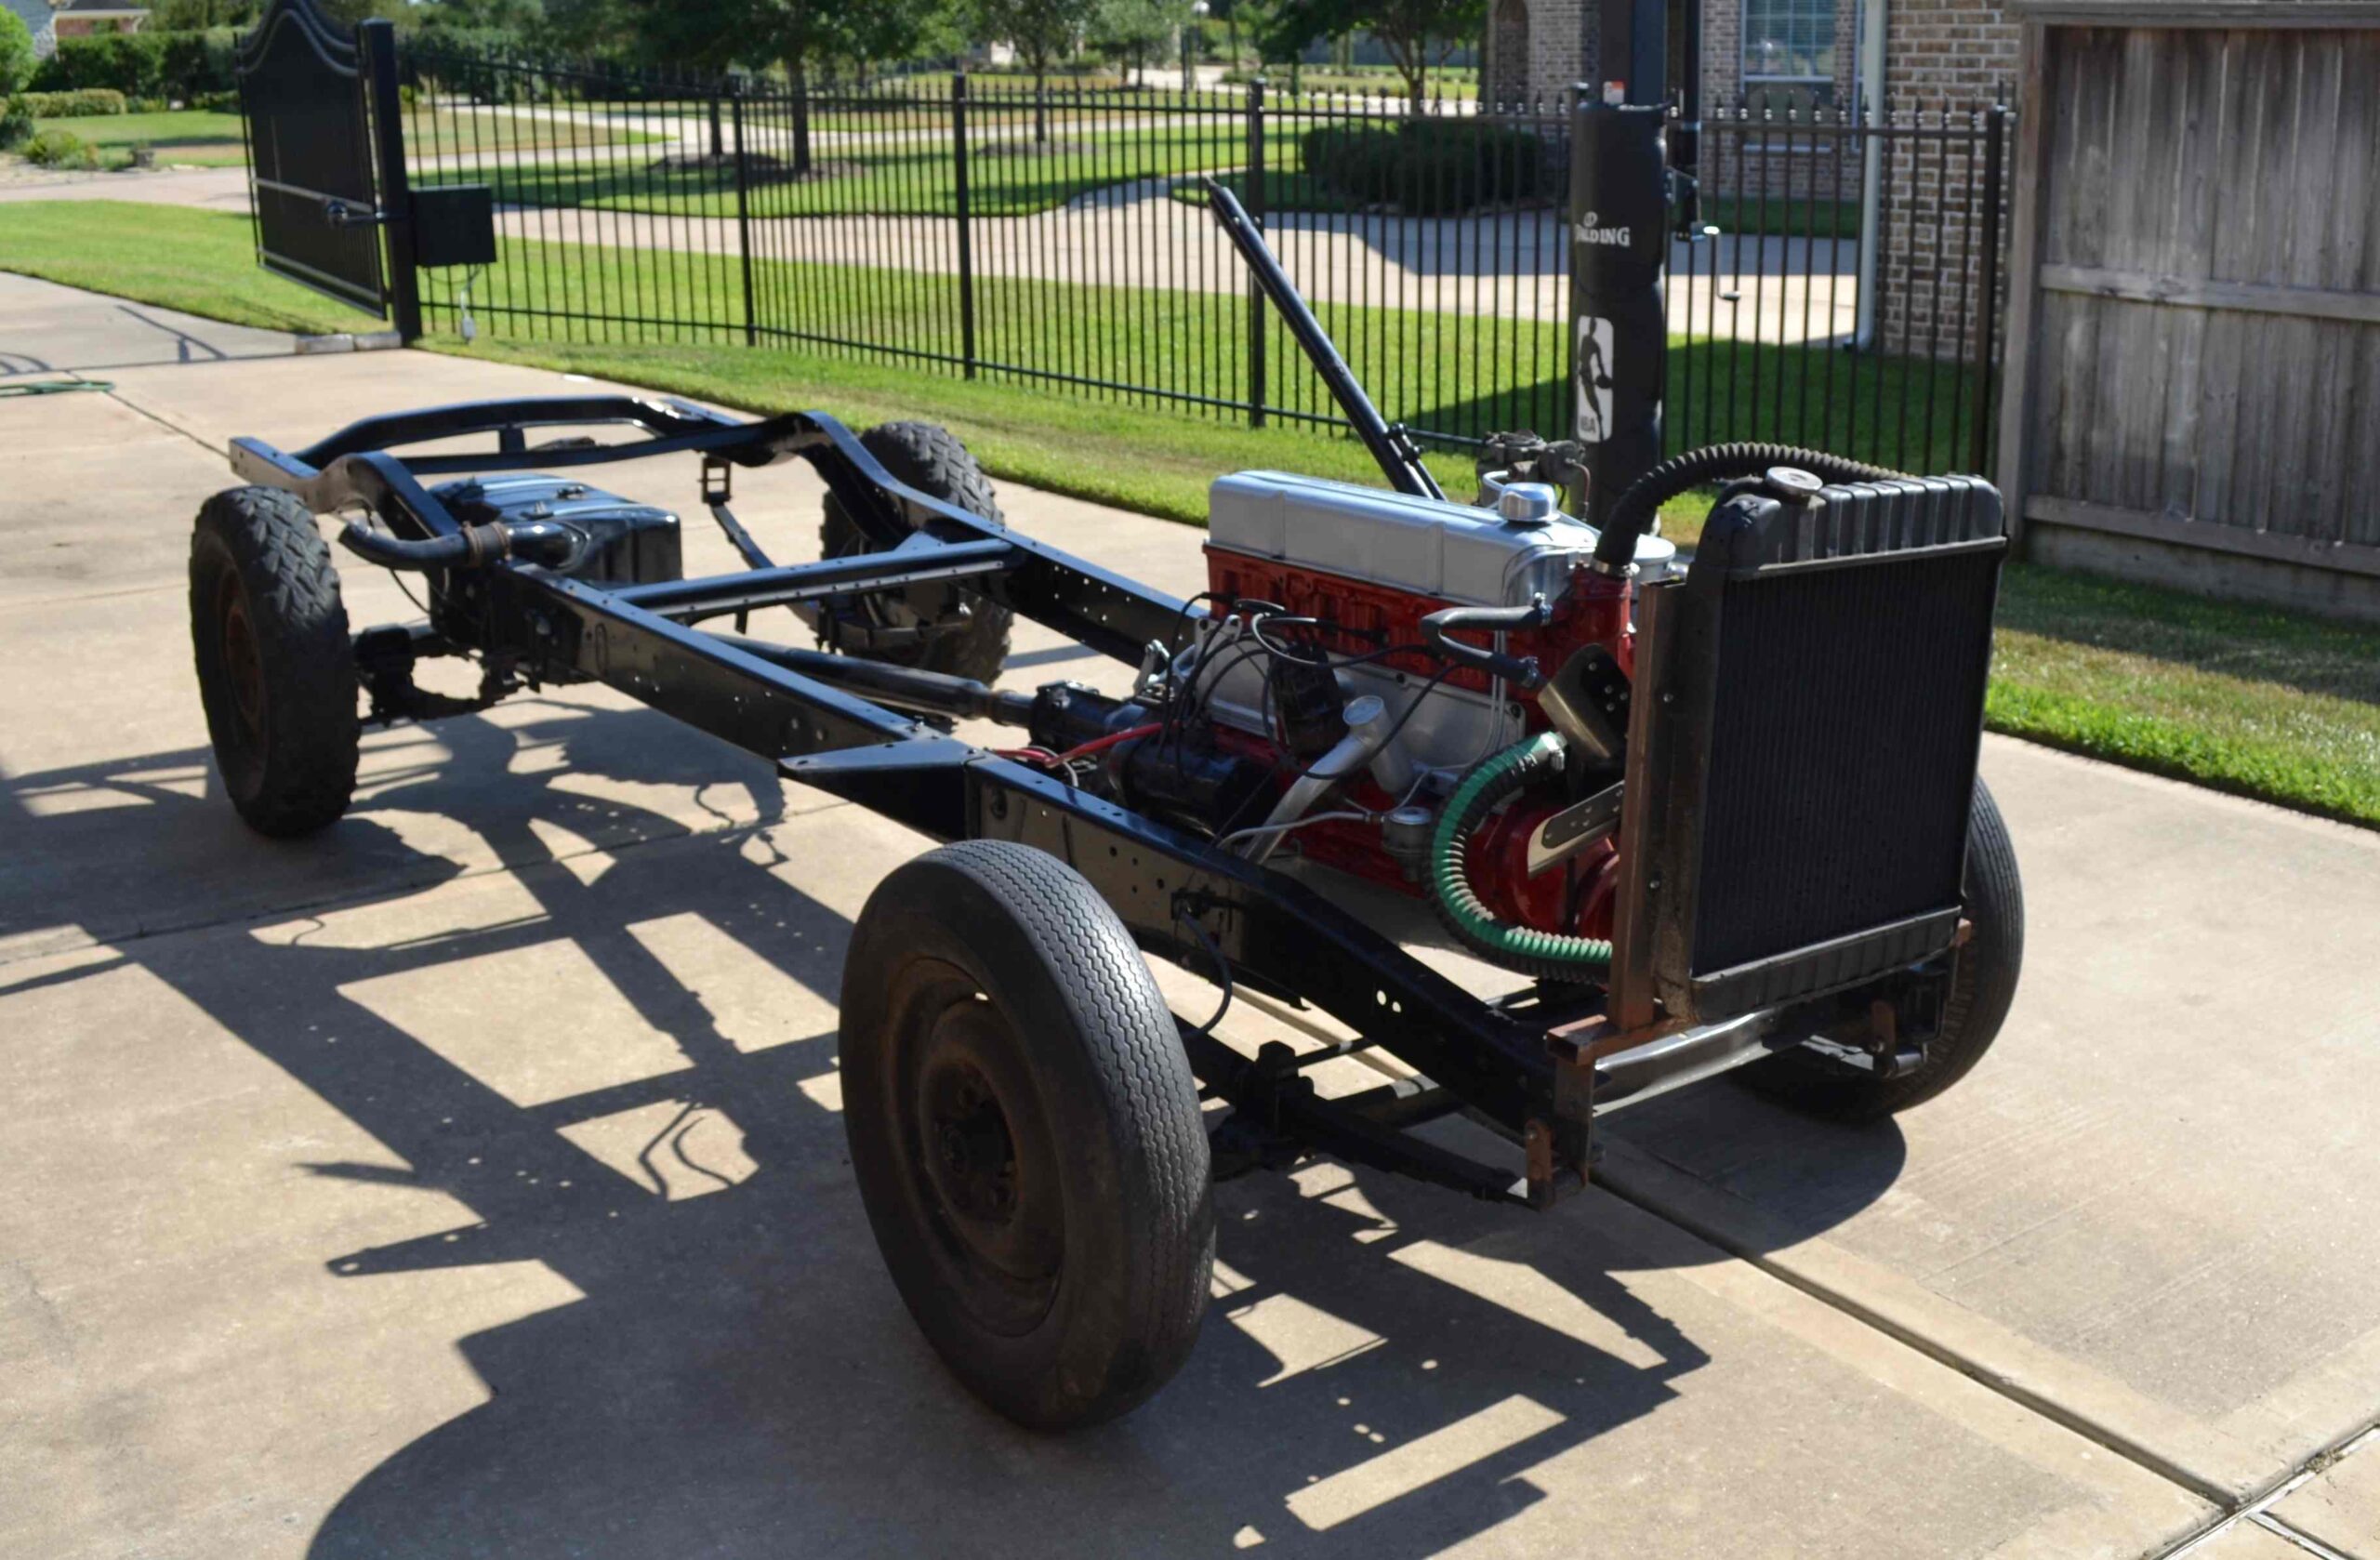
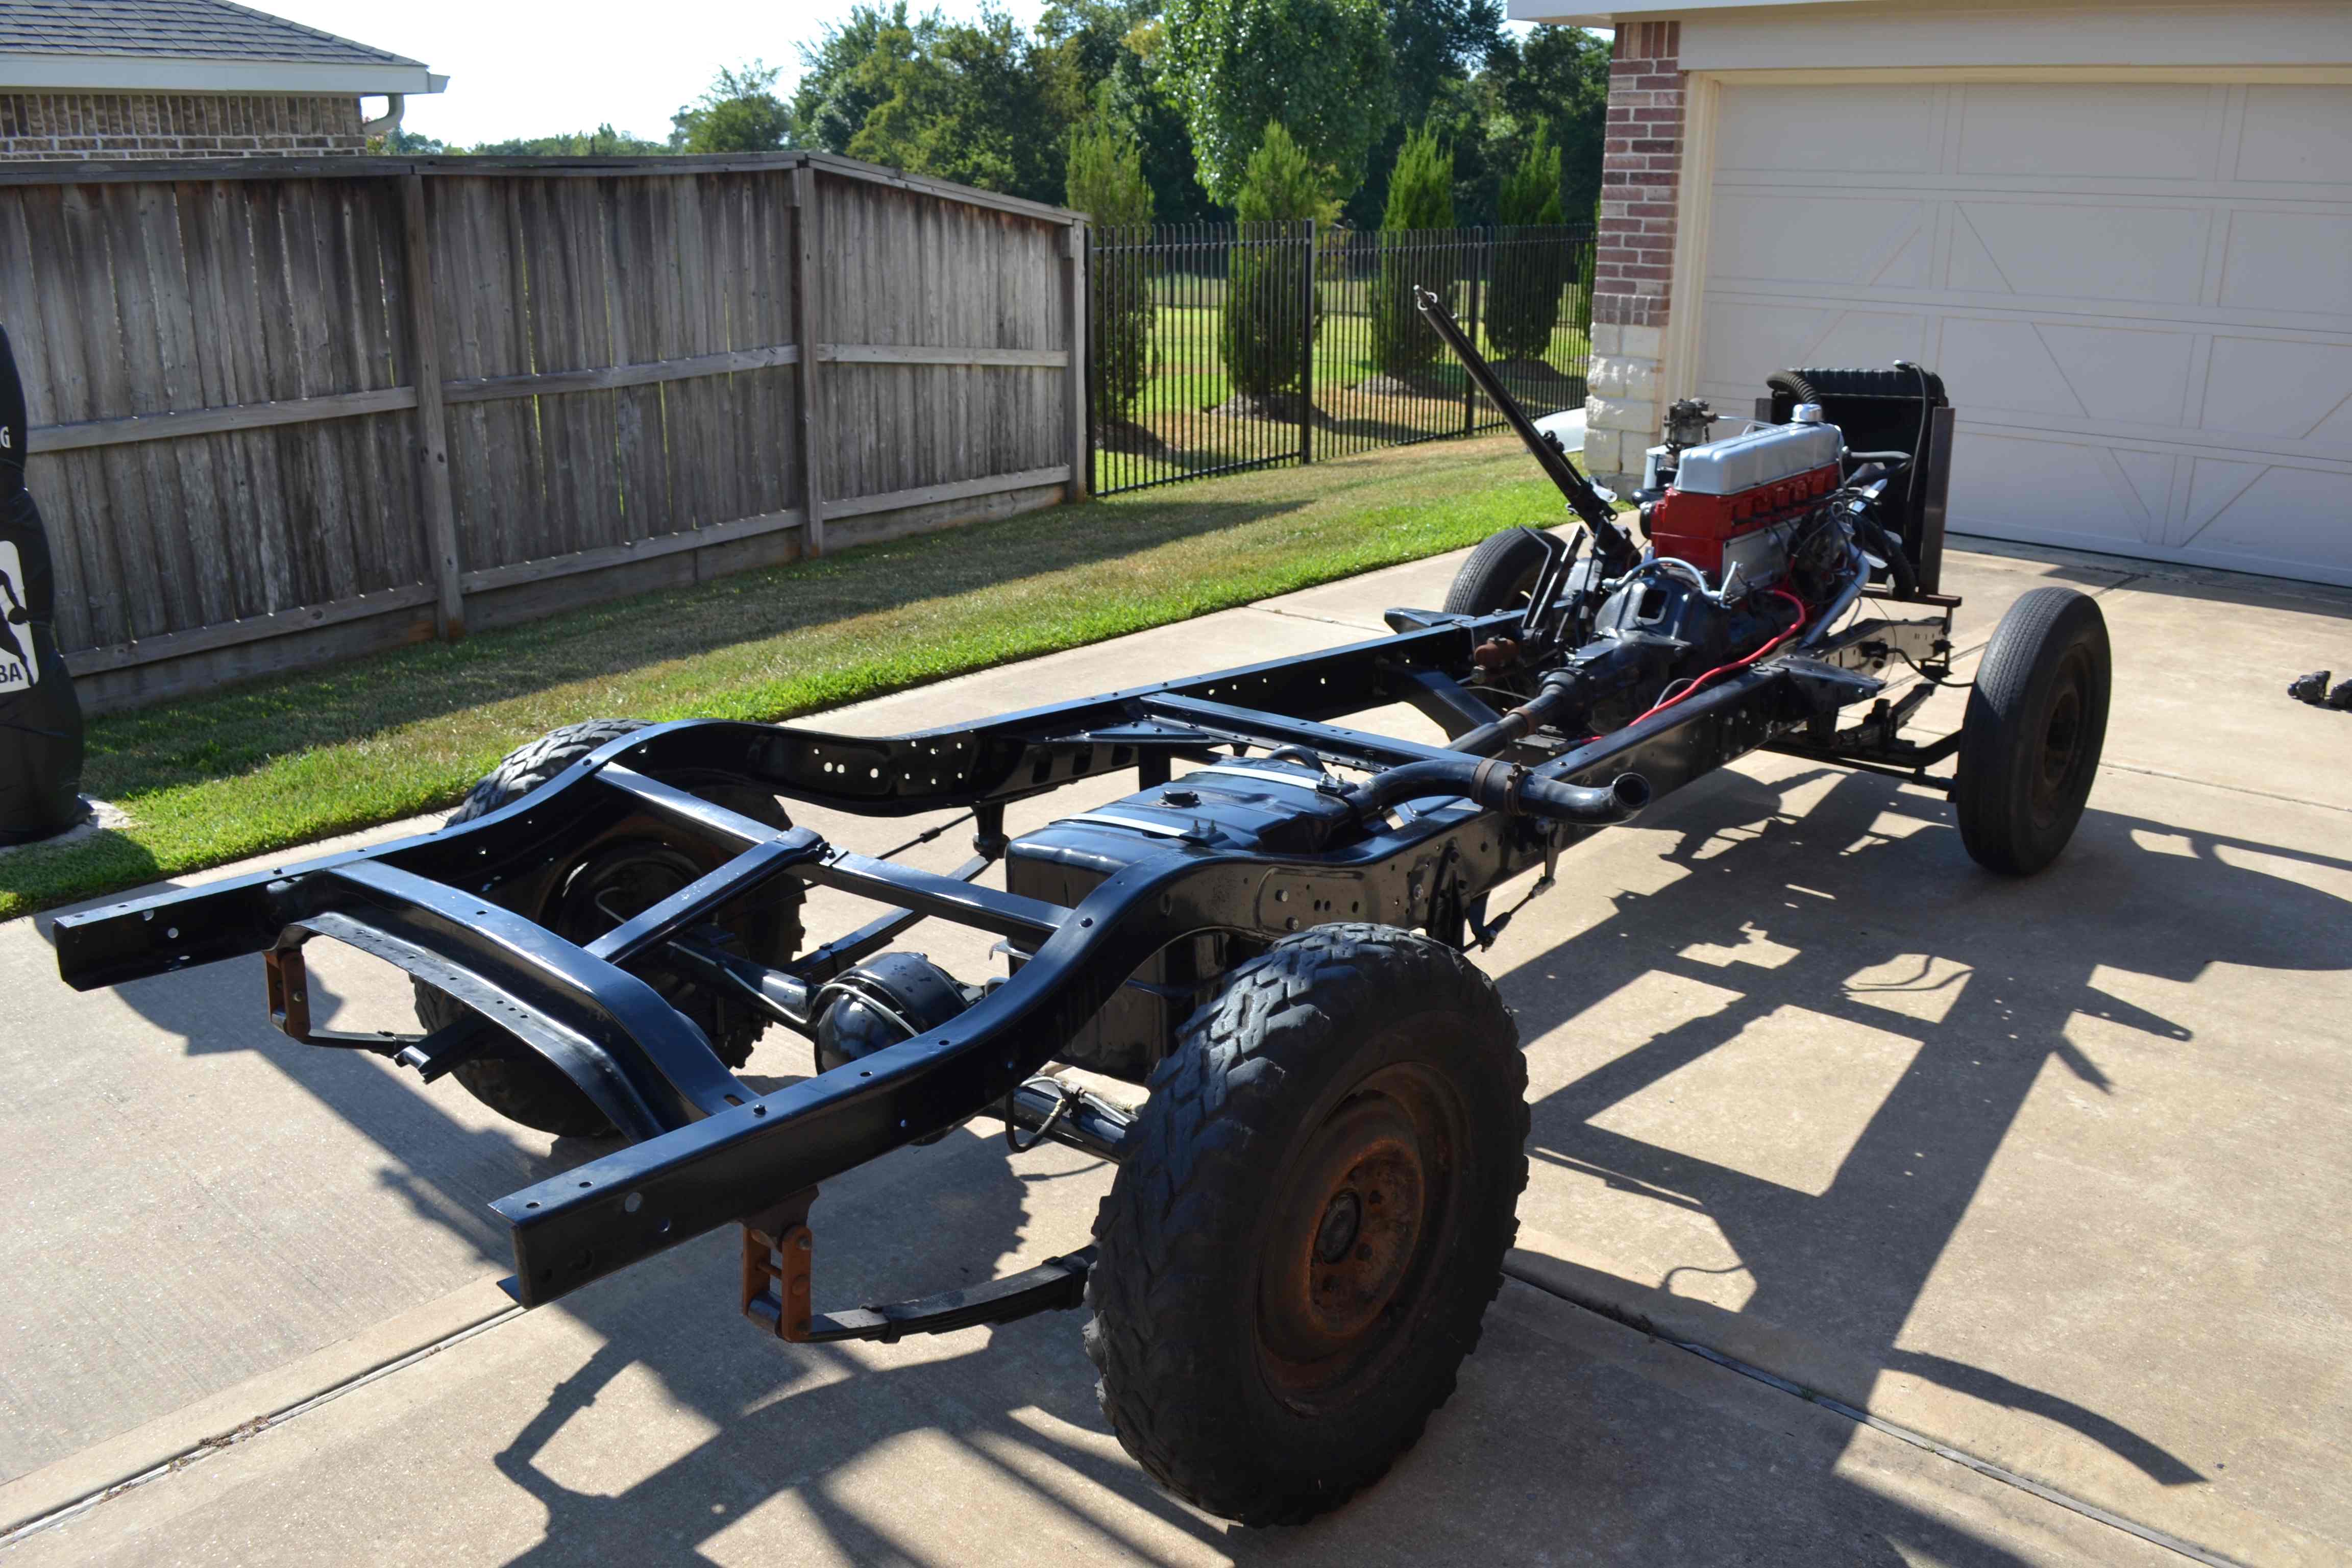
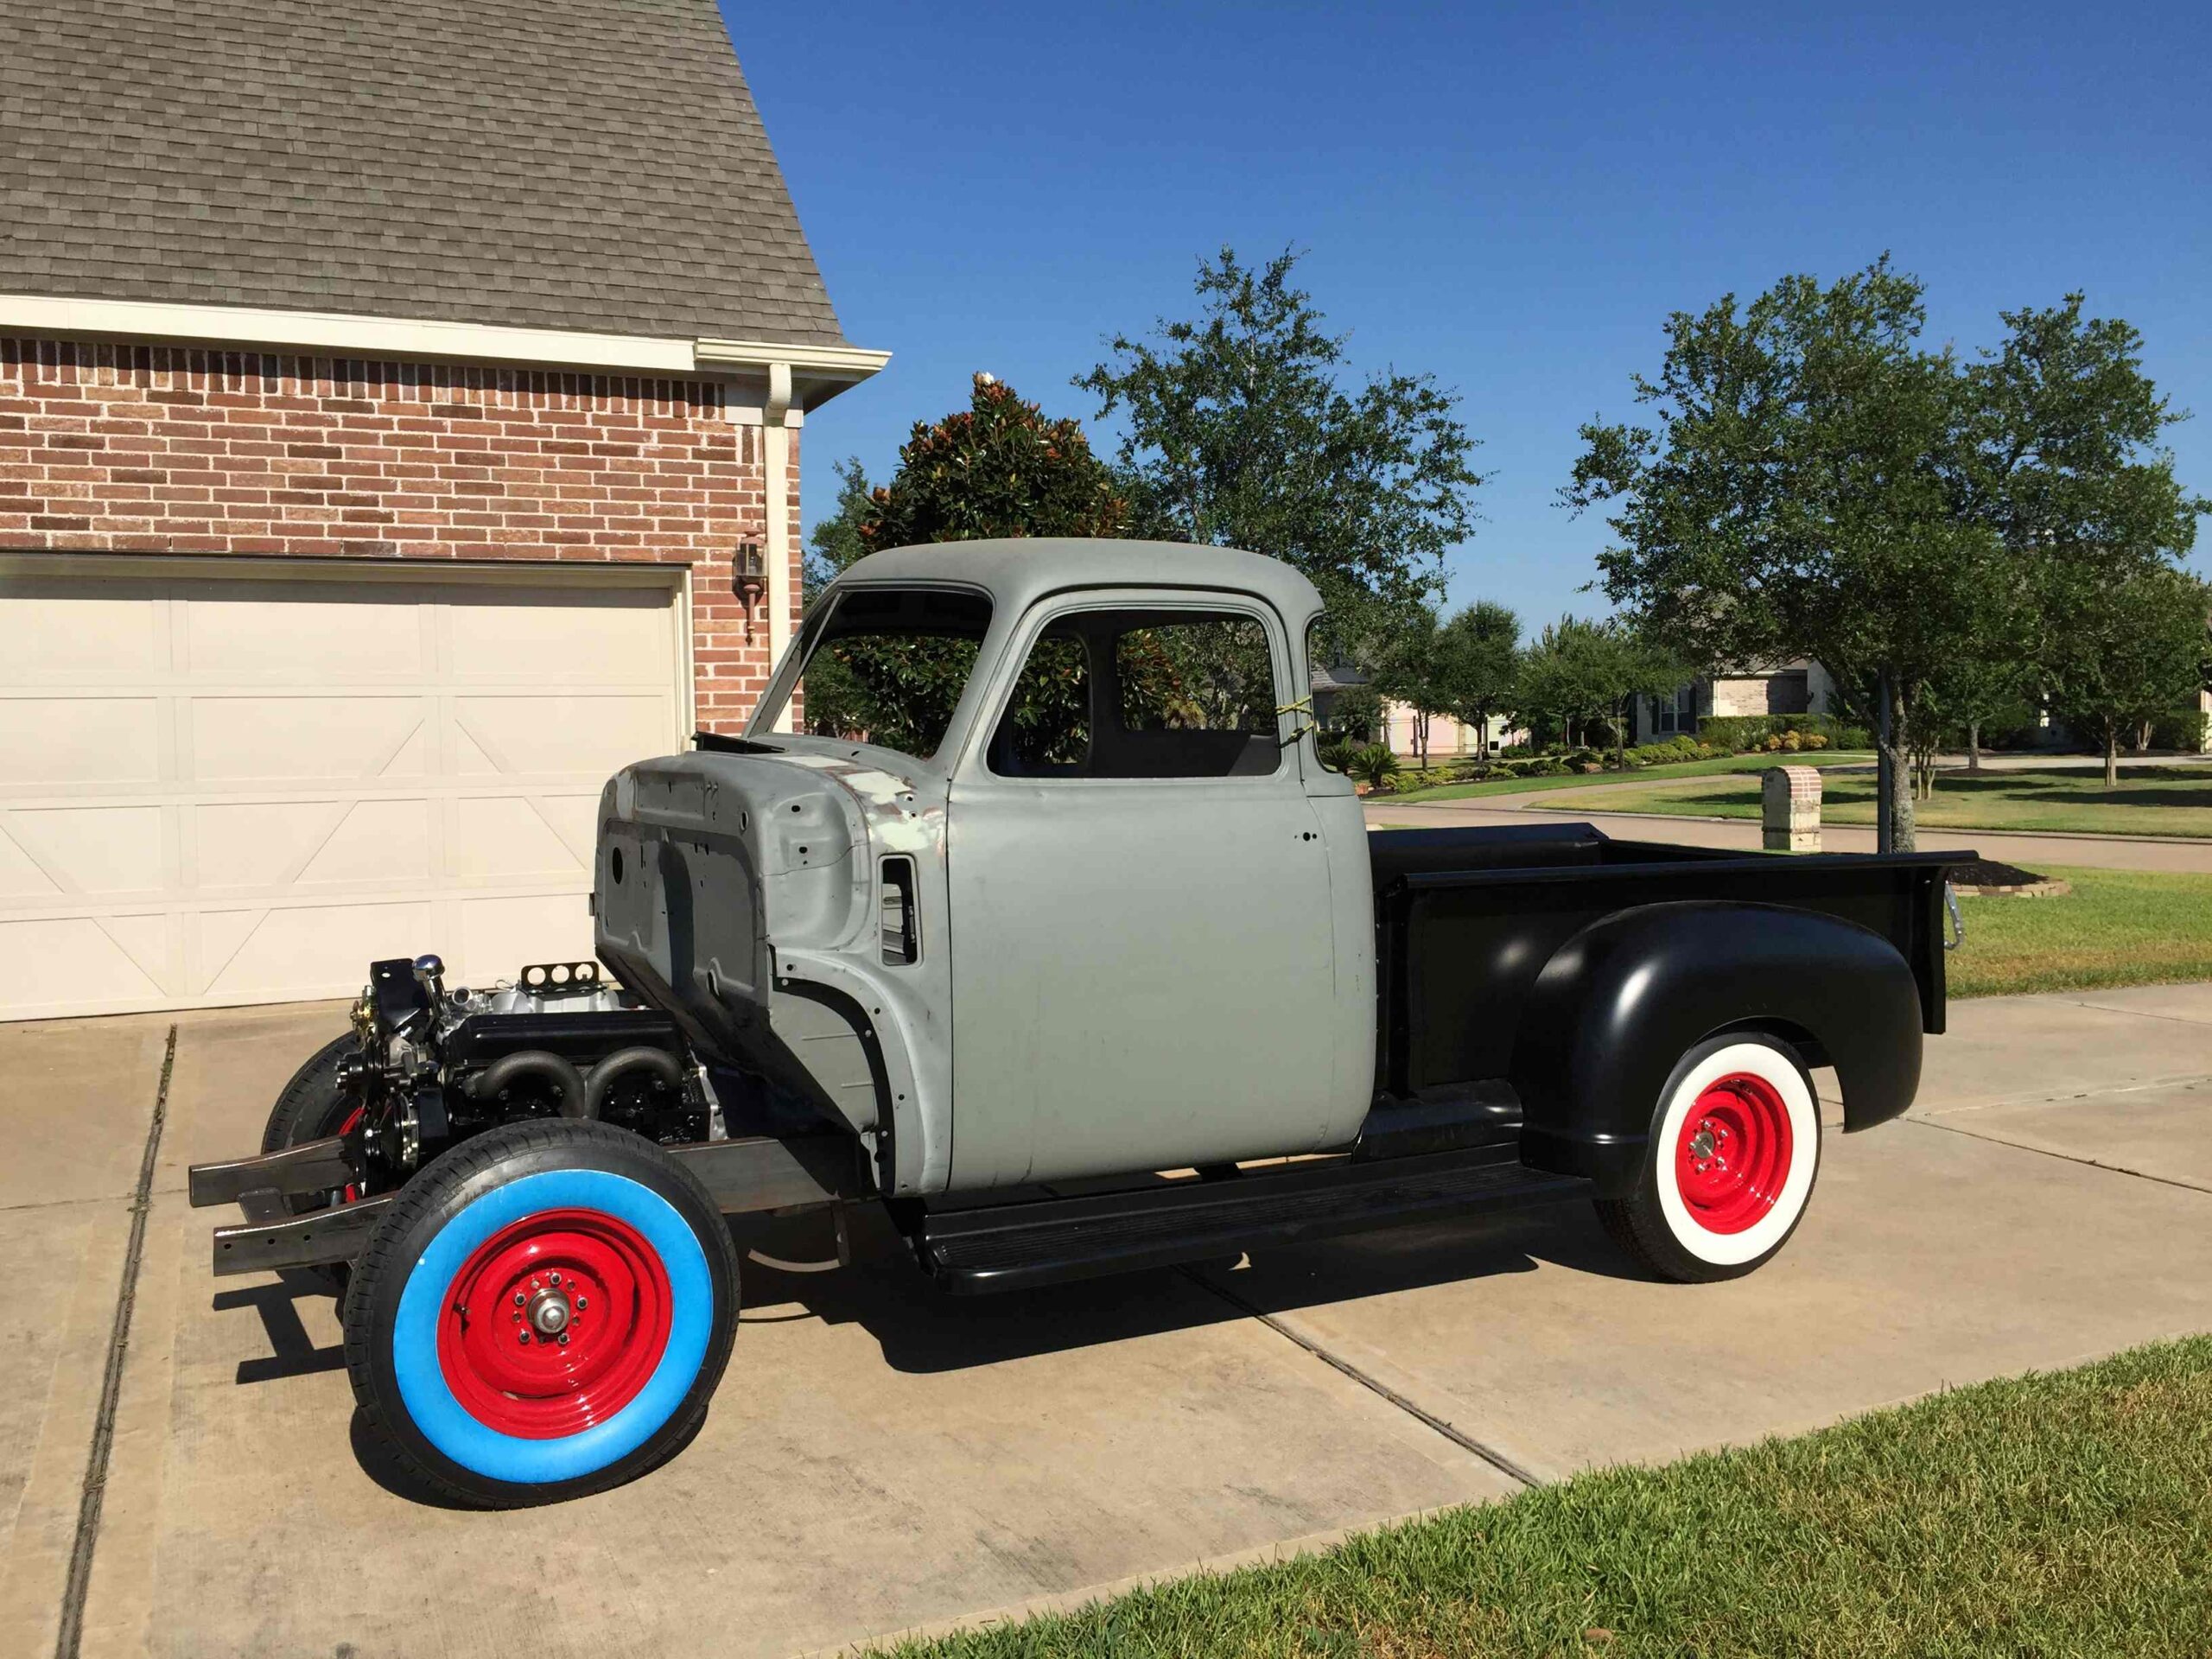
2014 Rolling Chassis
After getting the frame home, we started transferring parts from the original chassis onto the new frame. I didn’t end up using the original running boards because they were in poor conditions. They ended up making to some nice shelves in my garage. The engine dropped into place nicely, but there were some interference issues with the transmission mounting brackets.


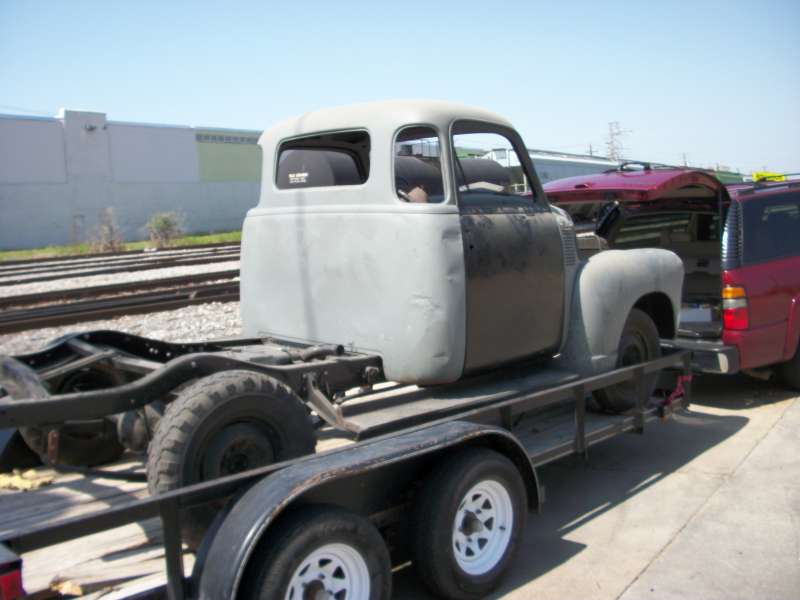
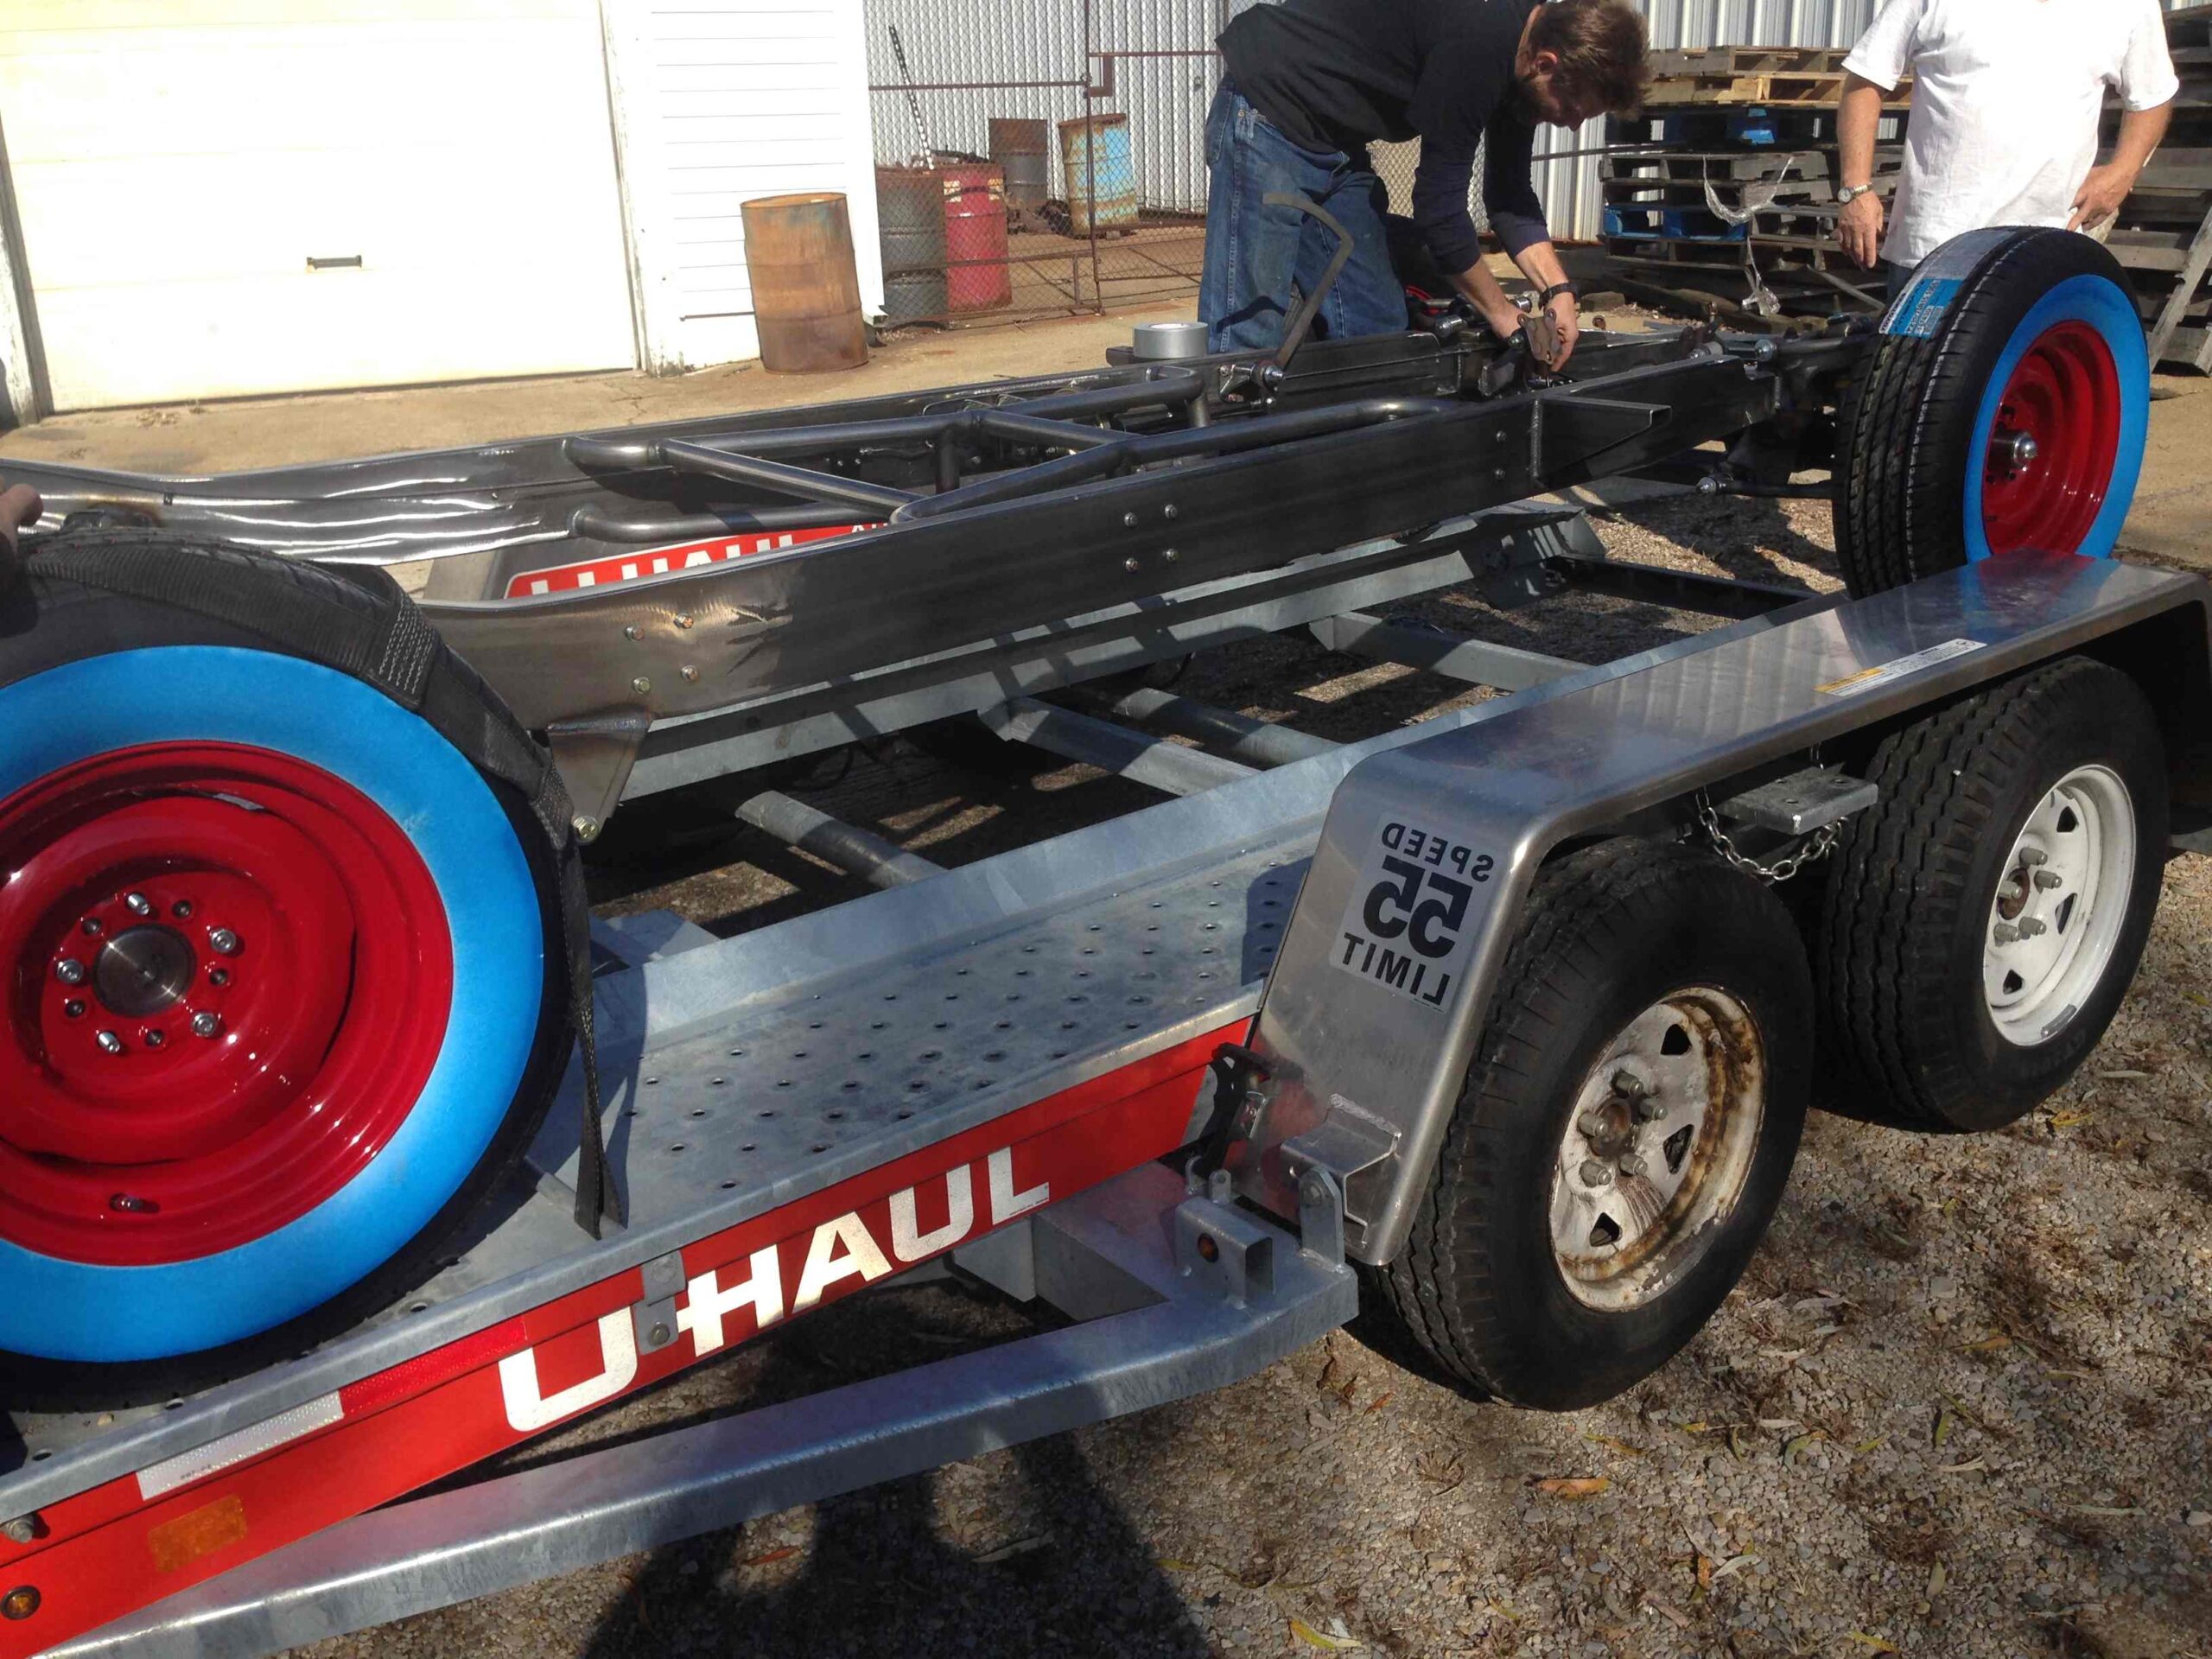
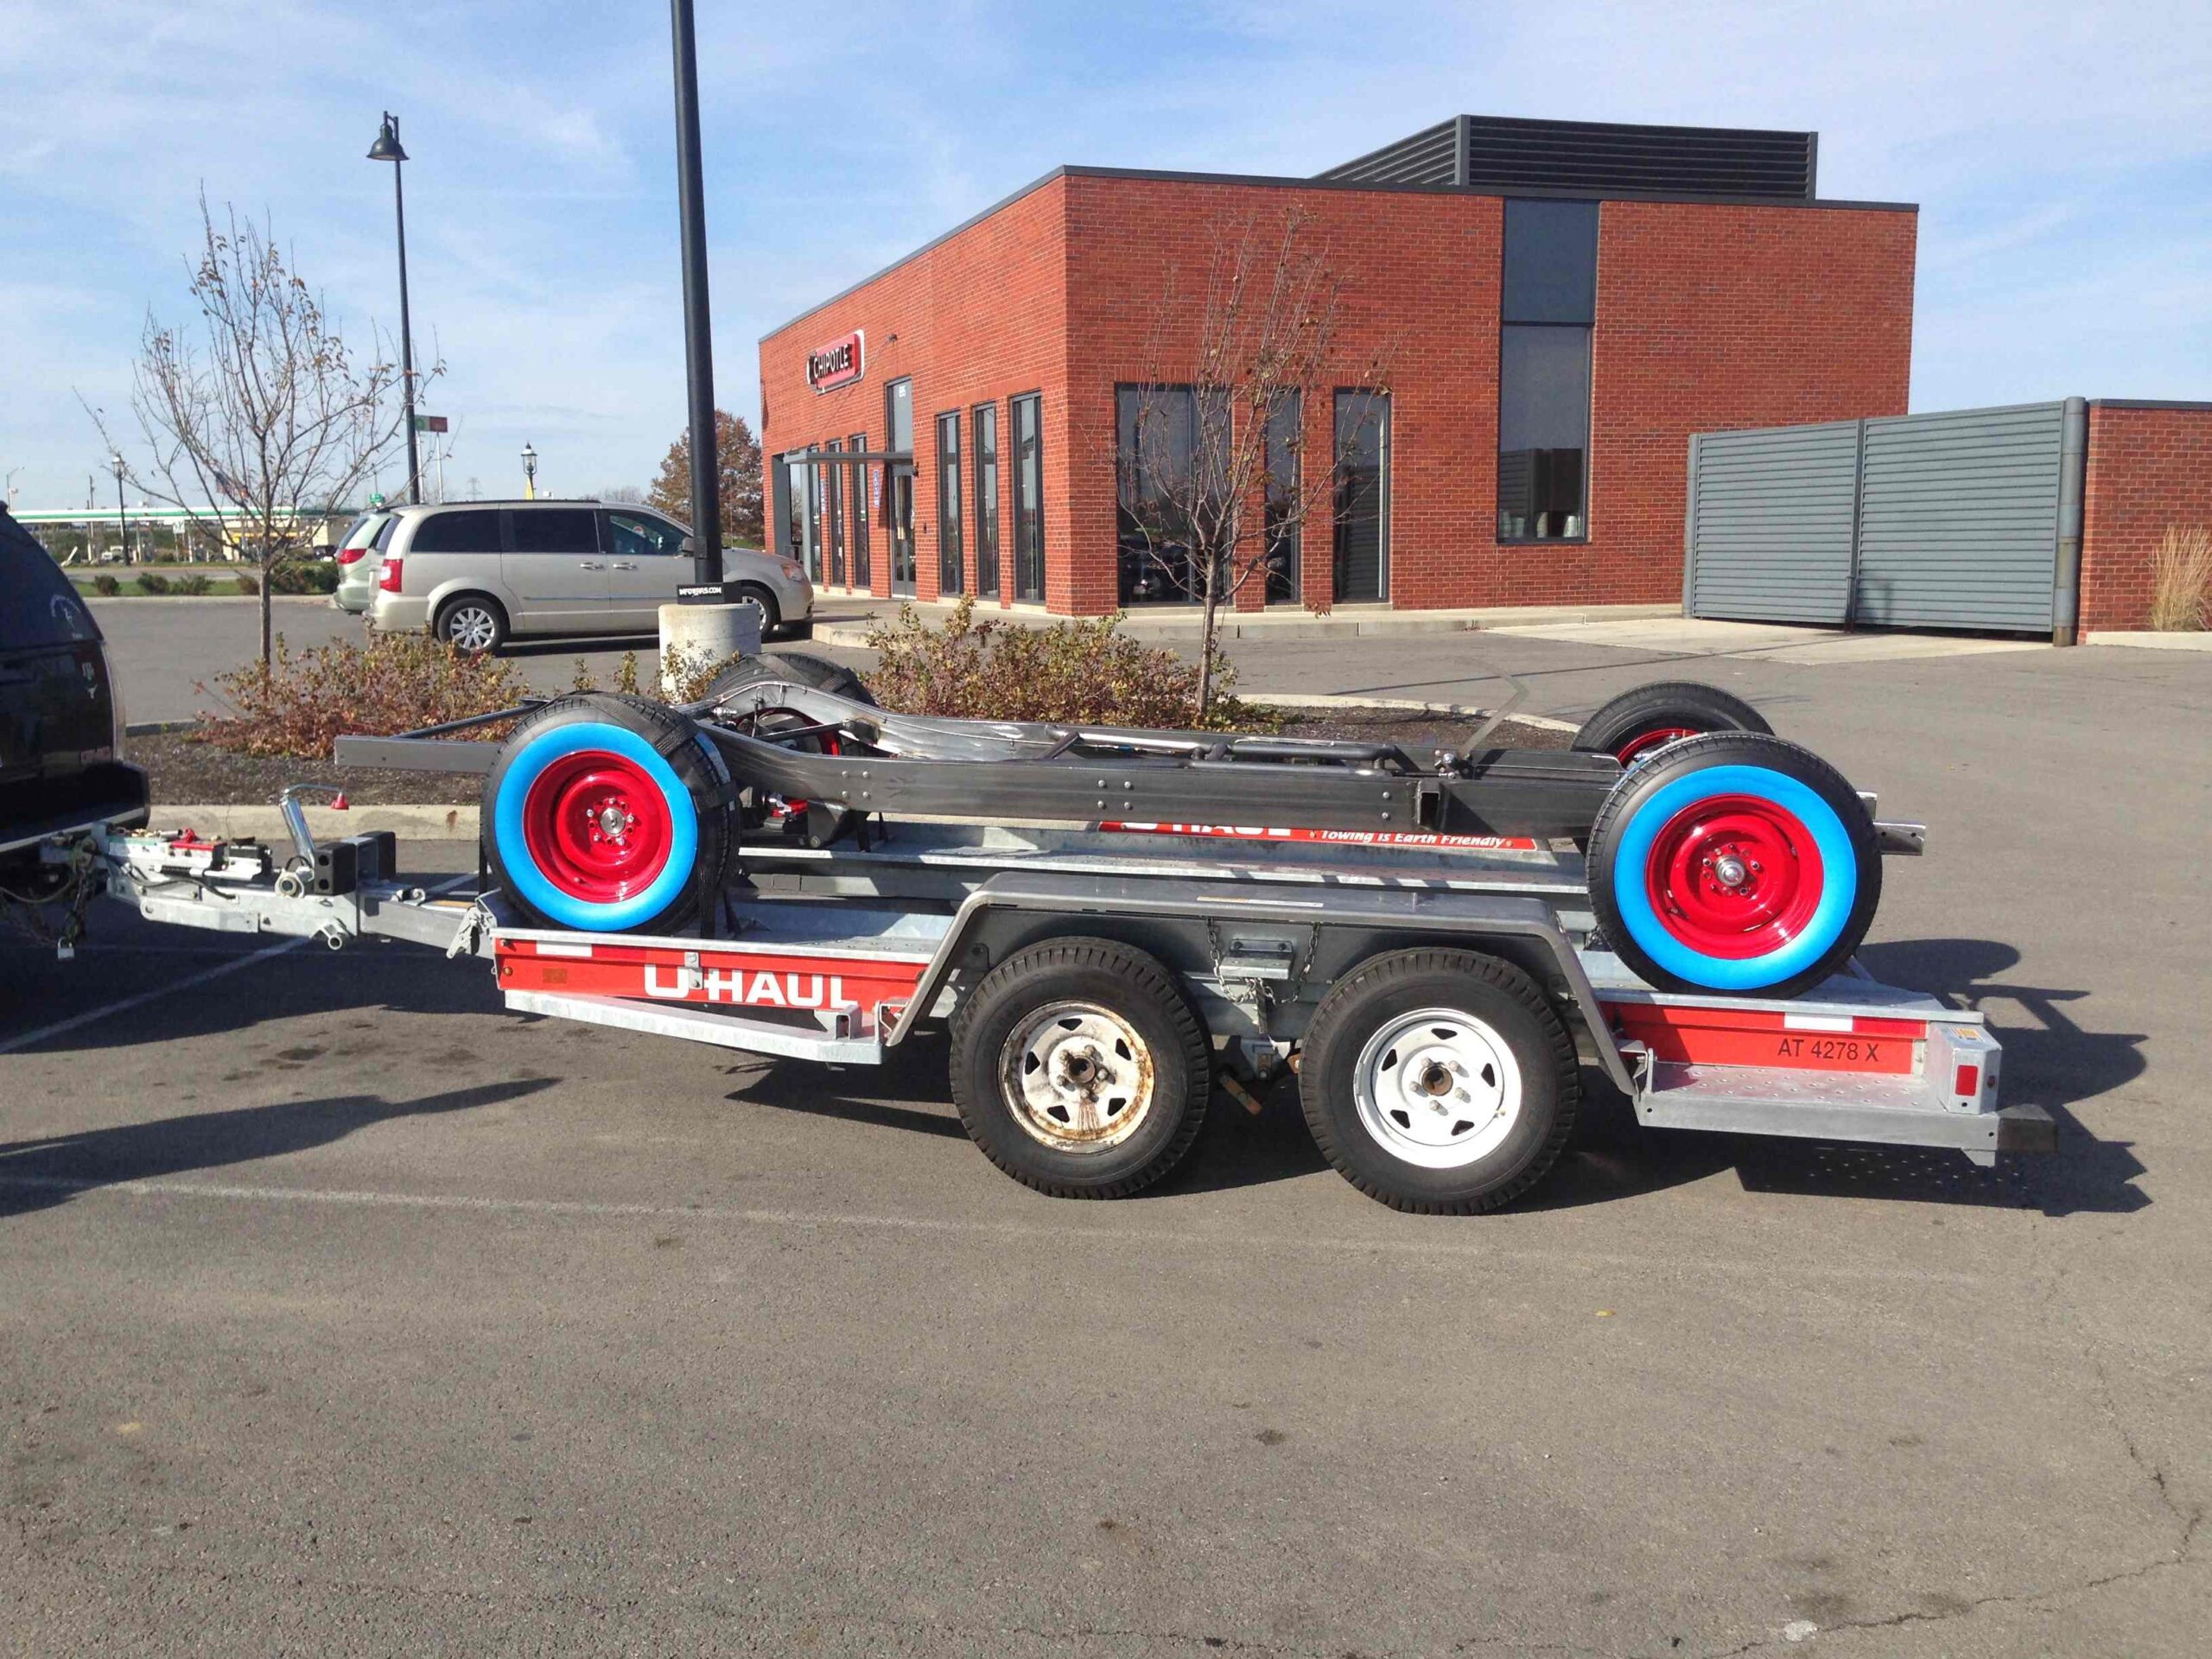
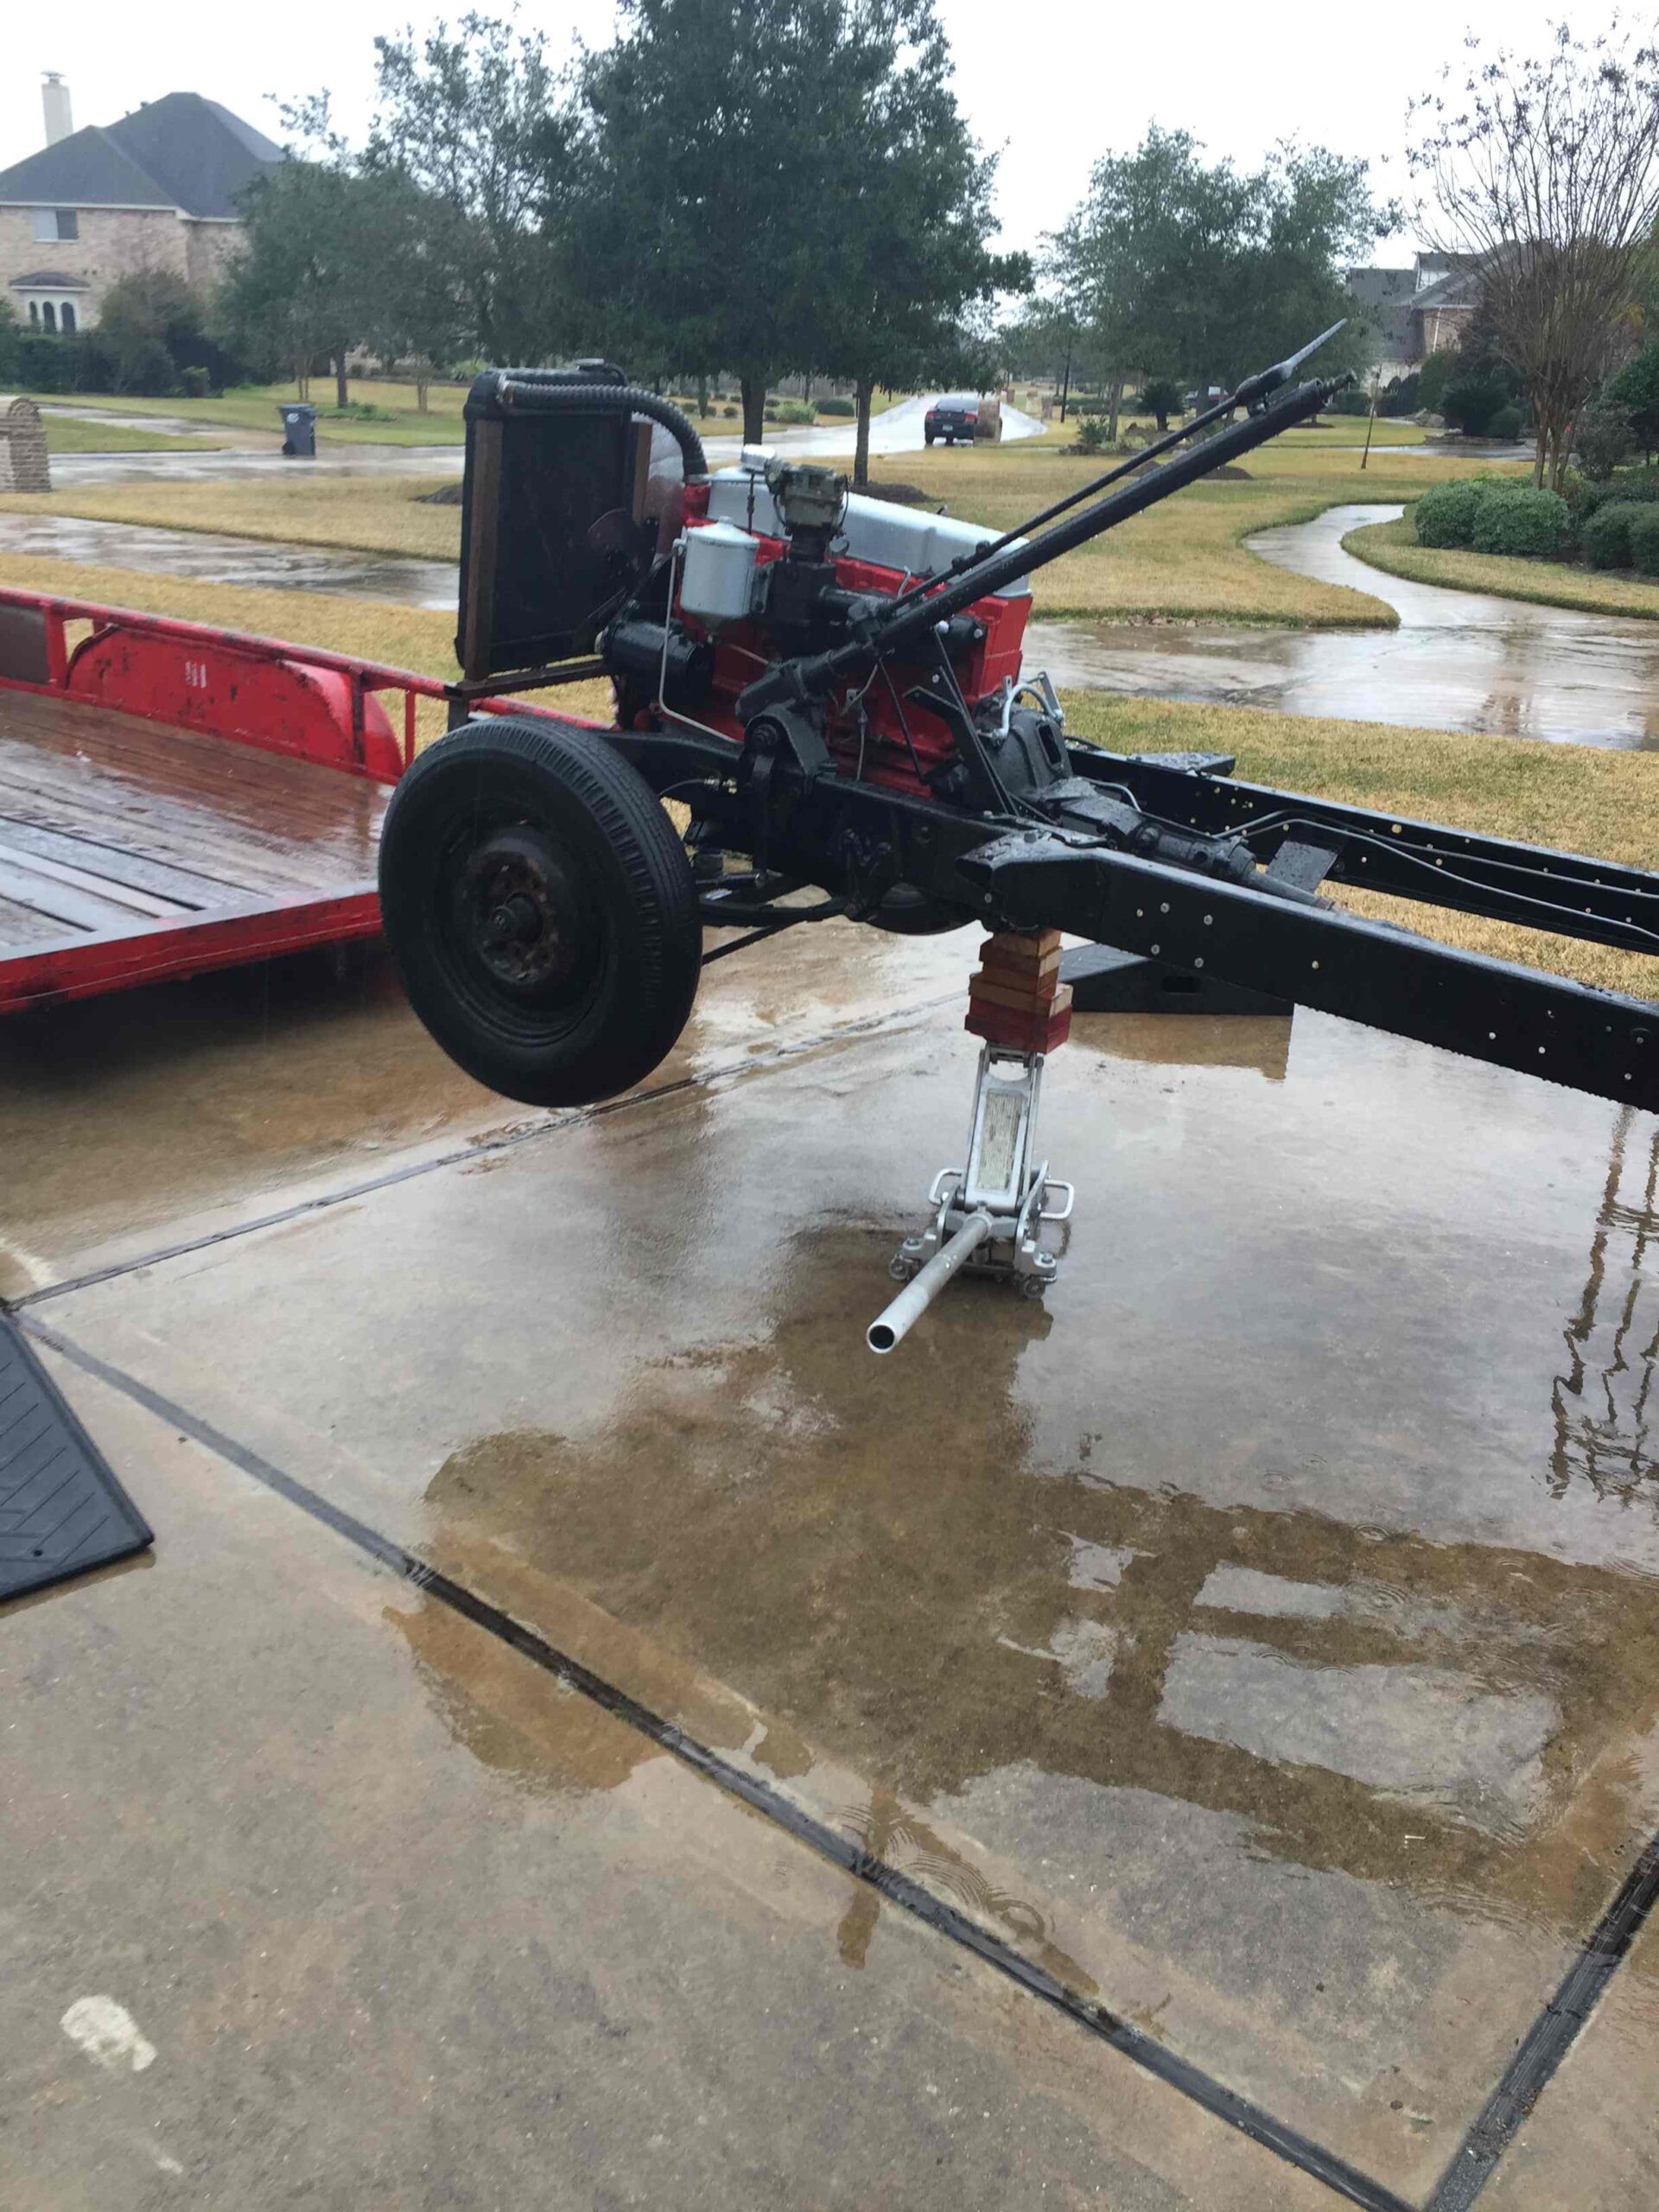
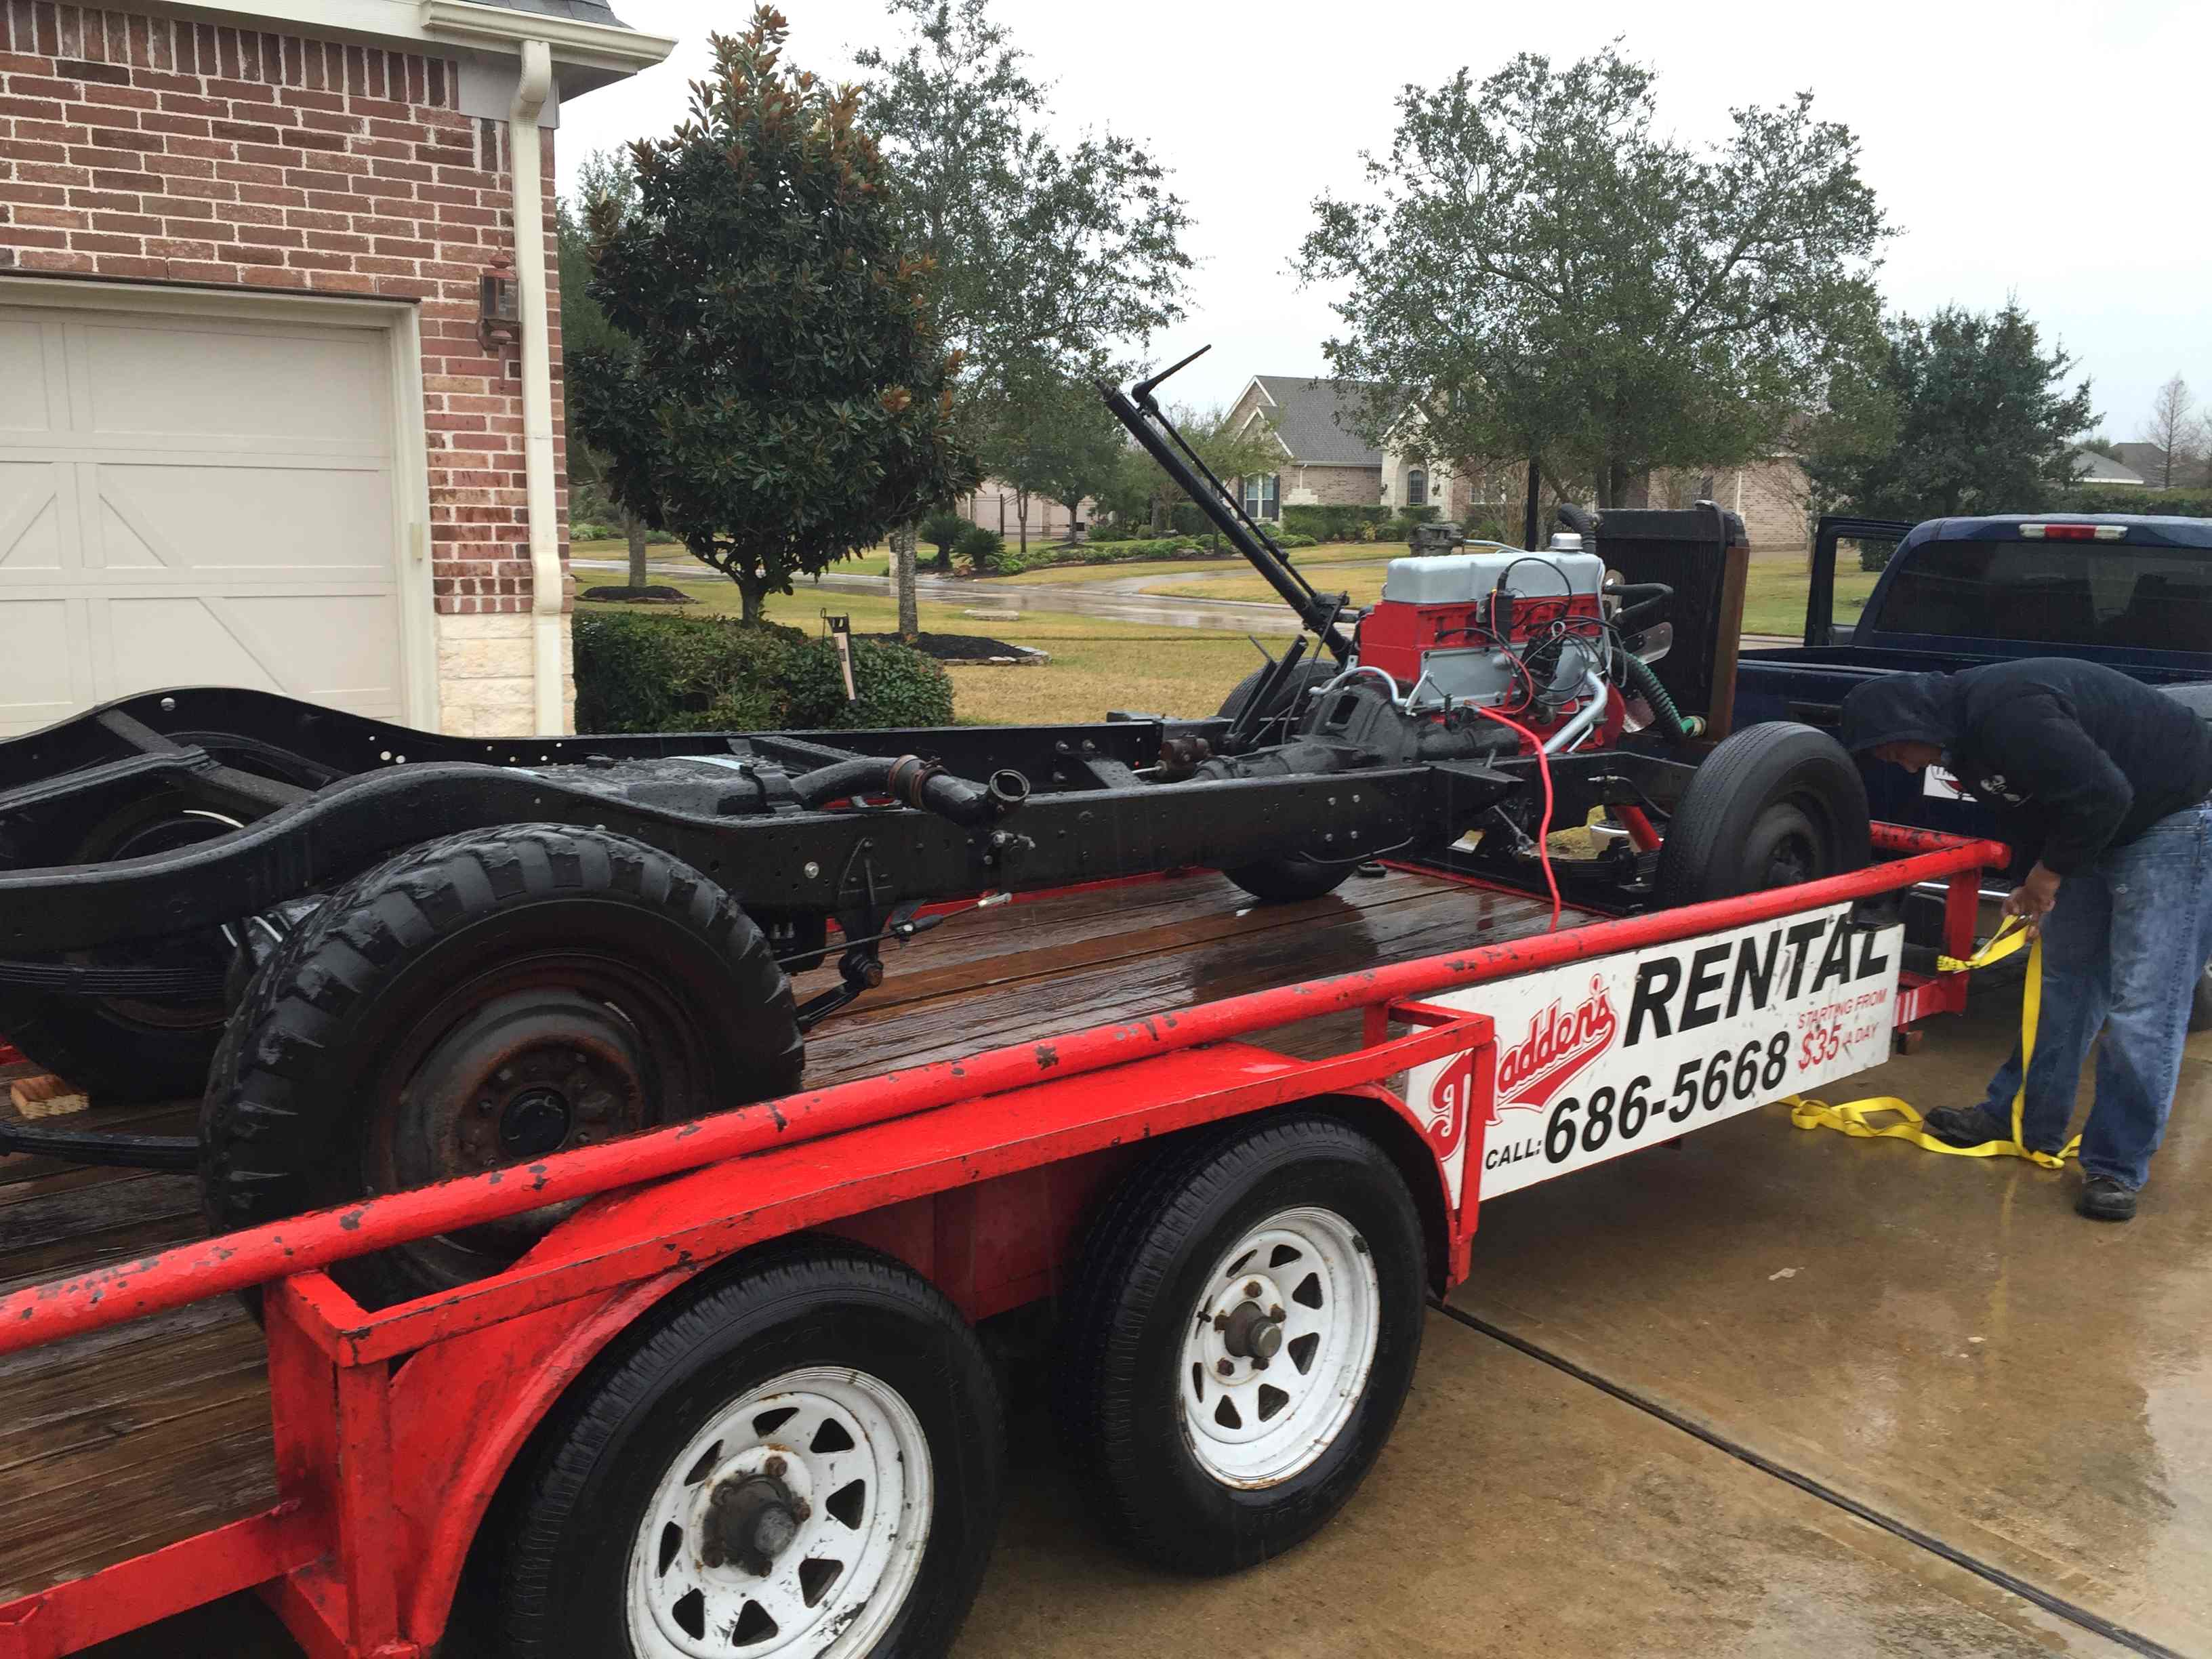
2015 Old Chassis
Since I wasn’t using the original frame, I posted it online for sale. I was able to sell it and pass it along to another builder doing a restoration project. Unfortunately they brought a trailer without ramps. We had to get creative and got it loaded.


2015 Frame Integration
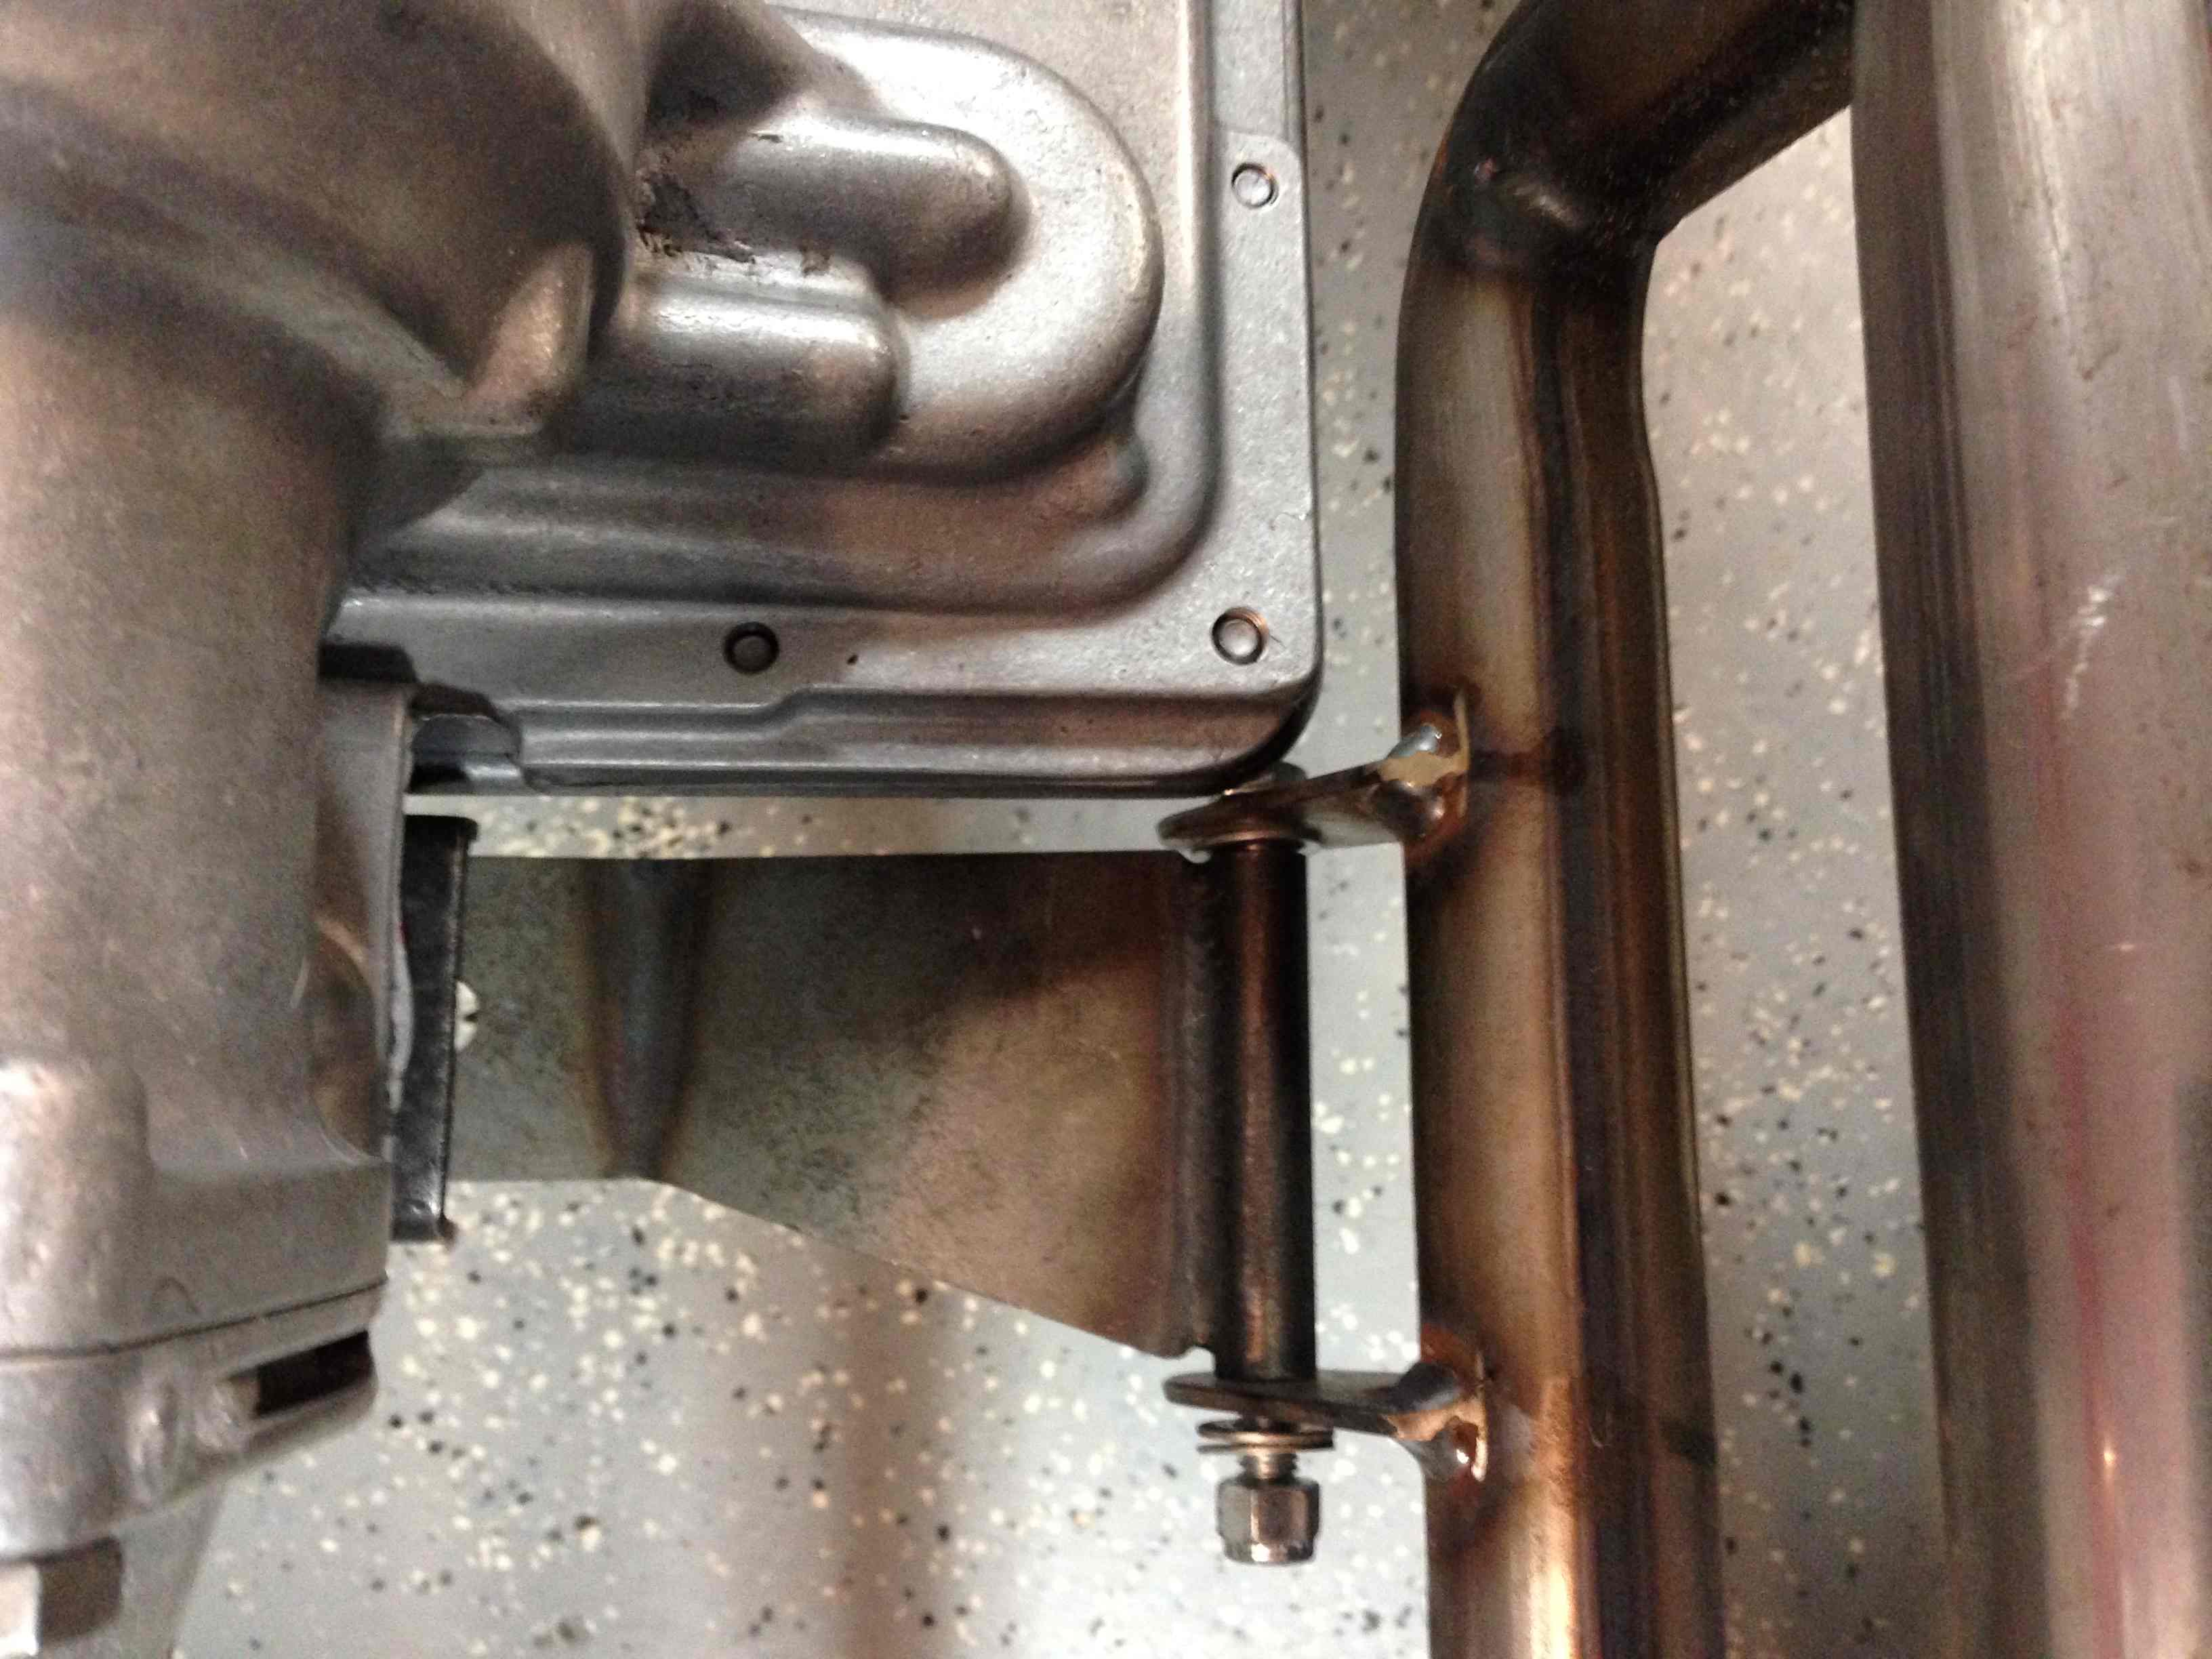
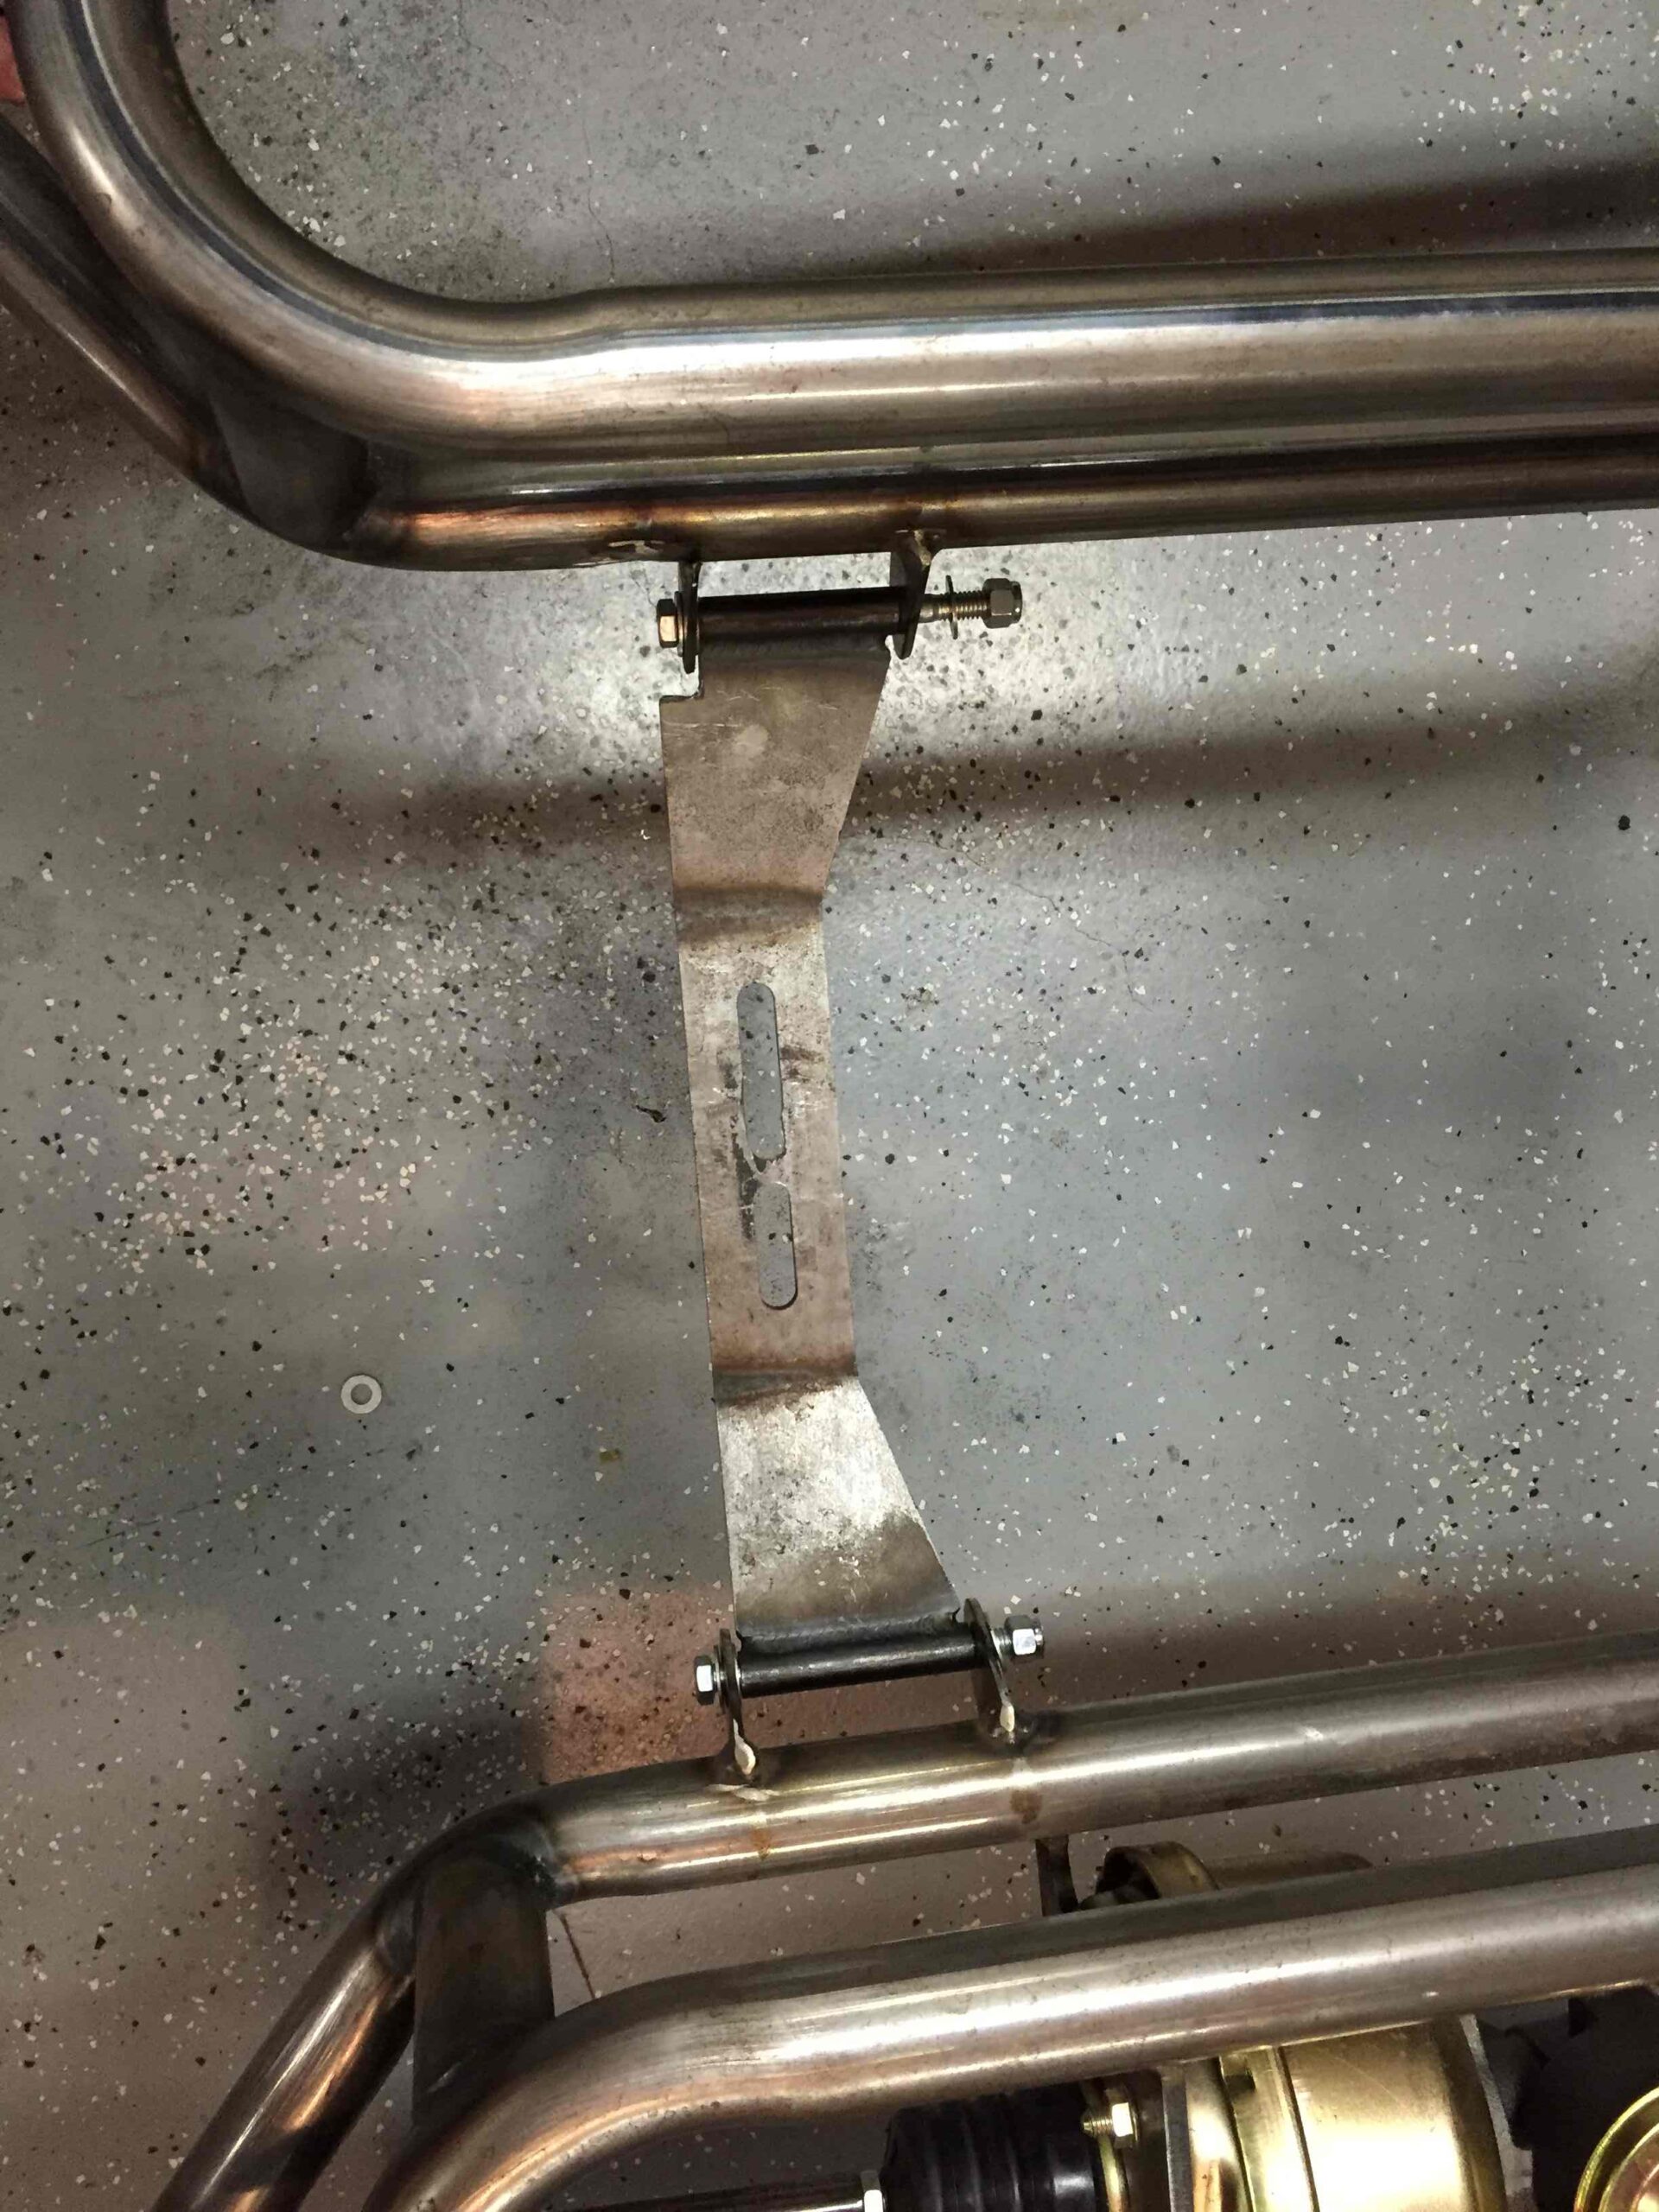
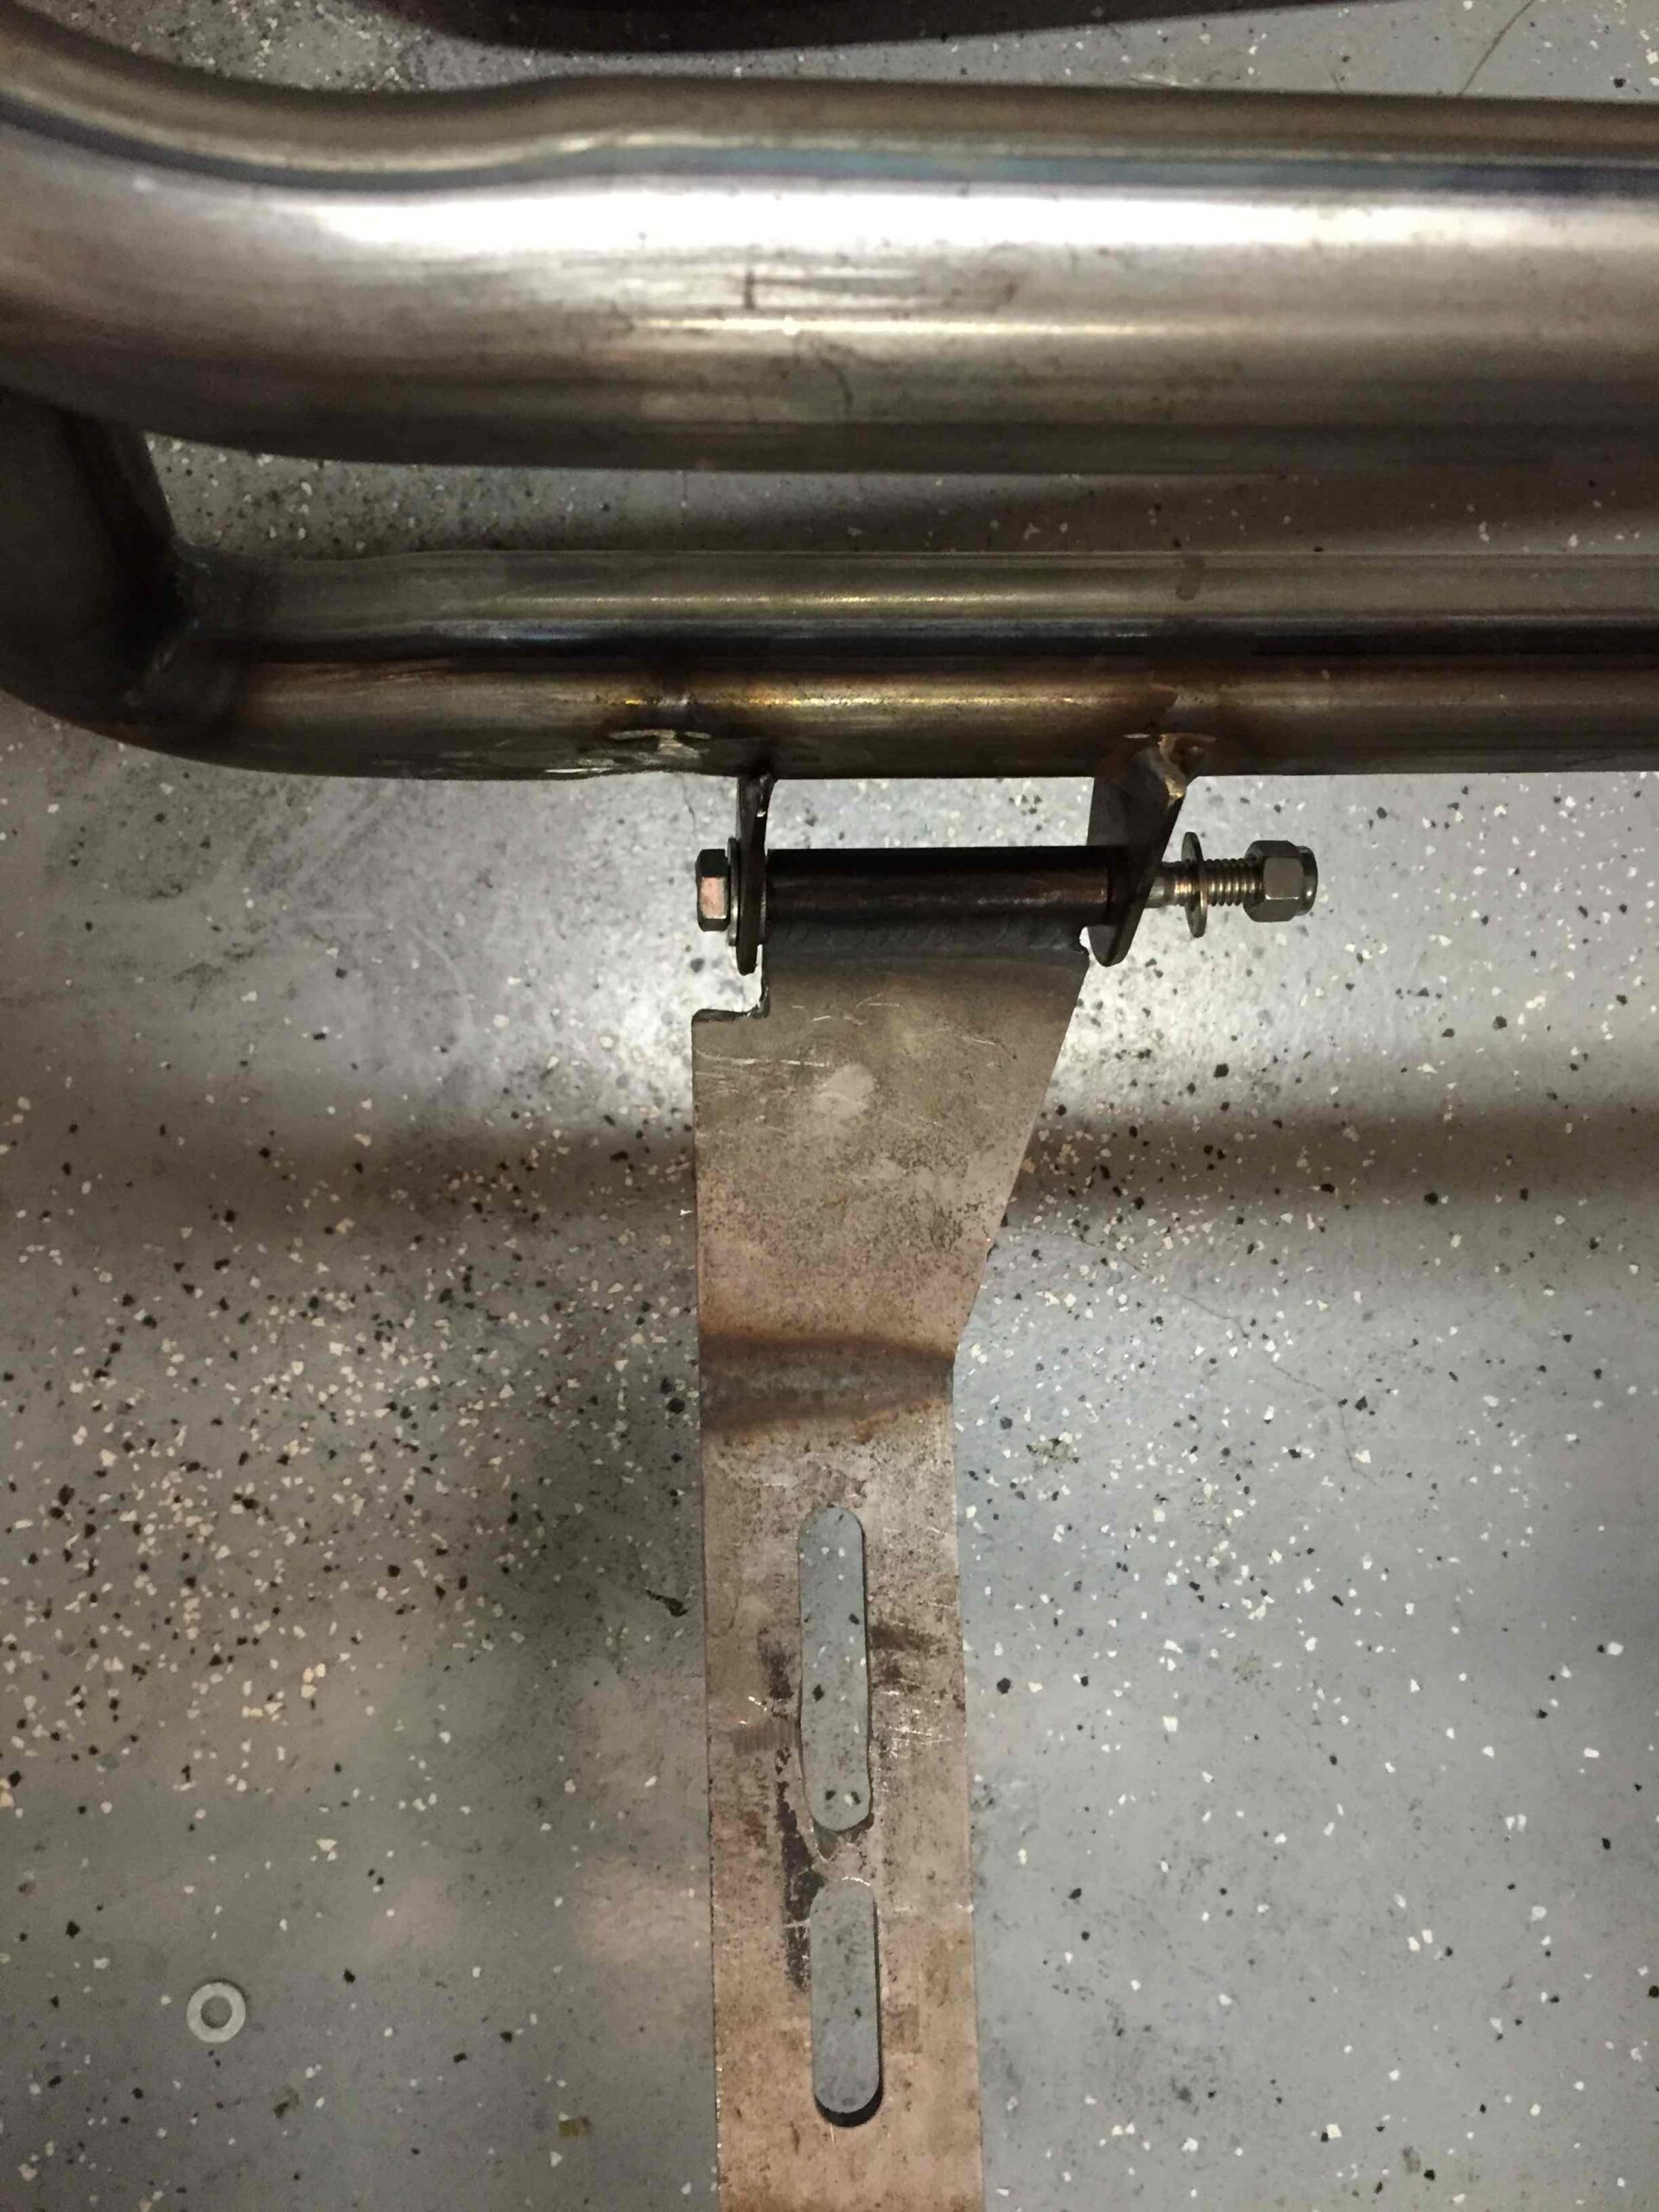
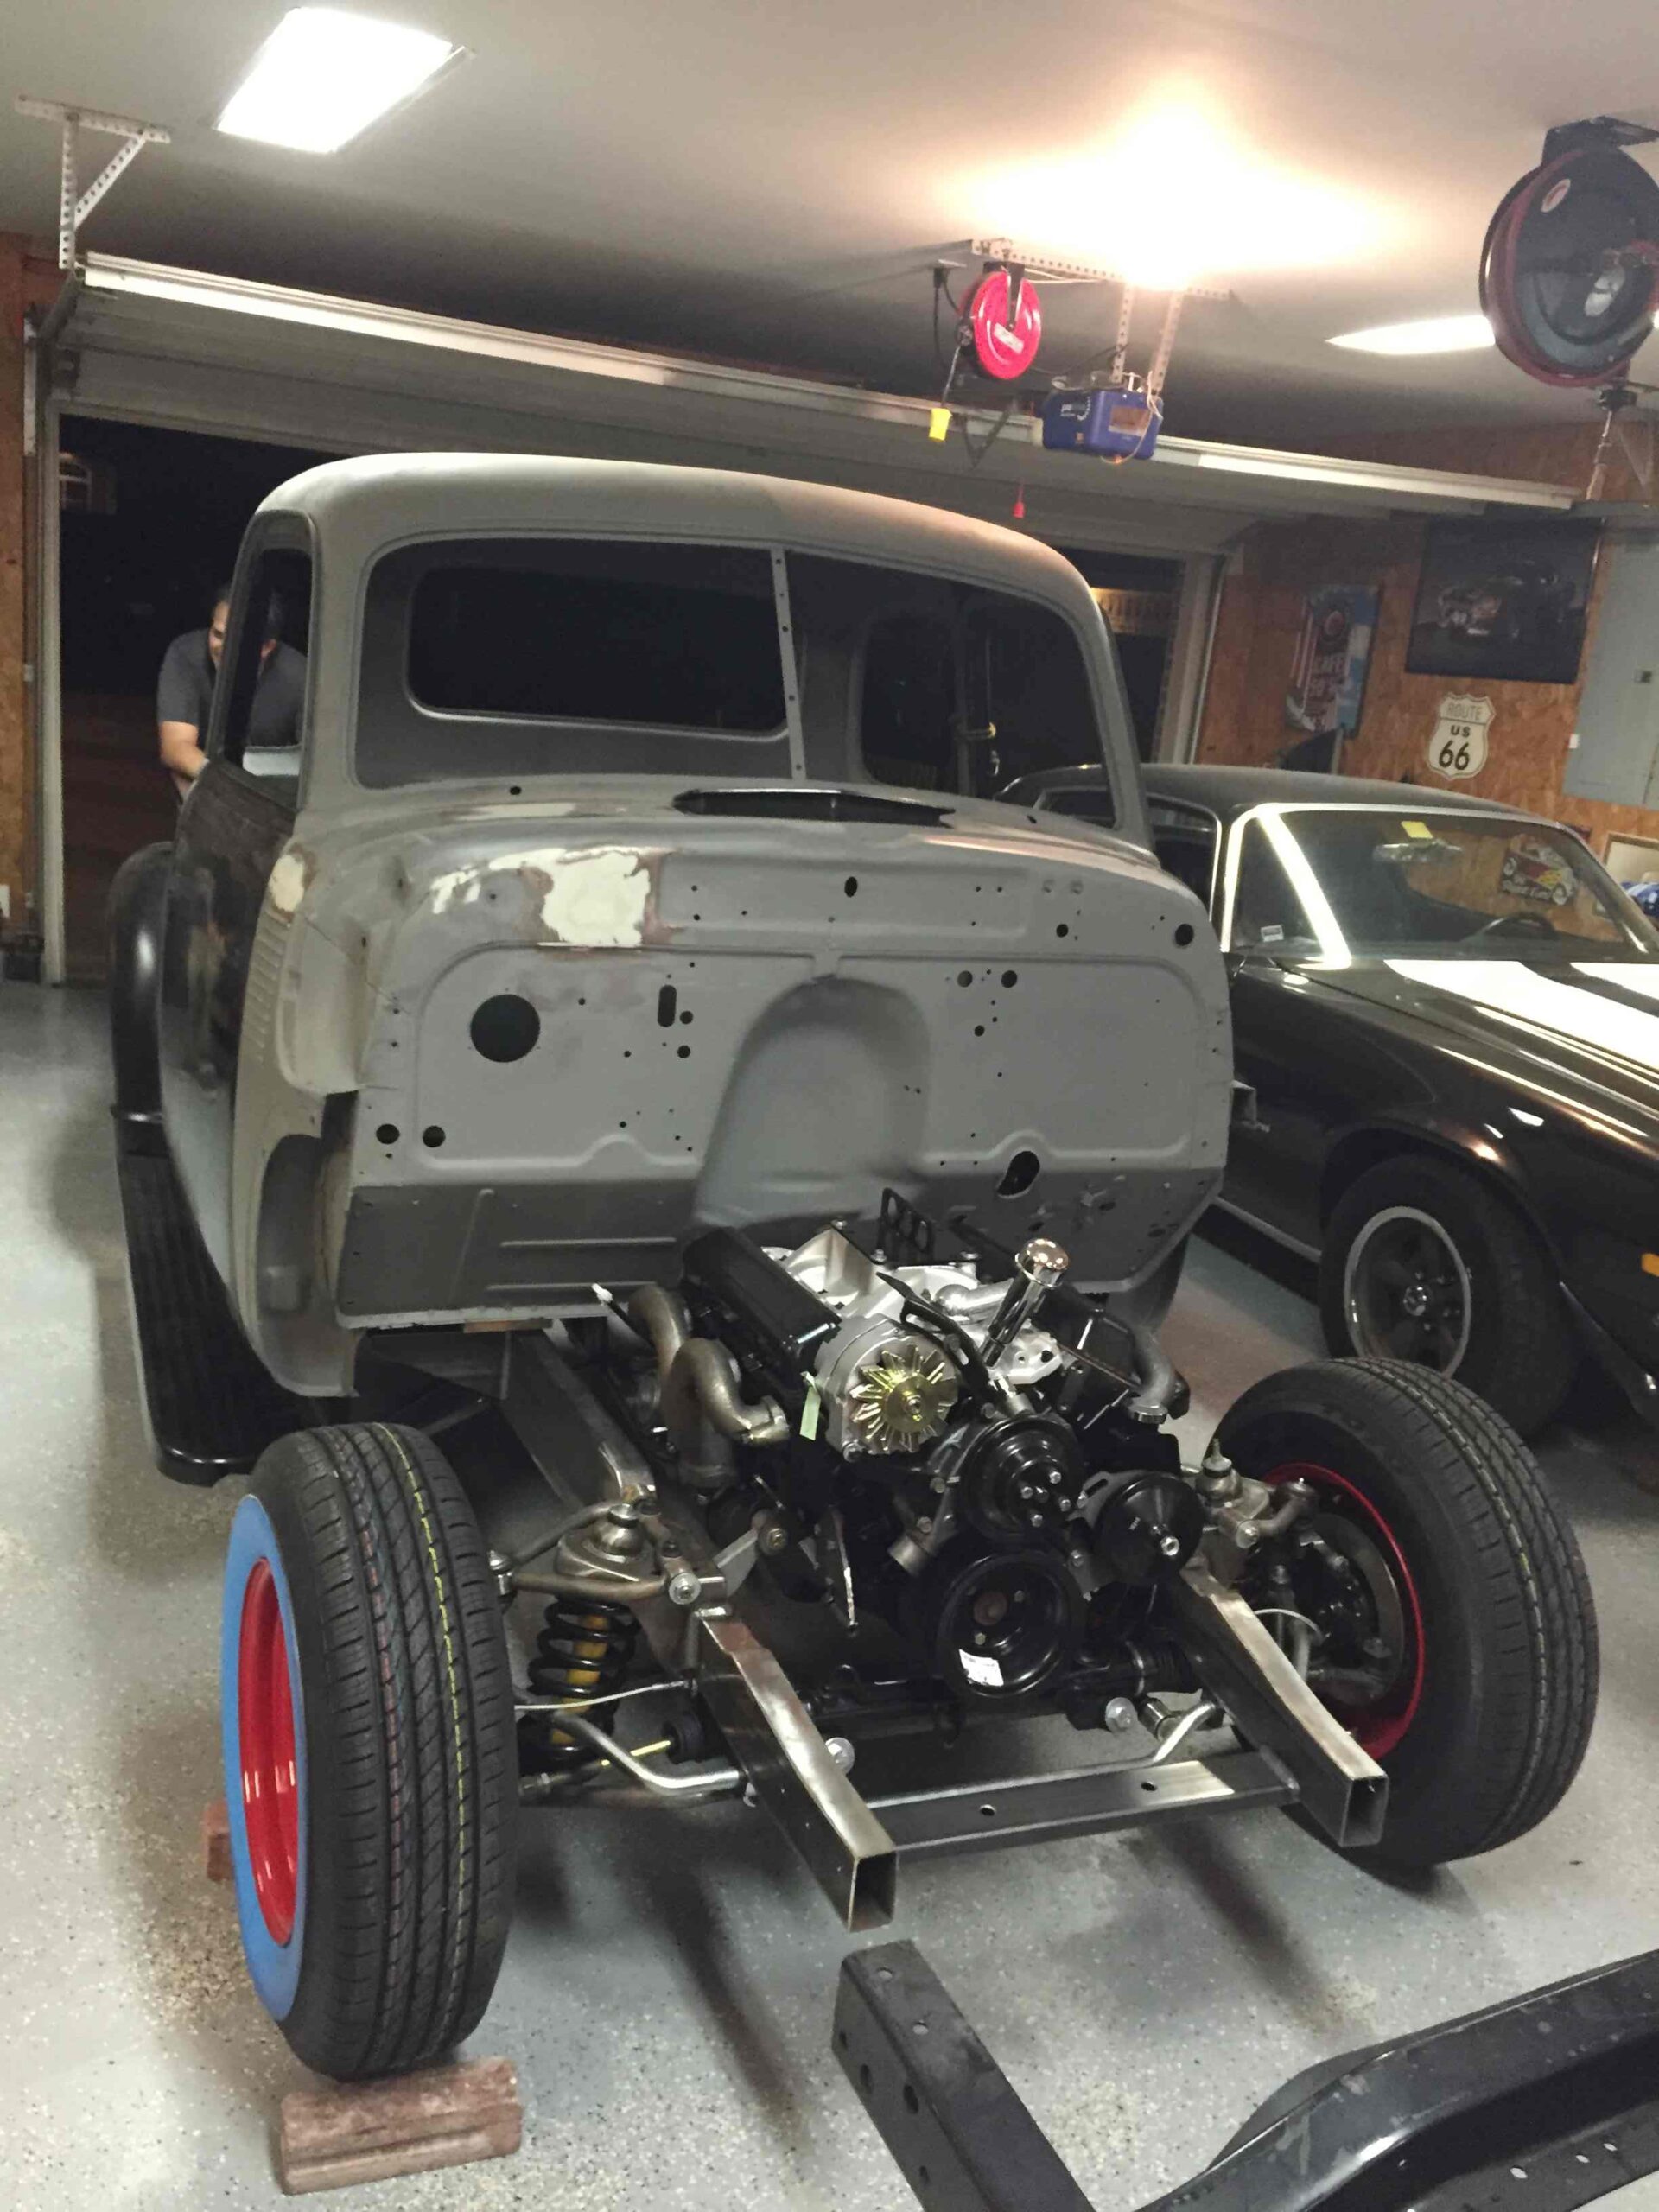
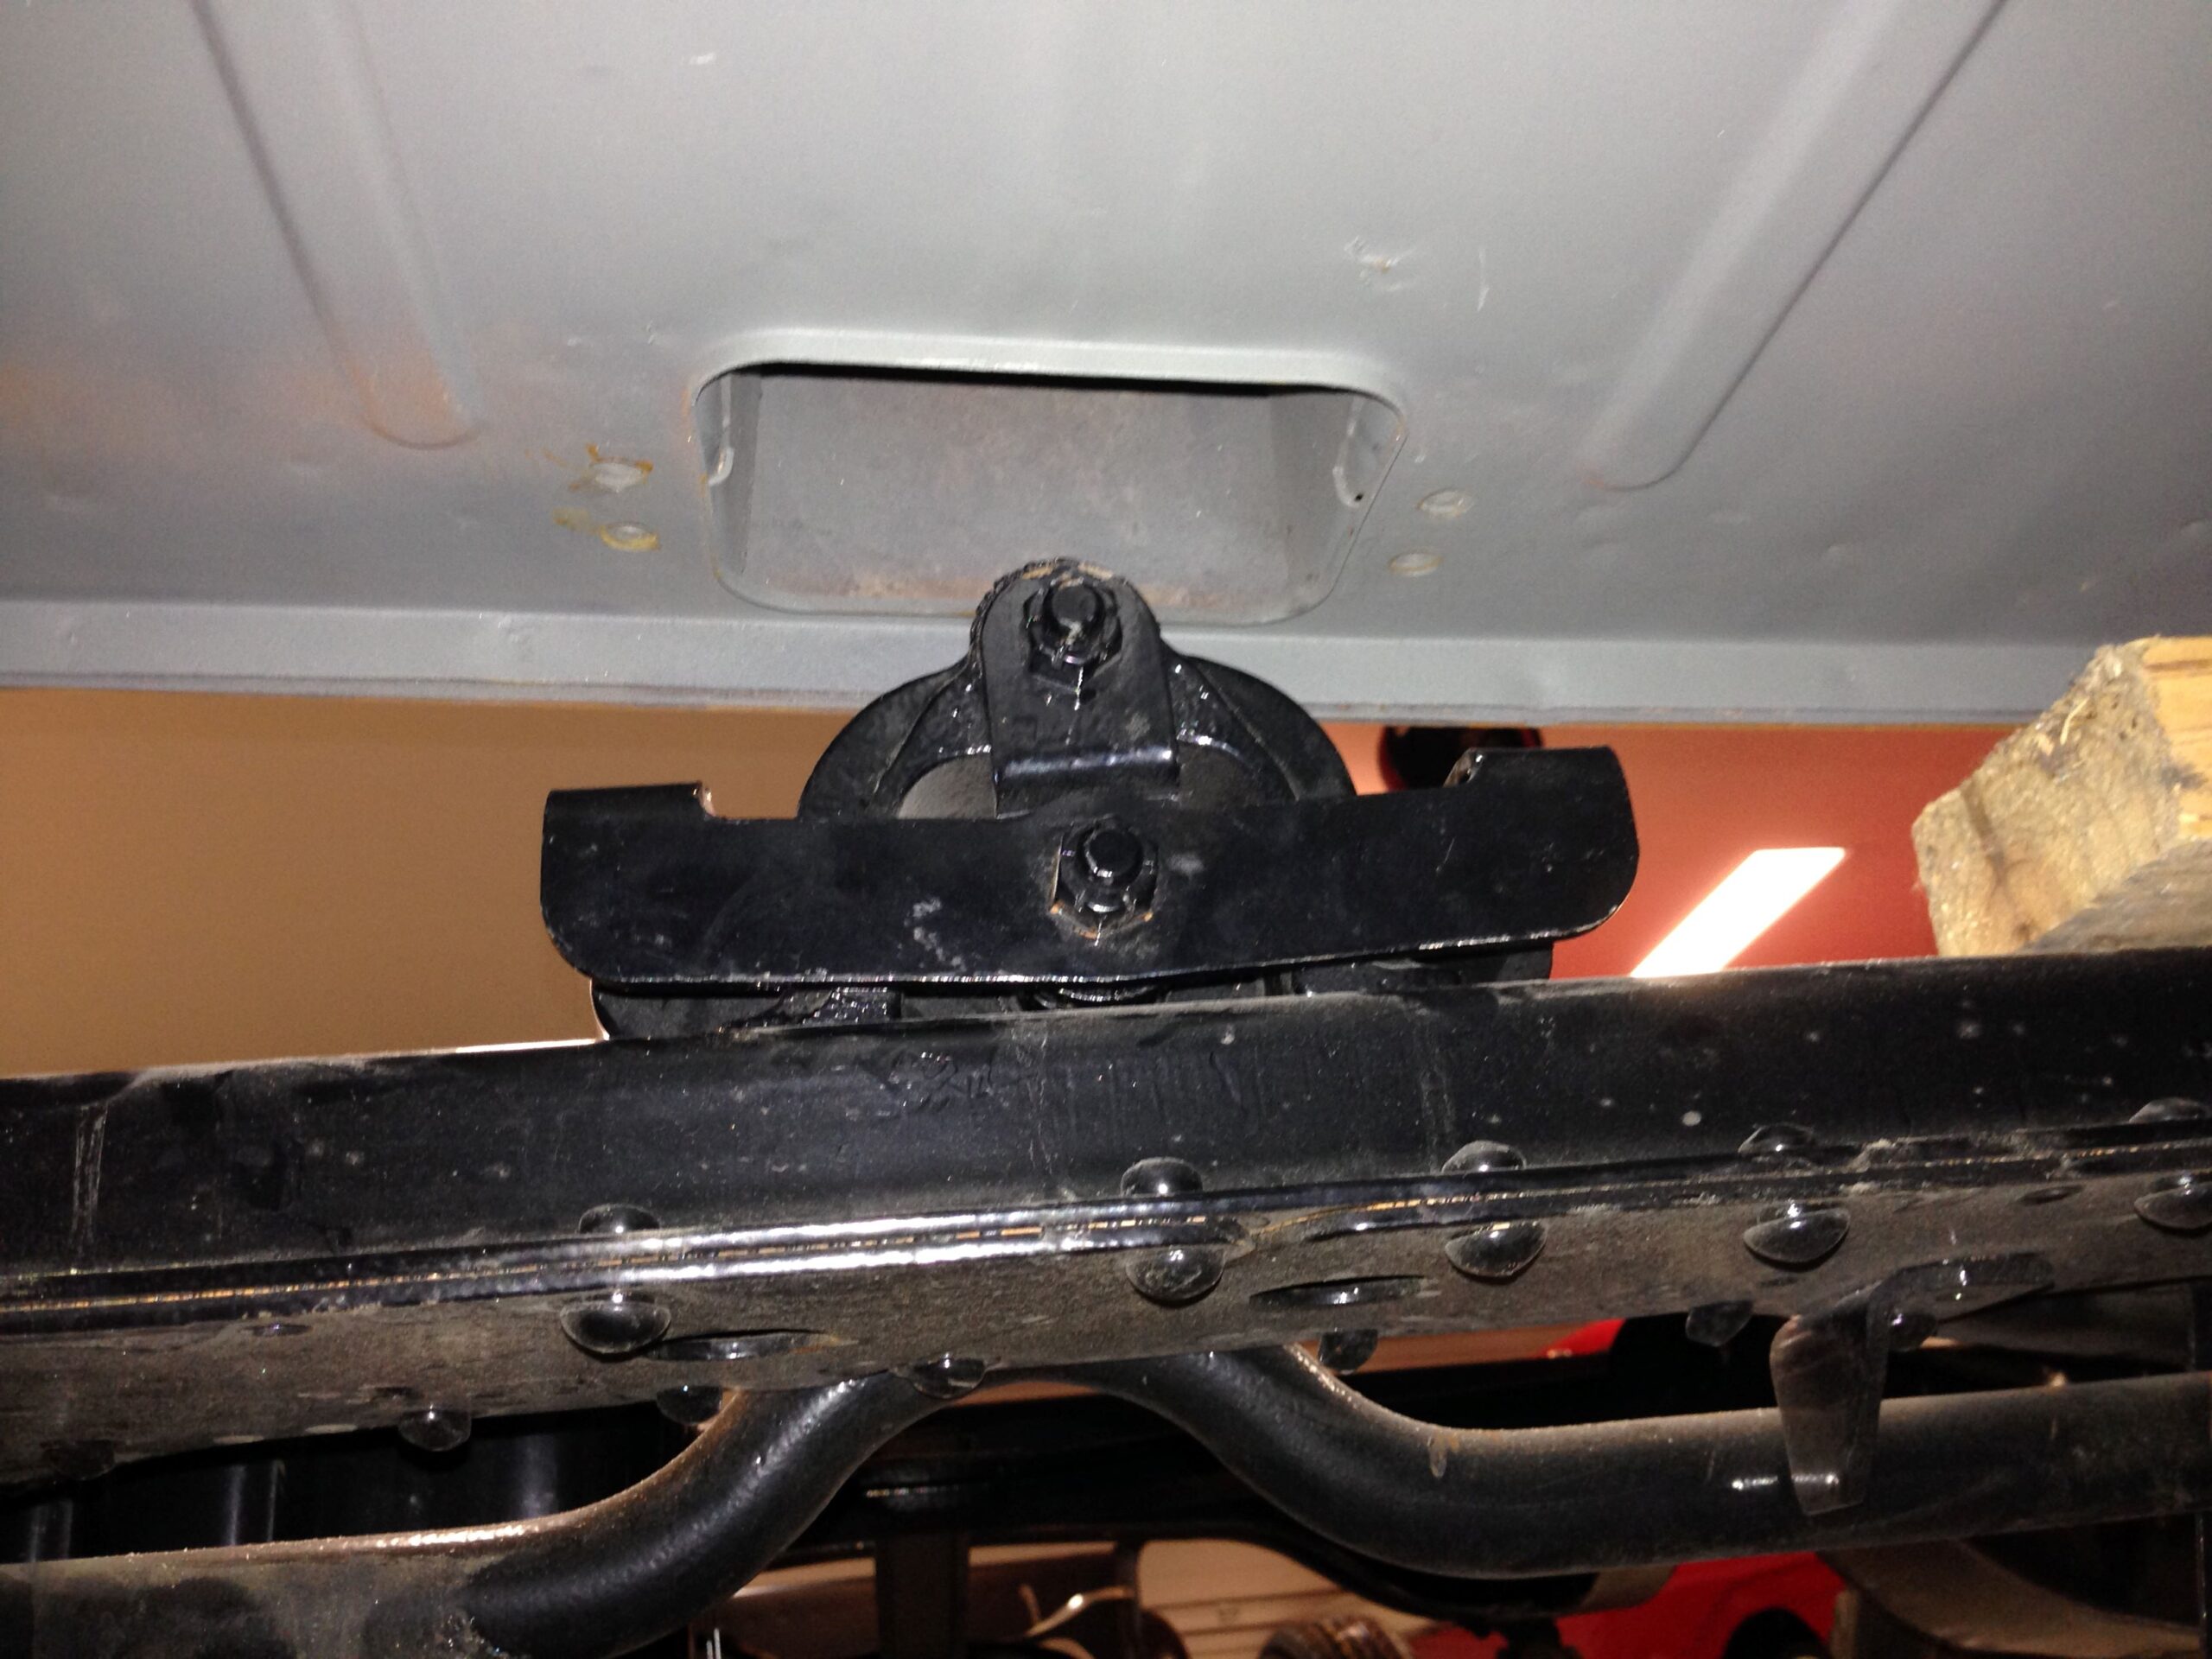
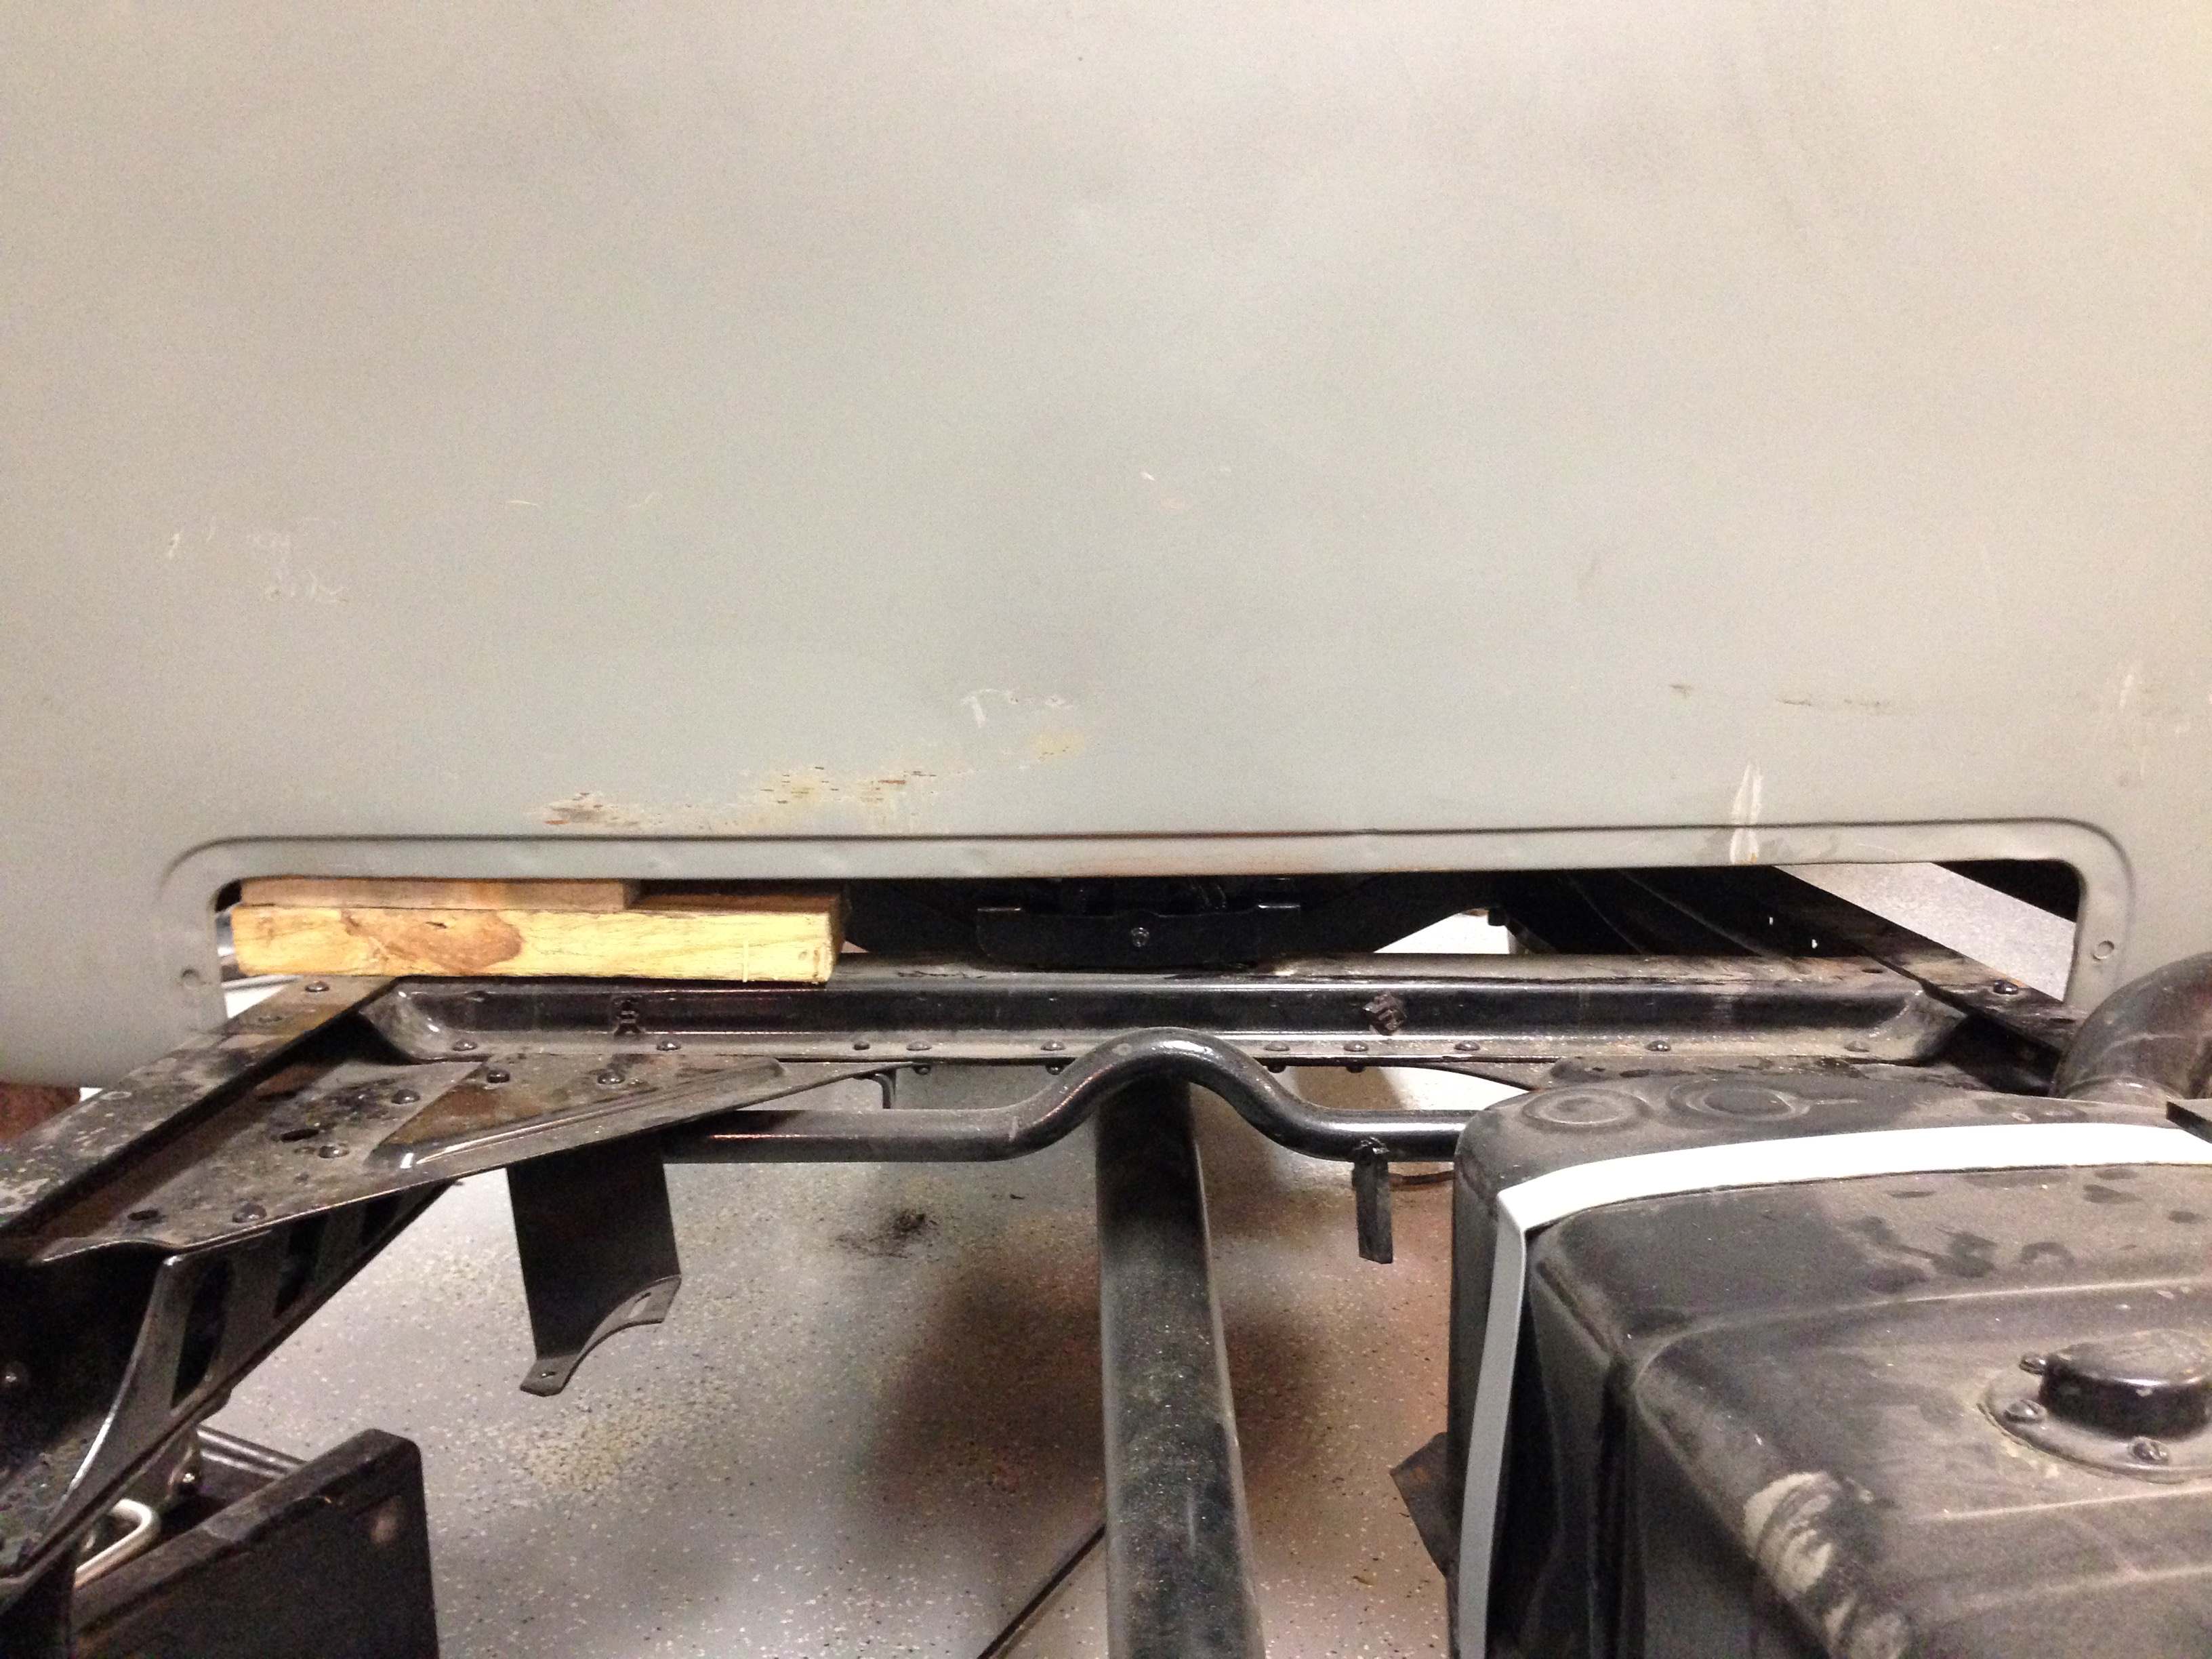
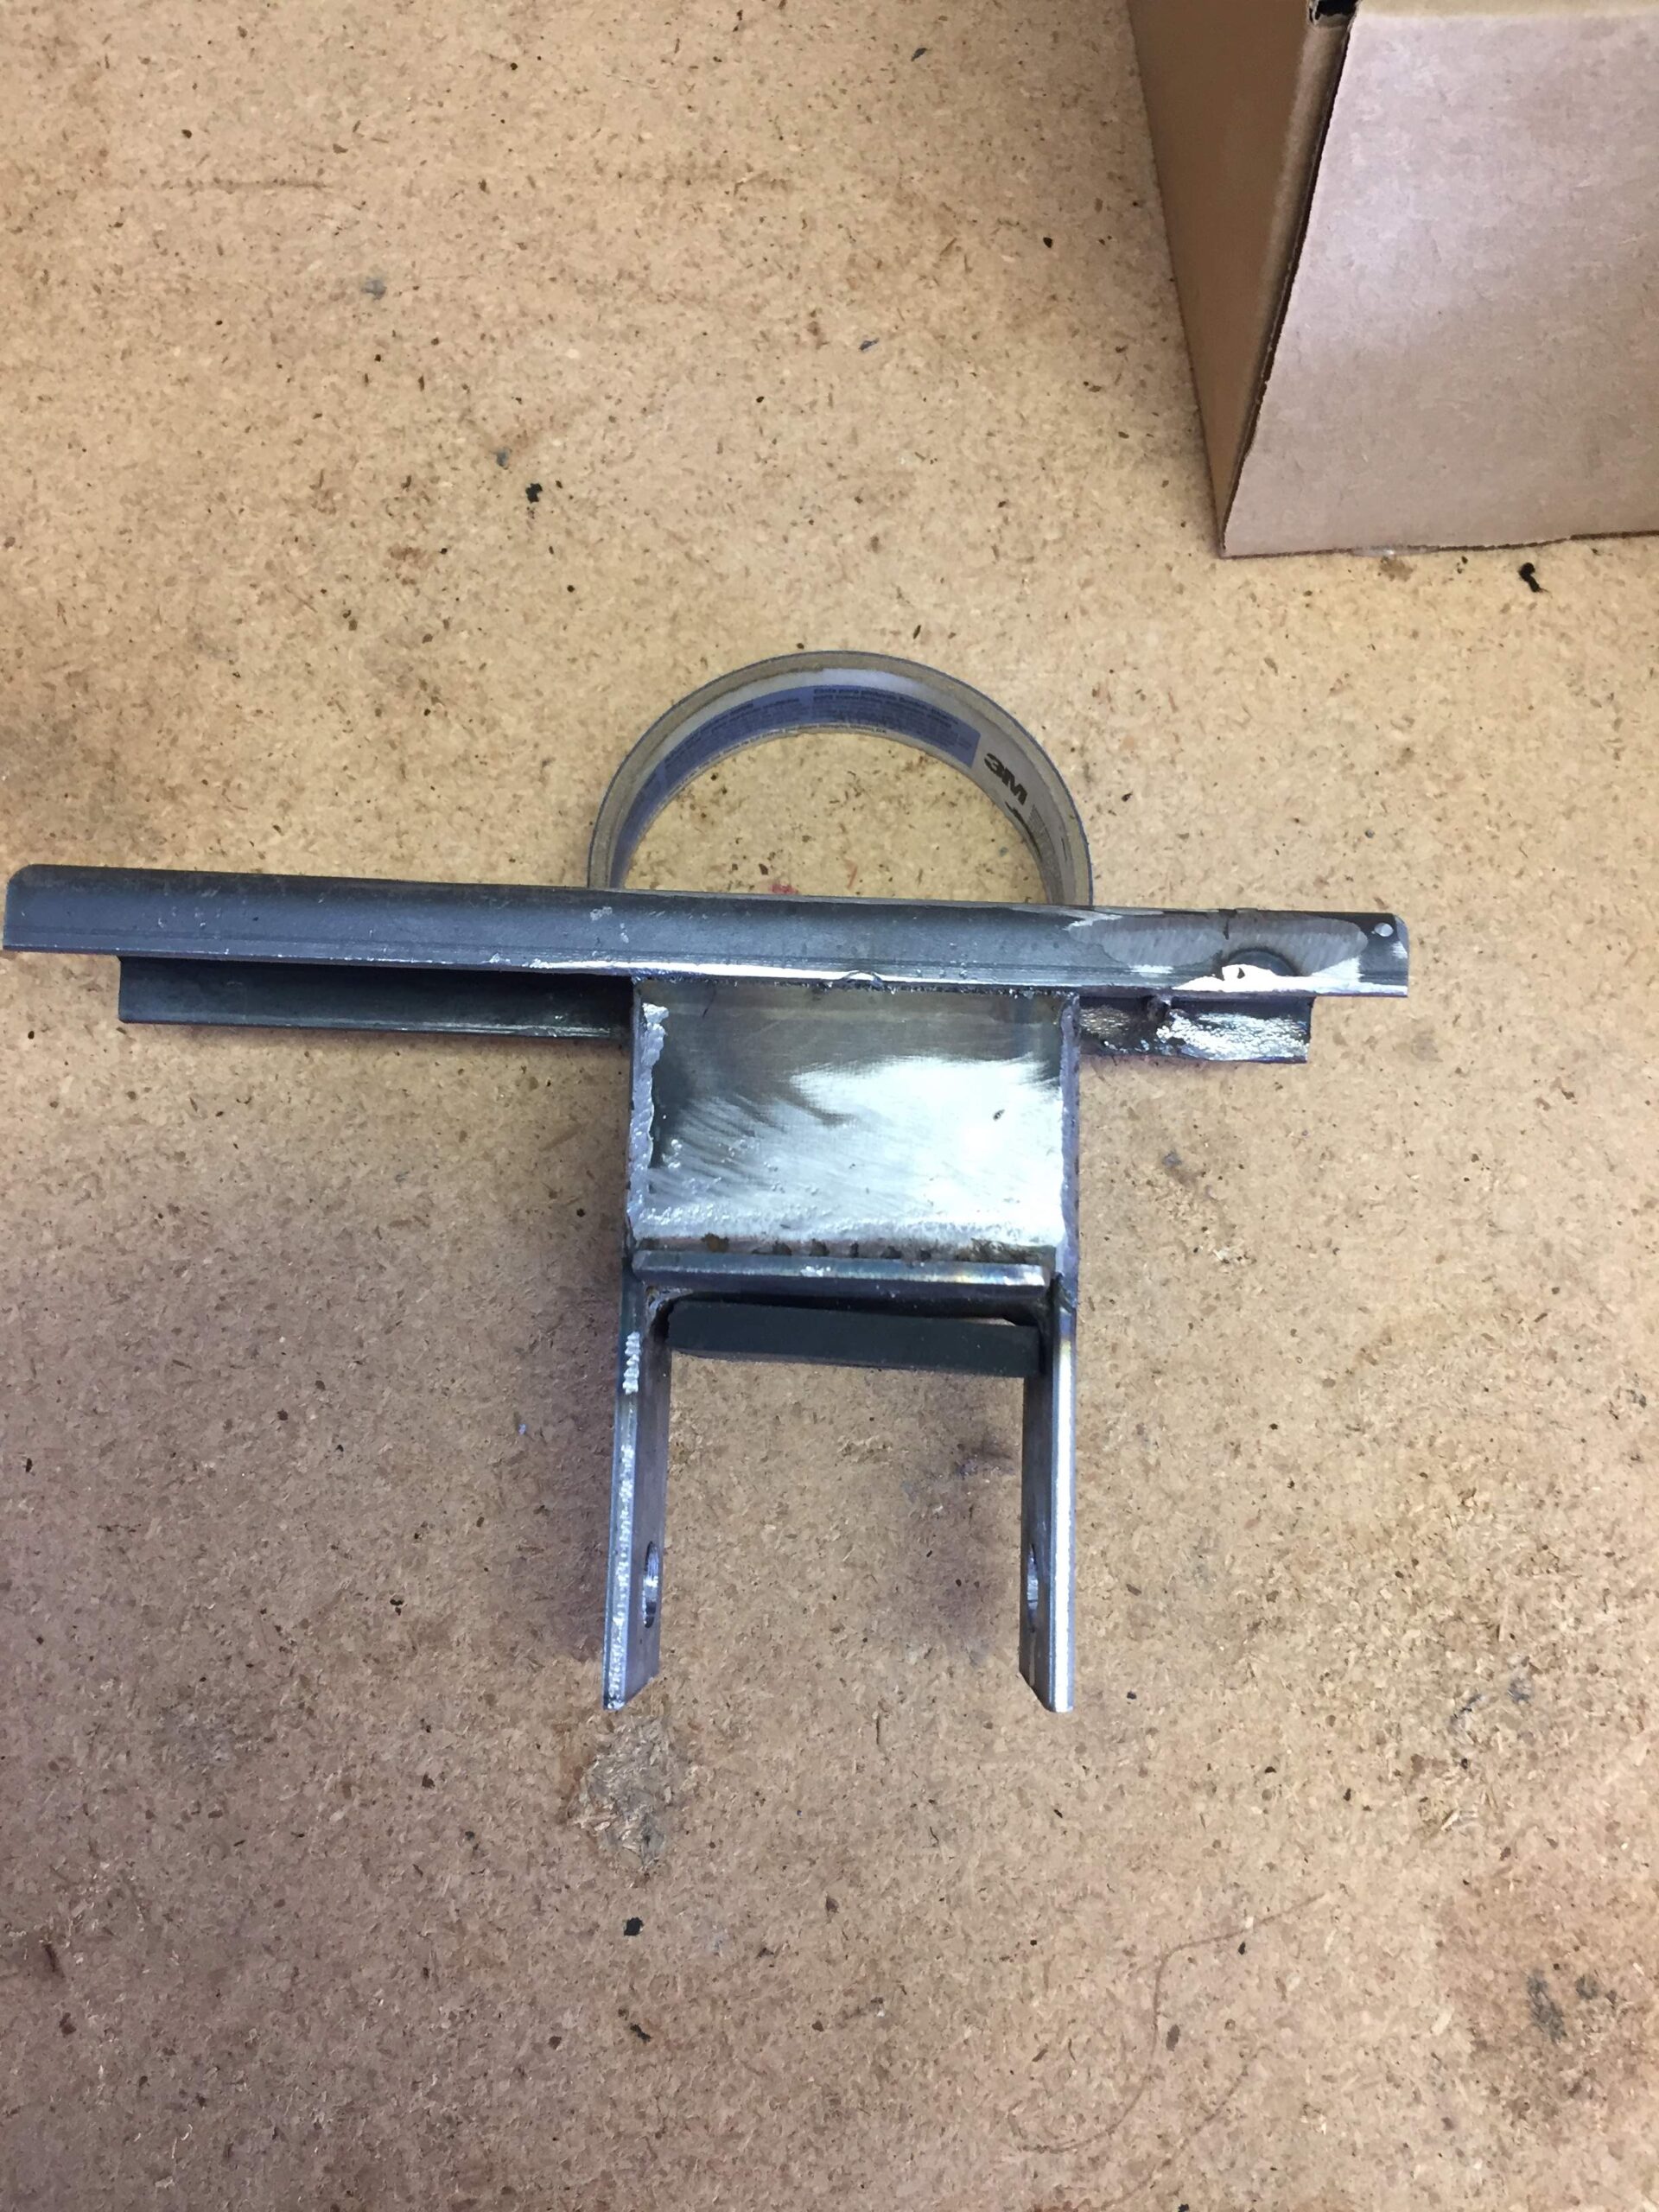
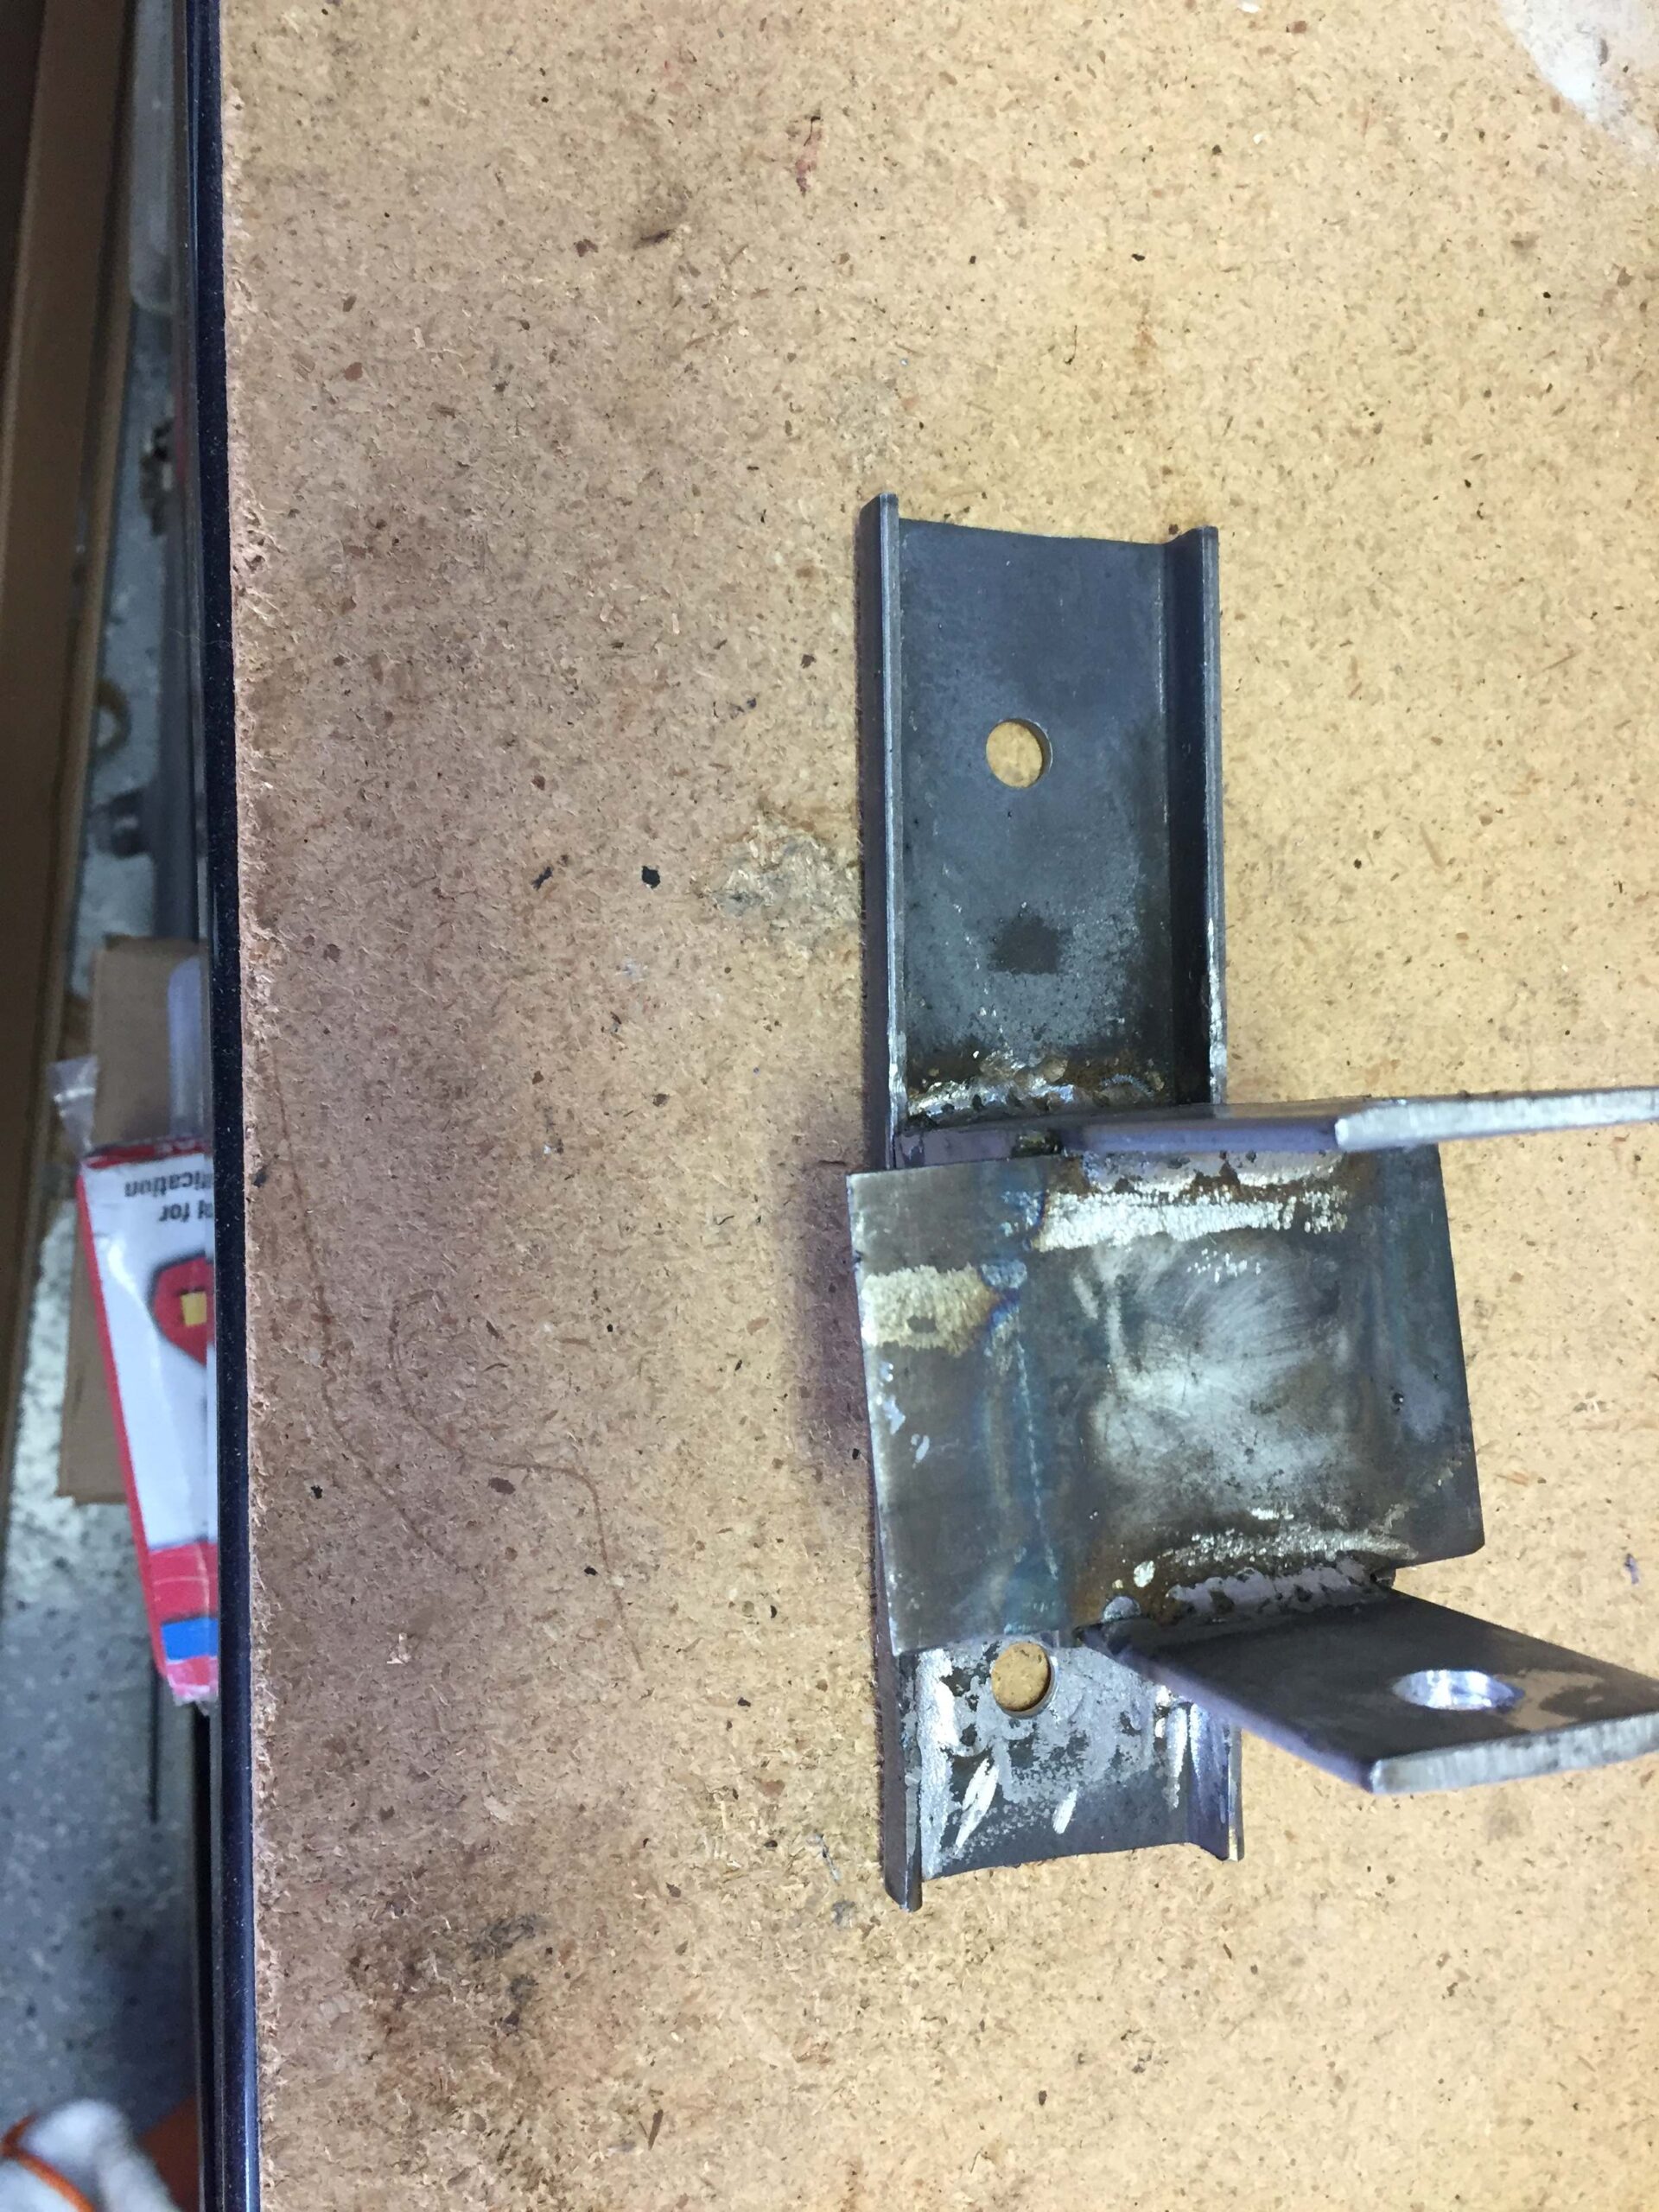
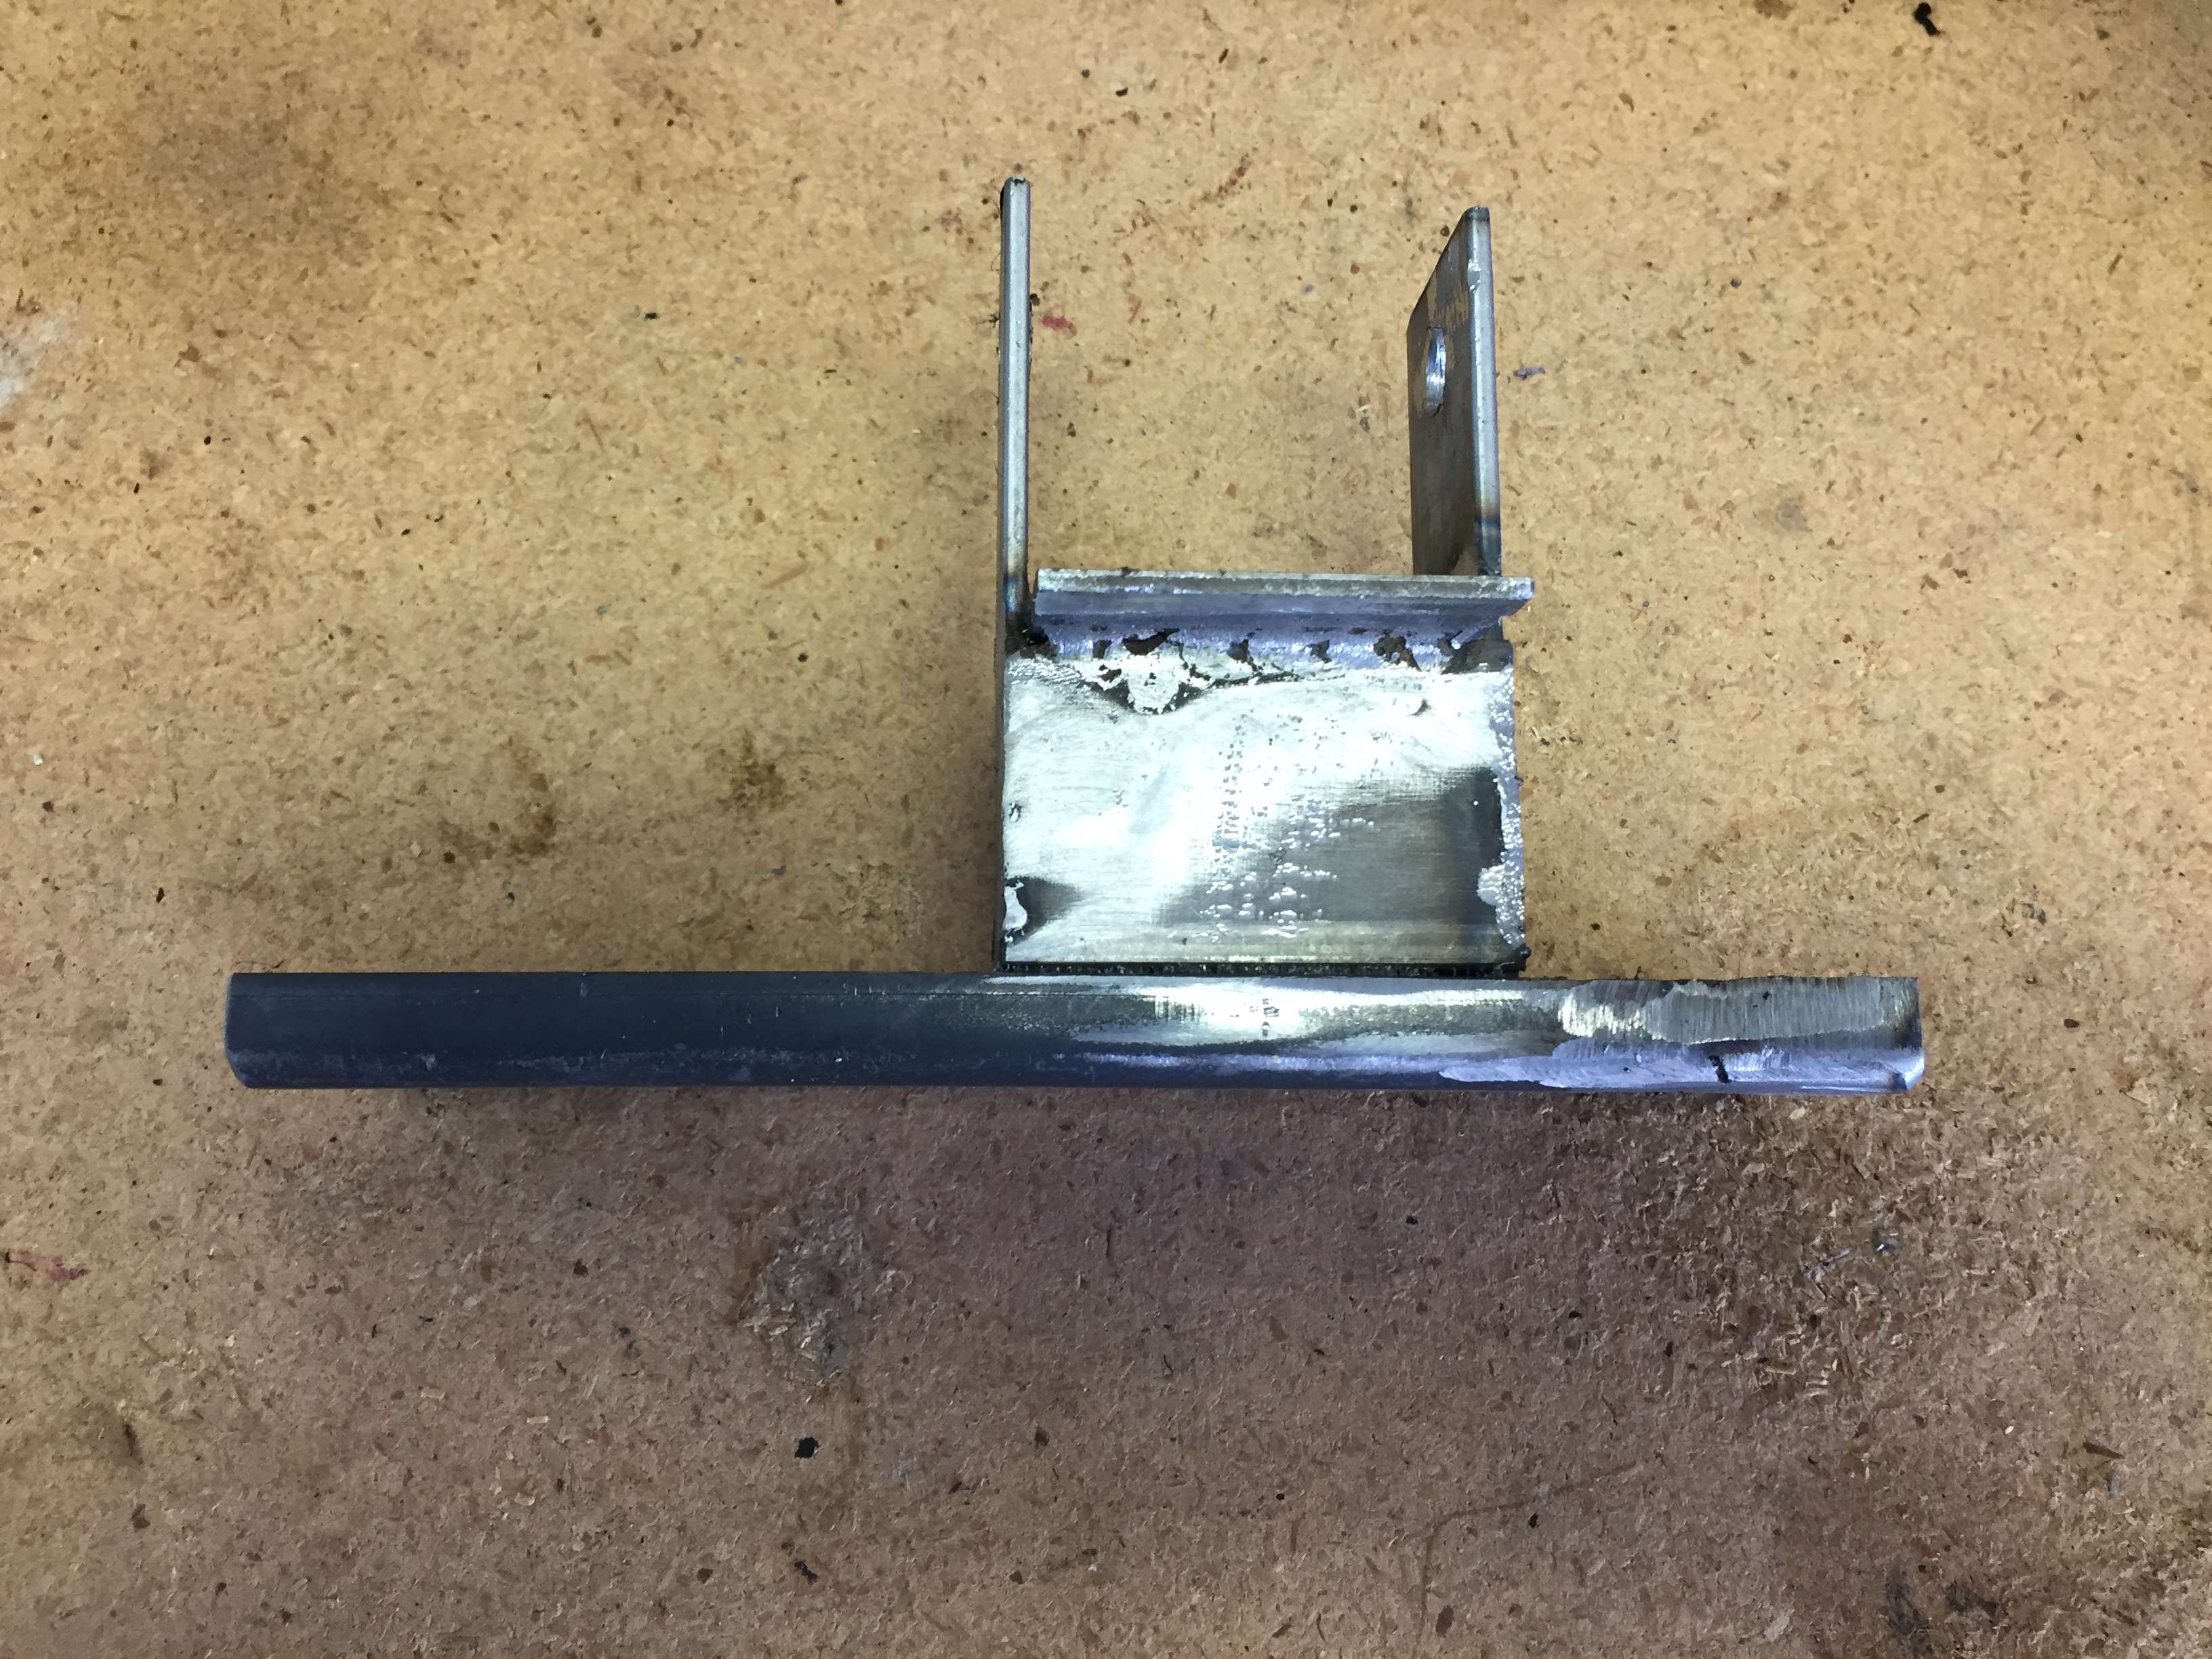
Before we set the body on the frame we needed to address the transmission mount that was too tight of a fit. By trimming back part of the crossmember and relocating the mounting tab we were able to get everything to fit.
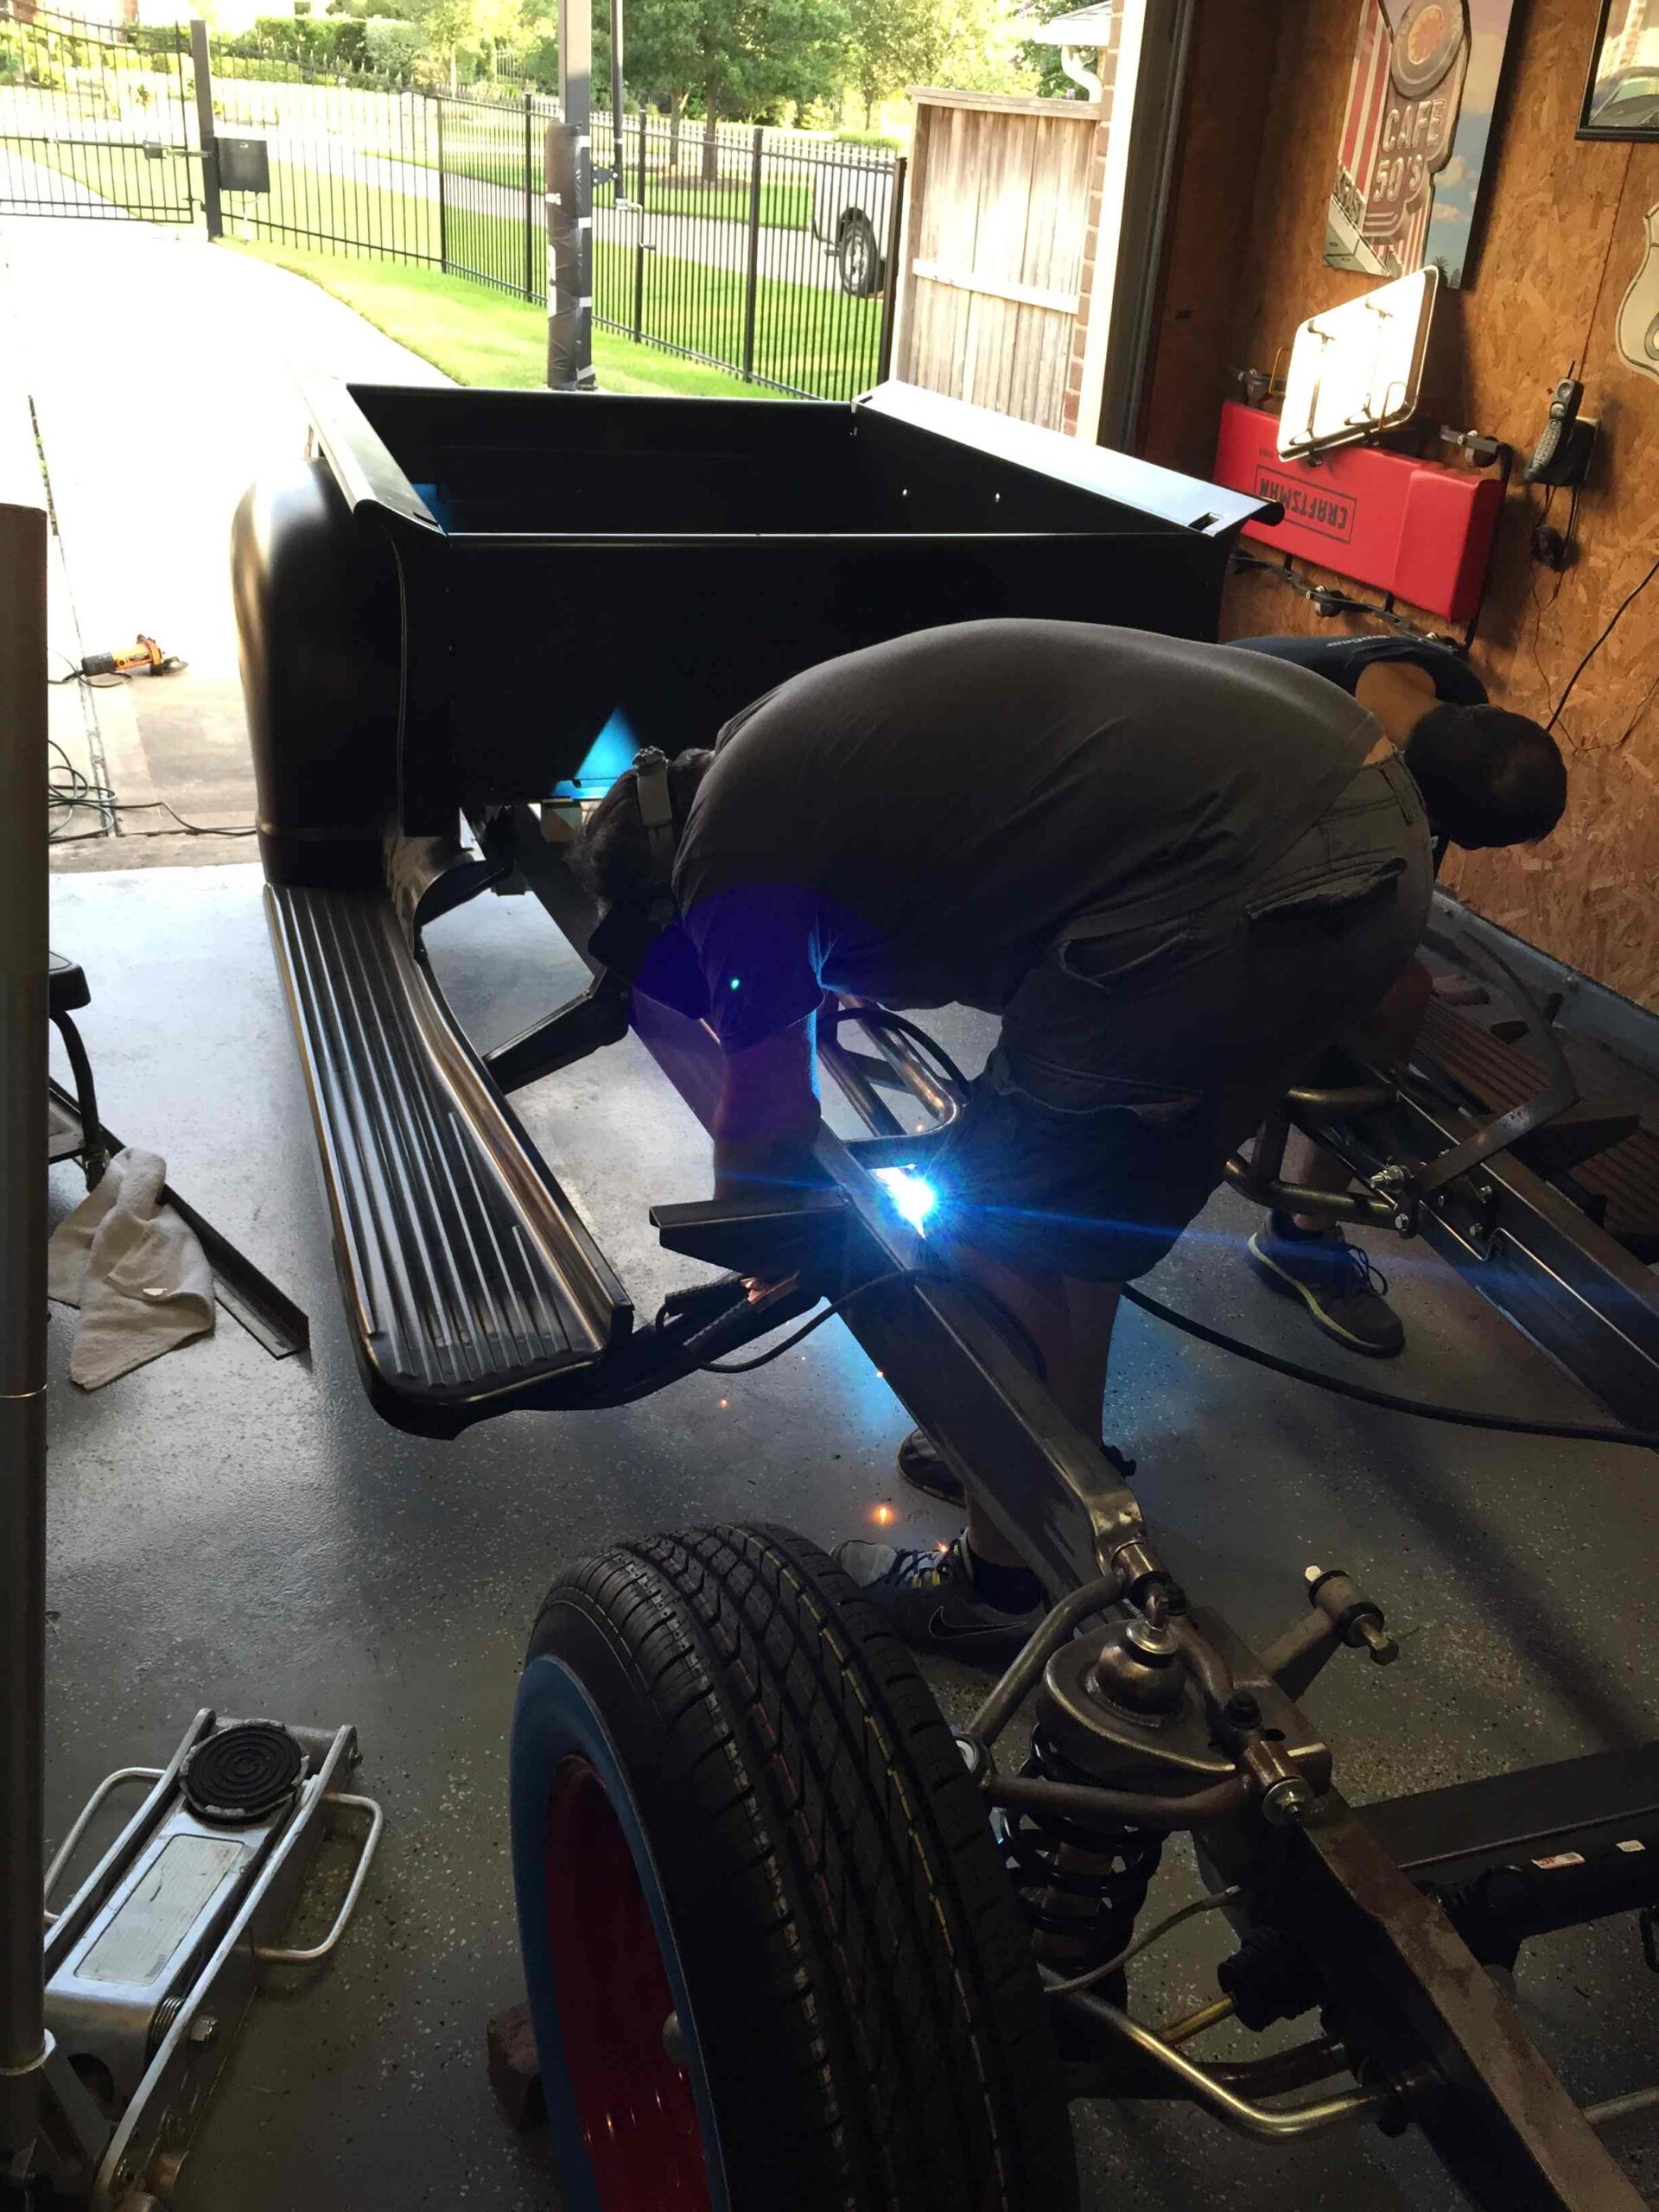
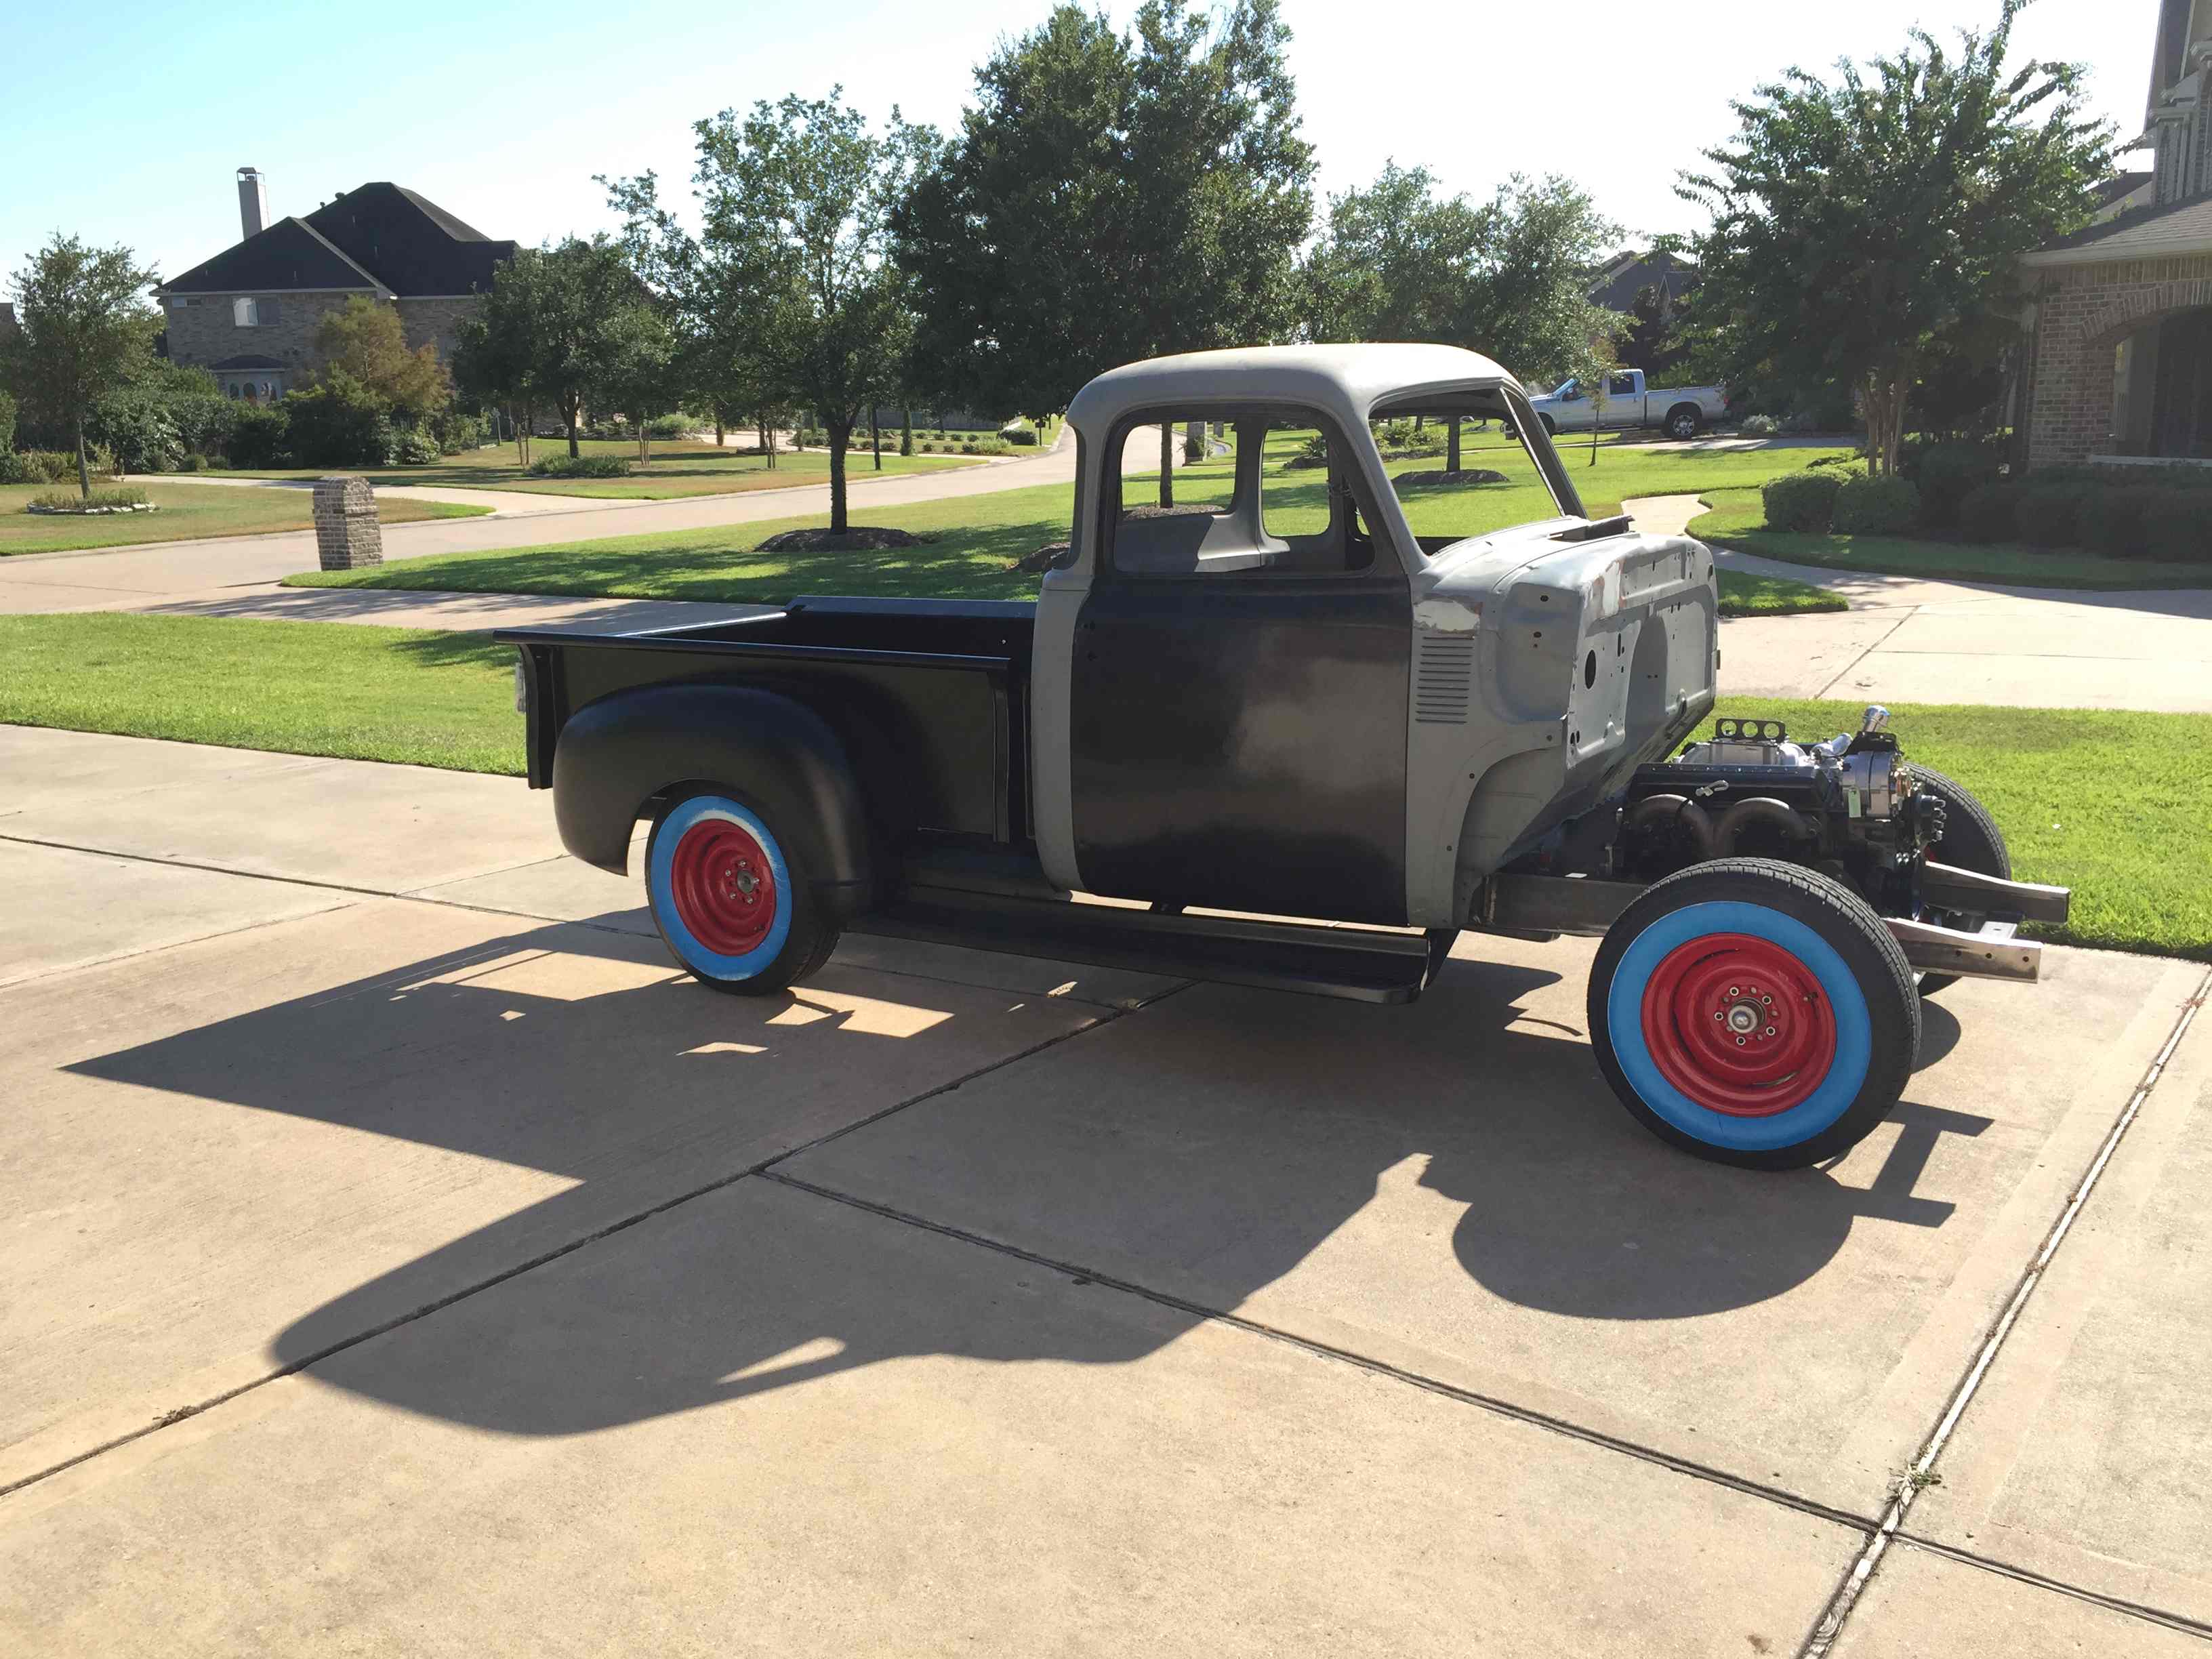
We had to get creative to mount the cab. It was a little too heavy for the three of us to lift, so we used the engine hoist and some chains. It worked well and no Torres boys were injured.


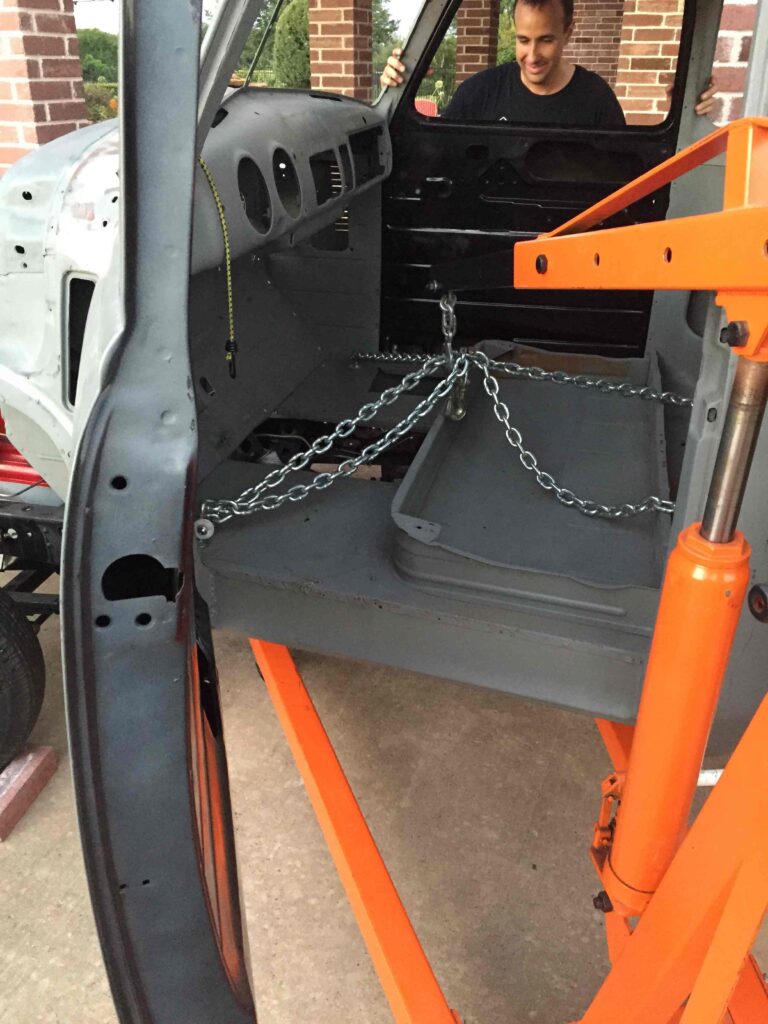

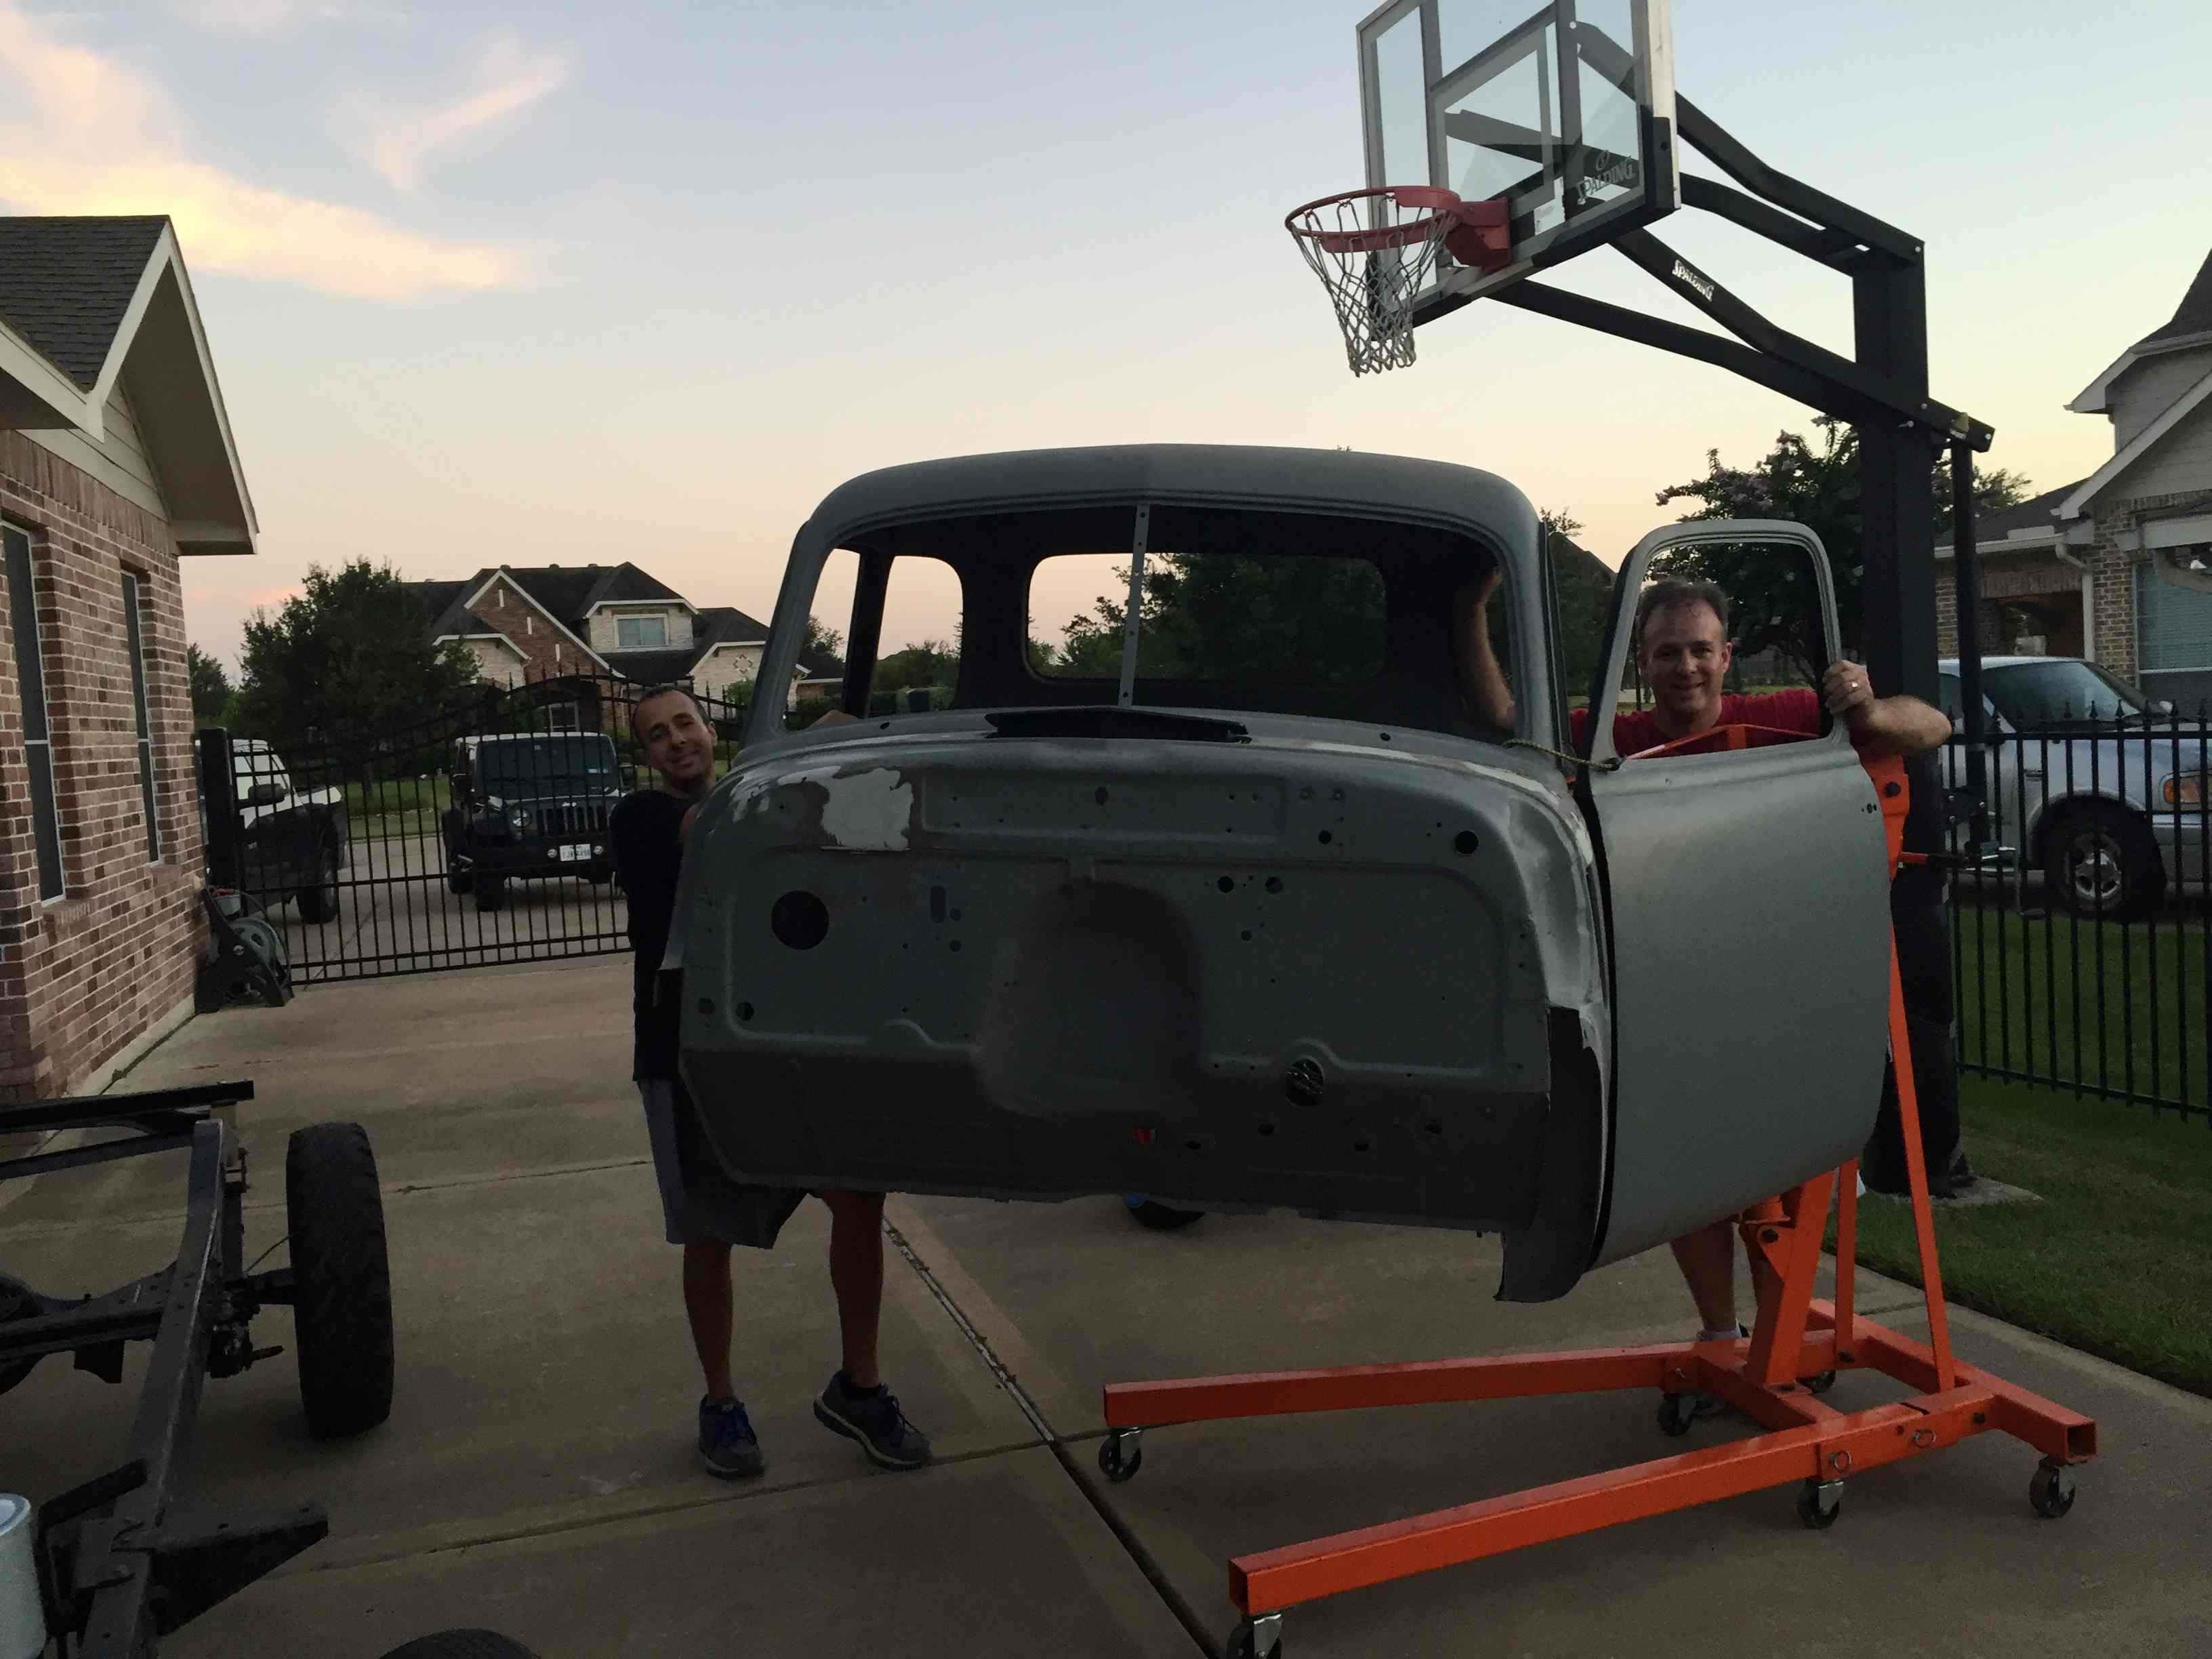
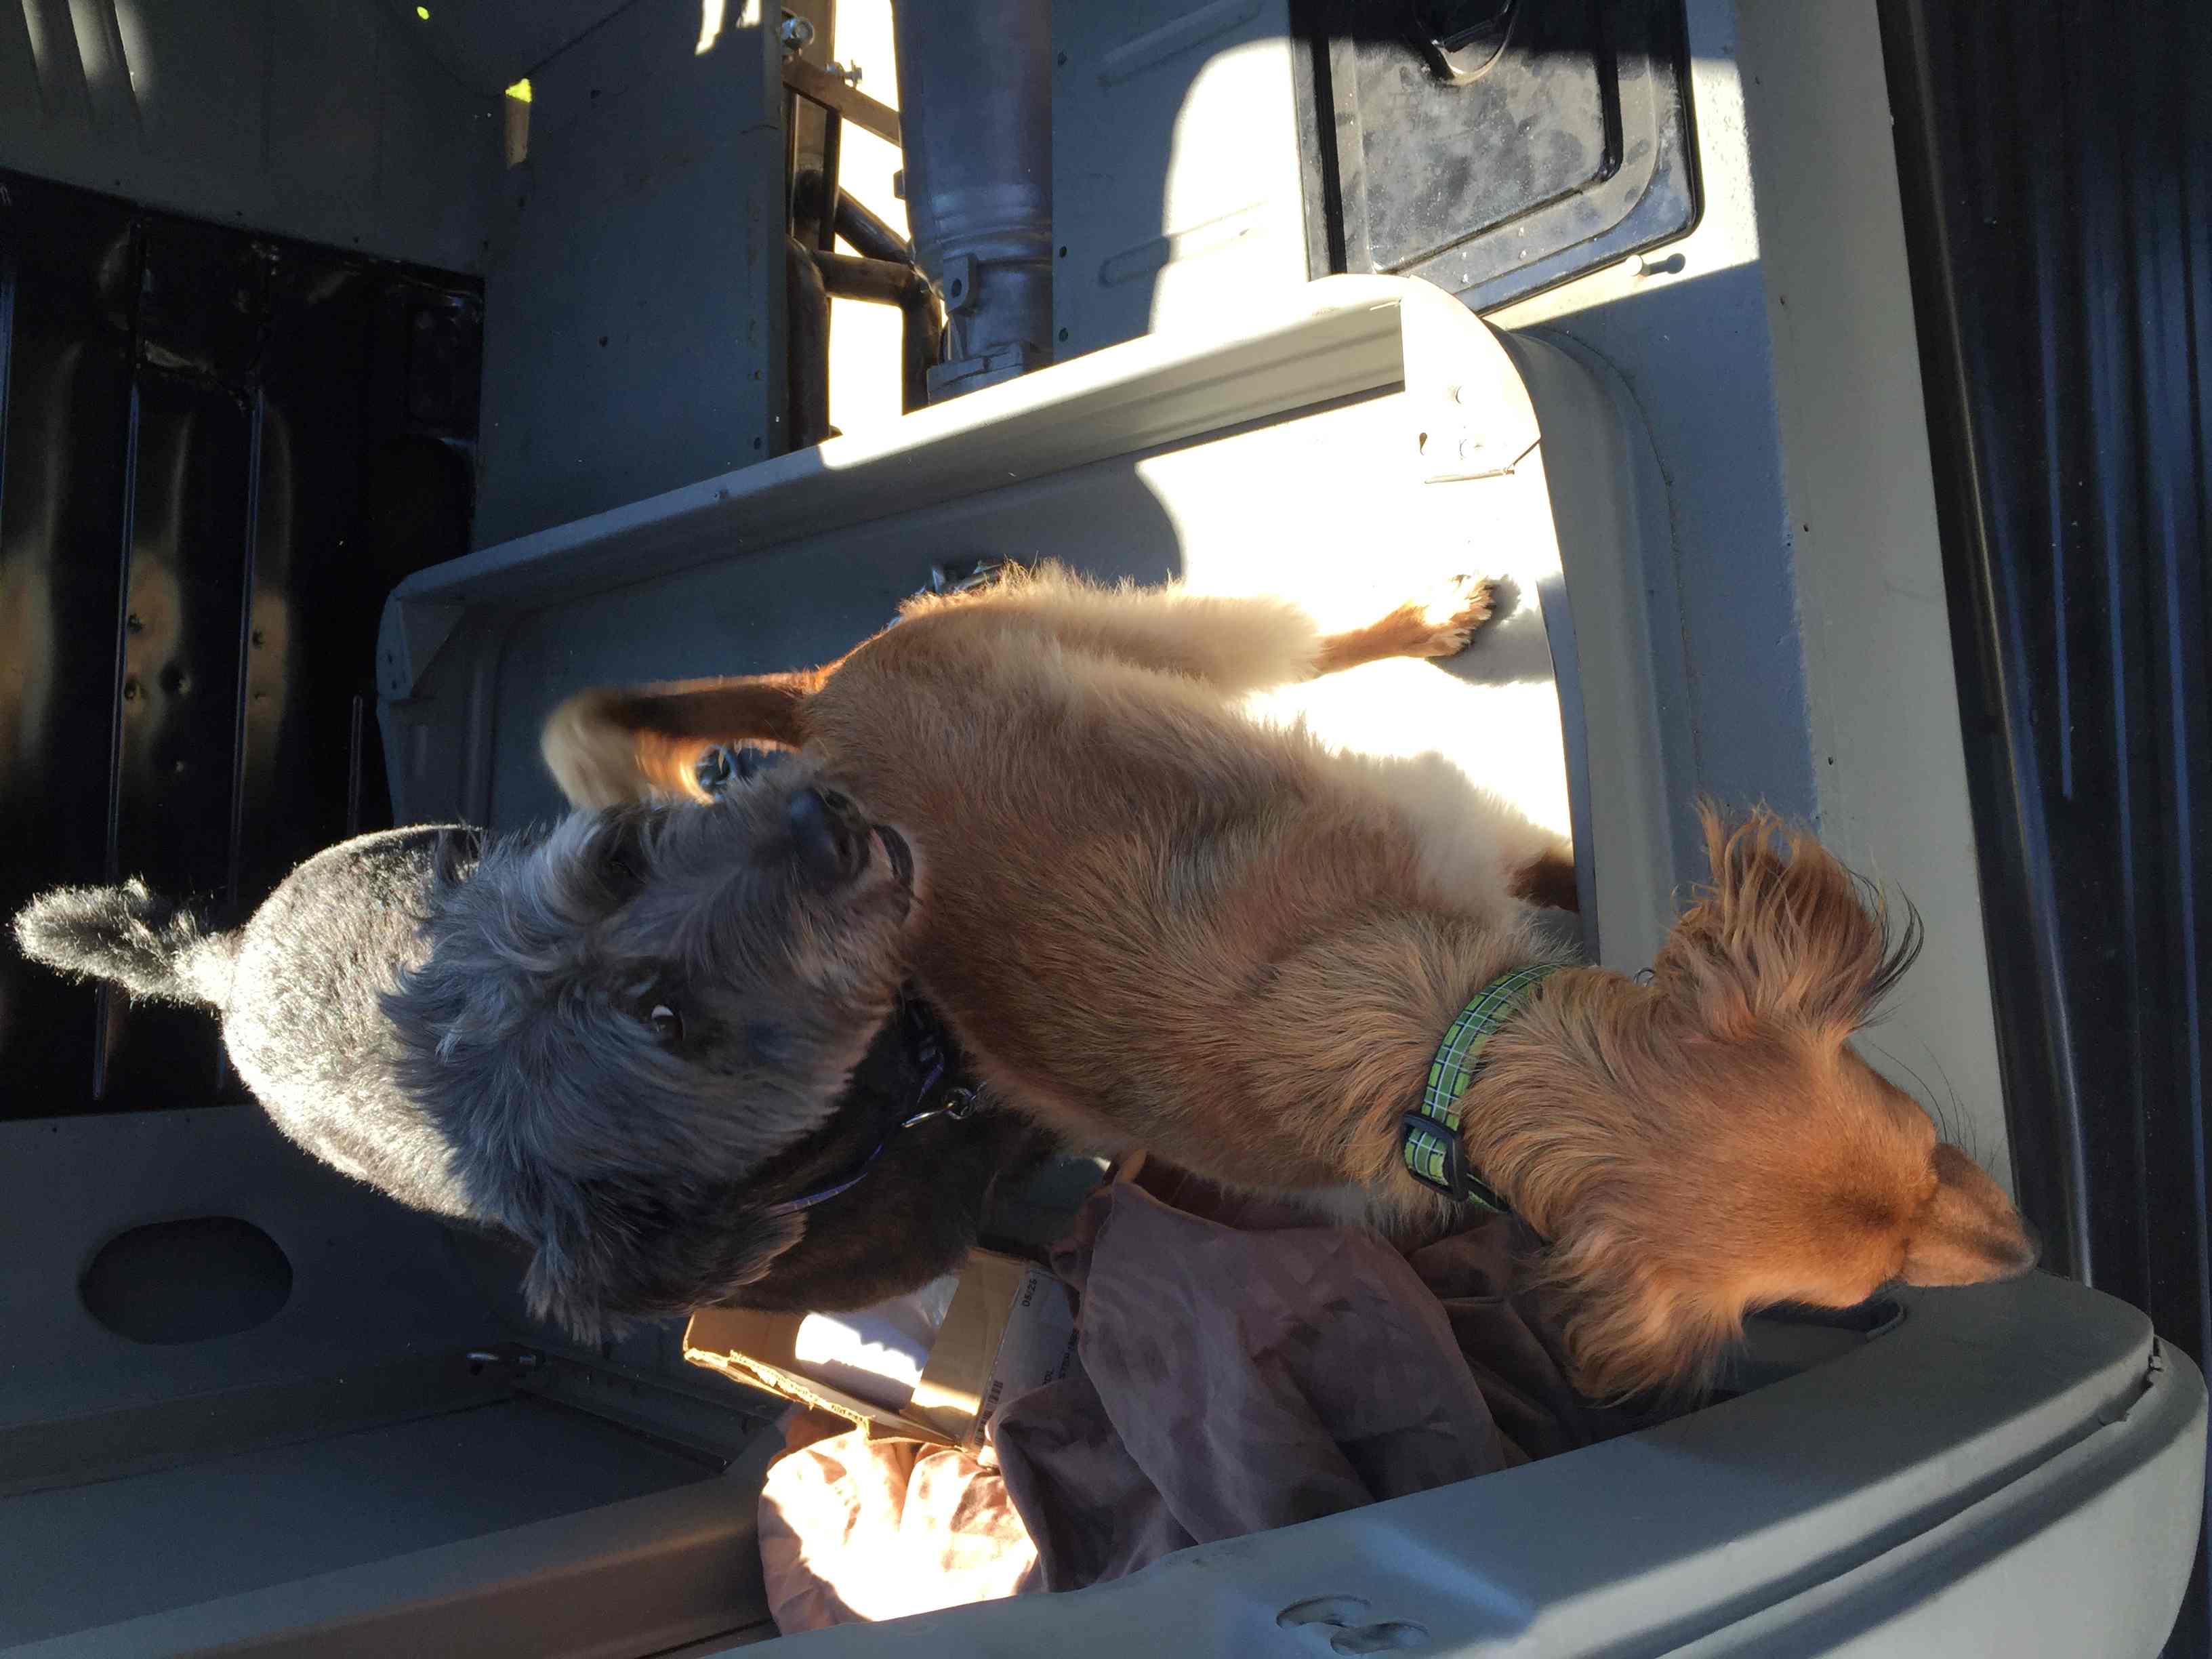
My inspectors came out to check the work. I think they approved. The skeleton was not very happy since we disassembled his home.

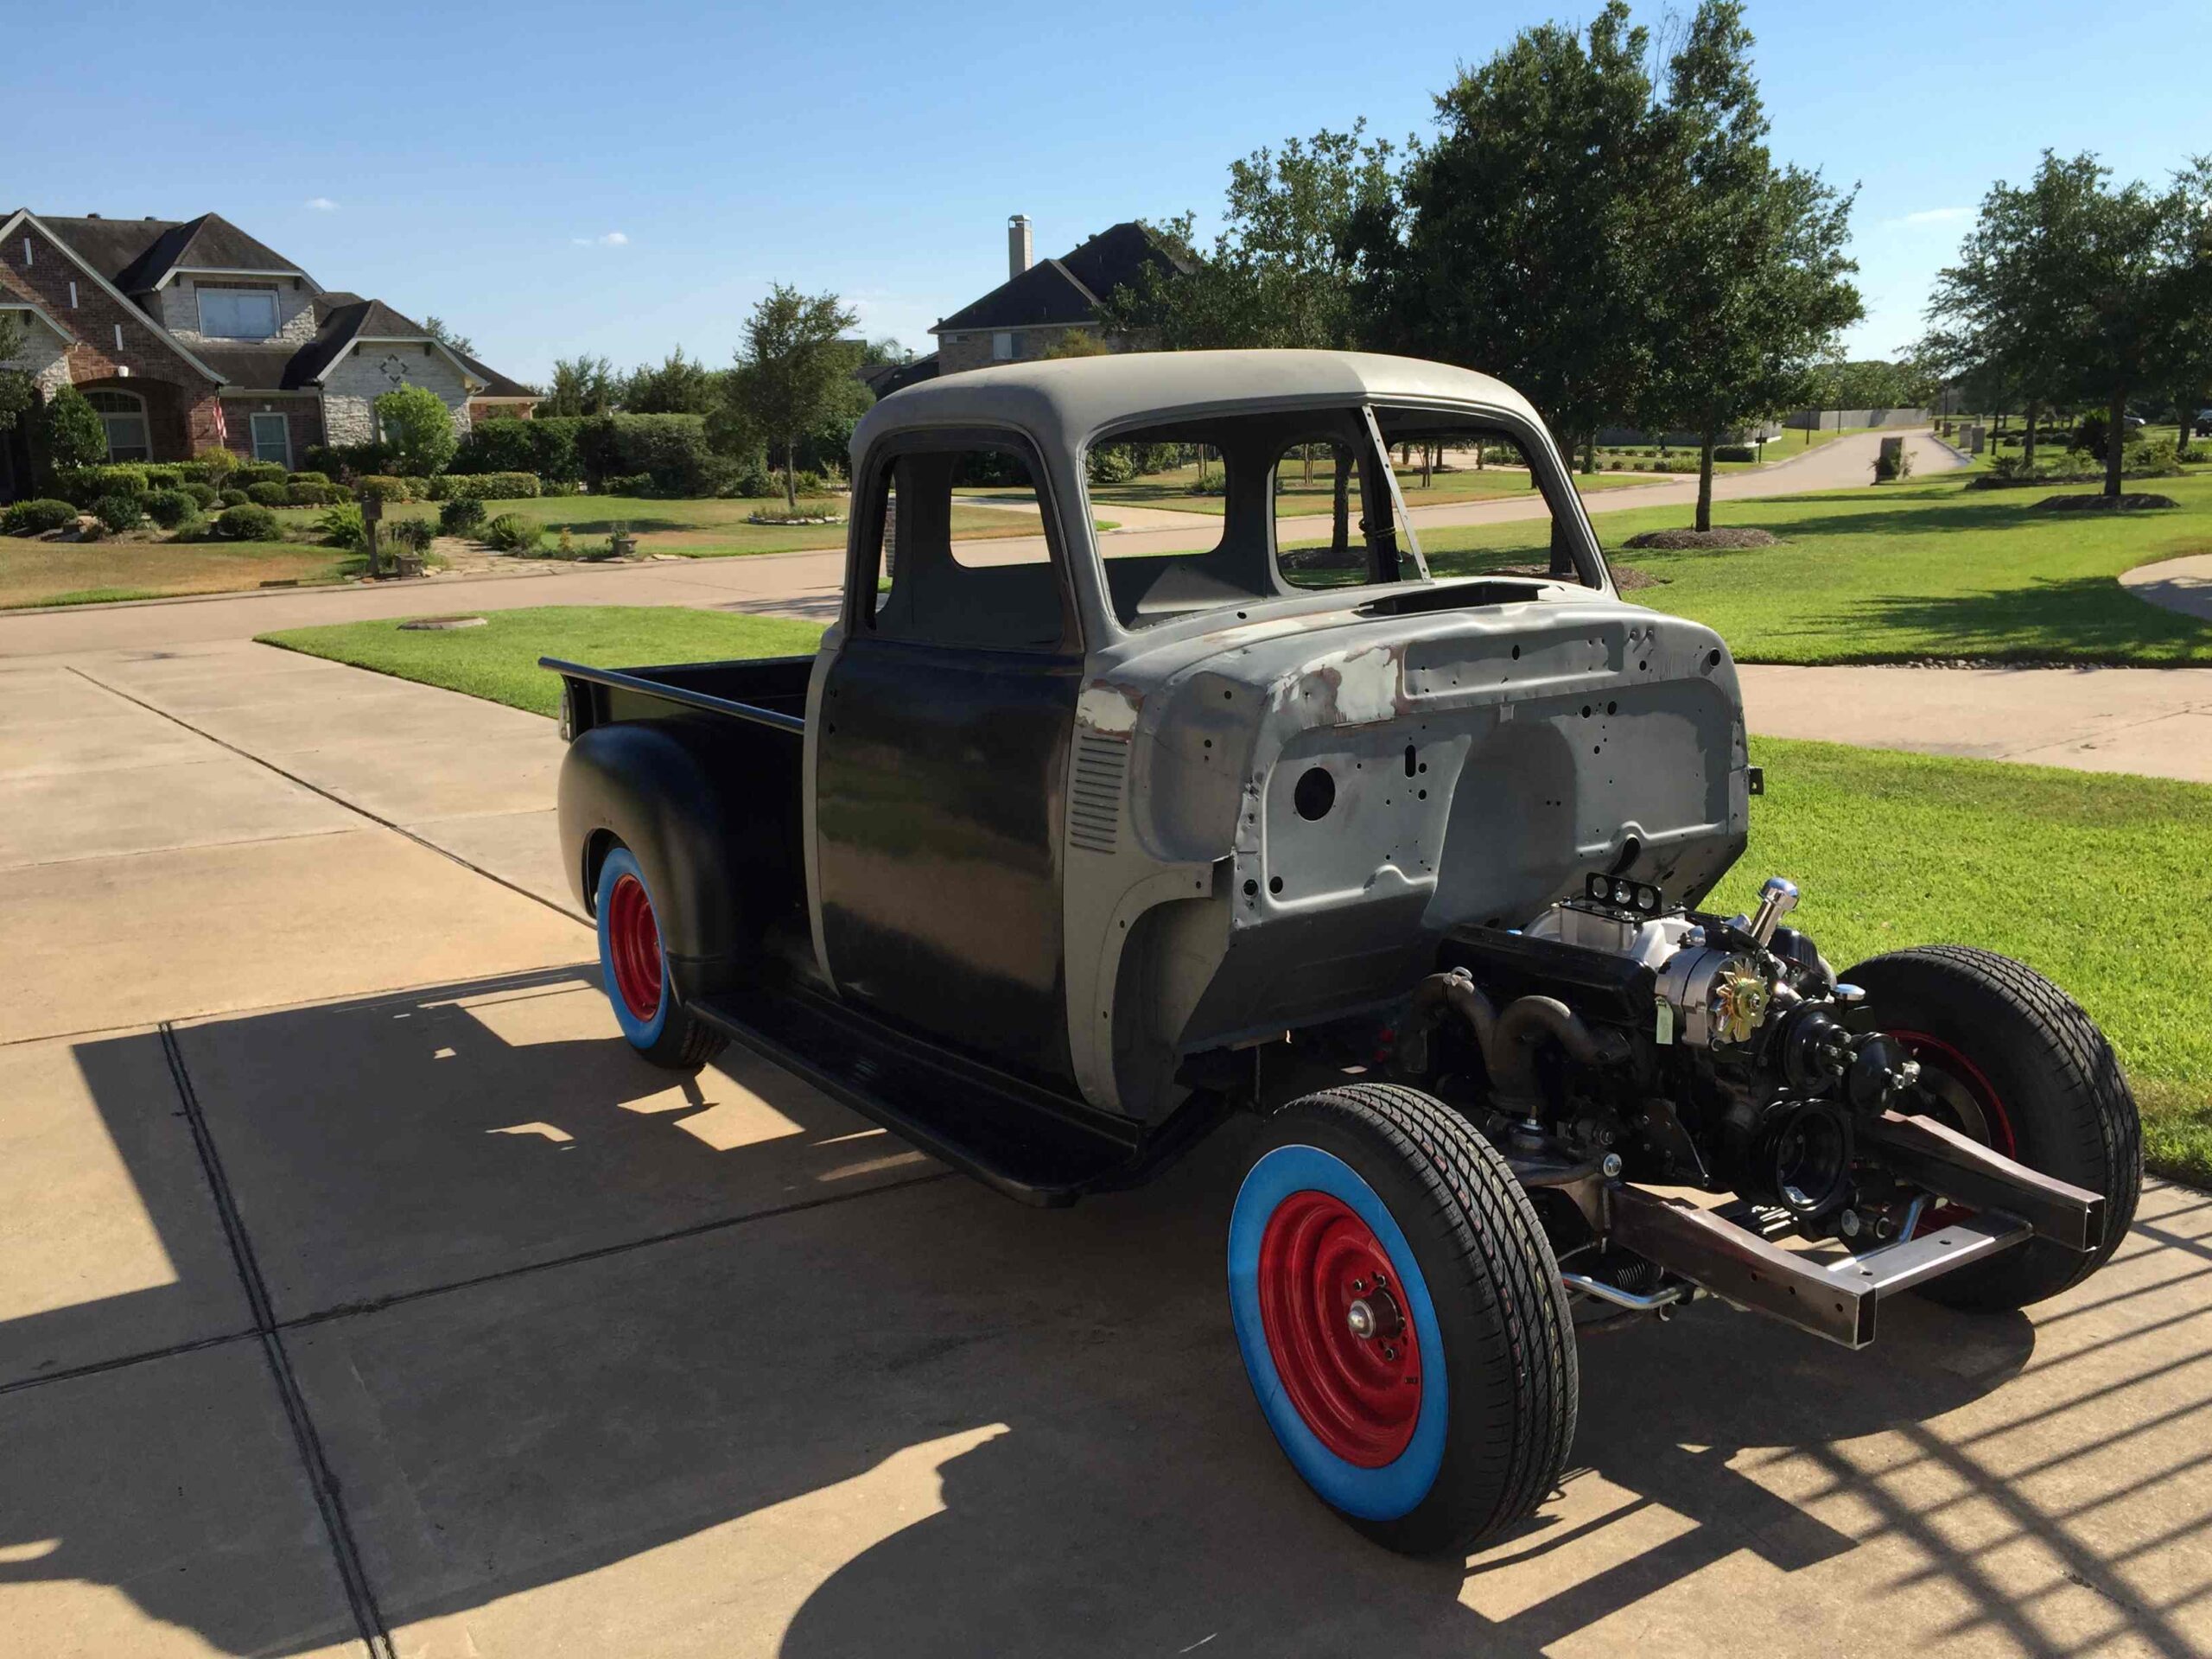
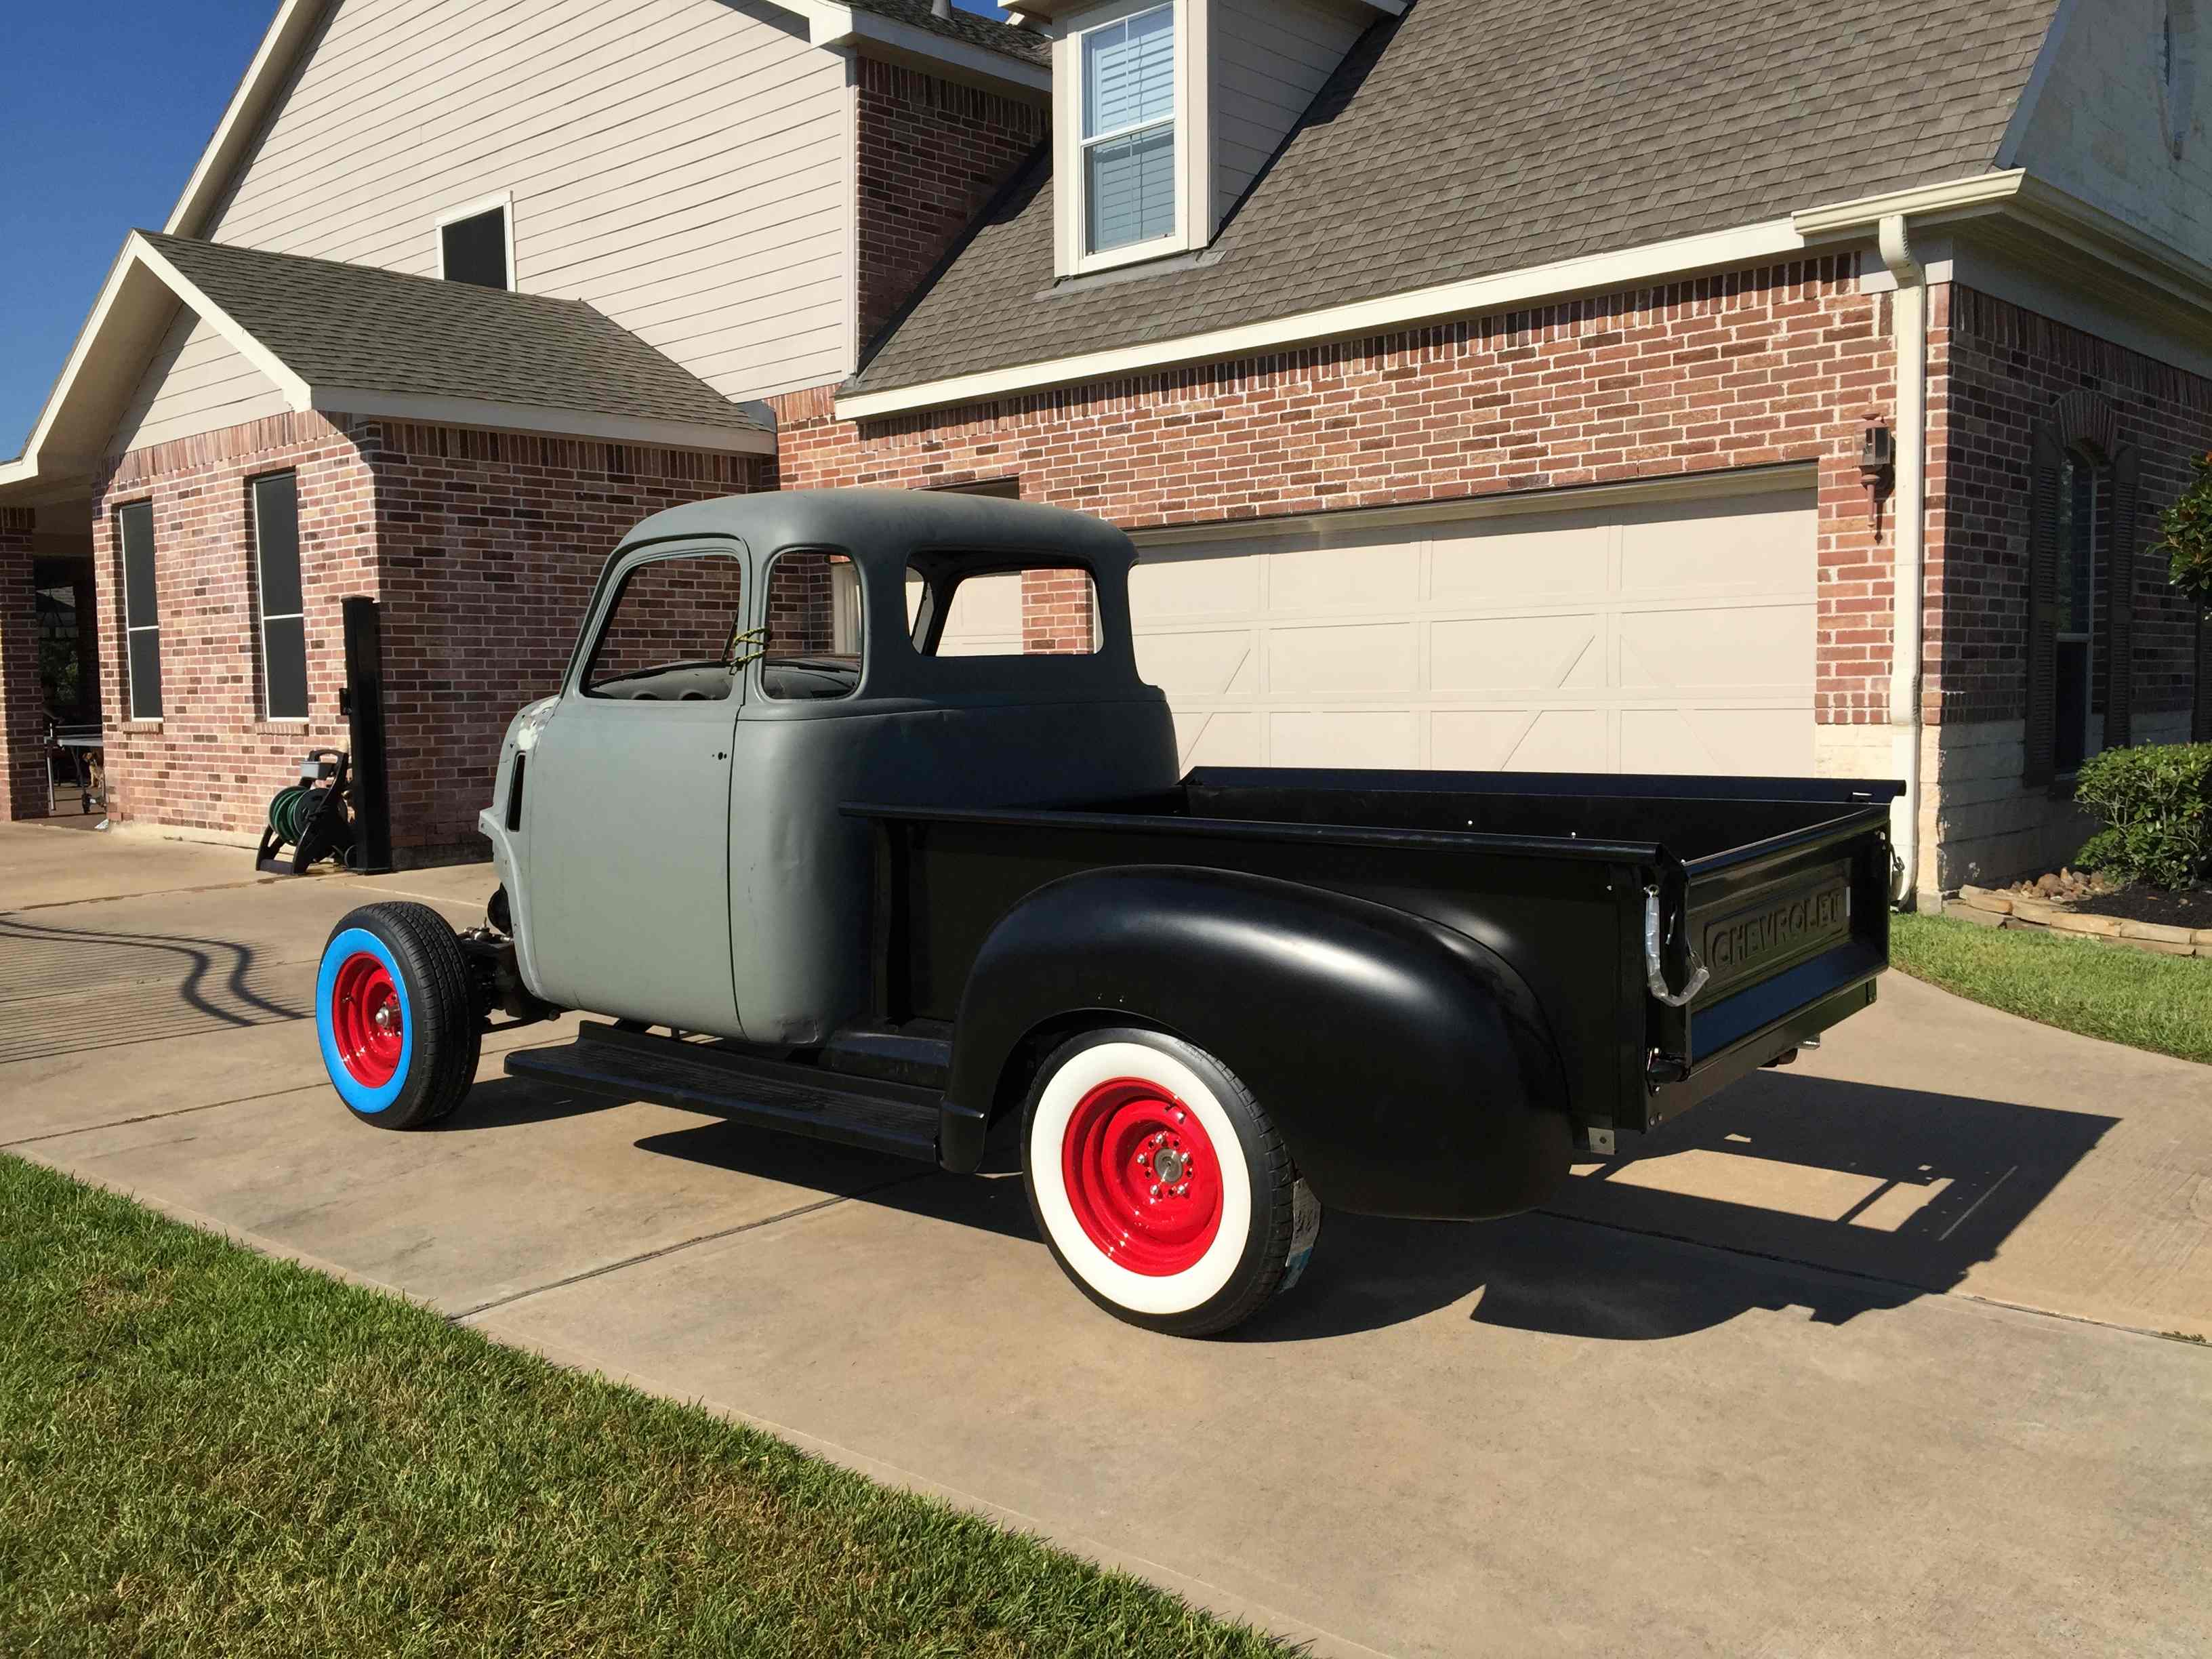
We got done late the night before so I couldn’t get good pictures in the daylight until a few days later. Now it is starting to look like a truck again!

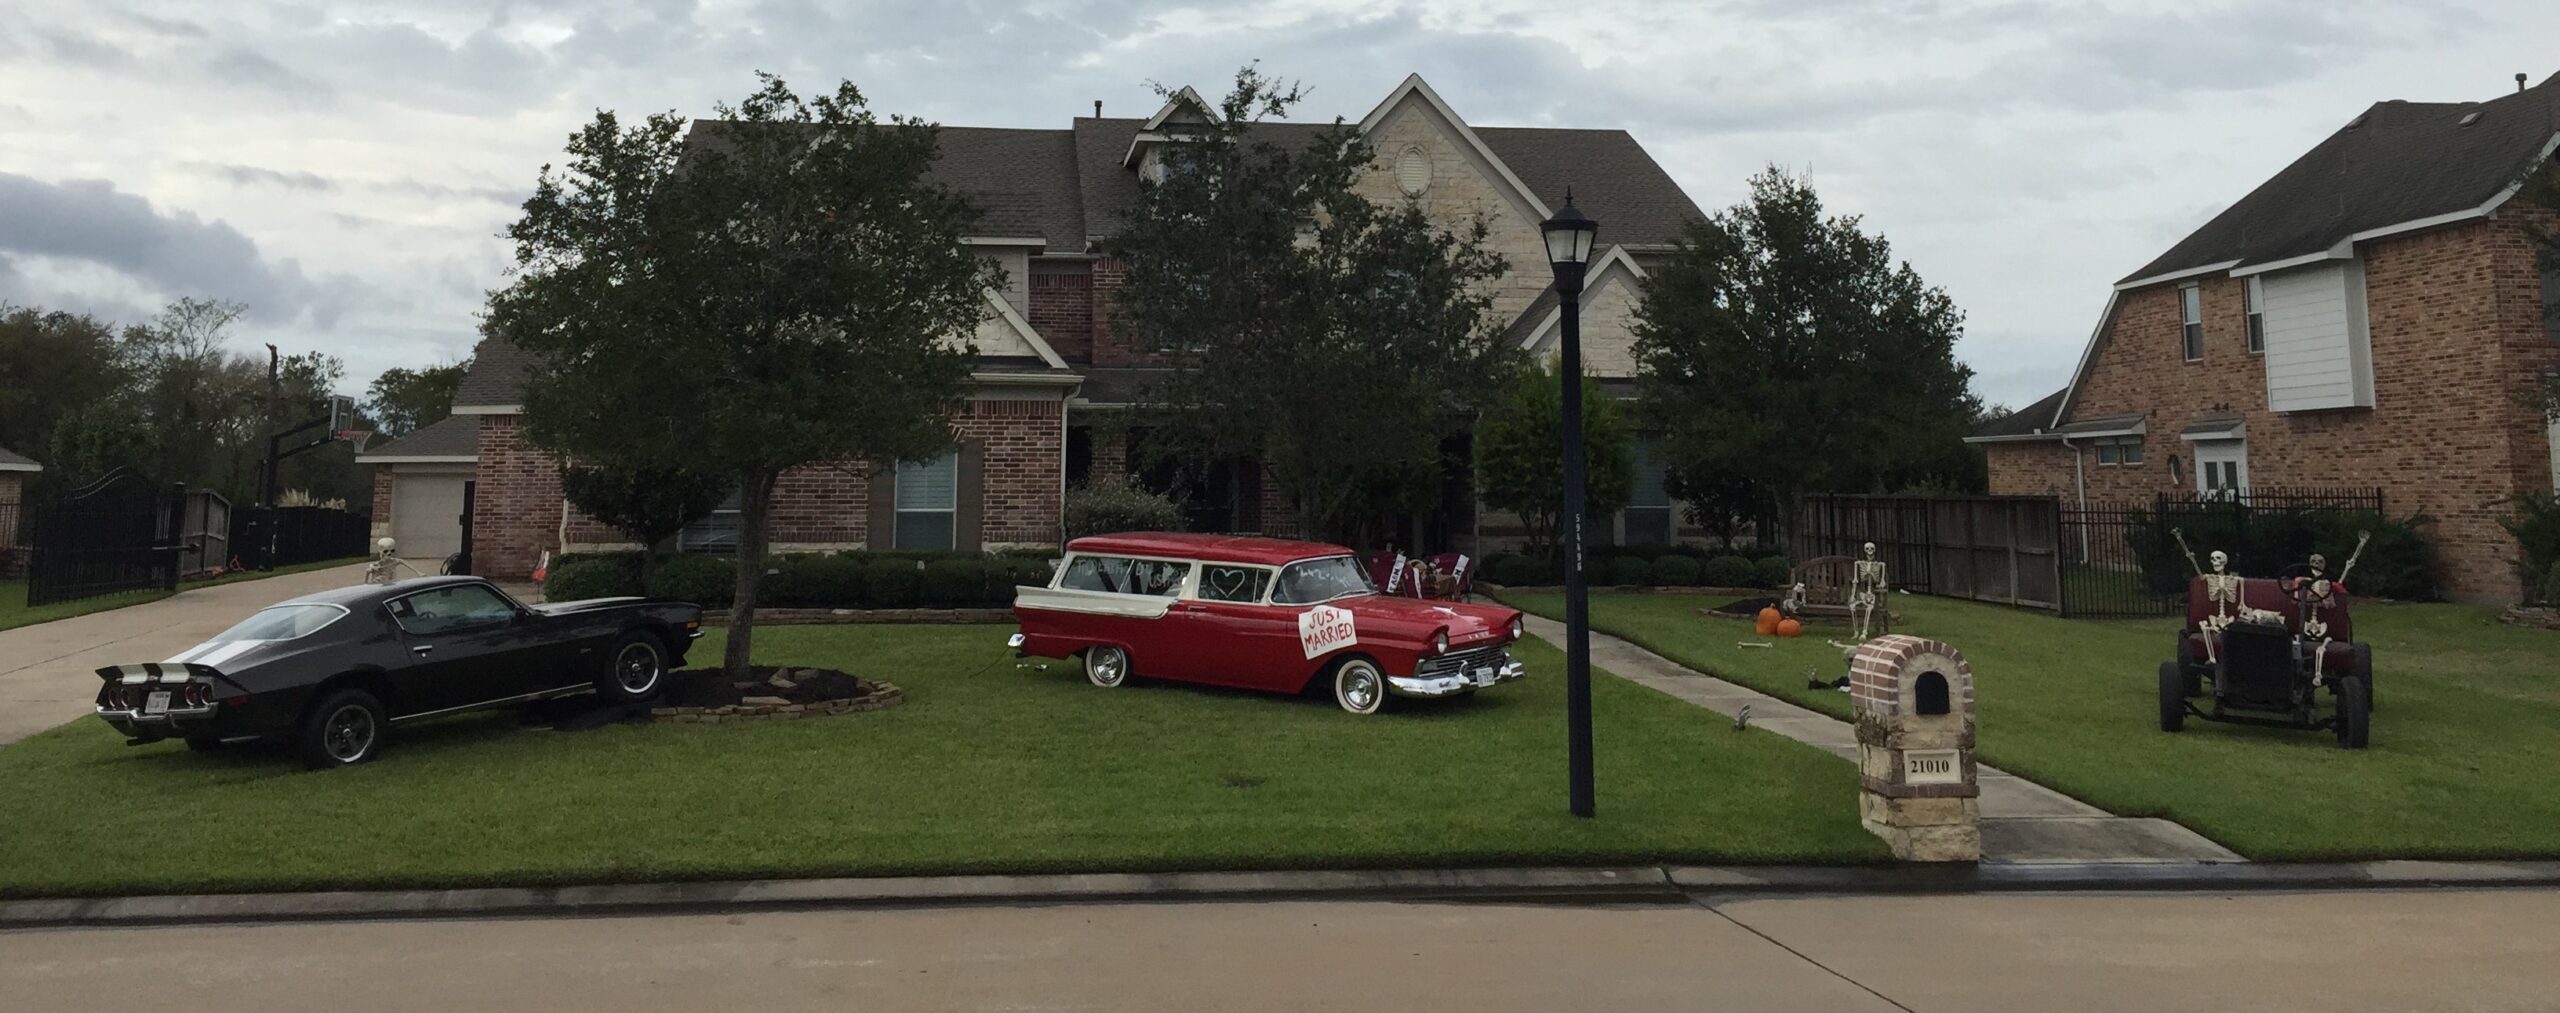
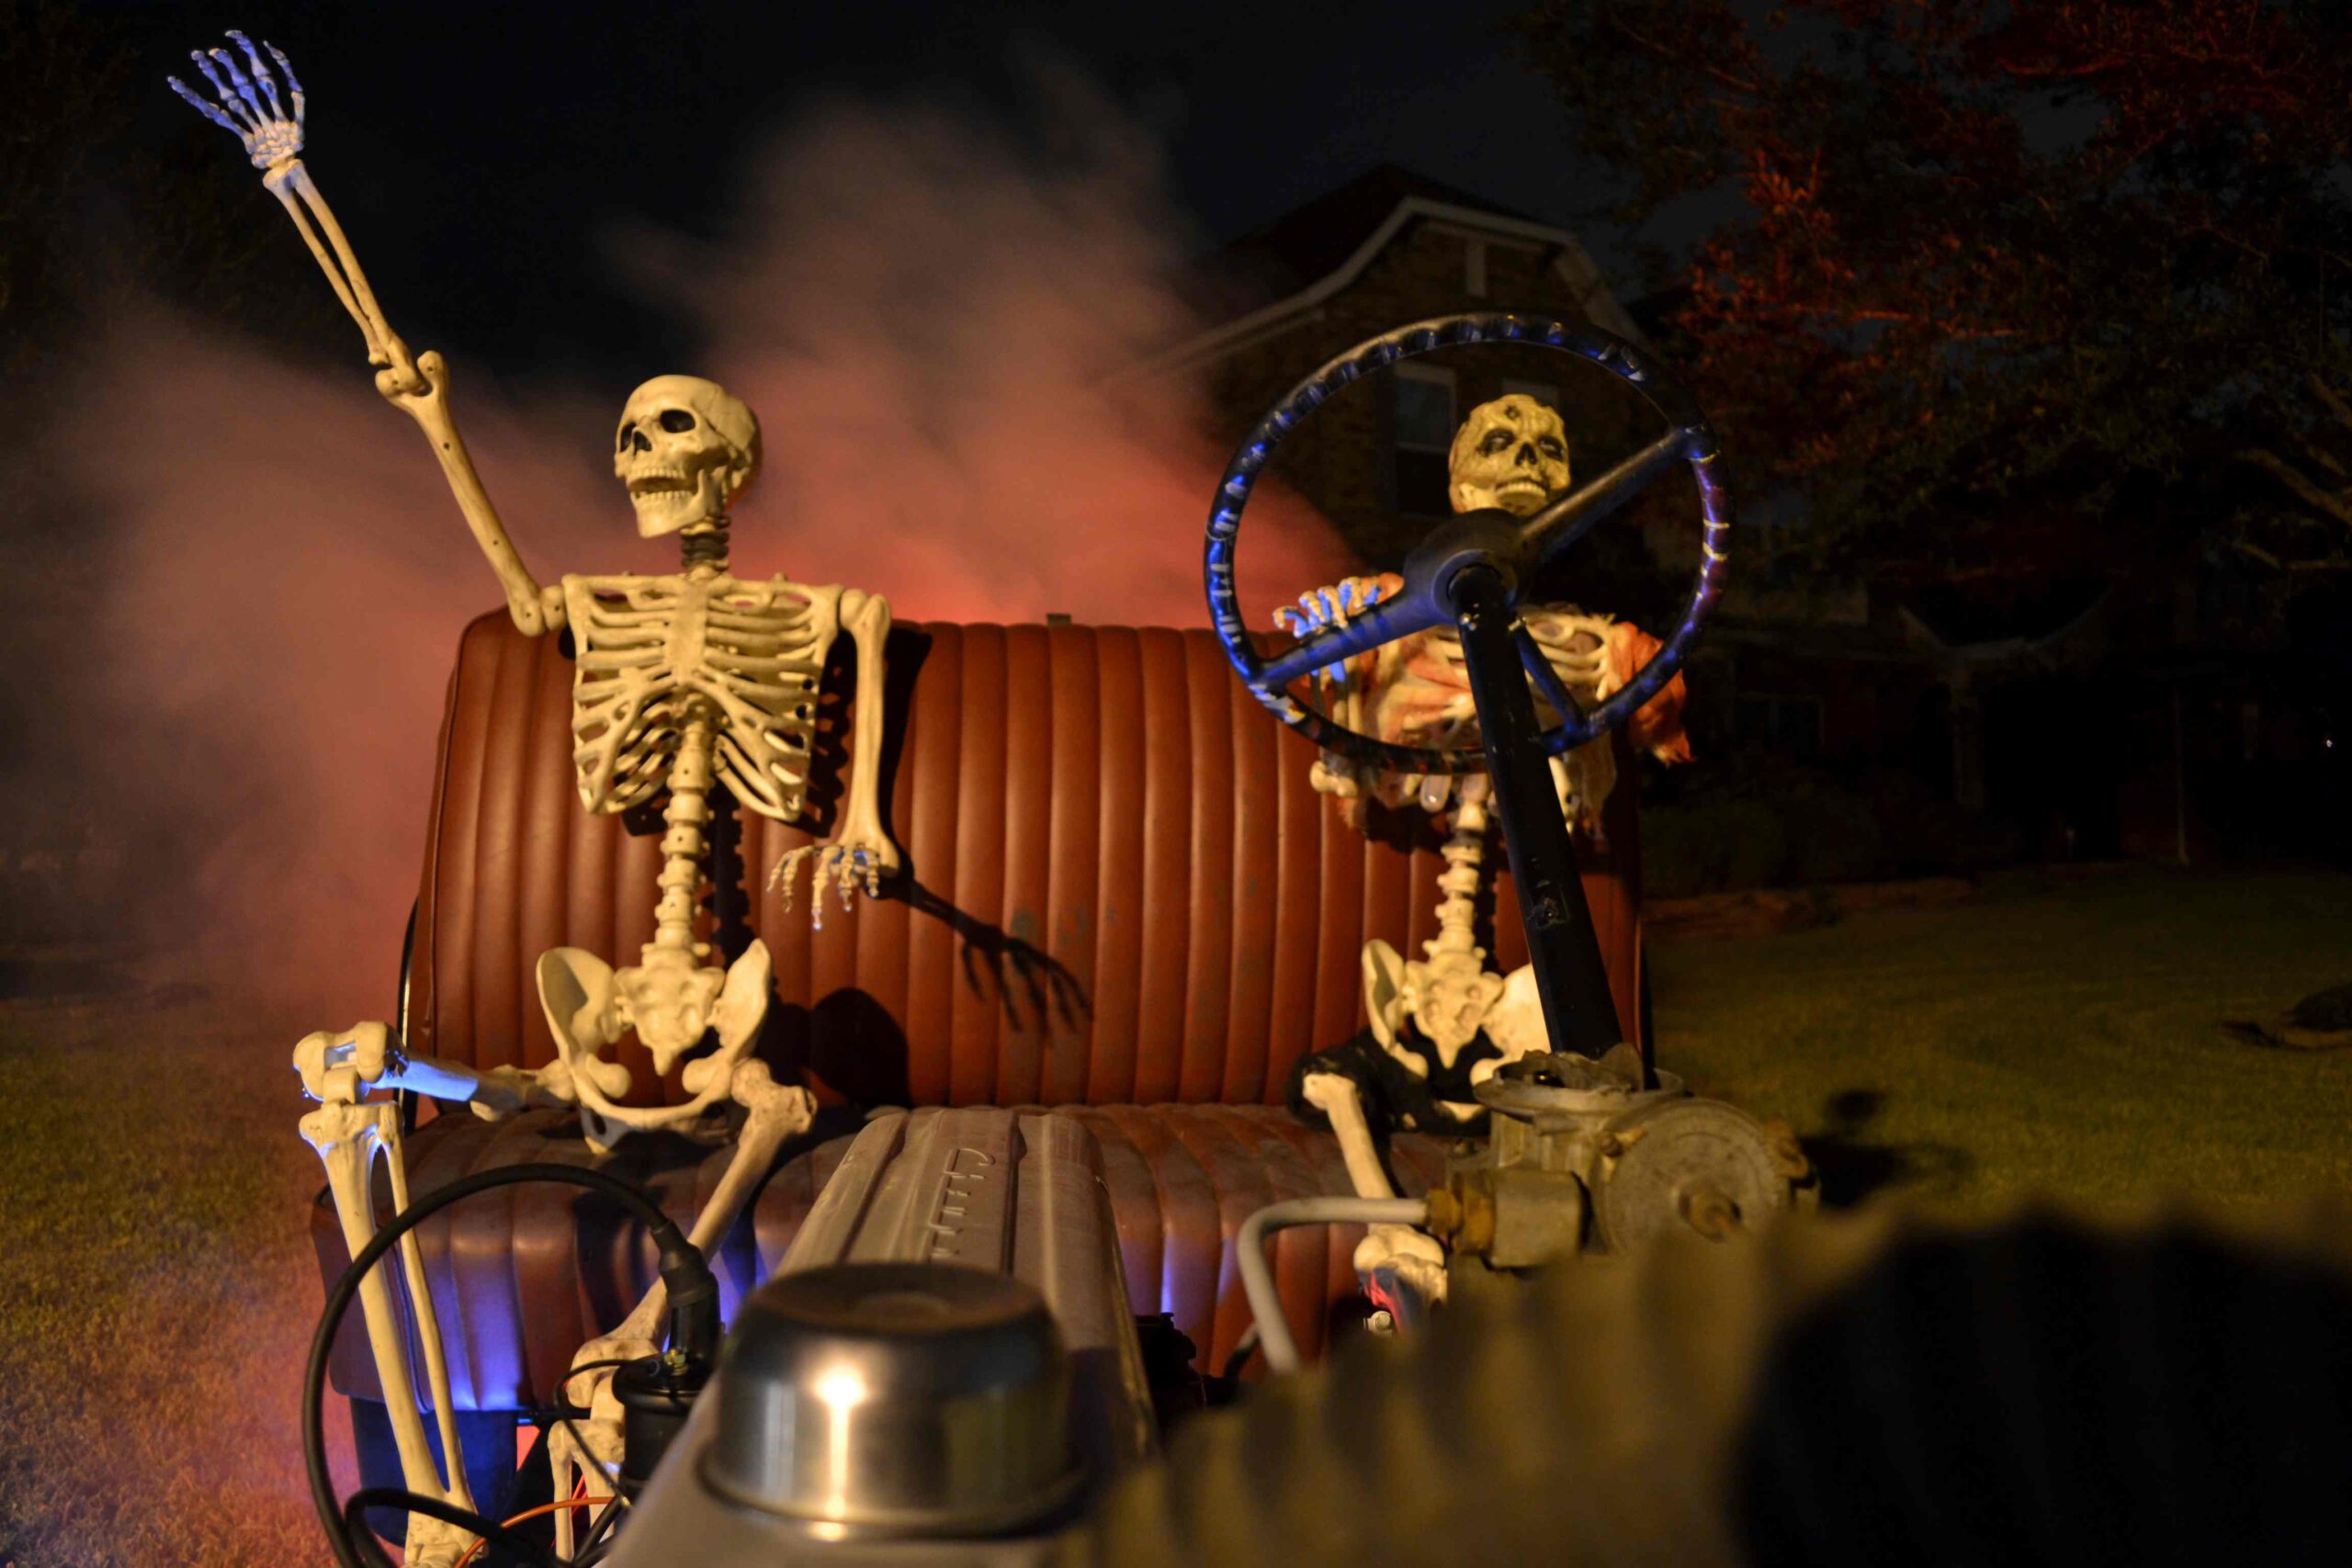
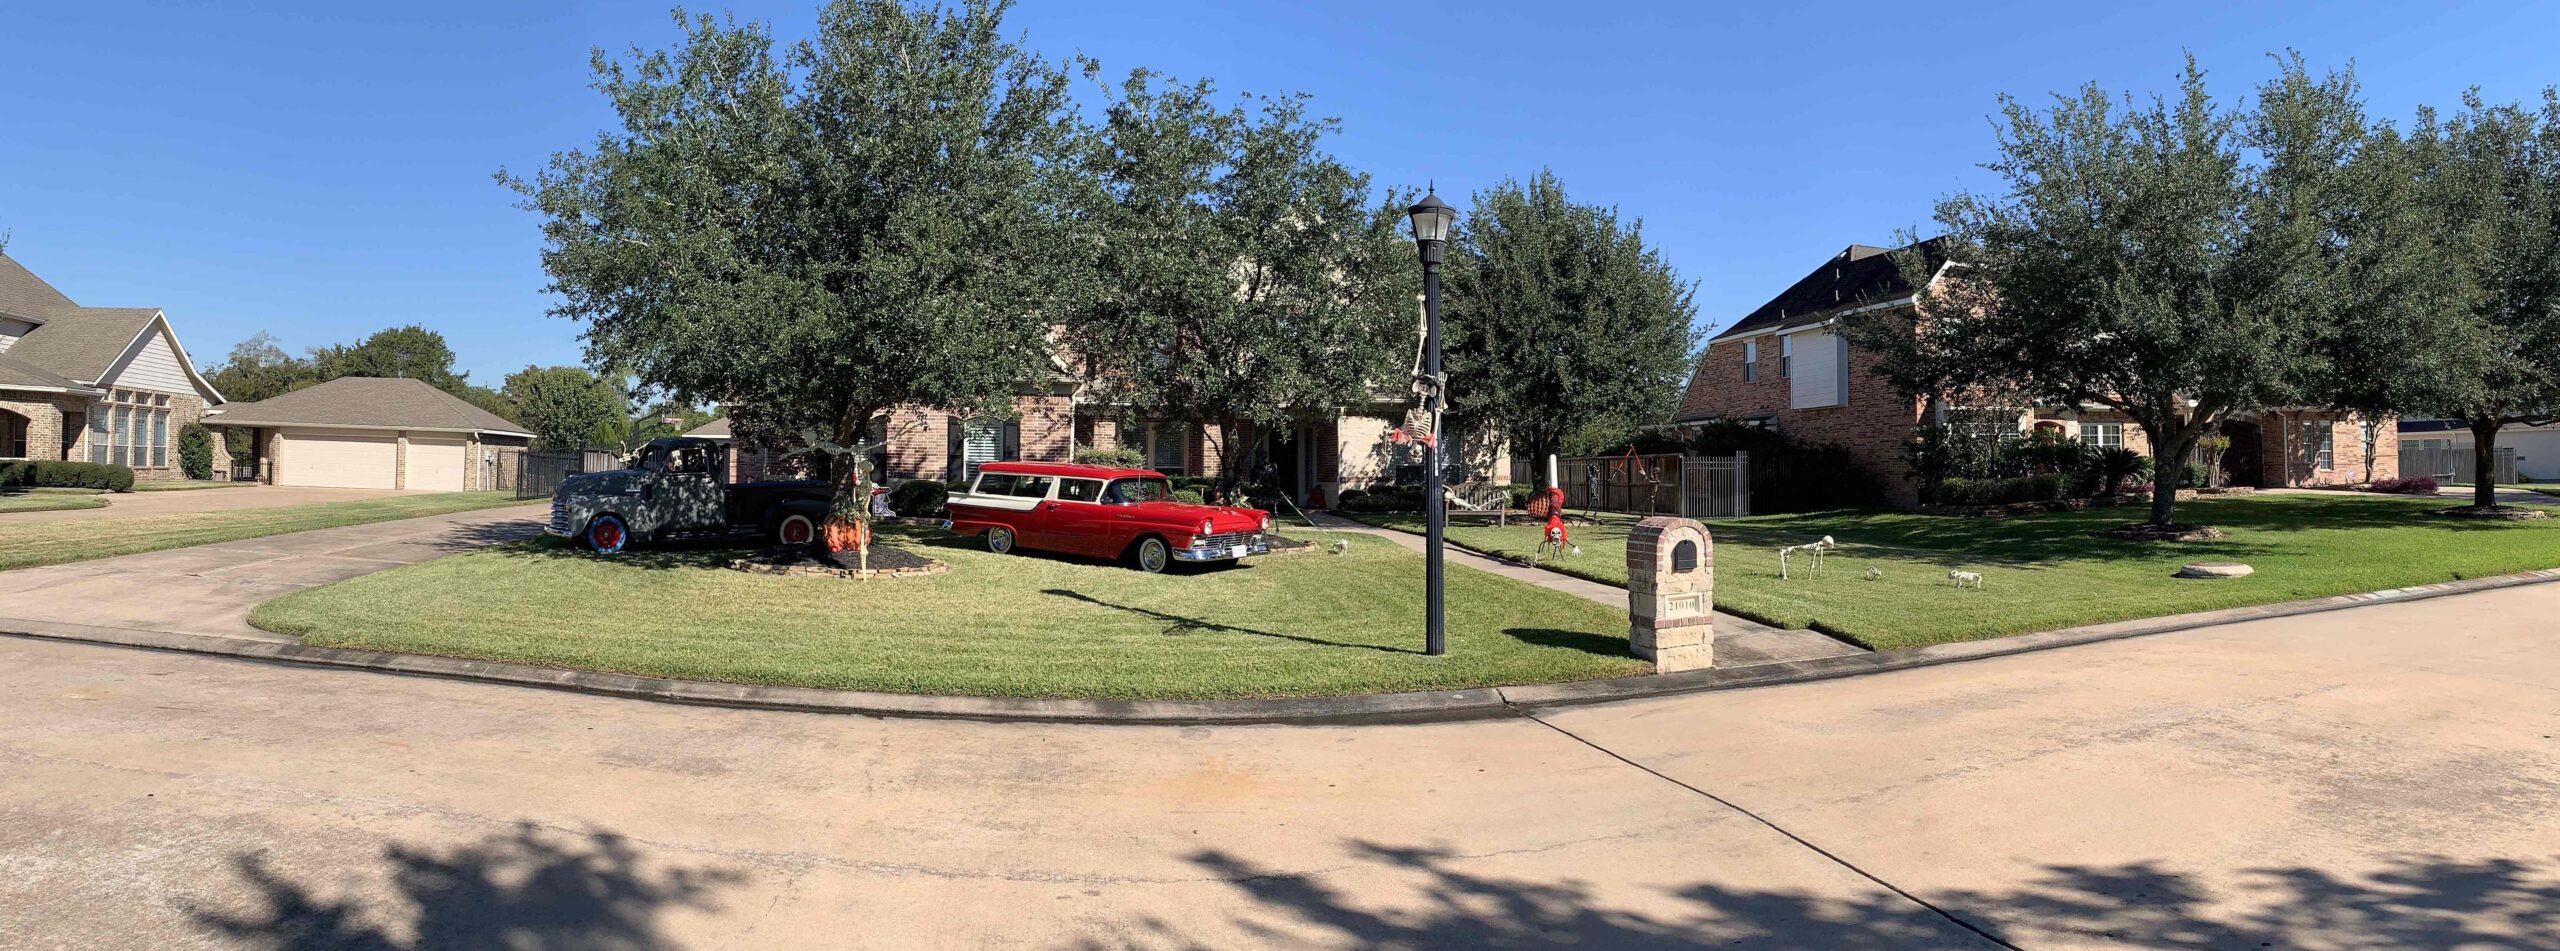
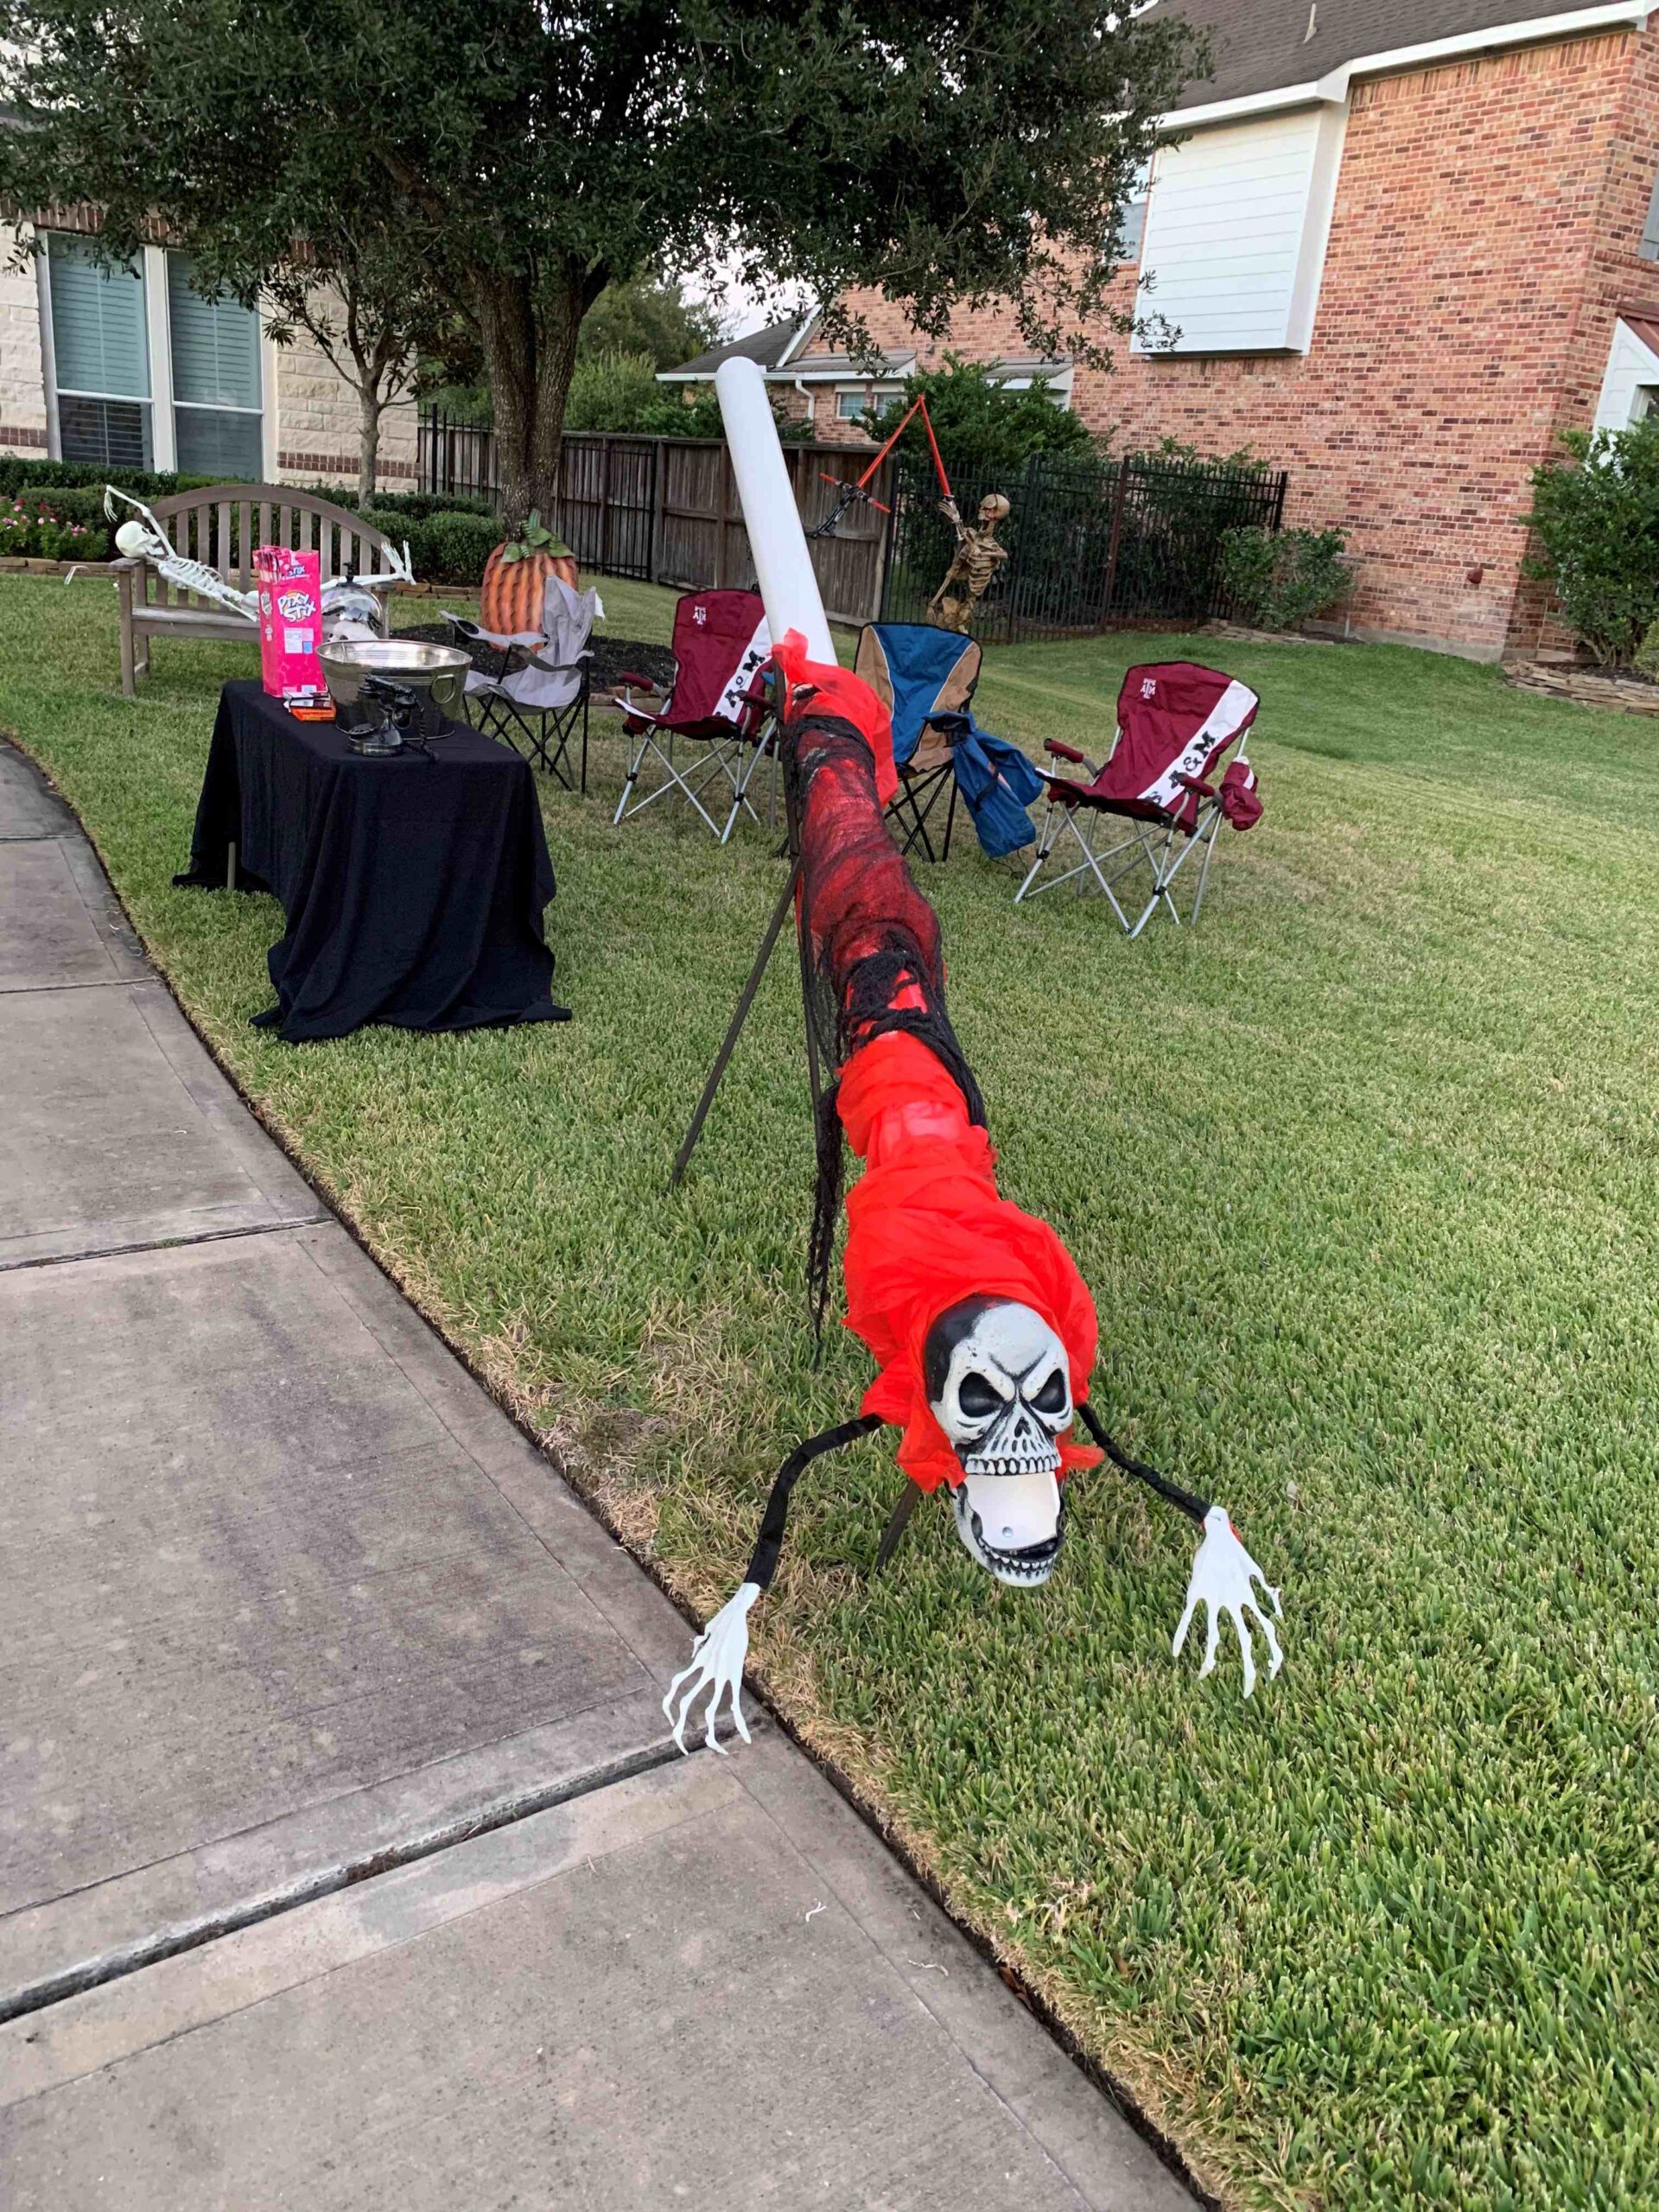
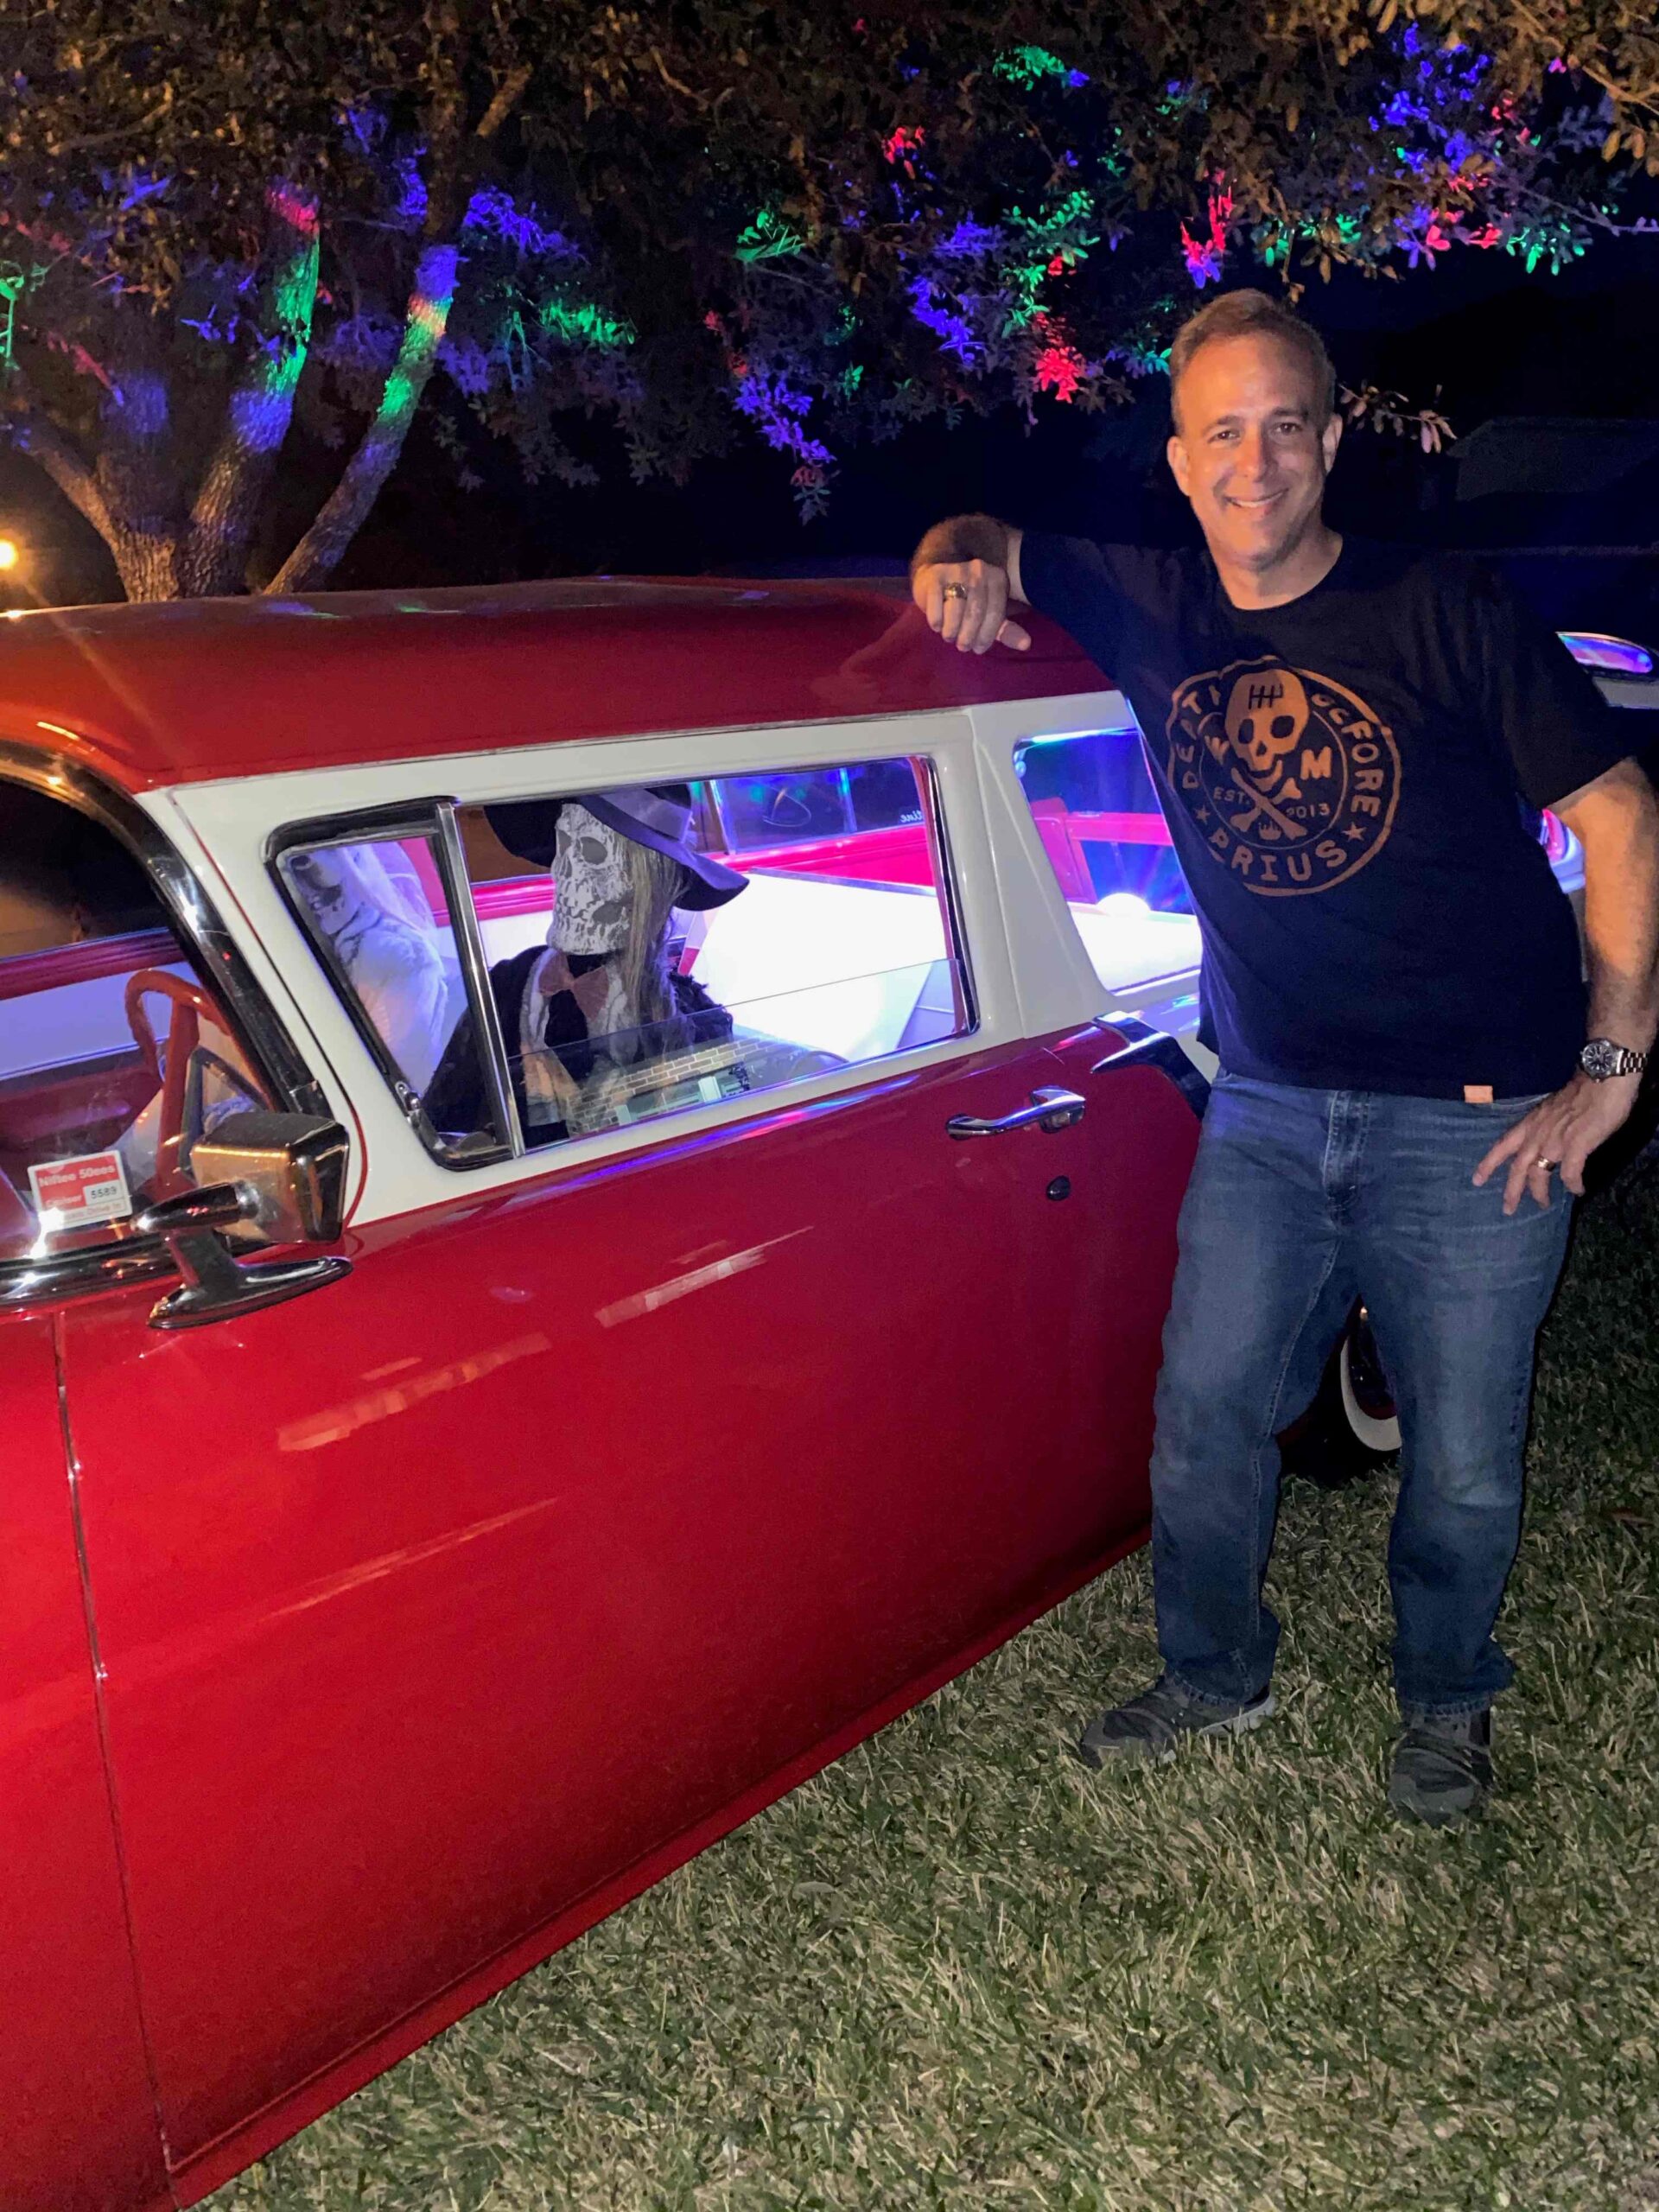
2015 Halloween

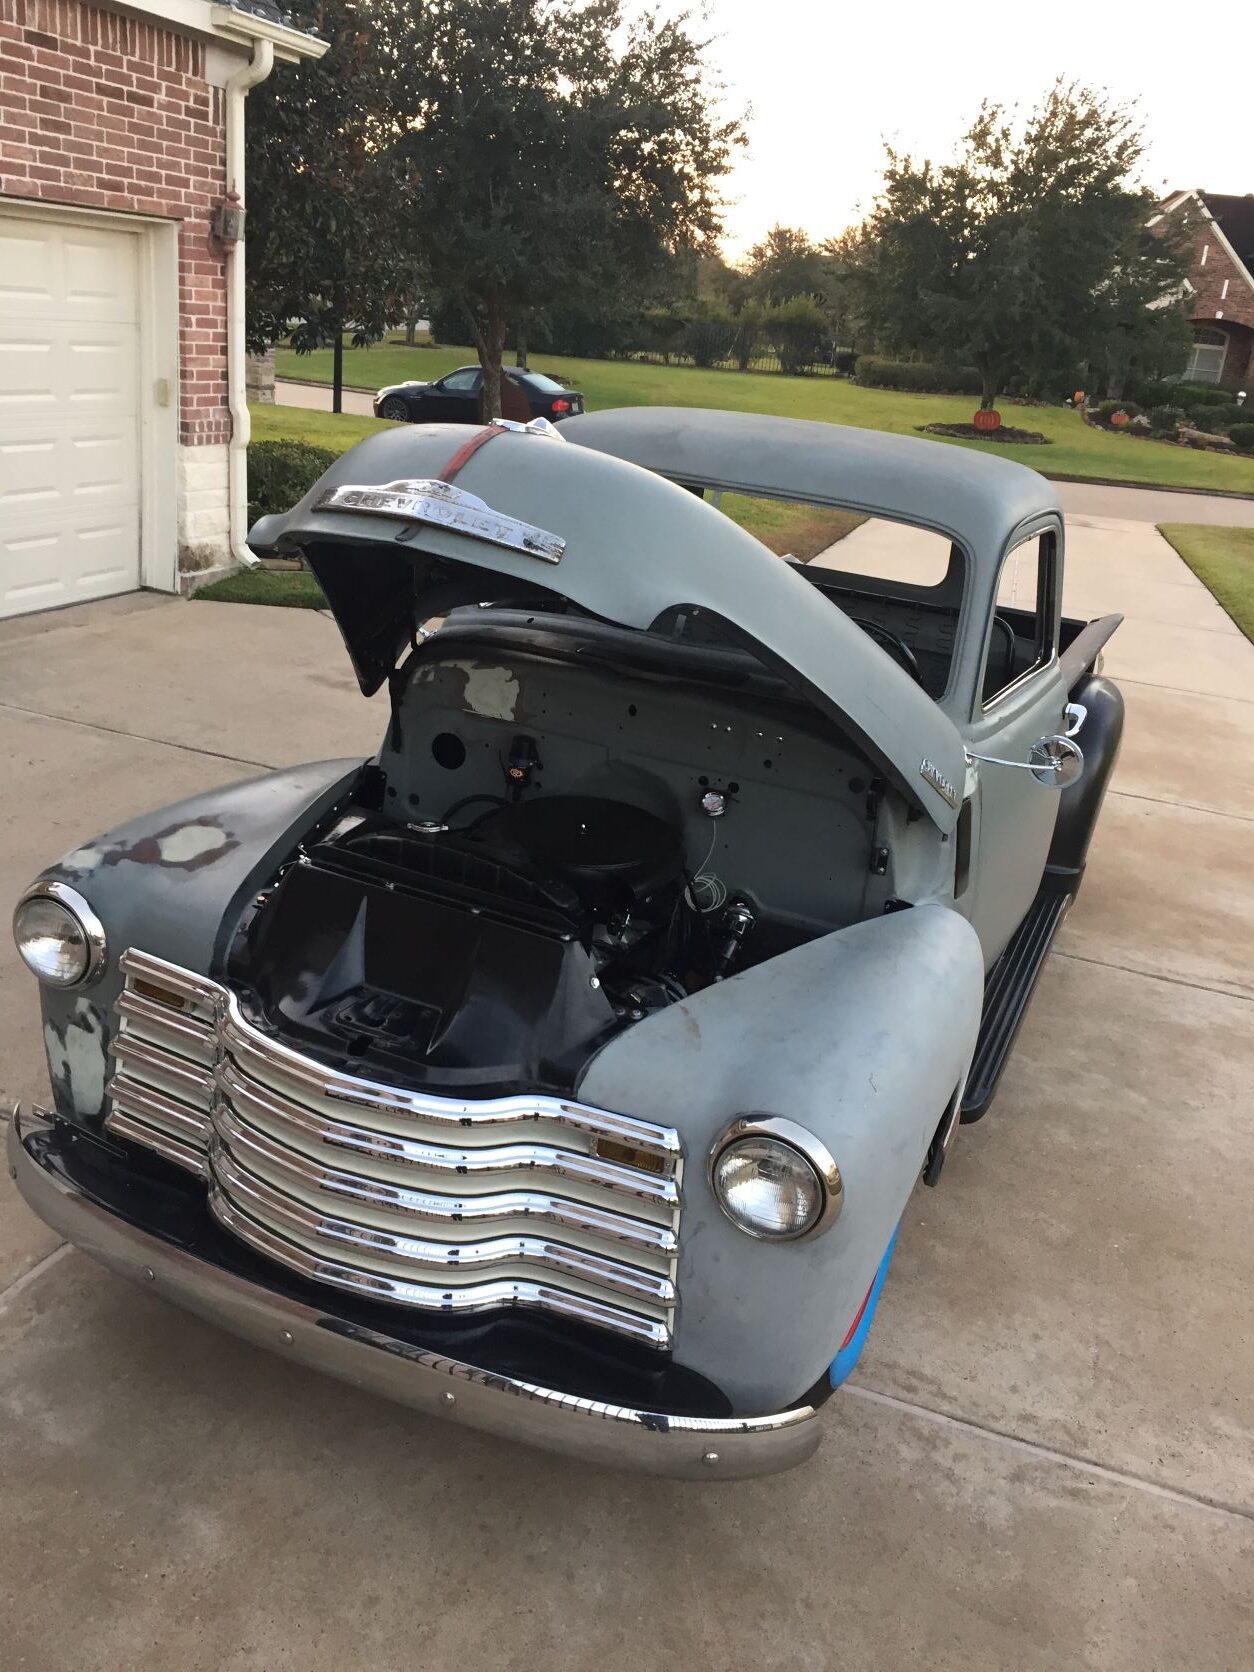
2016 Build Update
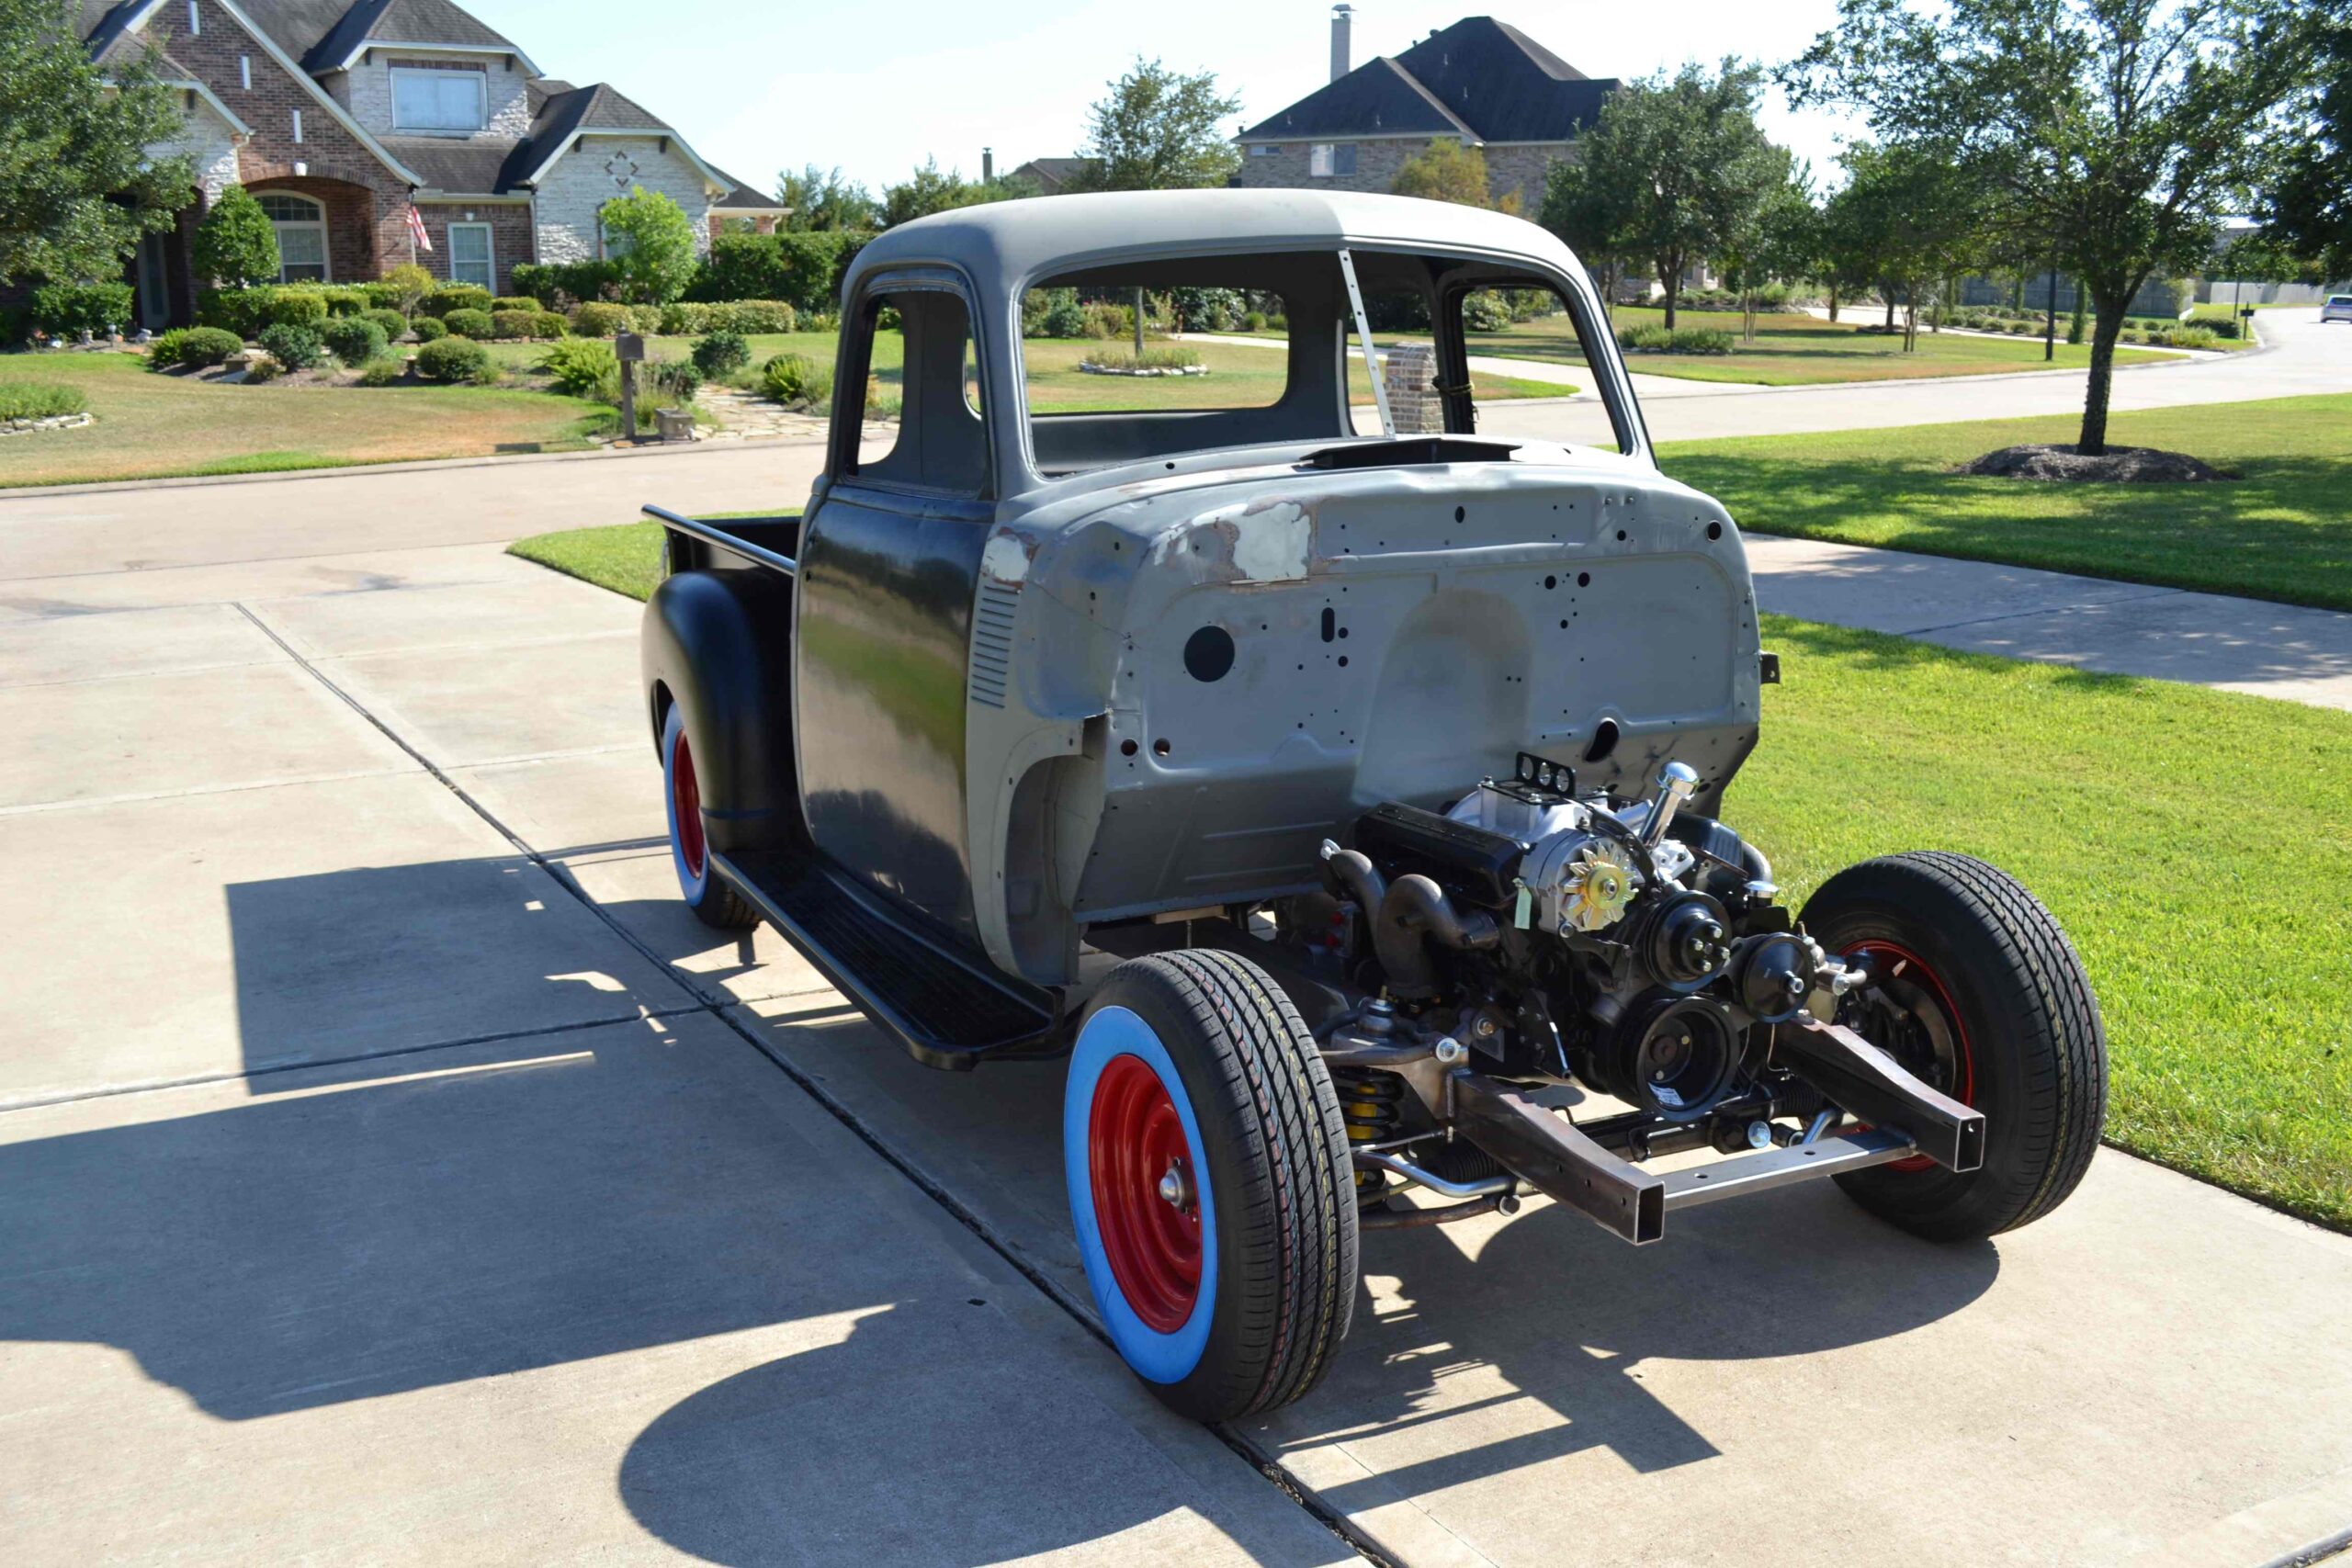
After mounting the cab, the next step is to assemble the fenders and hood. 1940’s assembly technology involves lots of bolt in had to reach places. If you notice in later build pictures the engine accessories and exhaust manifolds will get changed out. Initially I ran the same engine accessory configuration as my 1972 Camaro with a longer water pump and the alternator on the passenger side. I later switched it out the a 1969 Corvette configuration.
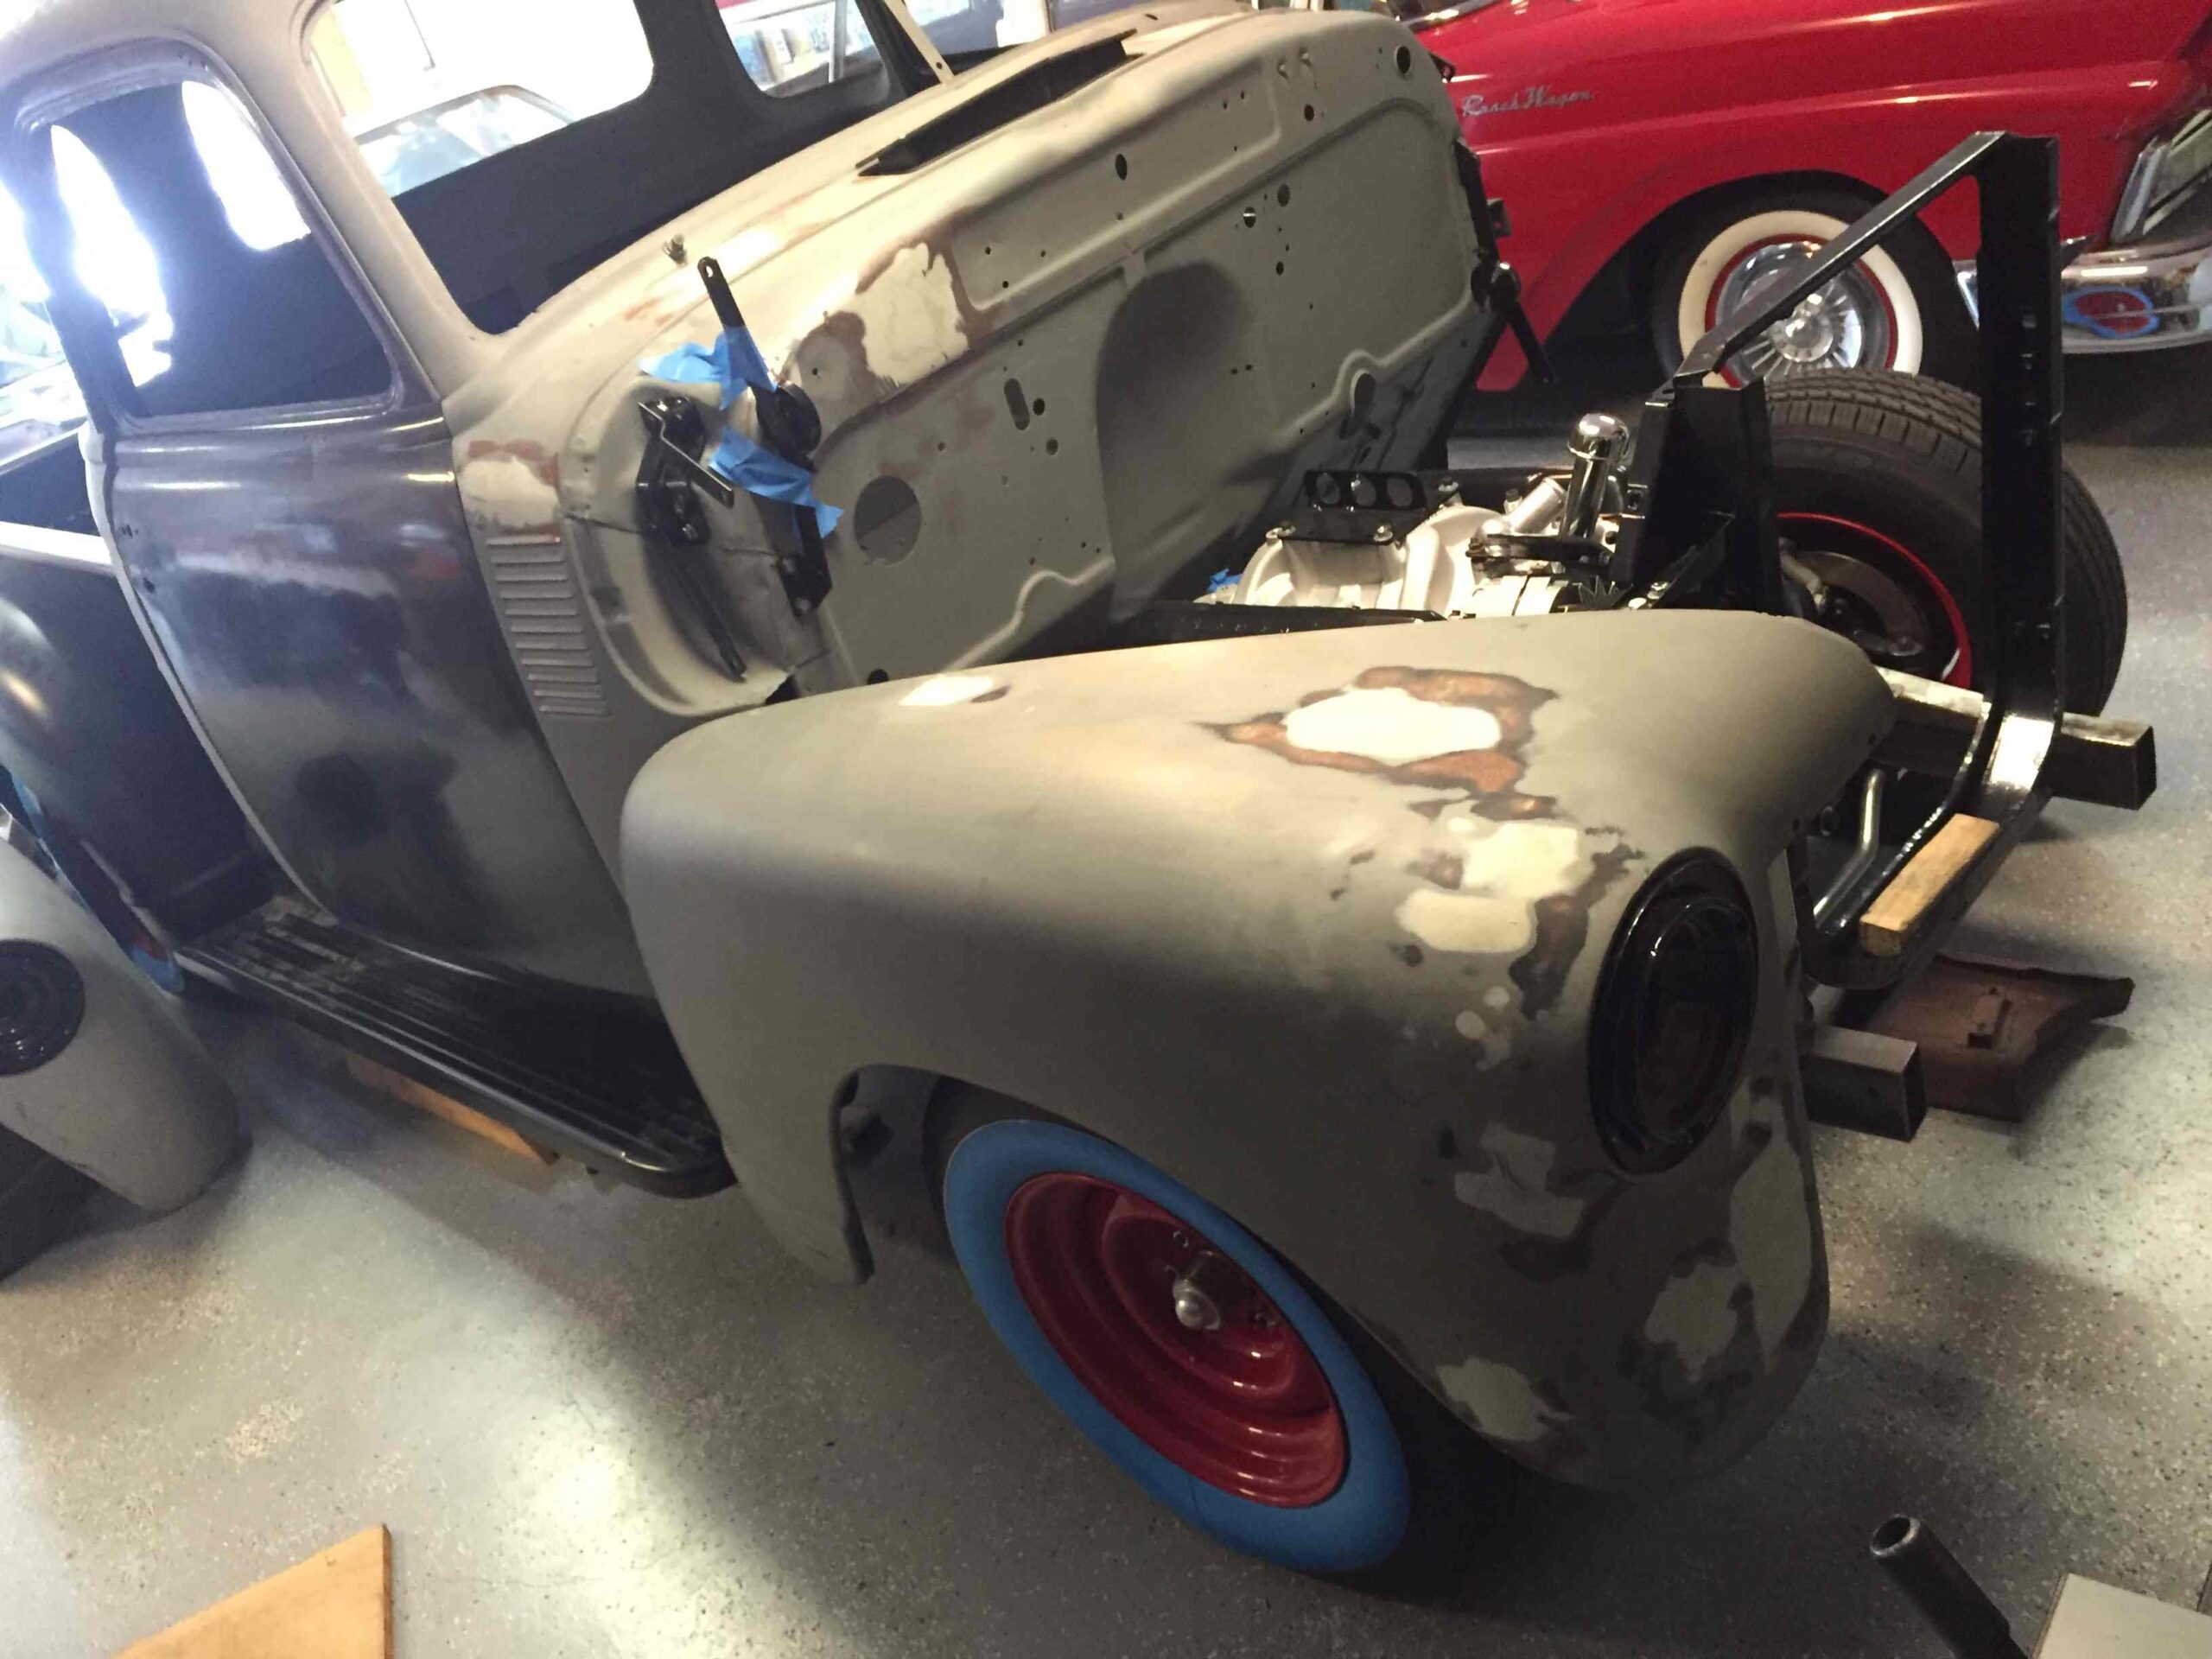


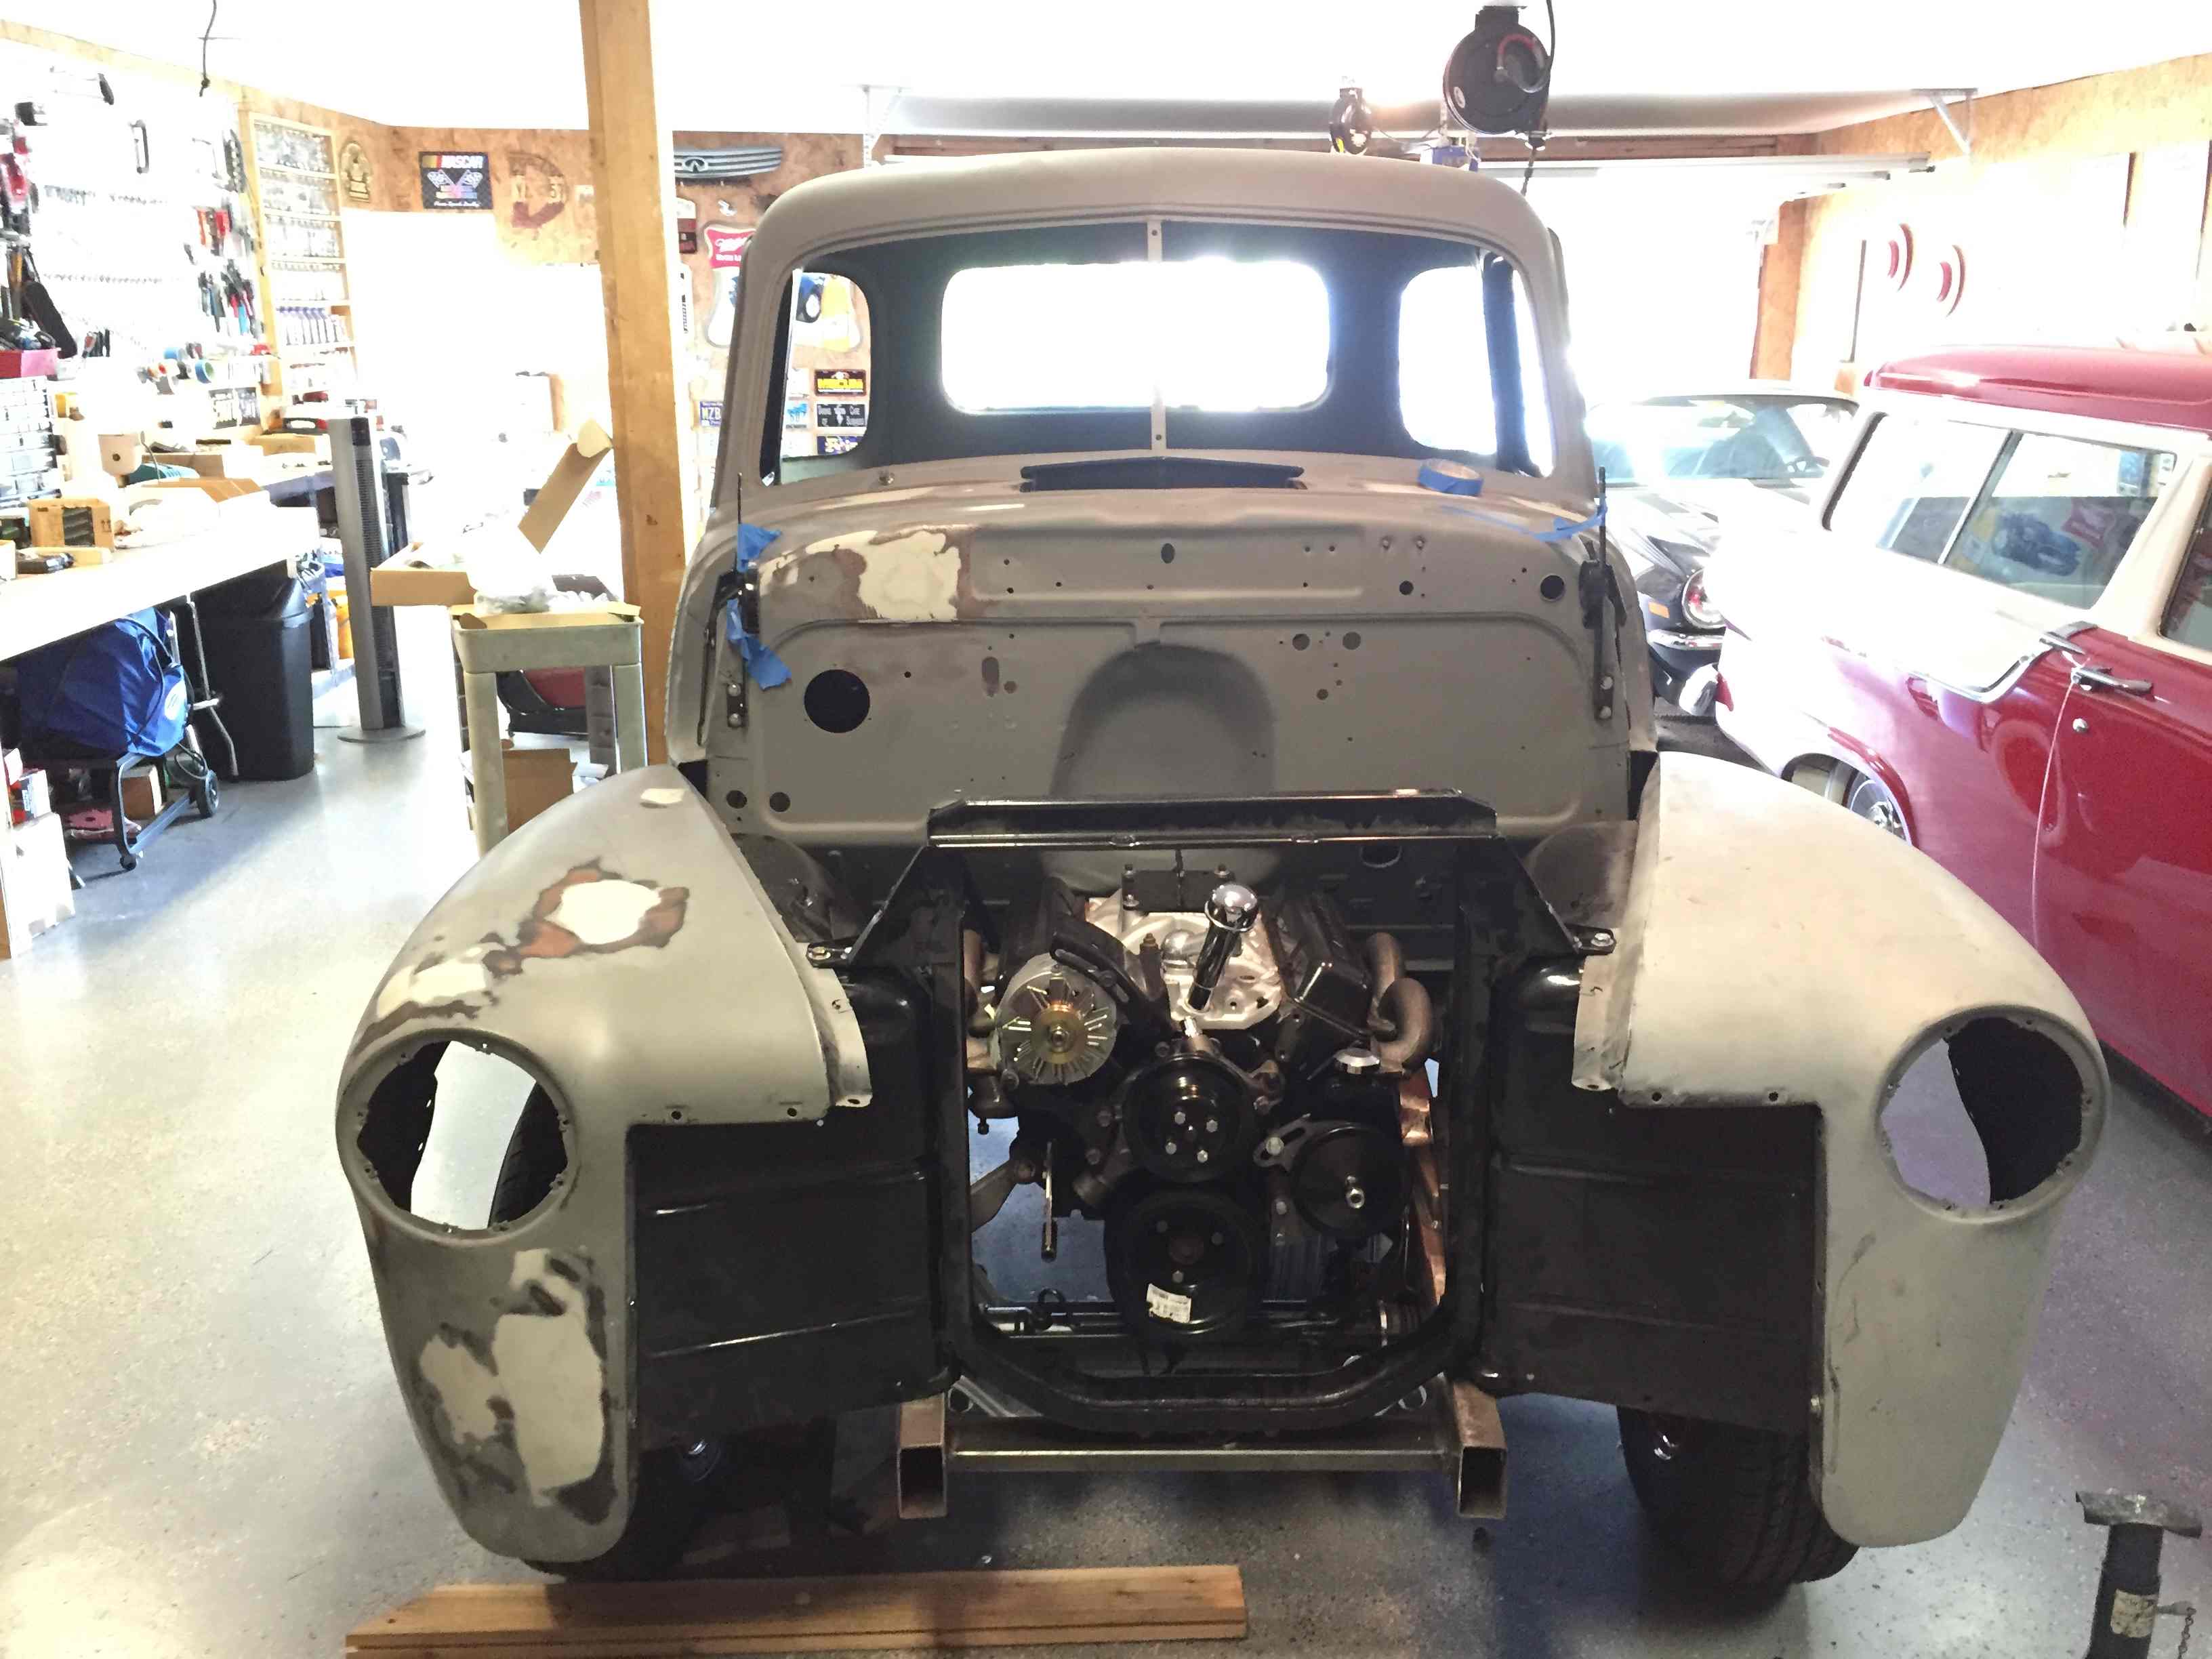


2017 Build Update
A little more progress in 2017


2018 Build Update


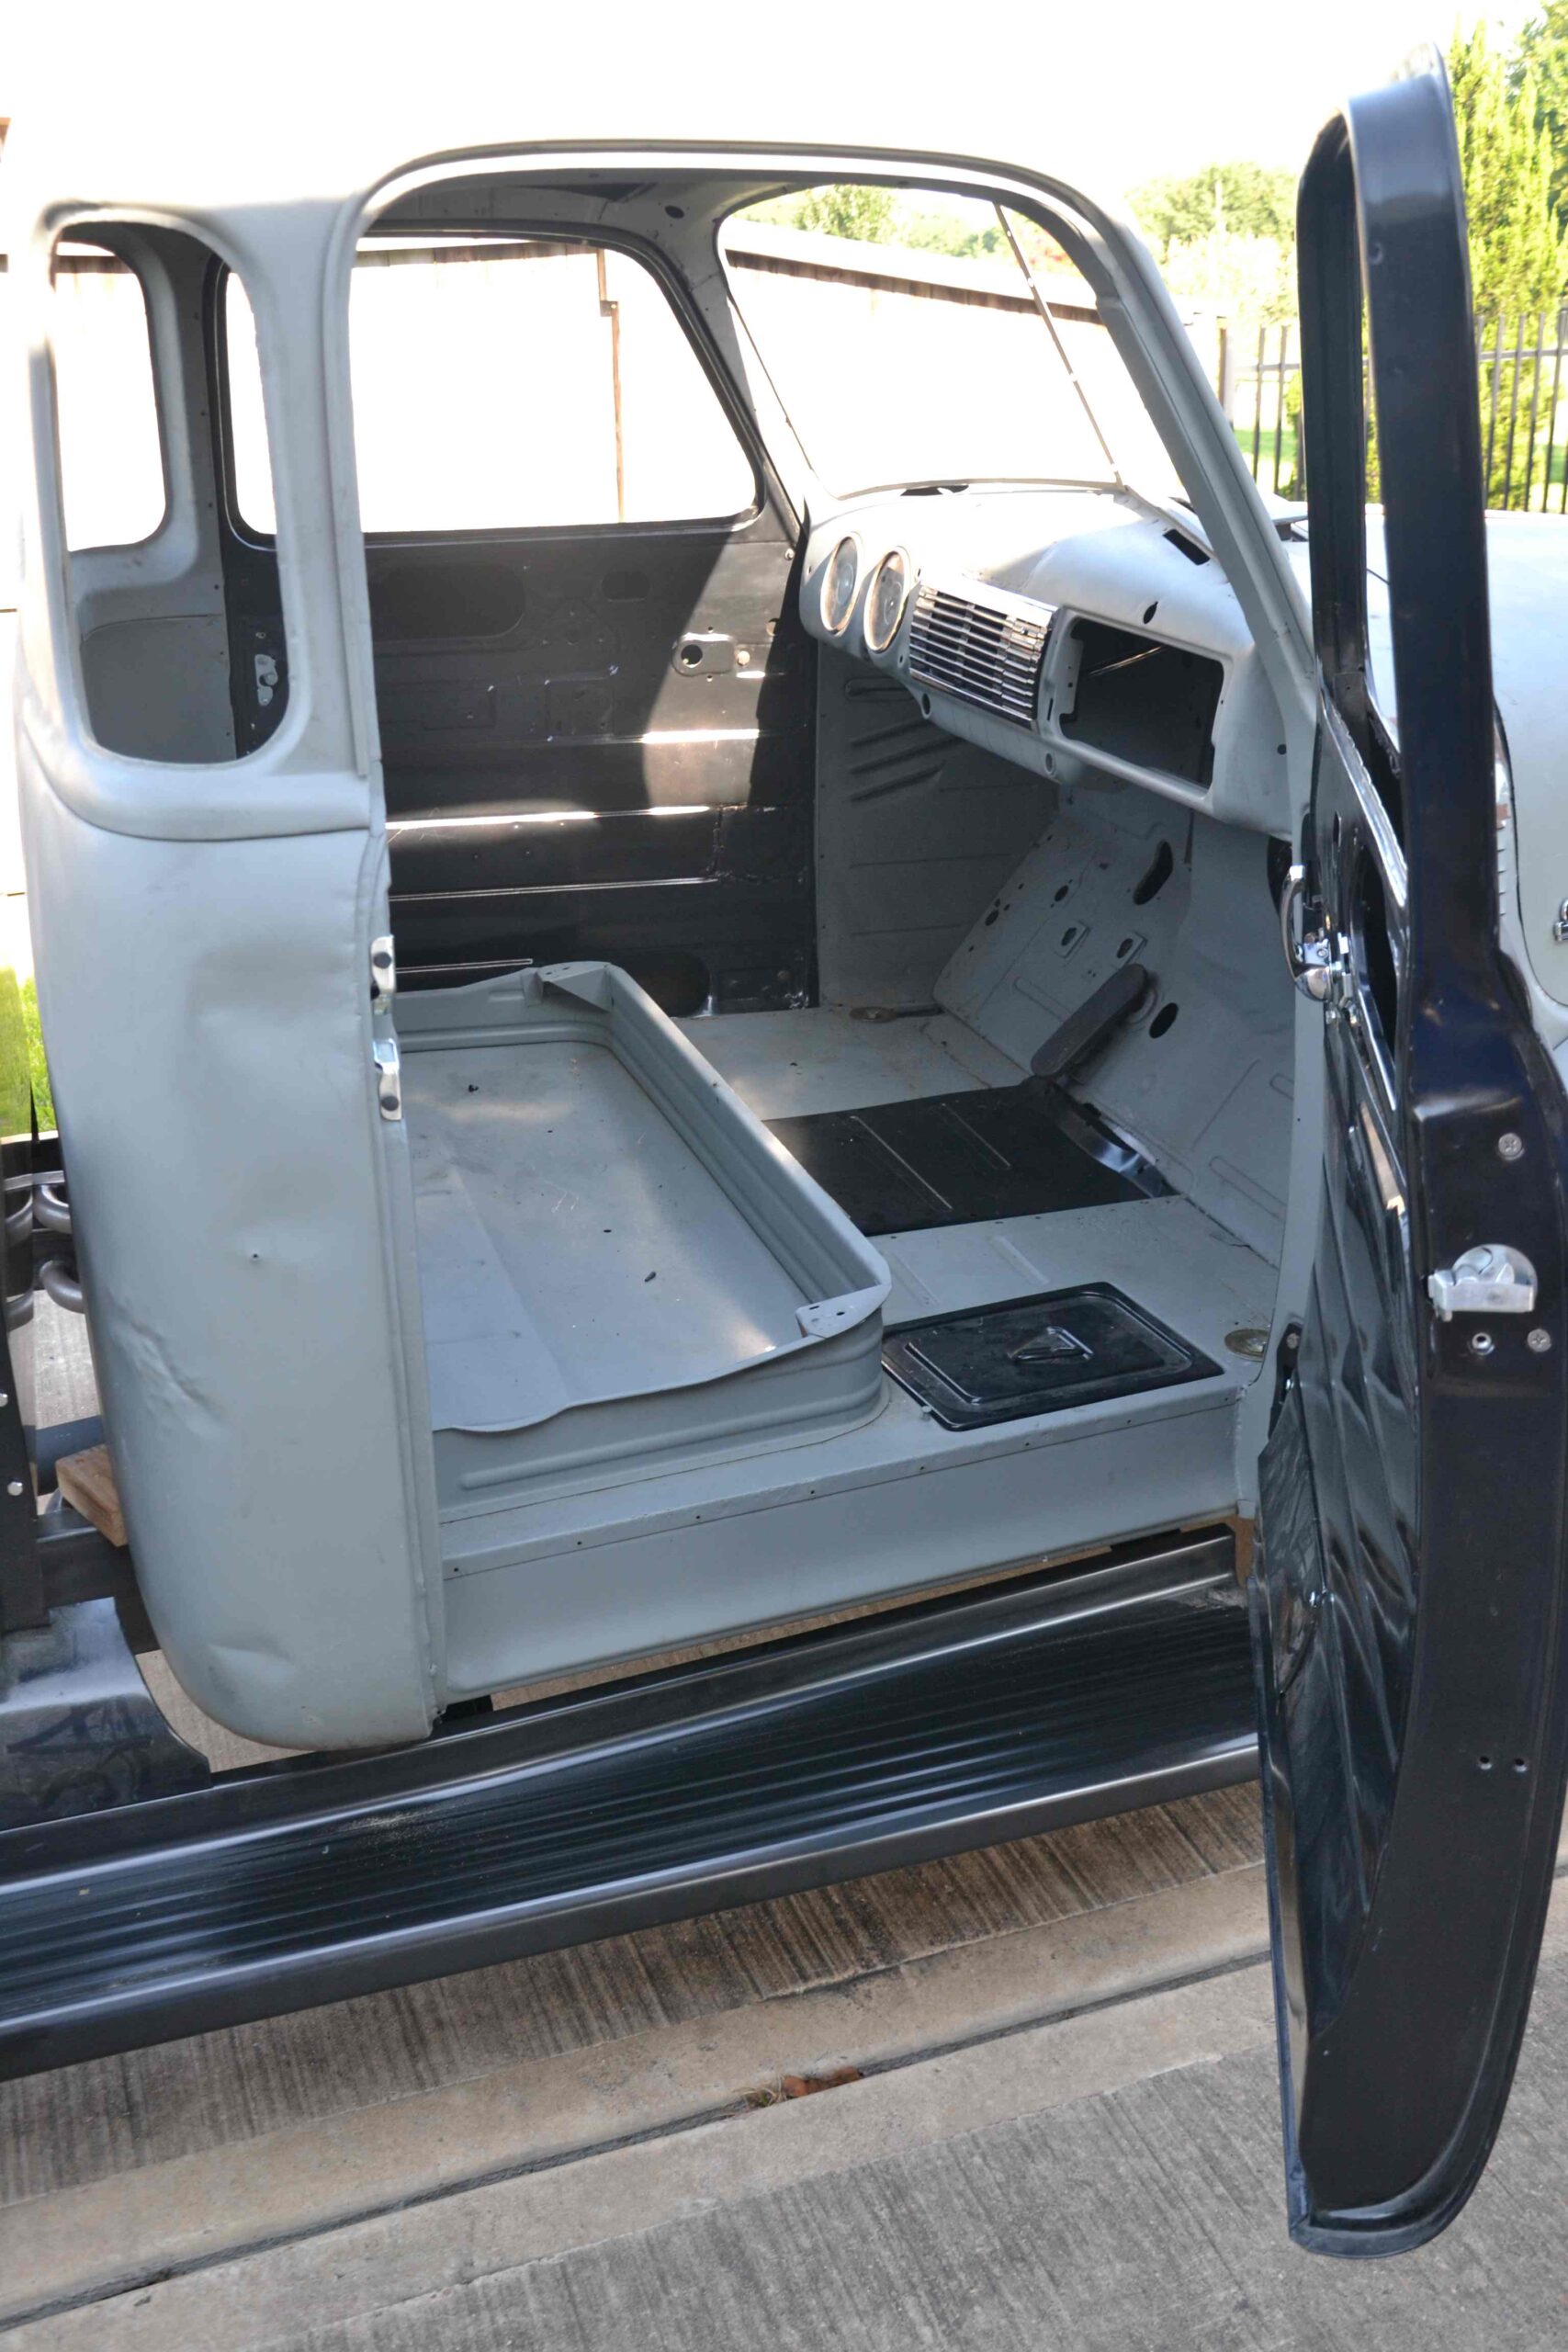
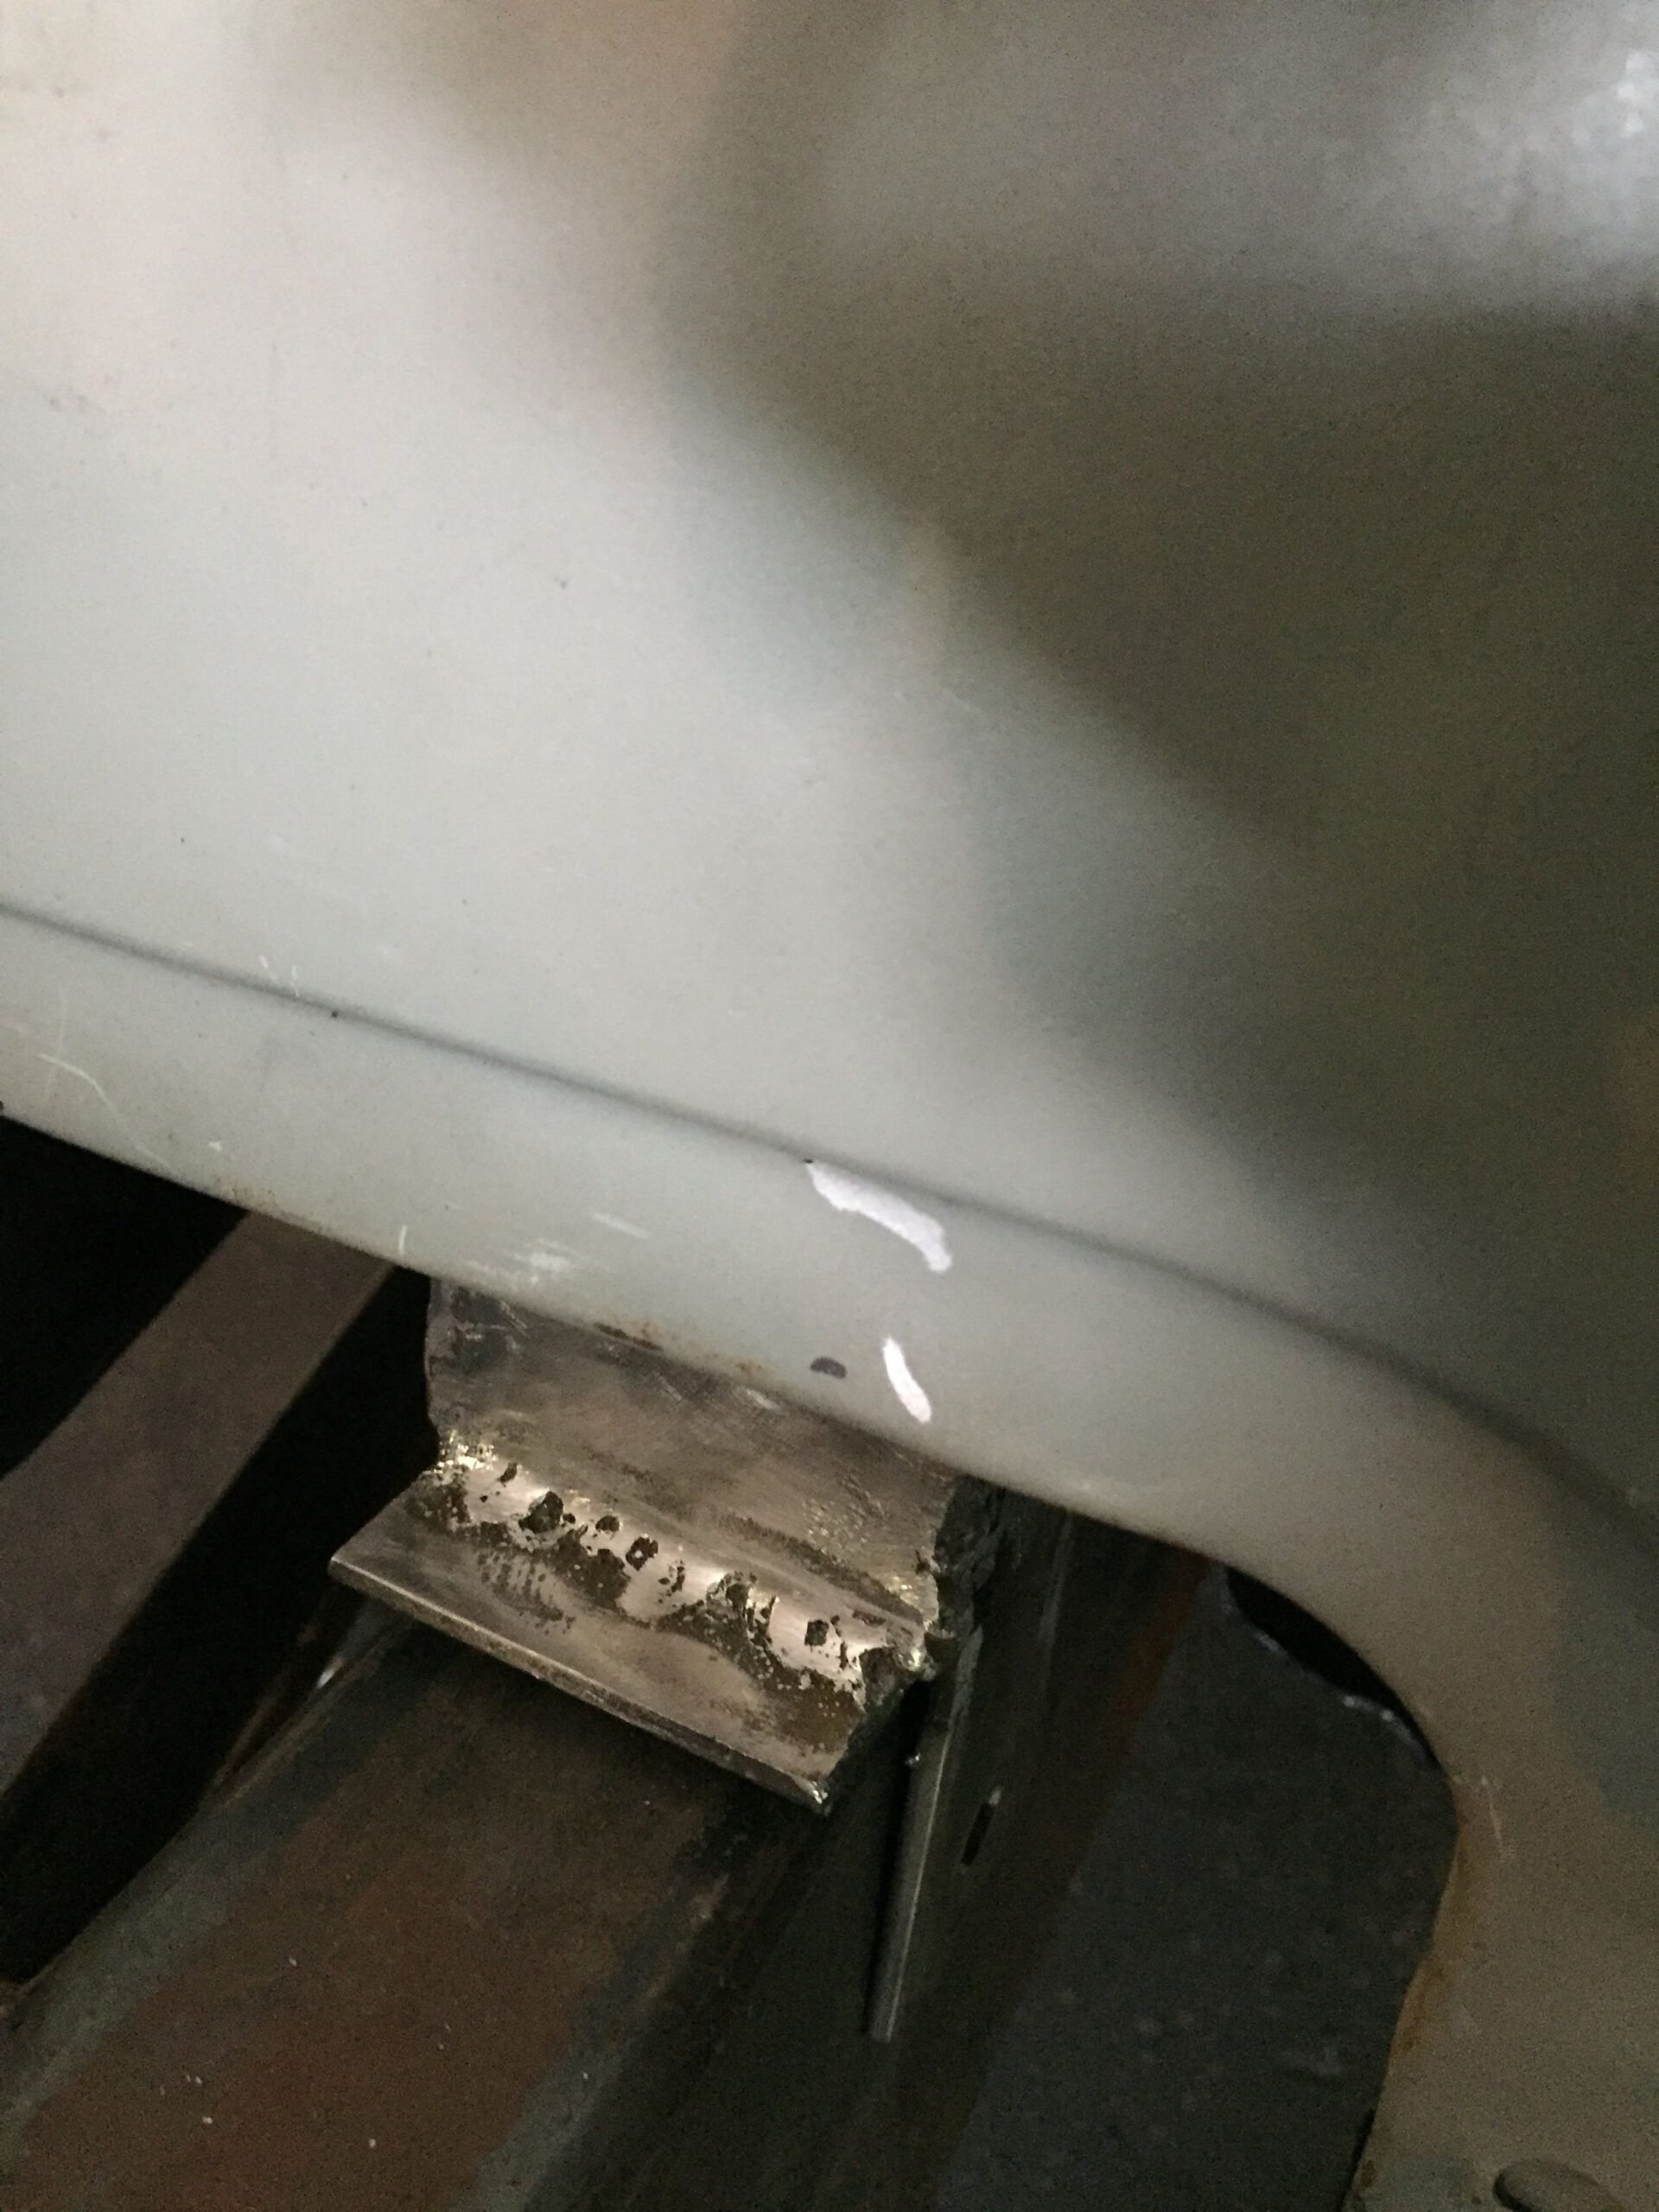
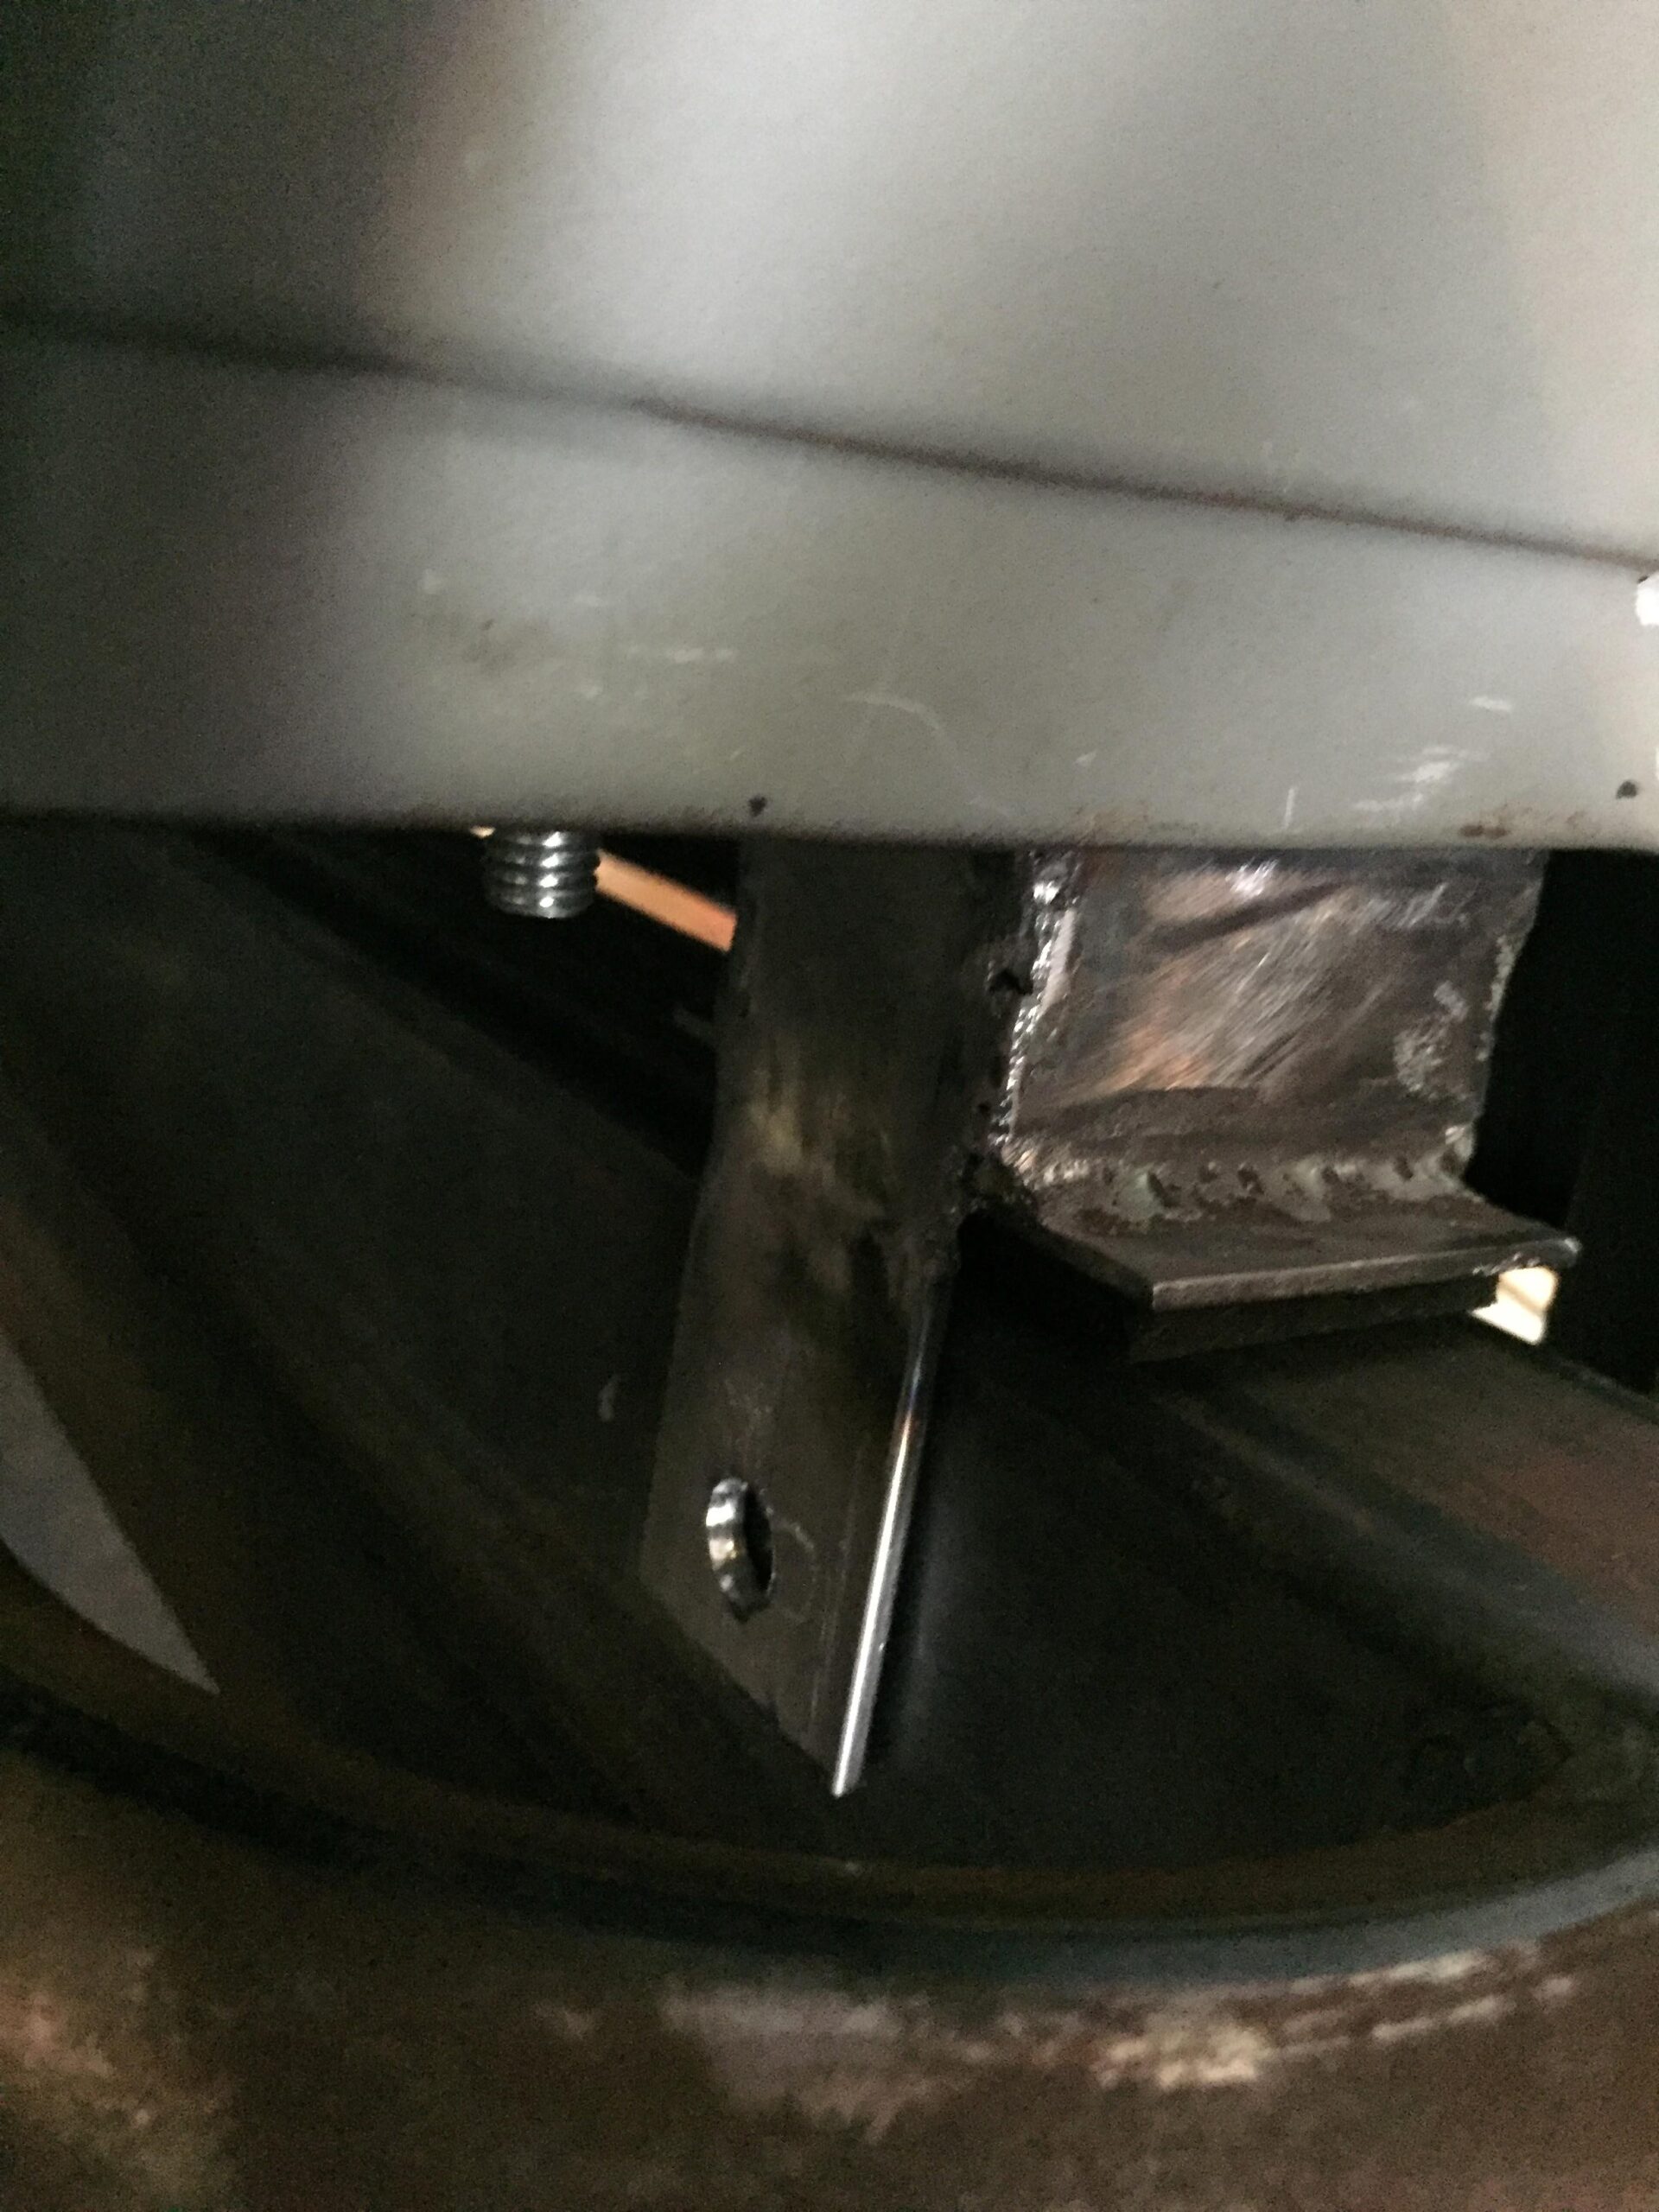
2018 Cab Mounts

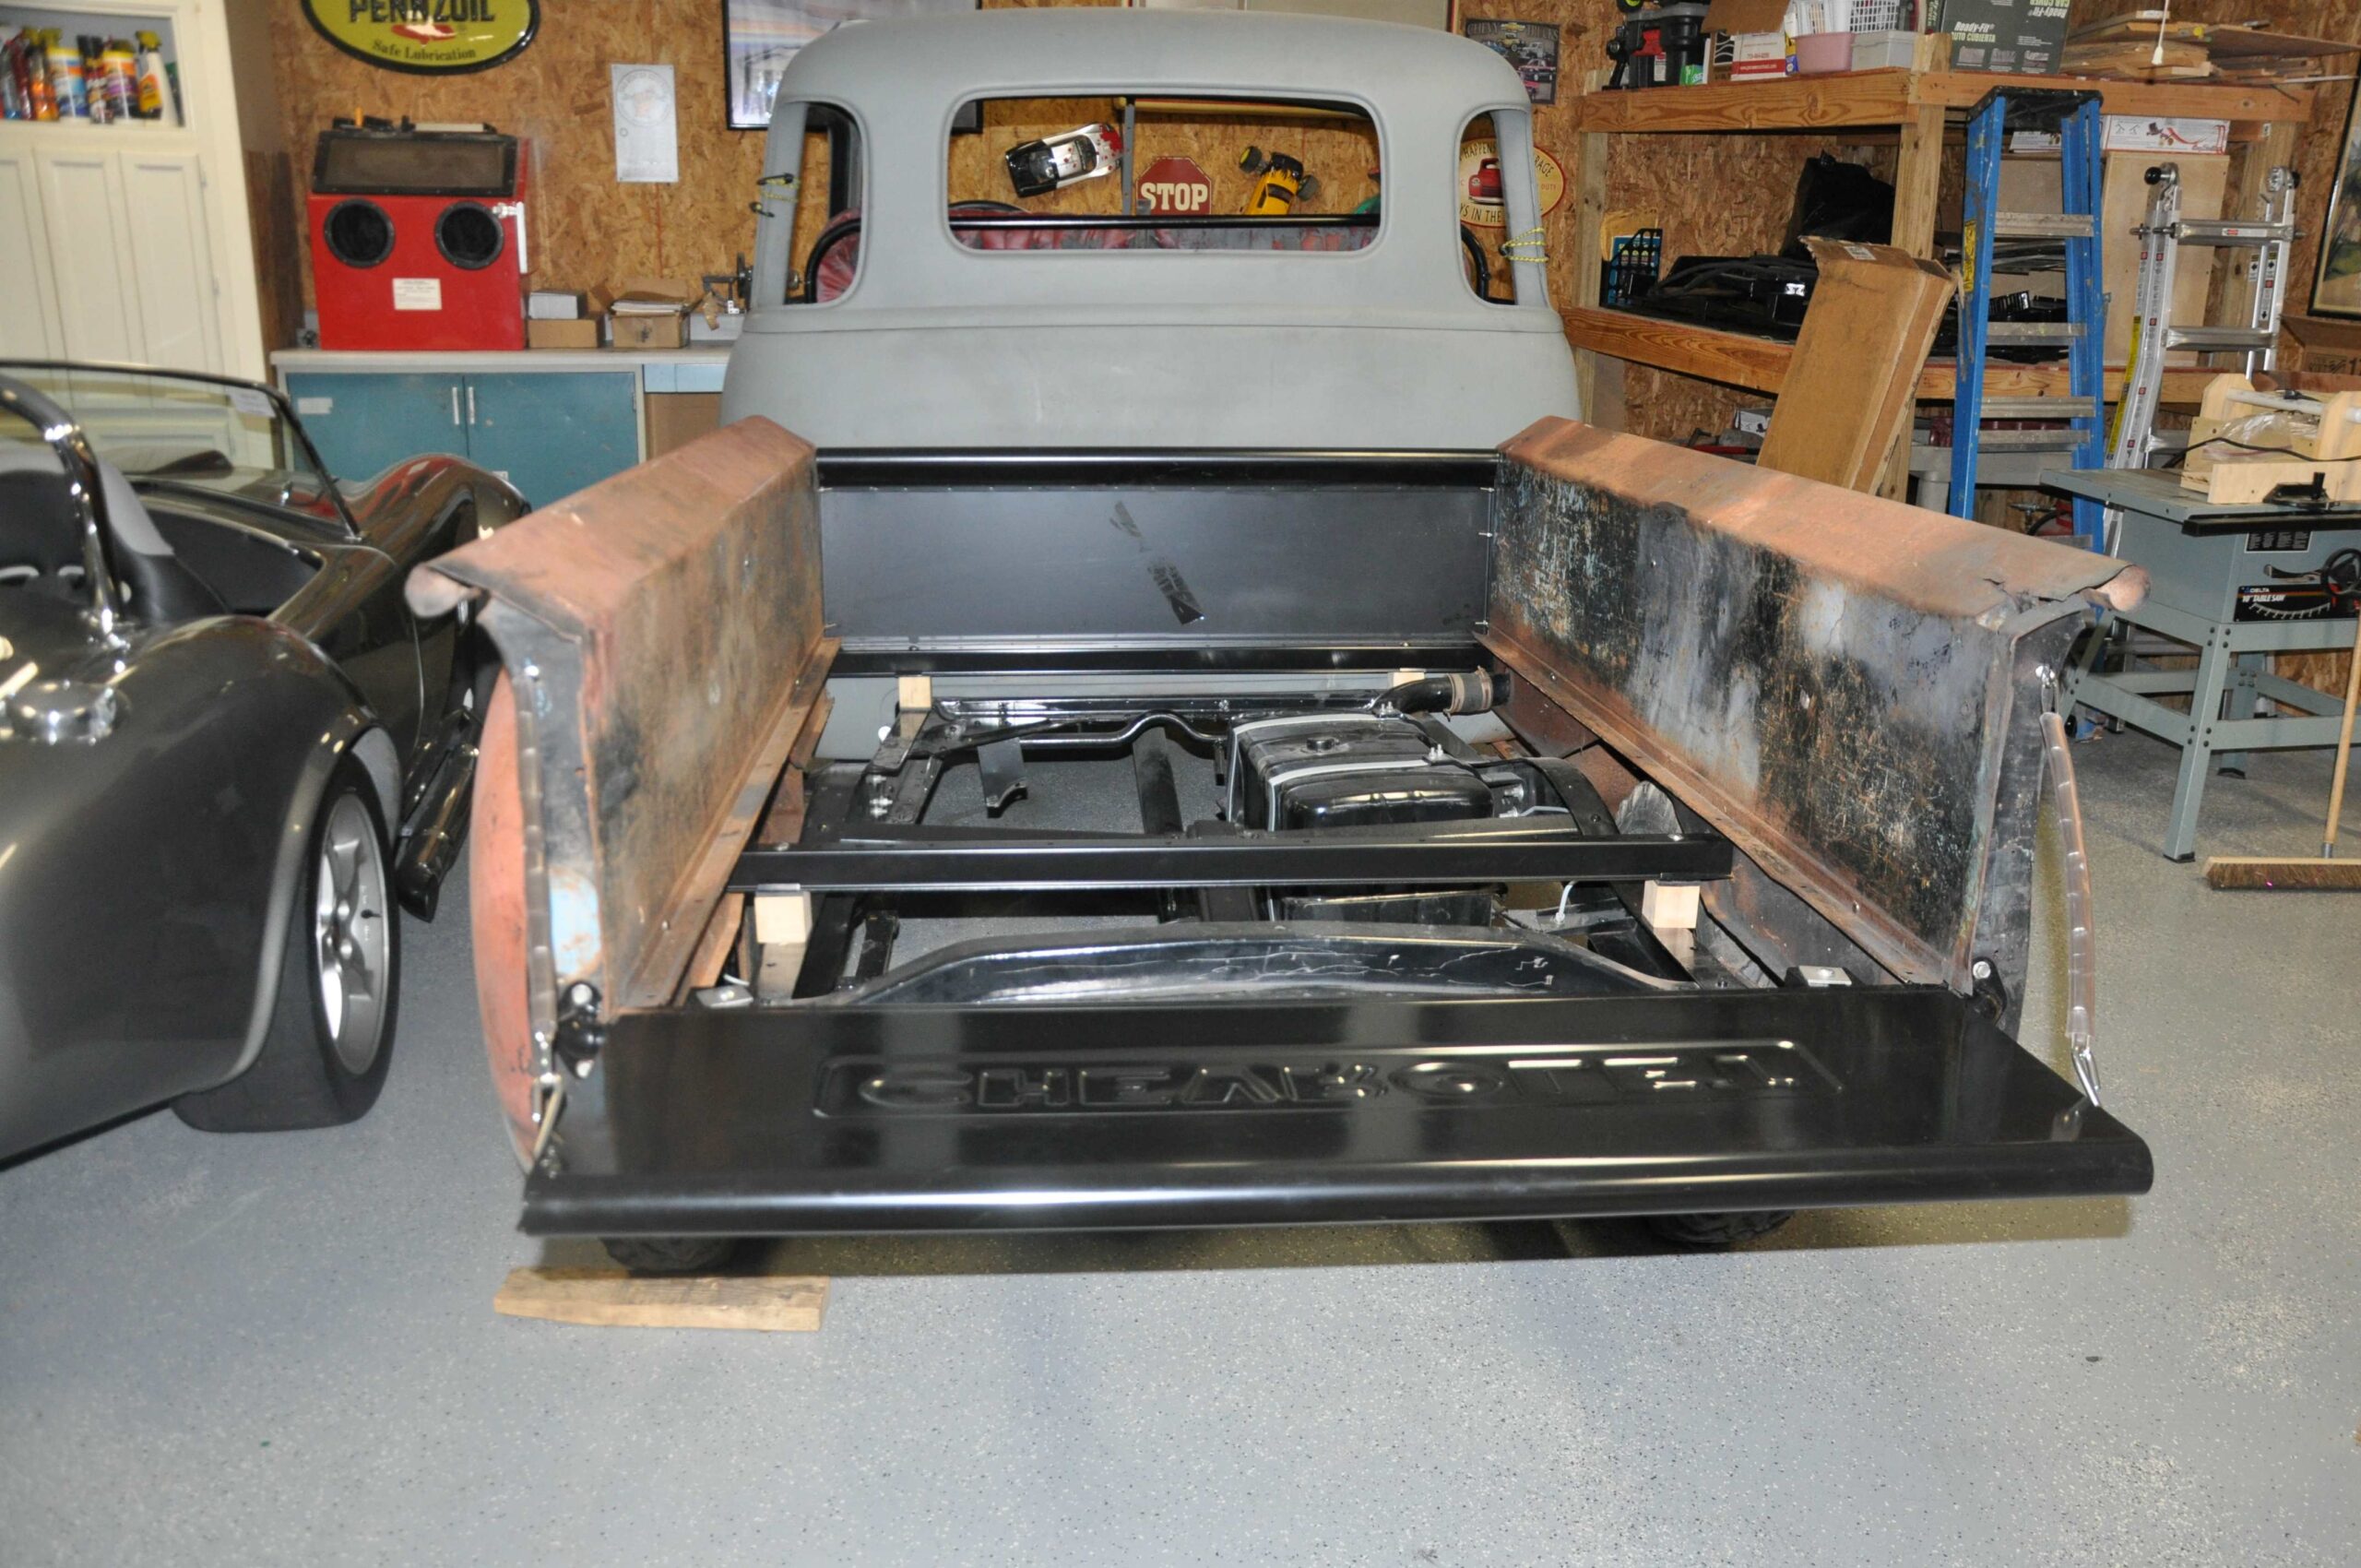
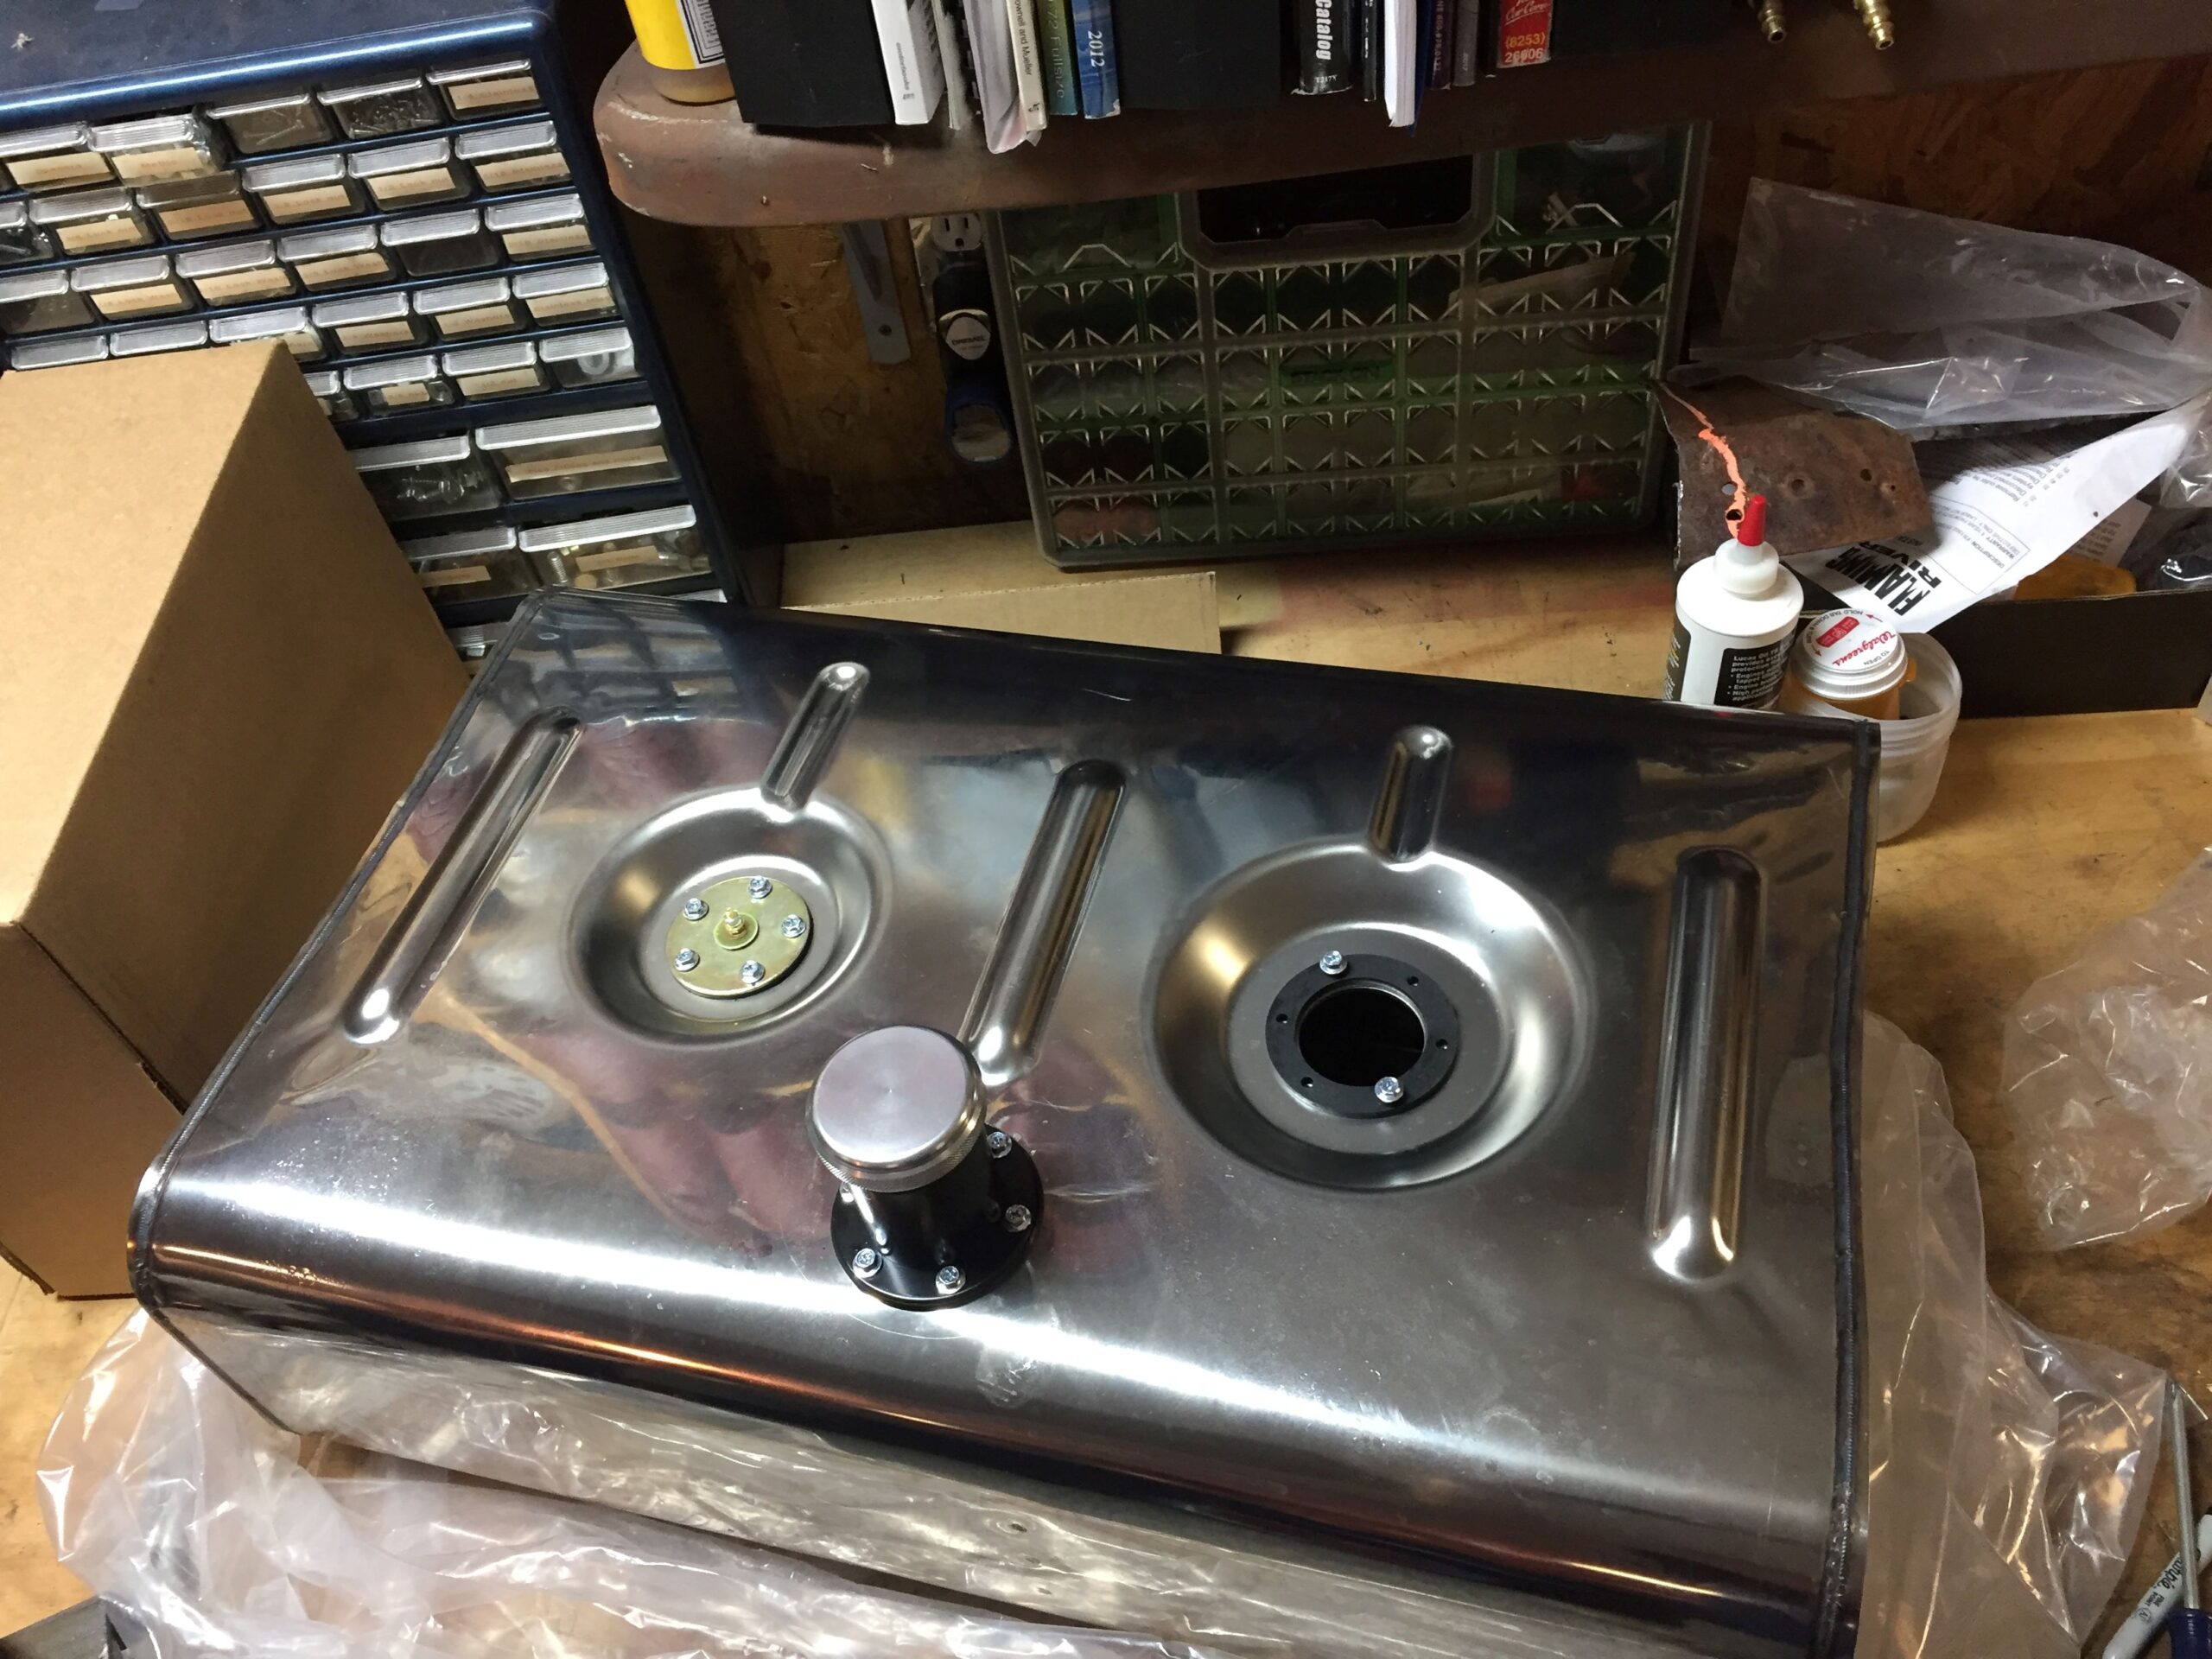
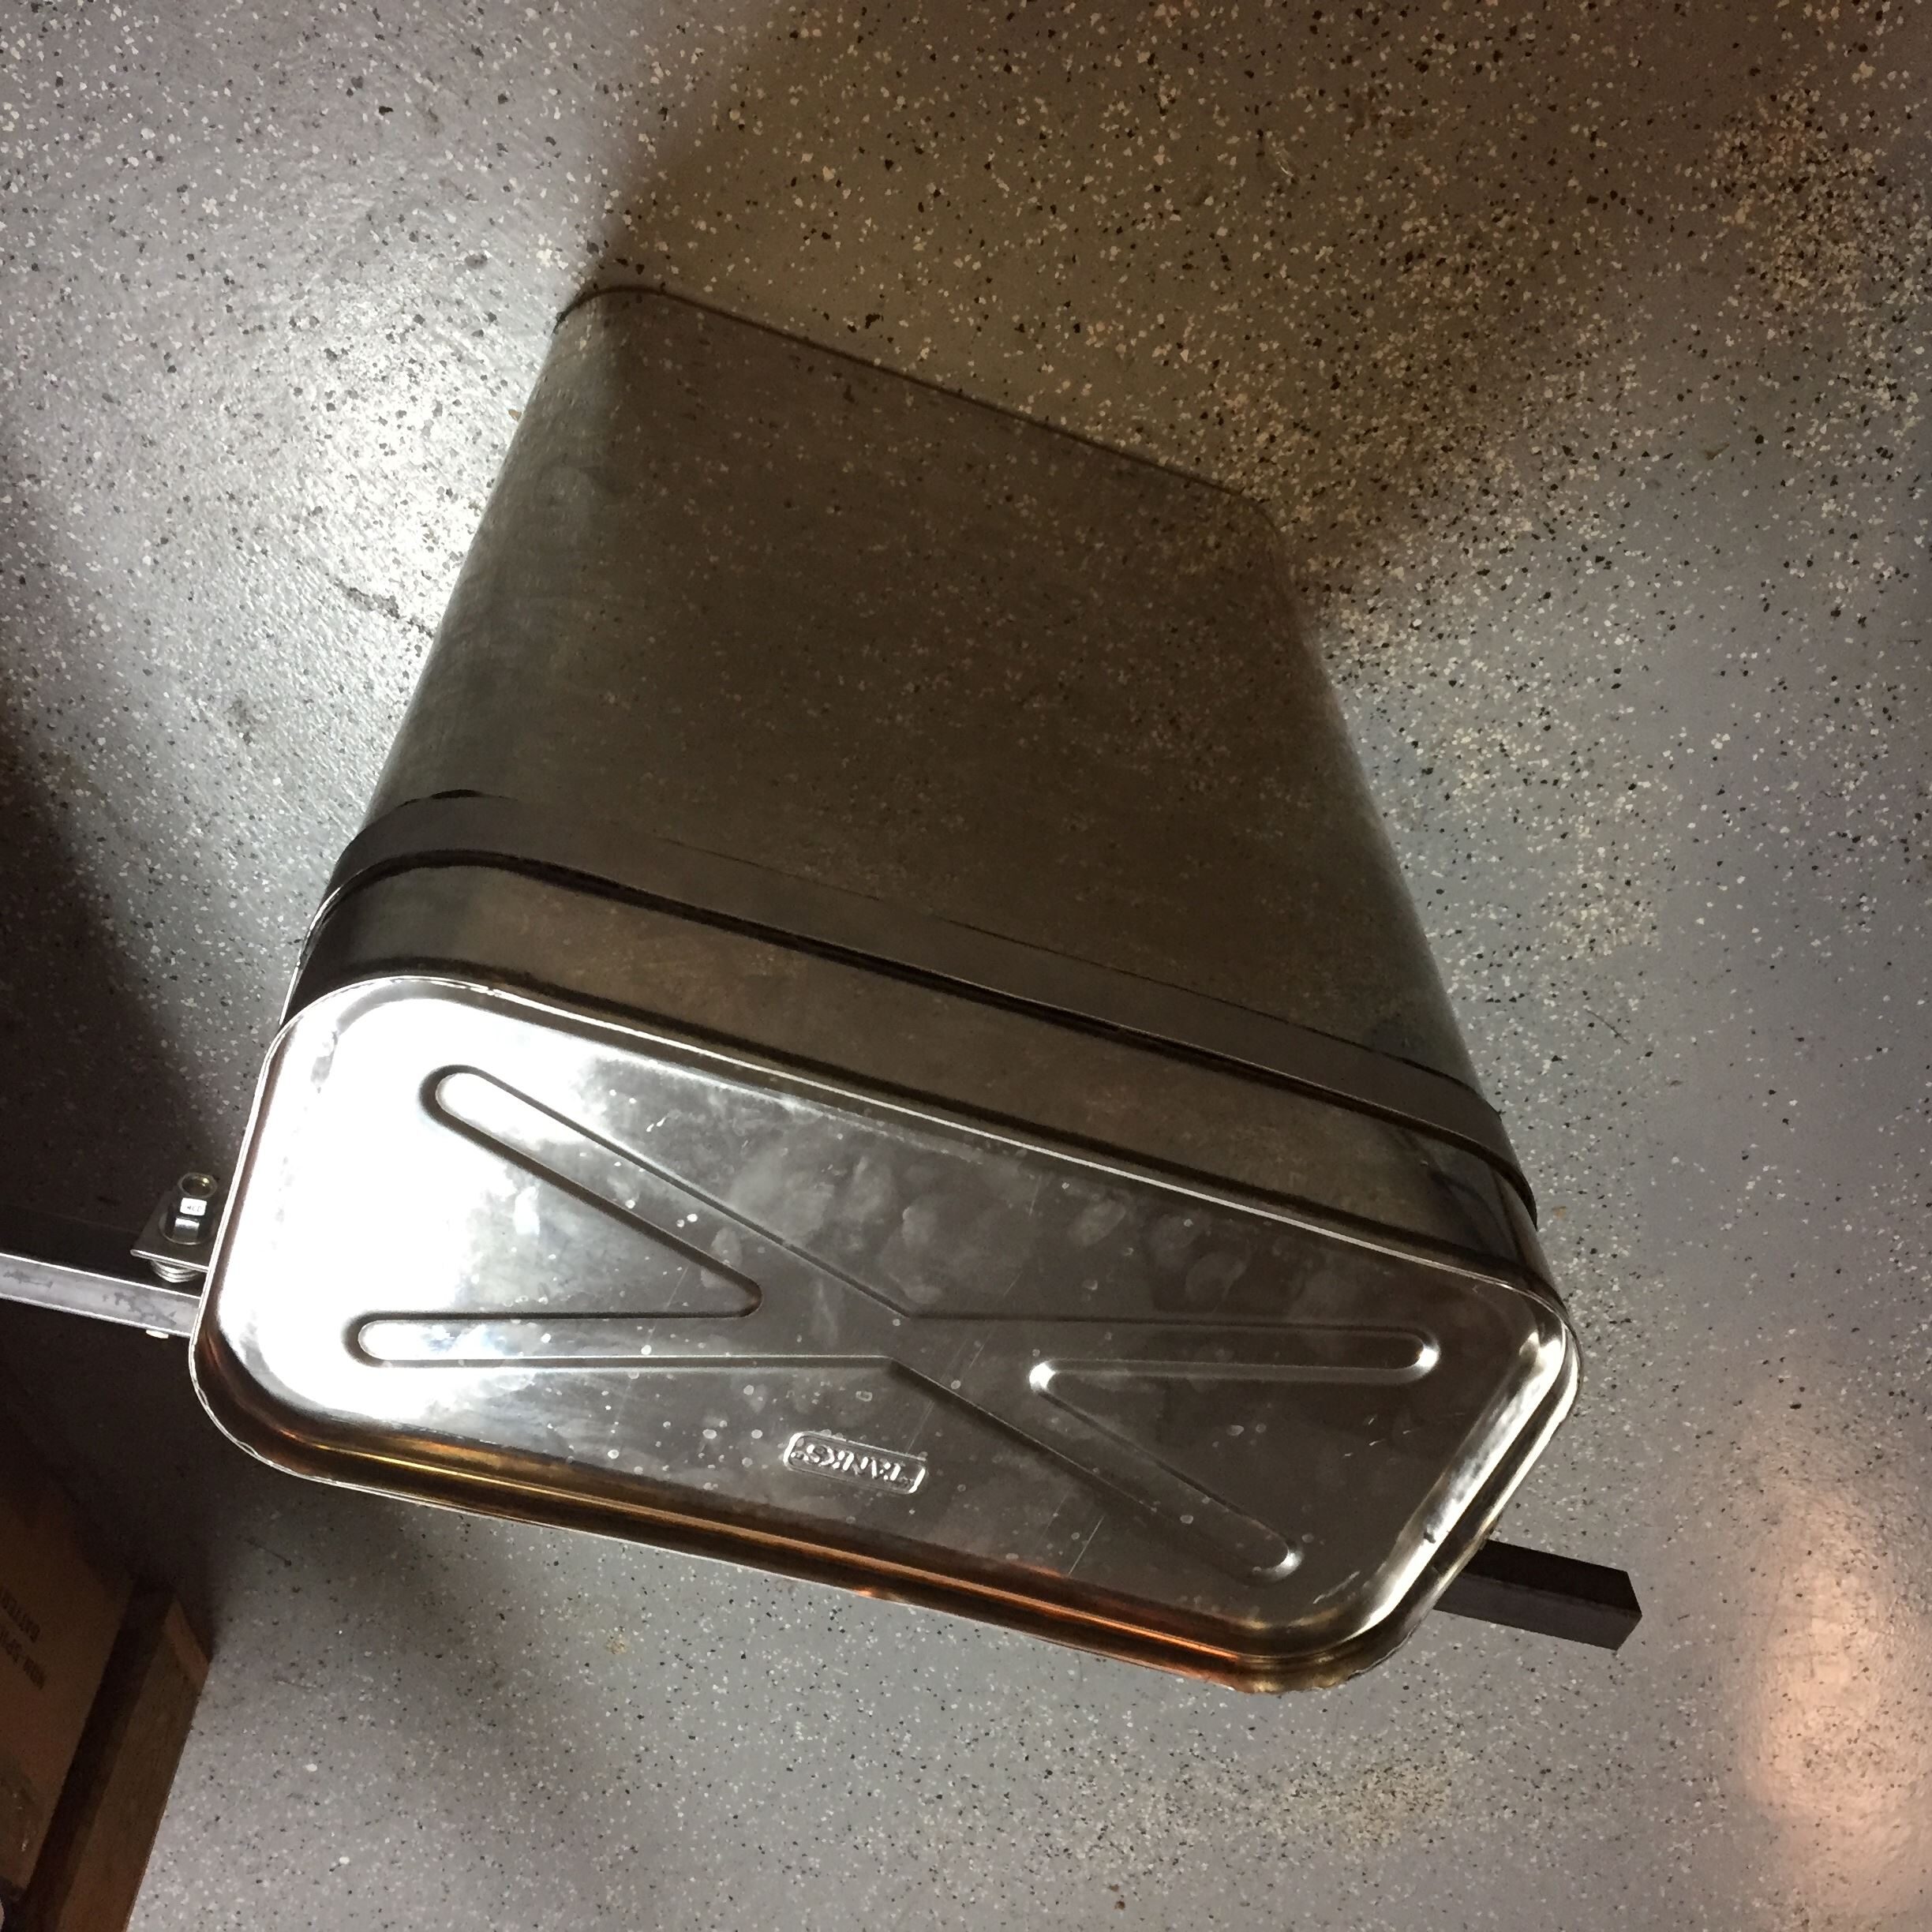
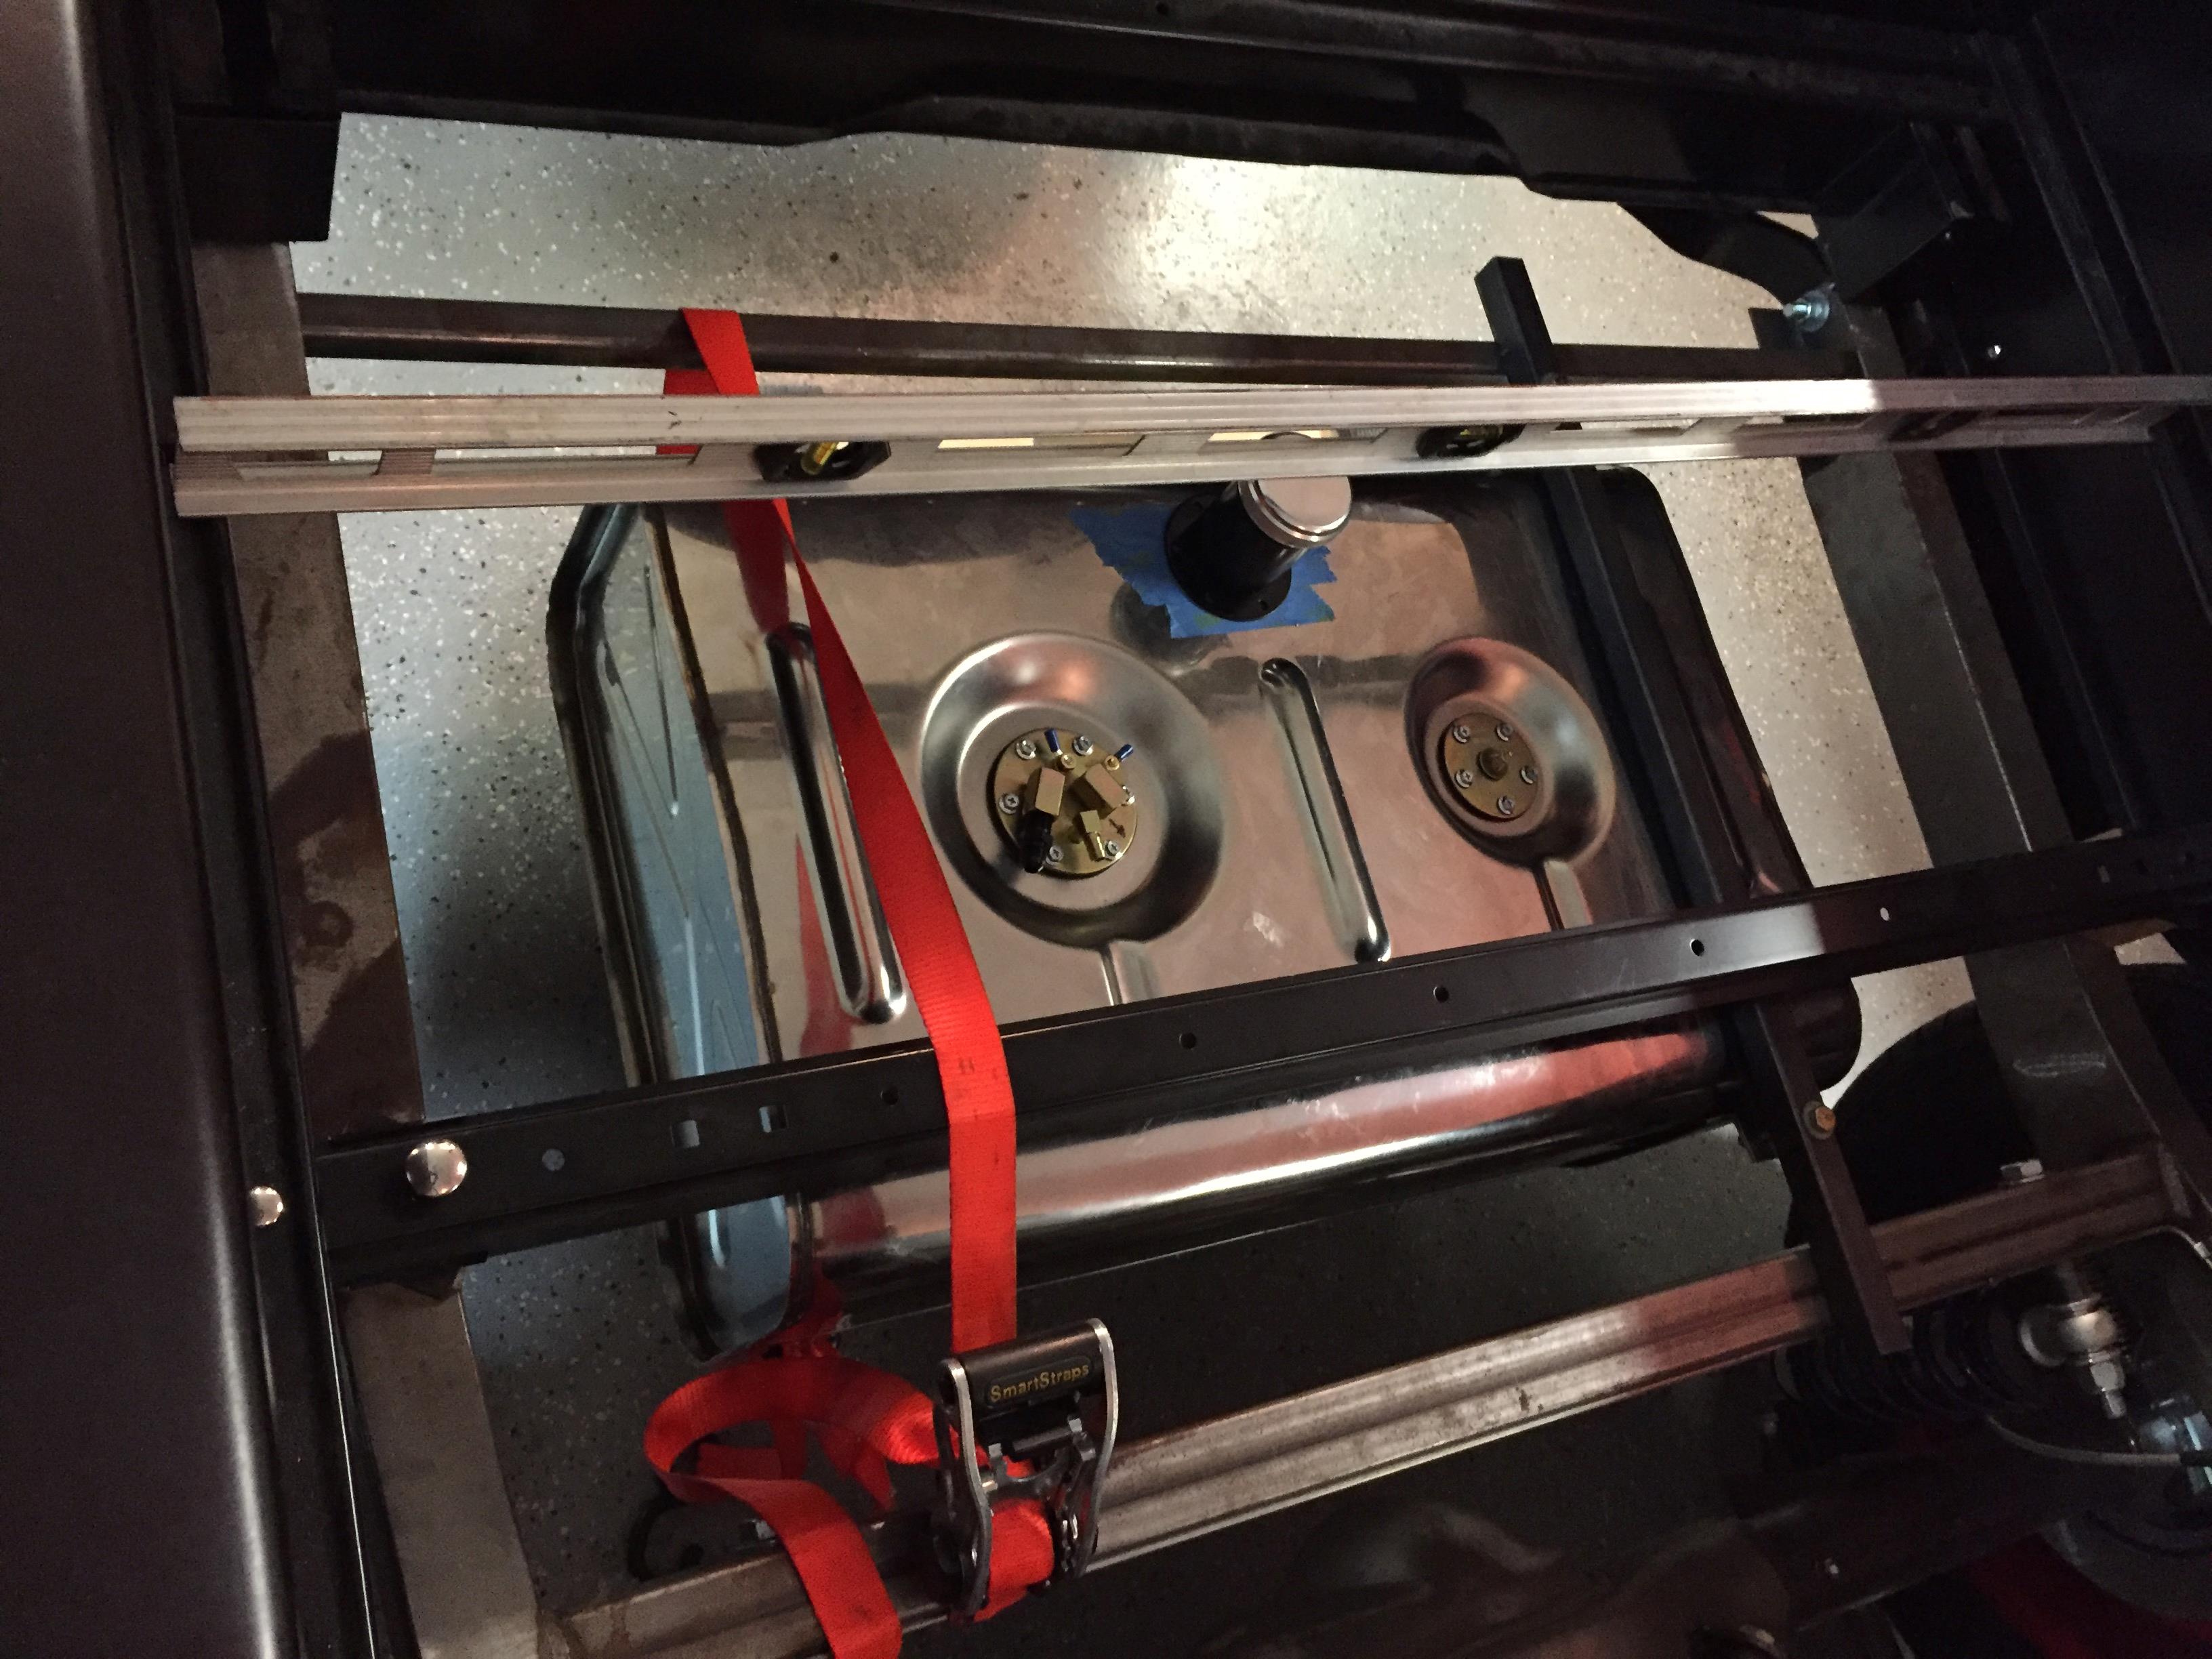
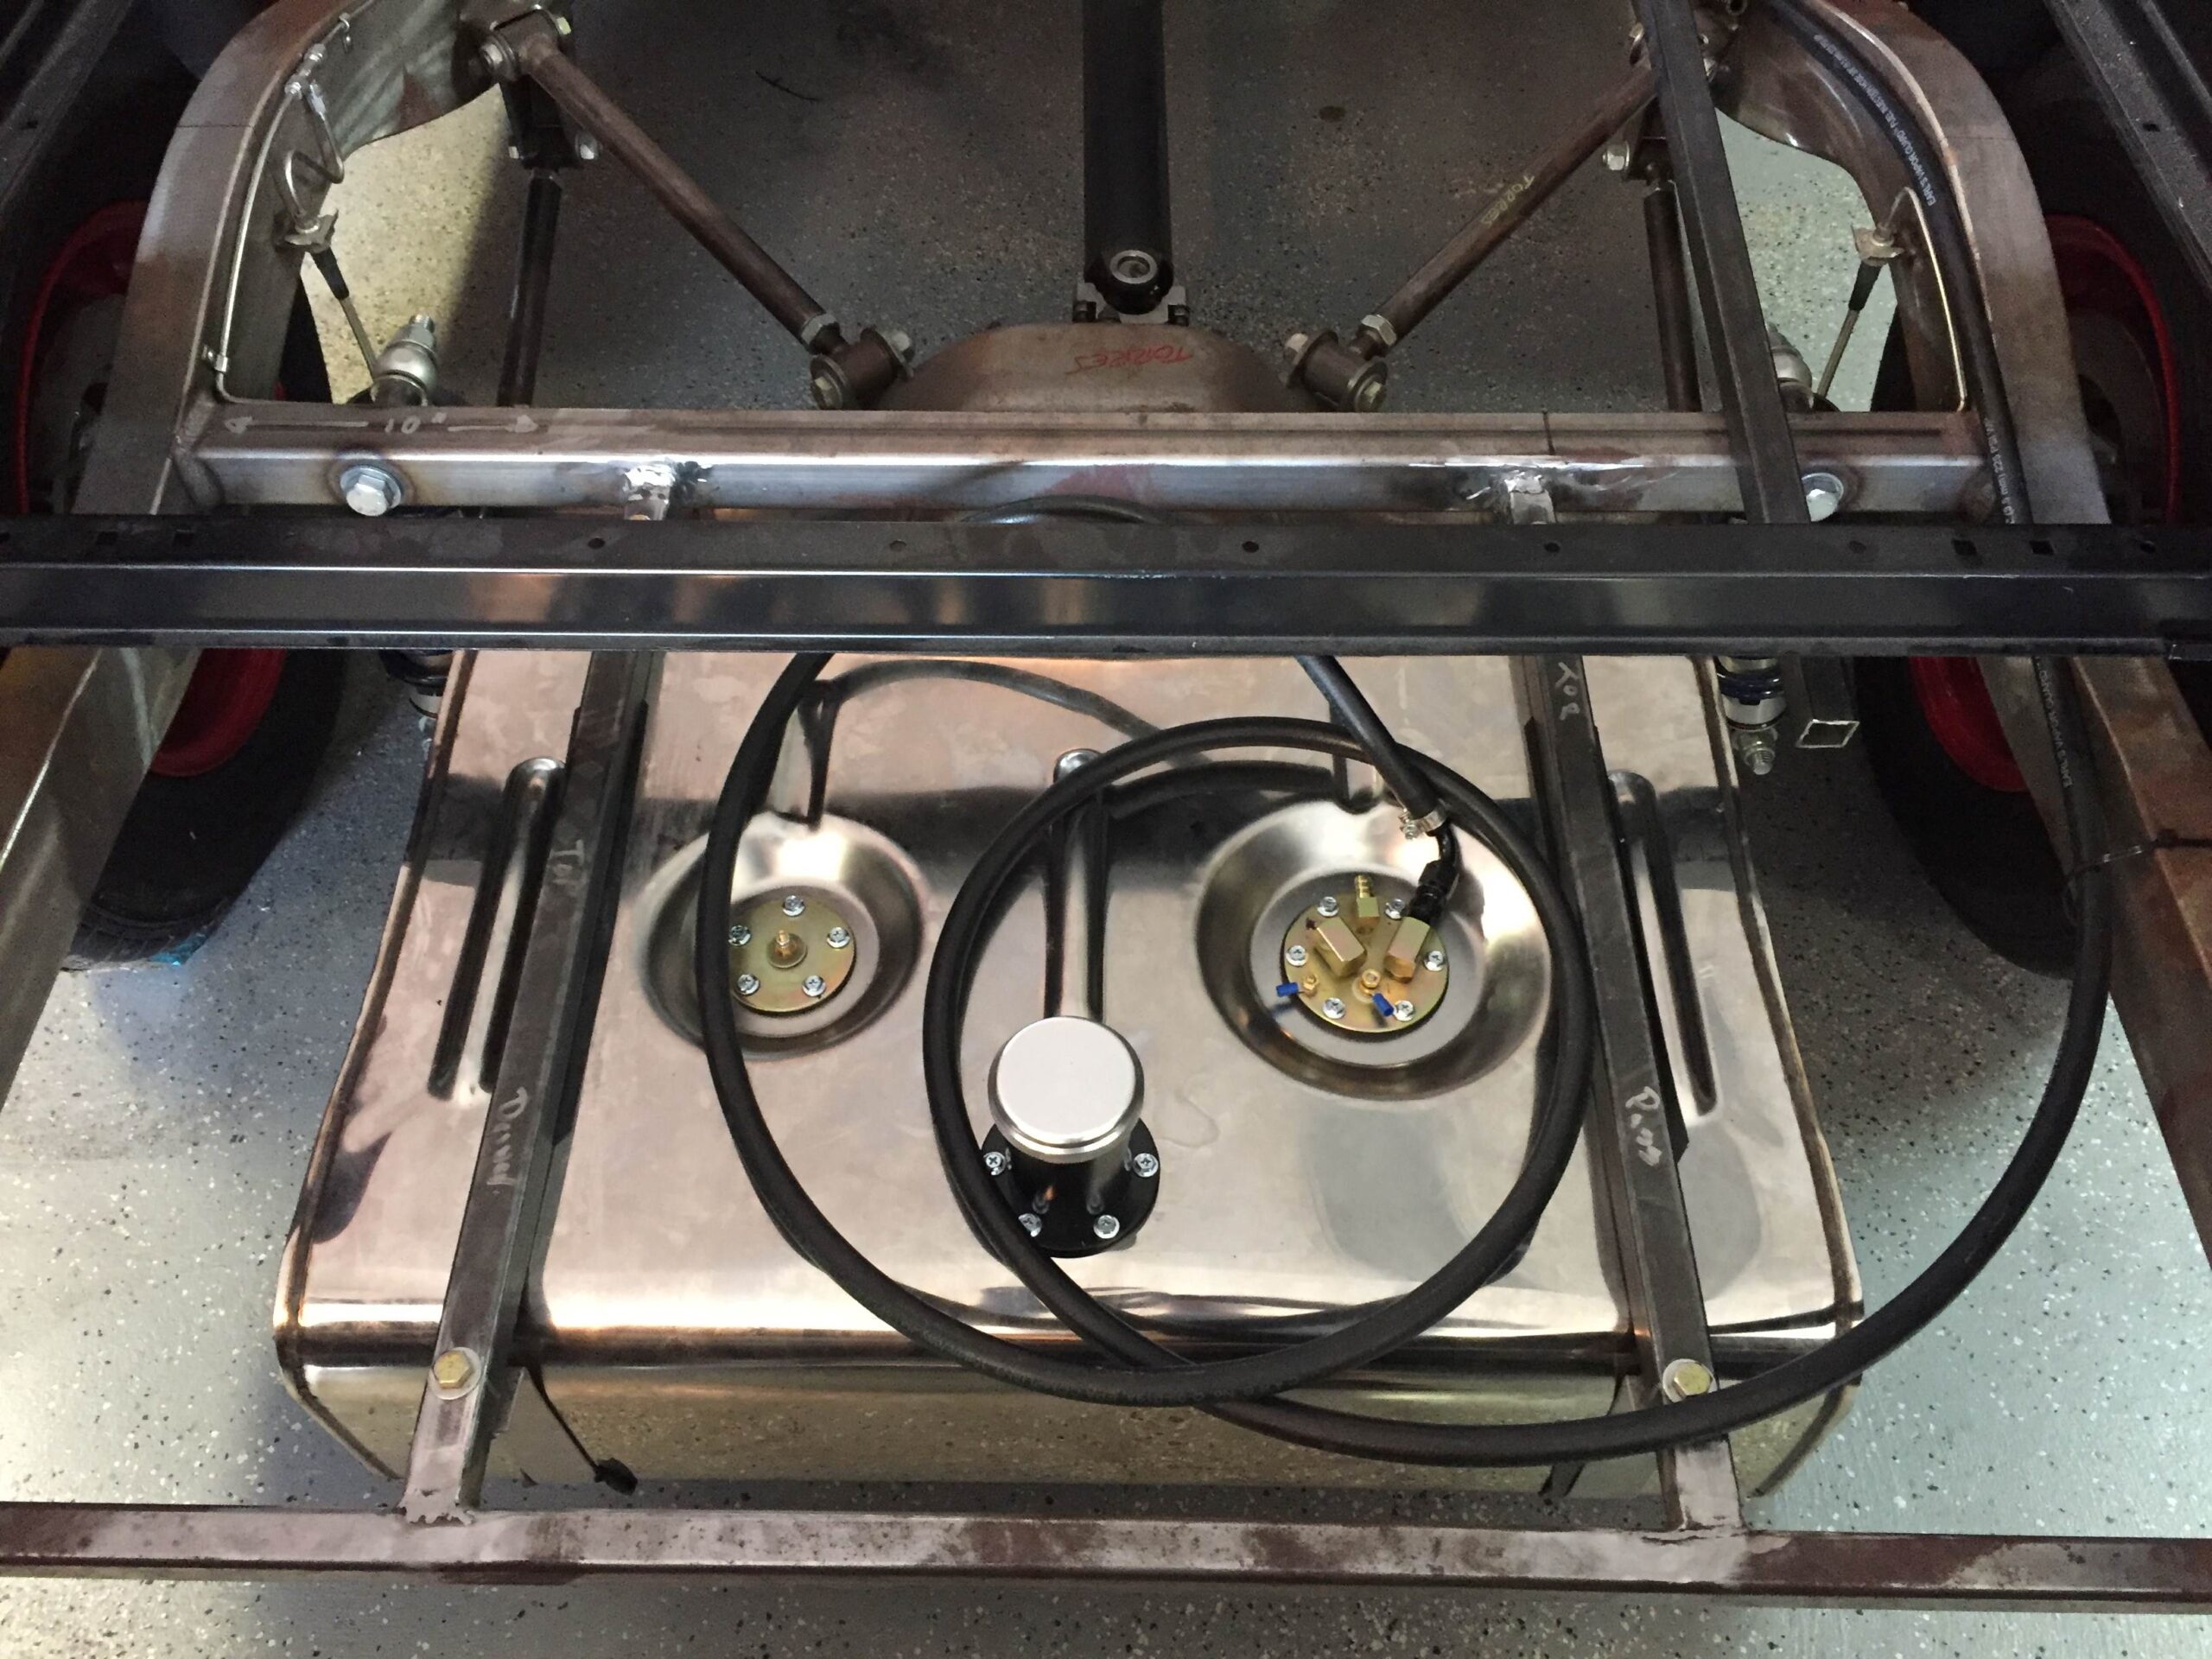
2018 Gas Tank

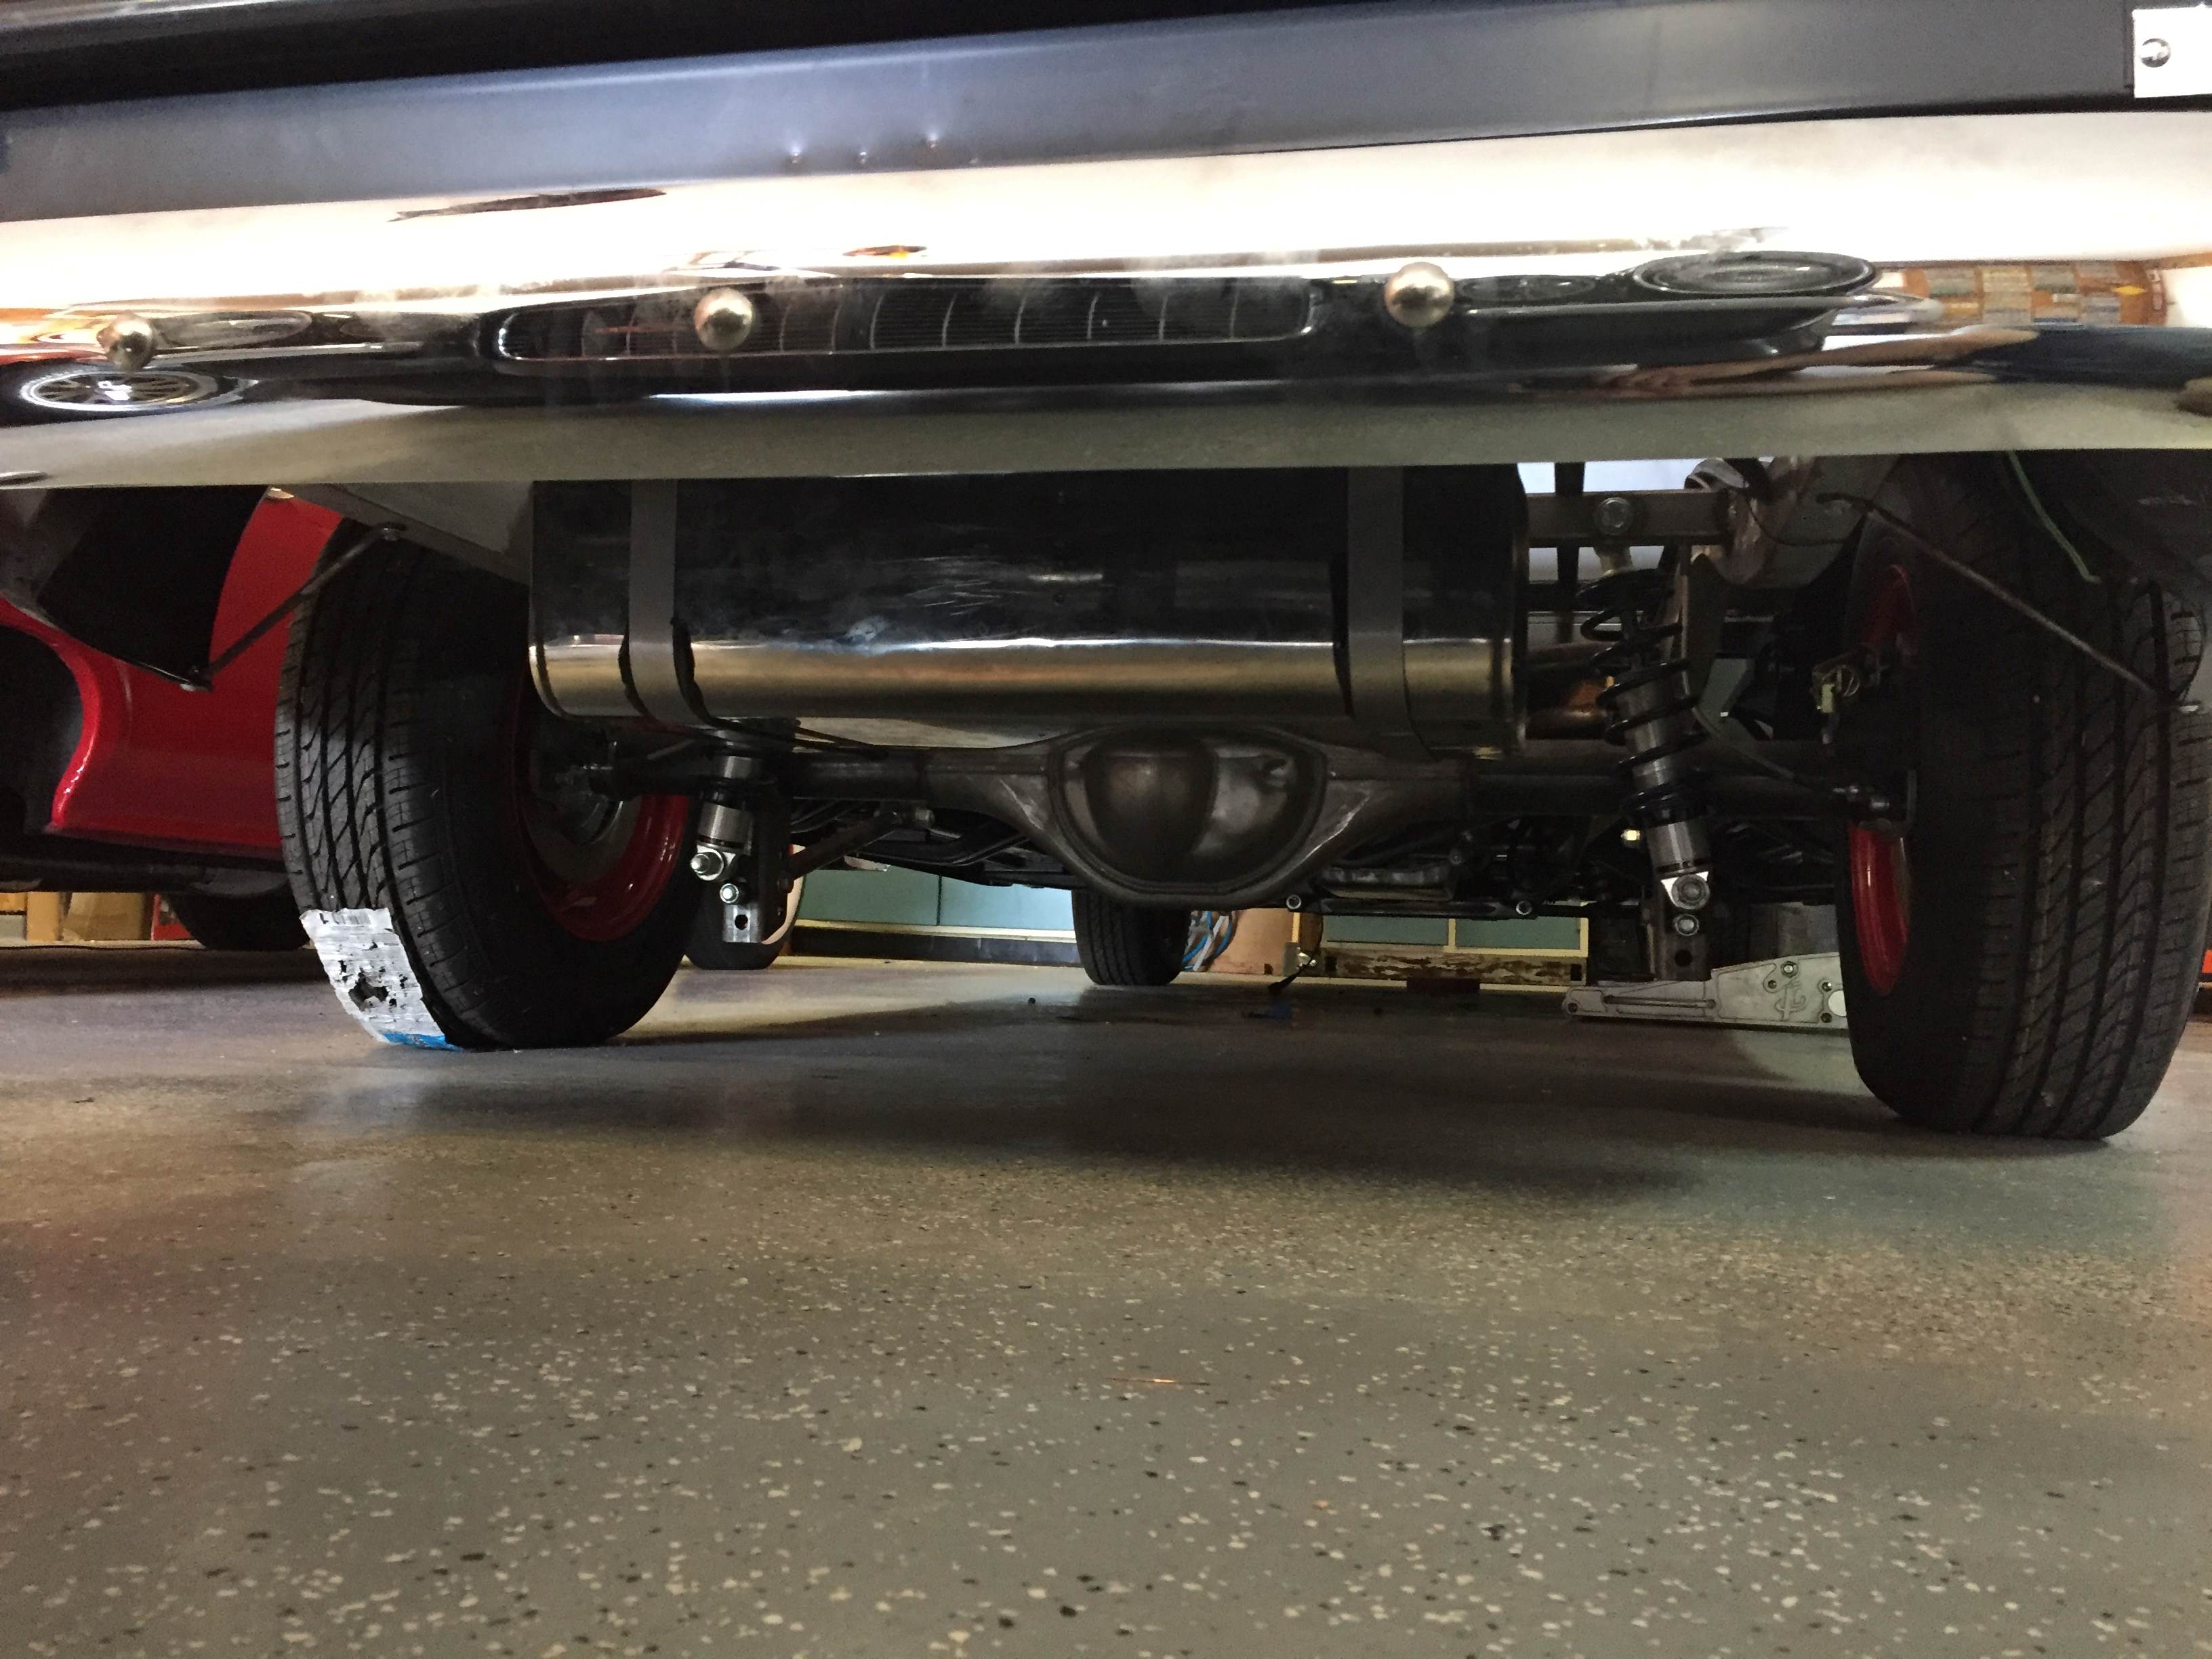
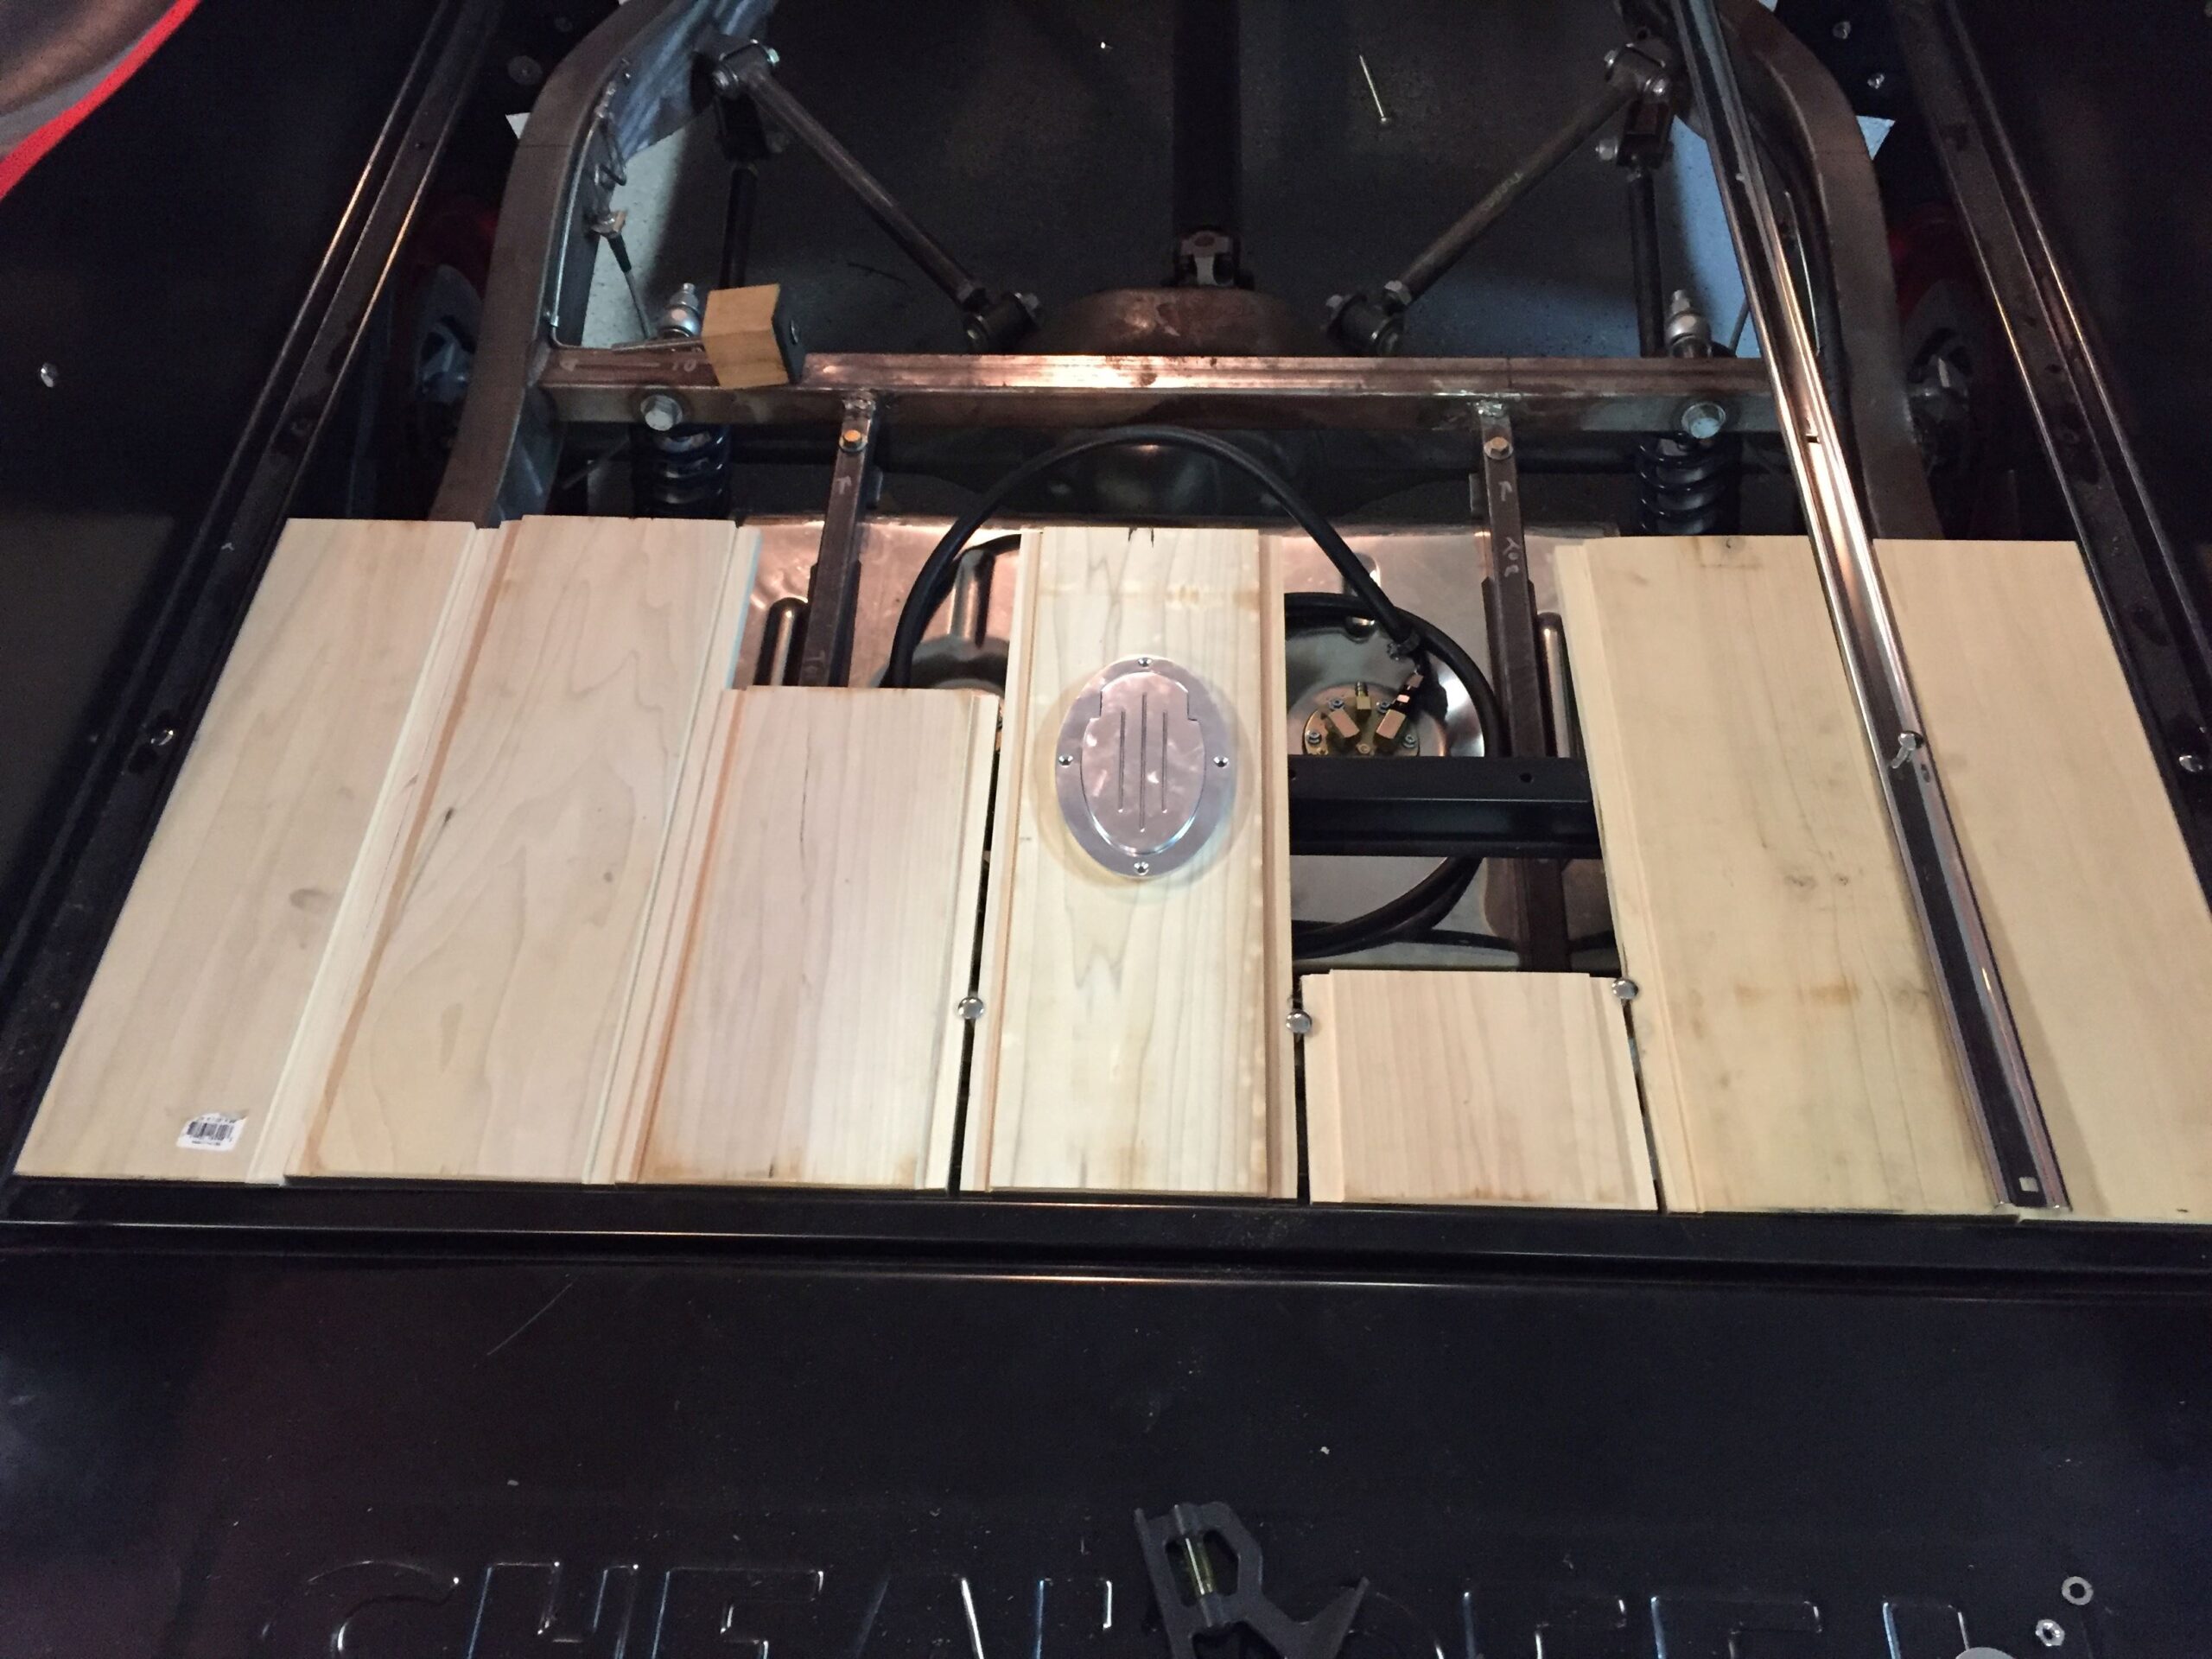

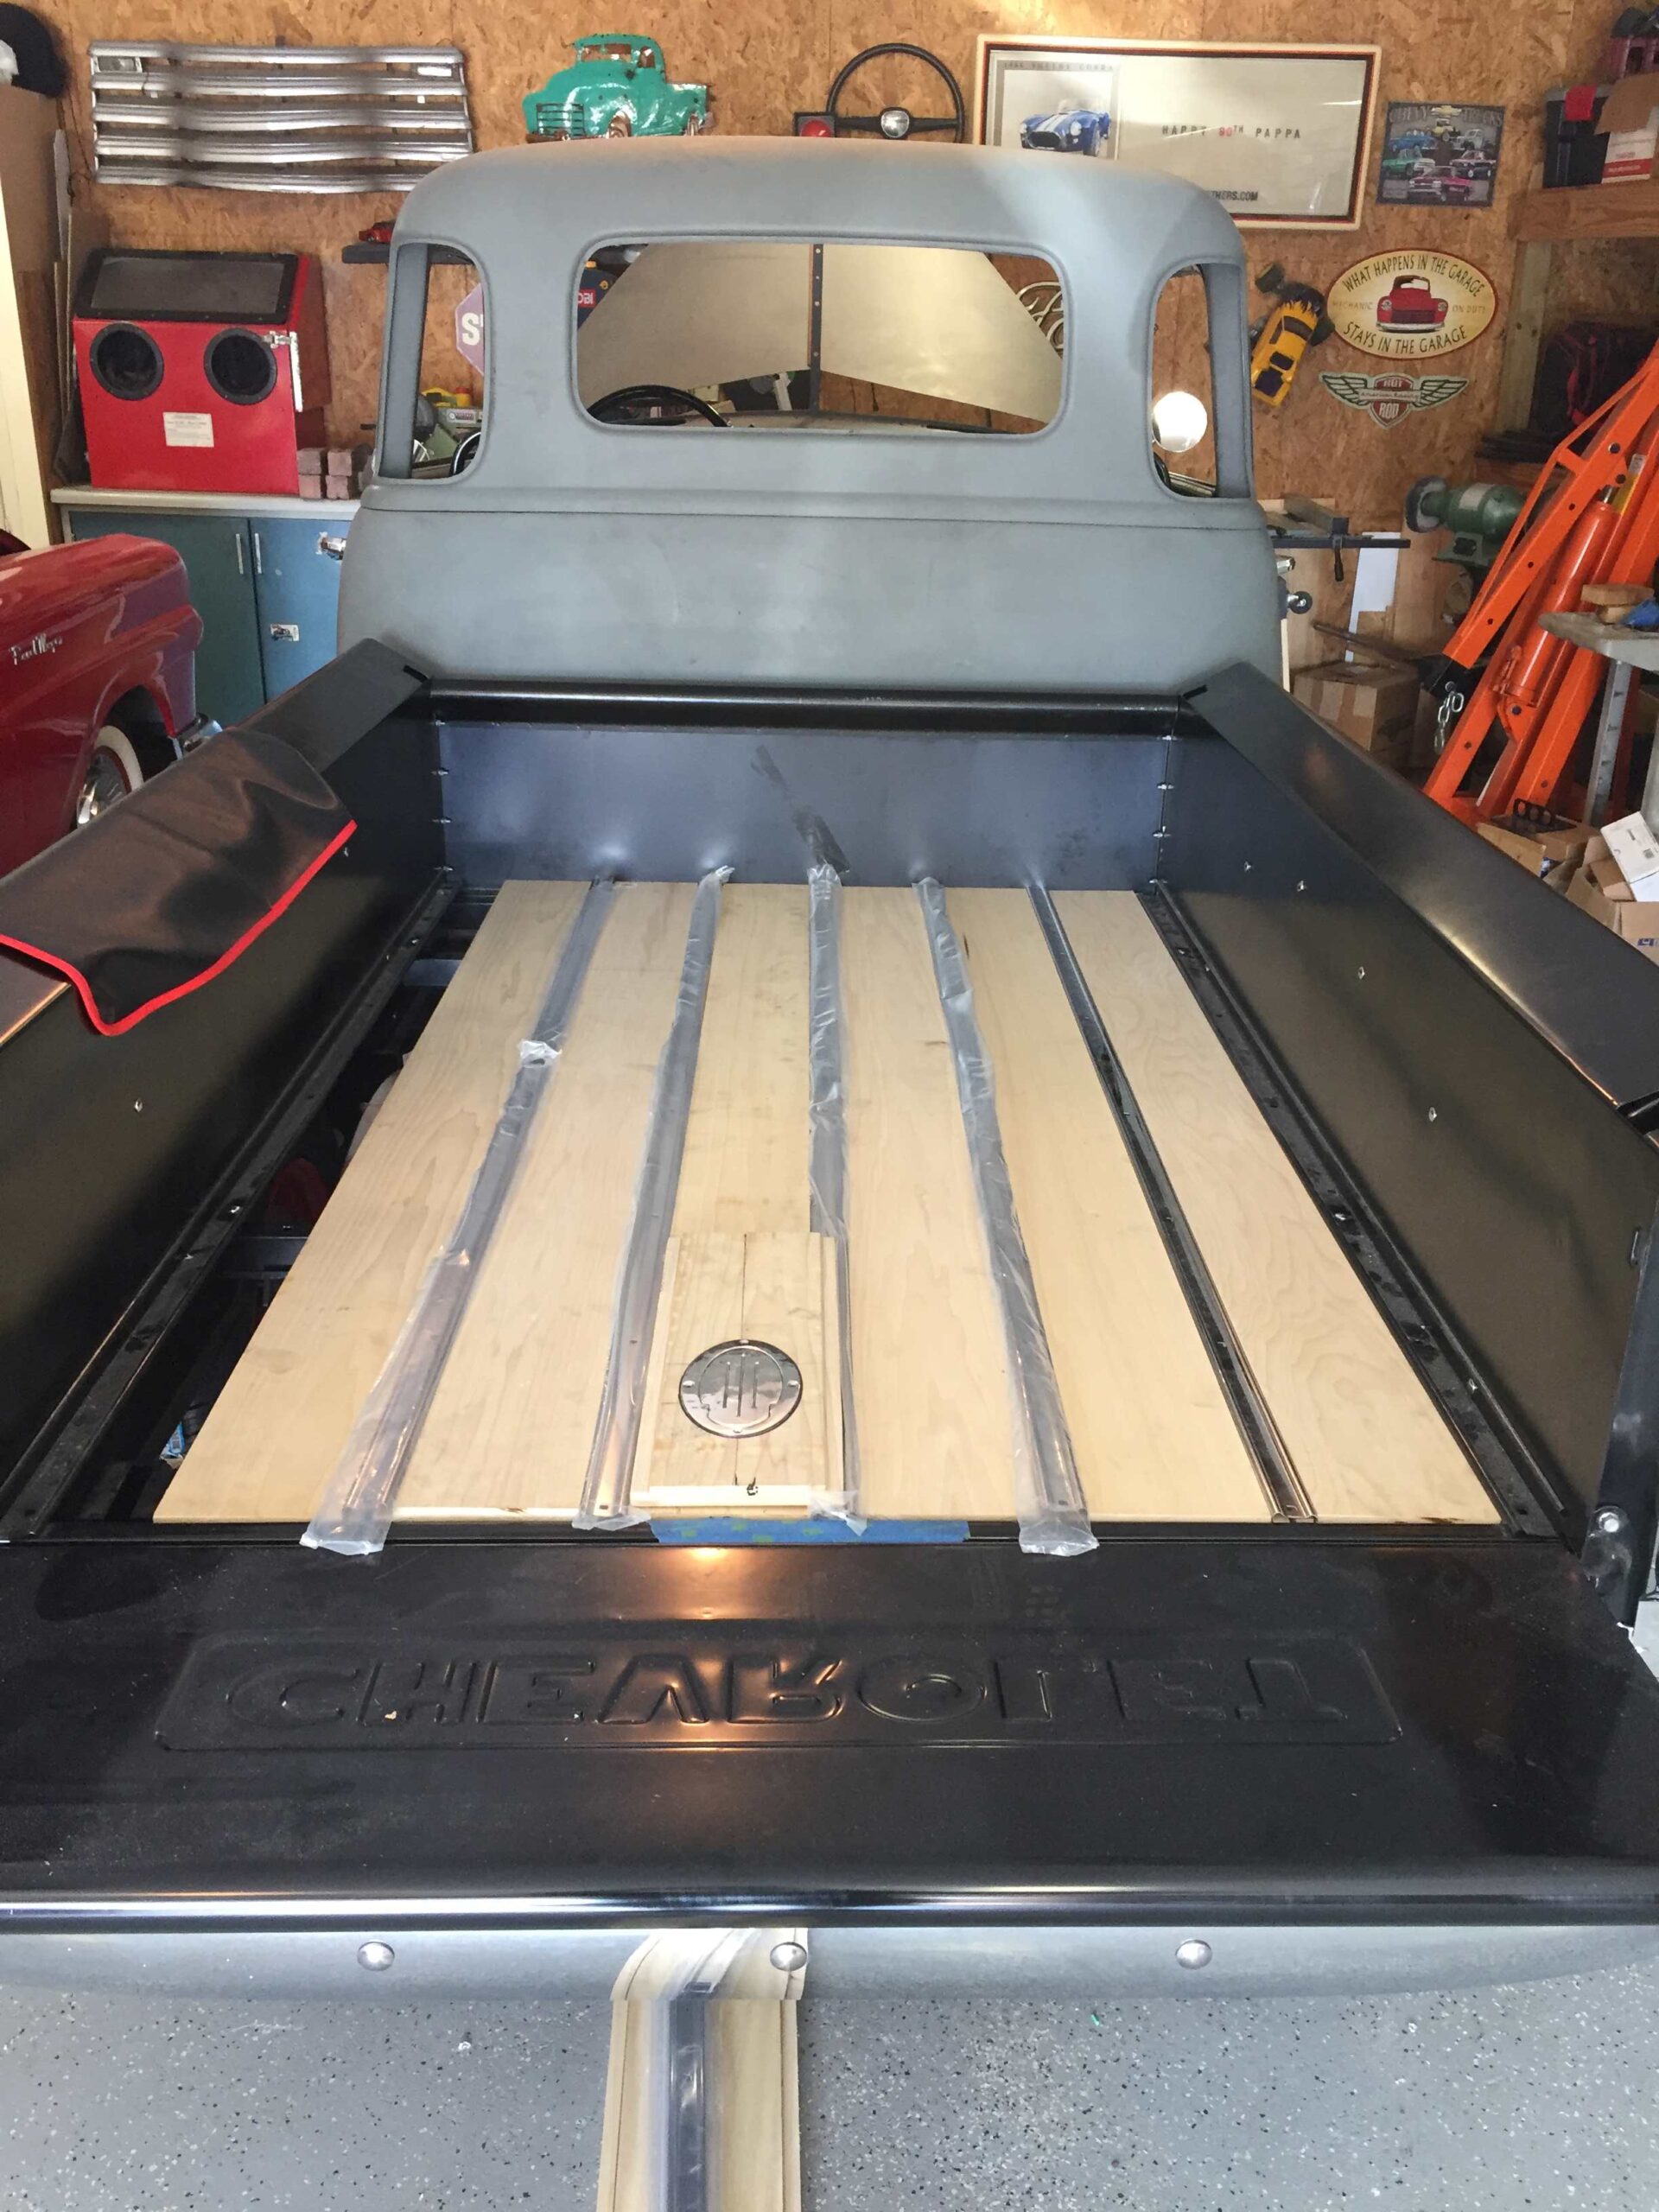
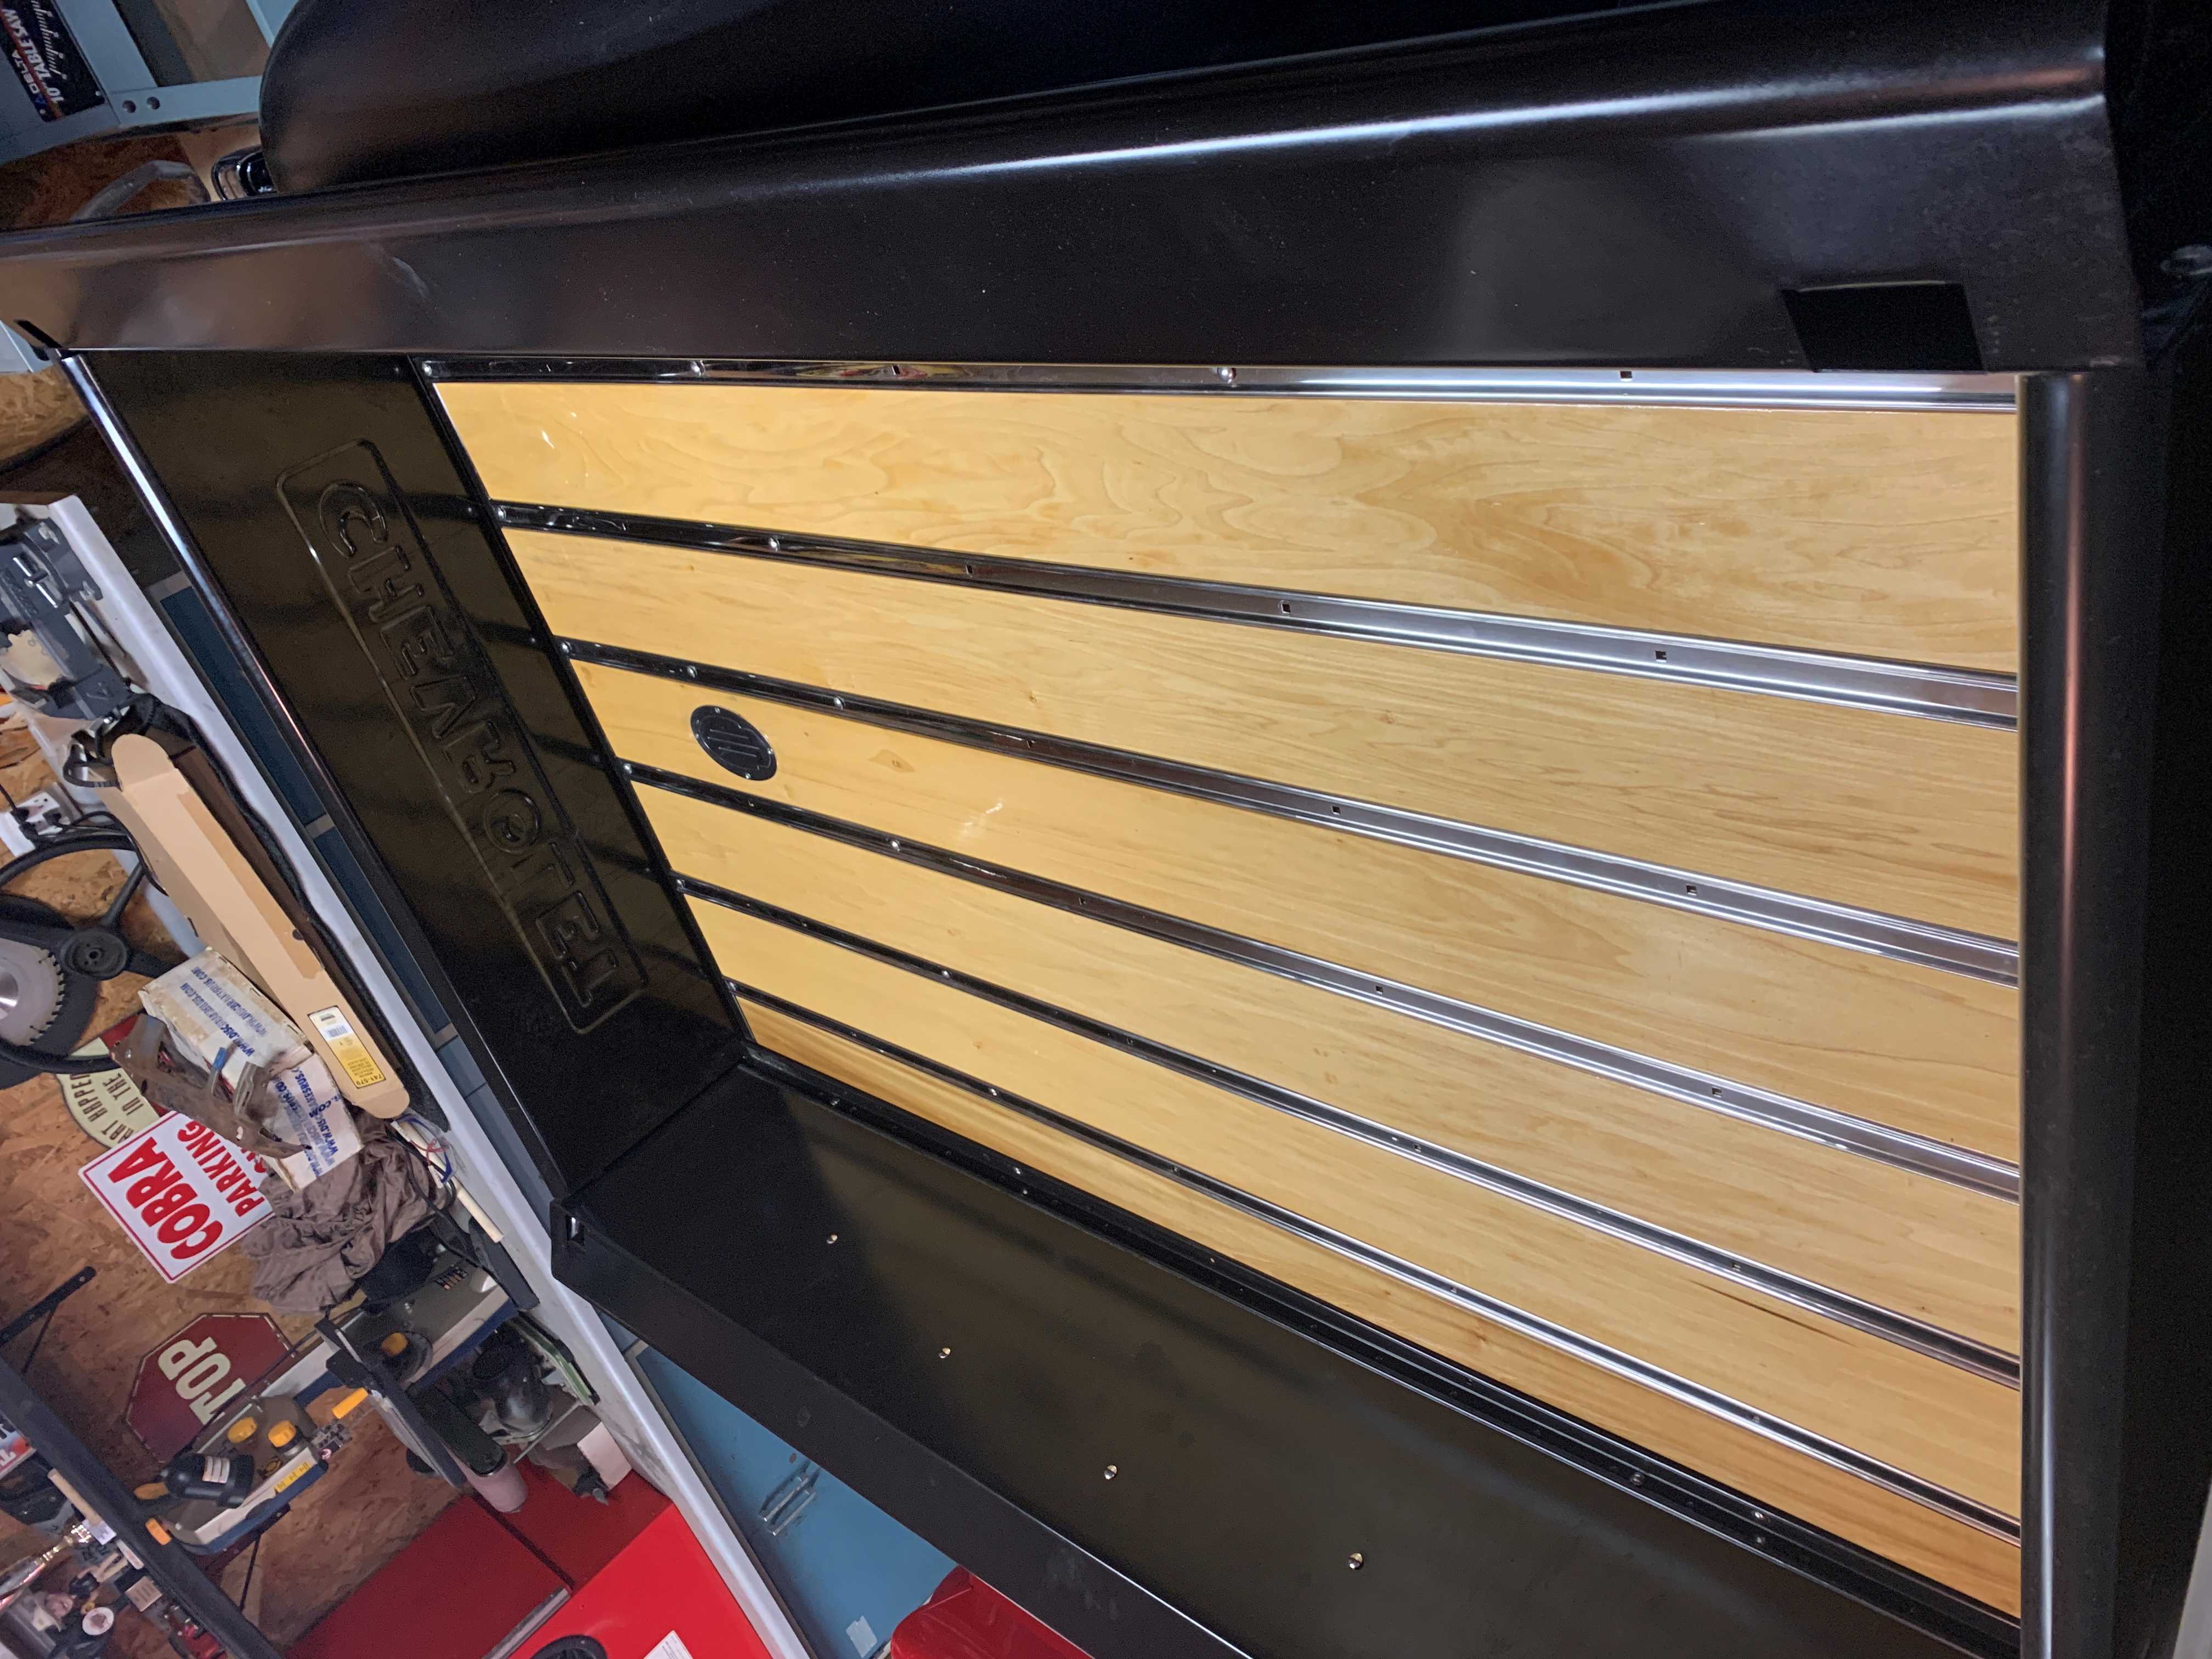
2018 Bed Wood
You can purchase a precut bed kit, but that wouldn’t work for my application. The gas tank is located under the bed behind the axle and the filler neck is in the center of the tank. That requires you to access it trough the bed. Since standard bed kits have an even number of boards the access flap would require cutting the metal strips and building a frame around the opening. By cutting my own boards I was able to make it so there was a board centered over the filler opening for a cleaner look. I used used poplar wood for this set of boards and it was intended as a “practice run” However it turned out pretty good so I decided to stain and seal the boards for permanent installation.


2020 Build Update


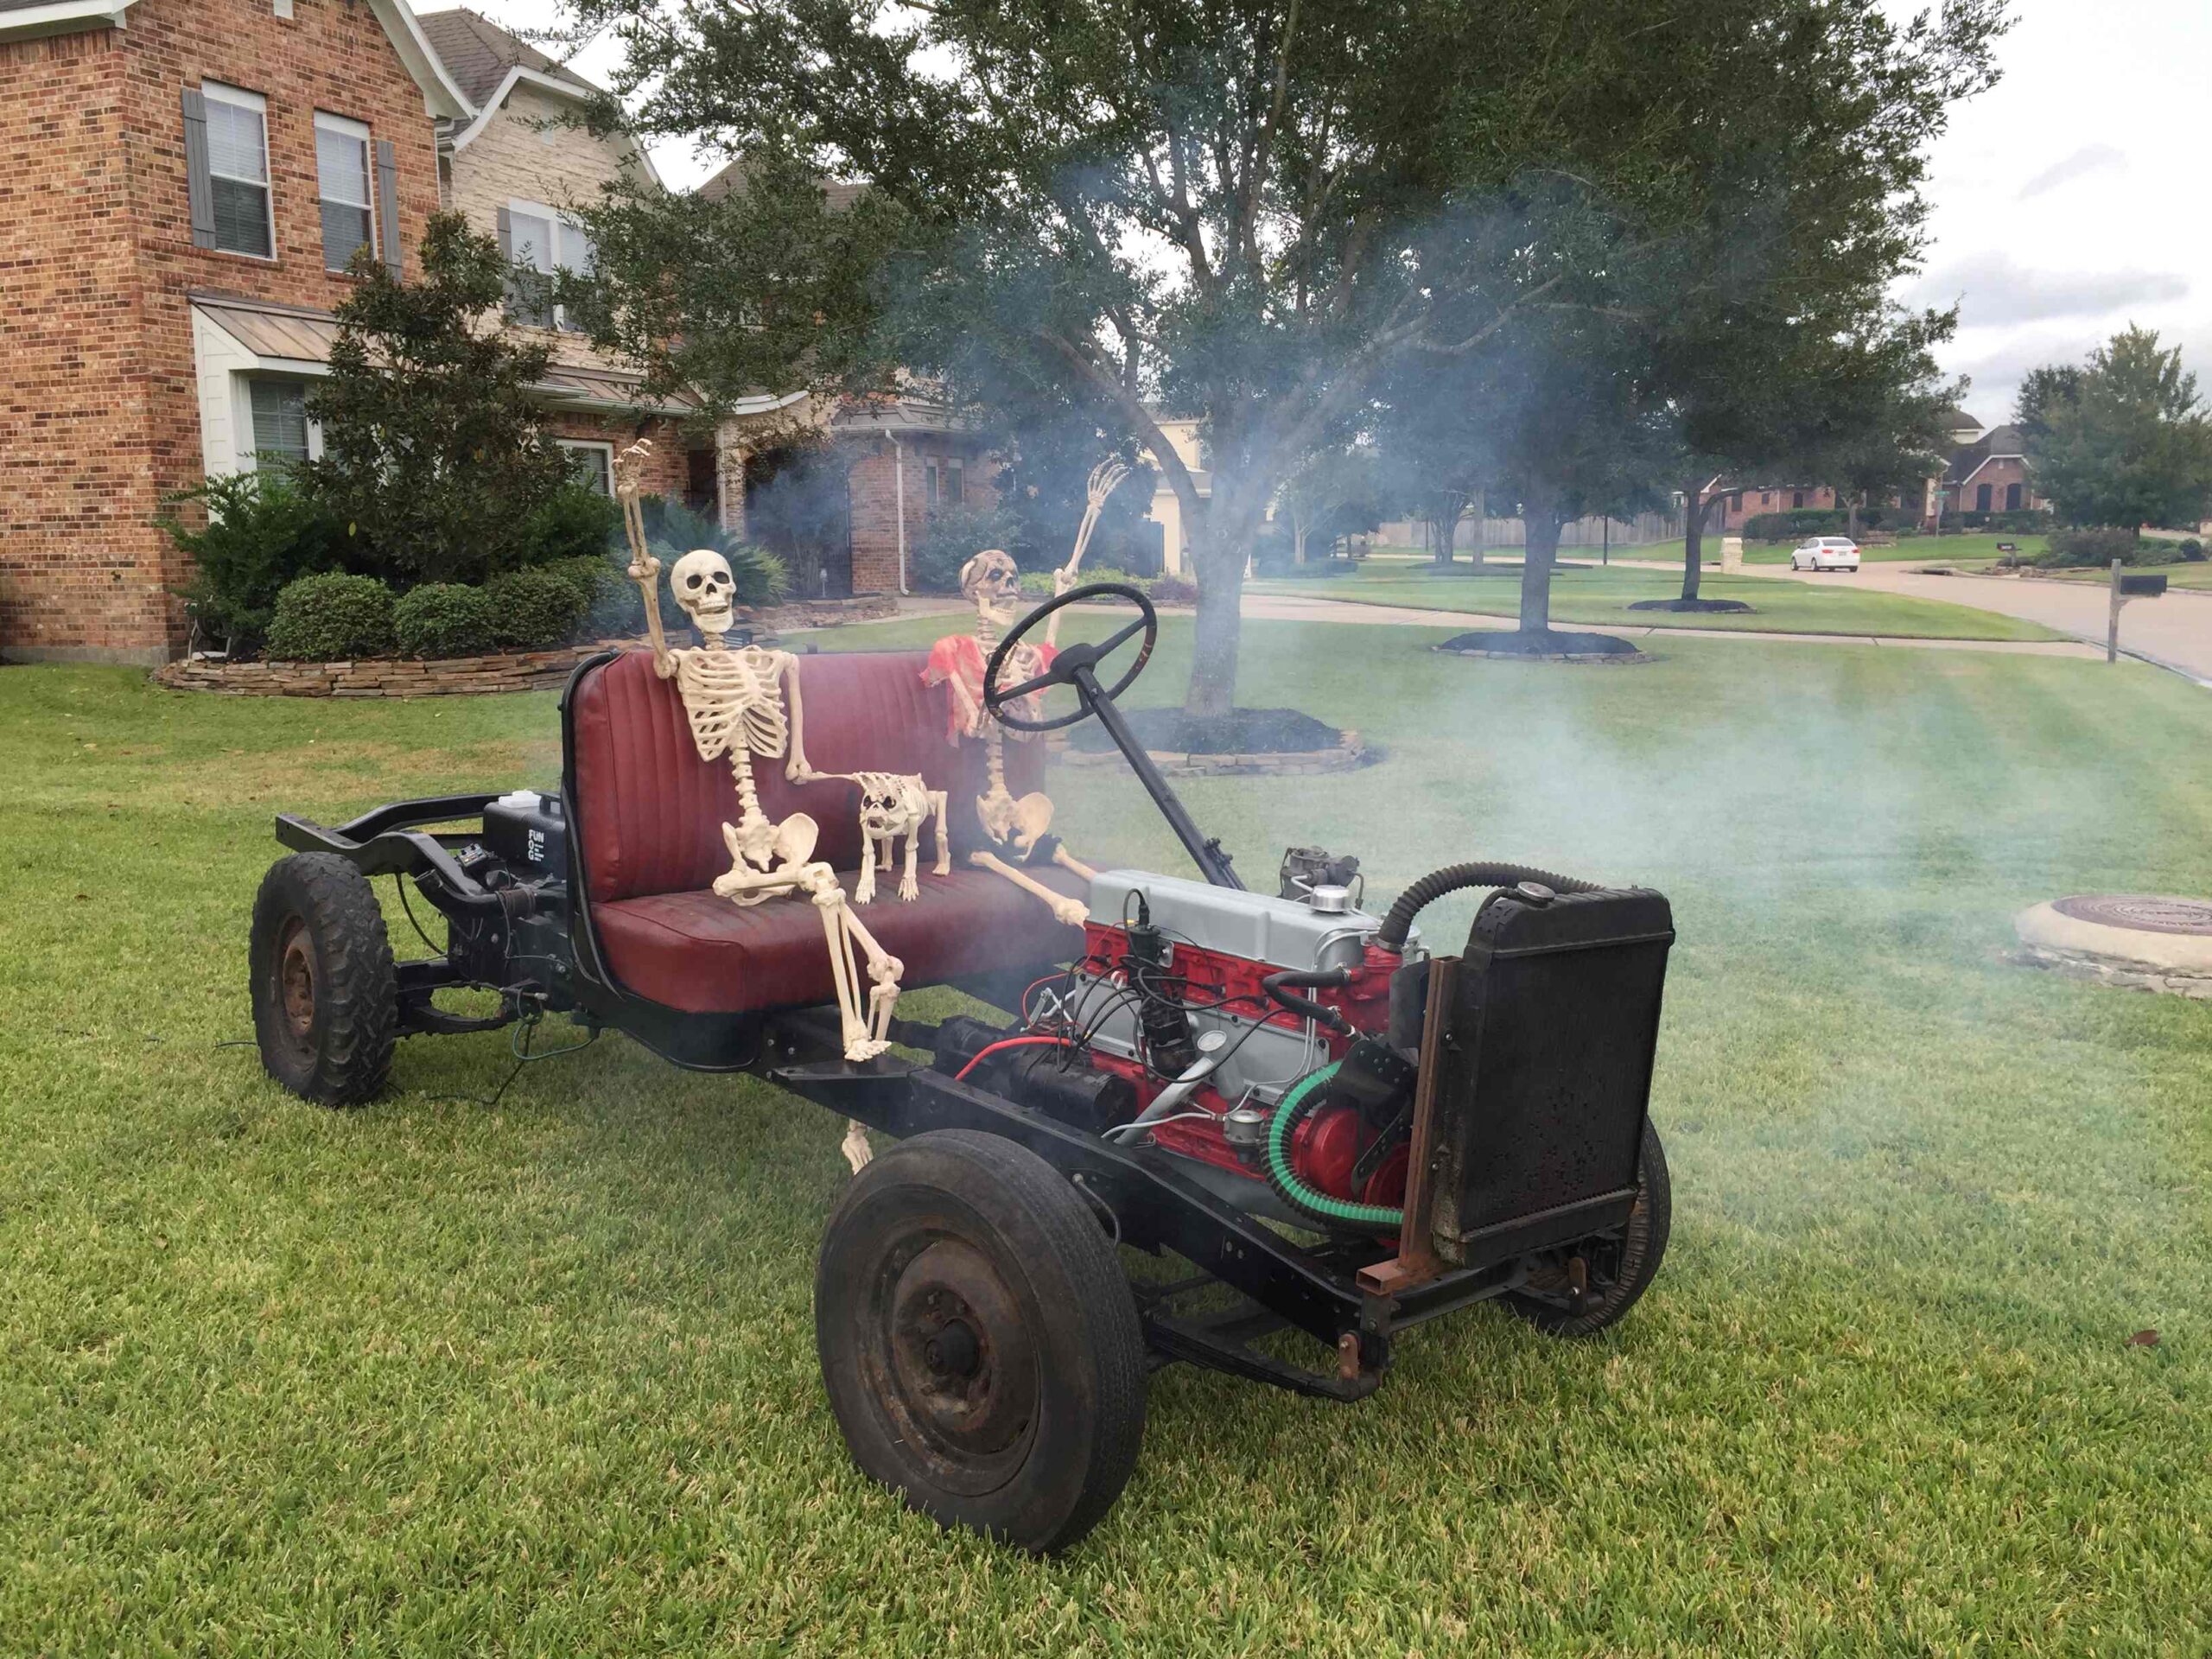
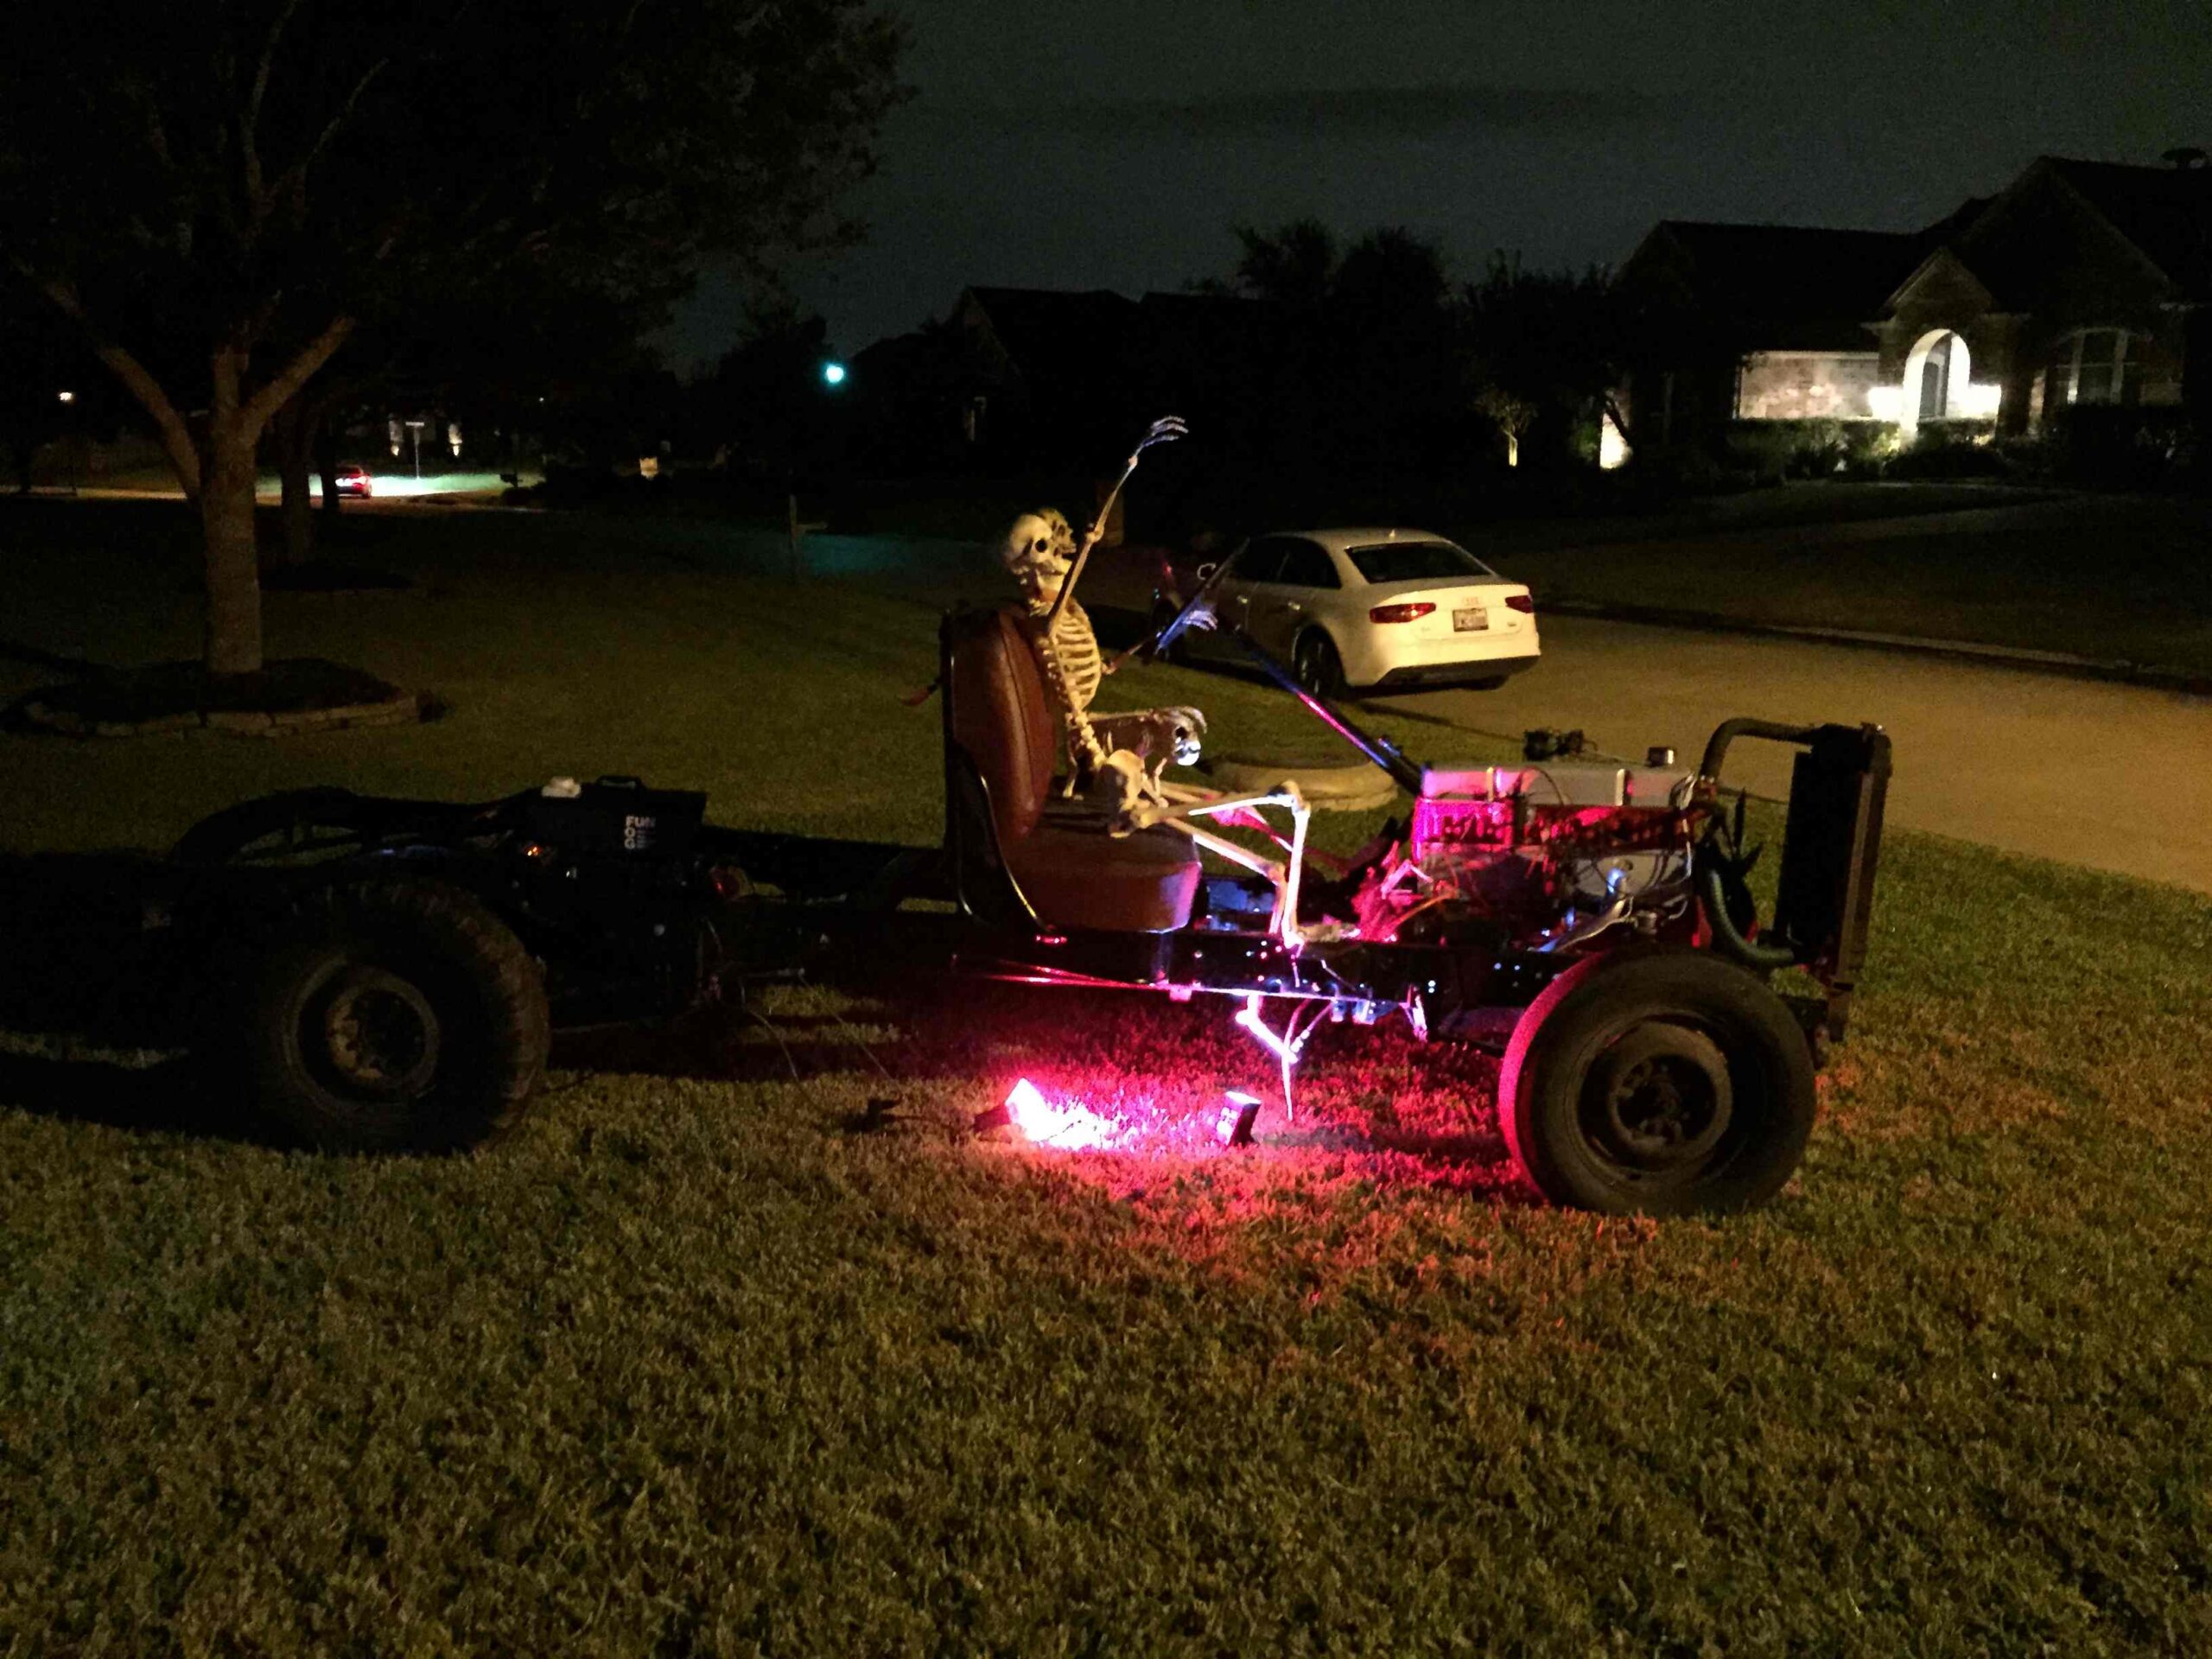
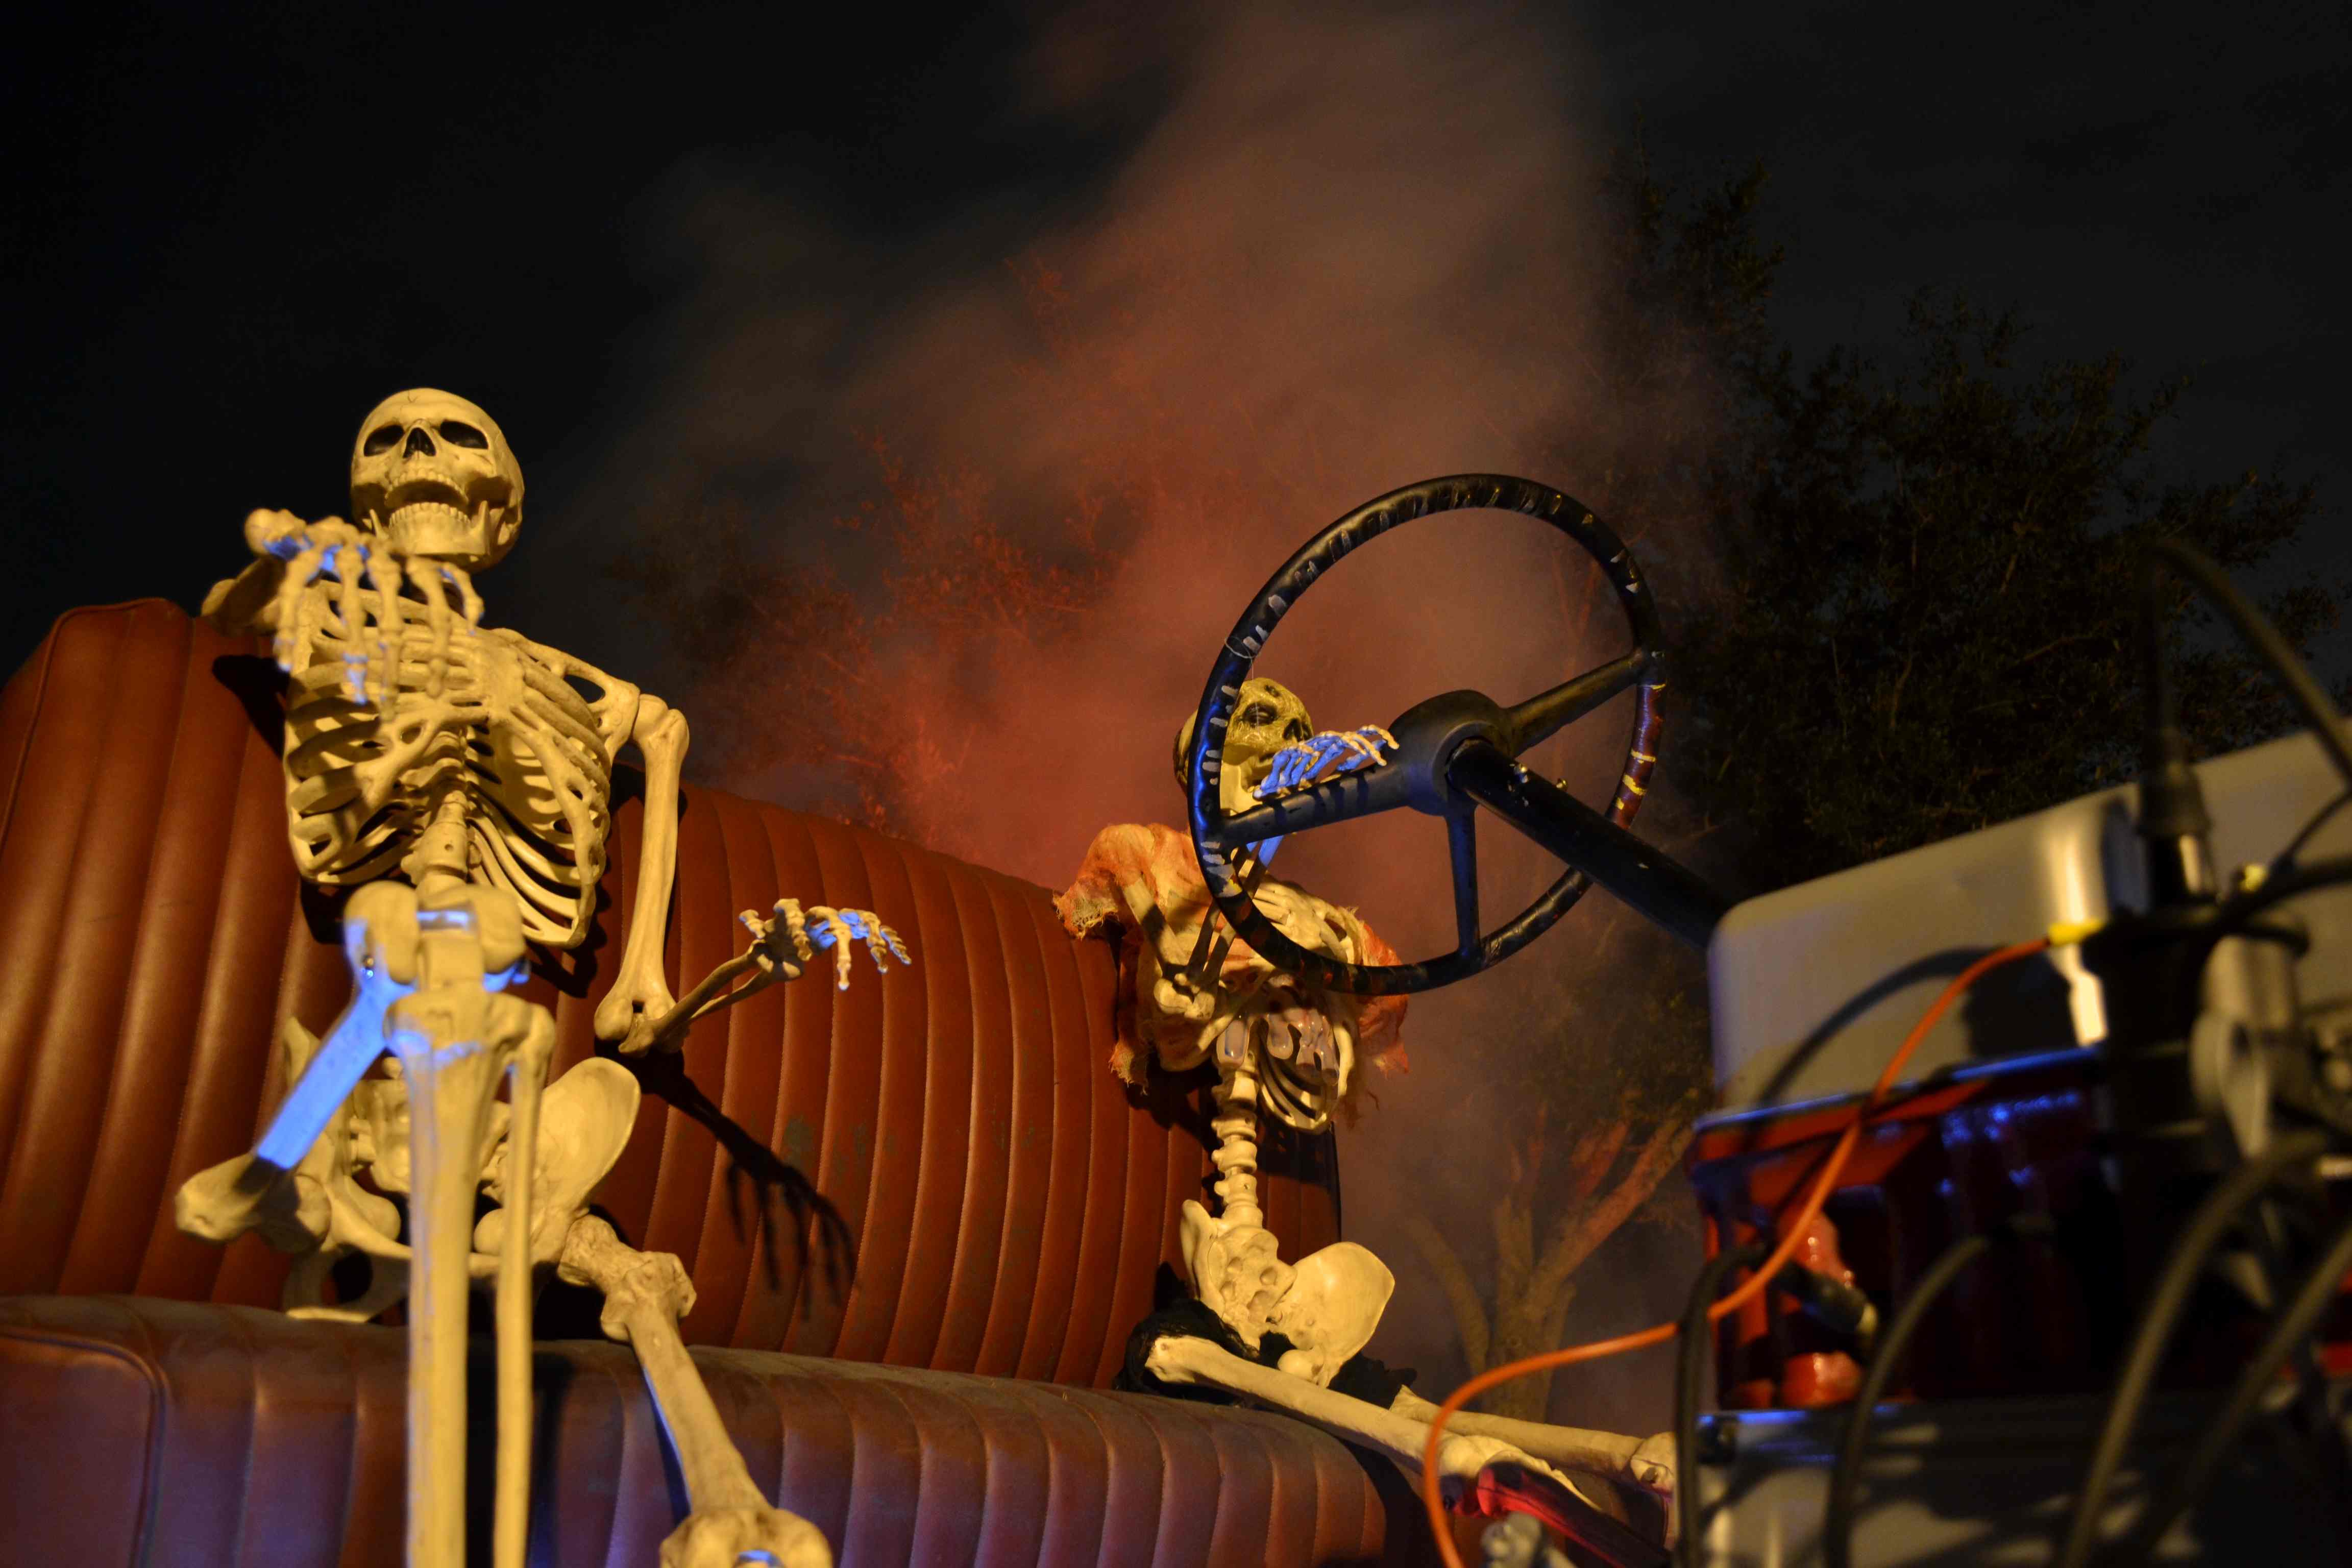
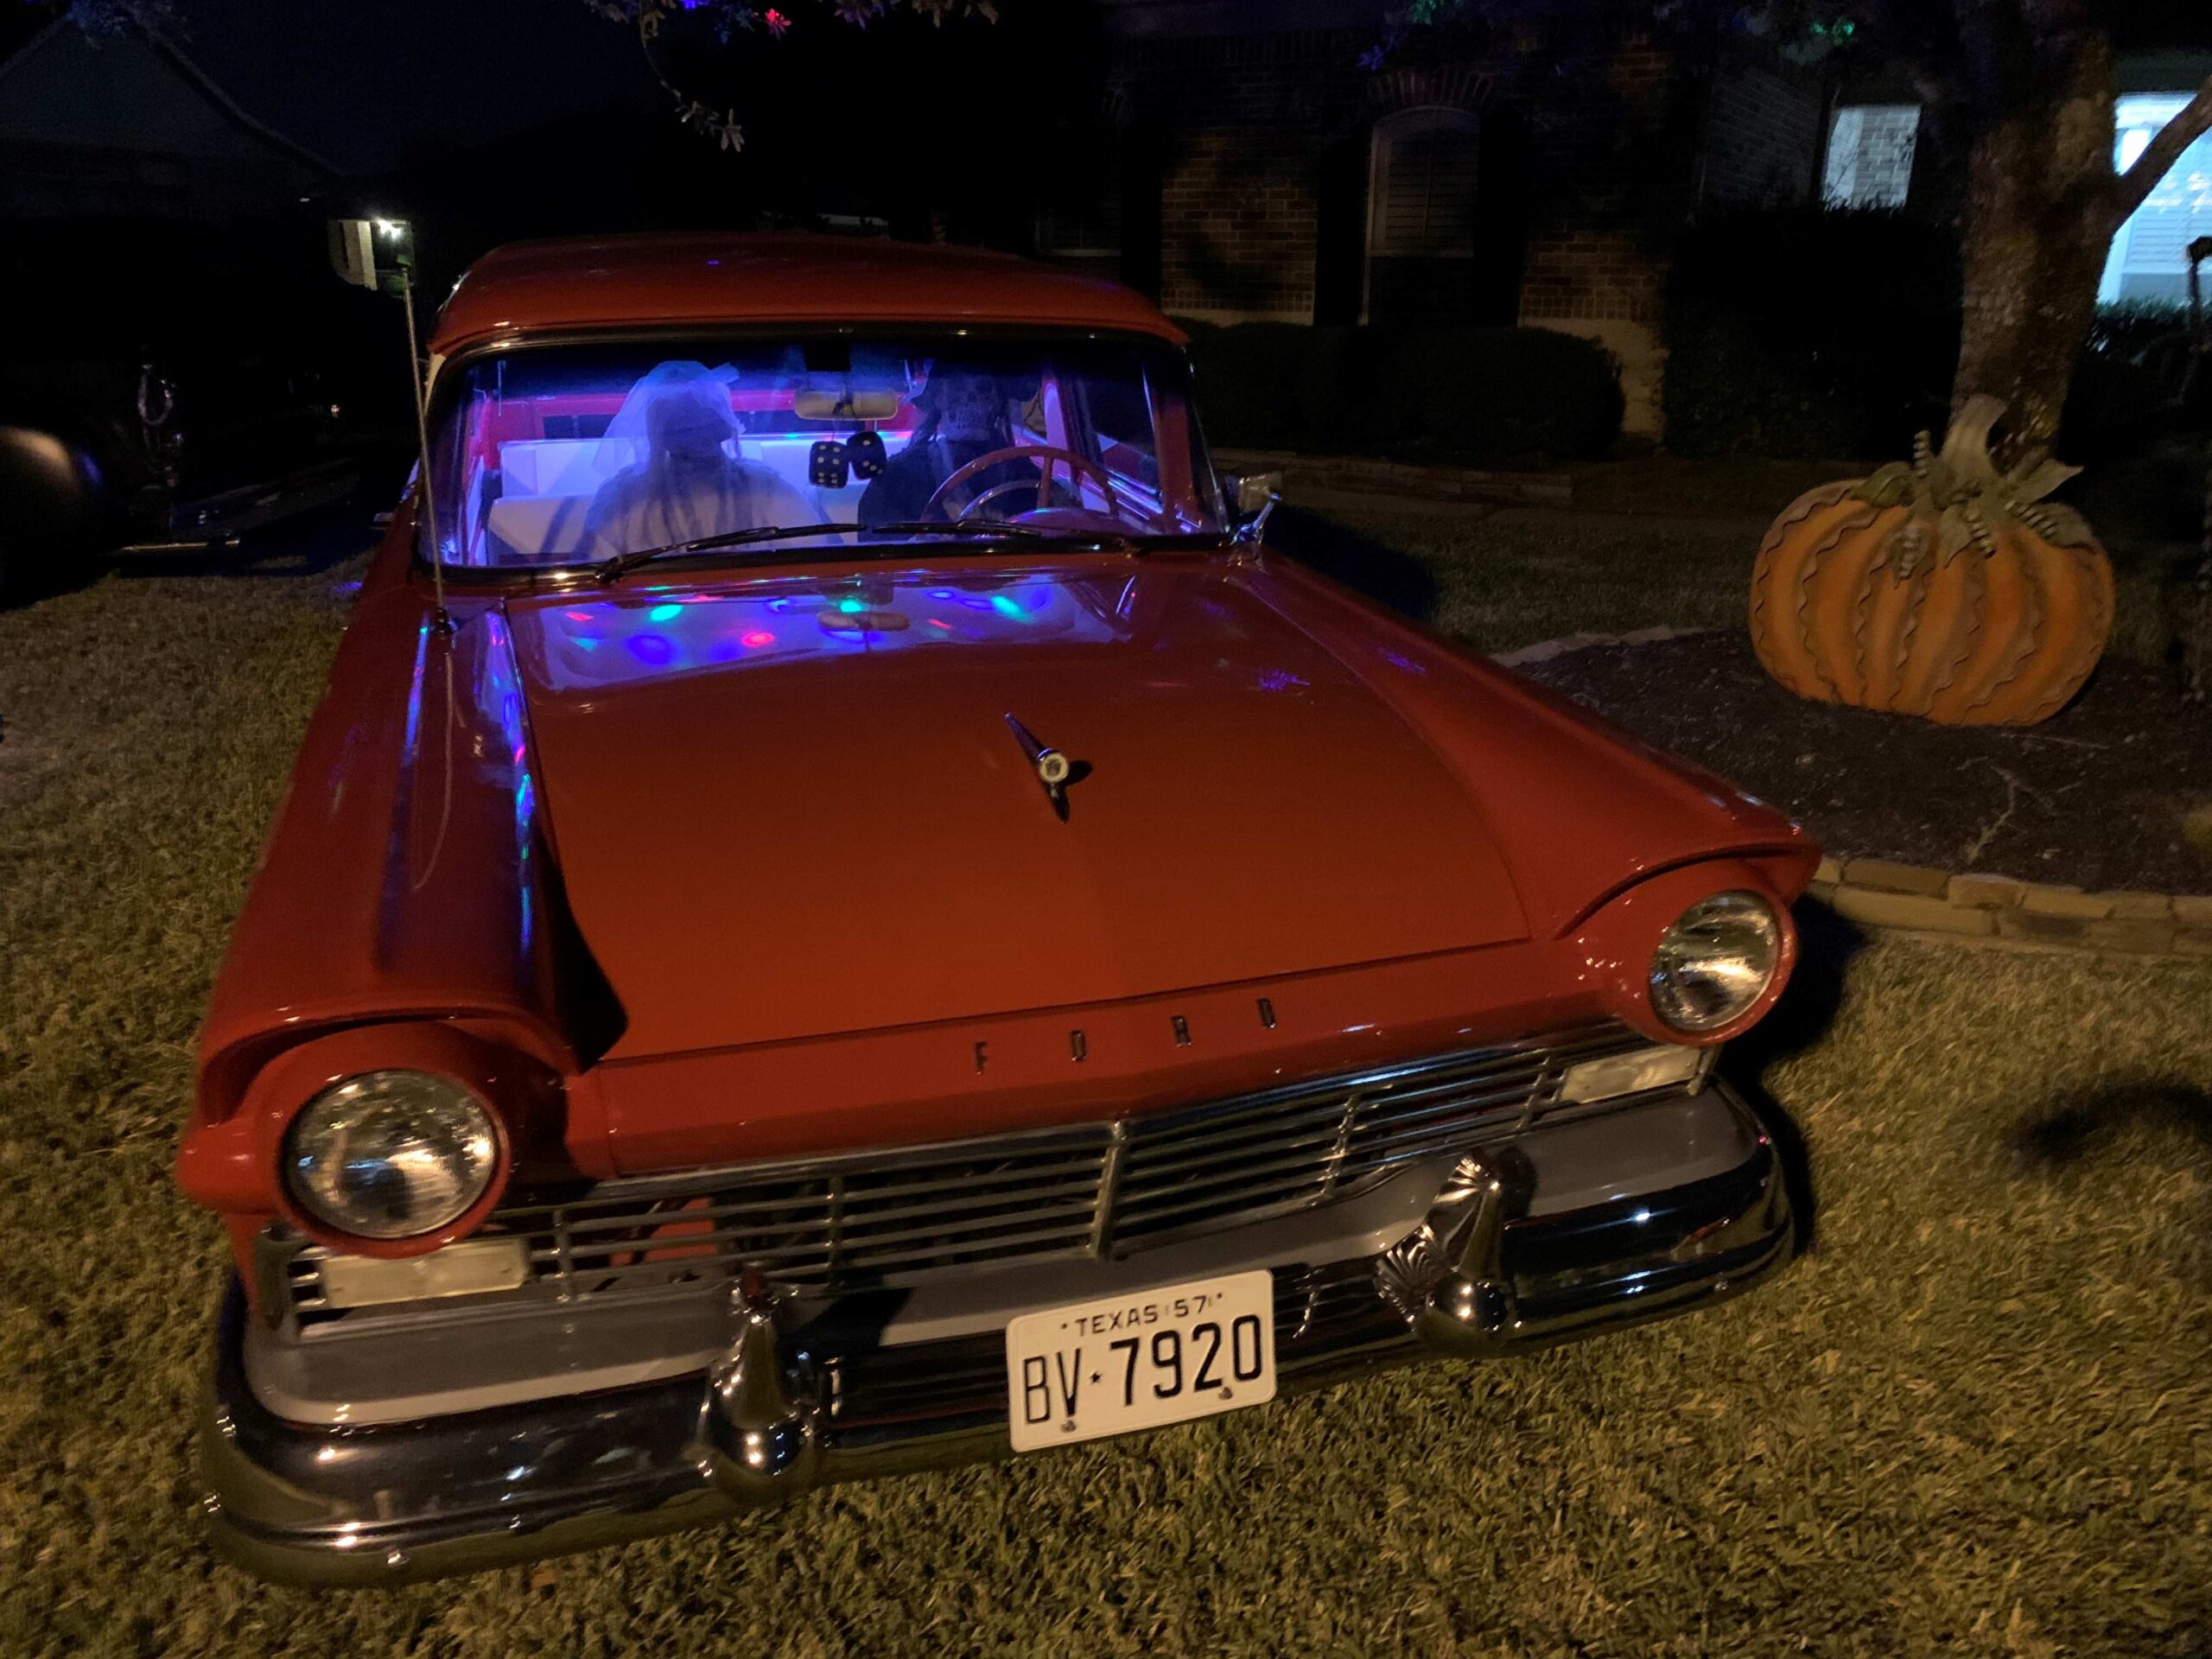
2020 Halloween

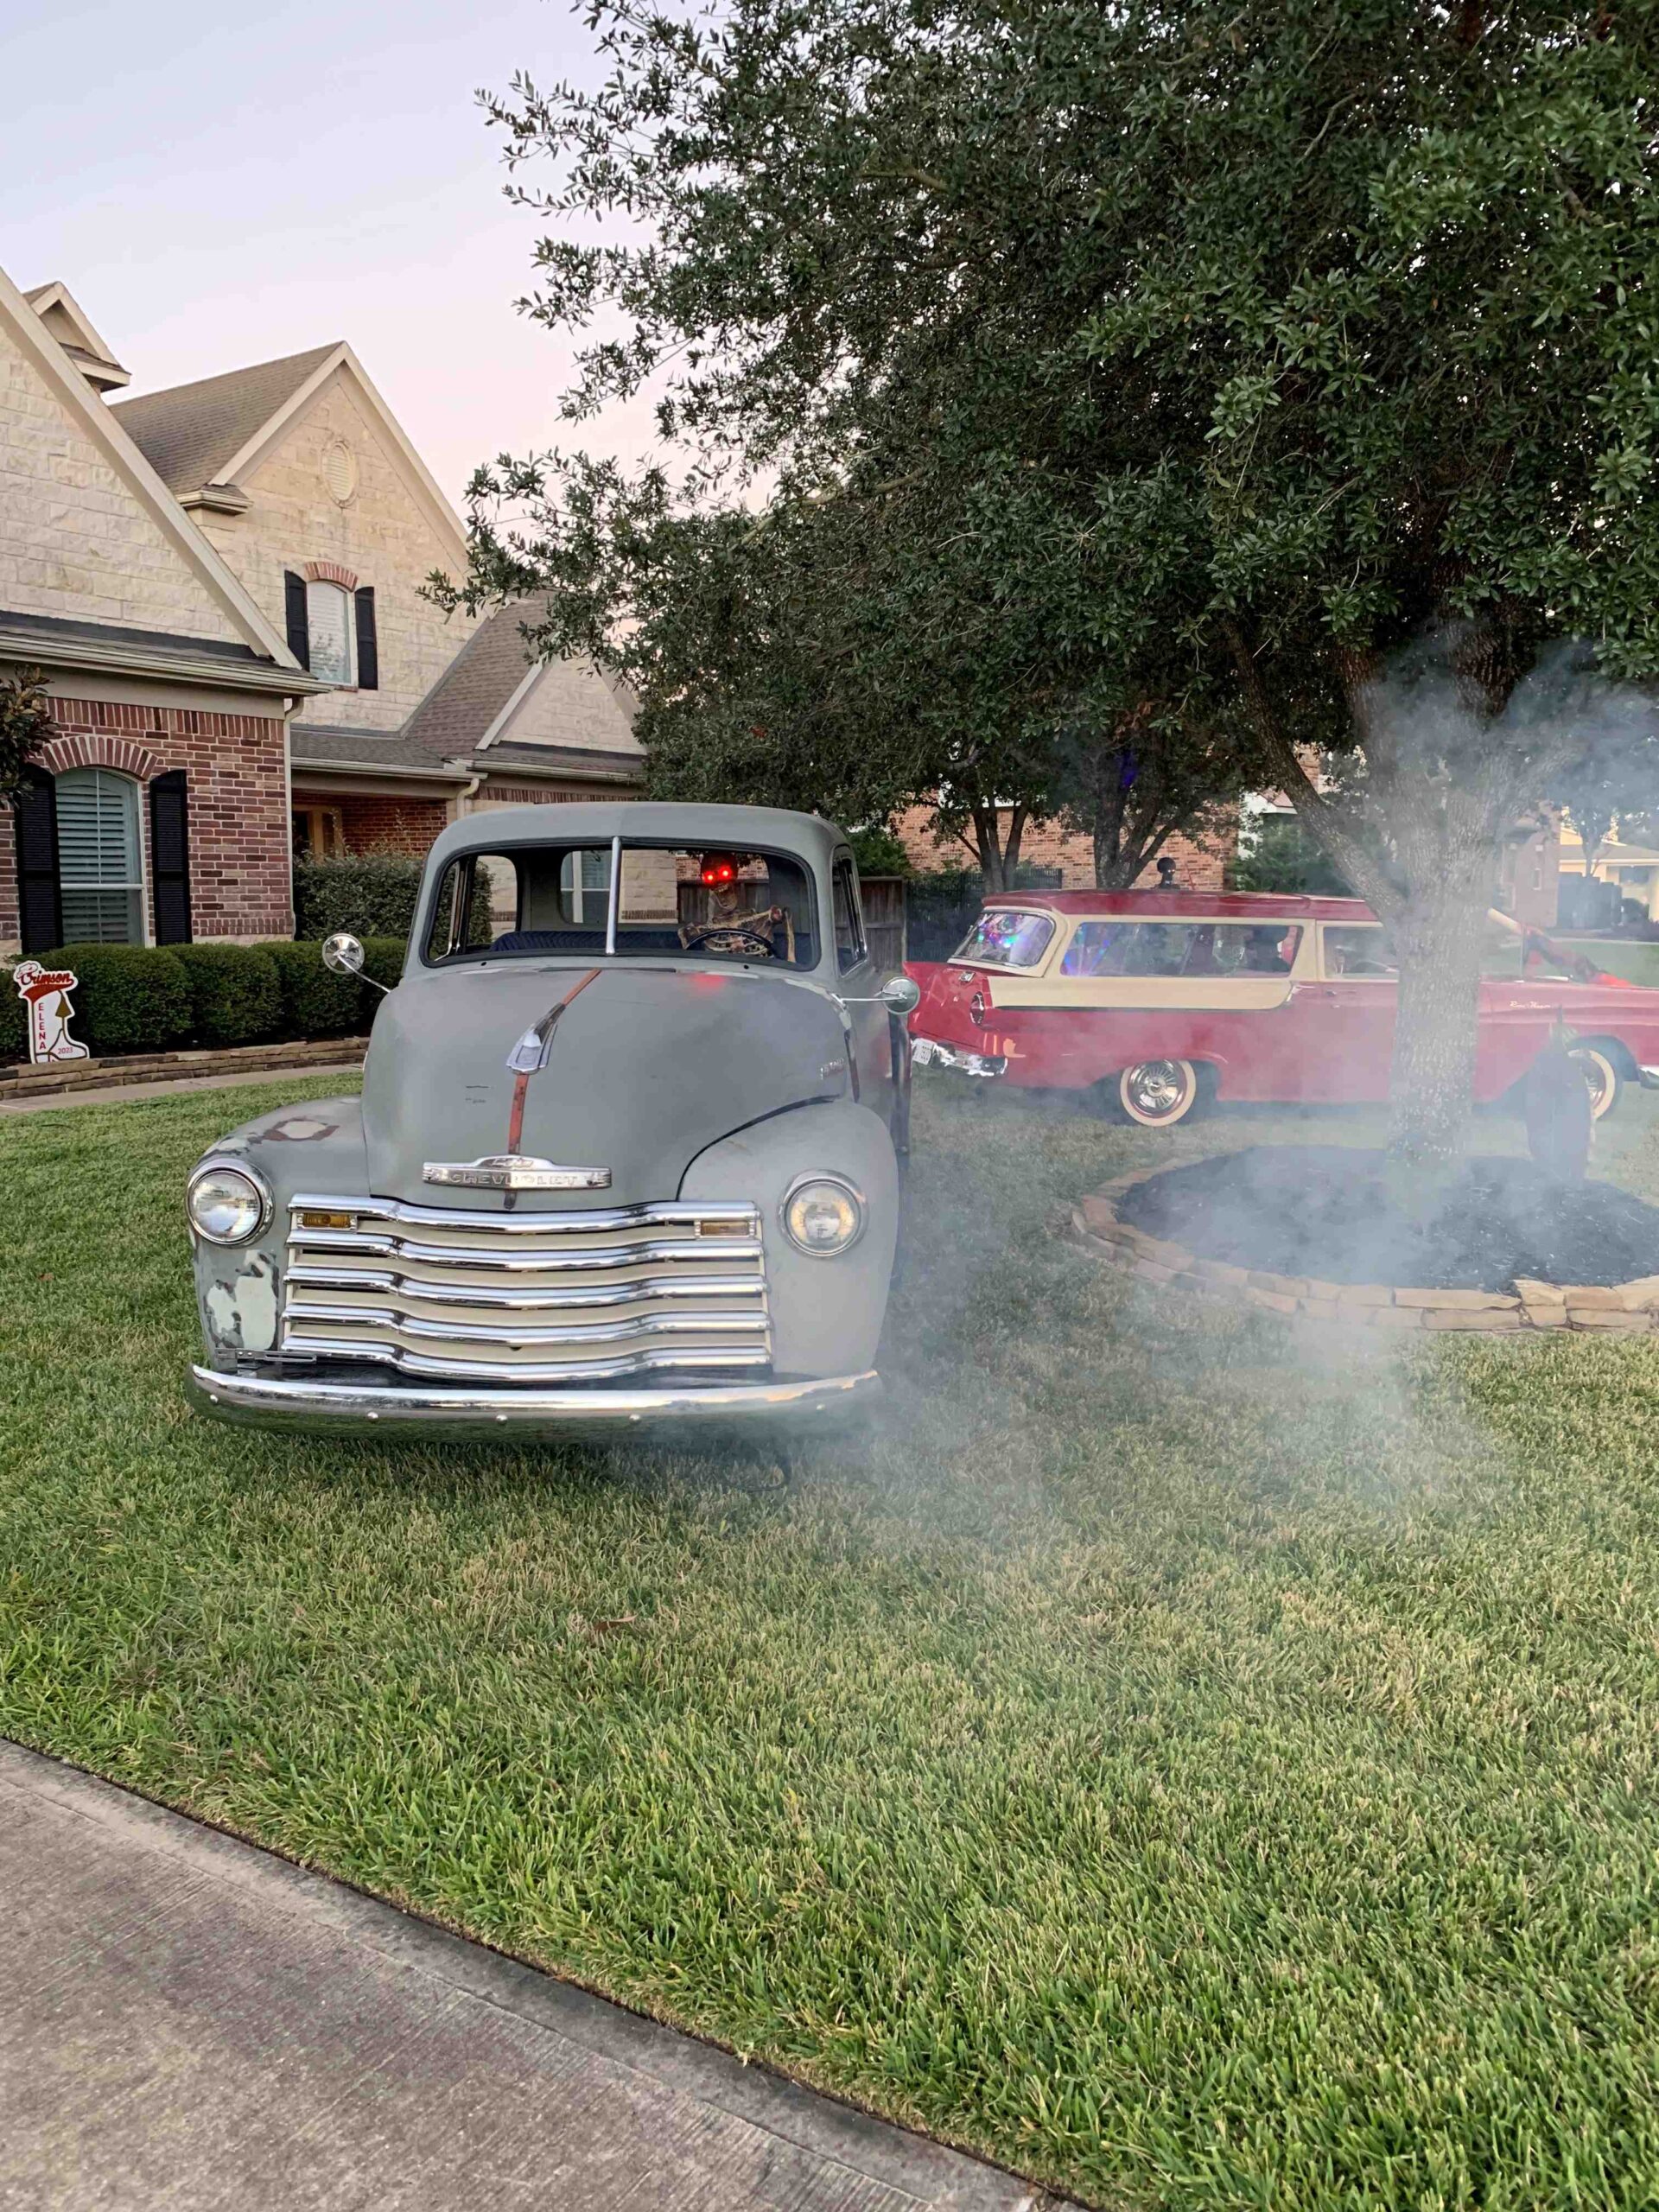

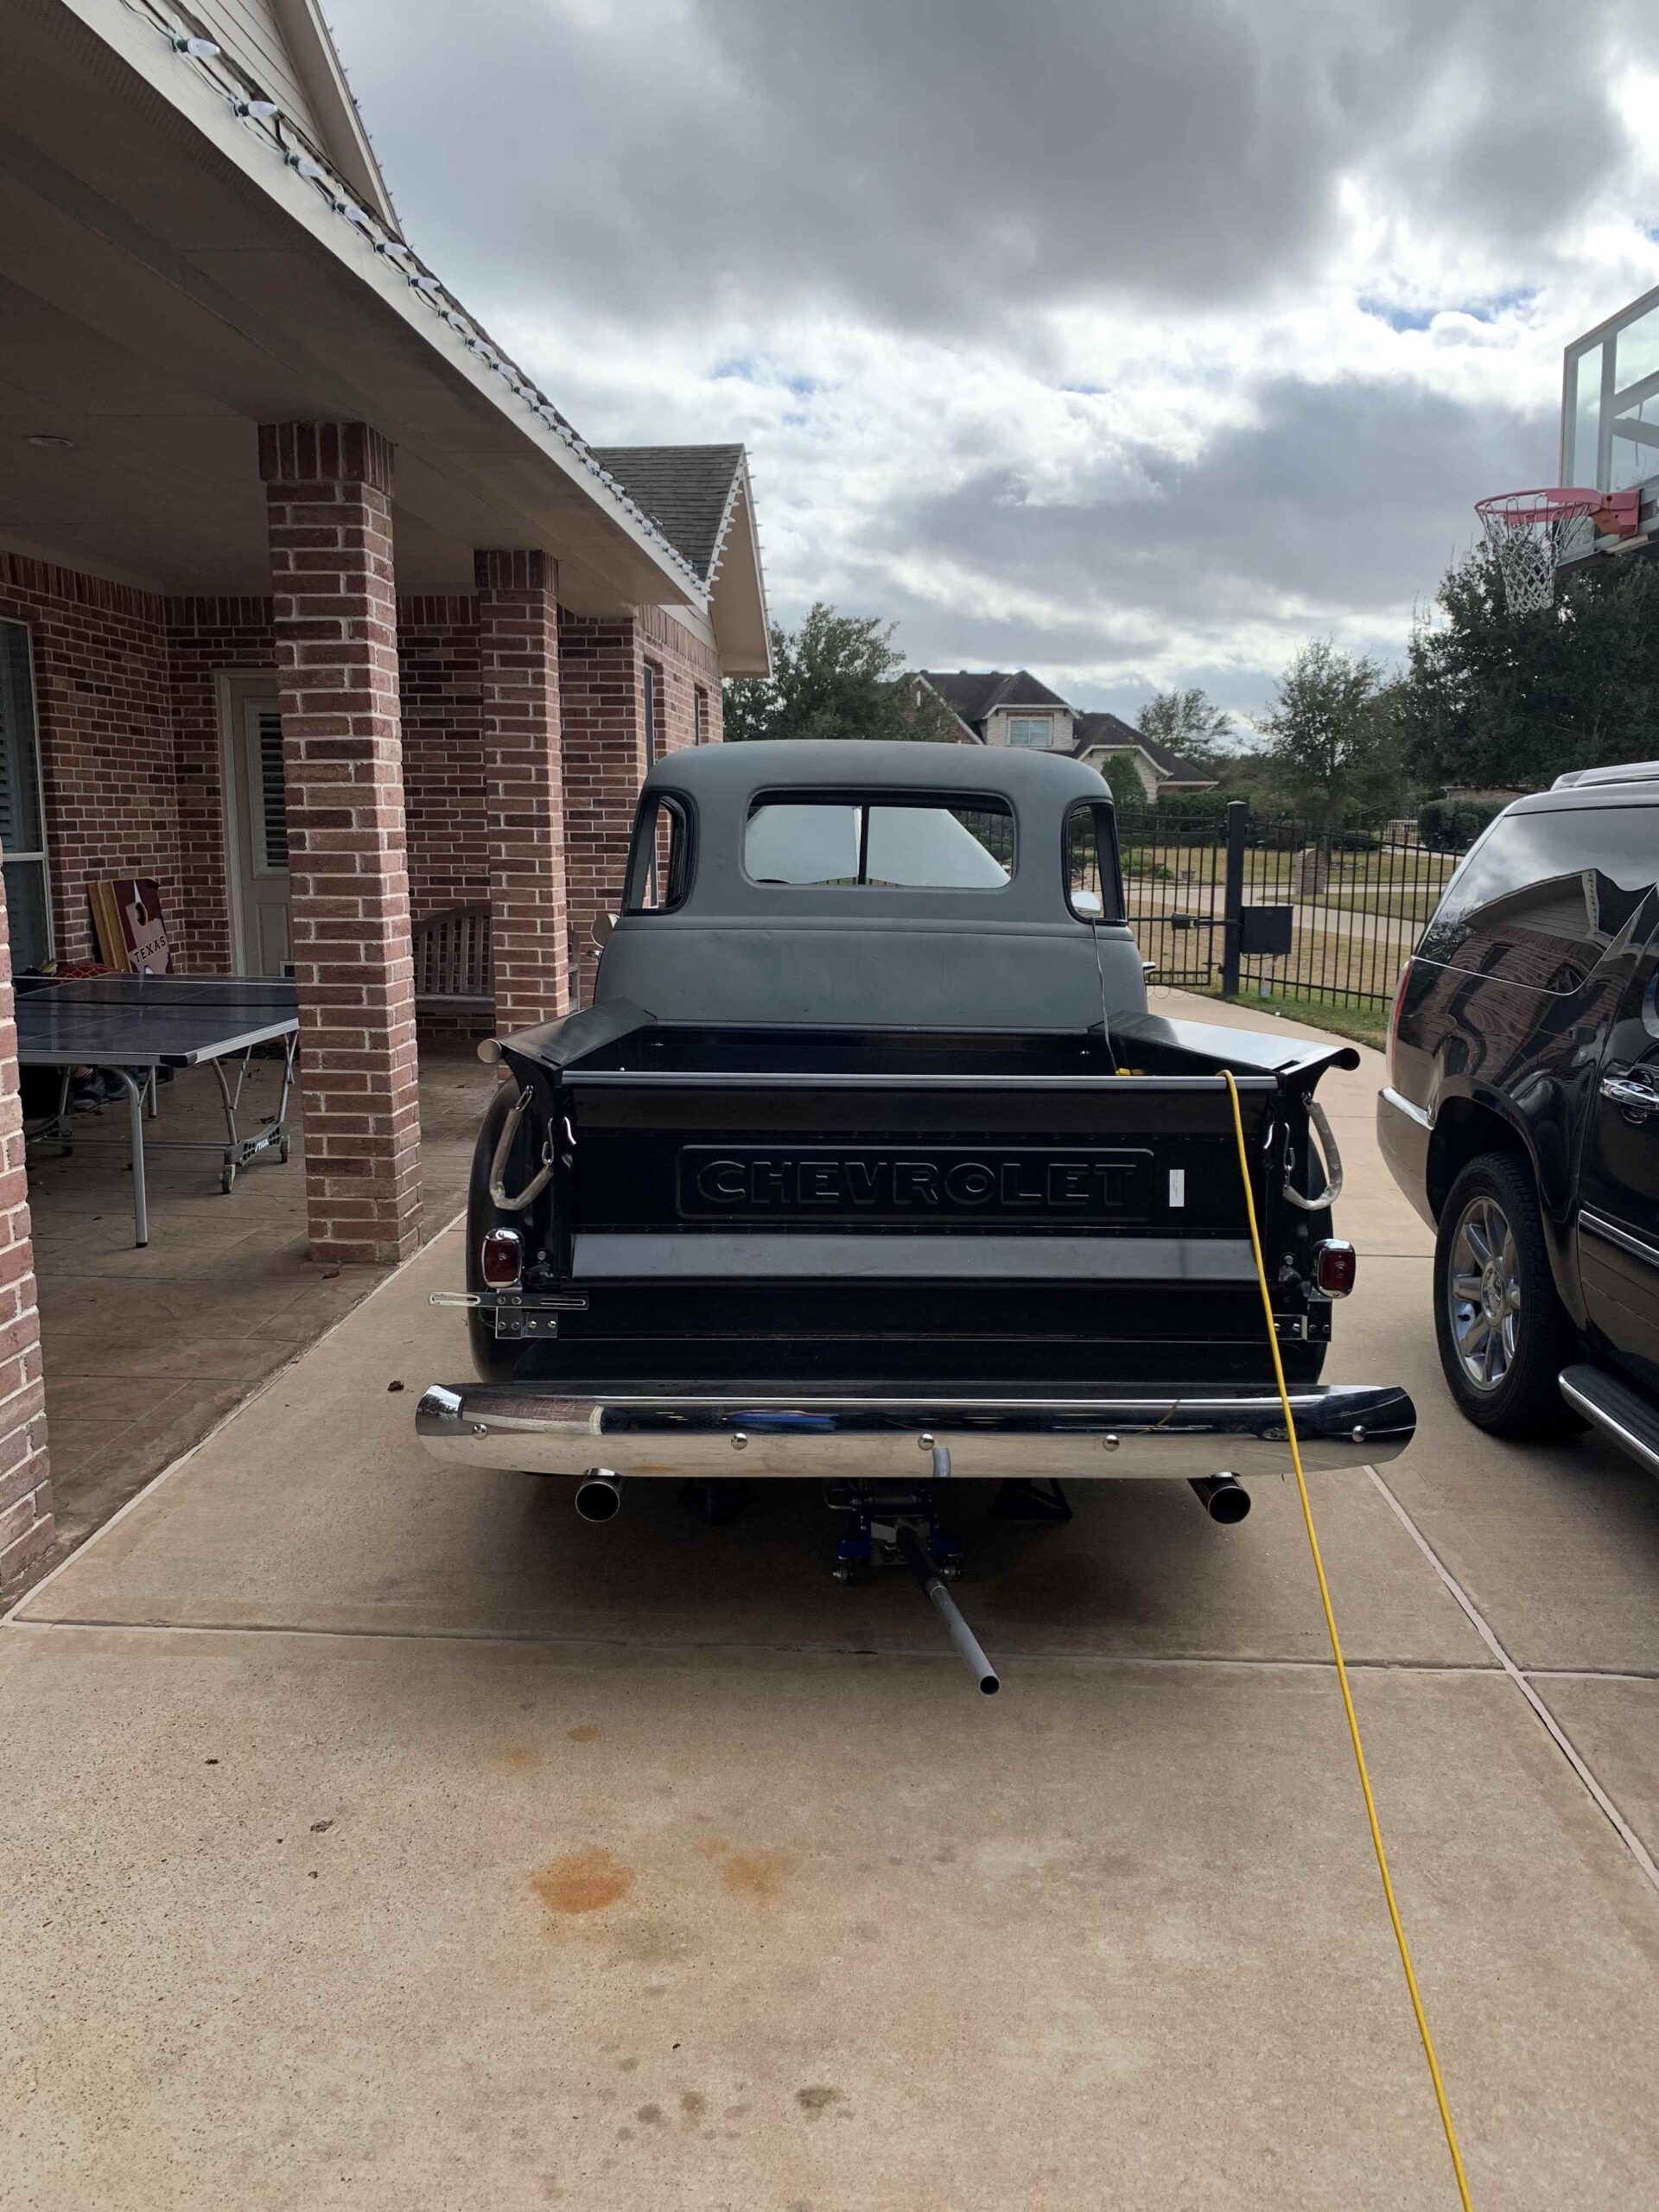
2020 First Drive
So, I twisted together a few wires and screwed the ignition onto a block of wood to make things work and get the engine running. It was actually a little more complicated since I am running a Holley Sniper EFI system rather than a conventional carburetor. The Holley system is pretty simple to install and worked well right out of the box. If you notice the jerky acceleration in the driveway, I have an excuse since my throttle cable was a piece of electrical wire connected the throttle on the EFI. I pulled a little too hard and spun the tires. I take that as a good sign of things to come.
2021 Build Update
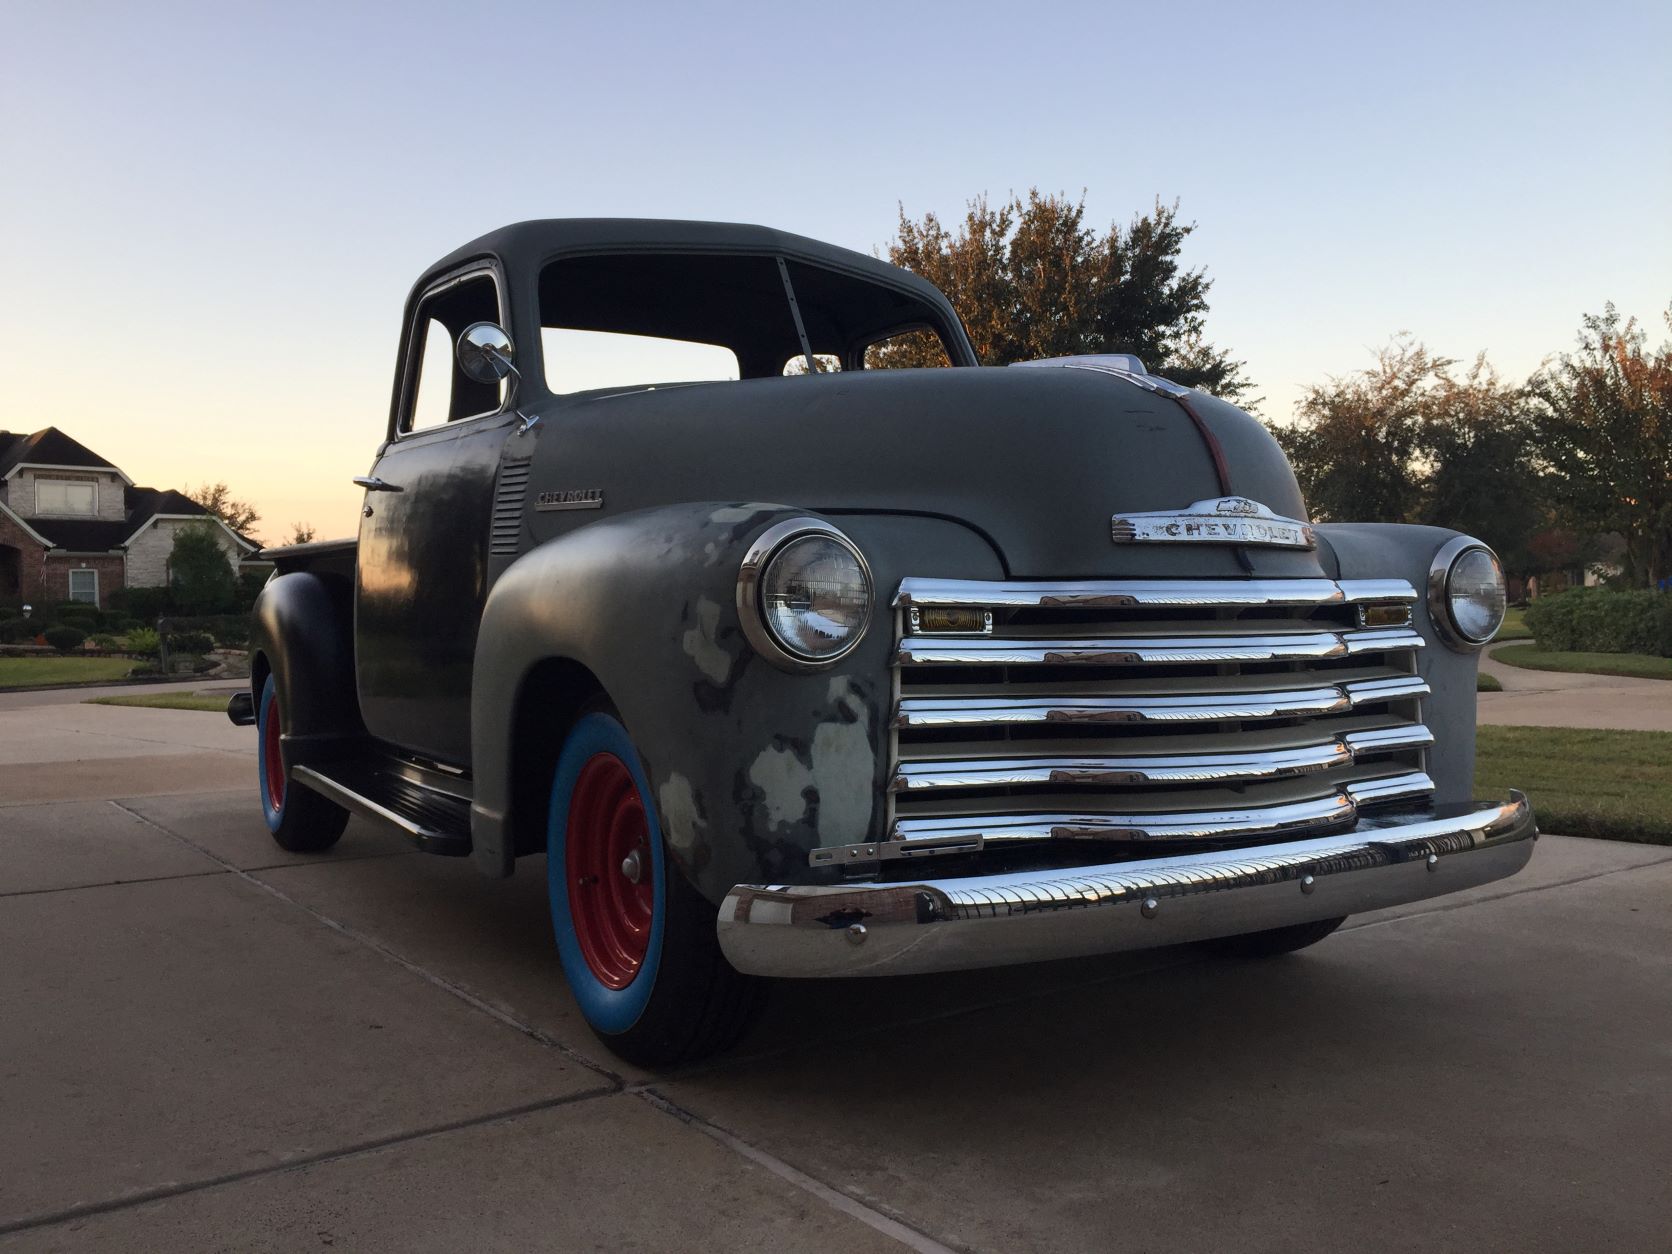
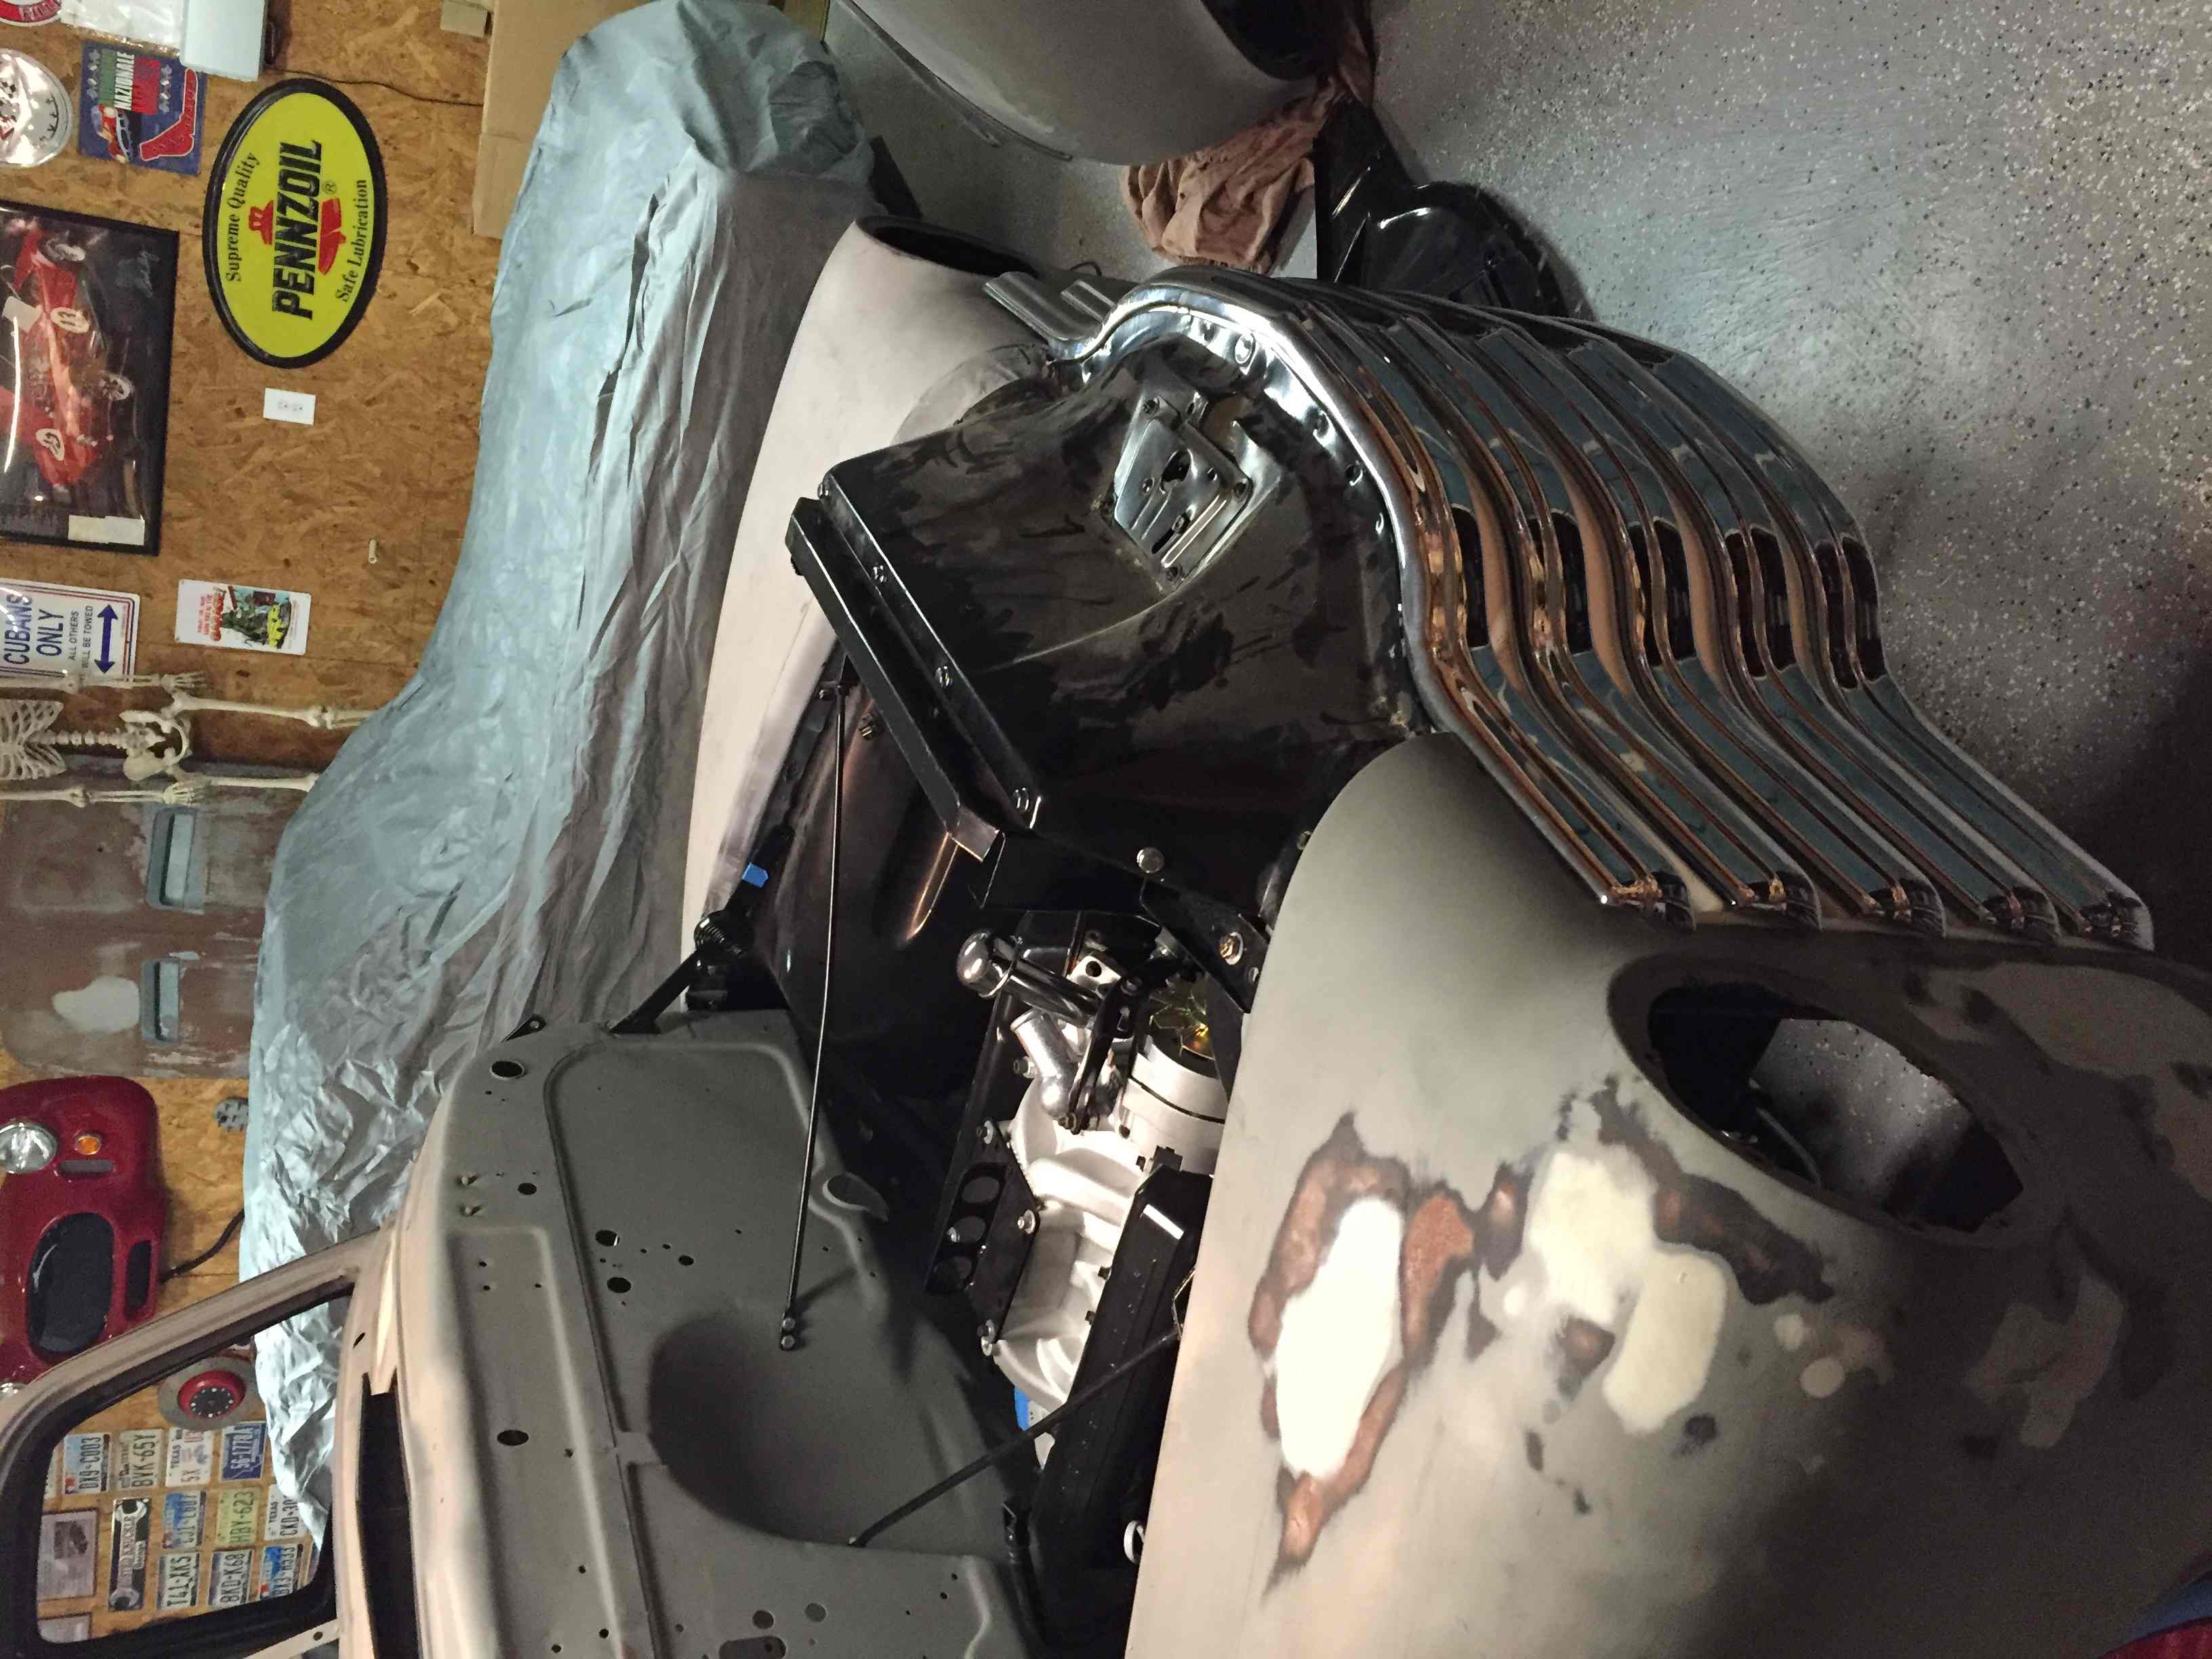
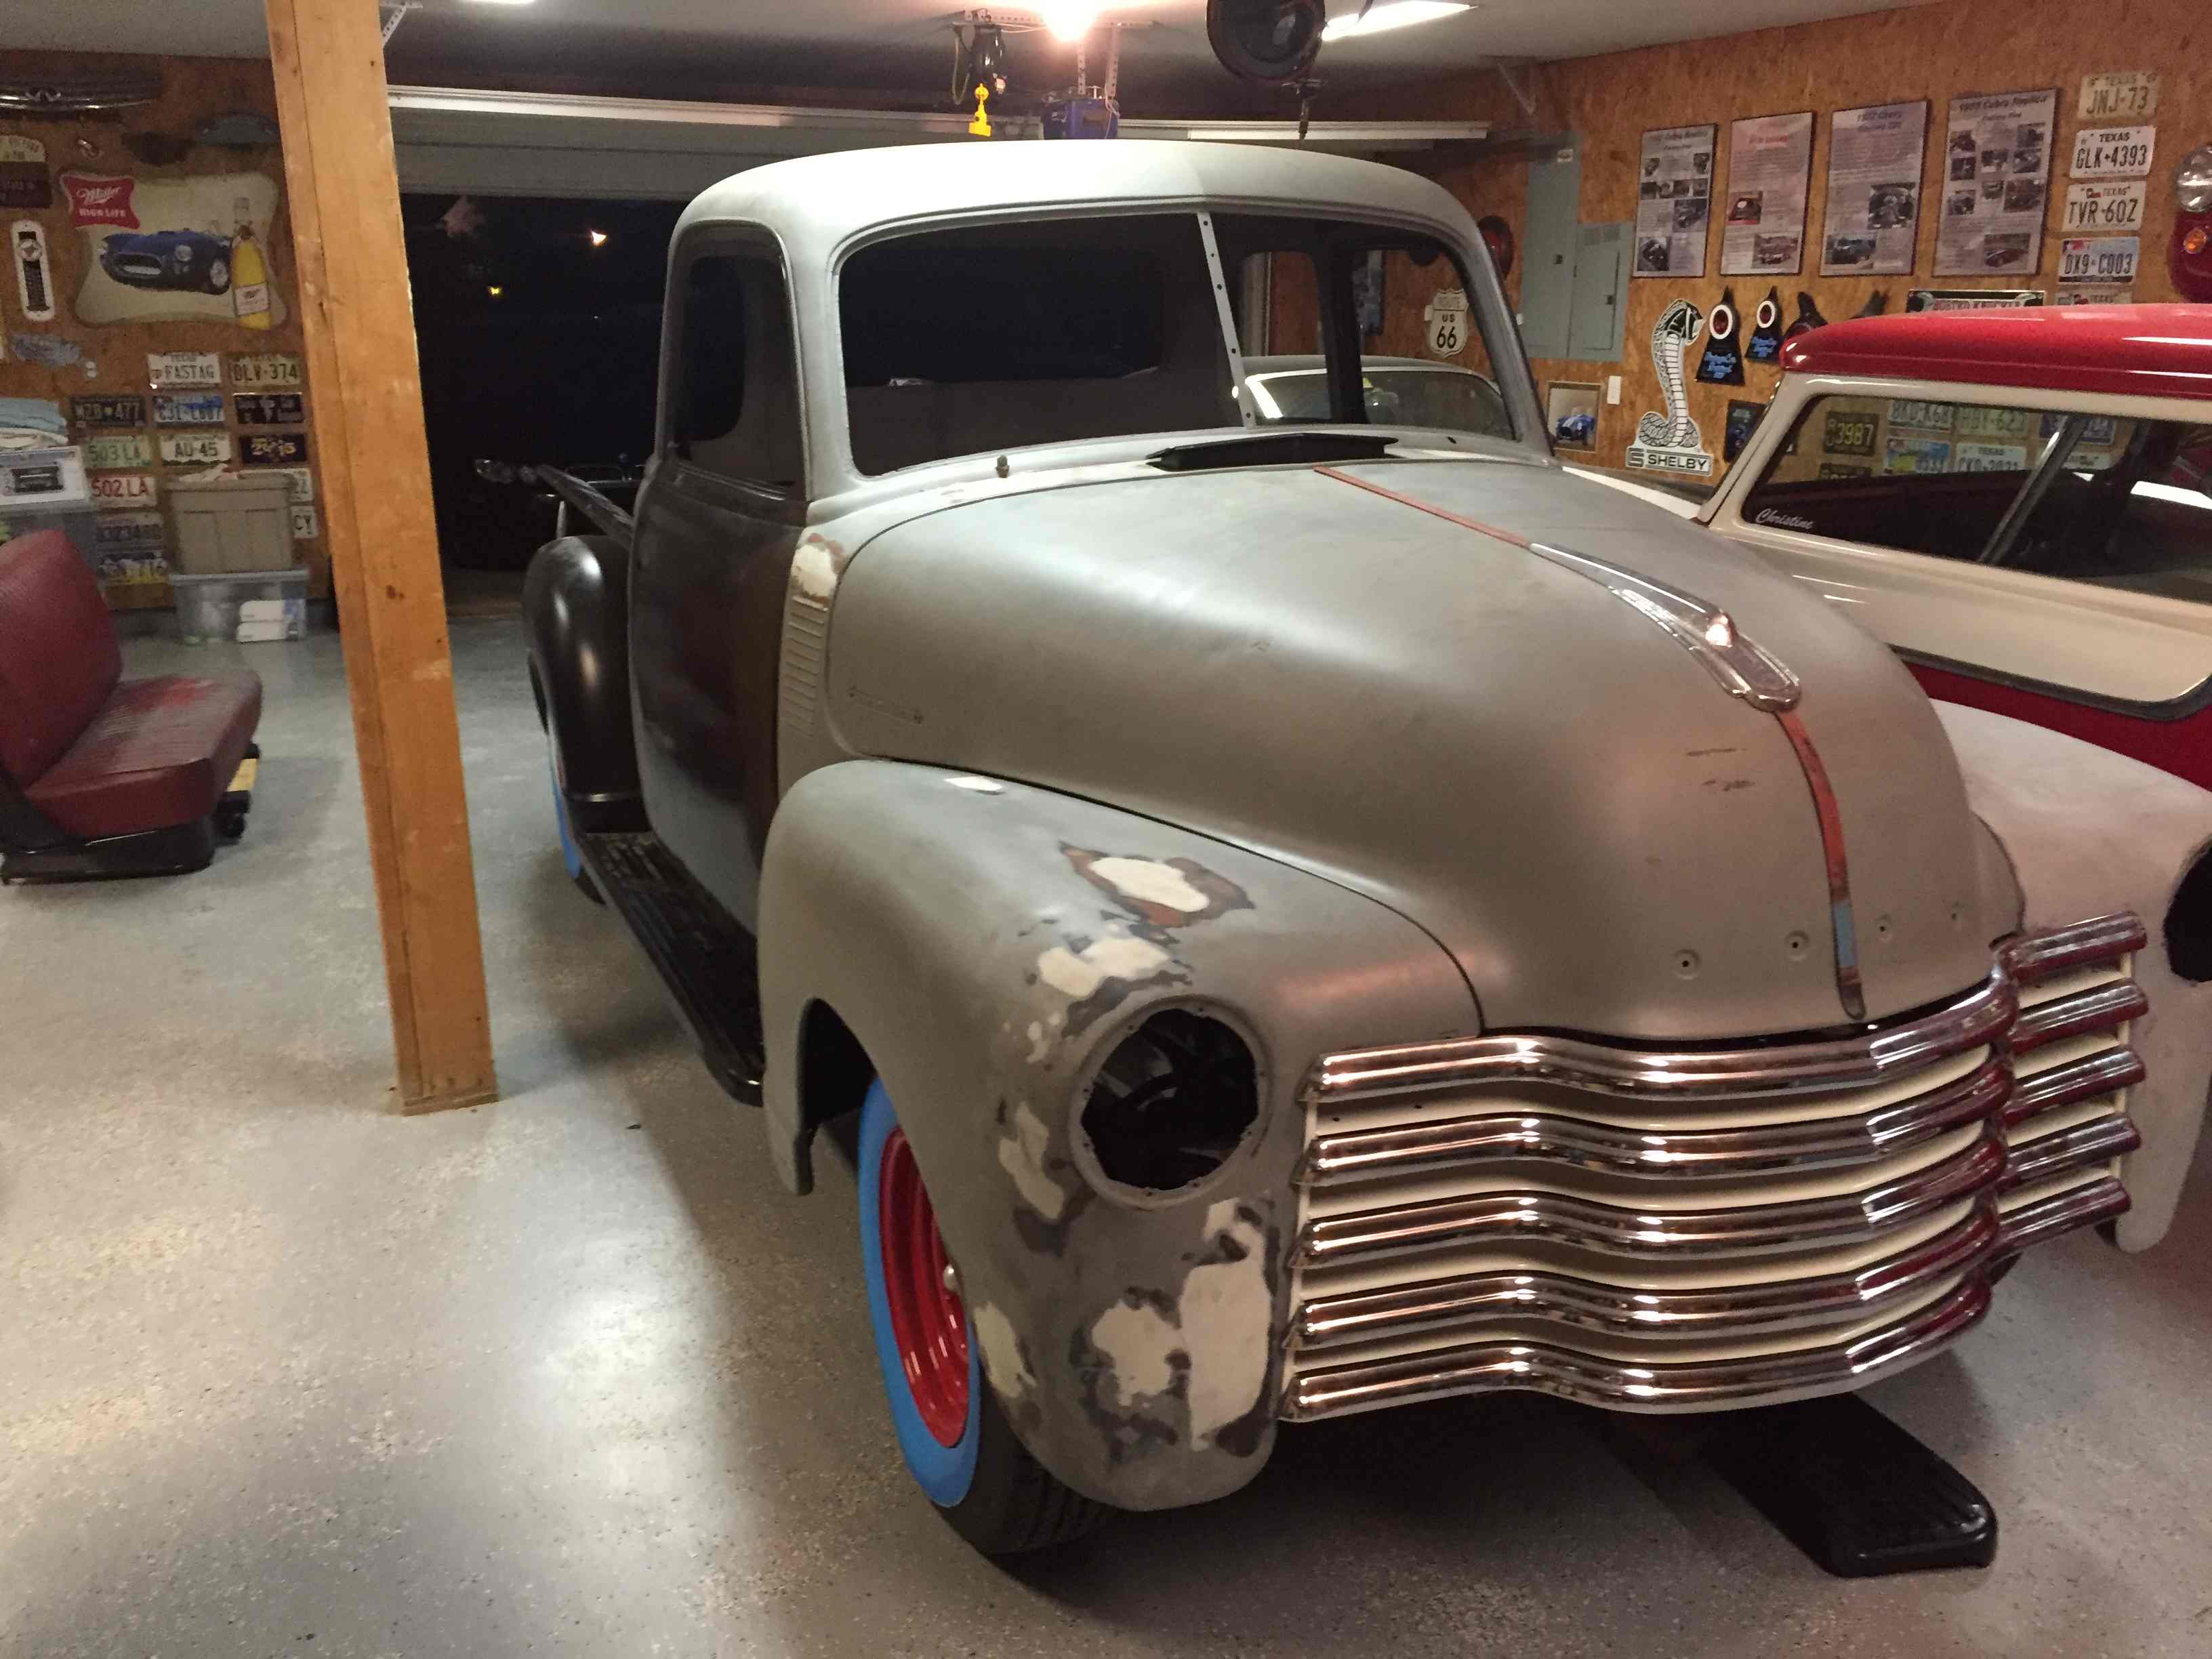
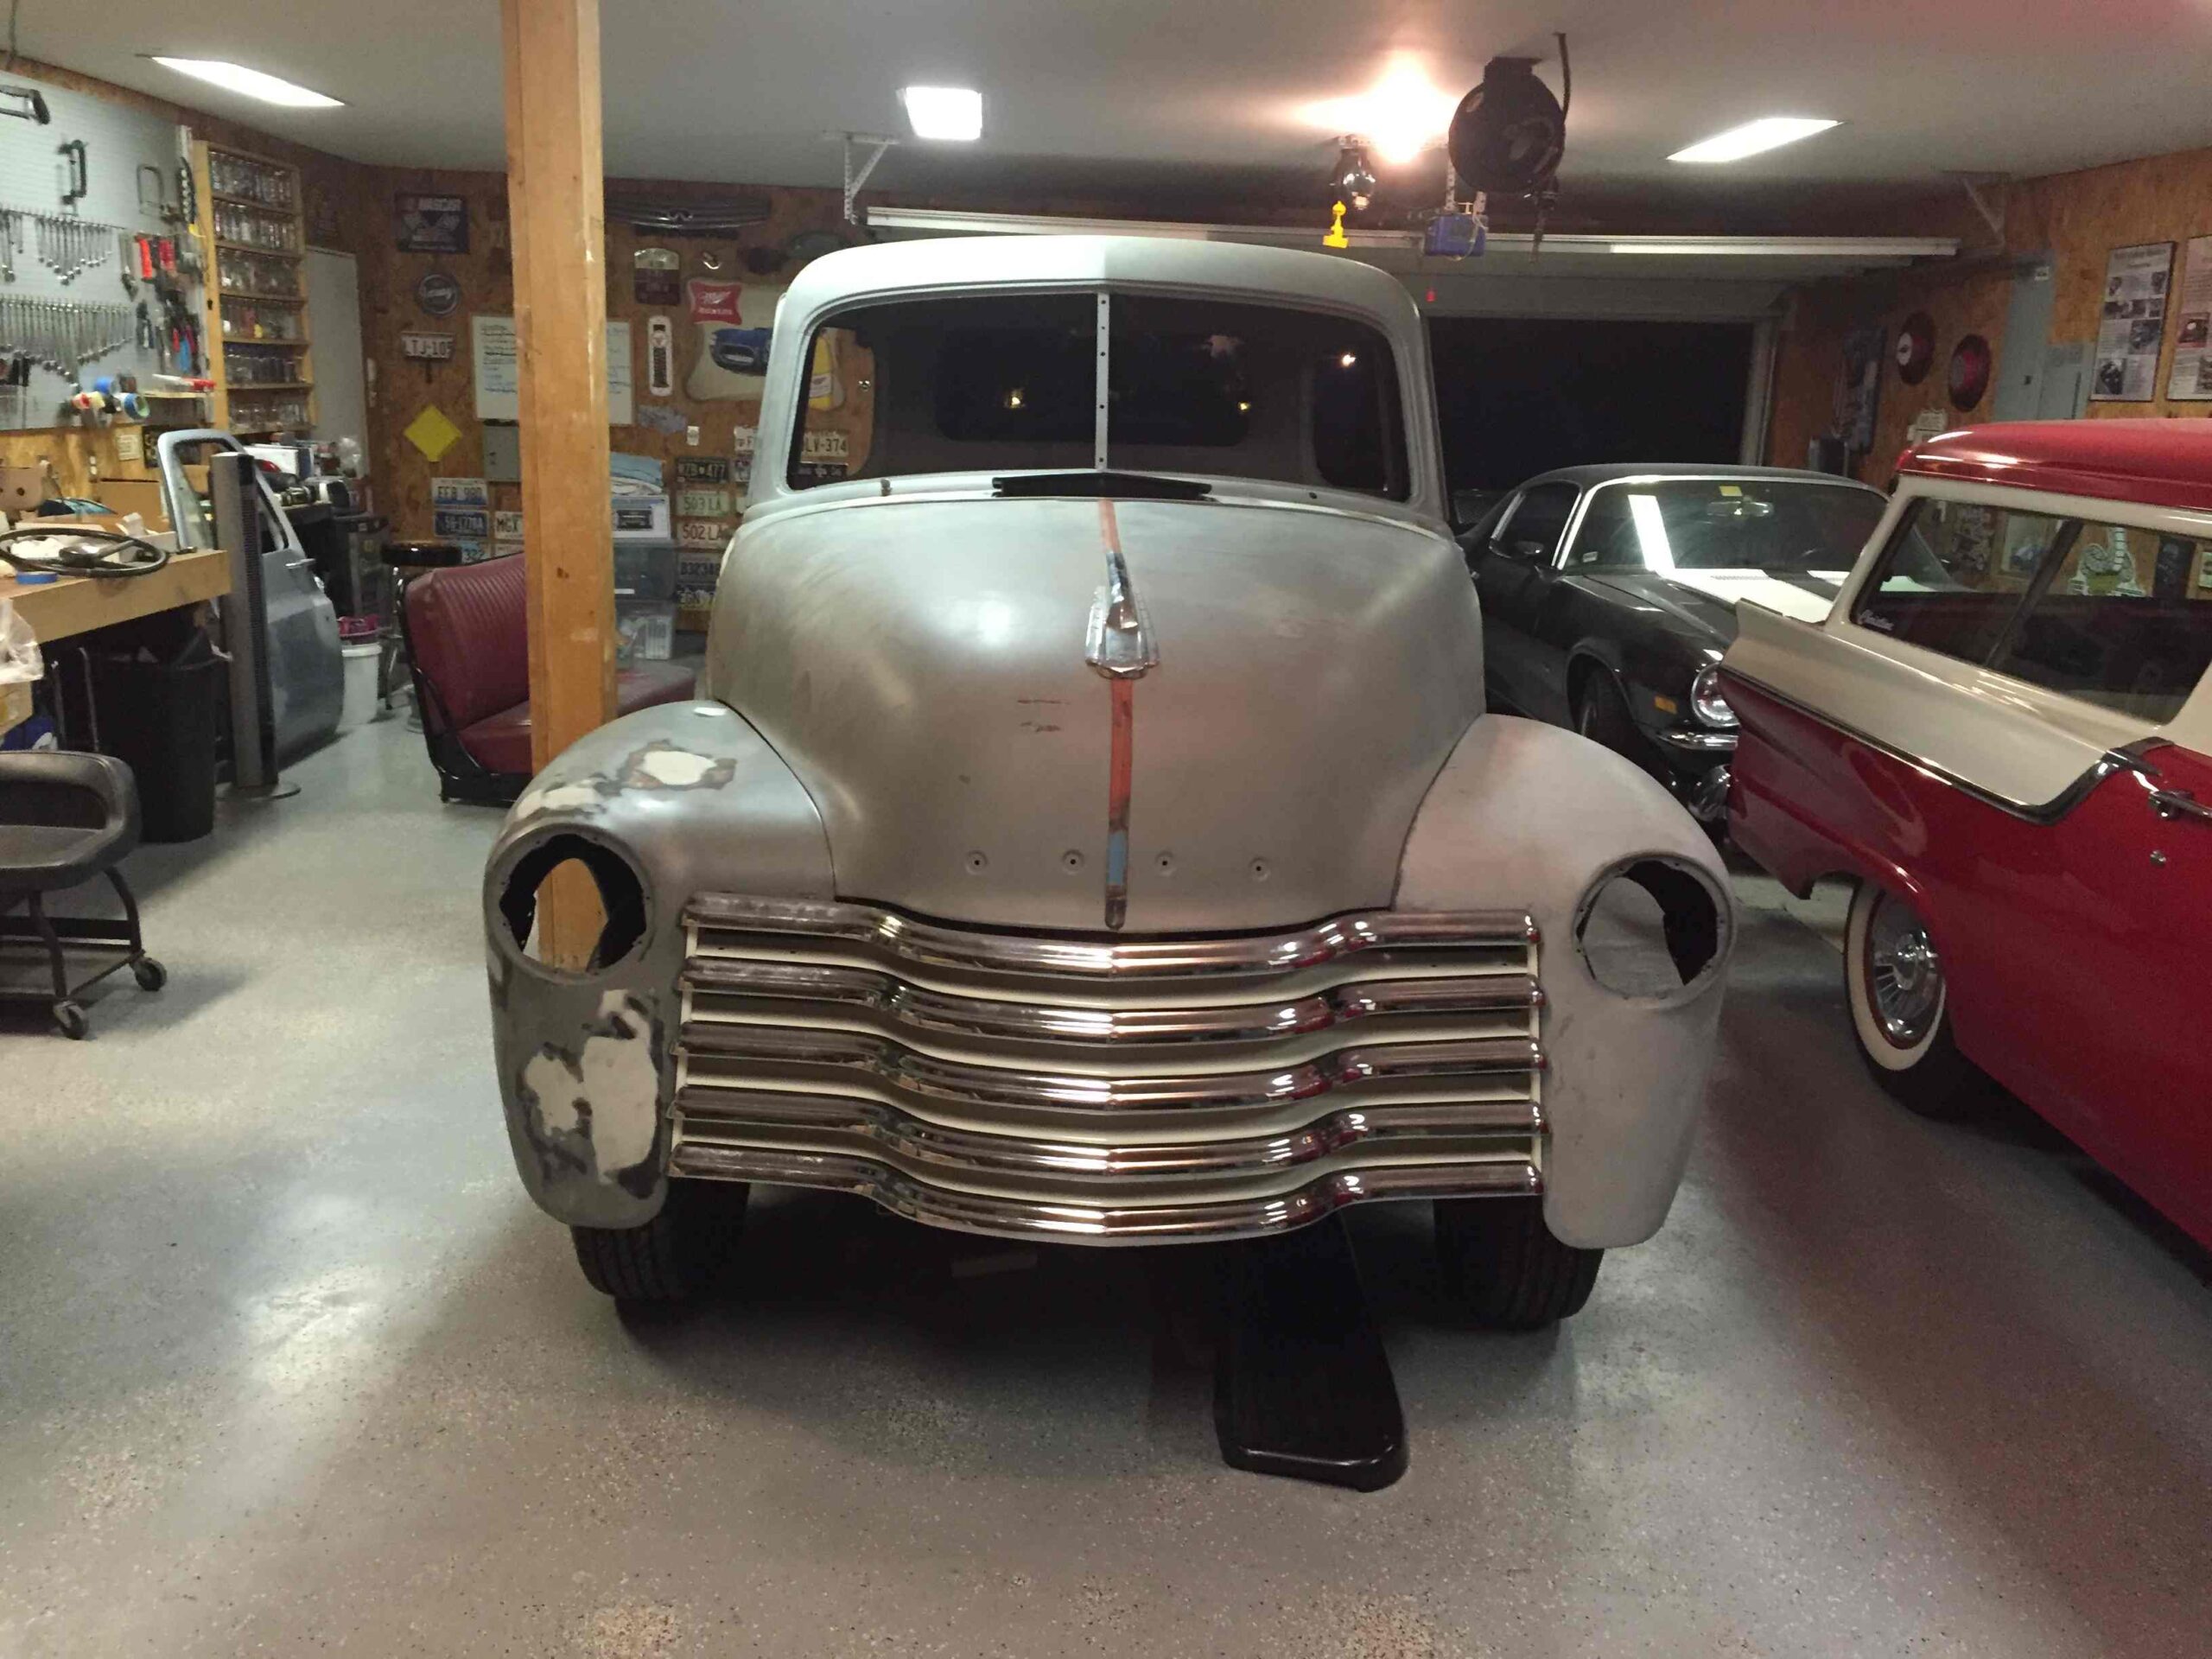
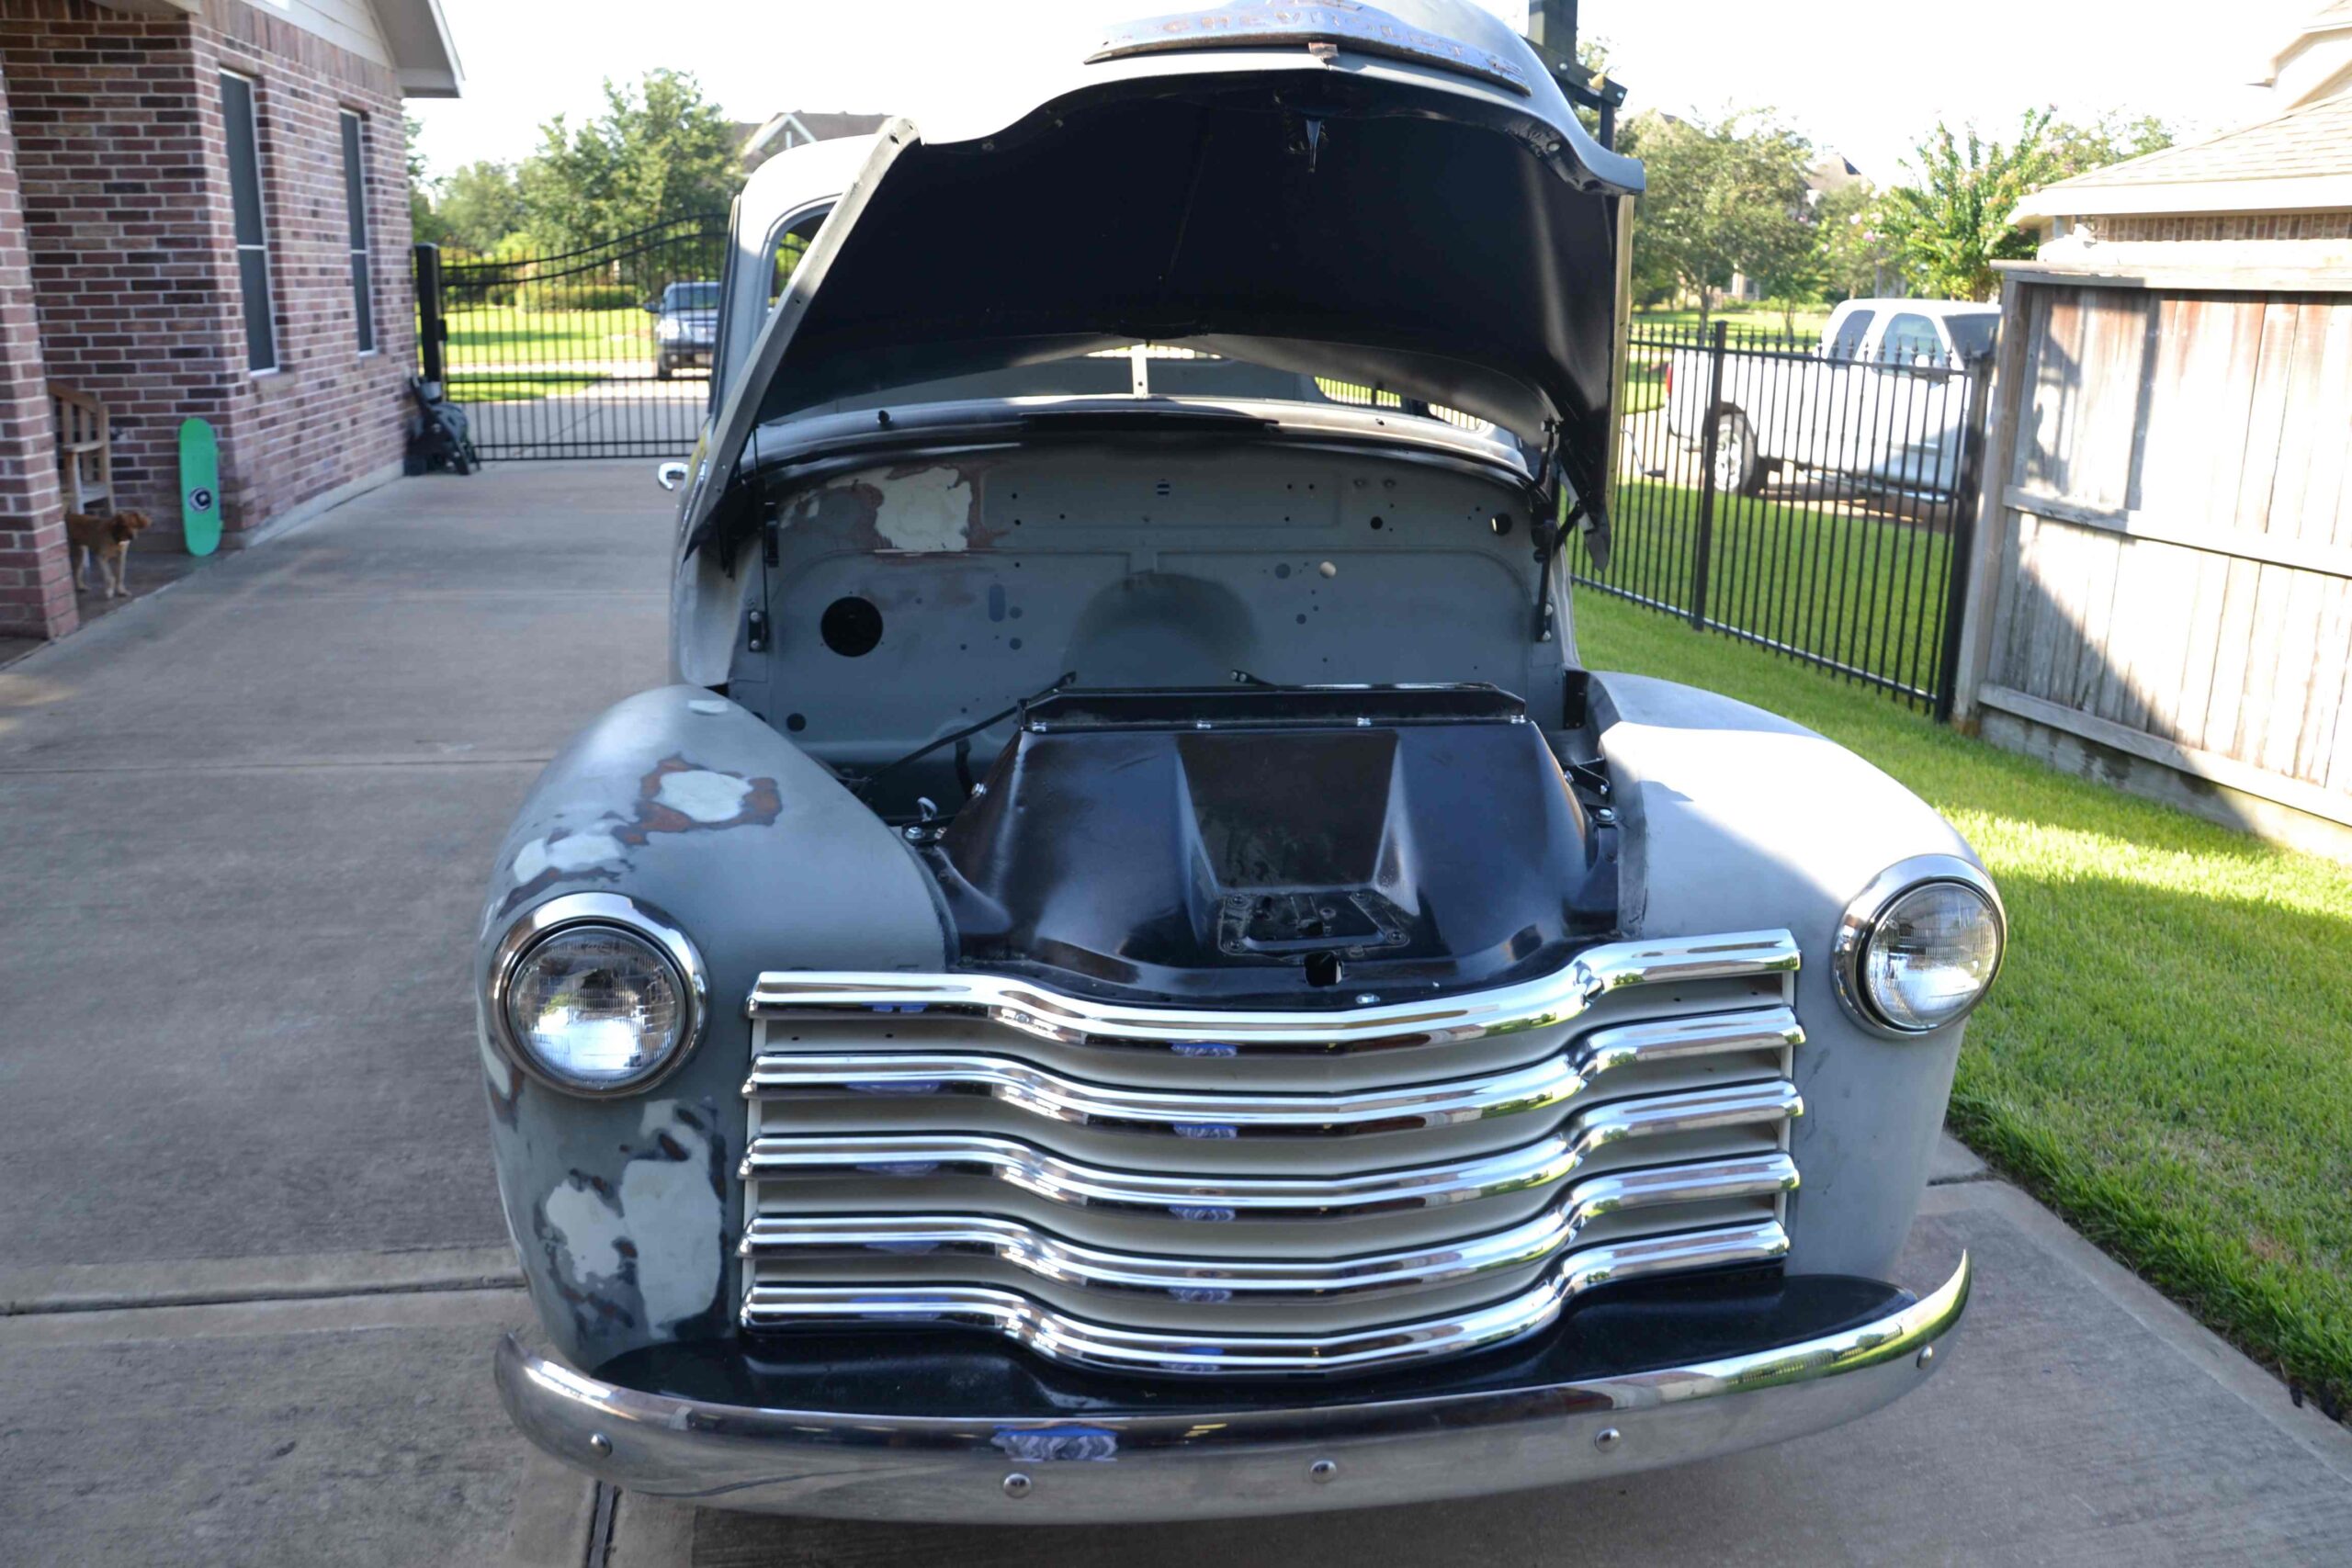
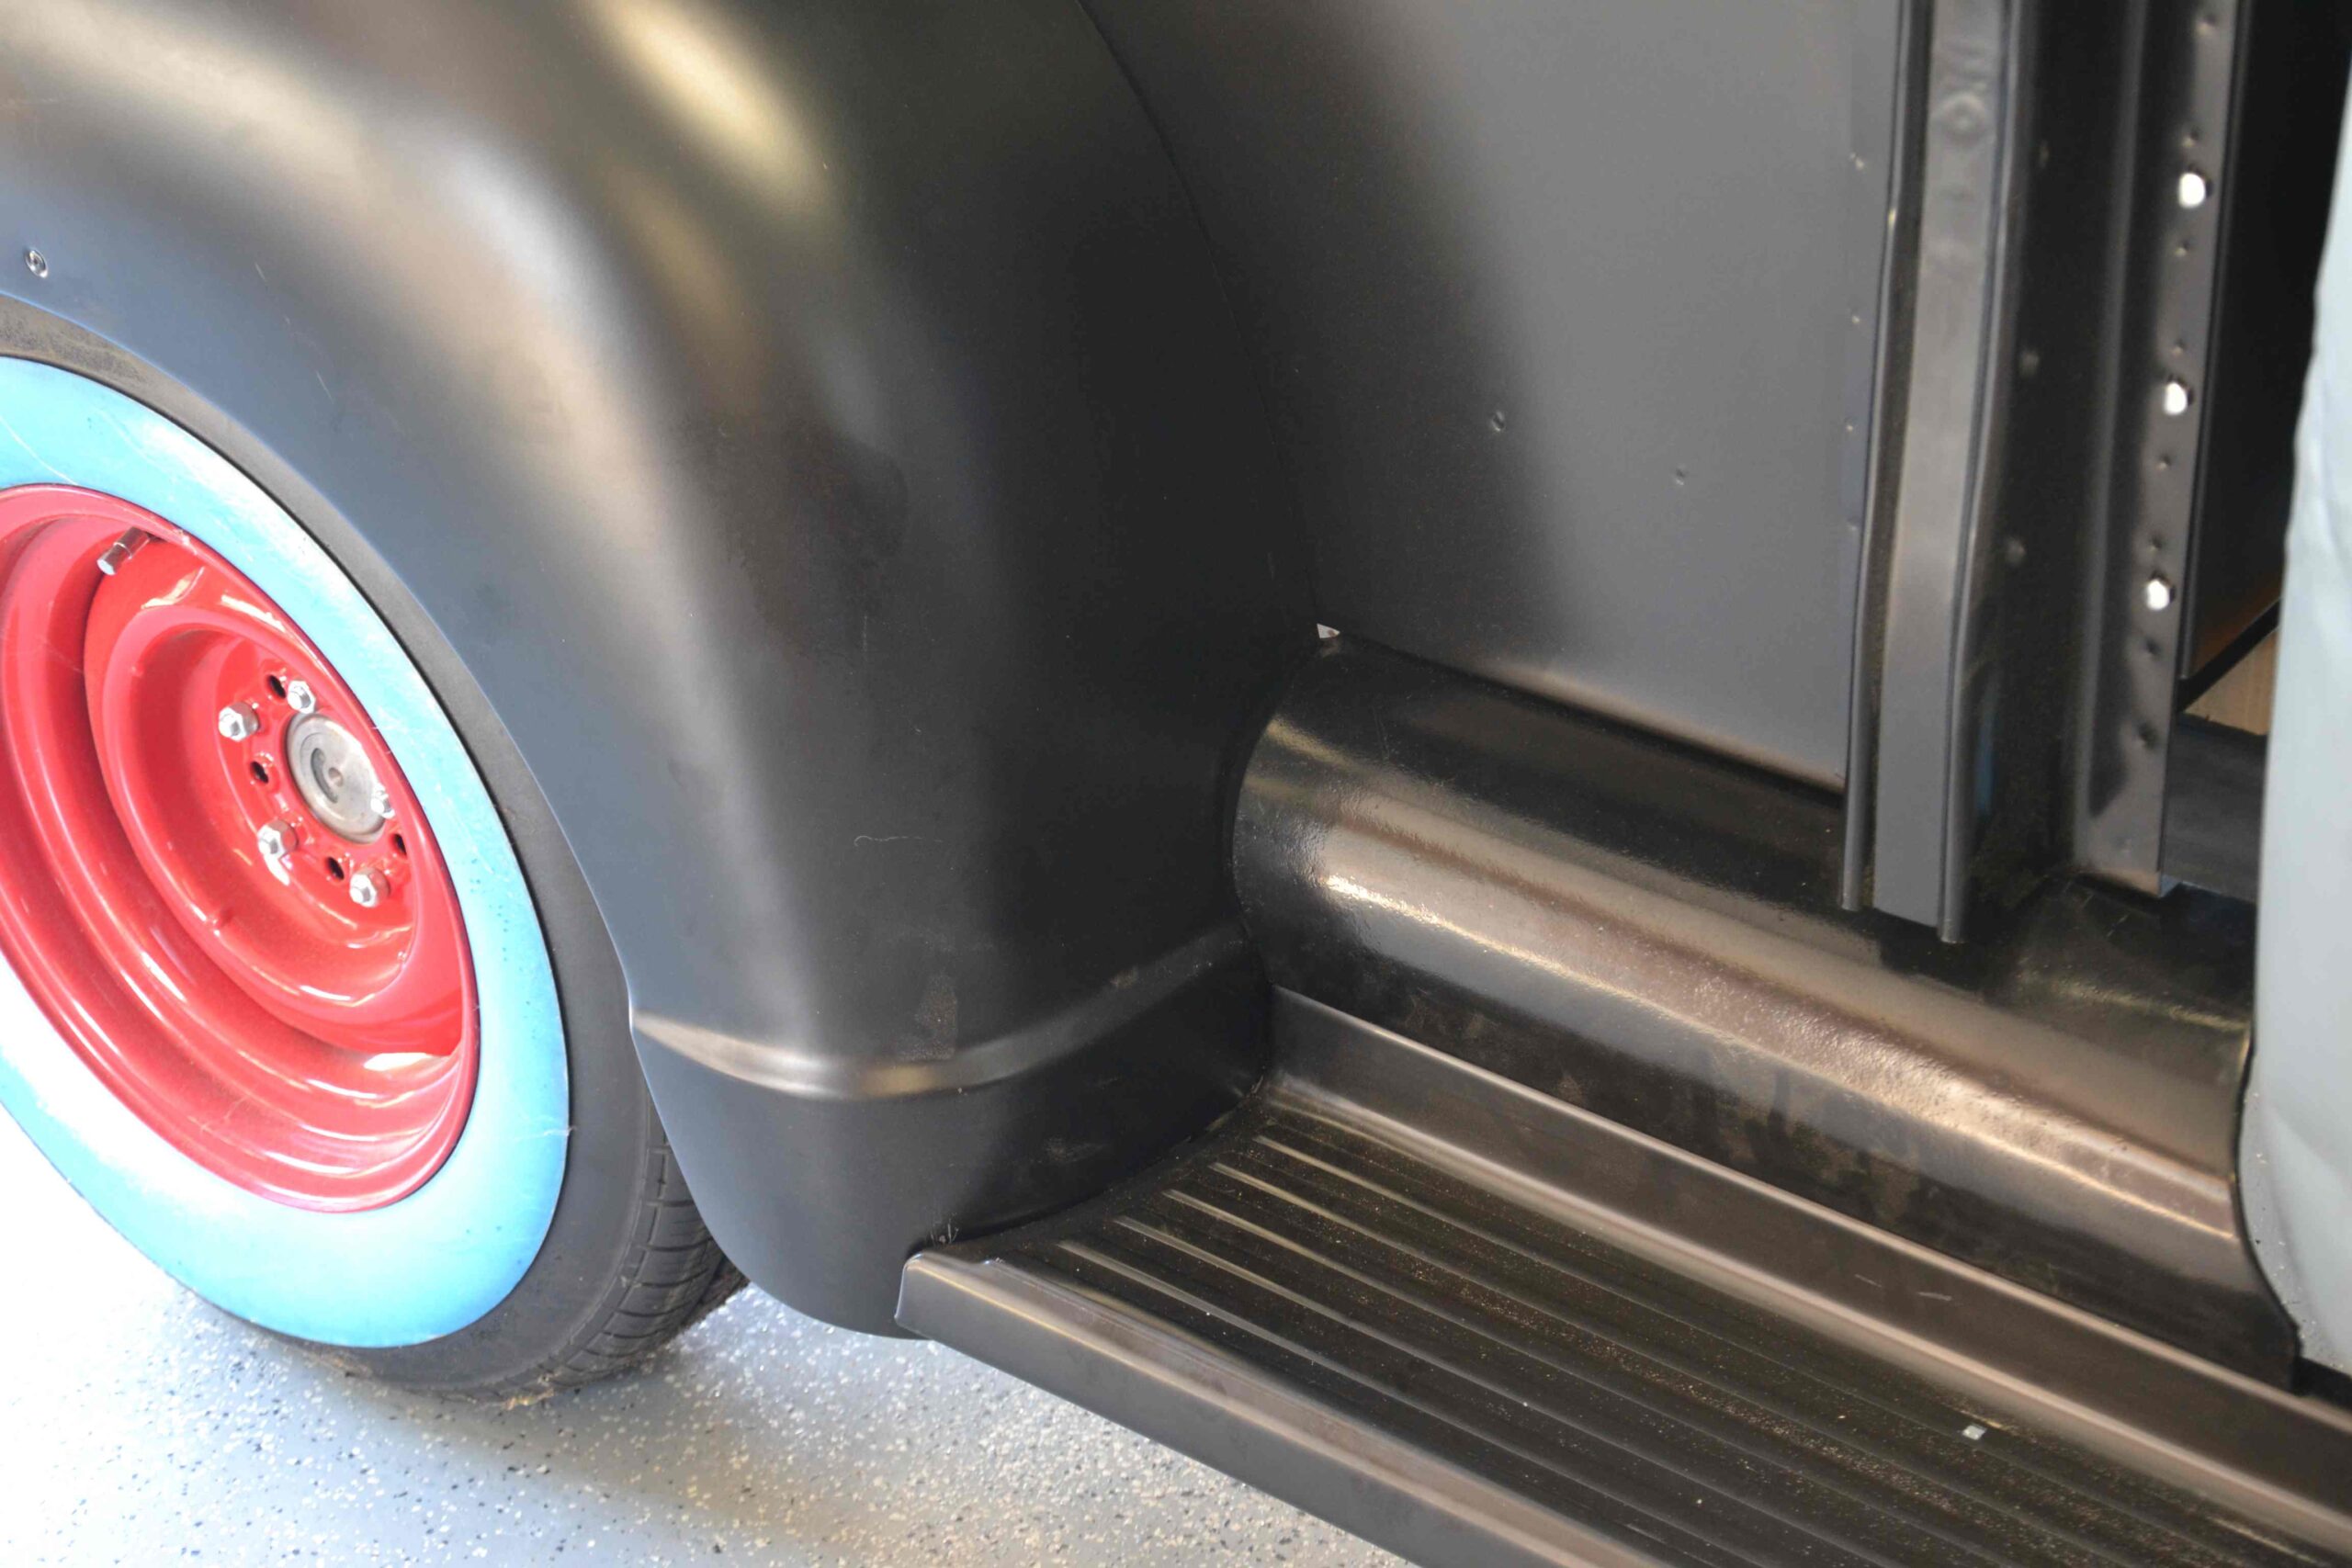
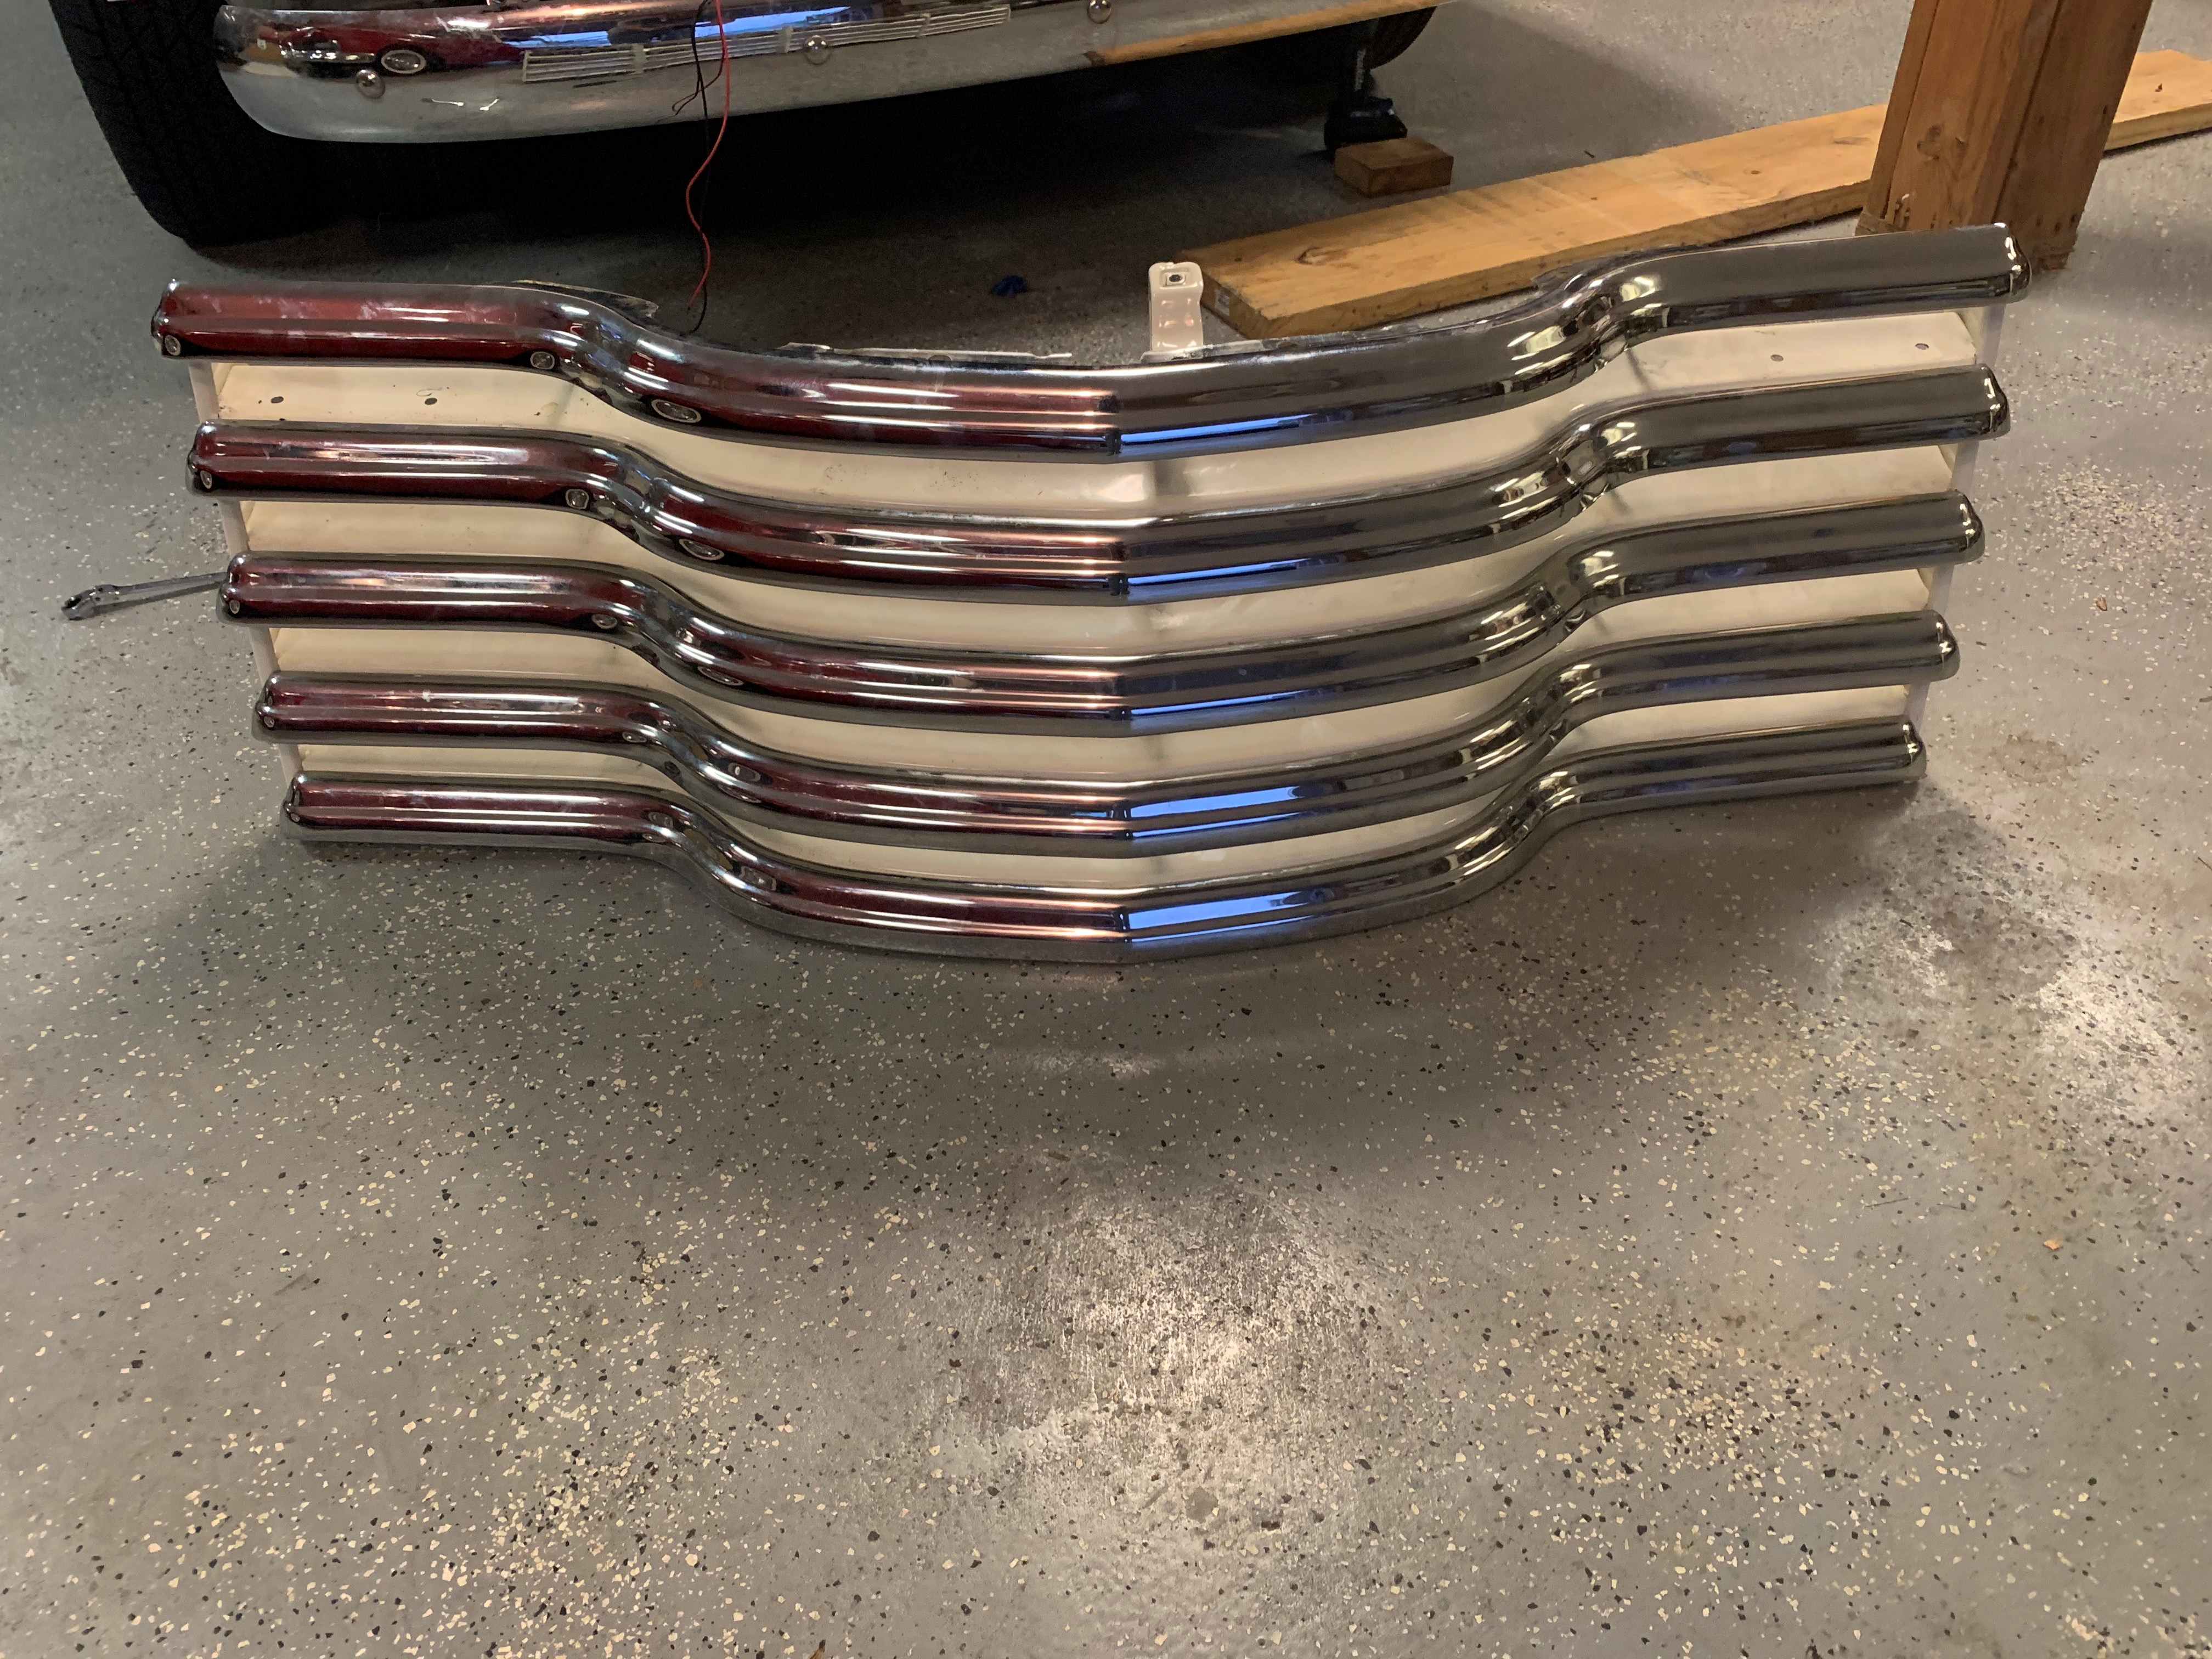
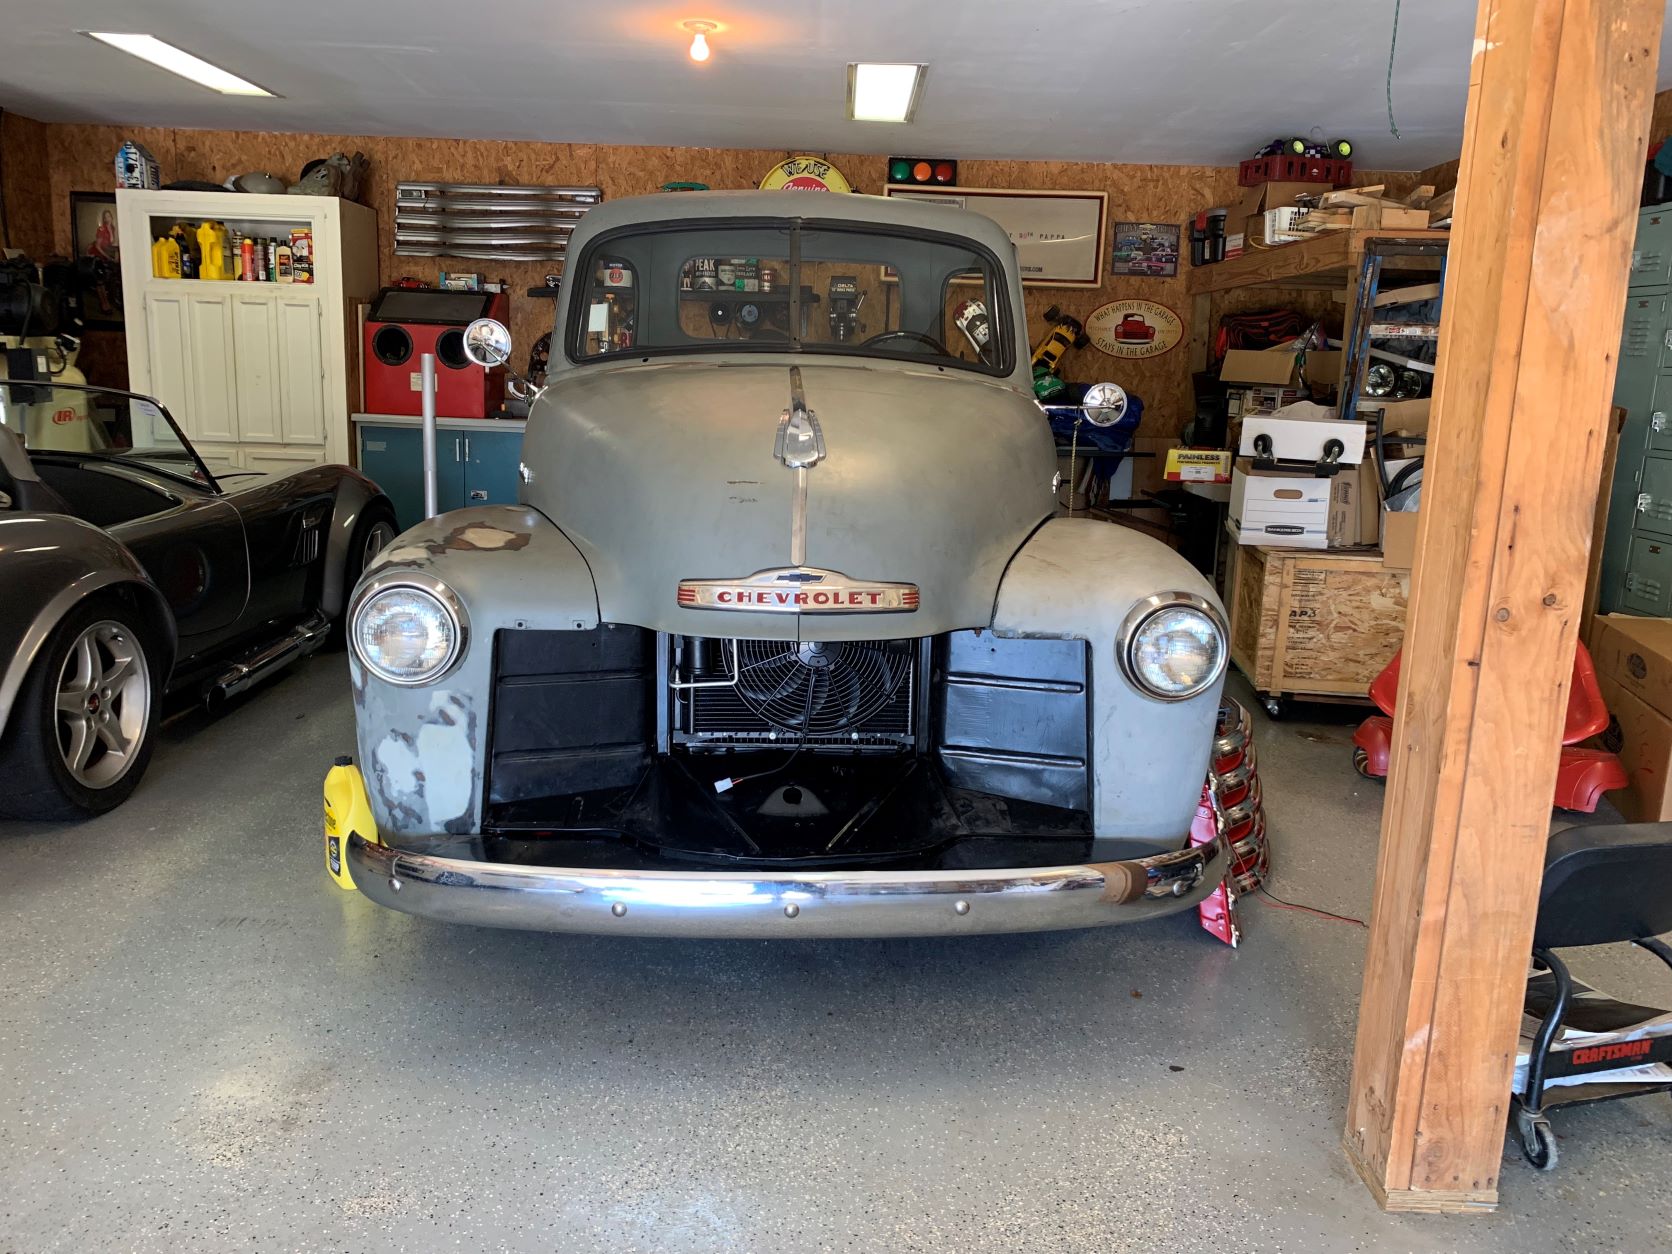
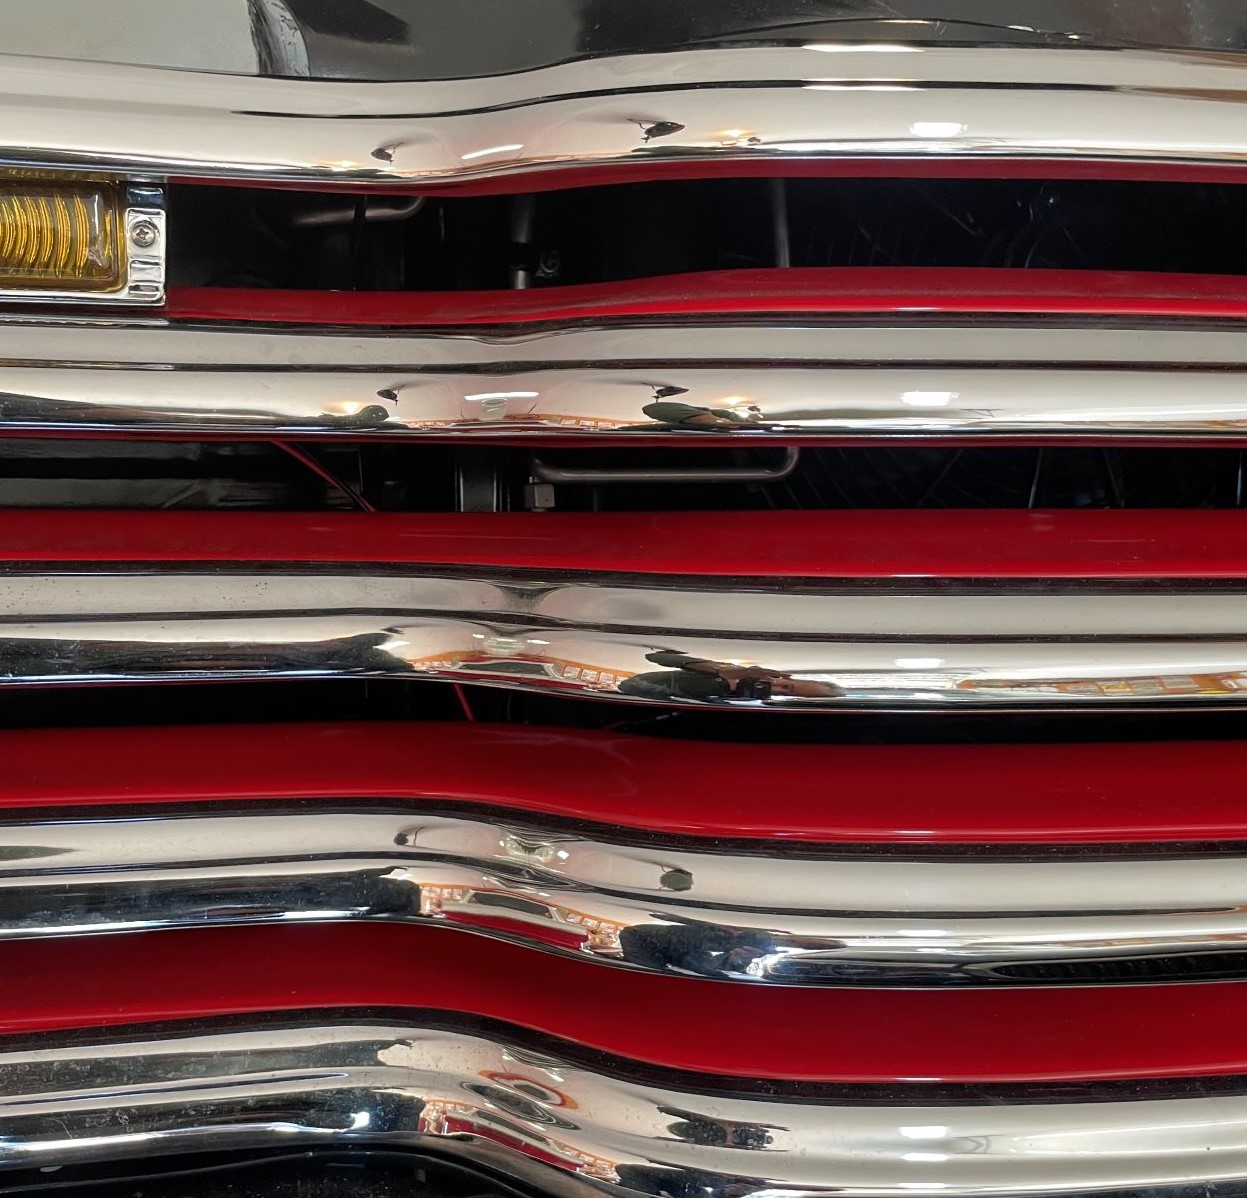
Not much progress in 2021. Test fitted the grill and then disassembled it to have the tan parts powder coated red to match the color of the wheels.


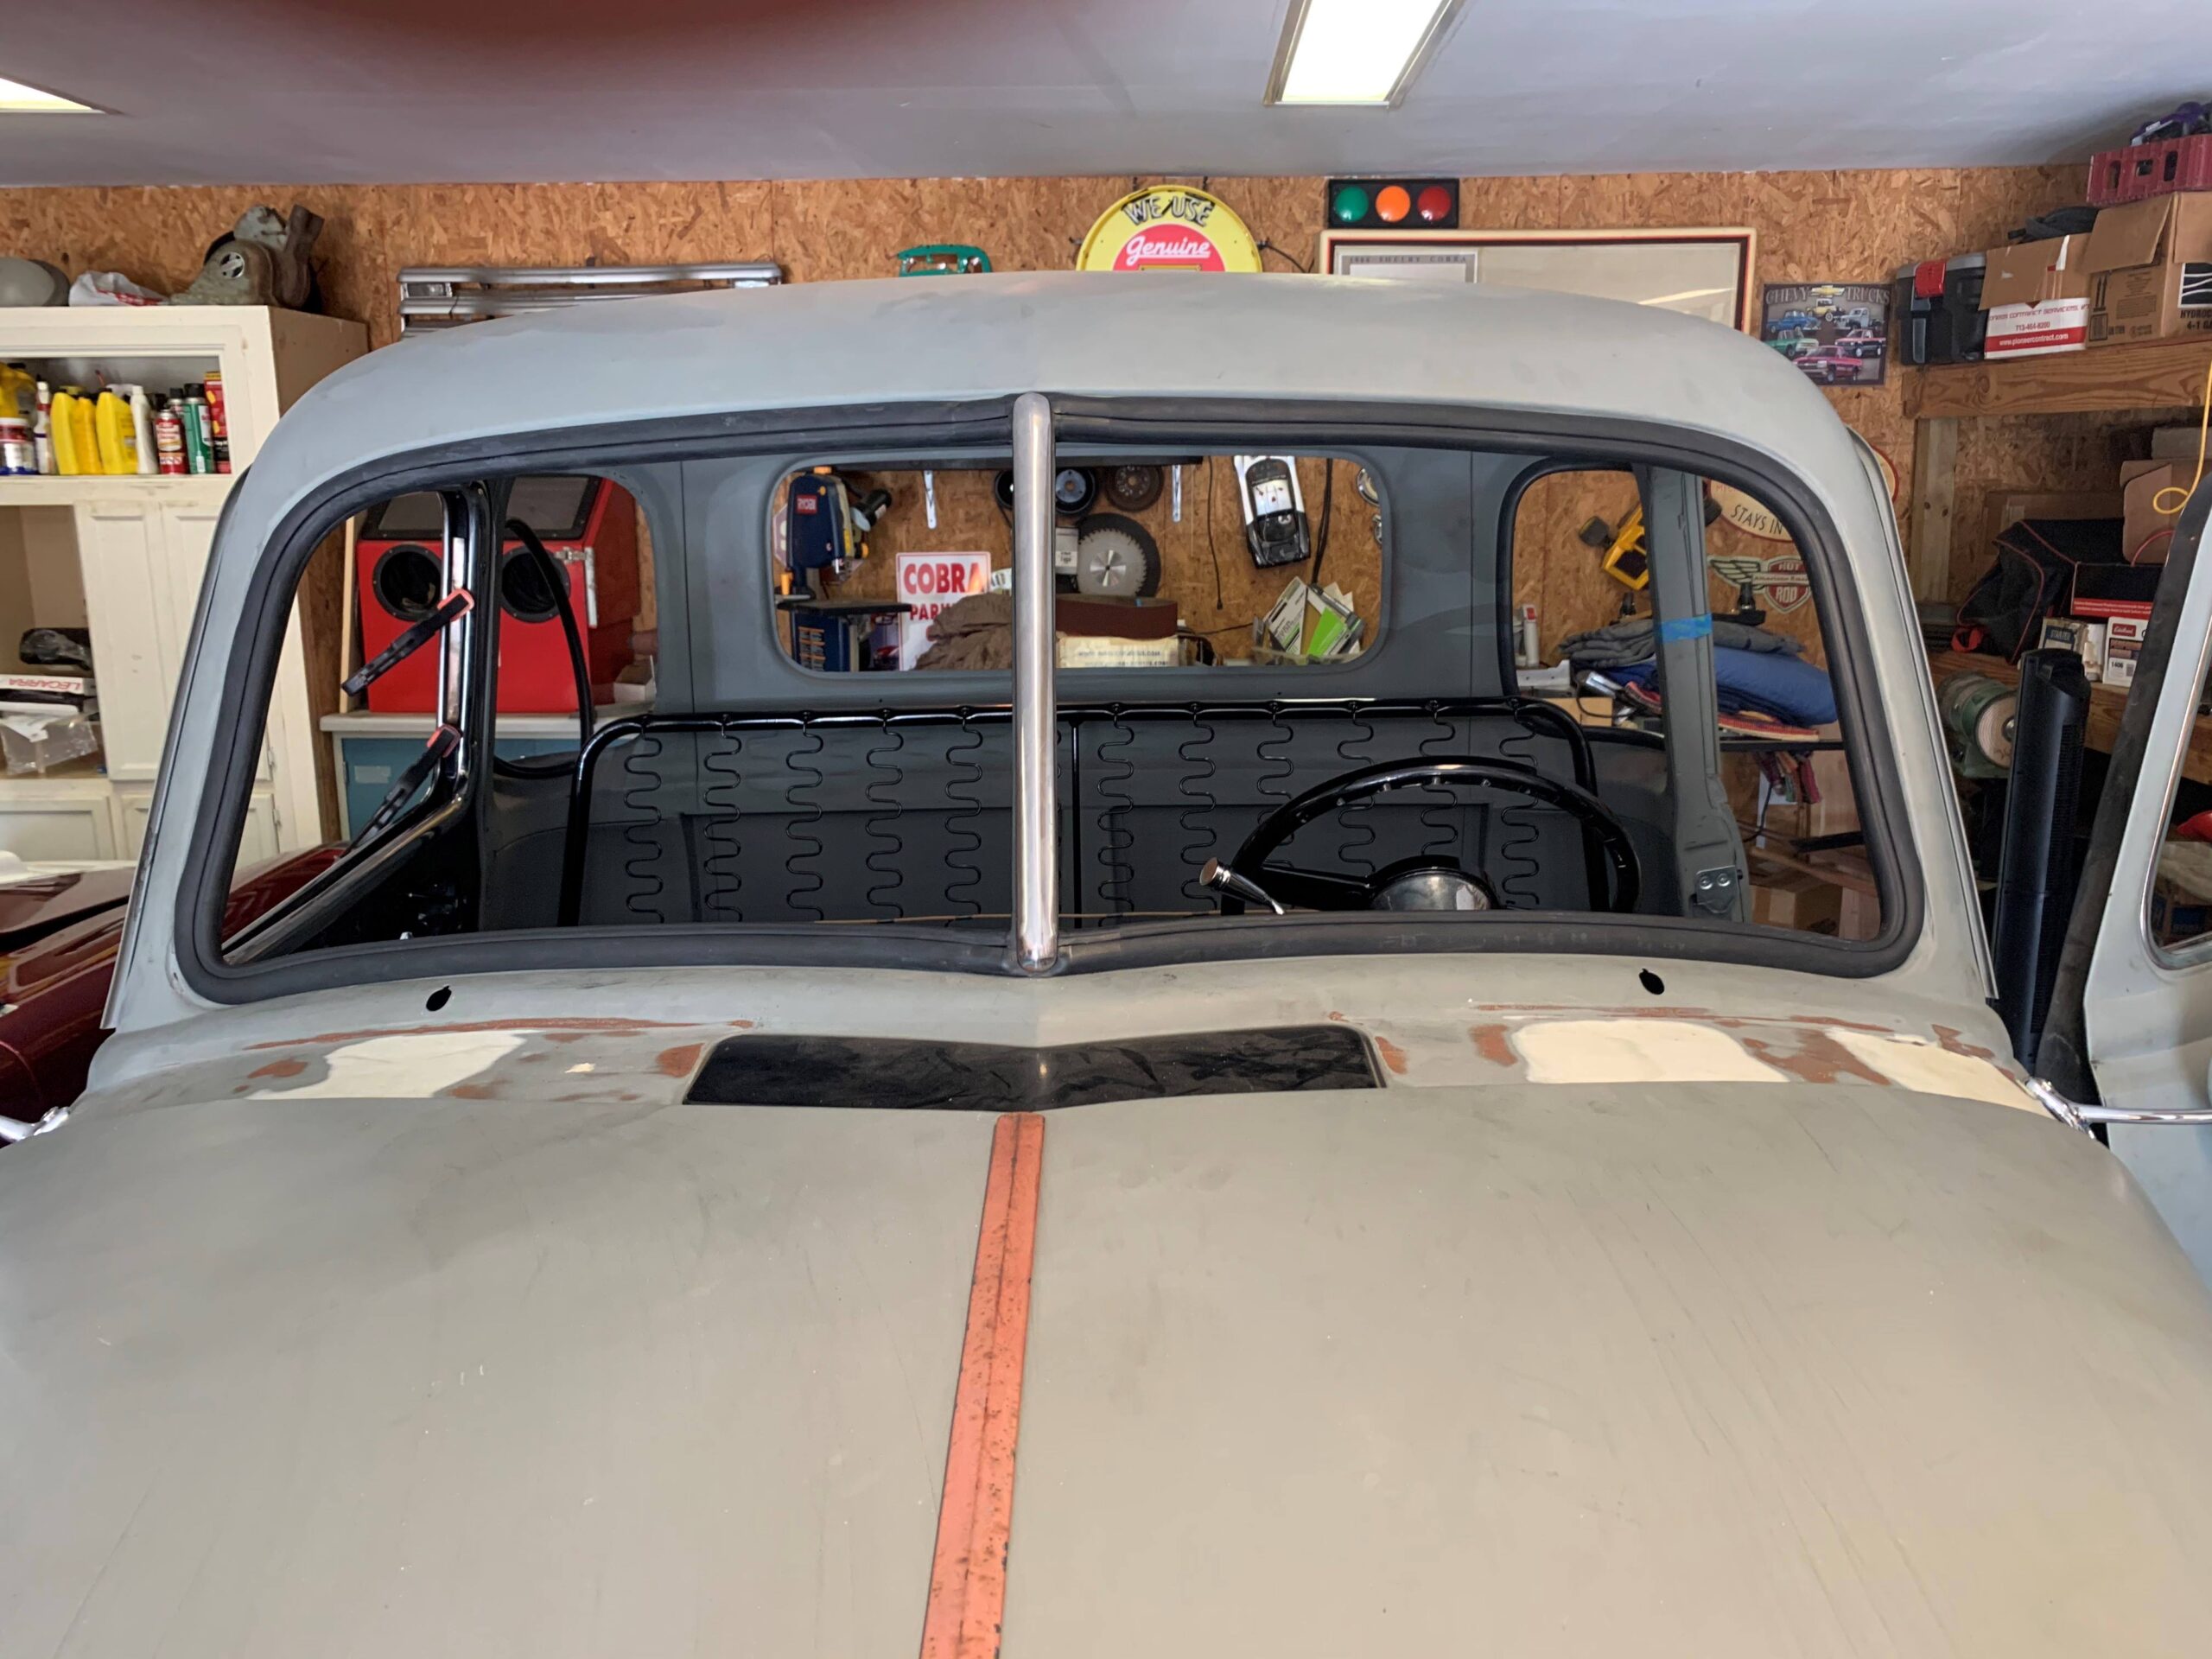
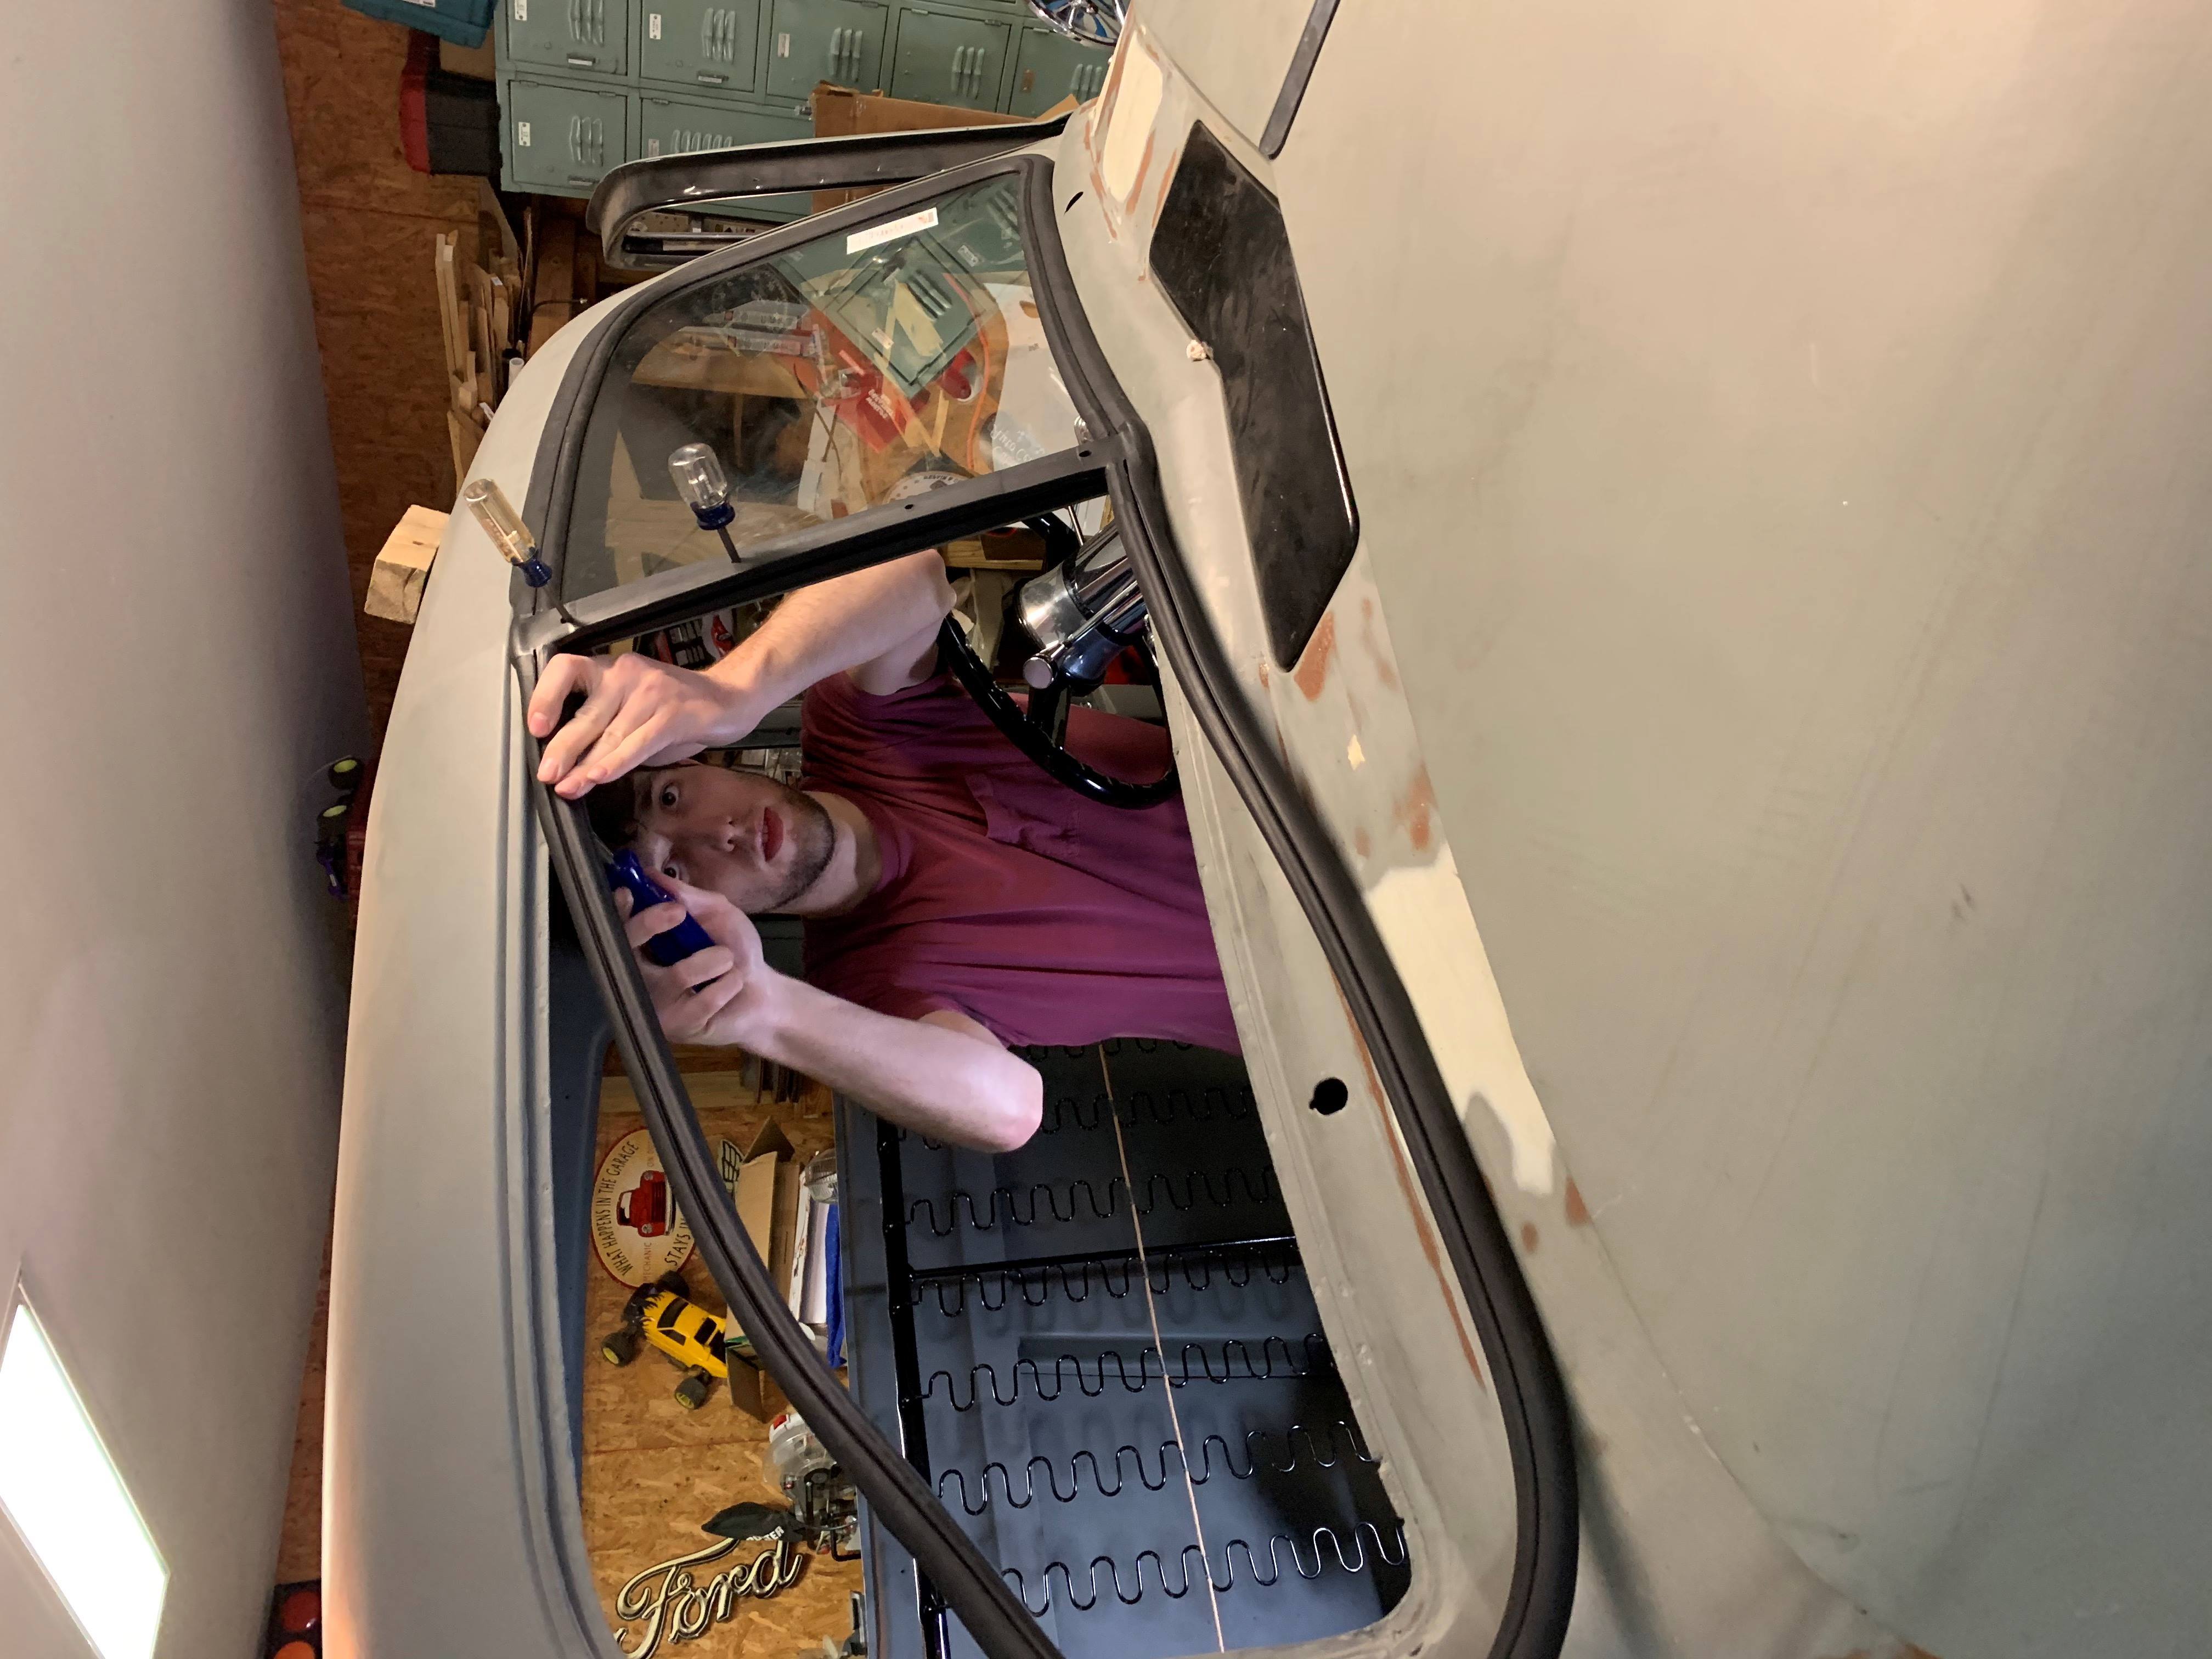
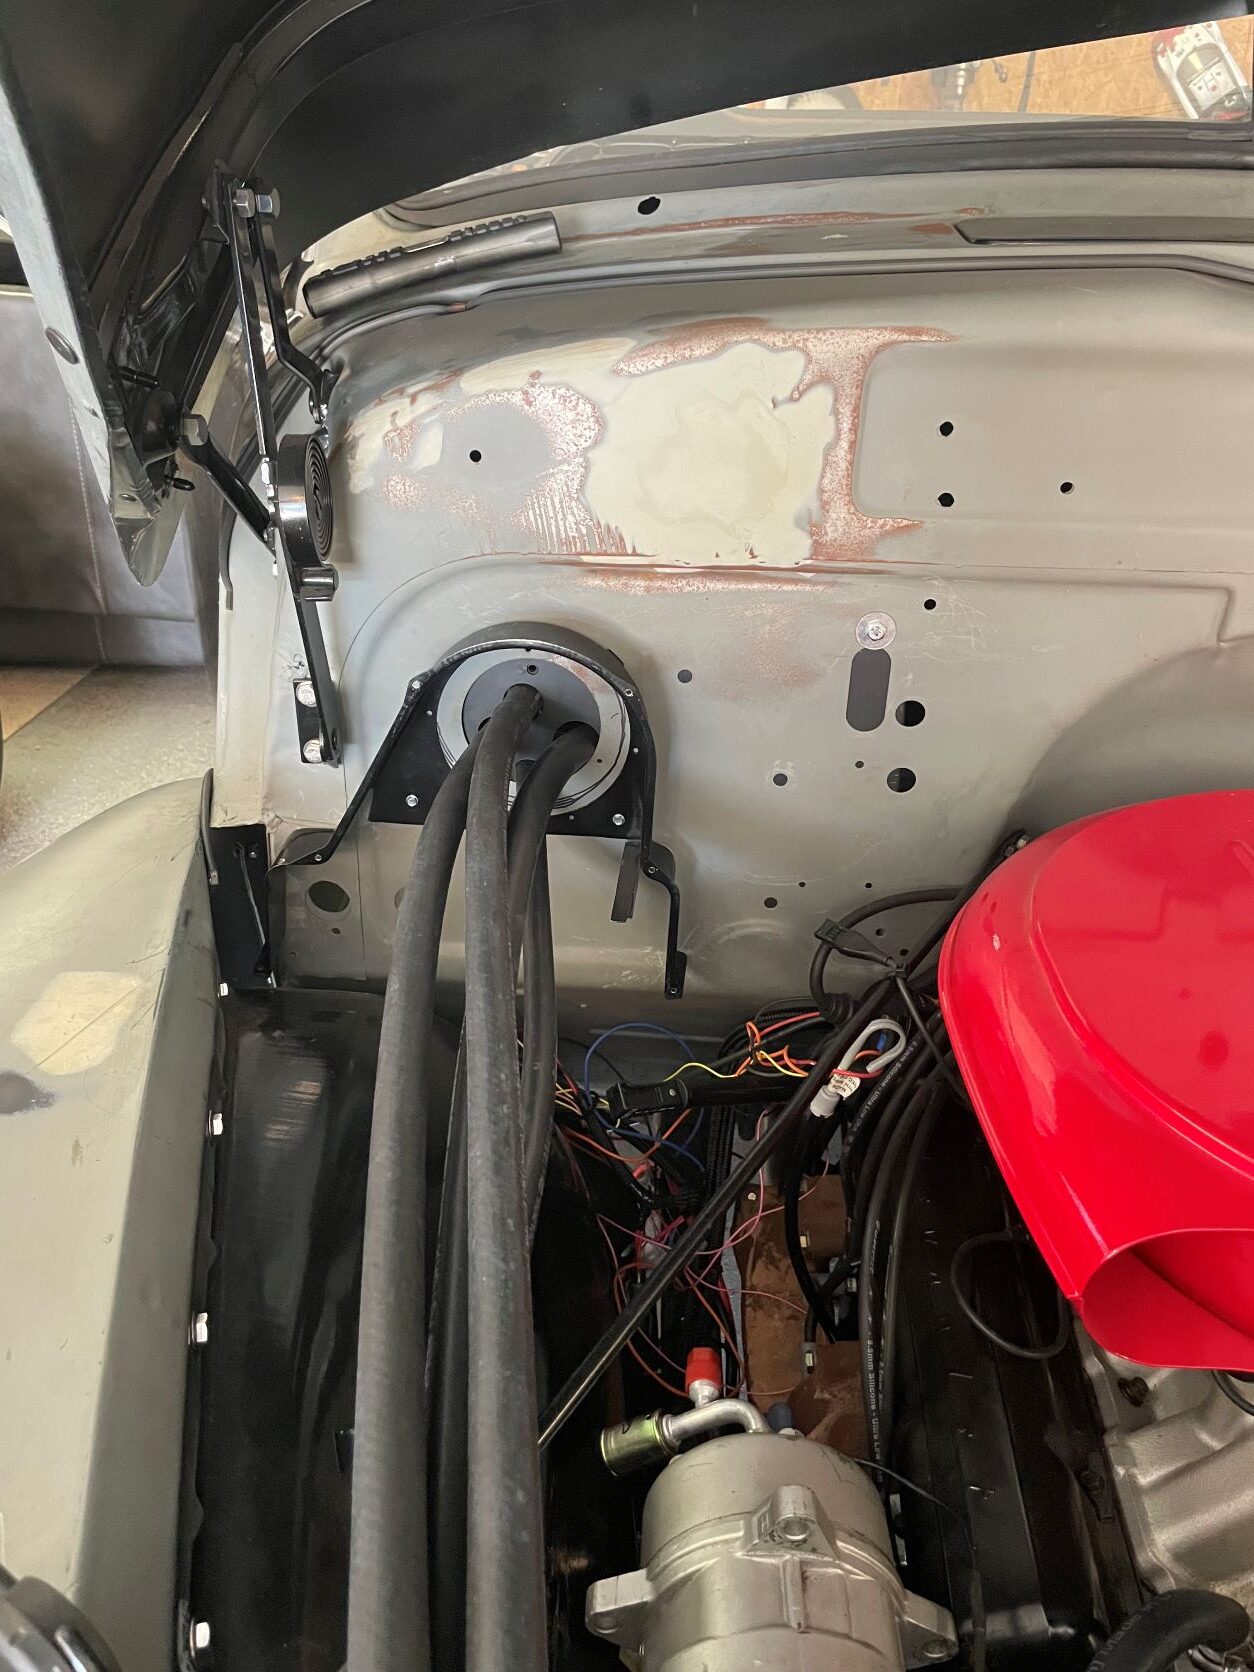
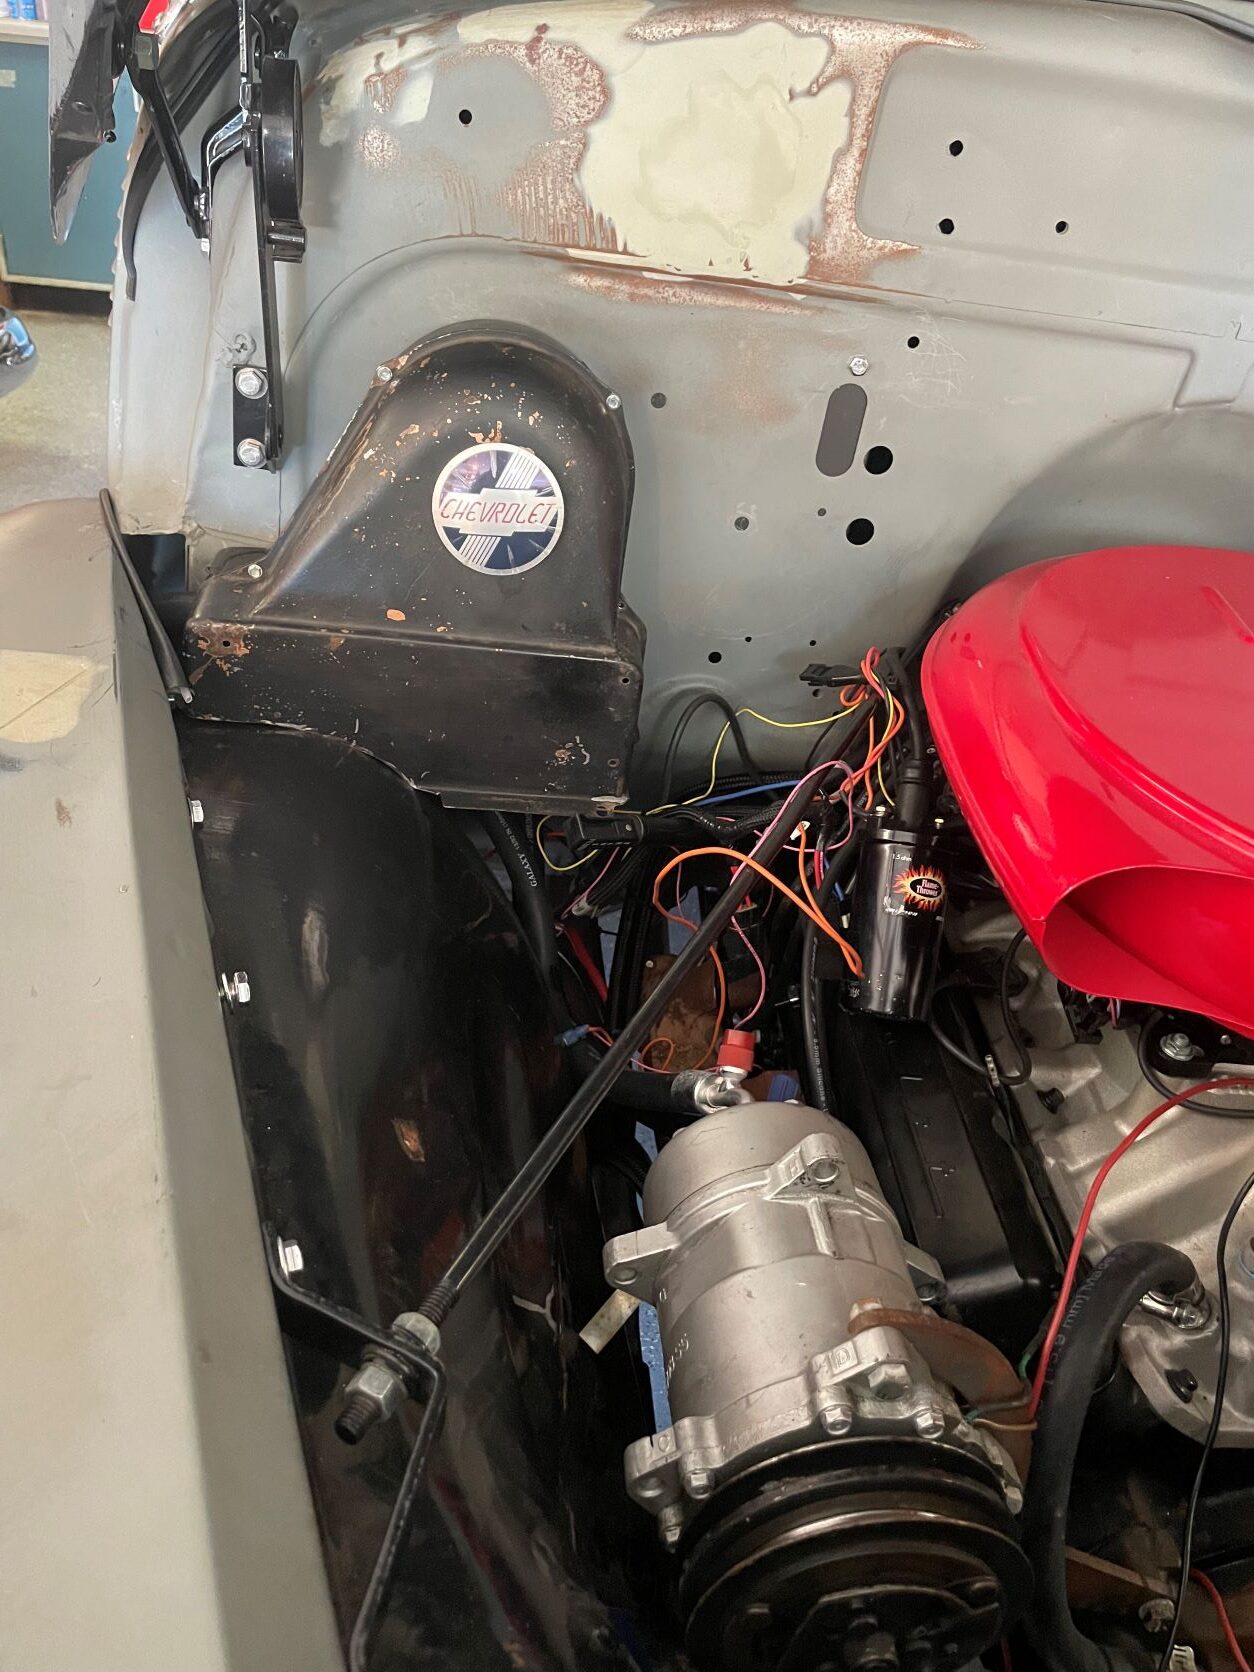
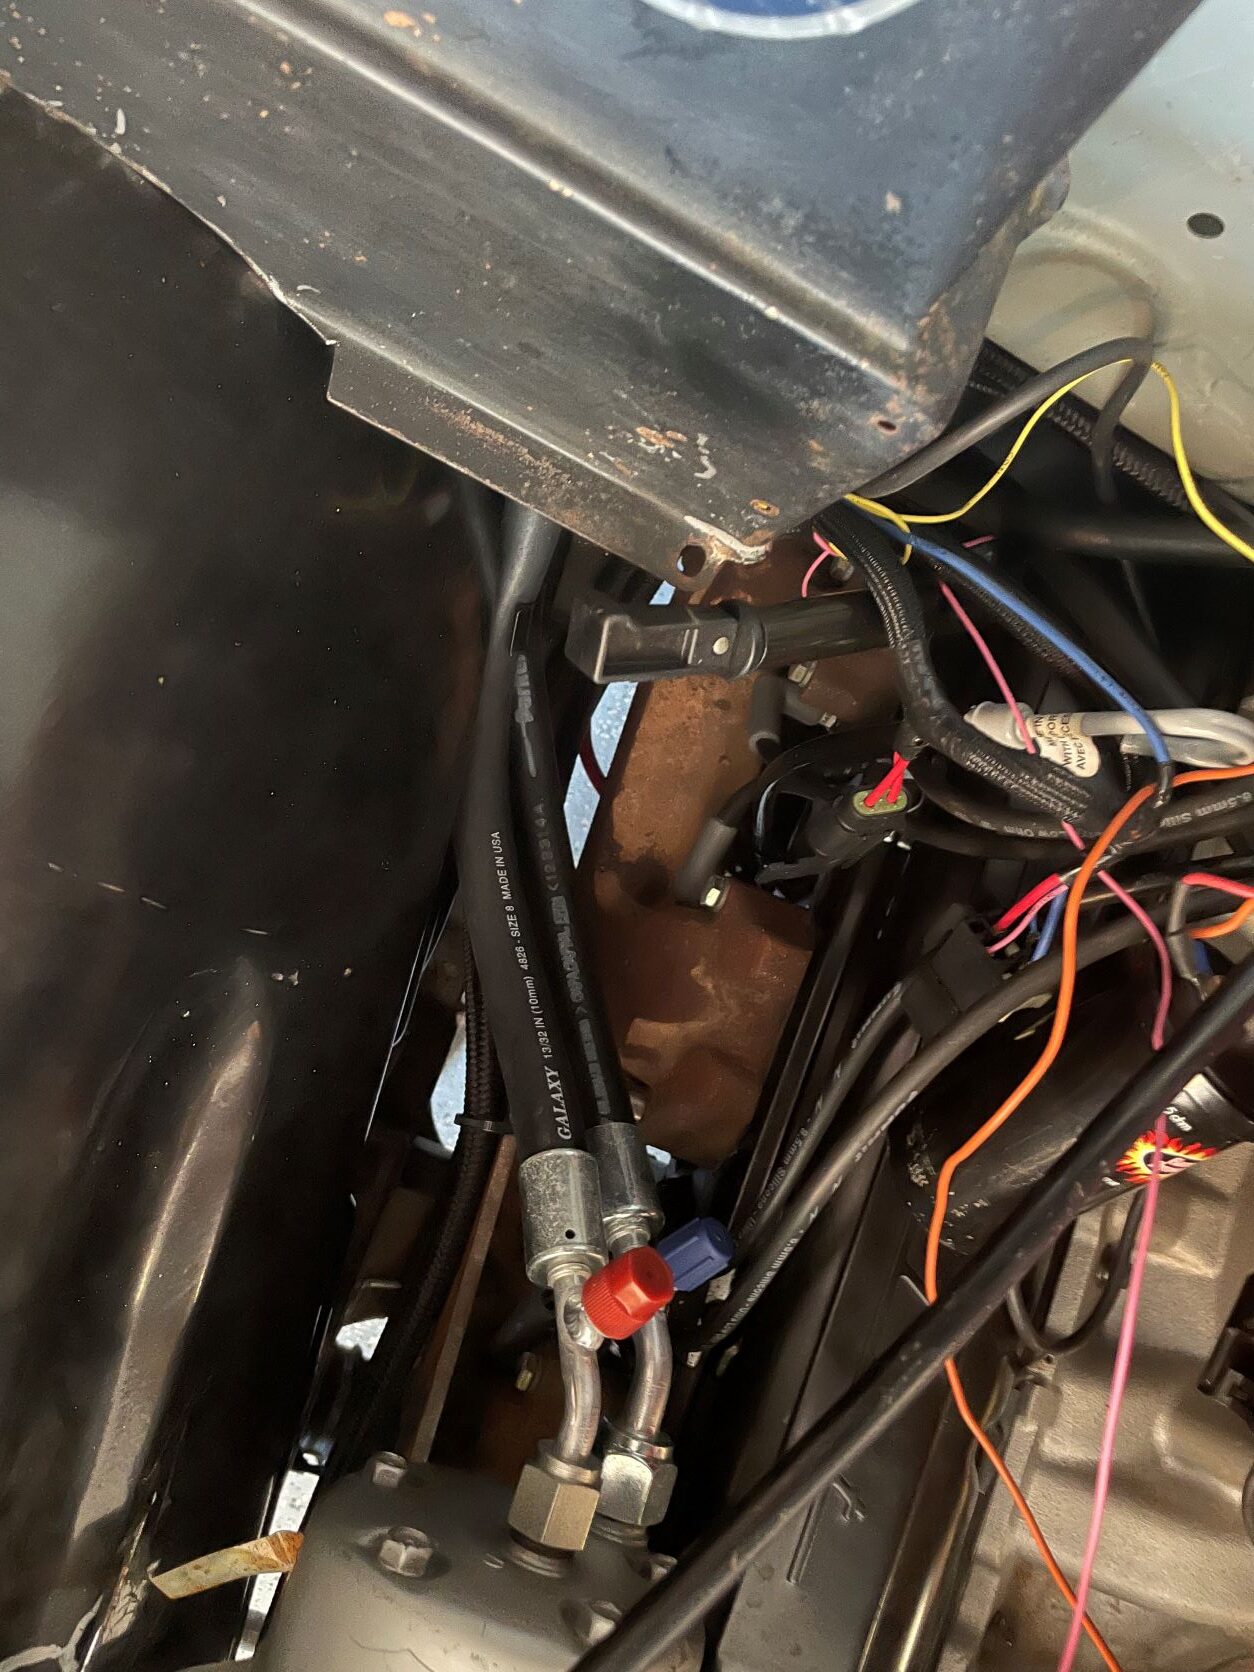
2021 AC Installation
I am running a Vintage Air system on the truck, but I want to keep things looking vintage under the hoodAC system installation started in 2021 and is still in progress. Rather than run the all the freon lines and heater hoses through the engine compartment, I decided to run some down through the fender. I also repurposed the cover from the original heater box that I will use to hide the hoses and some of the wiring to clean things up in the engine bay I had to modify the lines to the condenser behind the grill a little, but it should be a really clean installation when I’m done.
2022 Build Update
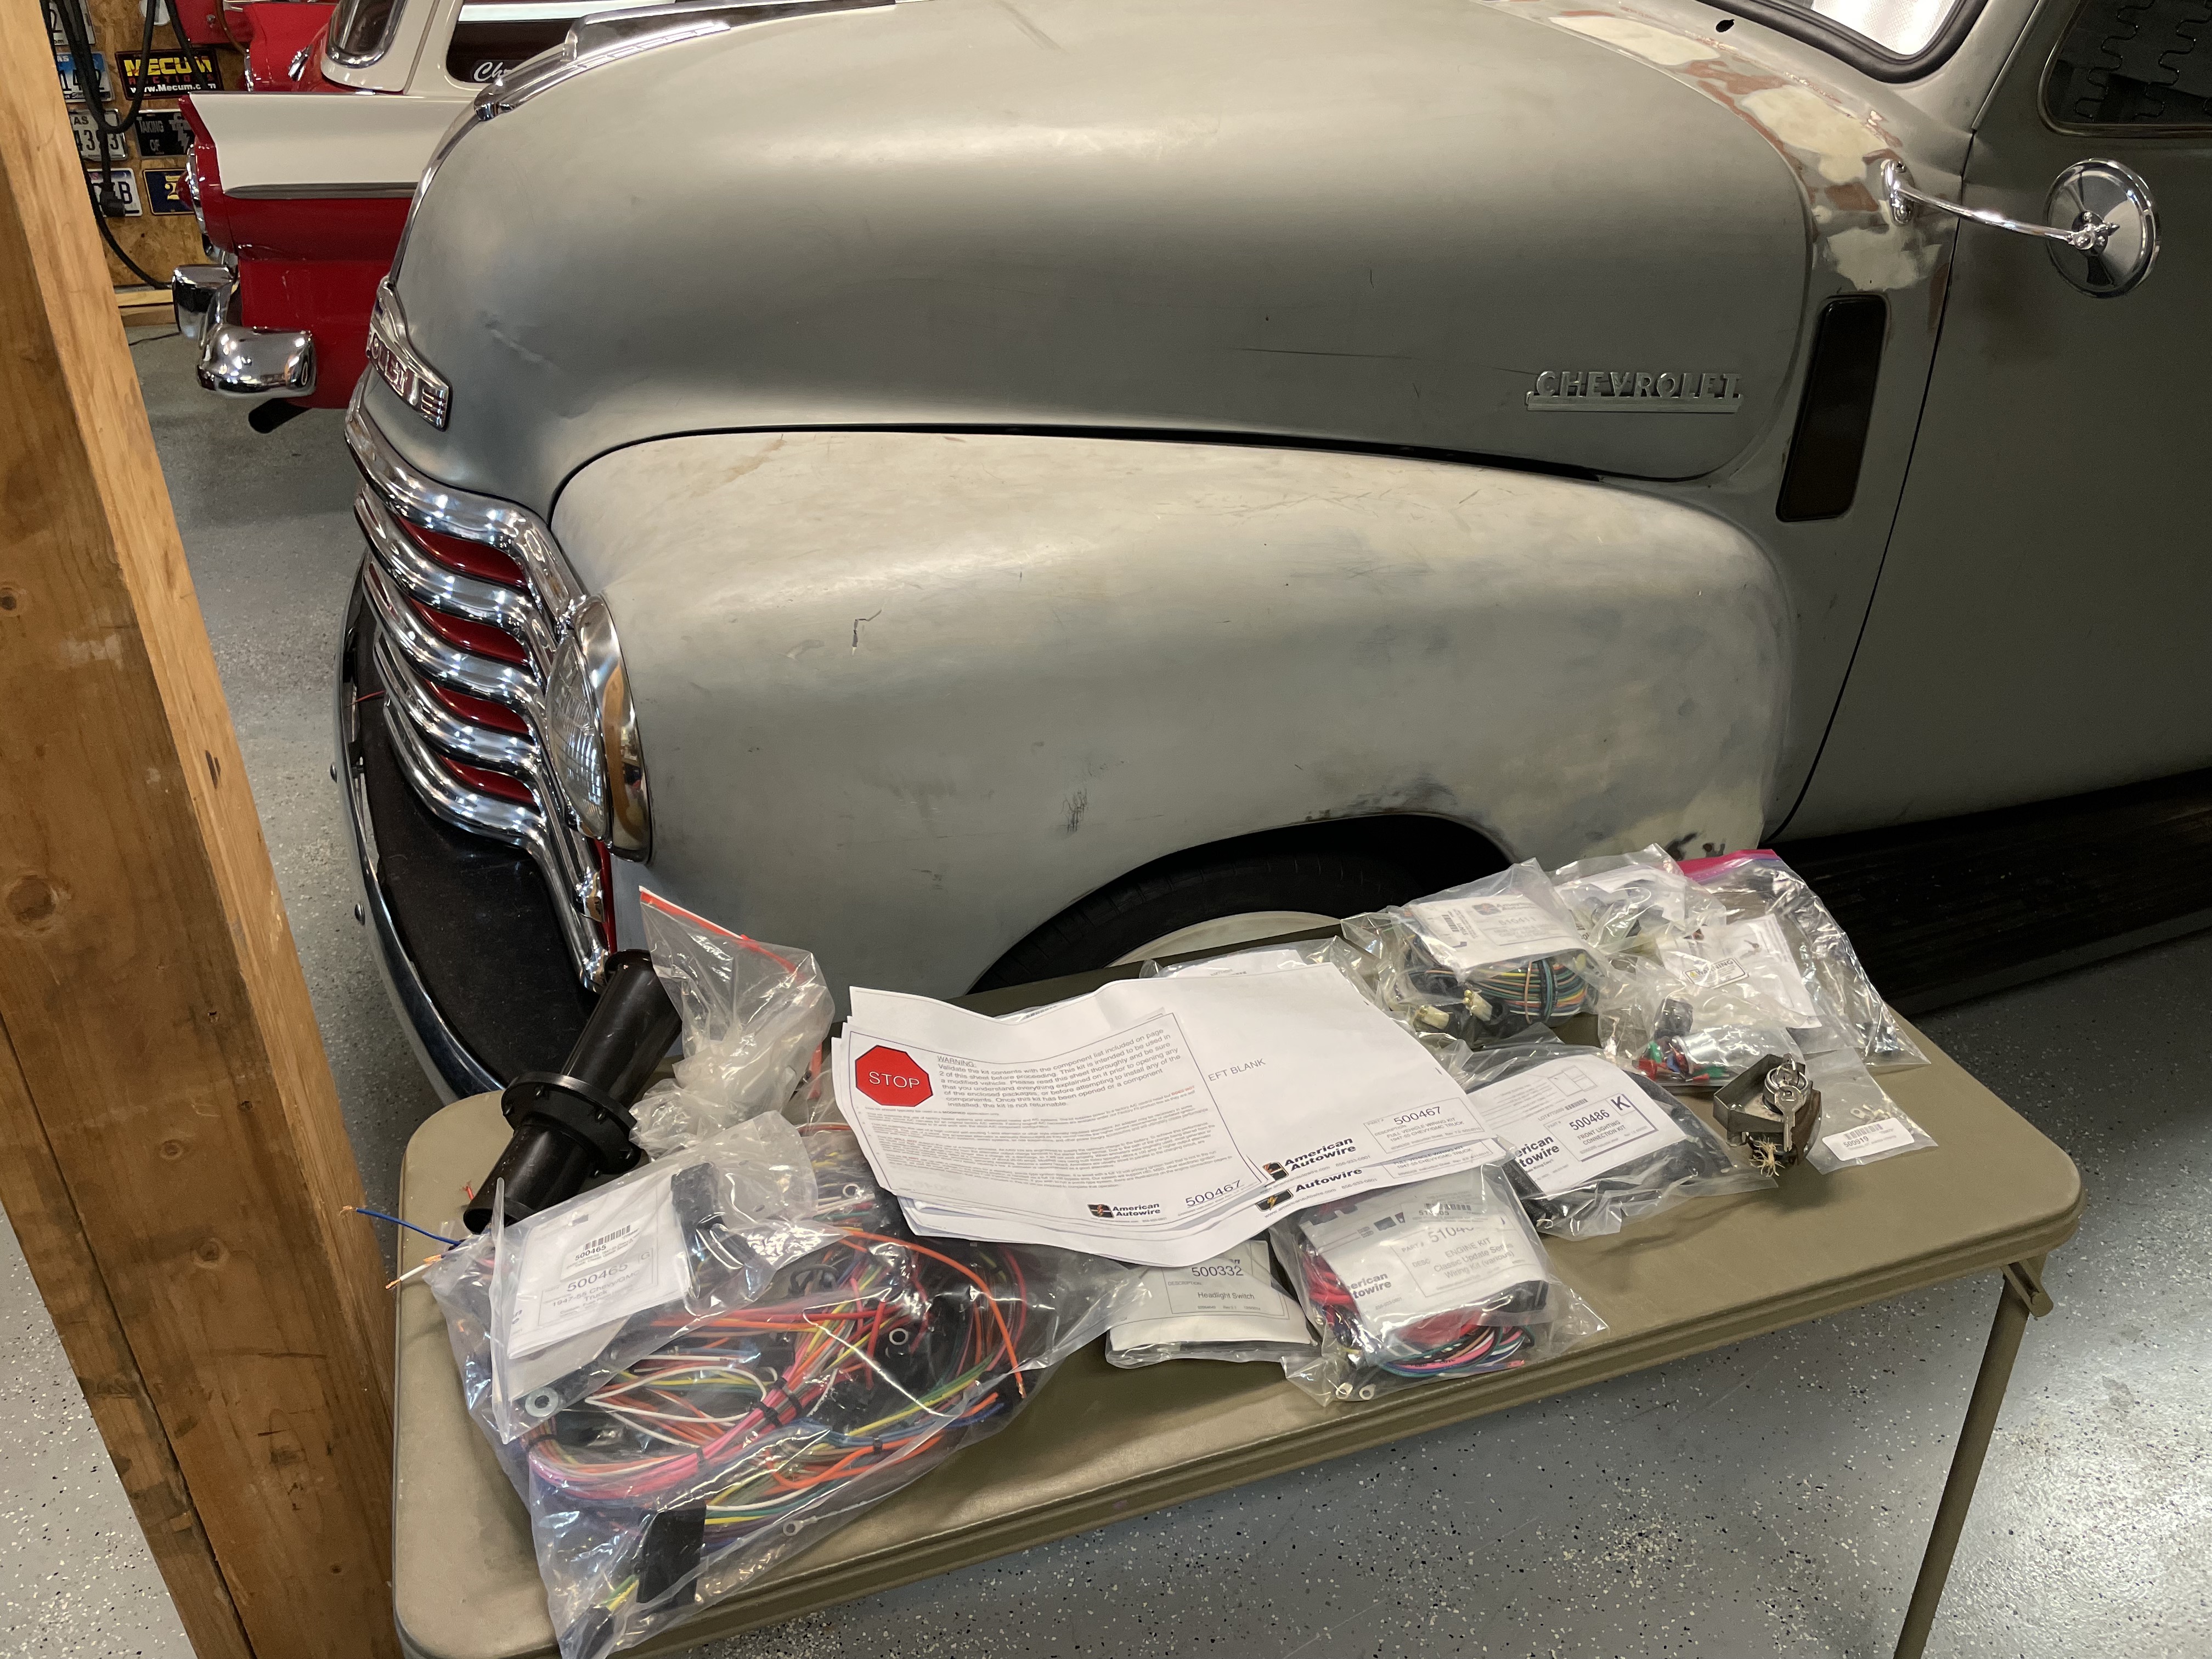
Thought about starting the wiring, but really no progress on the project in 2022.